Home>Furniture>Outdoor Furniture>How To Build A Raised Decking Frame
Outdoor Furniture
How To Build A Raised Decking Frame
Modified: March 7, 2024
Learn how to build a sturdy raised decking frame for your outdoor furniture. Create a durable and functional space for relaxing and entertaining outdoors.
(Many of the links in this article redirect to a specific reviewed product. Your purchase of these products through affiliate links helps to generate commission for Storables.com, at no extra cost. Learn more)
Introduction
Welcome to our comprehensive guide on how to build a raised decking frame! Whether you’re looking to expand your outdoor living space or create an area for entertaining guests, a raised decking frame is a fantastic addition to any outdoor area. Not only does it provide a practical and versatile space, but it also adds aesthetic appeal to your backyard.
In this article, we will walk you through the step-by-step process of building a raised decking frame. From planning and design to installation and finishing touches, we’ll cover all the essential aspects you need to know to create a sturdy and visually appealing deck.
Before diving into the details, it’s important to note that building a raised decking frame requires some basic carpentry skills and knowledge. If you’re unsure about any step or think you might need professional assistance, don’t hesitate to consult with a qualified contractor.
So, let’s get started on this exciting project that will transform your outdoor space into your own private retreat!
Key Takeaways:
- Planning and designing your raised decking frame is crucial for creating a sturdy and visually appealing deck. Consider the purpose, location, permits, style, and materials to avoid costly mistakes.
- Building a raised decking frame requires careful site preparation, proper construction of the frame, and precise installation of decking boards. Adding finishing touches like railing, lighting, and furniture completes your outdoor oasis.
Read more: How To Build A Decking Frame
Planning and Design
Before you begin building your raised decking frame, it’s important to spend some time on the planning and design phase. This will ensure that you create a deck that not only meets your needs but also complements the overall design of your outdoor space. Here are some key factors to consider:
- Determine the Purpose: Think about how you will use the deck. Will it be primarily for entertaining, dining, or relaxation? Understanding the purpose will help you determine the size, layout, and features of your deck.
- Choose the Location: Assess your outdoor area and select the best spot for your deck. Consider factors such as sun exposure, views, and accessibility.
- Check for Permits and Regulations: Before starting construction, check with your local authority to determine if there are any building permits or regulations you need to comply with.
- Measure and Mark the Area: Measure the space where you plan to build the deck and mark it out using stakes and string. This will give you a visual representation of the deck’s size and layout.
- Consider the Style and Materials: Think about the design aesthetic you want to achieve. Do you prefer a modern, minimalist look or a more rustic, natural feel? Also, consider the types of materials you want to use, such as wood or composite decking.
- Create a Decking Plan: Use graph paper or a deck design software to create a detailed plan for your deck. Include dimensions, elevations, and any additional features like stairs or railings.
Taking the time to carefully plan and design your raised decking frame will help you avoid costly mistakes and ensure that the final result is exactly what you envision. Once you have a solid plan in place, you can move on to gathering the necessary materials and tools.
Gathering Materials and Tools
Now that you have a clear plan in place for your raised decking frame, it’s time to gather the necessary materials and tools. Here’s a list of what you’ll typically need:
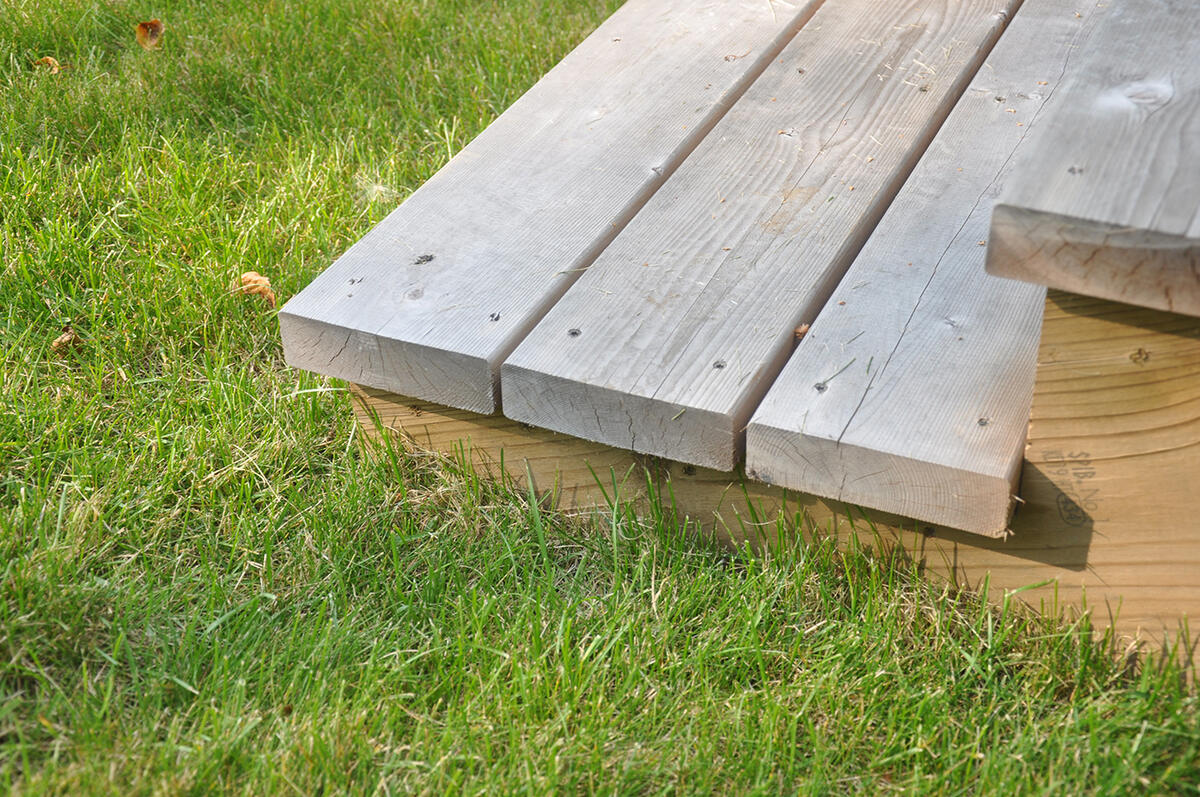
- Decking Materials: Depending on your preferences and budget, you’ll need to purchase decking boards. Common options include pressure-treated wood, cedar, or composite decking.
- Support Beams: These are the main structural components that will support the weight of the deck. Choose beams that are suitable for outdoor use and can withstand the load requirements.
- Decking Joists: Joists are horizontal supports that will be attached to the support beams to provide a stable base for the decking boards. Select joists that are the appropriate size and spacing for your deck.
- Hardware: This includes nails, screws, brackets, and other fasteners to secure the various components of the deck. Make sure to choose corrosion-resistant hardware that is suitable for outdoor use.
- Concrete Footings: If your decking frame will be elevated, you’ll need to install concrete footings to support the weight of the deck. Consult with a professional or local building codes to determine the size and depth of the footings required.
- Tools: Here are some of the common tools you’ll need for building a raised decking frame: circular saw, power drill, level, tape measure, framing square, hammer, wrenches, and safety equipment like goggles and gloves.
- Additional Features: Depending on your design, you may also need materials for stairs, railings, and post caps. Consider the style and functionality you want to achieve with these features.
Once you have gathered all the necessary materials and tools, you’re ready to move on to the next step: preparing the site for construction. This involves clearing the area, leveling the ground, and ensuring proper drainage. Stay tuned for the next section on how to prepare the site for your raised decking frame!
Preparing the Site
Before you can start building your raised decking frame, it’s crucial to properly prepare the site. This step ensures that your deck will have a solid foundation and will be stable for years to come. Here’s a step-by-step guide on how to prepare the site:
- Clear the Area: Remove any obstructions, such as plants, rocks, or debris, from the site. Ensure that there is a clear and level space for your deck.
- Mark the Layout: Use stakes and string to mark the exact perimeter of your deck according to the dimensions outlined in your plan.
- Level the Ground: Use a shovel or a rake to level the ground within the marked area. Remove any high spots and fill in any low spots to create a smooth and even surface.
- Create Proper Drainage: It’s important to ensure that water will drain away from your deck to prevent pooling and potential damage. Grade the ground, sloping it away from your house or any other nearby structures.
- Lay Weed Barrier Fabric: To prevent the growth of weeds and vegetation under your deck, lay a weed barrier fabric over the prepared ground. This will help keep your deck clean and maintenance-free.
- Install Concrete Footings: If your deck requires elevated support, follow the guidelines provided by your local building codes to install the concrete footings. This typically involves digging holes, adding form tubes, pouring concrete, and allowing it to cure properly.
- Double Check Measurements: Before proceeding, double-check your layout measurements to ensure accuracy. This will help you avoid any issues during the construction process.
By taking the time to prepare the site properly, you’re setting the stage for a successful and long-lasting raised decking frame. Once the site is ready, you can move on to the exciting step of building the actual decking frame. Stay tuned for the next section!
When building a raised decking frame, make sure to use pressure-treated lumber to prevent rot and decay. This will ensure the longevity of your deck structure.
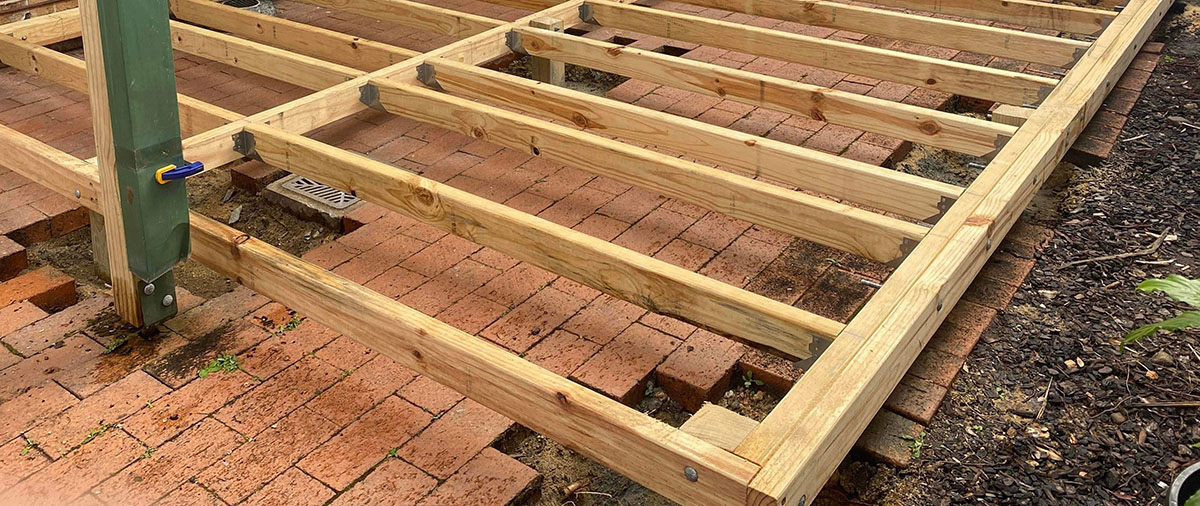
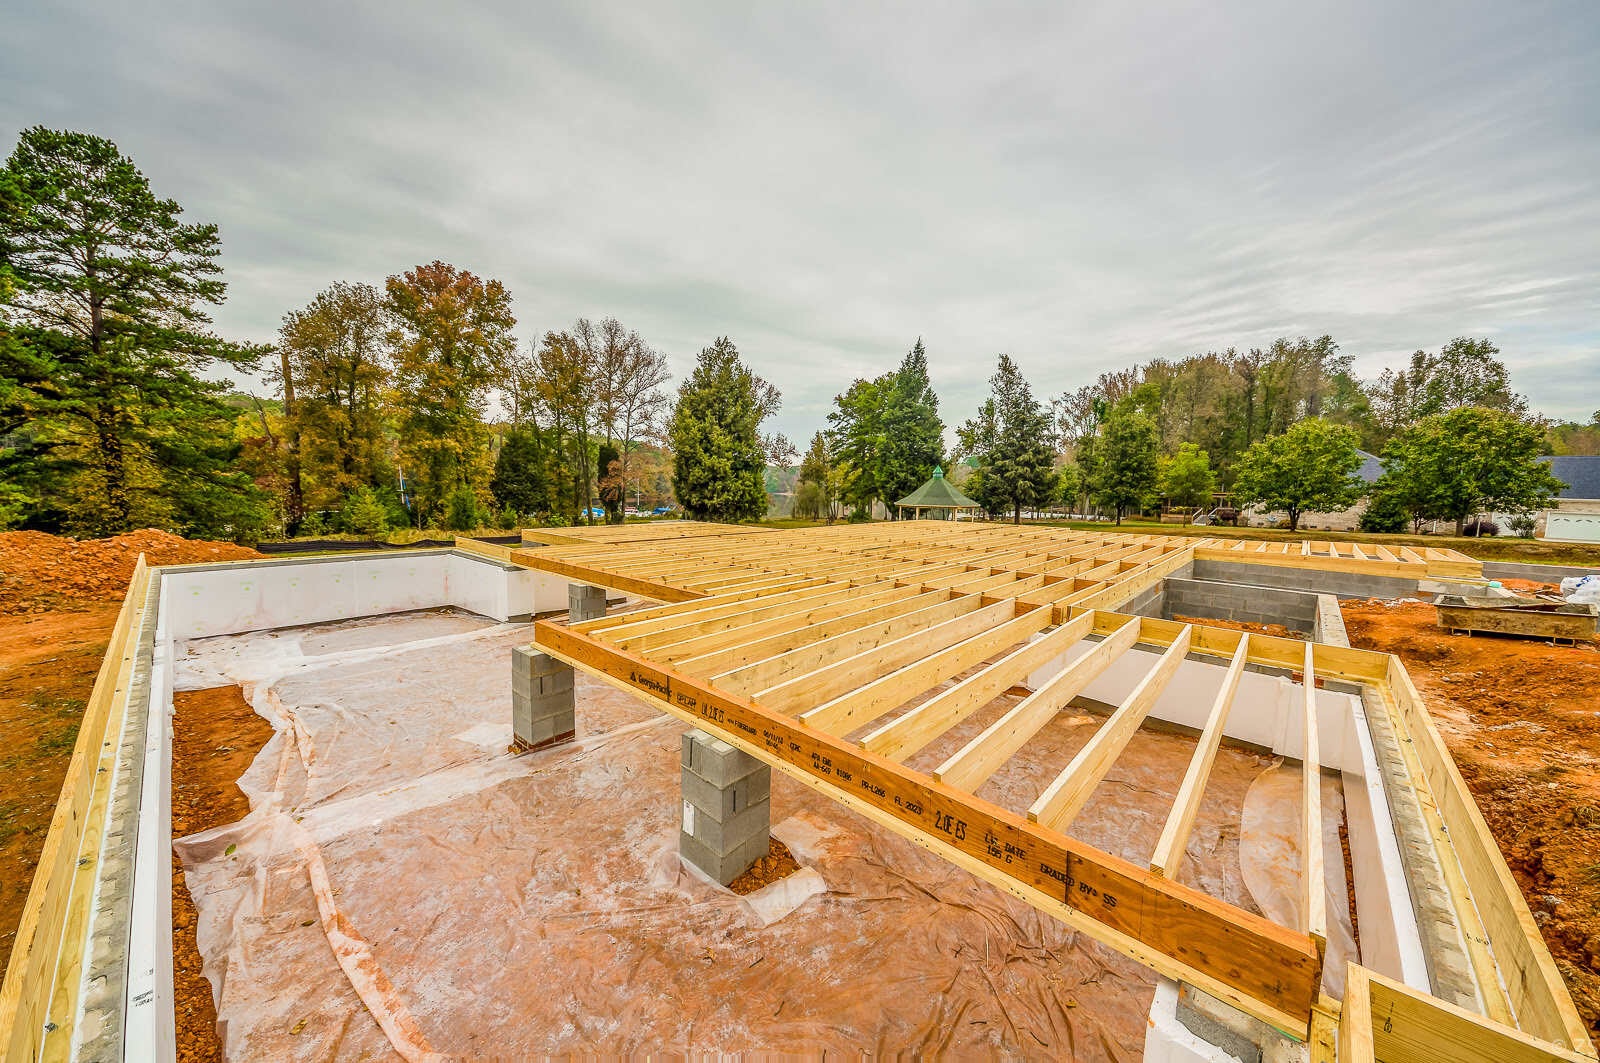
Building the Decking Frame
Now that the site is prepared, it’s time to start building your raised decking frame. This is the structural framework that will support your deck and provide a stable base for the decking boards. Follow these steps to build the decking frame:
- Install Support Beams: Begin by installing the support beams, which will bear the weight of the deck. Attach the beams to the house or existing structures using metal brackets or joist hangers. Ensure that the beams are level and securely fastened.
- Attach Joists: Next, attach the decking joists perpendicularly to the support beams. Space the joists according to your design and building codes, making sure they are level and evenly spaced.
- Add Blocking: Install blocking between the joists to provide additional support and stability. This involves cutting pieces of lumber to fit snugly between the joists and attaching them with nails or screws.
- Secure the Frame: To ensure a sturdy and durable frame, use metal brackets or angle brackets to secure the support beams and joists together. Follow the manufacturer’s instructions for proper installation.
- Check for Levelness: Use a level to check that the decking frame is level in all directions. Adjust the support beams or joists as needed.
- Add Stair Stringers: If your deck includes stairs, install the stair stringers using appropriate hardware and spacing. Ensure they are level and securely attached to the deck frame.
Remember to take appropriate safety precautions during the construction process, such as wearing protective eyewear and gloves, and using caution when operating power tools.
Once the decking frame is built, you’re ready to move on to the next step: installing the decking boards. This is where your deck really starts to take shape, so stay tuned for the upcoming section!
Read more: Deck Designs: Ideas For Raised Decks
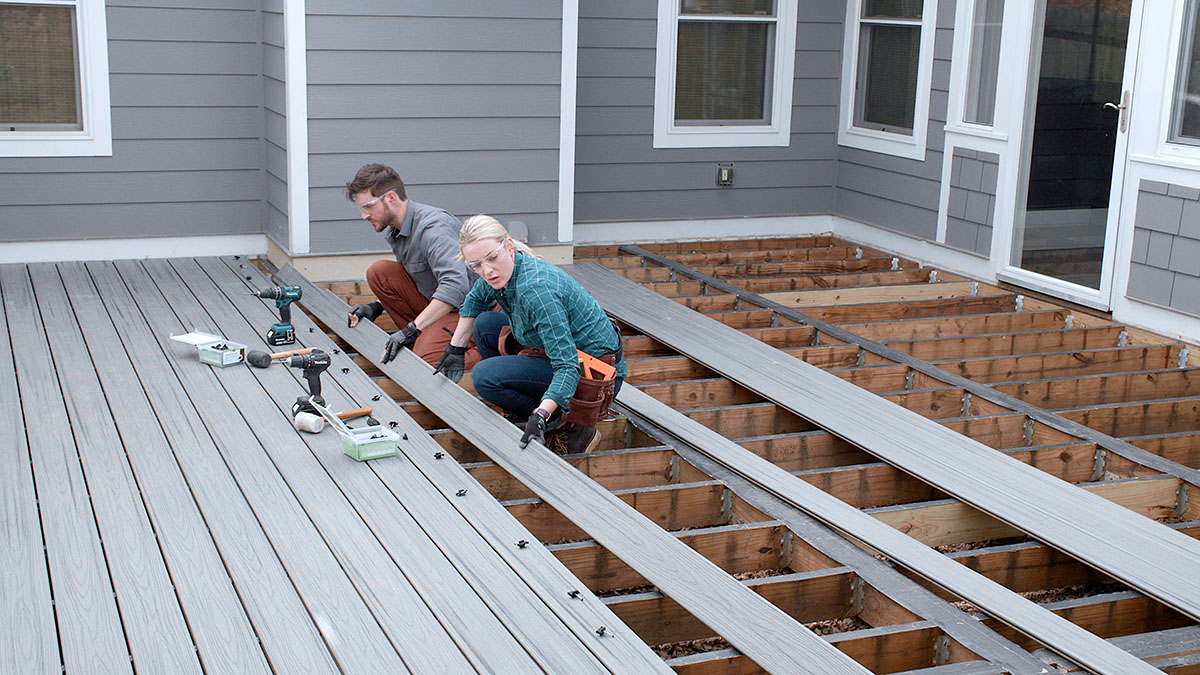
Installing the Decking Boards
With the decking frame in place, it’s time to install the decking boards to bring your raised deck to life. Here’s a step-by-step guide on how to properly install the decking boards:
- Choose the Starting Point: Determine where you want to start laying the decking boards. It’s common to start from the outer edge and work towards the house.
- Pre-drill the Boards: To prevent splitting and ensure a secure installation, pre-drill holes on each decking board near the outer edges. Use a drill bit slightly smaller than the diameter of the screws you’ll be using.
- Start from the Edge: Lay the first decking board perpendicular to the joists, starting from the outer edge. Align the board with the edge of the deck frame and attach it using deck screws.
- Space the Boards: Place a spacer between each decking board to ensure consistent spacing. This will allow for water drainage and prevent warping as the boards expand and contract with temperature changes.
- Continue Installation: Continue attaching and spacing the decking boards one by one, working in rows. Be sure to stagger the board joints for added strength and aesthetic appeal.
- Trim the Boards: Once you reach the final row, measure and cut the last row of decking boards to fit the space. Use a circular saw or a jigsaw for accurate cuts.
- Secure the Boards: Once all the decking boards are in place, go back and double-check that each board is securely fastened to the joists. Make any necessary adjustments or re-tighten screws if needed.
- Add Finishing Touches: If desired, you can add a decorative border or trim around the edges of the deck. This can enhance the overall look and provide a polished finish.
Remember to use the recommended fasteners for your chosen decking material to ensure proper installation and longevity. Additionally, consider applying a weather-resistant sealant or stain to protect the decking boards and enhance their appearance.
Now that the decking boards are installed, your raised deck is really coming together. In the next section, we’ll cover some finishing touches to complete the overall look and functionality of your outdoor space.
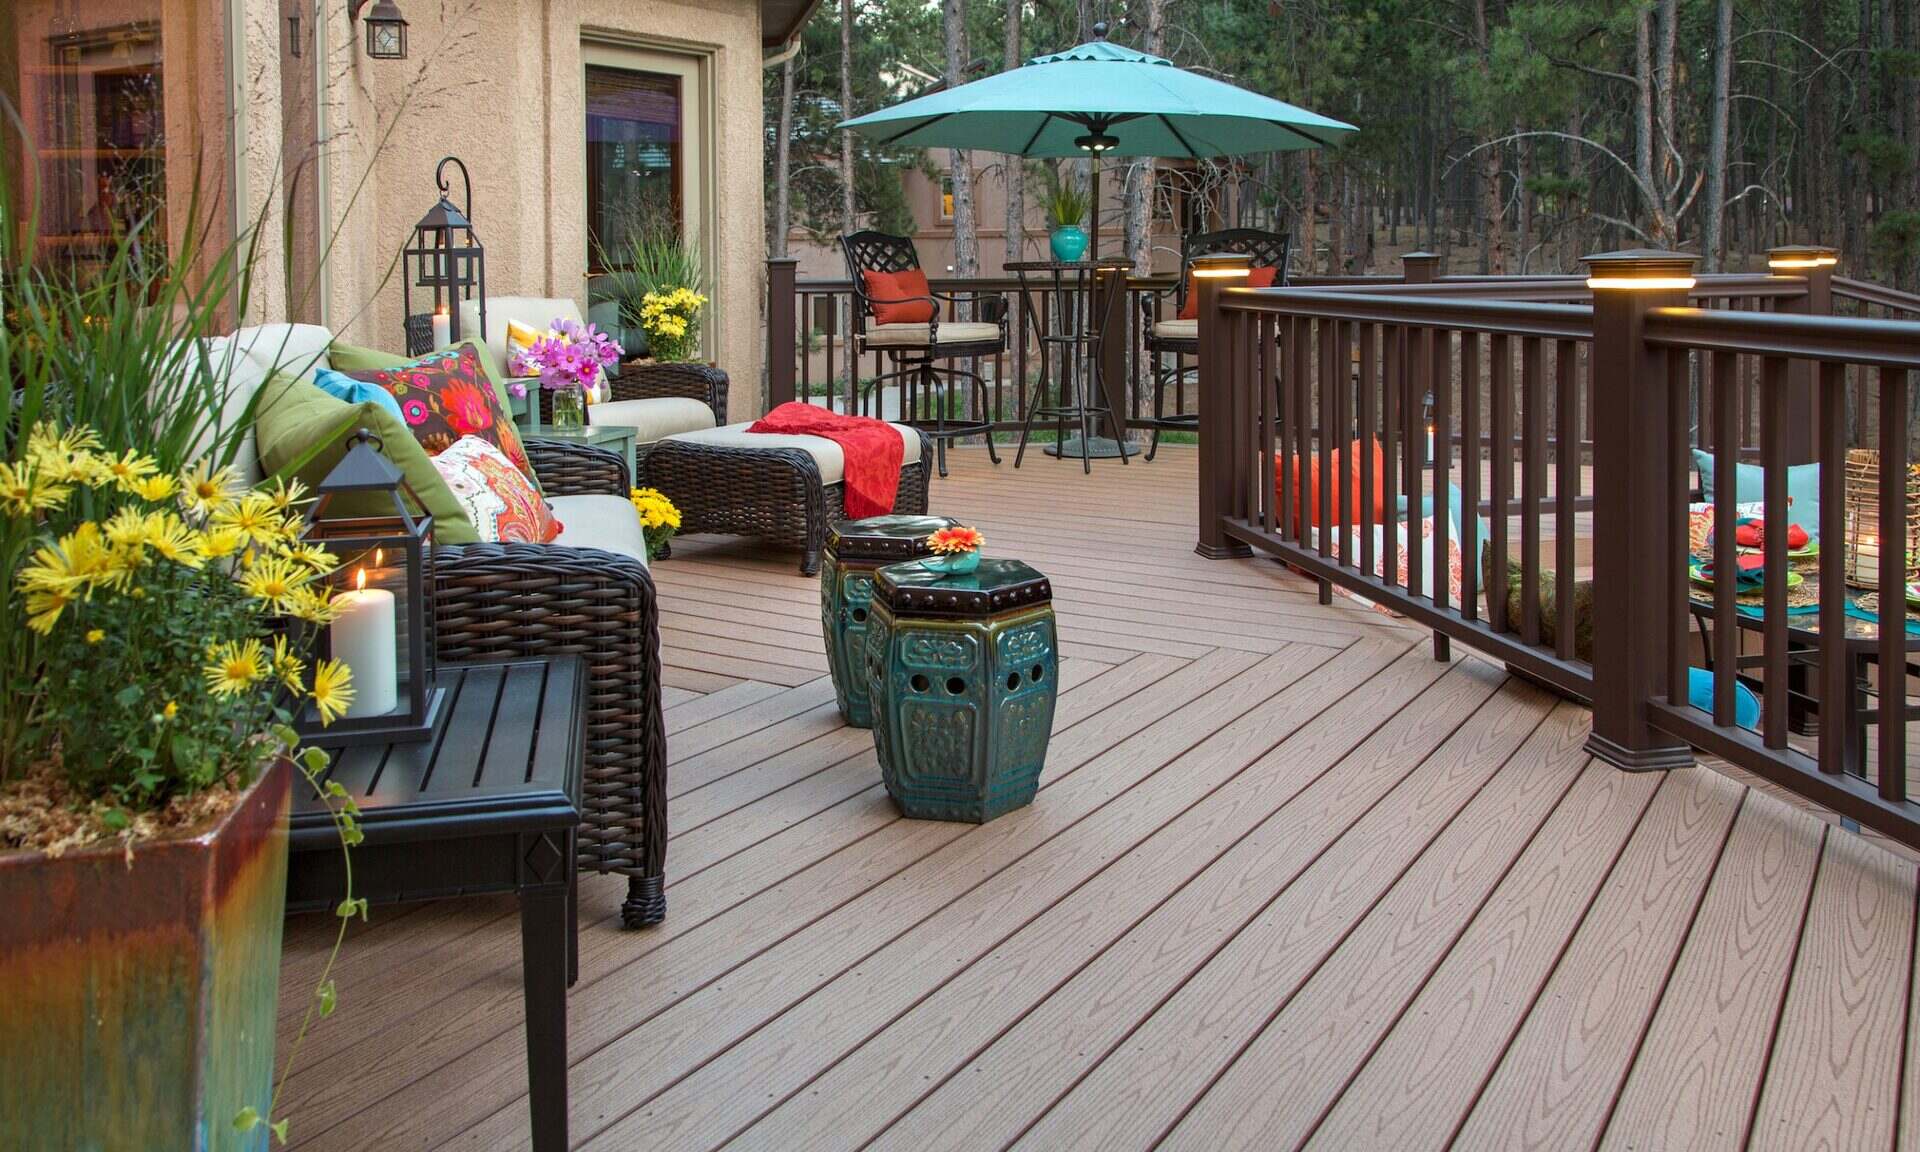
Adding Finishing Touches
Congratulations! Your raised decking frame is complete, and the decking boards are installed. Now it’s time to add those final finishing touches that will elevate the overall look and functionality of your outdoor space. Here are some ideas and considerations:
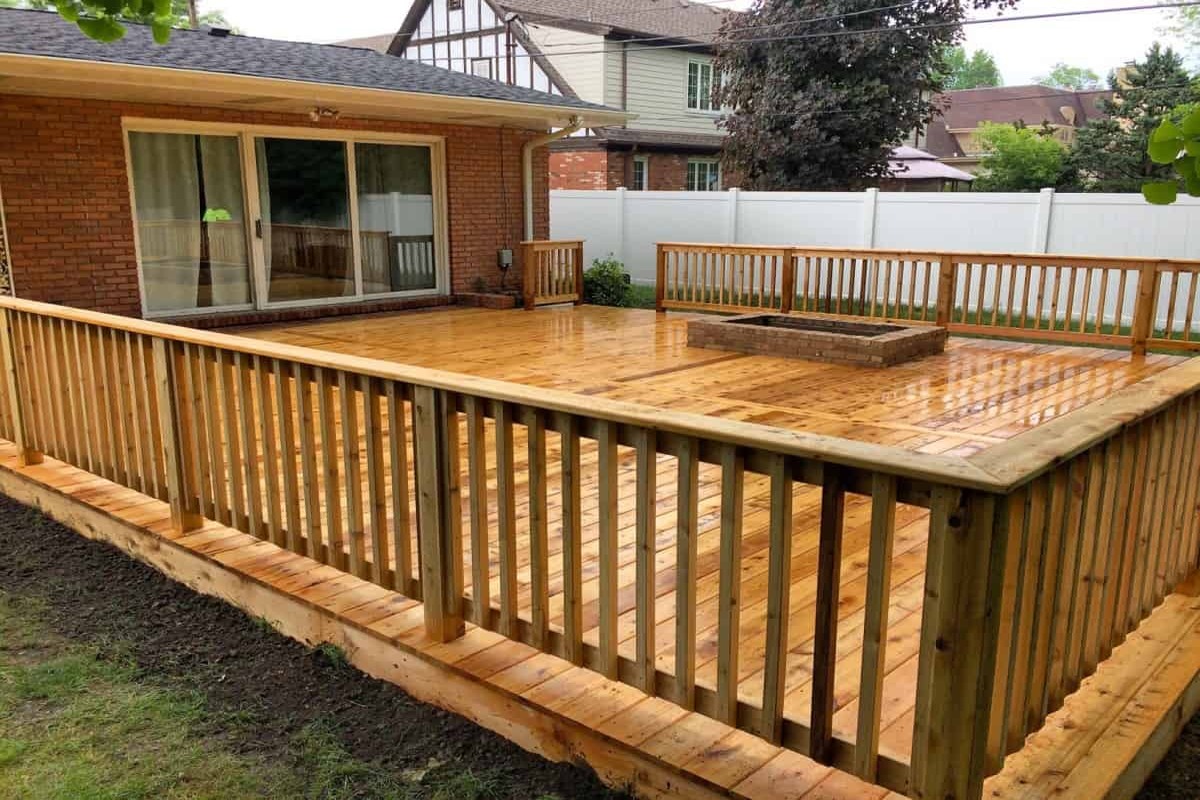
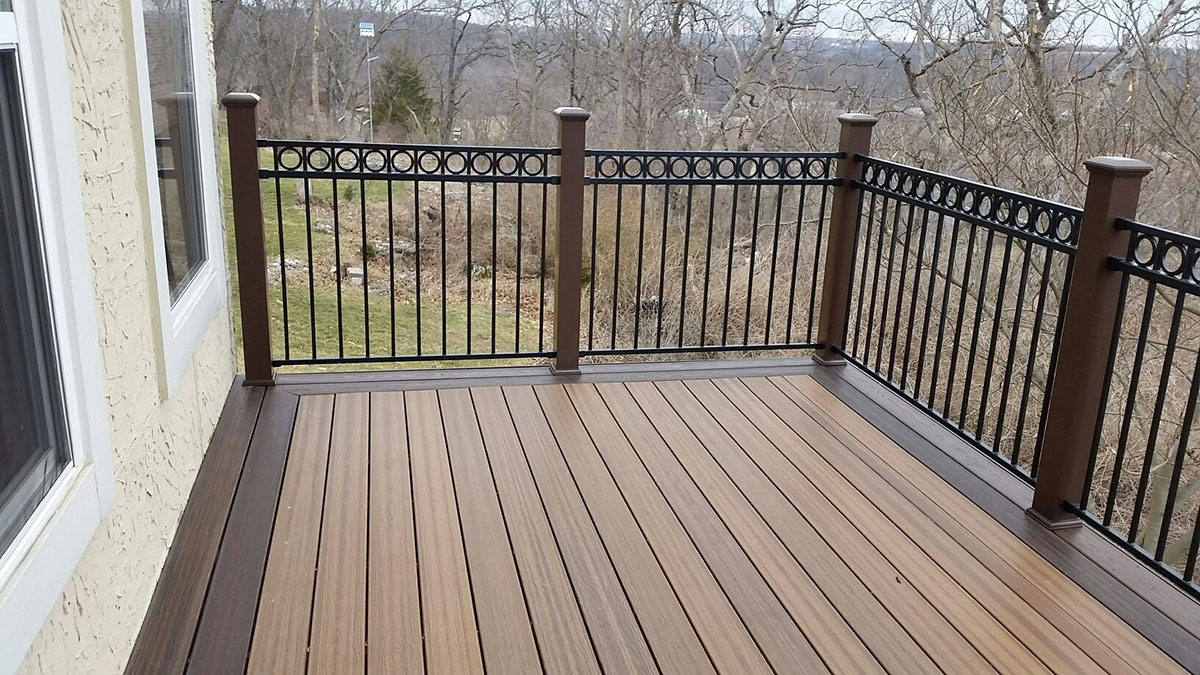
- Railing and Balustrades: Depending on the height of your deck and local building codes, you may need to install a railing or balustrade system. Choose a style that complements your deck’s design and provides safety.
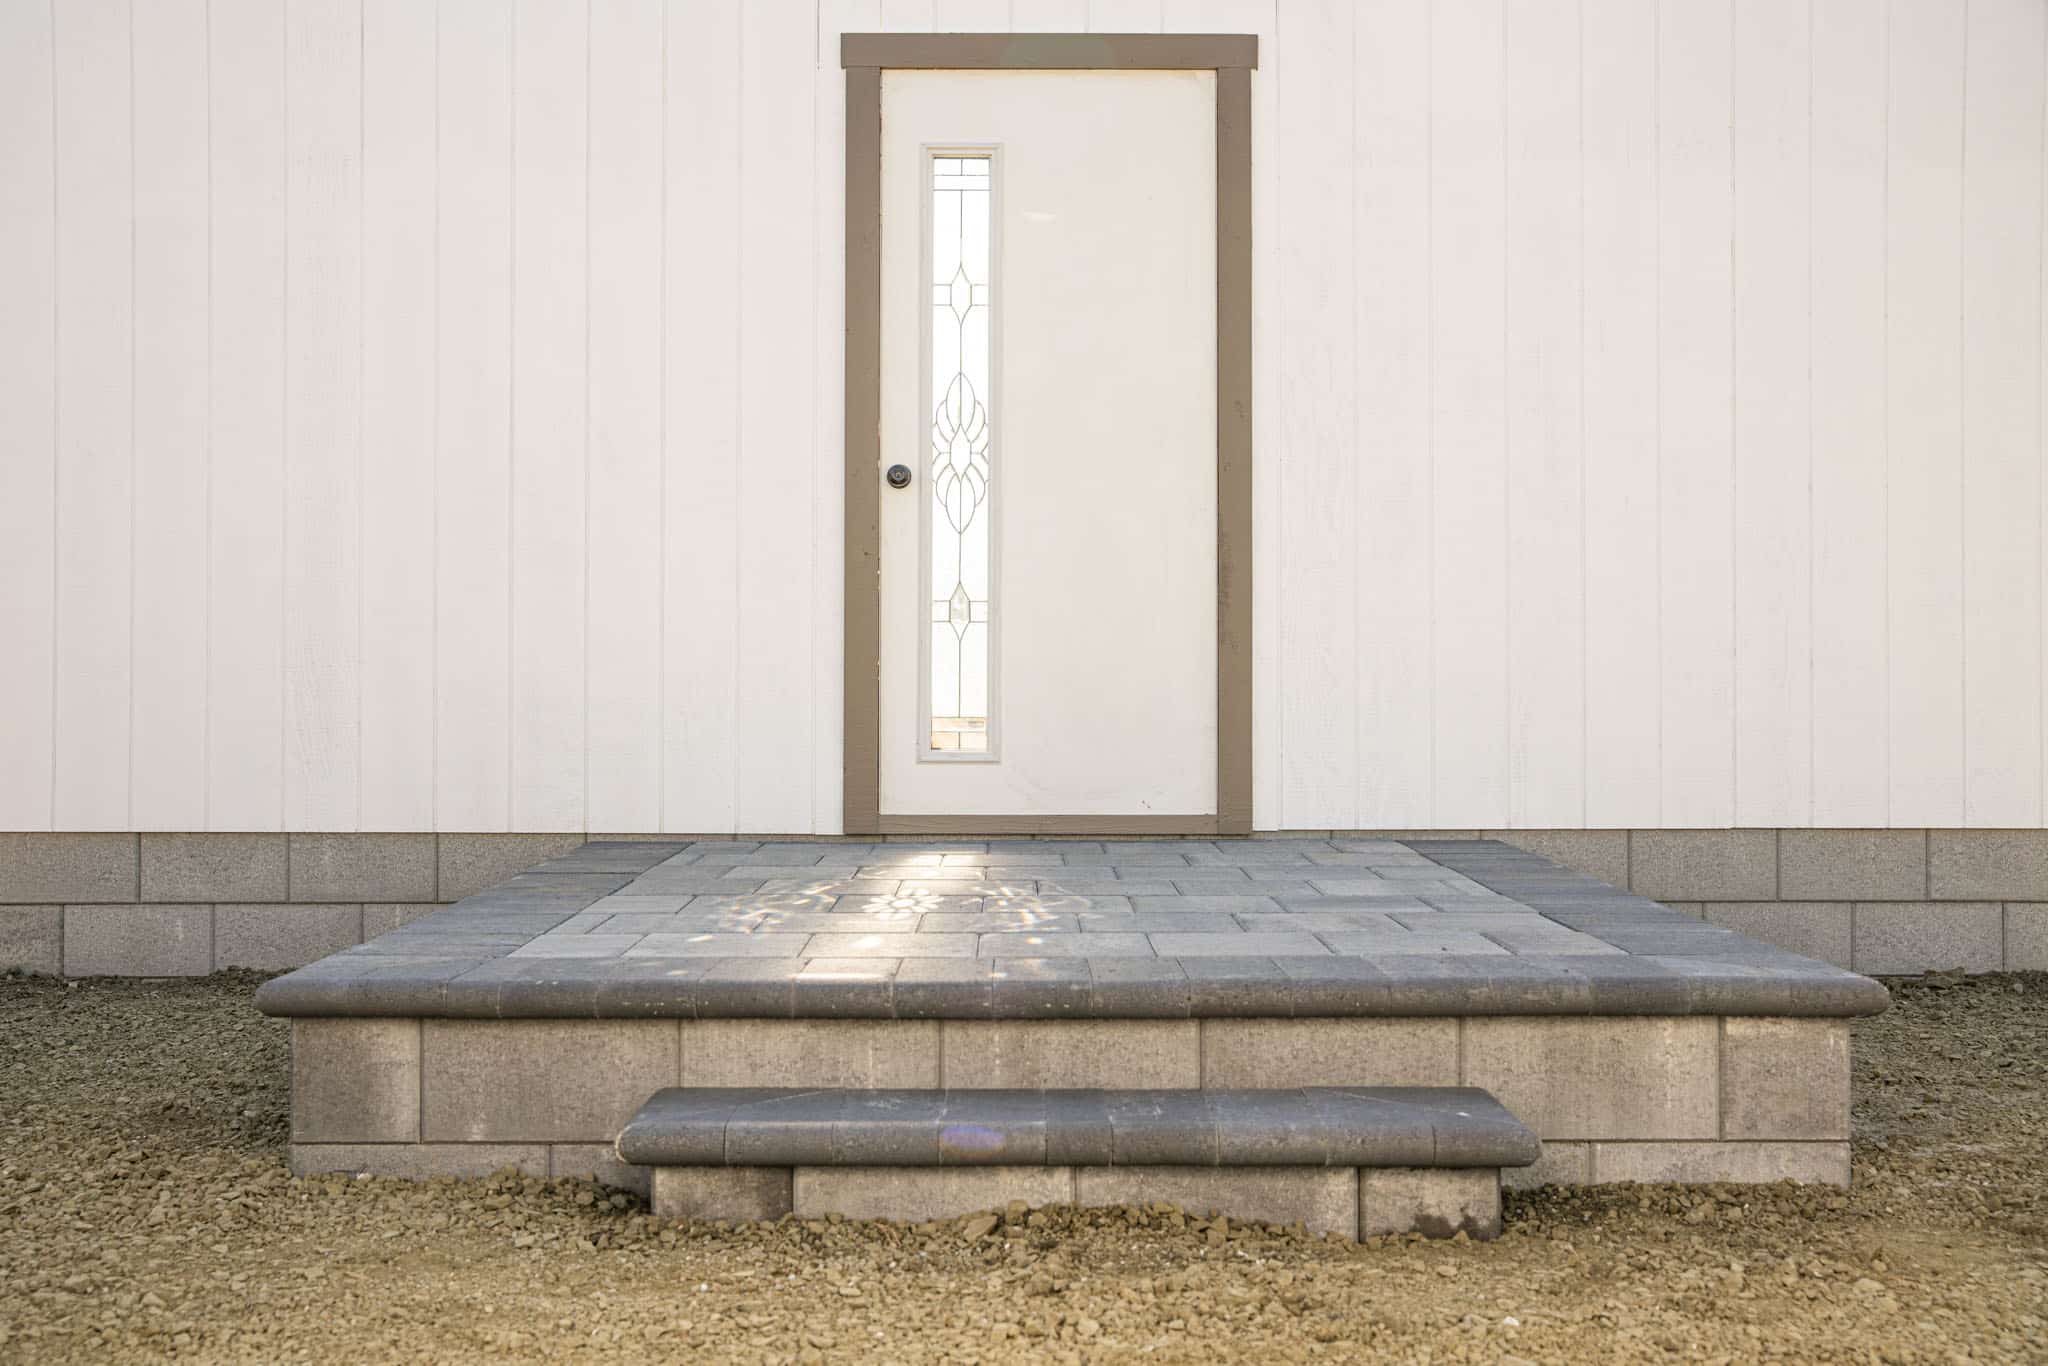
- Stairs: If your deck has more than one level, stairs are essential for easy access. Ensure that the stair design is sturdy, safe, and meets relevant building codes.
- Seating and Storage: Incorporate built-in benches or storage boxes into your deck design. These features add functionality and can also serve as additional seating or storage space for outdoor essentials.
- Lighting: Install outdoor lighting to enhance the ambiance of your deck and provide safety during the evenings. Options include recessed lights, post lights, string lights, or solar-powered lighting fixtures.
- Landscaping: Surround your deck with plants, flowers, and shrubs to create a natural and inviting atmosphere. Consider using containers or planters to add greenery if you have limited space.
- Deck Furniture and Decor: Choose outdoor furniture that suits your lifestyle and enhances the functionality of your deck. Add colorful cushions, outdoor rugs, and decorative accessories to create a cozy and inviting outdoor living space.
- Maintenance: Regular maintenance is key to keeping your deck in top shape. Follow the manufacturer’s guidelines for cleaning, sealing, and protecting your decking material to ensure its longevity.
- Enjoy and Relax: Once your deck is complete, it’s time to sit back, relax, and enjoy your newly created outdoor oasis. Whether you’re entertaining guests, having family gatherings, or simply enjoying some quiet time, your deck will be the perfect space to do so.
Remember, every deck is unique, and these finishing touches can be tailored to suit your personal preferences and design aesthetics. Take some time to envision how you want your deck to look and feel, and let your creativity guide you.
With the finishing touches complete, your raised decking frame is now a stunning and functional addition to your outdoor space. Congratulations on a job well done!
Remember to regularly inspect your deck for any signs of wear and tear or potential damage and address them promptly to ensure the longevity and safety of your deck. Enjoy your beautiful outdoor retreat!
Conclusion
Building a raised decking frame is a rewarding and enjoyable project that can transform your outdoor space into a beautiful and functional area for relaxation, entertainment, and creating lasting memories. By following the steps outlined in this guide, you’ve gained the knowledge and confidence to successfully construct your own raised deck.
From the initial planning and design phase to gathering materials, preparing the site, building the decking frame, installing the decking boards, and adding the finishing touches, every step has been carefully considered to ensure a sturdy and visually appealing deck.
Throughout the process, it’s important to prioritize safety and follow local building codes and regulations. If at any point you feel uncertain, it’s always a good idea to consult with a qualified professional to ensure your deck is constructed correctly.
Remember, your raised decking frame is an investment that will enhance the value and enjoyment of your property. Taking proper care of your deck, such as regular cleaning and maintenance, will prolong its lifespan and keep it looking its best for years to come.
Now that your raised decking frame is complete, it’s time to sit back, relax, and enjoy your outdoor oasis. Whether you’re hosting gatherings, spending quality time with loved ones, or simply taking a moment to unwind, your deck will be a place of comfort and joy.
Thank you for joining us on this journey of building a raised decking frame. We hope this guide has provided valuable insights and inspiration for your own deck-building project. Wishing you many happy moments on your beautiful deck!
Frequently Asked Questions about How To Build A Raised Decking Frame
Was this page helpful?
At Storables.com, we guarantee accurate and reliable information. Our content, validated by Expert Board Contributors, is crafted following stringent Editorial Policies. We're committed to providing you with well-researched, expert-backed insights for all your informational needs.


0 thoughts on “How To Build A Raised Decking Frame”