
Articles
How To Cut Marble Vanity Top
Modified: March 1, 2024
Learn the best techniques and tools for cutting marble vanity tops with our informative articles. Achieve professional results and create stunning bathroom designs.
(Many of the links in this article redirect to a specific reviewed product. Your purchase of these products through affiliate links helps to generate commission for Storables.com, at no extra cost. Learn more)
Introduction
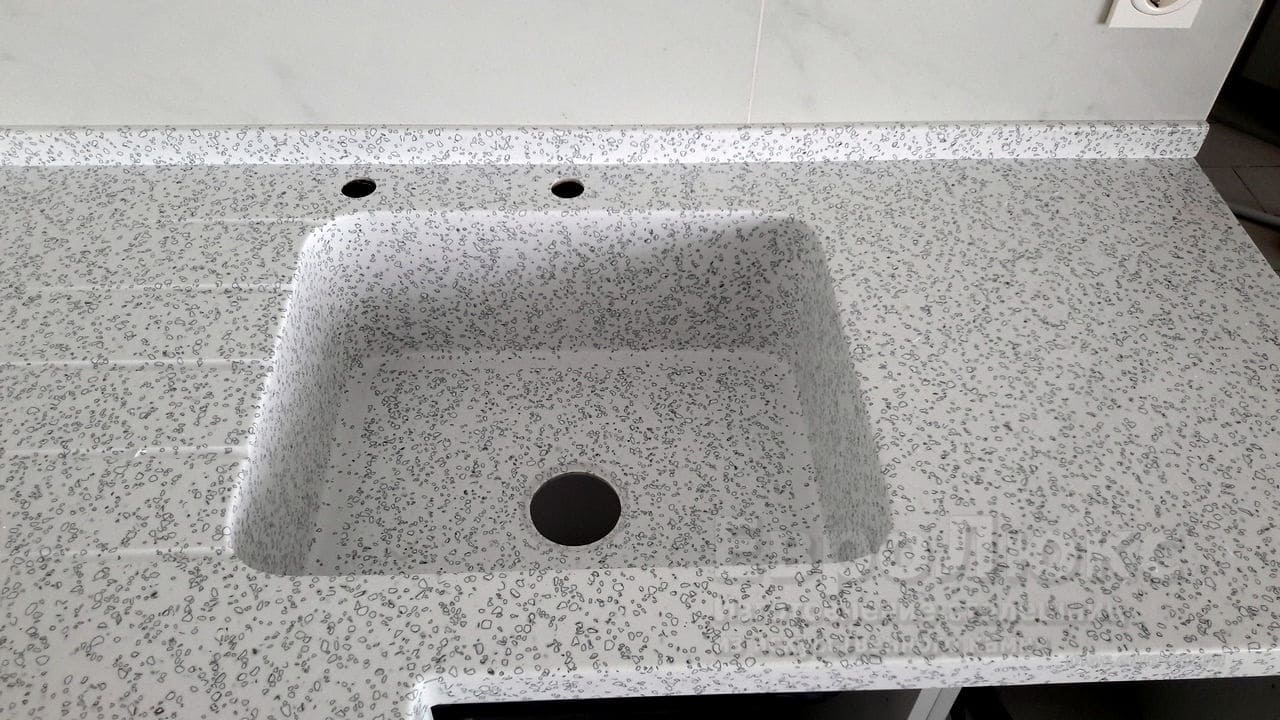
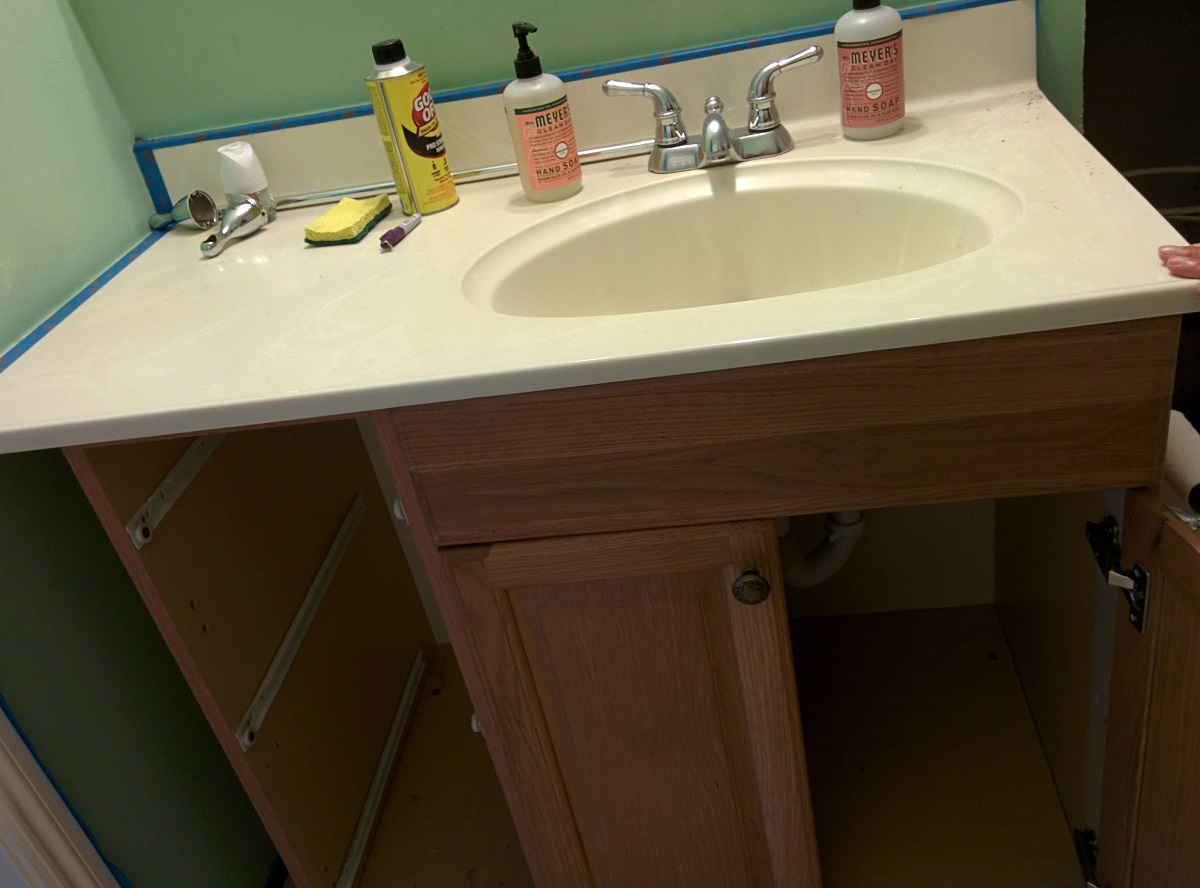
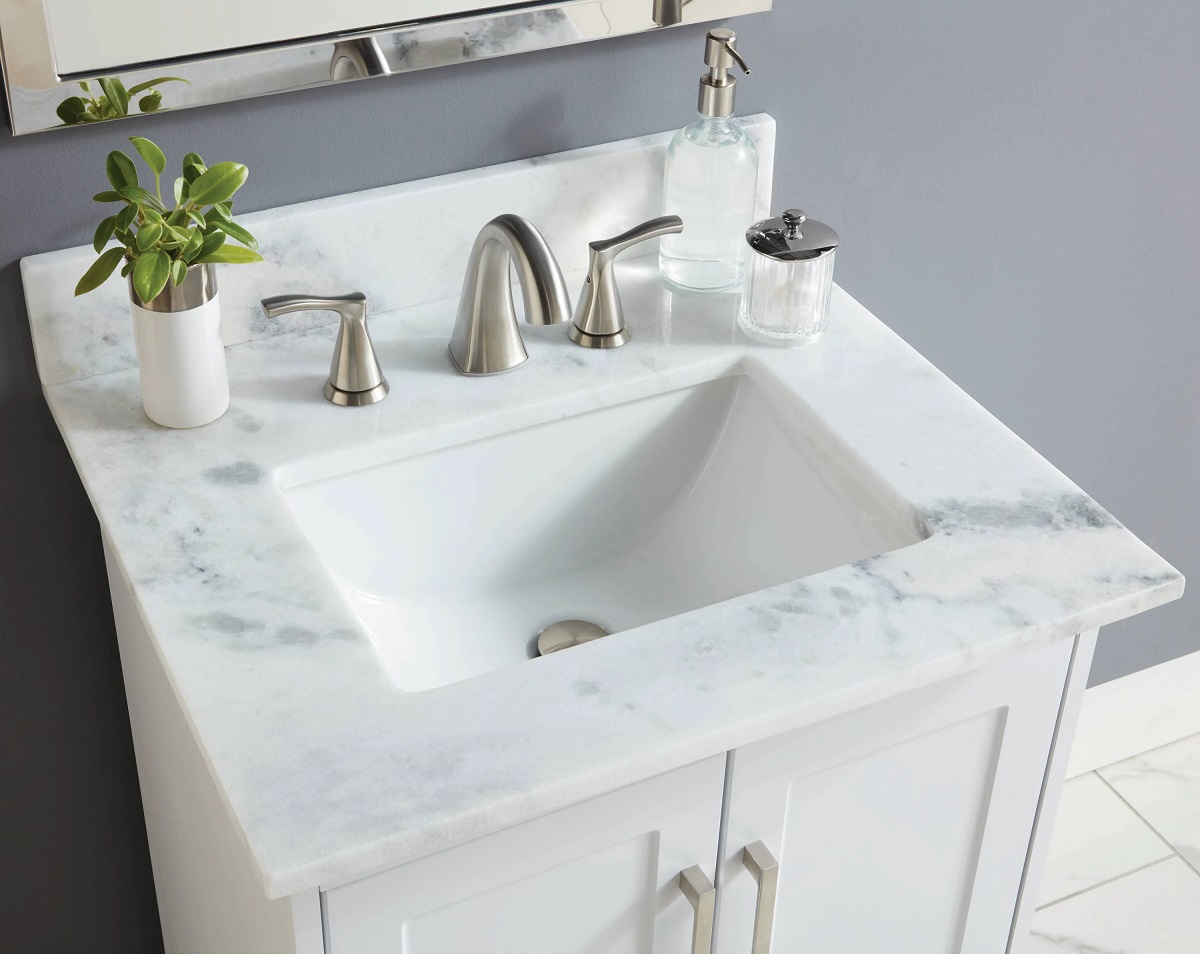
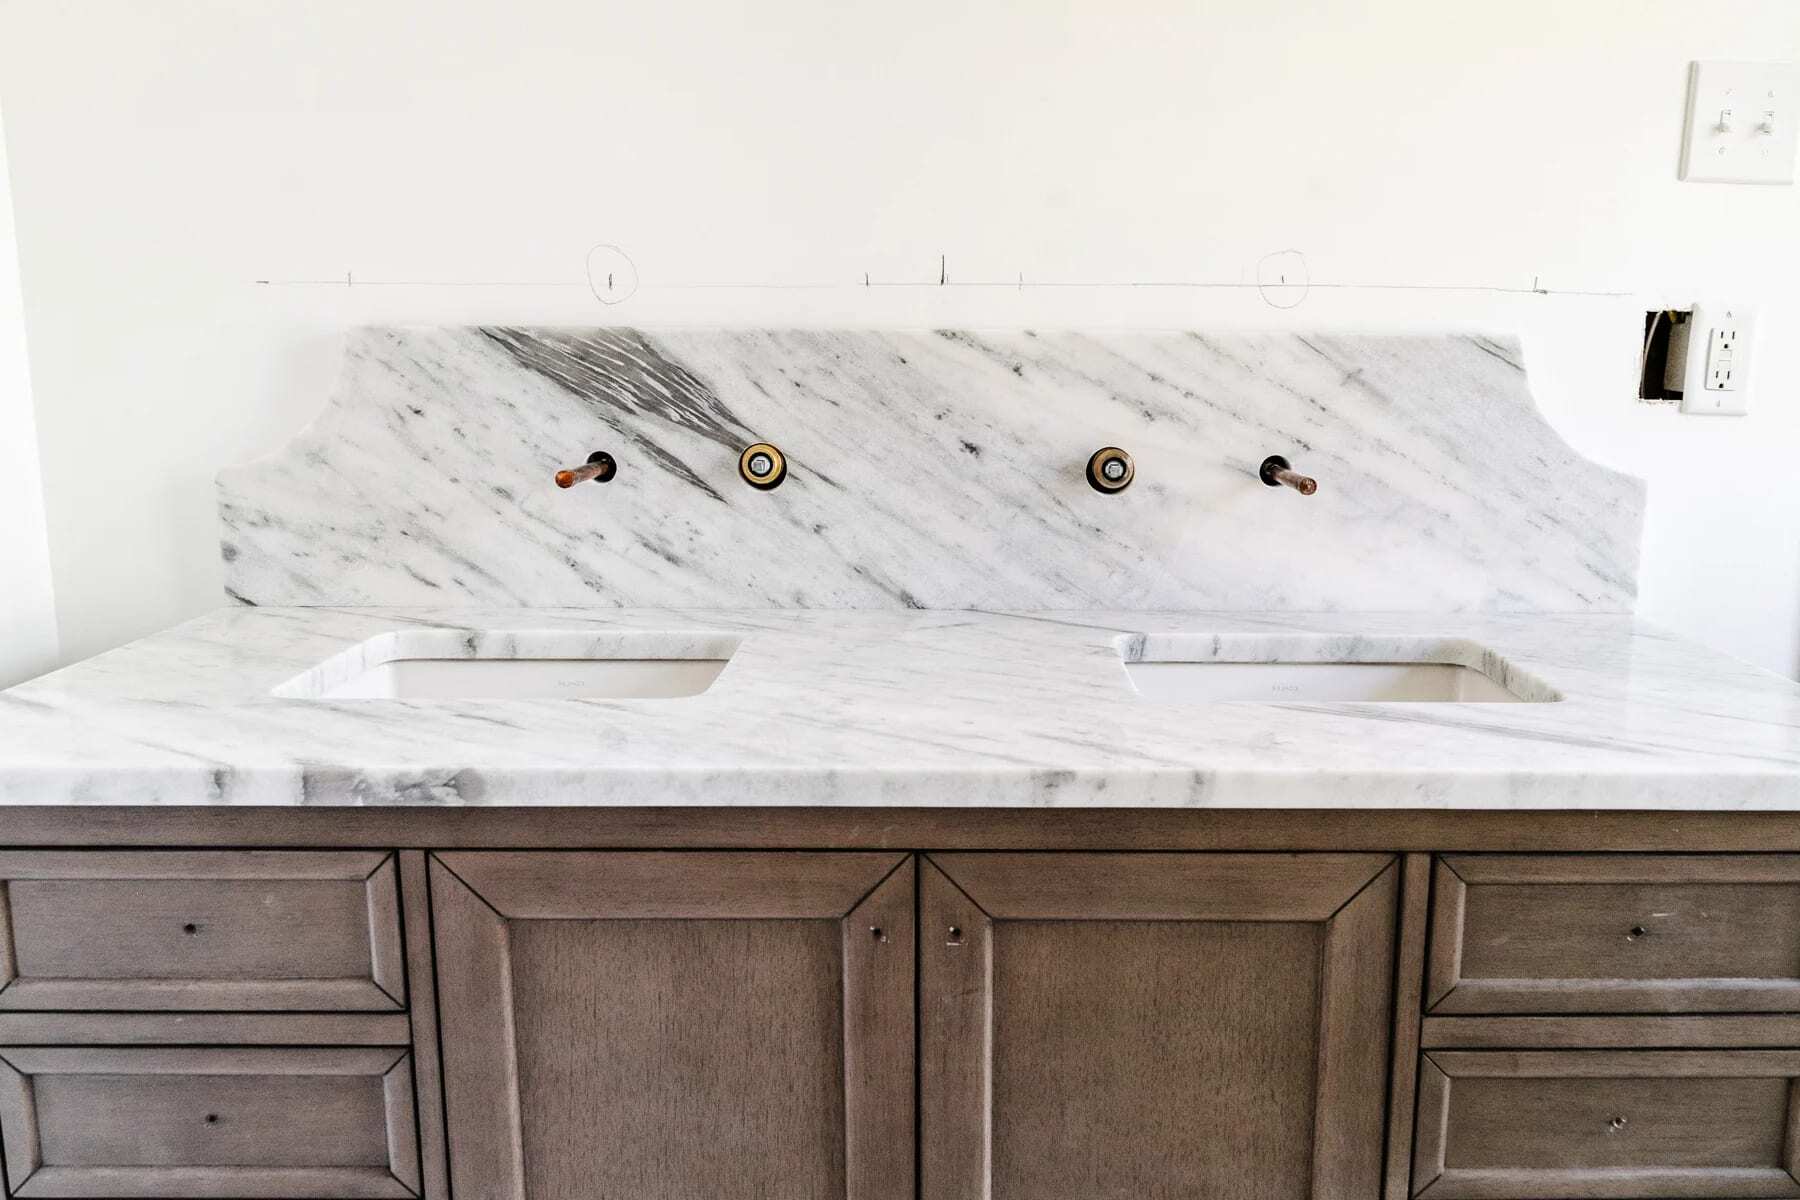
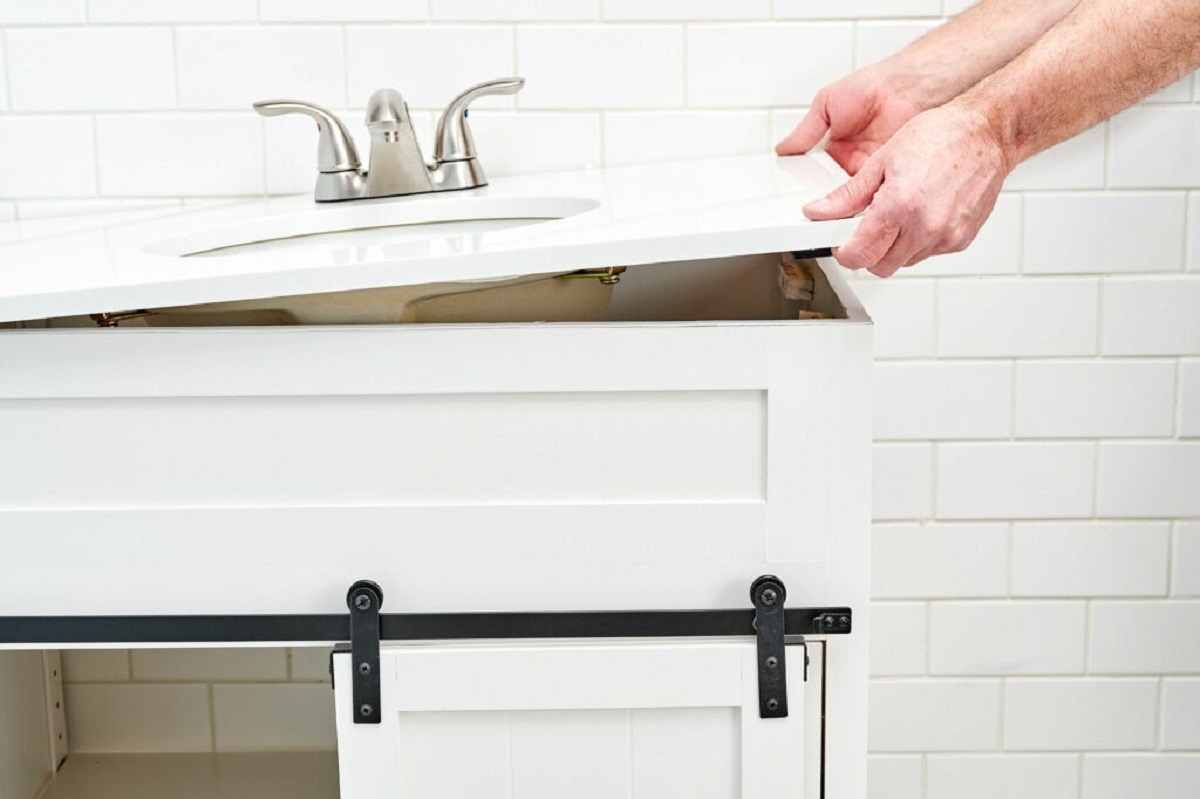
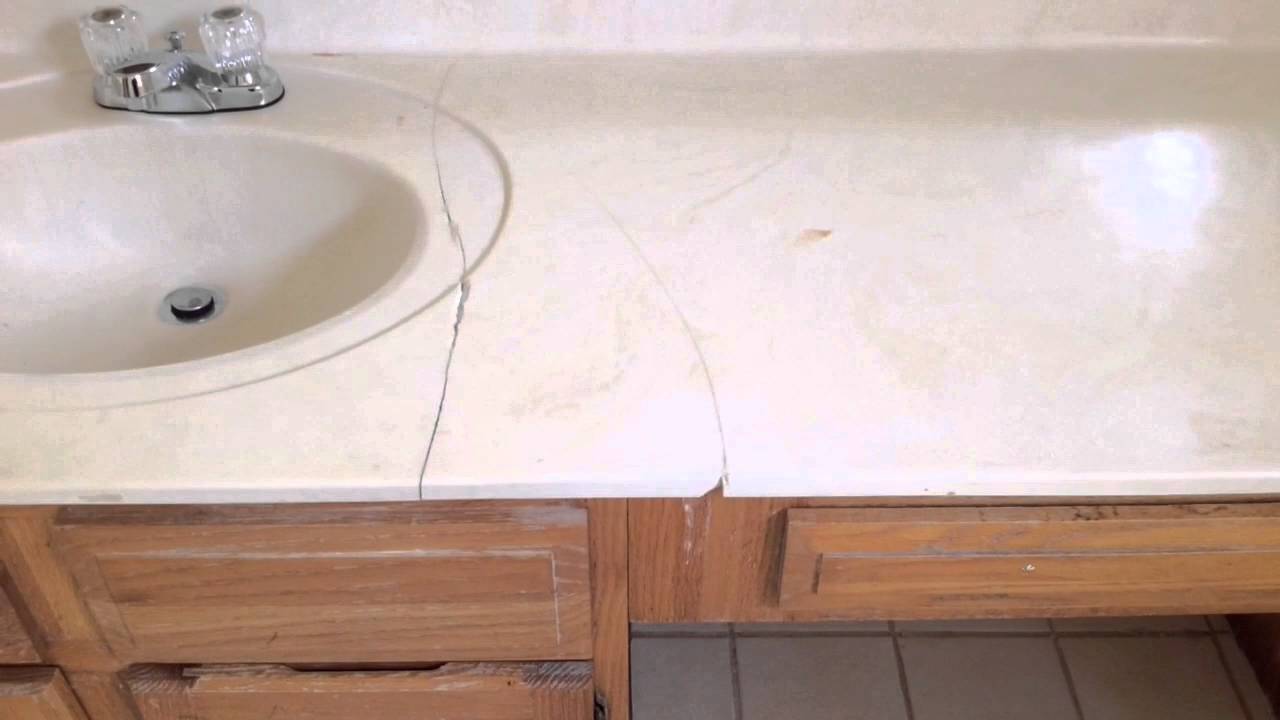
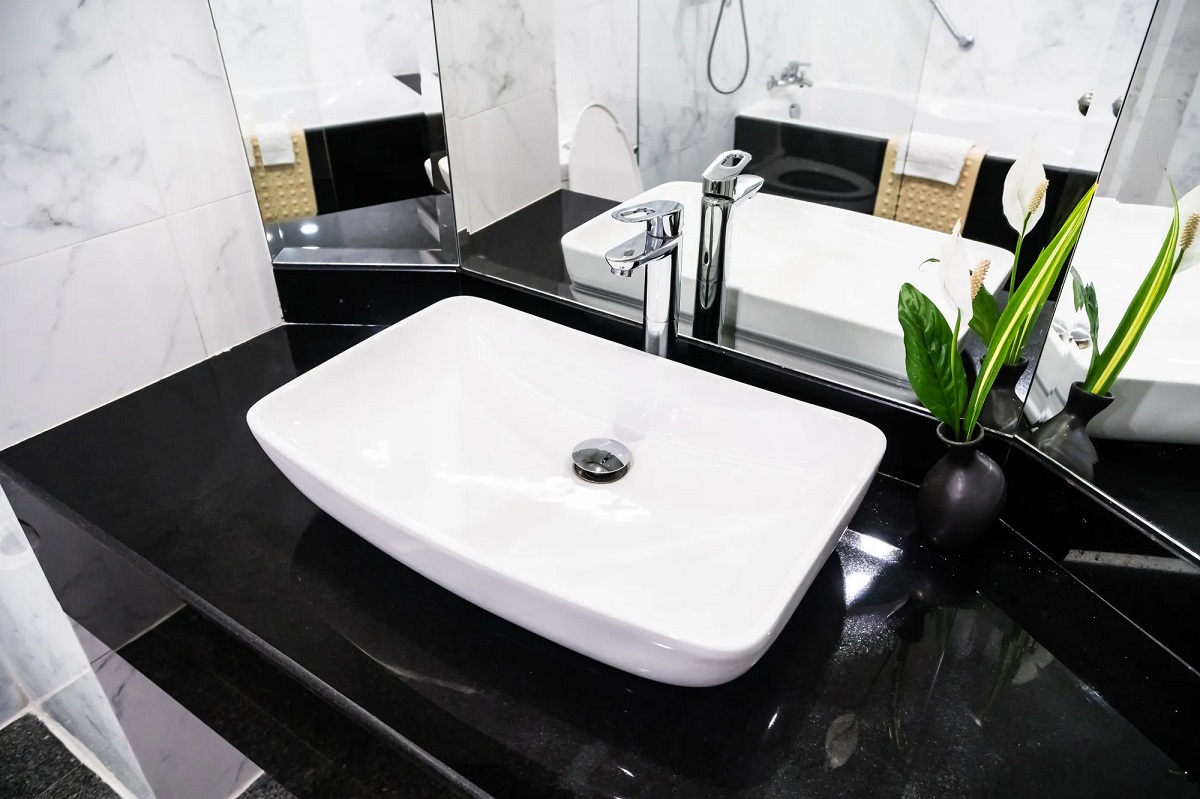
Marble vanity tops are a luxurious addition to any bathroom, providing an elegant and sophisticated look. While marble is a beautiful natural stone, it may sometimes need to be cut to fit specific measurements or to accommodate sink installations. Cutting a marble vanity top requires careful planning and precision to achieve the desired result without damaging the stone.
In this article, we will guide you through the process of cutting a marble vanity top step by step. We will also provide you with helpful tips and techniques to ensure a successful outcome. Before you begin, it’s important to note that working with marble requires proper safety precautions and the use of specific tools. Always wear protective gear, such as safety glasses and gloves, when working with stone.
So, let’s dive in and learn how to cut a marble vanity top!
Key Takeaways:
- Cutting a marble vanity top requires precision and specialized tools like a wet saw with a diamond blade. Protect the surface, finish the edges, and seal the marble to achieve a professional and polished result.
- Prioritize safety by wearing protective gear and following manufacturer’s instructions for cleaning and sealing the marble. With careful planning and attention to detail, you can confidently elevate the beauty of your bathroom.
Read more: How To Clean Marble Vanity Top
Tools and Materials Needed
Before starting your marble vanity top cutting project, gather the following tools and materials:
- Measuring Tape: Used to measure the dimensions of the vanity top and mark the necessary cuts.
- Marker or Pencil: To mark the cutting lines on the marble surface.
- Masking Tape: Used to protect the marble surface from scratches and to provide a cutting guide.
- Wet Saw: This specialized saw is equipped with a diamond blade that is specifically designed for cutting through marble and other hard materials.
- Goggles: Protect your eyes from potential debris and dust while cutting.
- Gloves: Provide hand protection and improve grip while handling the marble and tools.
- Dust Mask: Prevent inhalation of dust particles generated during cutting.
- Water Source: A continuous water supply is needed to keep the blade cool and prevent overheating.
- Diamond Polishing Pads: Used to smooth and polish the cut edges of the marble vanity top after cutting.
- Stone Sealer: A protective sealant applied to the cut edges and surface of the marble to enhance its longevity and prevent staining.
- Soft Cloths: Used for cleaning the marble surface and applying the stone sealer.
Make sure to have all the necessary tools and materials ready before proceeding with the cutting process. This will ensure a smooth workflow and minimize any potential delays or interruptions.
Step 1: Measuring and Marking
The first step in cutting a marble vanity top is to accurately measure and mark the dimensions for the desired cut. Here’s how to do it:
- Measure the width and length of the vanity top using a measuring tape. Take accurate measurements to ensure a precise fit.
- Based on your measurements, mark the desired cutting lines on the marble surface using a marker or pencil. It’s crucial to double-check your measurements and ensure that the marked lines align with the desired dimensions.
- Use masking tape along the marked cutting lines to provide a clear cutting guide. The tape will help prevent any accidental slips or errors while cutting, ensuring more accurate results.
- Repeat the marking and taping process if you have multiple cuts to make. Ensure that each cut is clearly marked and aligned with the specific measurements.
By accurately measuring and marking the dimensions of the vanity top, you will have a clear guide to follow during the cutting process. Taking the time to double-check your measurements and use appropriate tape will help prevent mistakes and ensure a seamless installation.
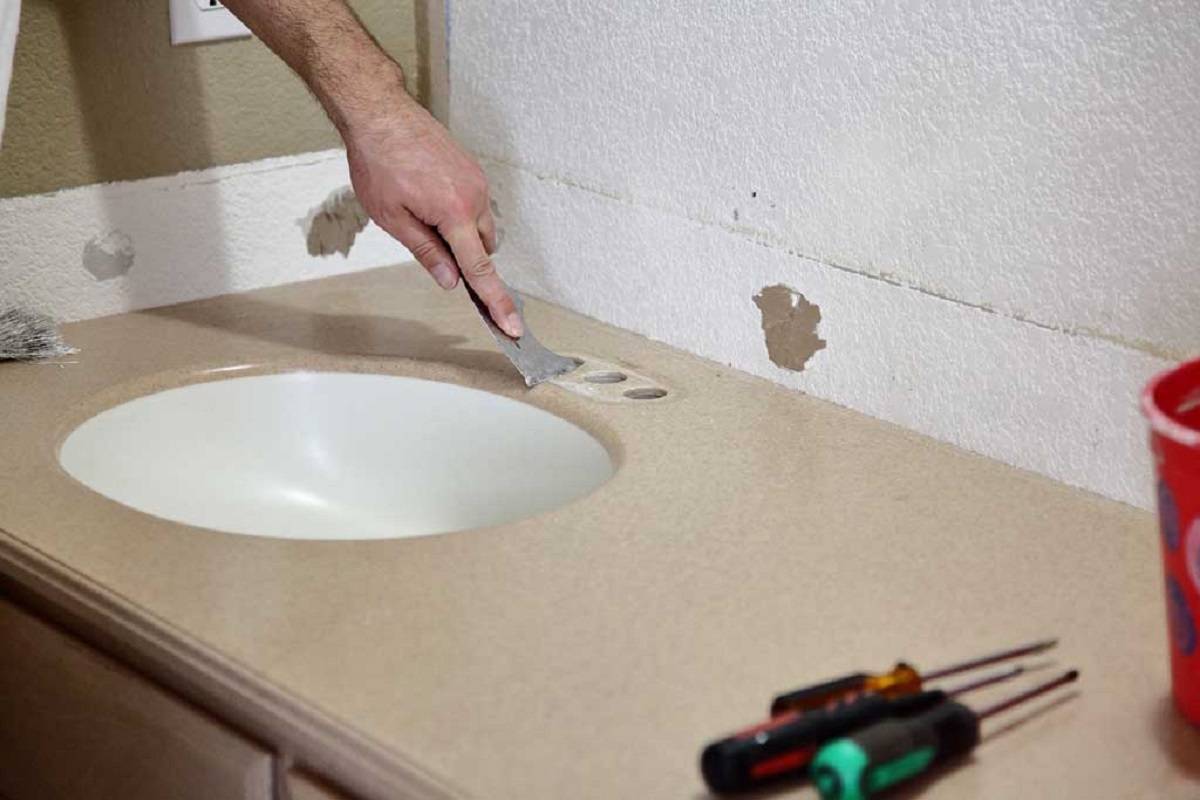
Step 2: Protecting the Surface
Before you begin cutting the marble vanity top, it’s important to take precautions to protect the surface from potential damage. Here’s how to protect the marble:
- Apply a strip of masking tape along the cutting line. This will help protect the nearby areas of the marble surface from accidental scratches or chips during the cutting process.
- Place a drop cloth or old towels on the floor or workbench to catch any debris or water that may result from the cutting process.
- Cover the surrounding areas of the vanity top with plastic sheeting or plastic tarps to further protect them from potential damage.
- Securely clamp the marble vanity top to a stable work surface. This will prevent any shifting or movement during the cutting process, ensuring more accurate cuts.
Protecting the marble surface is essential to maintain its pristine condition and prevent any accidental damage. Taking these precautions will help you work with confidence and minimize the risk of unwanted scratches or chips.
When cutting a marble vanity top, use a diamond blade on a wet saw to prevent overheating and ensure a clean, smooth cut. Always wear safety goggles and a mask to protect yourself from dust and debris.
Step 3: Cutting the Marble Vanity Top
Now that you have the measurements, markings, and surface protection in place, it’s time to proceed with cutting the marble vanity top. Follow these steps:
- Put on your safety goggles, gloves, and dust mask to protect yourself from debris and dust.
- Fill the wet saw’s reservoir with water, ensuring a continuous water supply throughout the cutting process.
- Position the marble vanity top on the wet saw’s cutting surface, aligning the marked cutting line with the saw blade.
- Slowly and steadily feed the vanity top through the wet saw, allowing the diamond blade to cut through the marble. Apply gentle pressure to avoid any unnecessary strain on the blade or the material.
- Let the saw do the work, smoothly guiding the vanity top along the marked line. Avoid rushing or forcing the cut as this can lead to uneven or jagged edges.
- Continue cutting until you have reached the end of the marked line.
- Repeat the cutting process for any additional cuts required on the marble vanity top.
Throughout the cutting process, it’s important to maintain a steady hand and take your time to ensure clean and precise cuts. Remember to keep the diamond blade wet to prevent overheating and improve cutting efficiency. Remove any excess water and debris from the cutting area as needed to maintain visibility.
Once you have completed the cuts, carefully remove the marble vanity top from the wet saw, ensuring that the cuts are clean and smooth.
Read more: What Is Cultured Marble Vanity Tops
Step 4: Finishing the Edges
After cutting the marble vanity top, it’s important to give attention to the edges to achieve a polished finish. Follow these steps to finish the edges:
- Inspect the cut edges of the marble vanity top for any roughness or imperfections. Use sandpaper or a diamond polishing pad to smooth out any rough spots.
- Start with a coarse grit sandpaper or polishing pad and gradually move to finer grits for a smoother finish.
- Hold the sandpaper or polishing pad at a slight angle and move it in a circular motion along the edge of the cut. Apply even pressure to achieve consistent results.
- Continue sanding or polishing until the edges feel smooth and have a consistent appearance.
- Once the edges are smooth, wipe away any dust or debris using a soft cloth.
By finishing the edges of the marble vanity top, you can create a polished and professional look. Take your time during this step to achieve the desired level of smoothness and consistency.
Step 5: Cleaning and Sealing
After cutting and finishing the edges of the marble vanity top, it’s essential to clean and seal the surface to protect it and enhance its longevity. Follow these steps to properly clean and seal the marble:
- Use a mild soap or stone-specific cleaner and a soft cloth to clean the entire surface of the marble vanity top. Gently wipe away any dust, debris, or residue left from the cutting and finishing process.
- Rinse the marble surface thoroughly with clean water to remove any cleaning solution.
- Dry the vanity top with a soft cloth or allow it to air dry completely.
- Once the surface is dry, apply a high-quality stone sealer according to the manufacturer’s instructions. Pour a small amount of sealer onto the vanity top and spread it evenly using a soft cloth.
- Allow the sealer to penetrate the marble surface for the recommended time specified on the sealer’s instructions.
- After the recommended time has passed, gently buff the surface with a clean, soft cloth to remove any excess sealer.
Cleaning and sealing the marble vanity top will protect it from stains, spills, and daily wear and tear. Regularly reapplying the stone sealer will help maintain the beauty and durability of the marble over time.
Remember to follow the manufacturer’s instructions for the specific stone sealer you are using and perform routine maintenance to keep your marble vanity top looking its best.
Conclusion
Cutting a marble vanity top requires careful planning, precision, and the use of specialized tools. By following the steps outlined in this guide, you can successfully cut a marble vanity top and achieve a professional and polished result.
Remember to measure and mark the dimensions accurately, protect the surface from potential damage, and use a wet saw with a diamond blade designed for cutting marble. Take your time to ensure clean and precise cuts, and don’t forget to finish the edges for a smooth and polished look.
After cutting, clean the surface thoroughly and apply a high-quality stone sealer to protect and enhance the longevity of the marble vanity top. Regular maintenance and reapplication of the sealer will help maintain its beauty and durability over time.
It’s important to prioritize safety while working with marble. Always wear appropriate protective gear, such as goggles, gloves, and a dust mask, to minimize the risk of injury or inhalation of dust particles.
With proper planning, attention to detail, and the right tools, you can confidently cut a marble vanity top and elevate the beauty of your bathroom. Enjoy the process and the stunning results!
Frequently Asked Questions about How To Cut Marble Vanity Top
Was this page helpful?
At Storables.com, we guarantee accurate and reliable information. Our content, validated by Expert Board Contributors, is crafted following stringent Editorial Policies. We're committed to providing you with well-researched, expert-backed insights for all your informational needs.

0 thoughts on “How To Cut Marble Vanity Top”