Articles
How To Cut Miters With Hand Tools
Modified: December 7, 2023
Learn how to cut miters with hand tools in this informative article. Enhance your woodworking skills and create precise joints for your projects.
(Many of the links in this article redirect to a specific reviewed product. Your purchase of these products through affiliate links helps to generate commission for Storables.com, at no extra cost. Learn more)
Introduction
When it comes to woodworking, achieving precise and clean cuts is essential for creating beautiful and professional-looking projects. One of the most common cuts in woodworking is the miter cut, which involves joining two pieces of wood at a specific angle to form a tight and seamless joint. While there are power tools available for cutting miters, using hand tools can be a rewarding and satisfying experience for any woodworking enthusiast.
In this article, we will explore the process of cutting miters using hand tools and guide you through each step. Whether you are a beginner or an experienced woodworker seeking to refine your skills, mastering the art of cutting miters by hand will open up a world of possibilities for your woodworking projects.
Before we dive into the cutting process, let’s take a look at the essential tools you will need for this task.
Key Takeaways:
- Master the art of cutting precise and seamless miter joints by hand, enhancing the quality and aesthetics of your woodworking projects while connecting with the craftsmanship of woodworking.
- Embrace the rewarding experience of cutting miters by hand, honing your skills, and creating unique, professional-looking miter joints with patience, practice, and attention to detail.
Read more: How To Miter Cut Tile With Hand Tools
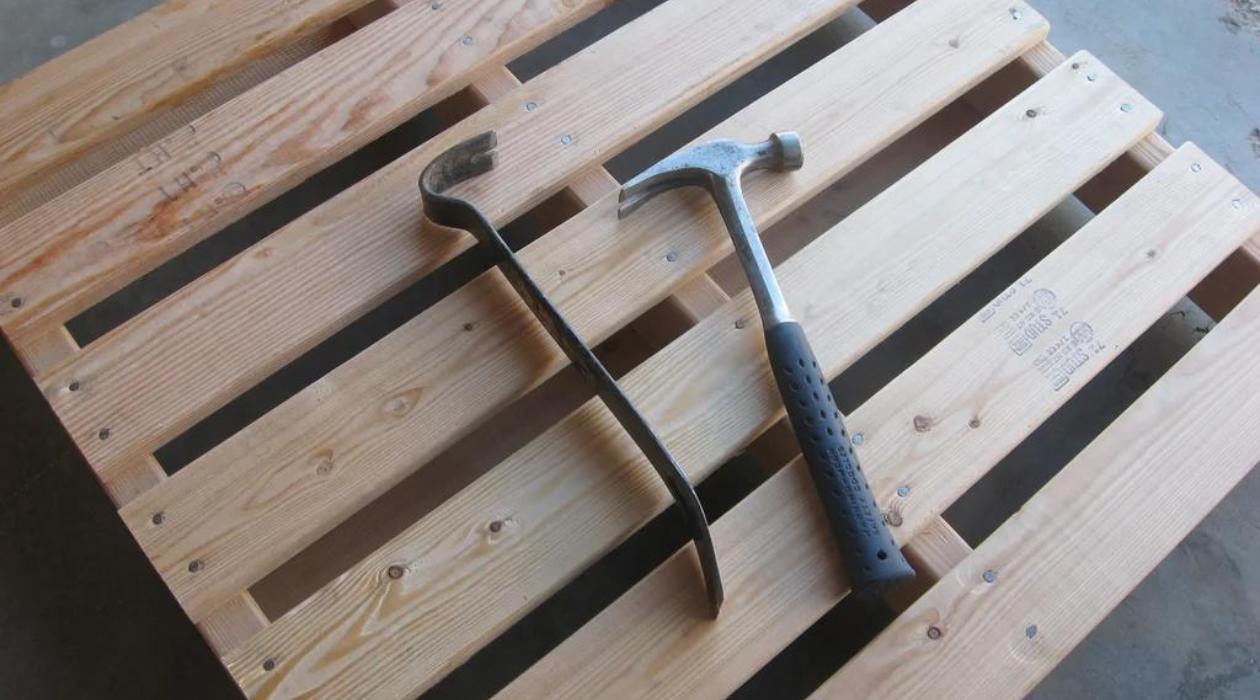
Tools Needed
To successfully cut miters by hand, you will need a few essential tools. Here is a list of the tools you should have on hand before you start:
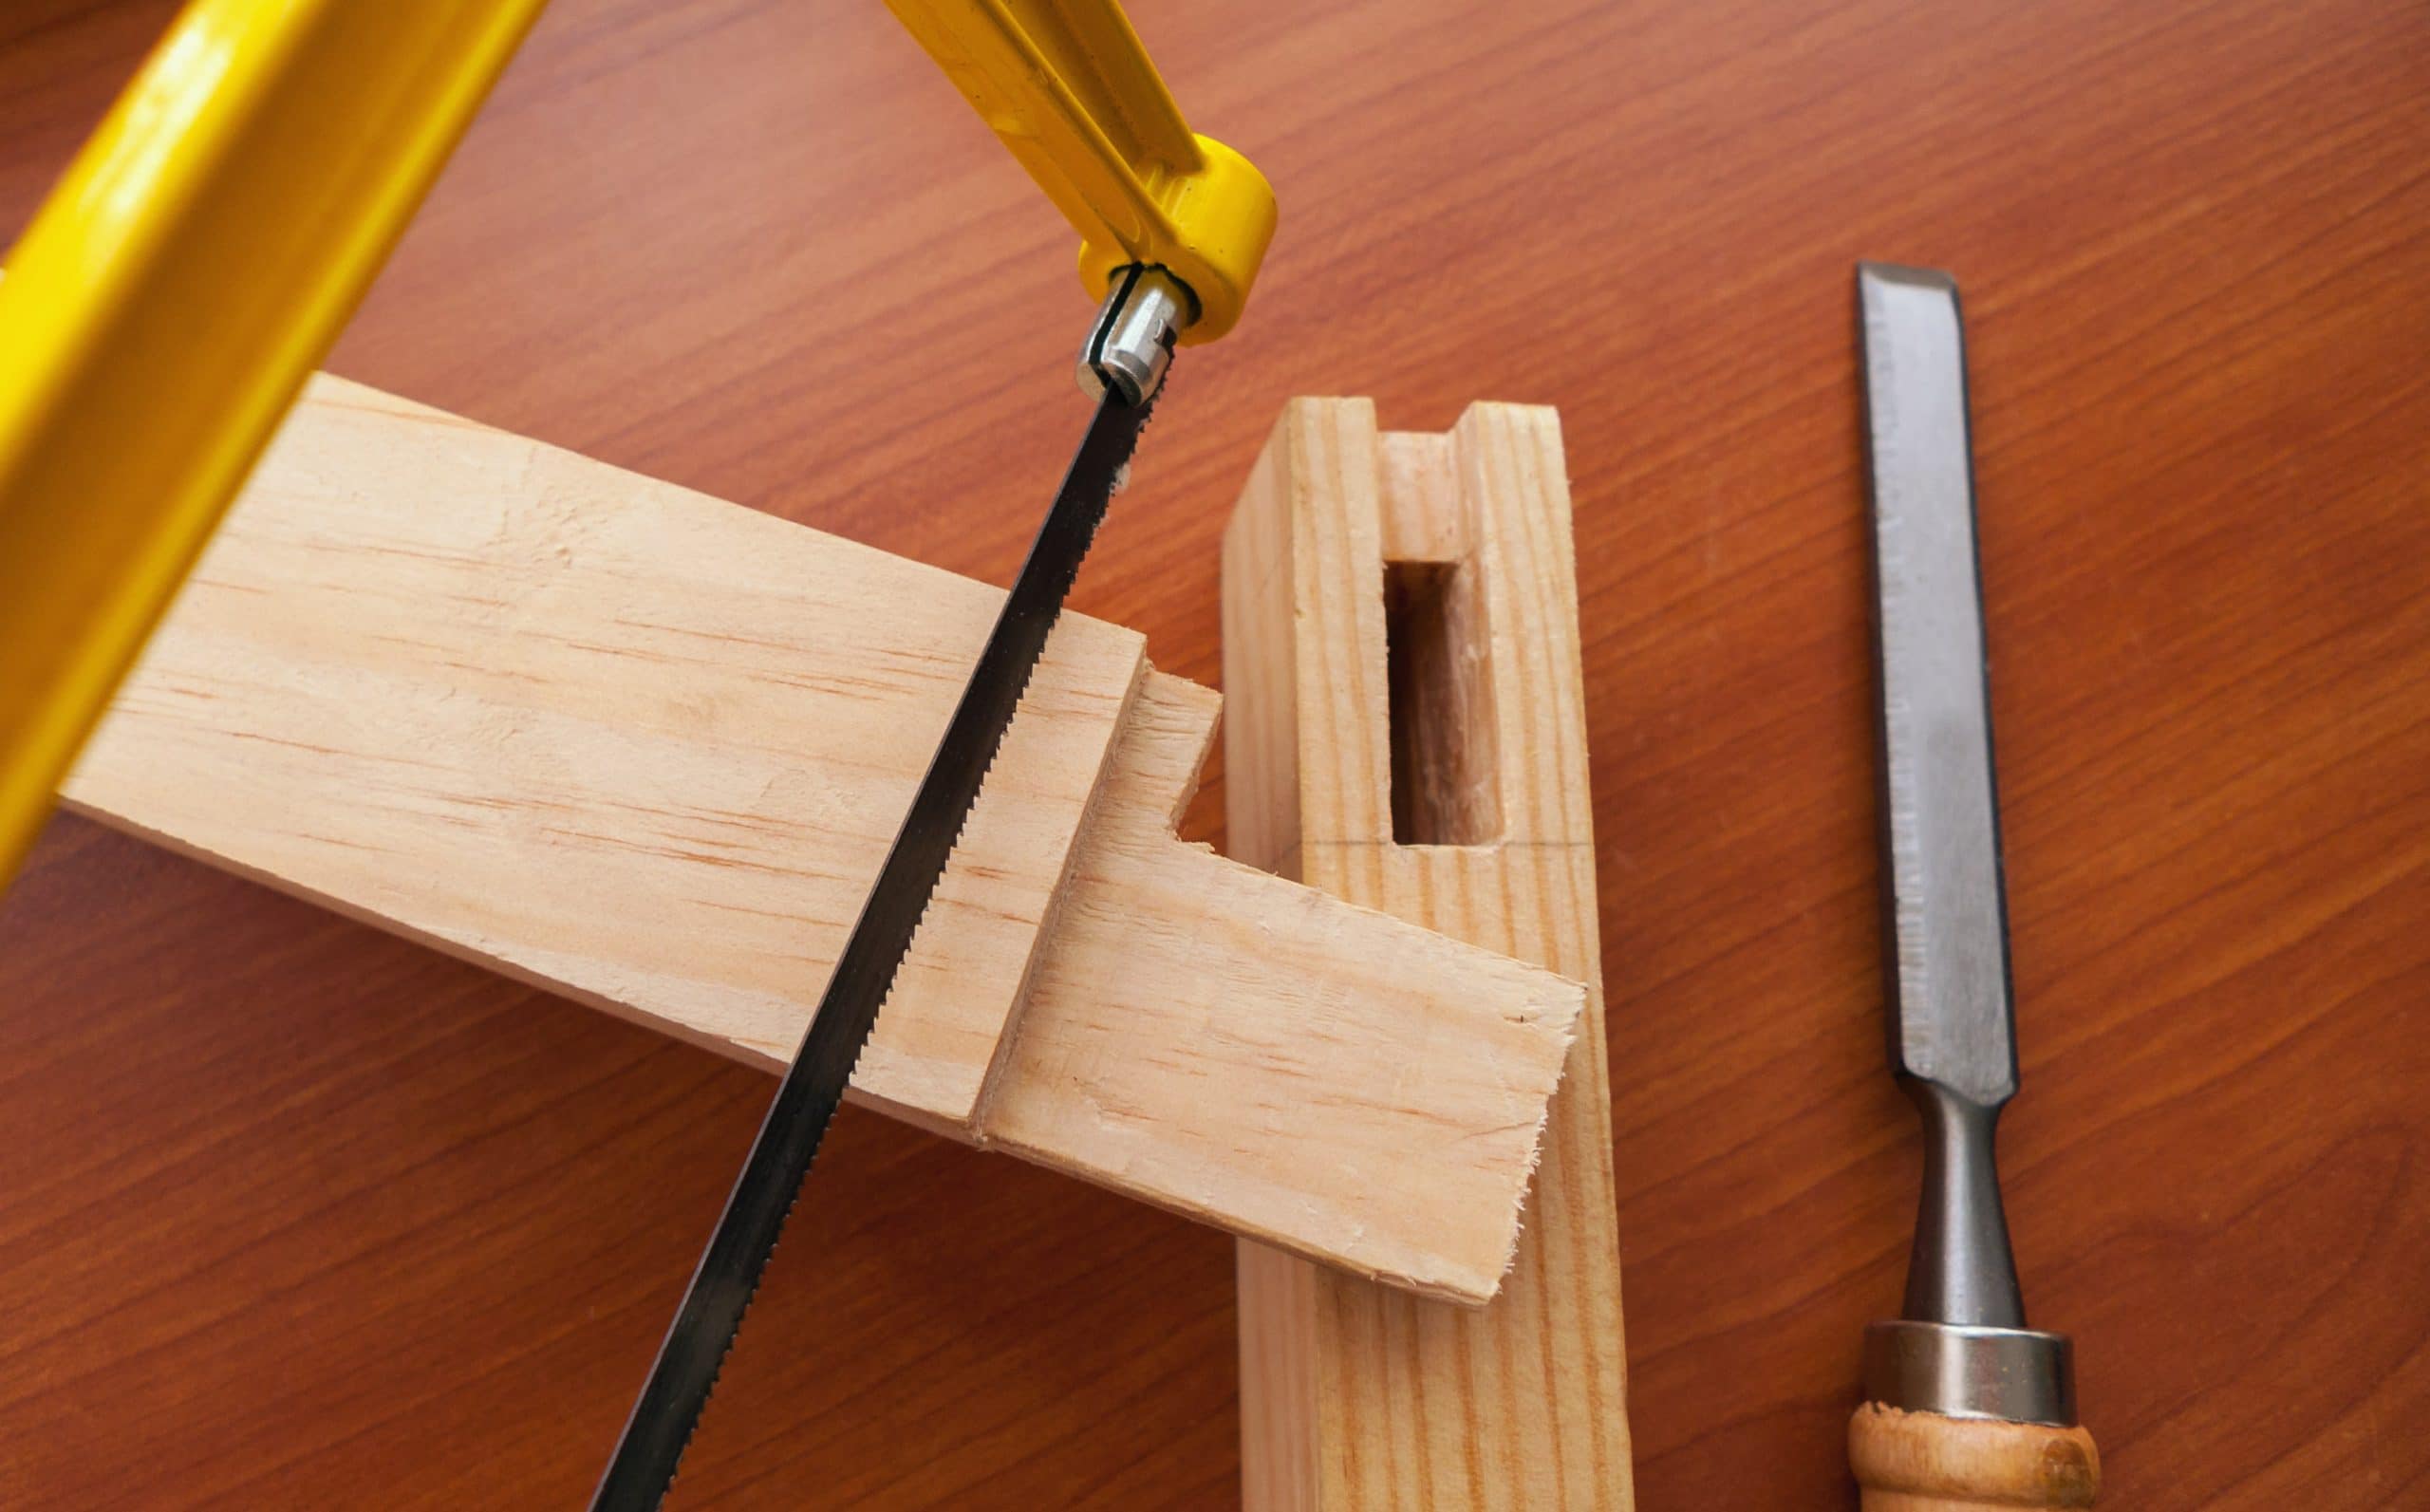
- Miter Box: A miter box is a specialized tool that helps guide your saw to make precise cuts at various angles. It typically consists of a box-shaped frame with slots that hold the workpiece securely in place while you cut.
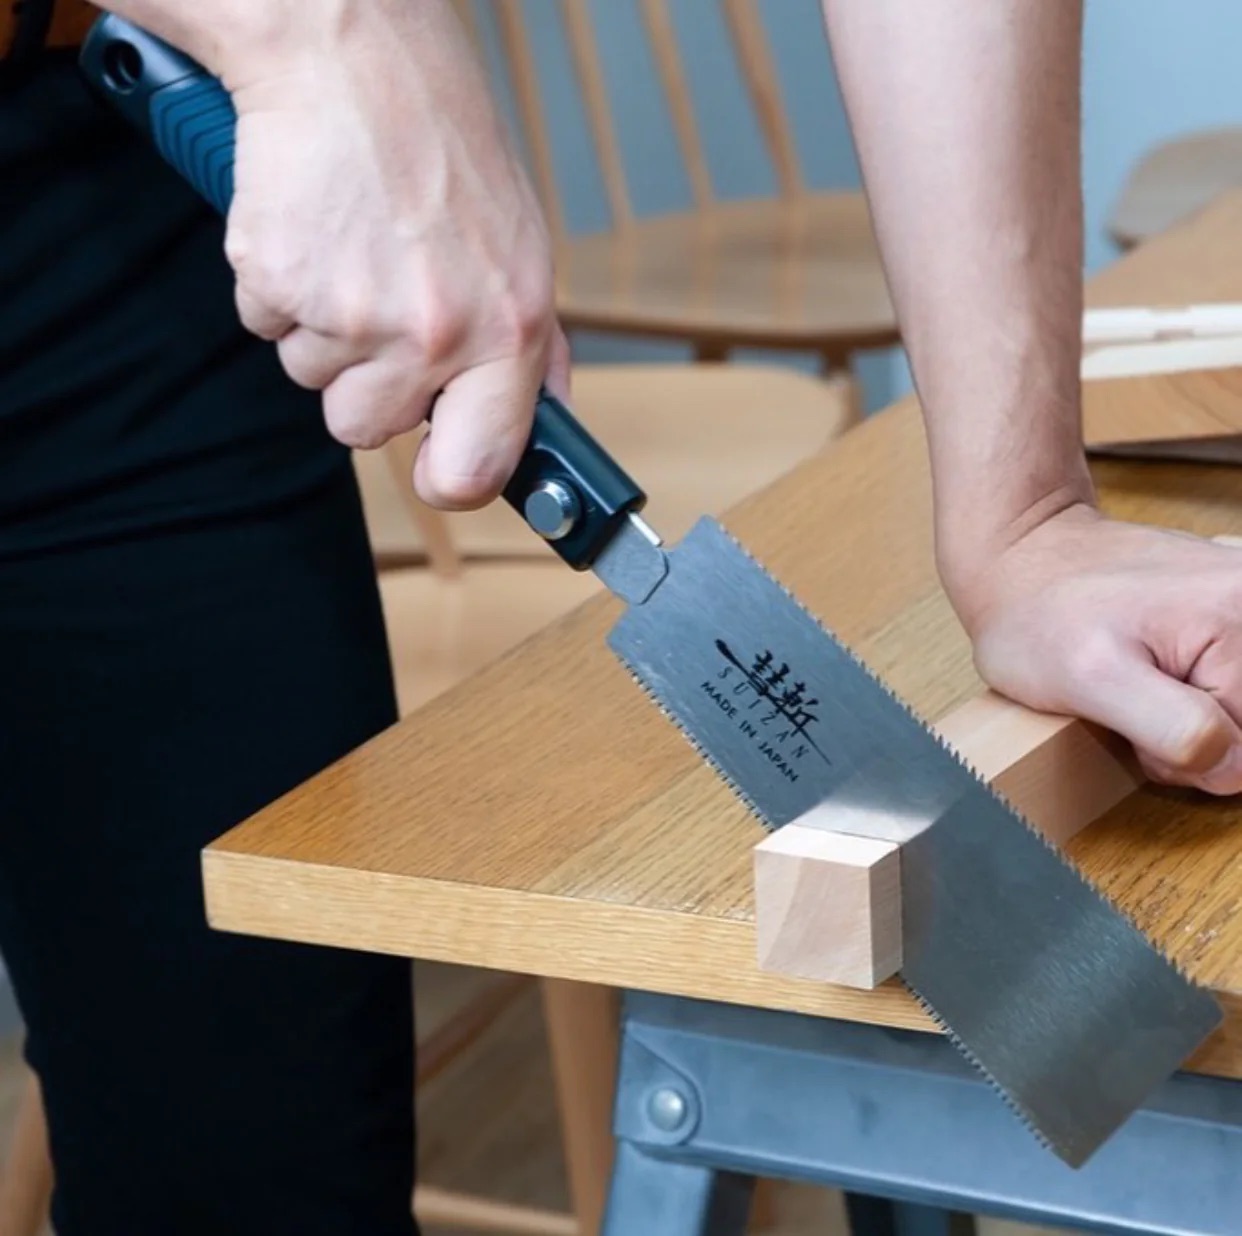
- Back Saw: A back saw, also known as a tenon saw or a miter saw, is designed specifically for making accurate and fine cuts. It has a rigid back that provides stability and a fine-toothed blade for smooth cuts.
- Marking Tools: You will need a combination square or a miter square to measure and mark the angles on your workpiece. Additionally, a pencil or a marking knife can be used to mark the cutting lines.
- Clamps: Clamps are essential for securing the workpiece to the miter box, ensuring stability and accuracy during the cutting process. Make sure to use clamps that are appropriate for the size and shape of your workpiece.
- Sanding Tools: While not directly used for cutting miters, sanding tools such as sandpaper or a sanding block are necessary for refining and smoothing the cut surfaces.
Having these tools prepared and organized before you start will help streamline the process and ensure accurate and clean miters.
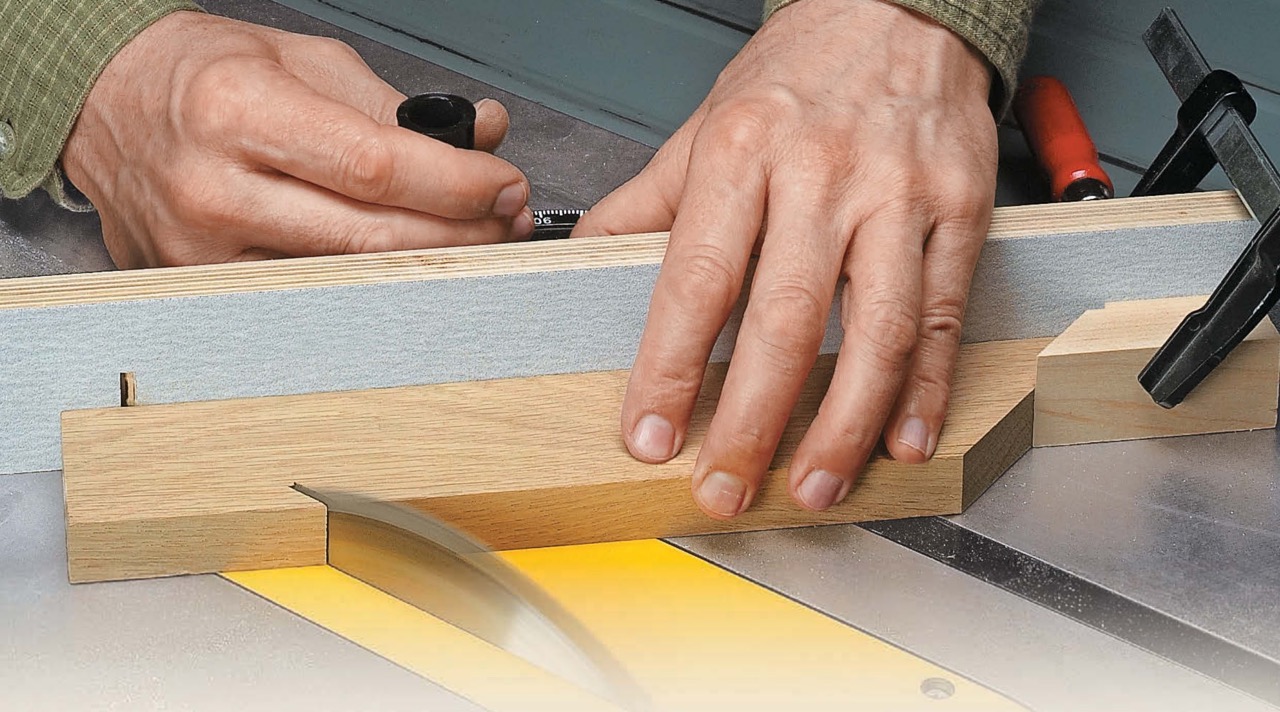
Measuring and Marking
Precision is key when it comes to cutting miters by hand. Before you make any cuts, it’s essential to take accurate measurements and mark the angles correctly on your workpiece. Here’s how you can do it:
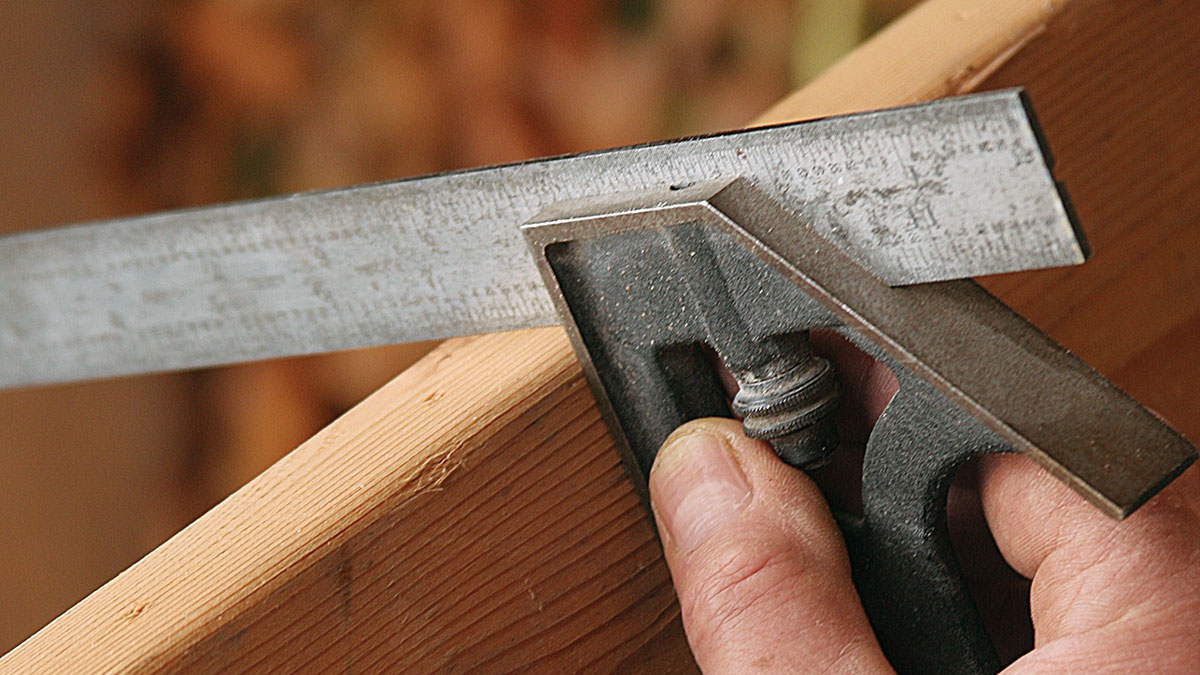
- Measure Twice: Double-check your measurements to ensure accuracy. Use a combination square or a miter square to measure the desired angle for your miter cut. Take your time to ensure the measurements are precise.
- Mark the Cutting lines: Once you have determined the angle, use a pencil or a marking knife to mark the cutting lines on your workpiece. Make sure to mark on the waste side of the line to avoid cutting into the marked area and to achieve a clean and accurate cut.
- Use a Miter Square: To ensure that your marks are perpendicular to the edges of your workpiece, use a miter square. This tool will help you maintain consistency and accuracy throughout the cutting process.
- Consider Grain Direction: Take into account the direction of the wood grain when marking your cutting lines. The miter cut will be more stable and visually appealing if the grain follows the length of the cut.
Remember, accuracy and attention to detail at this stage will greatly impact the quality of your miter cuts. Take the time to measure and mark carefully before proceeding to the next step.
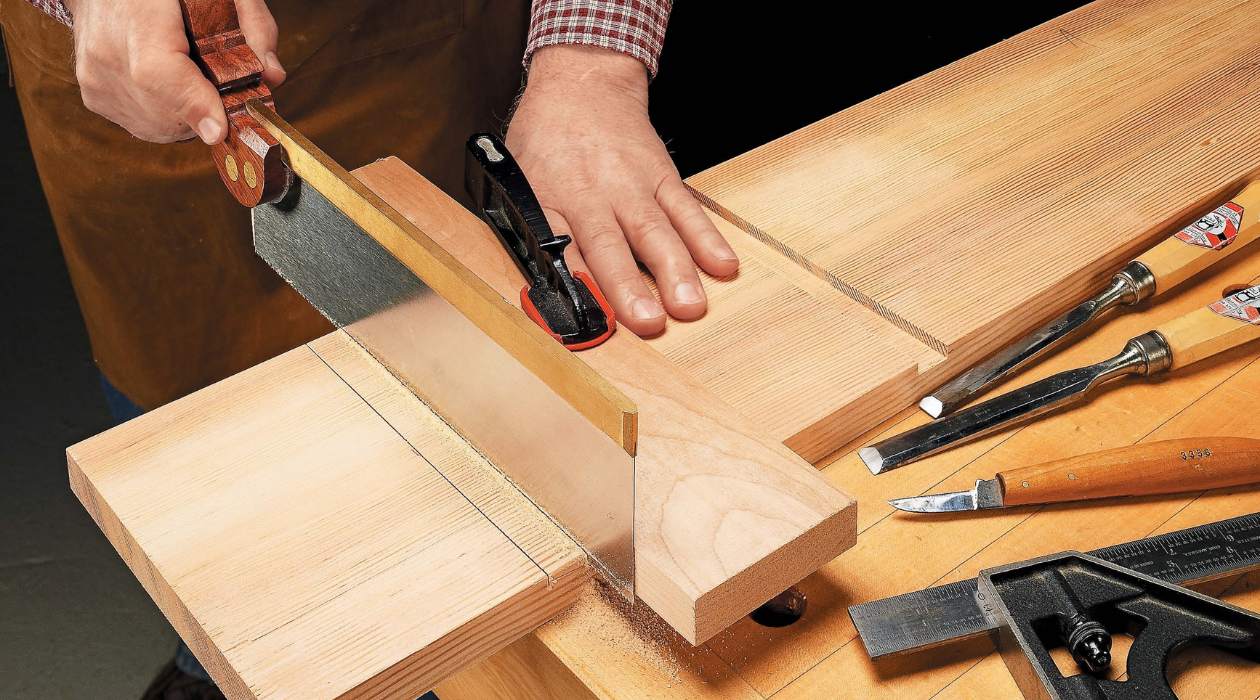
Cutting Miters
Now that you have your workpiece measured and marked, it’s time to cut the miters. Follow these steps to achieve clean and precise cuts:
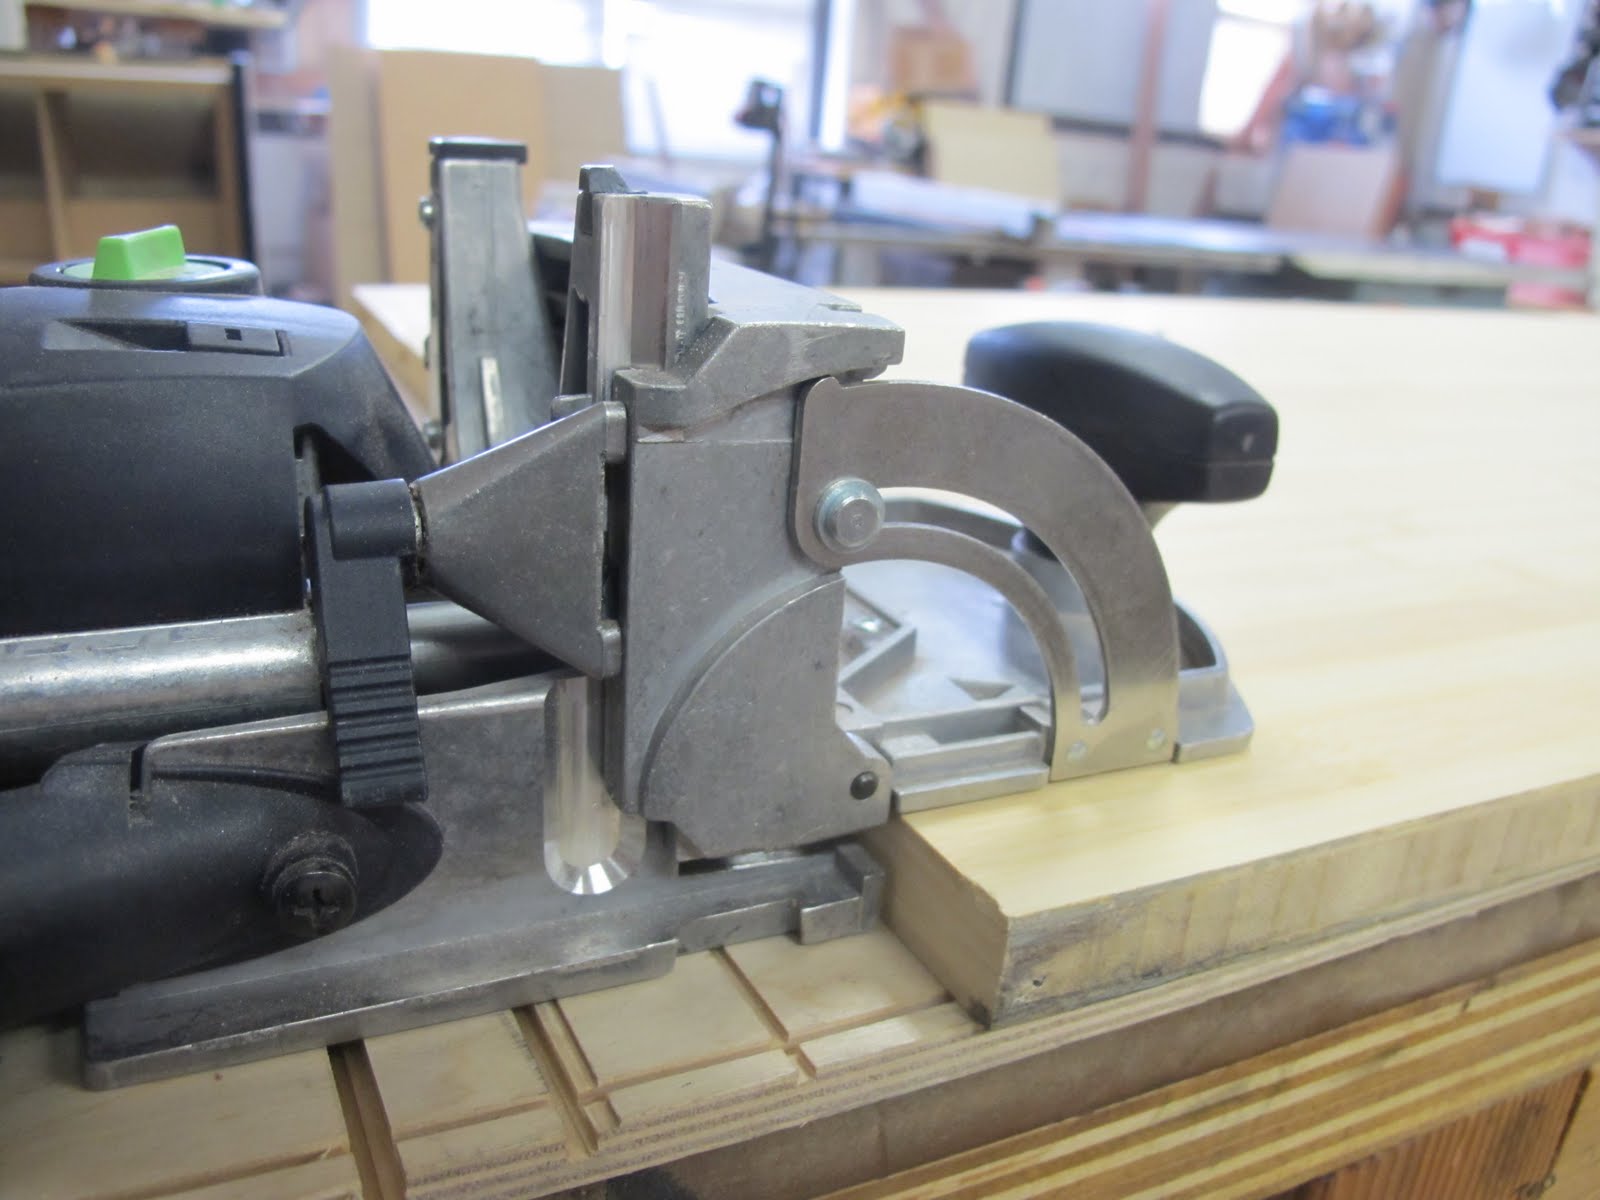
- Secure the Workpiece: Place your workpiece securely in the miter box, making sure it is aligned with the appropriate slot for your desired angle. Use clamps to hold the workpiece in place, ensuring stability during the cutting process.
- Align the Saw: Position your back saw in the miter box, aligning it with the marked cutting line. Hold the saw at a 45-degree angle for a standard miter cut. Ensure that the saw is perpendicular to the workpiece and the miter box for accurate cuts.
- Start the Cut: Gently start the sawing motion, using short strokes to gradually cut through the workpiece. Maintain a steady pace and let the saw do the work—avoid applying excessive force, which can lead to splintering or an uneven cut.
- Follow the Line: Continue to follow the marked cutting line carefully, ensuring that the saw stays in line with the angle and does not deviate. Take your time and make controlled cuts to achieve a clean and precise miter.
- Repeat on the Second Piece: If you are joining two pieces to create a mitered joint, repeat the cutting process on the second workpiece, ensuring that the angles are aligned for a seamless connection.
Remember, practice and patience are key when cutting miters by hand. It may take a few attempts to achieve perfect cuts, so don’t be discouraged if it doesn’t turn out perfect on your first try. With time and practice, you will master the art of cutting miters by hand.
When cutting miters by hand, always use a sharp and high-quality miter saw or miter box to ensure clean and precise cuts. Take your time and measure twice to avoid mistakes.
Checking for Accuracy
Ensuring the accuracy of your miter cuts is vital to achieving a seamless and professional-looking joint. Here are some steps to help you check the accuracy of your cuts:
- Dry Fit the Pieces: Before applying any glue or fasteners, dry fit the mitered pieces together to check the alignment and fit. Make sure the joint is tight and closes completely without gaps. This step allows you to make any necessary adjustments before permanently joining the pieces.
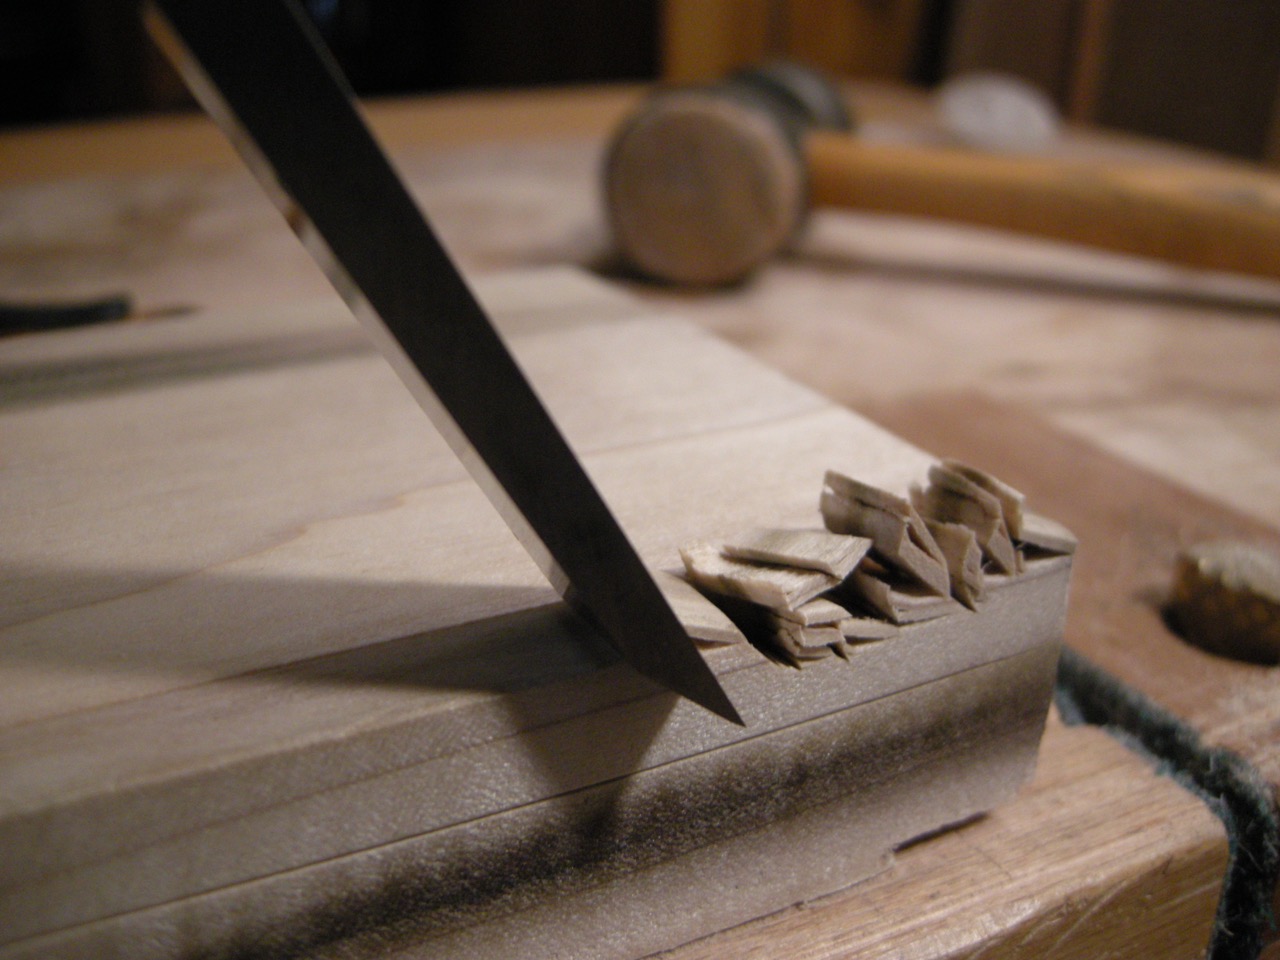
- Check for Gaps: Inspect the joint for any visible gaps. If you notice small gaps, you may be able to fix them by carefully shaving off excess material or using wood filler. However, if the gaps are significant, you may need to recut the miters for a better fit.
- Measure the Angle: To verify the accuracy of the miter angle, use a miter square or a combination square to measure the joint angle. It should match the intended angle you marked on your workpiece. If there’s a discrepancy, you may need to recut the miter at the correct angle.
- Check for Squareness: Use a square to ensure that the joint forms a perfect 90-degree angle. Place the square against the joint and verify that the edges of the square align with the adjacent sides of the joint. Adjust if necessary.
By thoroughly inspecting and checking the accuracy of your miter cuts, you can make any necessary adjustments and achieve a precise and seamless joint.
Read more: How To Cut Asphalt With Hand Tools
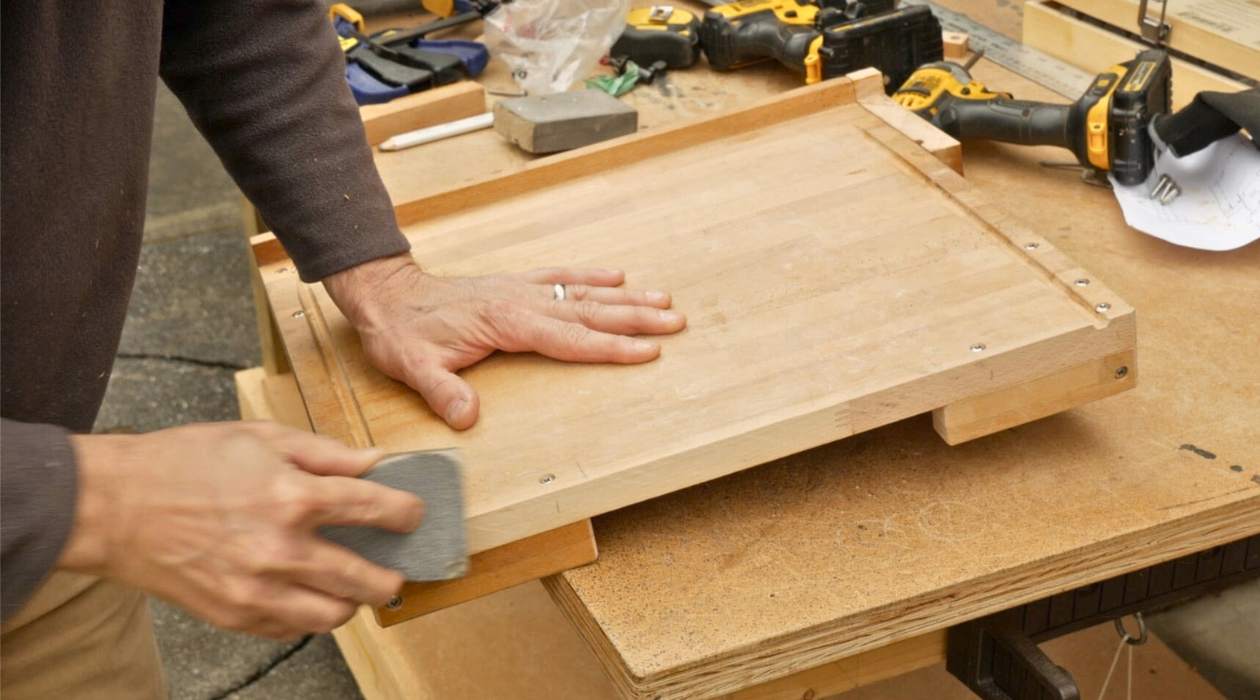
Sanding and Finishing
Once you have successfully cut and checked the accuracy of your miters, it’s time to refine the surfaces and add the finishing touches to your project. Here are the steps for sanding and finishing:
- Sand the Cut Surfaces: Use sandpaper or a sanding block to smooth out the cut surfaces of the mitered joint. Start with a coarser grit to remove any roughness or imperfections, and gradually move to finer grits for a smooth and polished finish. Sand in the direction of the grain to avoid creating scratches.
- Remove Excess Sawdust: After sanding, clean the surfaces to remove any accumulated sawdust. Use a brush or a cloth to wipe away the debris, ensuring a clean surface for finishing.
- Apply Finish: If desired, you can apply a finish to enhance the beauty and protection of the mitered joint. Choose a finish that complements the wood and apply it according to the manufacturer’s instructions. Allow the finish to dry completely before proceeding.
- Final Inspection: Once the finish has dried, inspect the mitered joint for any imperfections. Lightly run your hand over the surface, feeling for any rough edges or inconsistencies. If necessary, perform any touch-ups or additional sanding to achieve a smooth and flawless finish.
- Assemble the Project: Finally, assemble the project by joining the mitered pieces together. Apply glue or use appropriate fasteners, ensuring a secure and sturdy joint. Follow the manufacturer’s instructions for proper drying and curing time.
By properly sanding and finishing your mitered joint, you can enhance its appearance and durability, resulting in a professional-looking woodworking project.
Conclusion
Cutting miters by hand may require a bit more patience and practice compared to using power tools, but the results can be truly rewarding. By following the steps outlined in this article, you can achieve clean, precise, and seamless miter cuts that will elevate the quality and aesthetics of your woodworking projects.
Remember to start with the right tools, take accurate measurements, and mark your workpiece carefully. Secure your workpiece in a miter box and use a back saw to make controlled cuts along the marked lines. Check for accuracy by dry fitting the pieces, measuring angles, and ensuring squareness. Sand and finish the cut surfaces to achieve a polished and professional look.
Ultimately, cutting miters by hand allows you to connect with the craftsmanship of woodworking, honing your skills and achieving a sense of satisfaction with each precise cut. It’s an opportunity to slow down, embrace the process, and create something truly unique and beautiful.
So, whether you’re a seasoned woodworker or just starting on your woodworking journey, don’t shy away from trying your hand at cutting miters with hand tools. With practice, patience, and attention to detail, you’ll master this skill and take pride in the impeccable miter joints you create.
Frequently Asked Questions about How To Cut Miters With Hand Tools
Was this page helpful?
At Storables.com, we guarantee accurate and reliable information. Our content, validated by Expert Board Contributors, is crafted following stringent Editorial Policies. We're committed to providing you with well-researched, expert-backed insights for all your informational needs.


0 thoughts on “How To Cut Miters With Hand Tools”