Articles
How To Cut Stone With Hand Tools
Modified: January 9, 2024
Learn the art of stone cutting with hand tools through our informative articles. Find helpful tips, techniques, and step-by-step guides to achieve precision and create stunning stonework.
(Many of the links in this article redirect to a specific reviewed product. Your purchase of these products through affiliate links helps to generate commission for Storables.com, at no extra cost. Learn more)
Introduction
When it comes to cutting stone, most people may think of heavy machinery and complex tools. However, it is indeed possible to cut stone with hand tools, and it can be a rewarding and satisfying experience. Whether you are a seasoned craftsman or a DIY enthusiast, learning how to cut stone by hand allows you to create unique and personalized pieces for various projects.
In this article, we will guide you through the step-by-step process of cutting stone with hand tools. From marking the stone to shaping and smoothing the edges, we will cover everything you need to know to successfully cut stone without the need for expensive machinery.
Before we begin, it is important to note that cutting stone by hand can be physically demanding and requires patience and precision. It is crucial to follow safety precautions to protect yourself from potential injuries. Additionally, different types of stones may require specific techniques, so it is essential to research and understand the characteristics of the stone you are working with.
Now, let’s gather our tools and materials and get started on this journey of cutting stone with our hands.
Key Takeaways:
- Embrace the Art of Hand-Cutting Stone
Discover the satisfaction of creating unique stone pieces with hand tools. Prioritize safety, take your time, and unleash your creativity for a rewarding and fulfilling stone-cutting experience. - Transform Stone into Personalized Creations
From marking to finishing, hand-cutting stone allows for the creation of custom pieces. Prioritize safety, patience, and precision to achieve impressive and unique results.
Read more: How To Quarry Stone With Hand Tools
Tools and Materials Needed
Before embarking on the task of cutting stone with hand tools, it is important to ensure you have the necessary tools and materials. Here is a list of the essential items you will need:
- Safety goggles: Protect your eyes from flying debris and particles.
- Dust mask: Prevent inhalation of stone dust, which can be harmful to your respiratory system.
- Heavy-duty work gloves: Protect your hands from cuts, scrapes, and blisters.
- Chalk or pencil: Used for marking the stone.
- Straight edge: A ruler or a long, straight piece of wood will suffice.
- Handheld masonry saw: Choose a saw with a diamond blade specifically designed for cutting stone.
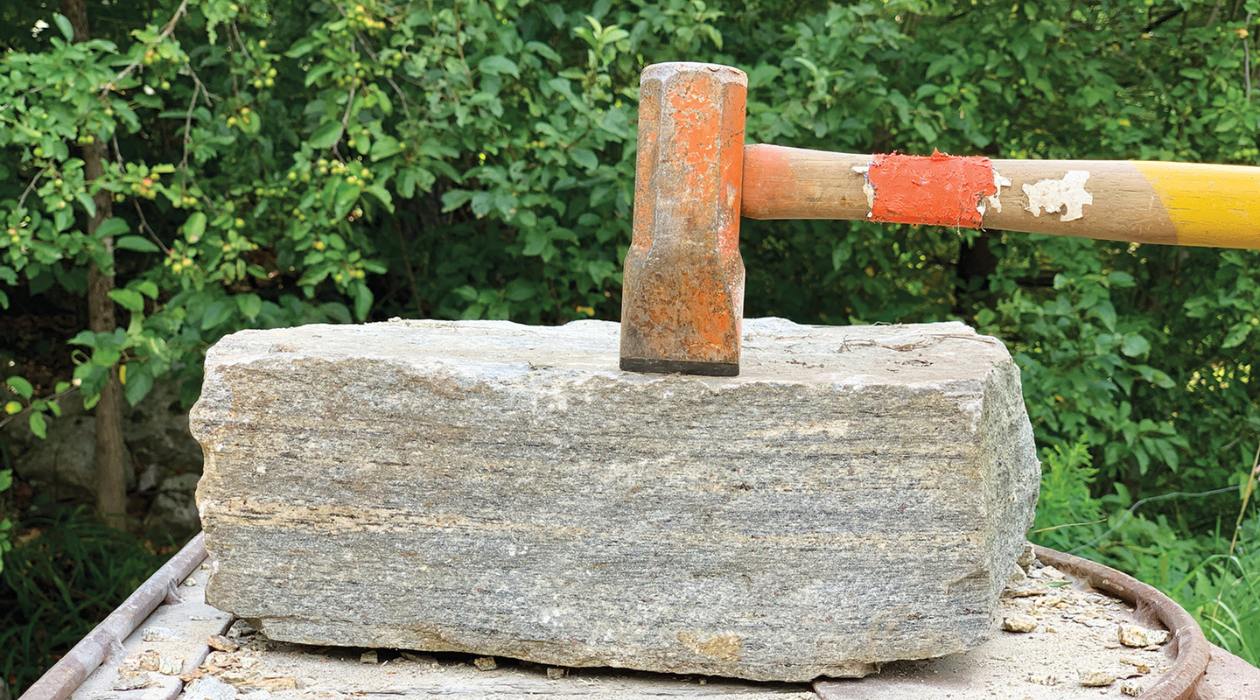
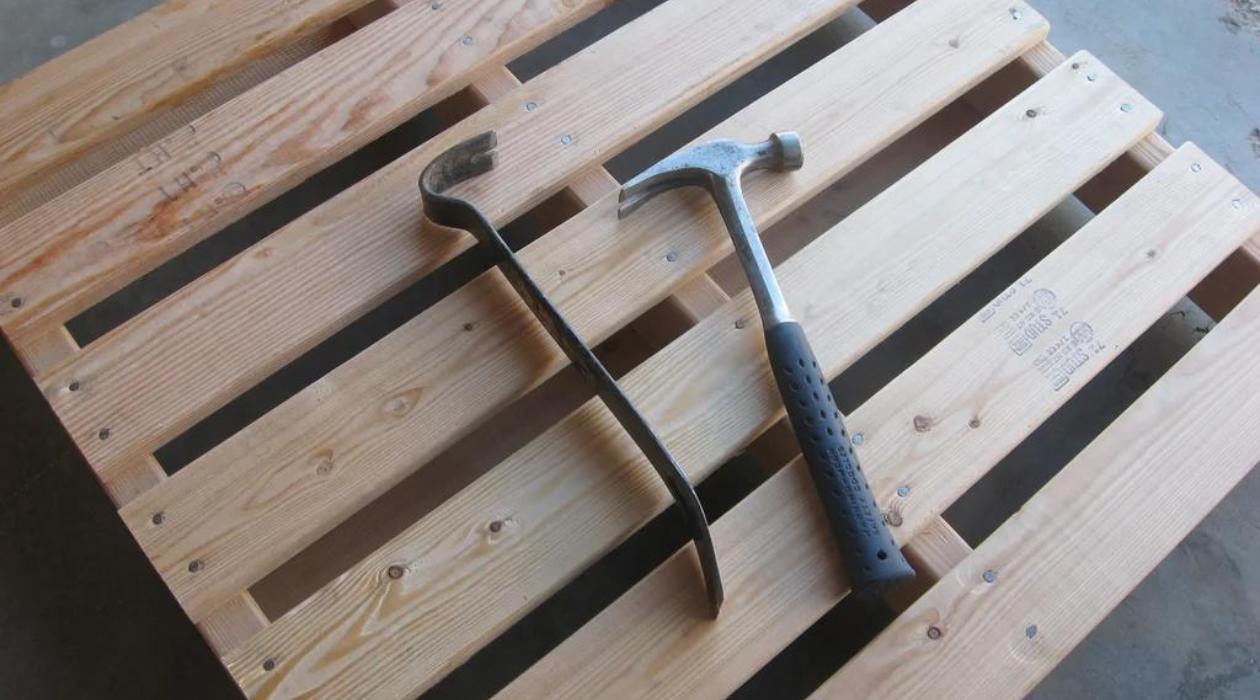
- Chisel and hammer: Used for shaping and carving the stone.
- Sanding blocks or files: Used for smoothing and refining the edges of the stone.
- Water spray bottle: Helps cool the stone and reduce dust while cutting.
When it comes to selecting the stone, you have various options depending on your project requirements. Common stones used in hand cutting include granite, marble, limestone, and slate. Choose a stone that suits your aesthetic preferences and the purpose of your project.
Now that you have gathered all the necessary tools and materials, it’s time to move on to the next section, where we will discuss safety precautions to ensure a safe and enjoyable stone cutting experience.
Safety Precautions
When it comes to cutting stone with hand tools, safety should be your top priority. Follow these essential safety precautions to protect yourself from potential hazards:
- Wear safety goggles: Stones may chip or break, causing flying debris. Protect your eyes by wearing safety goggles.
- Use a dust mask: Cutting stone releases fine particles that can be harmful if inhaled. Wear a dust mask to avoid respiratory issues.
- Put on heavy-duty work gloves: Hand tools can be sharp, and stones may have rough edges. Wear proper gloves to protect your hands from cuts and abrasions.
- Work in a well-ventilated area: Cutting stone can generate dust and debris. Ensure you are working in a well-ventilated area to minimize inhalation of dust and maintain air circulation.
- Secure the stone: Use clamps or a non-slip surface to secure the stone in place before cutting. This will prevent the stone from slipping or shifting during the cutting process.
- Operate tools with caution: Follow the manufacturer’s instructions when using hand tools. Use them with care and follow proper technique to reduce the risk of accidents.
- Take breaks: Cutting stone by hand can be physically demanding. Take regular breaks to rest your muscles and avoid fatigue.
- Keep water nearby: Have a water spray bottle on hand to cool the stone while cutting and reduce the amount of dust produced.
- Dispose of waste properly: Collect stone debris and dispose of it safely. Sharp fragments can cause injuries if left on the ground.
By following these safety precautions, you can ensure a safe working environment and minimize the risk of accidents or injuries. Now that we have addressed the safety measures, let’s move on to the step-by-step process of cutting stone by hand.
Step 1: Marking the Stone
The first step in cutting stone by hand is to mark the stone with the desired shape or cut lines. This will serve as a guide during the cutting process. Here’s how to do it:
- Clean the stone: Remove any dirt, debris, or dust from the surface of the stone. This will ensure a clean and accurate marking.
- Visualize the shape: Determine the shape you want to cut or the specific dimensions you need. Use a chalk or pencil to mark the outline directly on the stone’s surface.
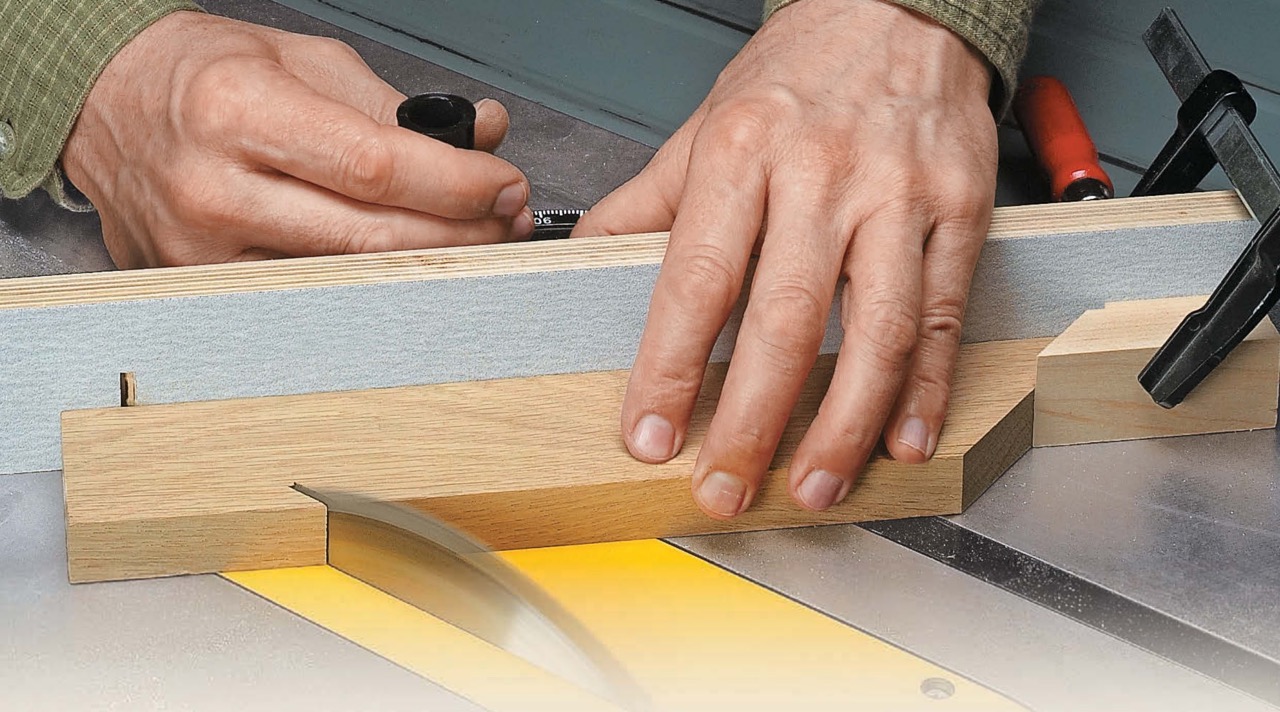
- Measure and mark the cut lines: Use a straight edge, such as a ruler or a long piece of wood, to measure and mark the cut lines on the stone. Make sure the lines are straight and symmetrical, depending on your design or project requirements.
- Double-check the markings: Take a step back and review your markings. Ensure they align with your desired outcome and make any necessary adjustments before proceeding to the next step.
By marking the stone accurately, you create a clear visual guide for cutting and ensure that your final piece meets your design specifications. Now that the stone is marked, it’s time to move on to the next step: preparing the stone for cutting.
Step 2: Preparing the Stone
Before you start cutting the stone, it is essential to prepare it properly. This involves ensuring that the stone is stable and securely positioned for cutting. Here’s how to prepare the stone for hand cutting:
- Secure the stone: Use clamps or a non-slip surface to securely hold the stone in place. This will prevent it from shifting or moving during the cutting process.
- Create a cutting guide: If you need straight cuts, you can use a straight edge and a pencil or chalk to draw a cutting guide along the marked cut lines on the stone’s surface.
- Protect the work area: Place a drop cloth or tarp underneath the stone to catch any debris or dust that may be produced during the cutting process. This will make cleanup easier and prevent damage to your work surface.
- Prepare the cutting area: Ensure you have enough space to maneuver your tools comfortably. Remove any obstacles or obstructions that may interfere with the cutting process.
By properly preparing the stone, you create a stable and safe environment for cutting. This step is crucial in ensuring accurate and precise cuts. Once the stone is securely positioned and the cutting area is ready, you can move on to the next step: cutting the stone by hand.
When cutting stone with hand tools, always wear safety goggles and gloves to protect yourself from flying debris and sharp edges. Keep your tools sharp for more efficient and precise cuts.
Read more: How To Cut Asphalt With Hand Tools
Step 3: Cutting the Stone
Now that the stone is marked and properly prepared, it’s time to start cutting. In this step, we will use a handheld masonry saw to cut along the marked lines. Follow these steps to cut the stone by hand:
- Put on safety goggles and a dust mask to protect yourself from flying debris and stone dust.
- Hold the handheld masonry saw firmly with both hands, ensuring a secure grip.
- Position the saw blade on the edge of the stone, aligned with the marked cut line.
- Begin cutting slowly and steadily, applying light pressure to the saw. Let the blade do the work and guide it along the marked line.
- Continue cutting along the marked line until you have completed the desired cut.
- If you need to make curved cuts, use the saw to create carefully controlled movements, constantly adjusting the angle and direction as needed.
- Periodically pause and use a water spray bottle to wet the stone’s surface. This will cool down the blade and reduce the amount of dust produced.
- Take breaks as needed to rest your muscles and prevent fatigue.
Remember to take your time and maintain a steady pace as you cut the stone. Rushing or exerting too much force can lead to uneven cuts or accidental slipping of the saw. It’s important to stay focused and work with precision.
Once you have completed the cutting process, you can proceed to the next step: shaping and smoothing the edges of the stone.
Step 4: Shaping and Smoothing the Edges
After cutting the stone, it’s time to shape and smooth the edges to achieve a polished and professional finish. Follow these steps to shape and smooth the edges of the stone:
- Put on safety goggles and work gloves to protect yourself from sharp edges.
- Examine the cut edges of the stone and identify any uneven or jagged areas.
- Use a chisel and hammer to carefully chip away any rough sections or protrusions along the edges. Take it slow and make controlled movements to avoid damaging the stone.
- Once you have removed any noticeable rough spots, use sanding blocks or files to smooth the edges of the stone. Start with a coarse-grit sandpaper to shape the edges, and gradually move to finer-grit sandpaper for a smoother finish.
- Hold the sanding block or file at a 45-degree angle and apply even pressure as you move it back and forth along the edges of the stone. This will help create a consistent and polished edge.
- Periodically check the smoothness of the edges by running your fingers over them. Make any necessary adjustments to ensure a smooth and uniform finish.
- Continue sanding and refining the edges until they meet your desired level of smoothness.
- Once you are satisfied with the smoothness of the edges, use a damp cloth to wipe away any dust or debris from the surface of the stone.
By shaping and smoothing the edges, you enhance the overall appearance of the stone and create a professional look. Take your time during this step and pay attention to detail to achieve the best results.
Now that the edges of the stone are shaped and smooth, let’s move on to the final step: cleaning and finishing the stone.
Step 5: Cleaning and Finishing the Stone
After cutting, shaping, and smoothing the stone, it’s important to clean and finish it to enhance its appearance and ensure a polished final product. Follow these steps to clean and finish the stone:
- Use a soft-bristled brush or a damp cloth to gently remove any dust or debris from the surface of the stone. This will help ensure a clean and polished finish.
- If necessary, fill any visible cracks or gaps in the stone with an appropriate stone filler or epoxy. Let it dry completely according to the manufacturer’s instructions.
- If desired, apply a stone sealer or polish to protect and enhance the natural beauty of the stone. Follow the instructions on the product for application and drying times.
- Allow the stone to fully dry and cure before handling or using it for your intended project.
By cleaning and finishing the stone, you not only remove any remaining debris but also add a protective layer and enhance its aesthetic appeal. This final step adds the perfect finishing touch to your hand-cut stone.
Now that you have successfully cut, shaped, and finished the stone, you can incorporate it into your desired project. Whether it’s a DIY sculpture, a countertop, or a decorative piece, your hand-cut stone will showcase your skills and creativity.
Cutting stone with hand tools may require practice and patience, but the end results are truly rewarding. Remember to always prioritize safety and take your time throughout the process. With the right tools, techniques, and attention to detail, you can achieve impressive results and create unique stone pieces that truly stand out.
We hope this step-by-step guide has provided you with the knowledge and inspiration to embark on your hand-cutting stone journey. Happy cutting!
Conclusion
Cutting stone with hand tools may seem like a daunting task, but armed with the right techniques and tools, it can be a fulfilling and rewarding experience. In this article, we have provided a comprehensive guide on how to cut stone with hand tools, from marking the stone to shaping and smoothing the edges.
By following the step-by-step process outlined in this guide, you can create unique and personalized stone pieces for various projects. Whether you are a skilled craftsman or a DIY enthusiast, cutting stone by hand allows you to tap into your creativity and truly showcase your craftsmanship.
Throughout the cutting process, it is crucial to prioritize safety. By following the recommended safety precautions, such as wearing protective goggles and gloves, and working in a well-ventilated area, you can minimize the risk of accidents and injuries.
Remember to take your time and maintain a steady pace while cutting, shaping, and smoothing the stone. Patience and precision are key to achieving accurate cuts and a polished finish. By carefully marking the stone, securing it properly, and using the appropriate tools, you can create clean and precise cuts.
After cutting and shaping the stone, don’t forget to clean and finish it to enhance its appearance and protect it from damage. Cleaning the stone with a soft brush or cloth, filling any cracks or gaps as needed, and applying a stone sealer or polish will help showcase the natural beauty of the stone.
Whether you’re creating a sculpture, a countertop, or a decorative piece, hand-cutting stone allows you to add a personal touch to your projects. With practice and dedication, you can master the art of cutting stone with hand tools and create stunning pieces that are a testament to your craftsmanship.
So, gather your tools, prepare your workspace, and embark on the journey of cutting stone with your own hands. Enjoy the process, embrace the challenges, and let your creativity shine through as you bring your visions to life.
Happy stone cutting!
Frequently Asked Questions about How To Cut Stone With Hand Tools
Was this page helpful?
At Storables.com, we guarantee accurate and reliable information. Our content, validated by Expert Board Contributors, is crafted following stringent Editorial Policies. We're committed to providing you with well-researched, expert-backed insights for all your informational needs.

0 thoughts on “How To Cut Stone With Hand Tools”