Articles
How Cut Steel Square With Hand Tools
Modified: December 7, 2023
Looking for articles on how to cut steel square with hand tools? Check out our expert tips and techniques to help you get the job done efficiently and accurately.
(Many of the links in this article redirect to a specific reviewed product. Your purchase of these products through affiliate links helps to generate commission for Storables.com, at no extra cost. Learn more)
Introduction
When it comes to working with metal, cutting steel is a common task that may seem daunting at first. However, with the right tools and techniques, cutting steel square with hand tools can be a manageable and satisfying DIY project. Whether you are a professional craftsman or a DIY enthusiast, this article will guide you through the steps to cut steel square with hand tools.
Before we dive into the process, let’s take a look at the tools and materials you will need:
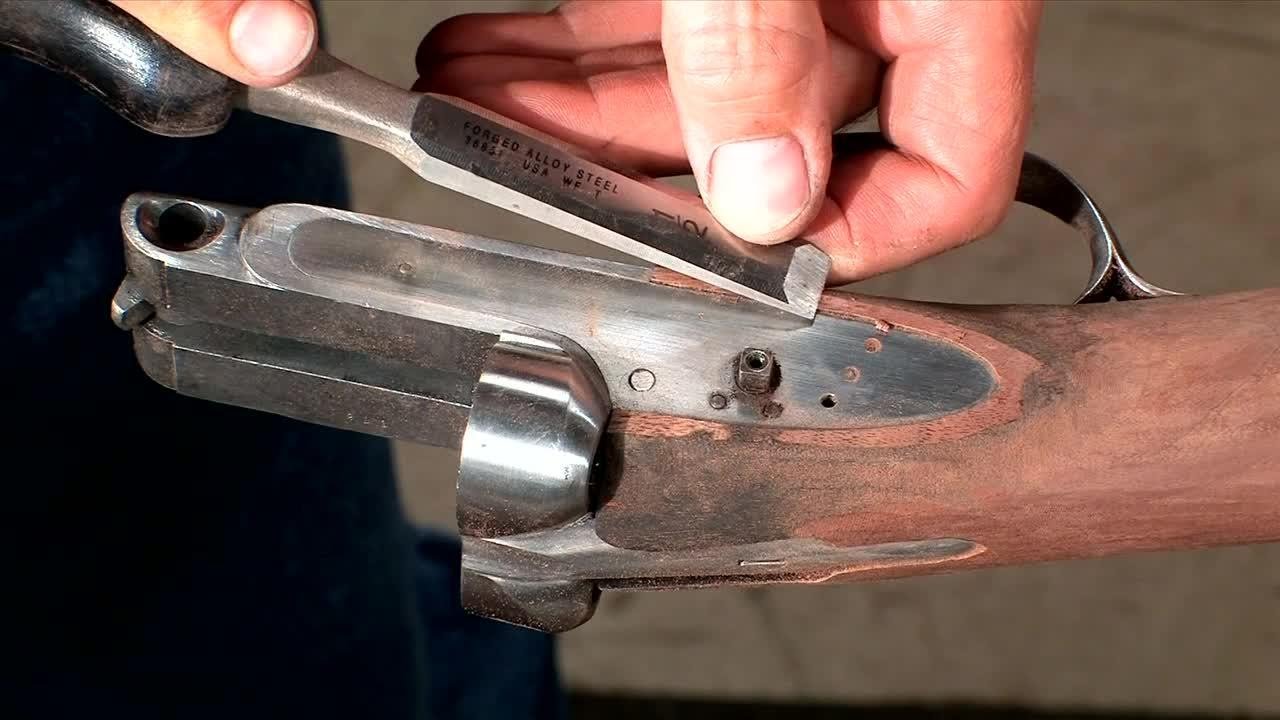
- A steel square
- A marker or pencil
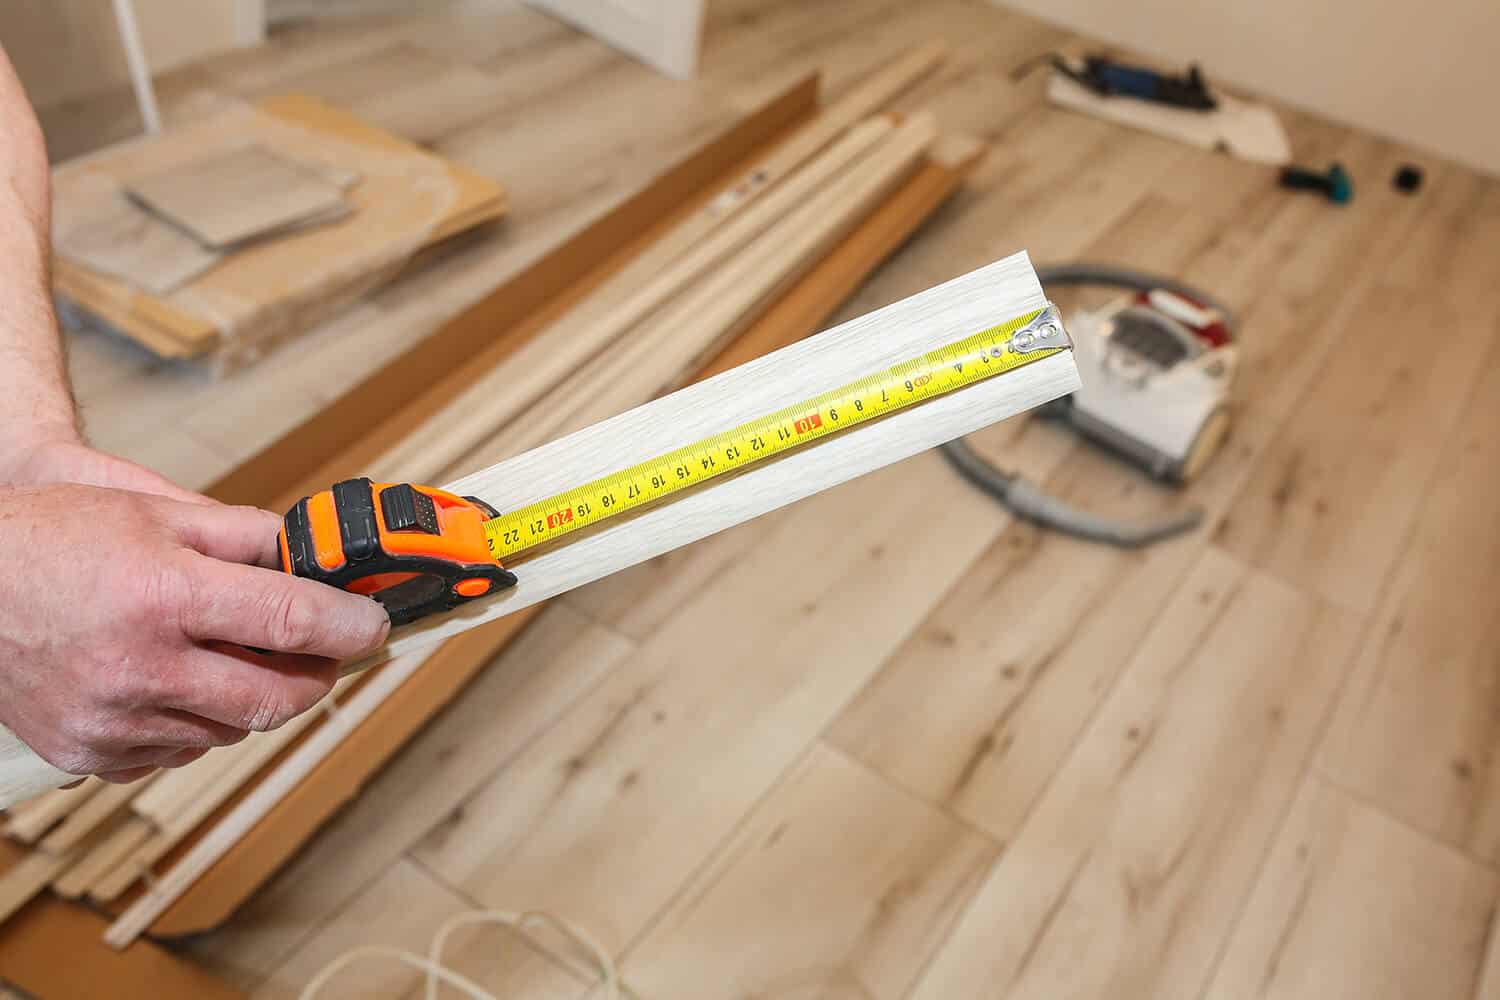
- A measuring tape or ruler
- A bench vise or clamps
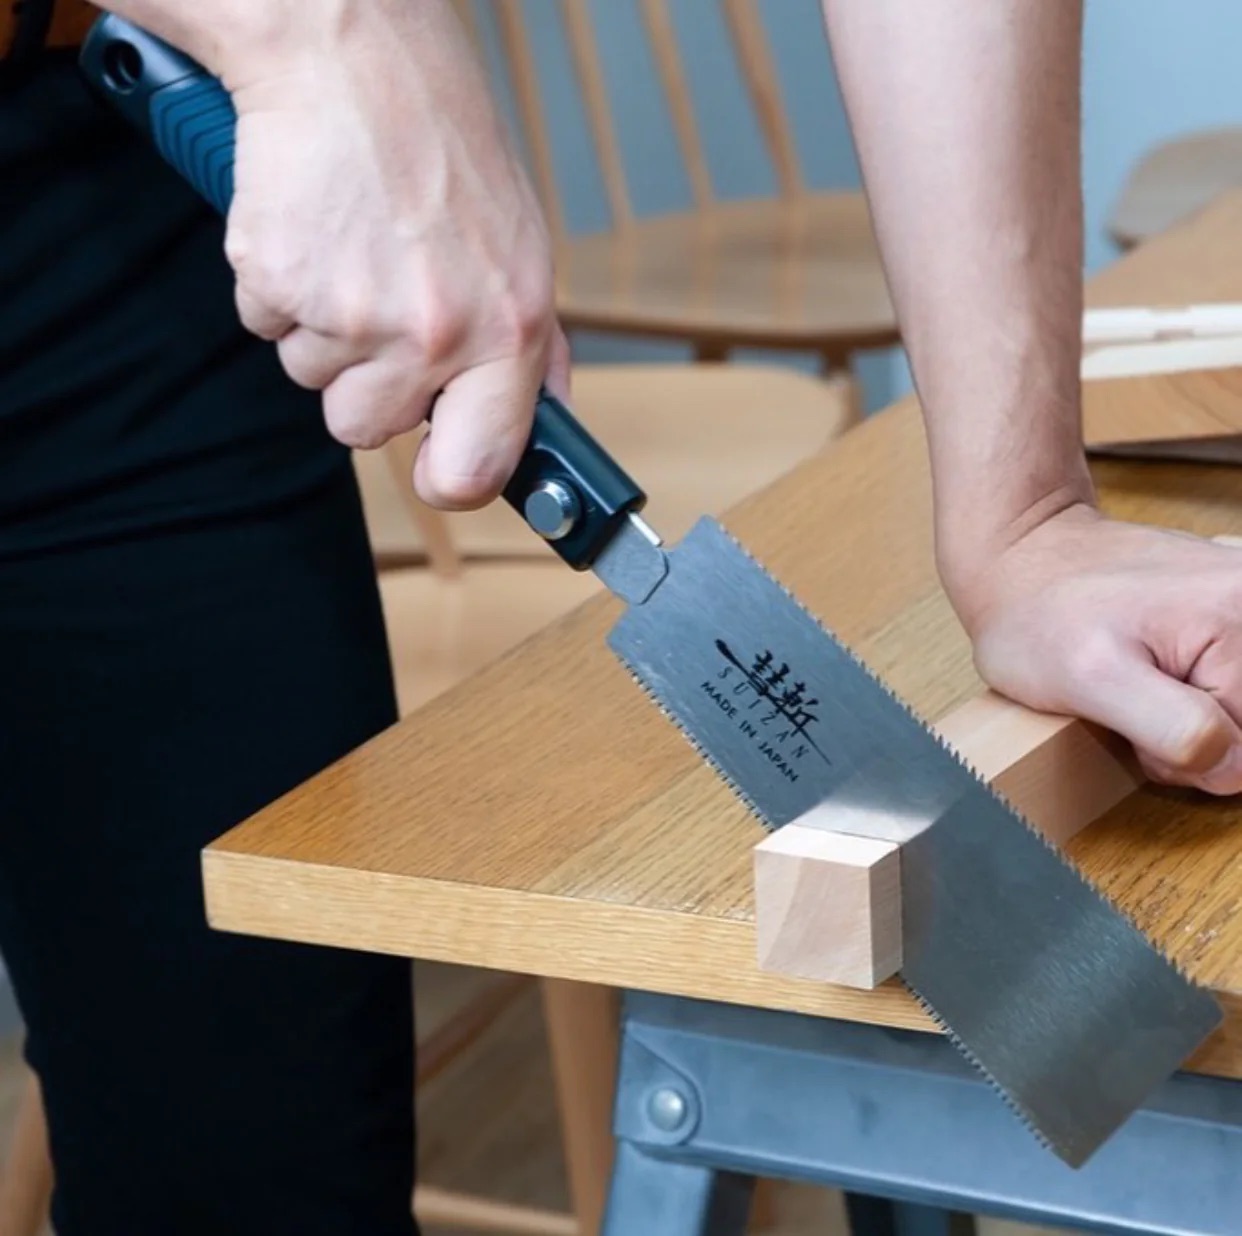
- A metal cutting saw, such as a hacksaw or jigsaw
- Safety goggles and gloves
Now that you have gathered your tools, let’s get started!
Key Takeaways:
- Master the art of cutting steel square with hand tools by following a step-by-step process, ensuring precision and safety. Embrace the satisfaction of creating clean and professional cuts in steel for various DIY projects.
- Equip yourself with the necessary tools and materials, prioritize safety, and enjoy the endless possibilities of working with metal. With each project, gain confidence and expertise in cutting steel square with hand tools.
Read more: How To Cut Asphalt With Hand Tools
Tools and Materials Needed
Before you begin cutting steel square, make sure you have the necessary tools and materials. Here’s what you’ll need:
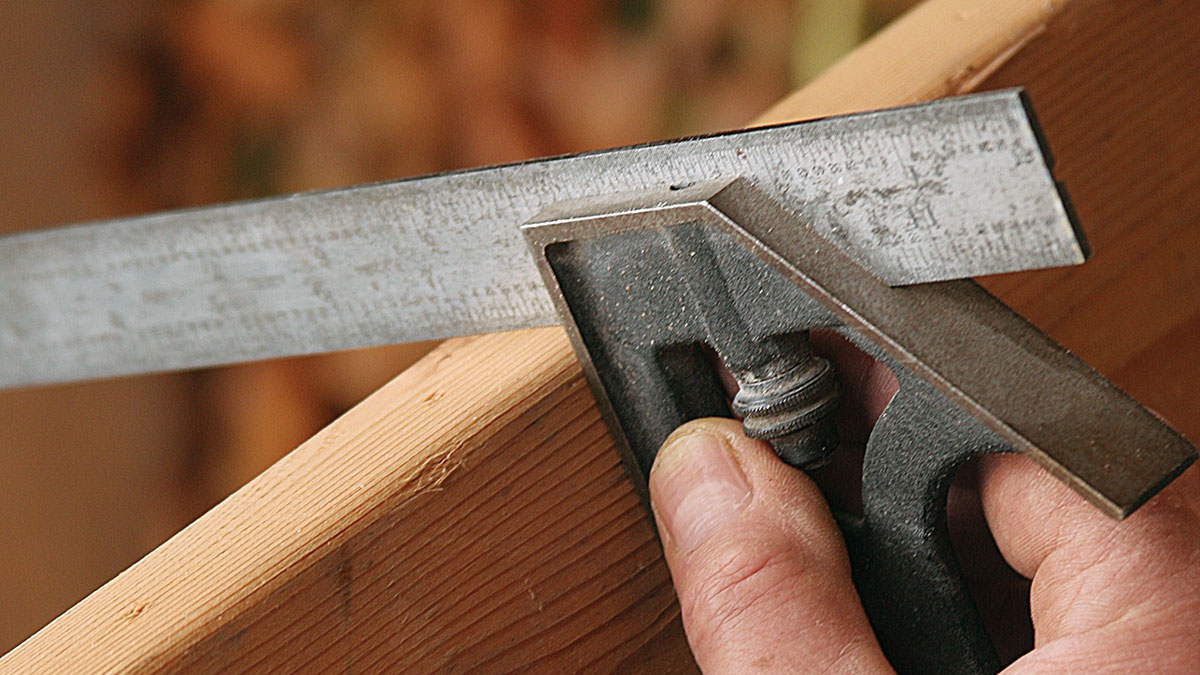
- Steel square: A steel square, also known as a framing square, is a versatile tool that will help you achieve precise measurements and straight lines when marking and cutting the steel.
- Marker or pencil: You’ll need a marker or pencil to mark the steel surface before making the cut. Choose a marker that is easy to see and will not fade or rub off easily.
- Measuring tape or ruler: Accurate measurements are crucial when cutting steel square. Use a measuring tape or ruler to ensure that your marks are precise.
- Bench vise or clamps: To secure the steel square in place, you’ll need a bench vise or clamps. This will provide stability and prevent the steel from moving during the cutting process.
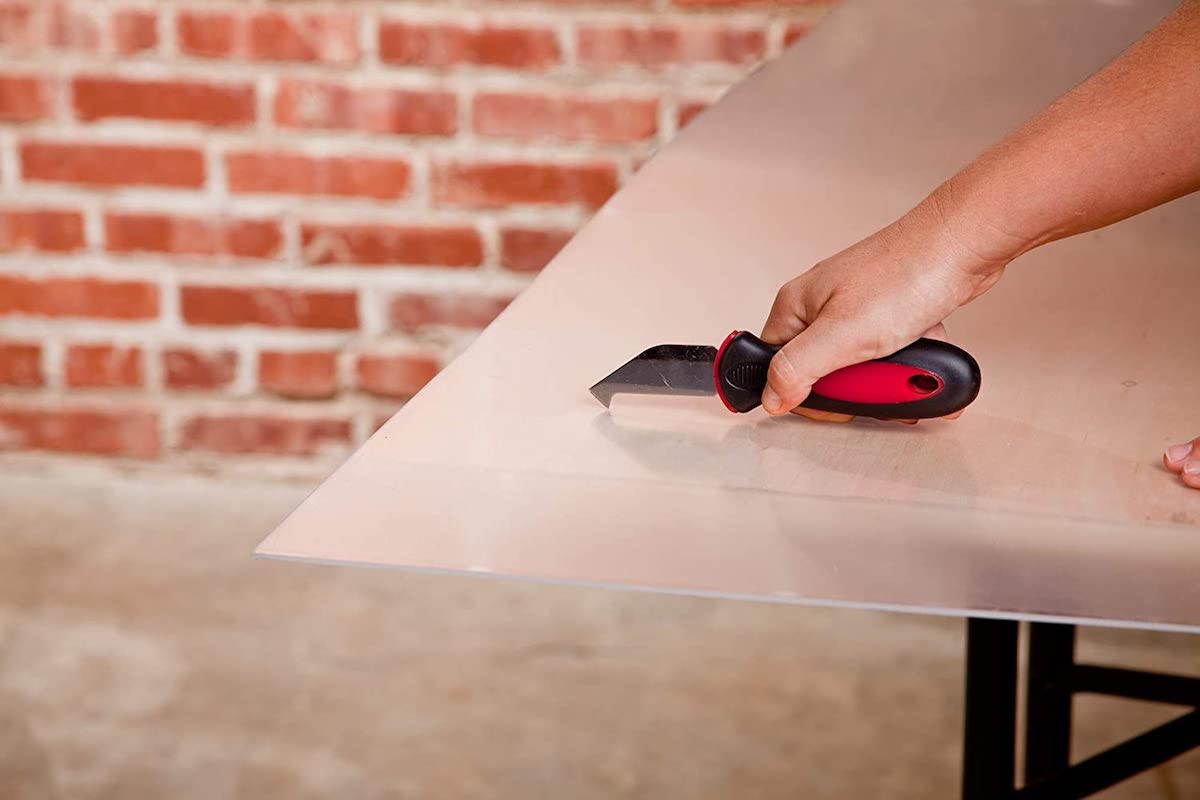
- Metal cutting saw: There are various hand tools available for cutting metal, such as a hacksaw or jigsaw. Choose a saw that is suitable for cutting steel and ensure it has a sharp blade.
- Safety goggles and gloves: Safety should always be a priority when working with hand tools. Protect your eyes with safety goggles and ensure you wear gloves to shield your hands from potential cuts or abrasions.
Having these tools and materials ready will ensure a smooth and efficient cutting process. Now that you are equipped, let’s move on to the step-by-step process of cutting steel square.
Step 1: Marking the Cut
The first step in cutting steel square is marking the area where you will make the cut. This is an important step to ensure accuracy and precision. Here’s how to do it:
- Begin by positioning your steel square on the steel surface, aligning one edge of the square with the side of the steel where you want to make the cut.
- Using a marker or pencil, make a small mark at the desired starting point of the cut.
- Next, measure and mark the length of the cut along the edge of the steel square. Use a measuring tape or ruler to ensure accurate measurements.
- With the length marked, draw a straight line connecting the starting point to the end point of the cut. Make sure the line is clear and visible.
- Double-check your measurements and marks to ensure accuracy before proceeding to the next step.
By taking the time to accurately mark the cut, you will greatly reduce the chances of errors and ensure a clean and precise cut. Once you have completed marking the cut, you can move on to preparing the saw for the task.
Step 2: Preparing the Saw
Now that you have marked the area where you will make the cut, it’s time to prepare the saw for the task. Follow these steps to ensure your saw is ready:
- Inspect the blade: Check the condition of the blade on your metal cutting saw. Ensure that it is sharp and free from any damage or dullness. If needed, replace the blade with a new one to ensure optimal cutting performance.
- Secure the steel: If you are working with a smaller piece of steel, you can secure it in a bench vise. If the steel is larger or attached to a larger structure, use clamps to secure it in place. This will prevent any movement or vibrations during the cutting process.
- Position the saw: Hold the saw with a firm grip, ensuring that you have control and stability. Position the blade of the saw at the starting point of the marked line.
- Adjust the blade angle: Depending on the type of saw you are using, you may need to adjust the blade angle to achieve the desired cut. Follow the manufacturer’s instructions to make any necessary adjustments.
- Put on safety gear: Before you start cutting, put on your safety goggles and gloves to protect yourself from flying debris and potential injuries.
By properly preparing your saw, you will ensure a smoother and safer cutting process. Once your saw is ready, it’s time to move on to making the initial cut.
When cutting steel square with hand tools, use a high-quality metal cutting saw or angle grinder with a metal cutting disc. Ensure the steel is securely clamped and wear appropriate safety gear.
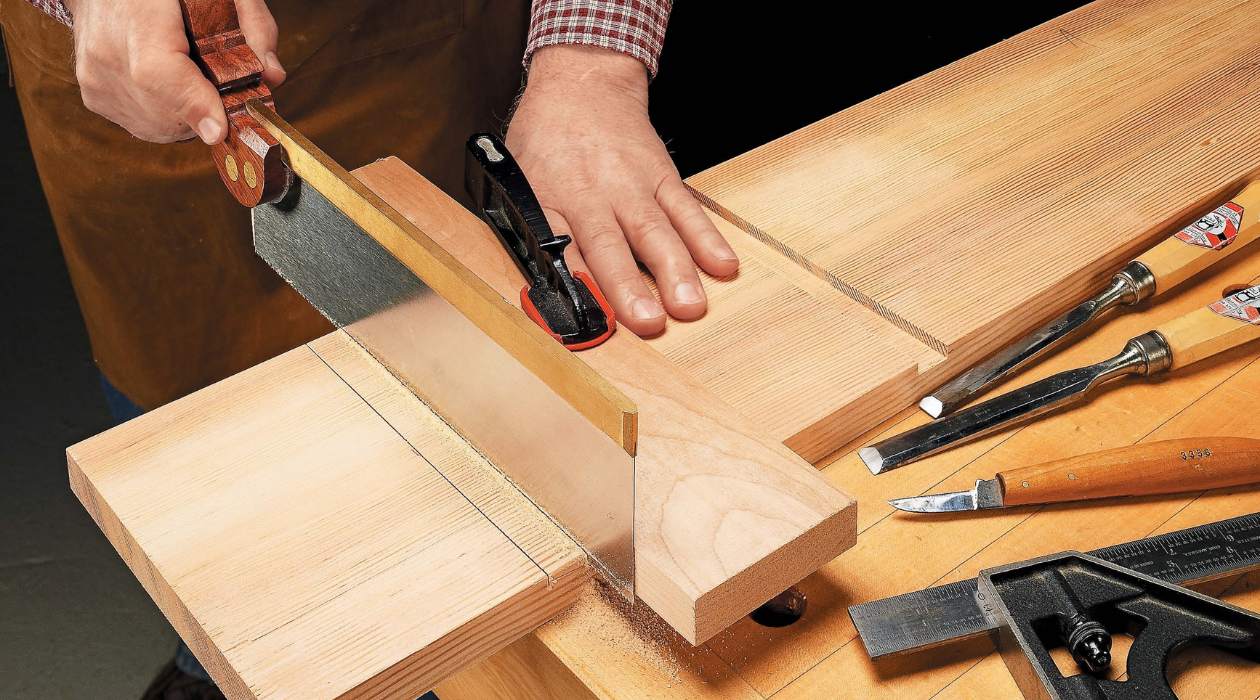
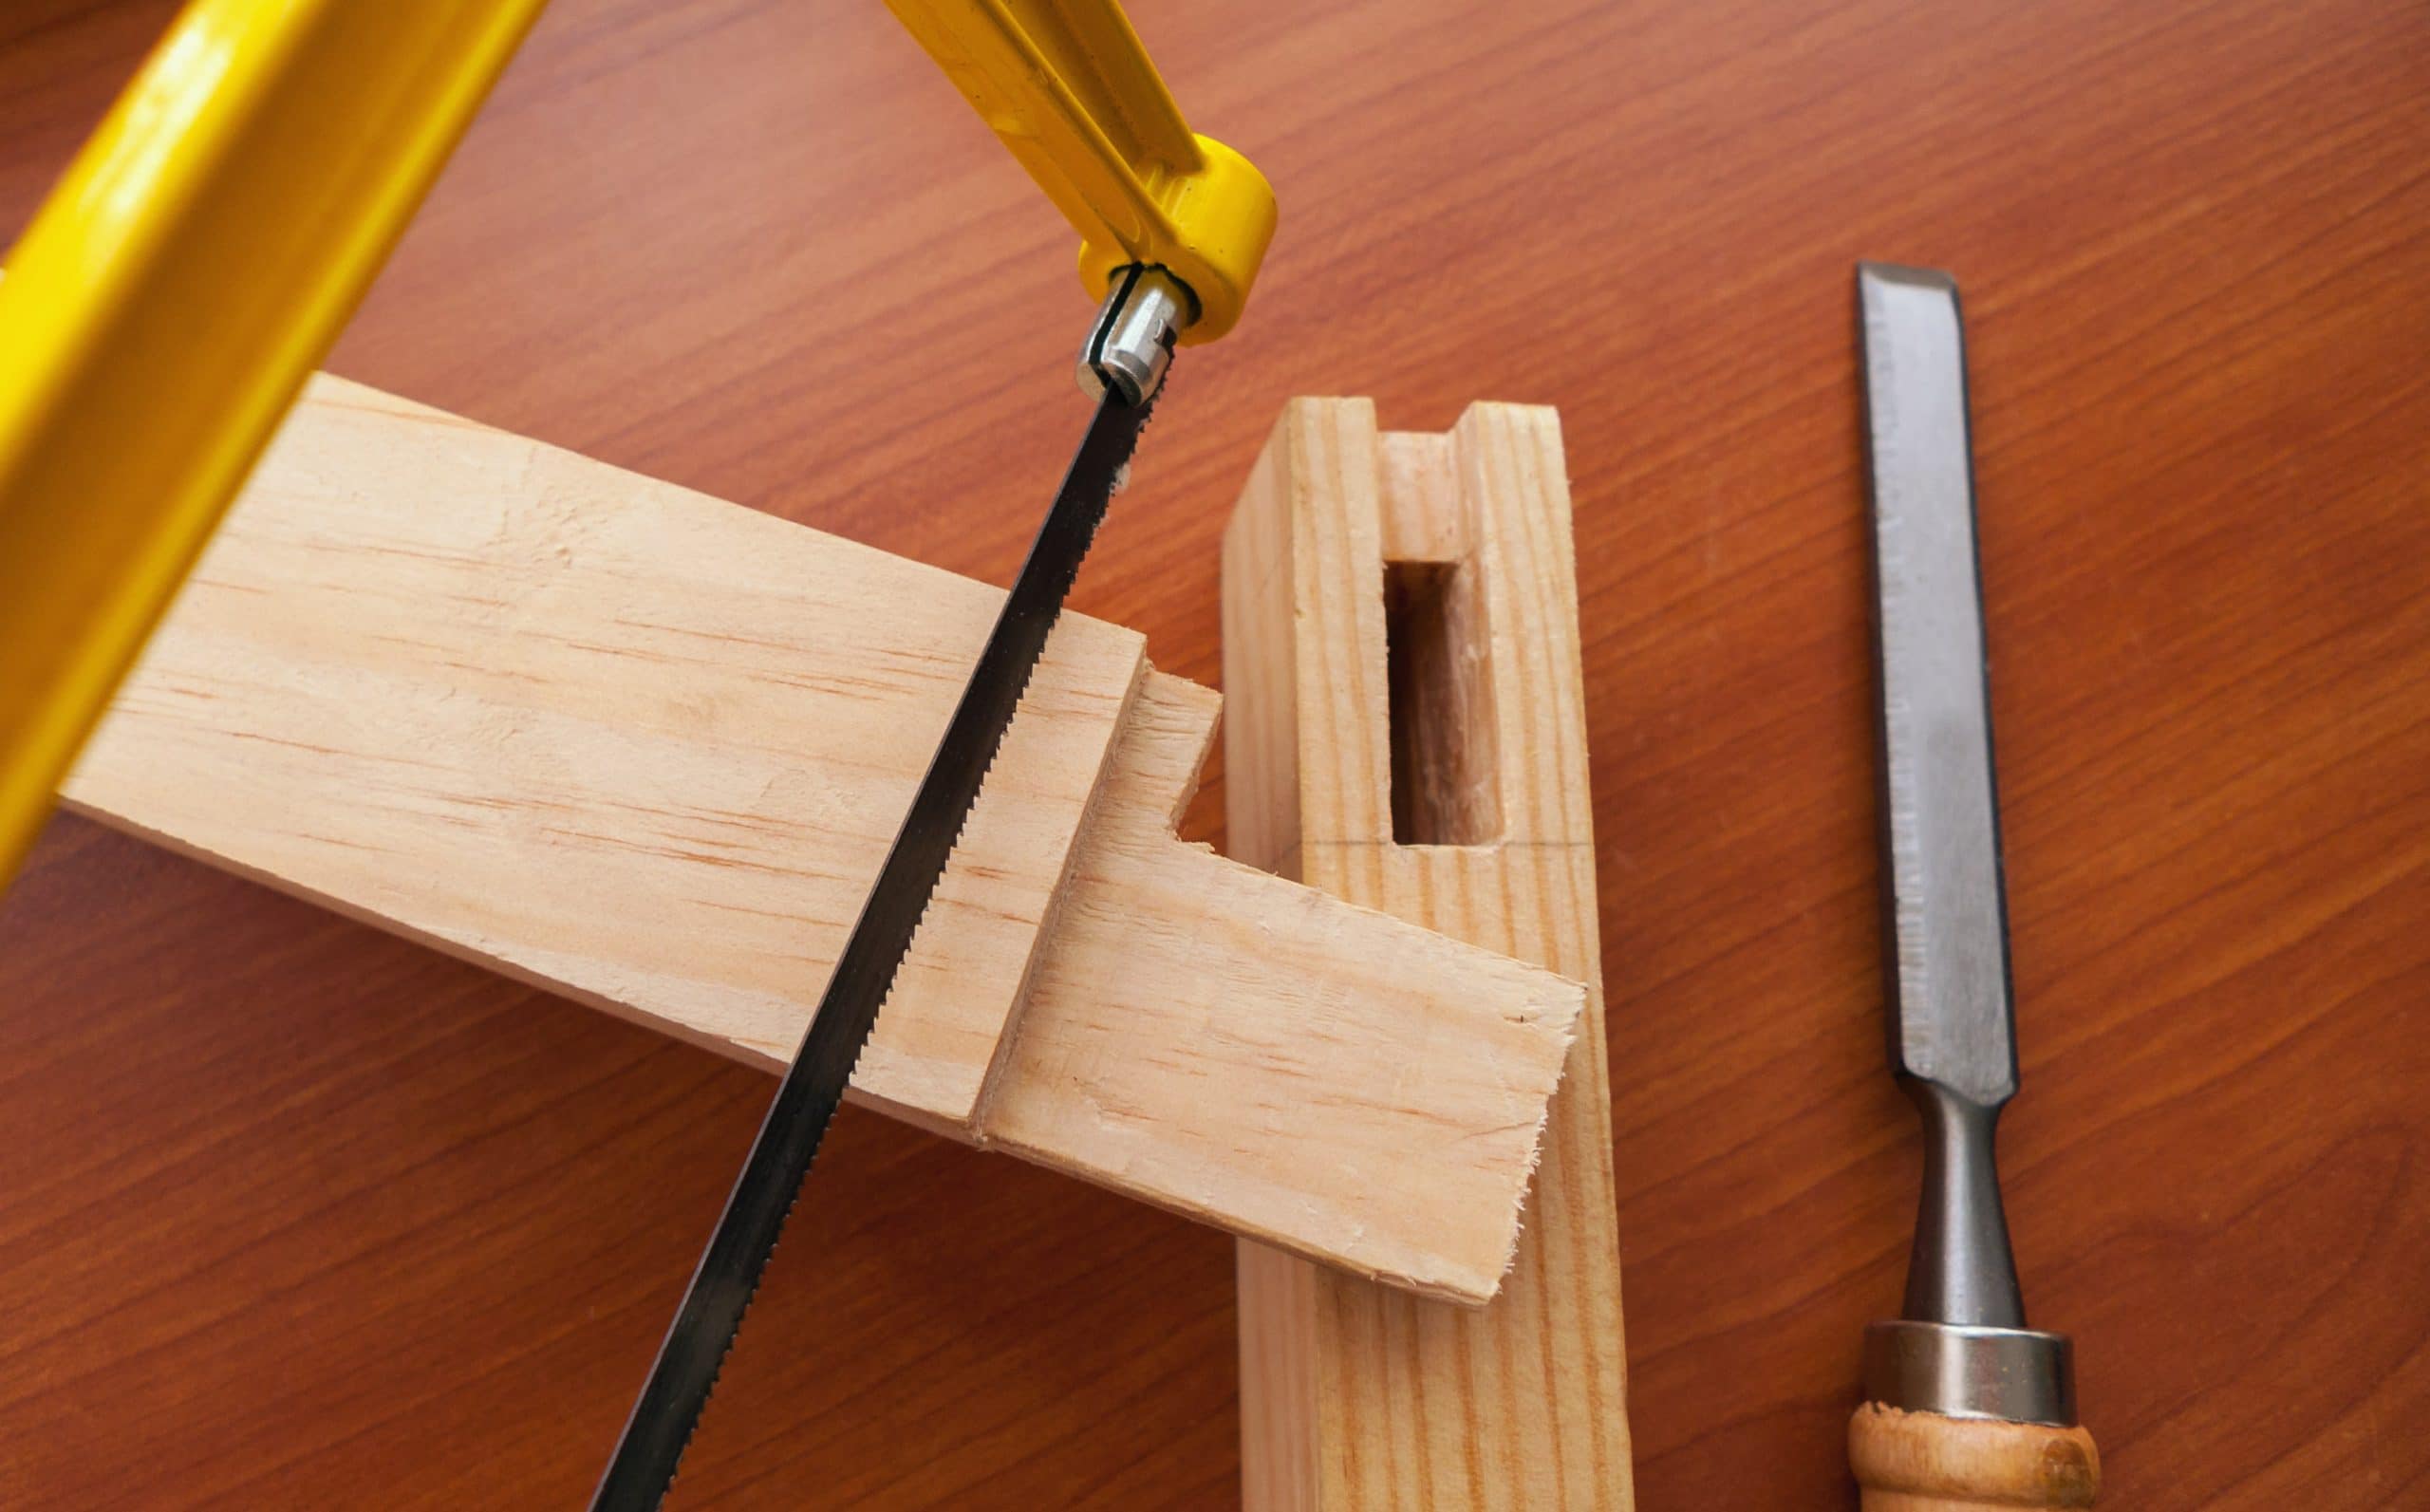
Step 3: Making the Initial Cut
With your saw prepared and the steel securely in place, it’s time to make the initial cut. Follow these steps to start cutting through the marked line:
- Position the blade: Align the blade of the saw with the starting point of the marked line. Ensure that the blade is perpendicular to the surface of the steel.
- Apply gentle pressure: Start the saw and apply gentle pressure to the handle, guiding the blade along the marked line. Let the saw do the work and avoid forcing the blade through the steel.
- Maintain a steady pace: Keep a steady, controlled pace as you guide the saw along the marked line. This will help ensure a straight and even cut.
- Monitor the progress: As you make the initial cut, pay attention to the progress and adjust your grip and pressure as needed. Keep your eyes on the marked line to ensure you are staying on track.
It’s important to note that cutting through steel with hand tools may require a bit of patience and effort, depending on the thickness and hardness of the steel. Take breaks as needed and maintain a steady pace to avoid fatigue.
Once you have made the initial cut, it’s time to move on to completing the cut.
Read more: How To Cut Miters With Hand Tools
Step 4: Completing the Cut
After making the initial cut, it’s time to complete the cut and separate the desired section of steel. Follow these steps to finish cutting through the marked line:
- Reposition the saw: Once you have made the initial cut, reposition the saw so that the blade is aligned with the end point of the marked line. Make sure the blade is still perpendicular to the steel surface.
- Continue cutting: Apply gentle pressure to the handle of the saw and guide the blade along the marked line, maintaining a steady and controlled pace. Stay focused on the line as you cut through the steel.
- Support the steel: As you near the end of the cut, be prepared to support the section of steel that is about to separate. This will prevent it from falling or causing any damage.
- Complete the cut: Continue cutting until you have fully separated the desired section of steel. Take your time and ensure you are applying the right amount of pressure to achieve a clean cut.
Once the cut is complete, carefully inspect the section of steel that you have separated. If needed, use a file or sandpaper to smooth any rough edges or burrs.
Completing the cut requires focus and precision, so take your time and ensure that you are maintaining control throughout the process. With the cut finished, let’s move on to the final step of the process.
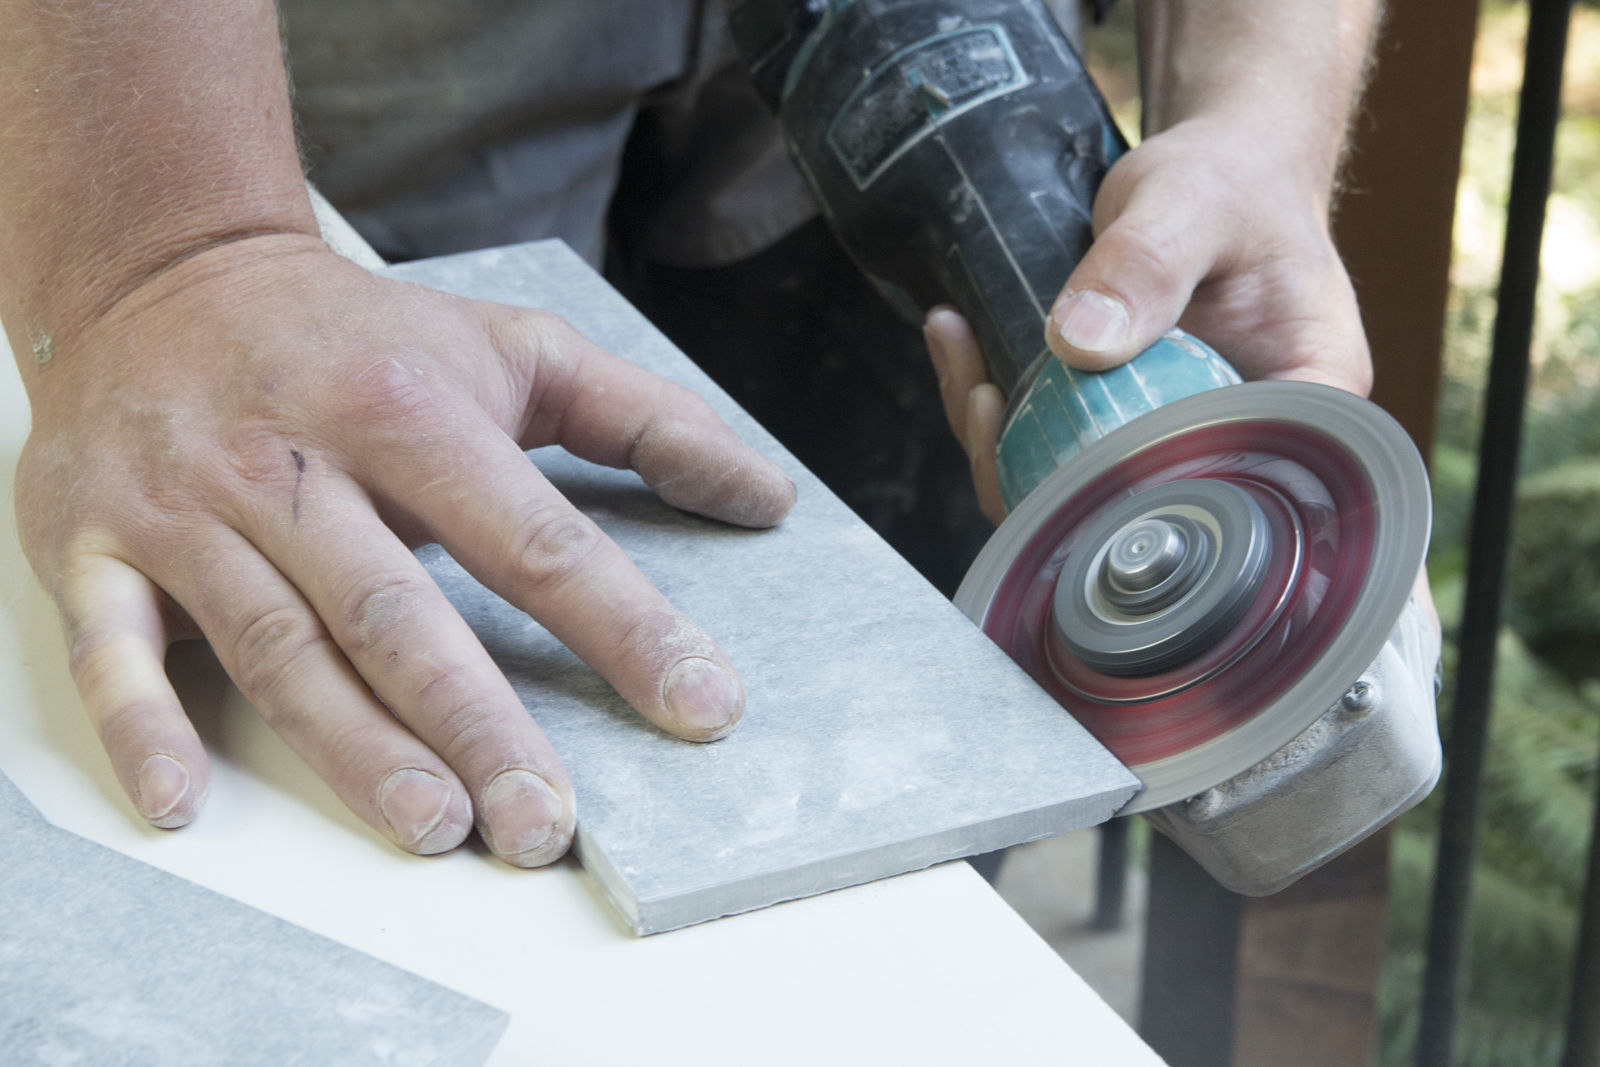
Step 5: Finishing Touches
With the cut completed, it’s time to add some finishing touches to ensure the final result is clean and professional. Follow these steps to complete the project:
- Check for burrs: After cutting through the steel, there may be burrs or rough edges that need to be addressed. Inspect the cut edges and, if necessary, use a file or sandpaper to smooth out any roughness.
- Remove any debris: During the cutting process, debris and metal shavings may accumulate on the surface of the steel. Clear away any debris using a brush or cloth.
- Inspect the cut: Take a closer look at the cut you have made to ensure it meets your expectations. If there are any imperfections or irregularities, you can make additional adjustments as needed.
- Cleanup: Once you are satisfied with the cut and the finishing touches, clean up your workspace. Remove any tools, secure any leftover steel pieces, and tidy up any debris.
By giving attention to these finishing touches, you can achieve a neat and professional-looking result. Take pride in your work and admire the precision and effort you have put into cutting steel square with hand tools.
Congratulations! You have successfully completed the process of cutting steel square with hand tools. Remember, practice makes perfect, and with each project, you will gain more confidence and expertise in working with metal.
Always prioritize safety and follow proper precautions when using hand tools. Wear safety goggles, gloves, and protective clothing to reduce the risk of injury. Additionally, ensure you have a clear and stable work area.
Now that you have learned how to cut steel square with hand tools, you can apply this skill to various DIY projects or professional tasks. Enjoy the satisfaction of creating precision cuts in steel and the endless possibilities it opens up for your creativity!
Happy cutting!
Conclusion
Cutting steel square with hand tools may initially seem like a challenging task, but with the right tools, techniques, and a bit of patience, it can be accomplished successfully. By following the step-by-step process outlined in this article, you can achieve precise and clean cuts in steel.
Remember to gather all the necessary tools and materials before starting the cutting process. A steel square, marker or pencil, measuring tape or ruler, bench vise or clamps, a metal cutting saw, and safety gear are essential for a smooth and safe cutting experience.
Start by thoroughly marking the area where you will make the cut, ensuring accuracy and precision. Prepare the saw by inspecting the blade, securing the steel in place, and adjusting the blade angle, if necessary.
With your saw in position and your safety gear on, make the initial cut, applying gentle pressure and maintaining a steady pace. Monitor the progress and adjust as needed to ensure a straight and even cut.
Once the initial cut is made, reposition the saw and continue cutting until the desired section of steel is completely separated. Support the steel as needed to prevent any damage and ensure a clean cut.
After the cut is complete, add the finishing touches by checking for burrs, removing debris, and inspecting the cut for any imperfections. Take the time to clean up your workspace and appreciate the craftsmanship of your work.
Always prioritize safety throughout the entire cutting process. Wear safety goggles, gloves, and protective clothing to minimize the risk of injury. Keep your work area clear and stable for optimal safety.
With each project, you will gain more confidence and expertise in working with metal and hand tools. Cutting steel square opens up a world of possibilities for DIY projects and professional tasks.
Now that you have learned how to cut steel square with hand tools, take pride in your newfound skill and embrace the endless opportunities to create and shape metal with precision.
Happy cutting!
Frequently Asked Questions about How Cut Steel Square With Hand Tools
Was this page helpful?
At Storables.com, we guarantee accurate and reliable information. Our content, validated by Expert Board Contributors, is crafted following stringent Editorial Policies. We're committed to providing you with well-researched, expert-backed insights for all your informational needs.


0 thoughts on “How Cut Steel Square With Hand Tools”