Articles
How To Remove Freezer Drawer Samsung
Modified: August 28, 2024
Learn how to easily remove the freezer drawer on your Samsung refrigerator with our step-by-step articles.
(Many of the links in this article redirect to a specific reviewed product. Your purchase of these products through affiliate links helps to generate commission for Storables.com, at no extra cost. Learn more)
Introduction
Having a freezer drawer in your Samsung refrigerator is a convenient feature that provides ample storage space for frozen goods. However, there may come a time when you need to remove the freezer drawer, either for cleaning, maintenance, or to access the components behind it. Removing the freezer drawer from your Samsung refrigerator may seem like a daunting task, but with the right instructions and a little patience, it can be done easily.
In this article, we will guide you through the step-by-step process of removing the freezer drawer from your Samsung refrigerator. We will provide detailed instructions for each step, along with helpful tips and precautions to ensure a smooth and hassle-free experience.
Before we begin, it is important to note that different Samsung refrigerator models may have slight variations in the removal process. Therefore, it is always recommended to consult the user manual specific to your refrigerator model for any additional instructions or precautions.
Now, let’s dive into the step-by-step process of removing the freezer drawer from your Samsung refrigerator.
Key Takeaways:
- Safely removing the freezer drawer from your Samsung refrigerator involves thorough preparation, careful handling, and attention to detail. Following the step-by-step process and taking necessary precautions ensures a smooth and hassle-free experience.
- Reinstalling the freezer drawer rails and attaching the drawer back into place are crucial steps for stability and proper functioning. With the right guidance and patience, you can confidently maintain and access your Samsung refrigerator’s components.
Read more: How To Remove Whirlpool Freezer Drawer
Step 1: Preparation
Before you start removing the freezer drawer from your Samsung refrigerator, it is essential to ensure that you have the necessary tools and protective measures in place. Here’s what you’ll need:
- Protective gloves
- Phillips screwdriver
- Container or cooler for storing frozen items
- Soft cloth or sponge for cleaning
Once you have gathered all the required tools, follow these preparation steps:
- Turn off the refrigerator: Before you begin, make sure to turn off the refrigerator by unplugging it or switching off the power at the circuit breaker. This will prevent any electrical accidents during the removal process.
- Empty the freezer drawer: Remove all the items from the freezer drawer and transfer them to a container or cooler to keep them frozen while you work. It is essential to minimize the time the frozen items spend outside the freezer to prevent them from thawing.
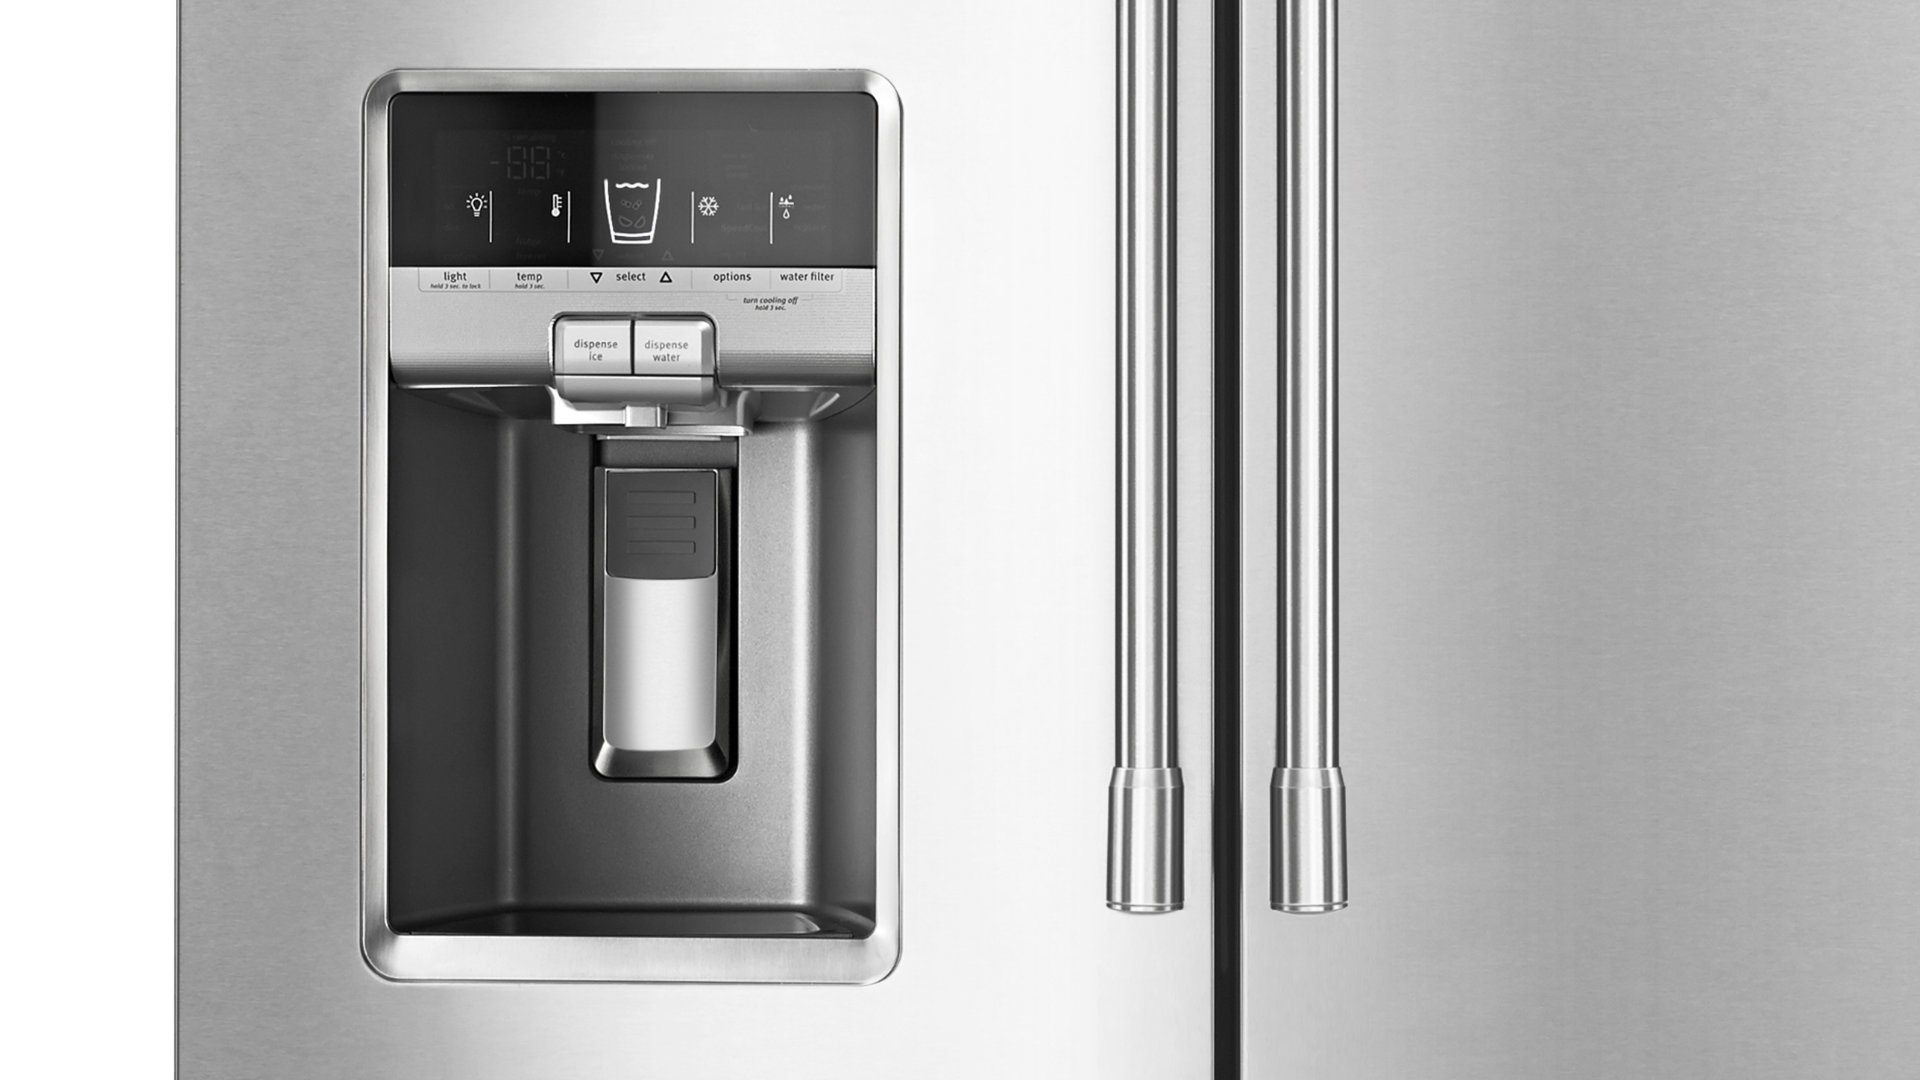
- Disconnect the water supply (if applicable): If your Samsung refrigerator has a water line connected to it, make sure to turn off the water supply and disconnect the water line. This step is crucial to prevent any water leaks or damage during the removal process.
- Clear the surrounding area: Clear any objects or obstacles around the refrigerator to ensure easy access and maneuverability during the removal process. This will help prevent any accidents or damage to the refrigerator or surrounding furniture.
By following these preparation steps, you will have everything ready to proceed with removing the freezer drawer from your Samsung refrigerator. Taking the time to prepare adequately will make the removal process smoother and more efficient.
Step 2: Removing the Contents of the Freezer Drawer
Now that you have prepared the necessary tools and the surrounding area, it’s time to start removing the contents of the freezer drawer. Here’s how:
- Organize and categorize: It is helpful to organize the items in the freezer drawer into categories such as meat, vegetables, frozen meals, etc. This will make it easier to put everything back in the correct places once you reassemble the freezer drawer.
- Take out the items: Carefully remove all the items from the freezer drawer and place them in a container or cooler. Be sure to handle fragile or perishable items with care to avoid any damage or spoilage.
- Check for expired items: This is a good opportunity to check for any expired or freezer-burned items in your freezer. Discard any items that have passed their expiration dates or have become unusable due to freezer burn.
- Clean the inside of the drawer: While the freezer drawer is empty, take the time to clean the inside with a soft cloth or sponge. Wipe away any spills, crumbs, or frost buildup to ensure a clean and fresh freezer compartment.
By following these steps, you will not only clear out the freezer drawer but also have a chance to declutter and organize the frozen items. This will make the reassembly process more efficient and allow you to start with a clean and well-maintained freezer drawer.
Step 3: Detaching the Freezer Drawer
With the contents of the freezer drawer safely removed, it’s time to proceed with detaching the drawer itself from your Samsung refrigerator. Follow these steps:
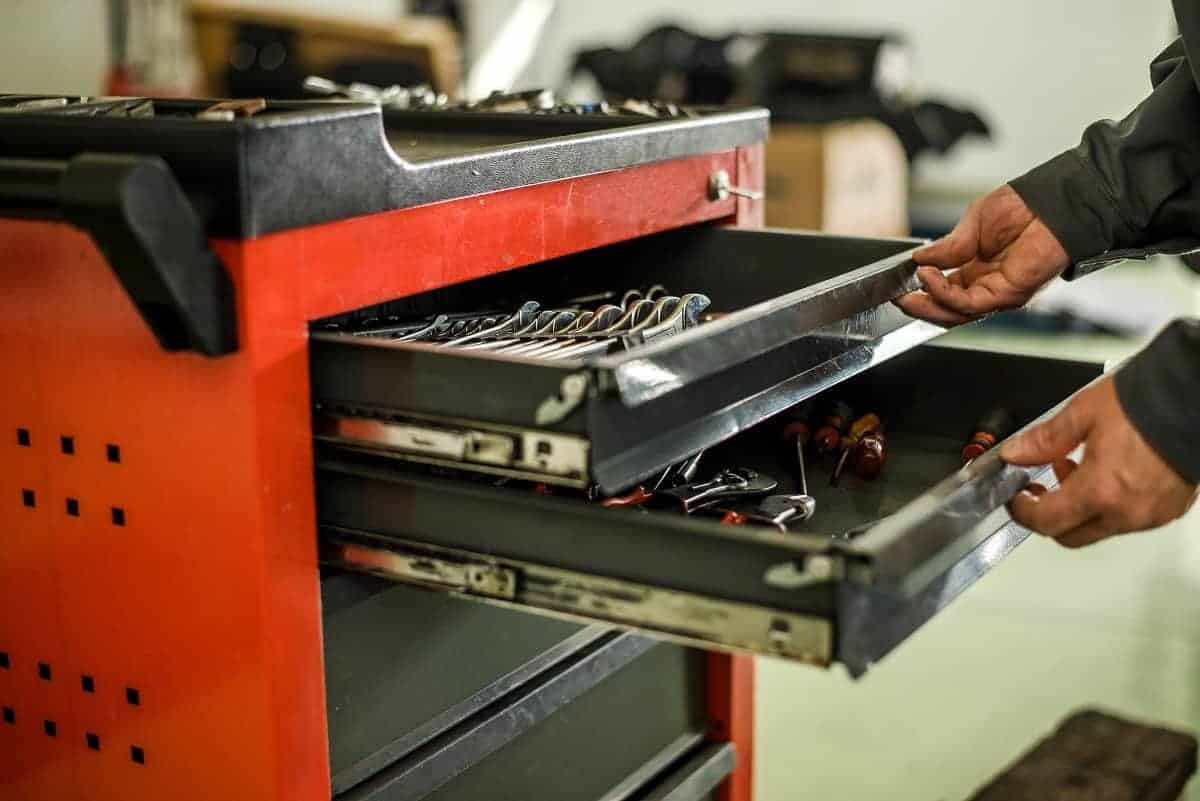
- Locate the release tabs: Look for the release tabs or levers on both sides of the freezer drawer. These tabs are usually located towards the front of the drawer, near the rails.
- Push the release tabs: Simultaneously push both release tabs inward towards the center of the drawer. This action will release the drawer from the rails and allow it to slide out.
- Gently pull out the drawer: Once you have pushed the release tabs, carefully pull out the freezer drawer towards yourself. Keep a firm grip on the handle and proceed slowly to avoid any accidents or damage.
- Set the drawer aside: Once you have fully removed the freezer drawer, set it aside in a safe and clean area. Be cautious not to place it in a location where it may be accidentally bumped or damaged.
It is important to note that some Samsung refrigerator models may have additional locking mechanisms or features that need to be disengaged before the freezer drawer can be detached. If you encounter any such features, refer to your user manual for specific instructions on how to release them.
By following these steps, you will be able to detach the freezer drawer from your Samsung refrigerator and proceed to the next steps in the removal process. Take your time and be gentle to avoid any unnecessary strain or damage to the drawer or refrigerator.
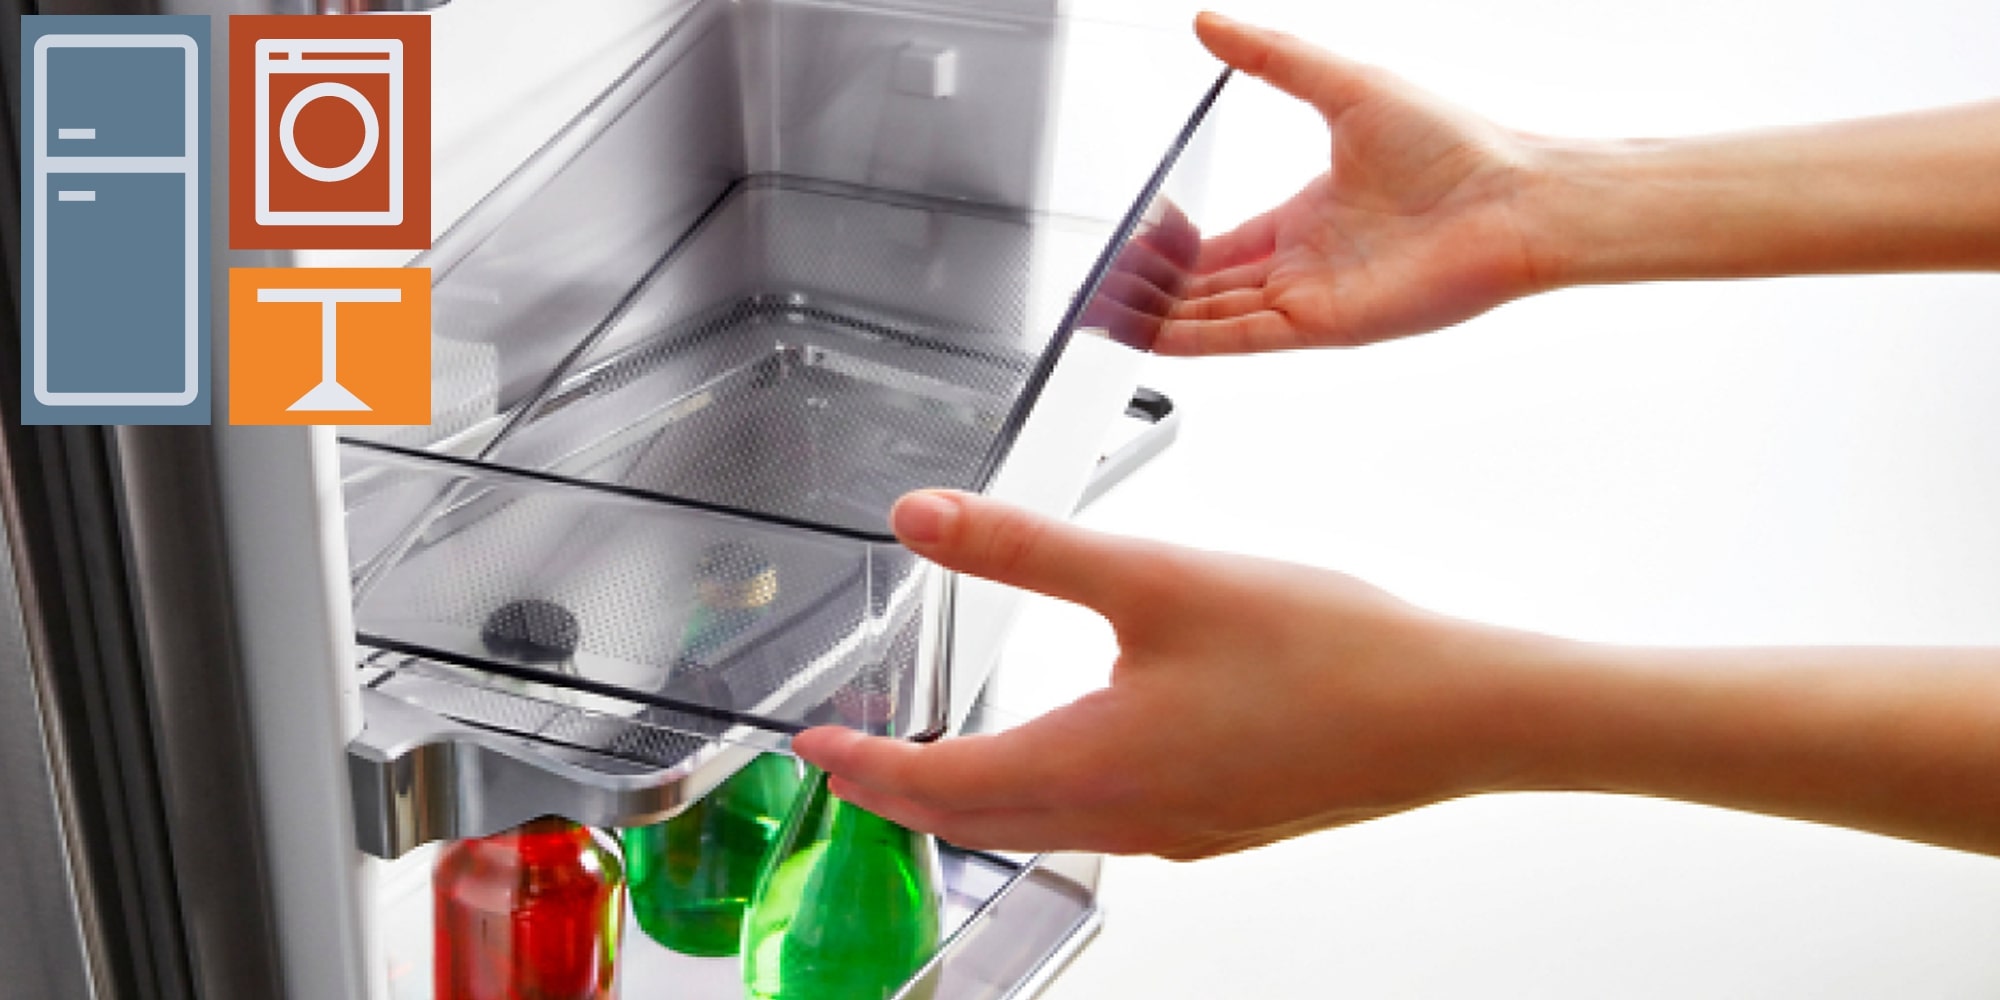
To remove the freezer drawer on a Samsung refrigerator, open the drawer fully and lift it up slightly to disengage the tracks. Then, tilt the drawer up and pull it out.
Step 4: Removing the Freezer Drawer Rails
Now that the freezer drawer is detached, the next step is to remove the freezer drawer rails. Here’s how to do it:
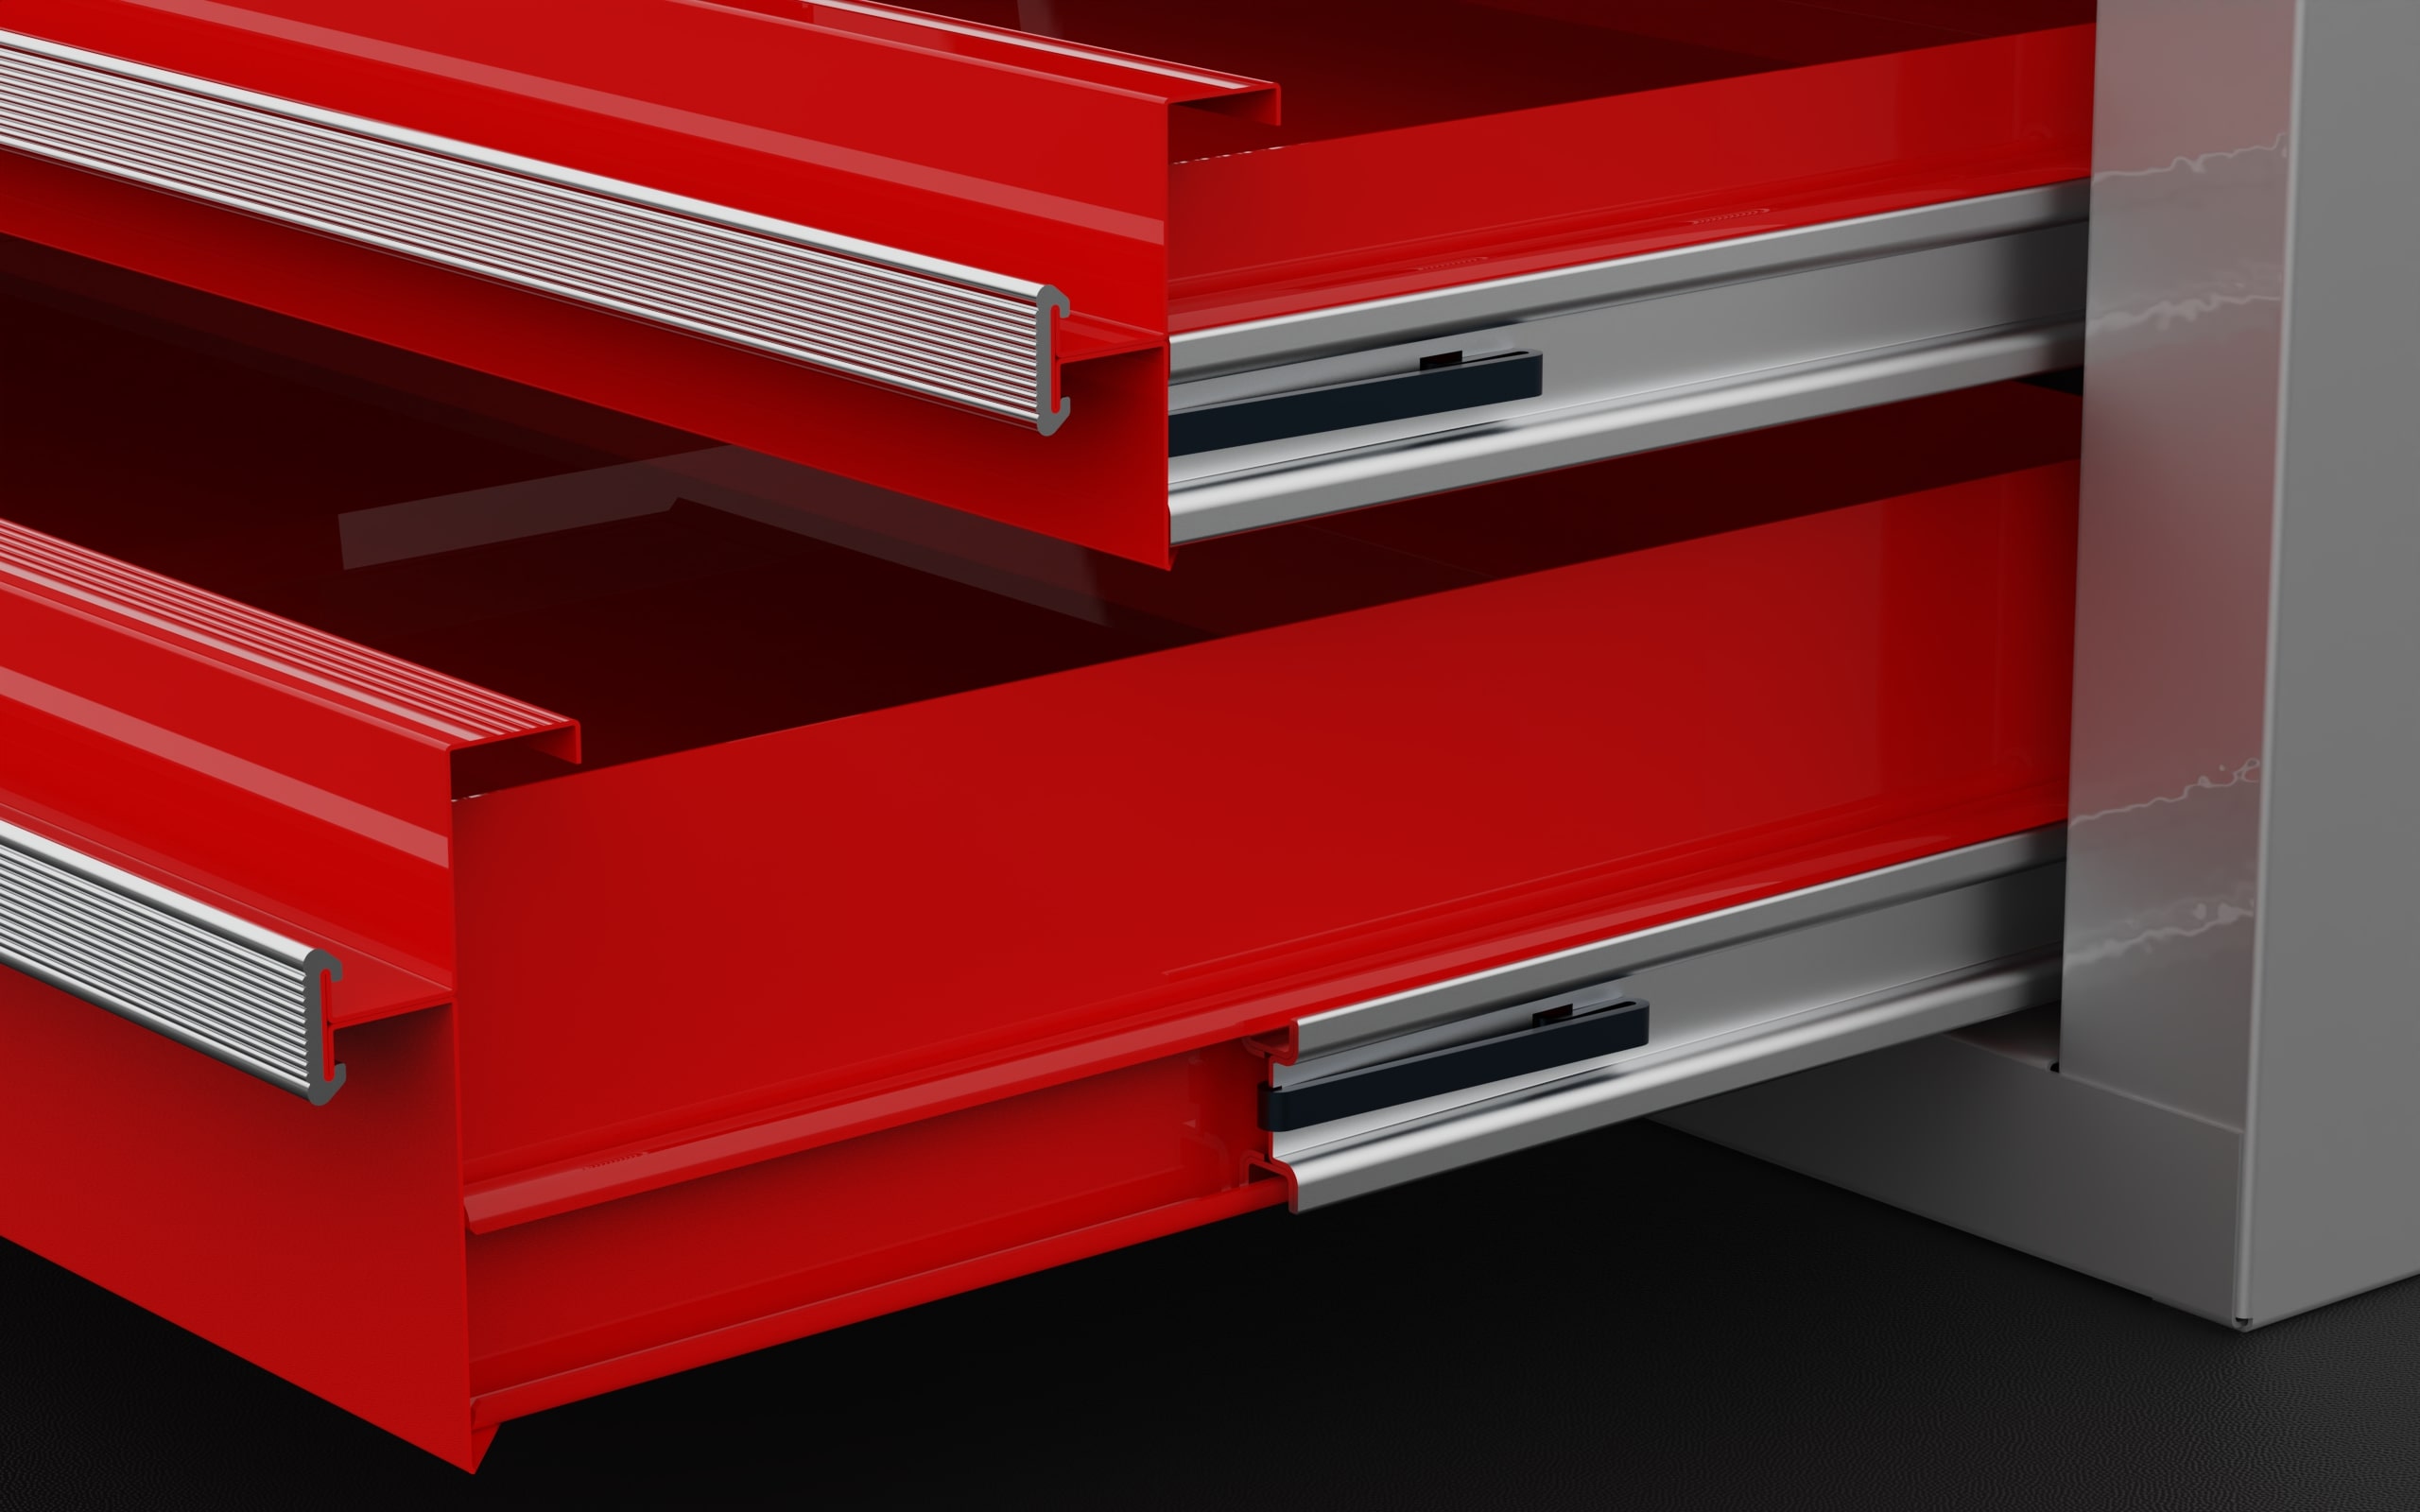
- Locate the rail locking clips: Look for the rail locking clips on both sides of the freezer compartment. These clips are usually located towards the back of the compartment, near the rails.
- Unlock the rail locking clips: Use a Phillips screwdriver to rotate the rail locking clips counterclockwise until they unlock. This will release the rails from the freezer compartment.
- Slide the rails towards the front: After unlocking the rail locking clips, gently push the rails towards the front of the freezer compartment. This will disengage them from the rear clips and allow you to remove the rails completely.
- Remove the rails: Once the rails are unhooked from the rear clips, lift them up slightly and pull them towards yourself to remove them from the freezer compartment.
It is important to note that some Samsung refrigerator models may have different mechanisms for removing the freezer drawer rails. If you encounter any difficulties or are unsure about the removal process, consult your user manual or reach out to Samsung customer support for further assistance.
By following these steps, you will successfully remove the freezer drawer rails from your Samsung refrigerator. Keep the rails in a safe place where they cannot be misplaced or damaged, as you will need to reinstall them later in the process.
Read more: How To Remove Vanity Drawers
Step 5: Reinstalling the Freezer Drawer Rails
Now that you have successfully removed the freezer drawer rails, it’s time to reinstall them back into the freezer compartment of your Samsung refrigerator. Follow these steps:
- Position the rails: Hold one of the freezer drawer rails and position it at the same angle as the rail slots in the freezer compartment.
- Fit the rails into the slots: Slide the rail into the slots in the freezer compartment, making sure it aligns securely with the rear clips.
- Push the rail towards the back: Once the rail is aligned with the slots, push it towards the back of the freezer compartment until you hear a click or feel it latch into place.
- Repeat for the other rail: Repeat the same process for the other freezer drawer rail, ensuring it is positioned and latched securely into place.
It is important to ensure that both freezer drawer rails are properly installed and securely latched into place. This will ensure smooth and stable operation of the freezer drawer when it is reattached.
If you encounter any difficulties or the rails do not seem to fit properly, double-check the position and alignment of the rails. If the issue persists, consult your user manual or contact Samsung customer support for further assistance.
By following these steps, you will have successfully reinstalled the freezer drawer rails in your Samsung refrigerator. The rails are now ready for the next step of reattaching the freezer drawer.
Step 6: Attaching the Freezer Drawer Back in Place
With the freezer drawer rails securely in position, it’s time to attach the freezer drawer back into your Samsung refrigerator. Follow these steps:
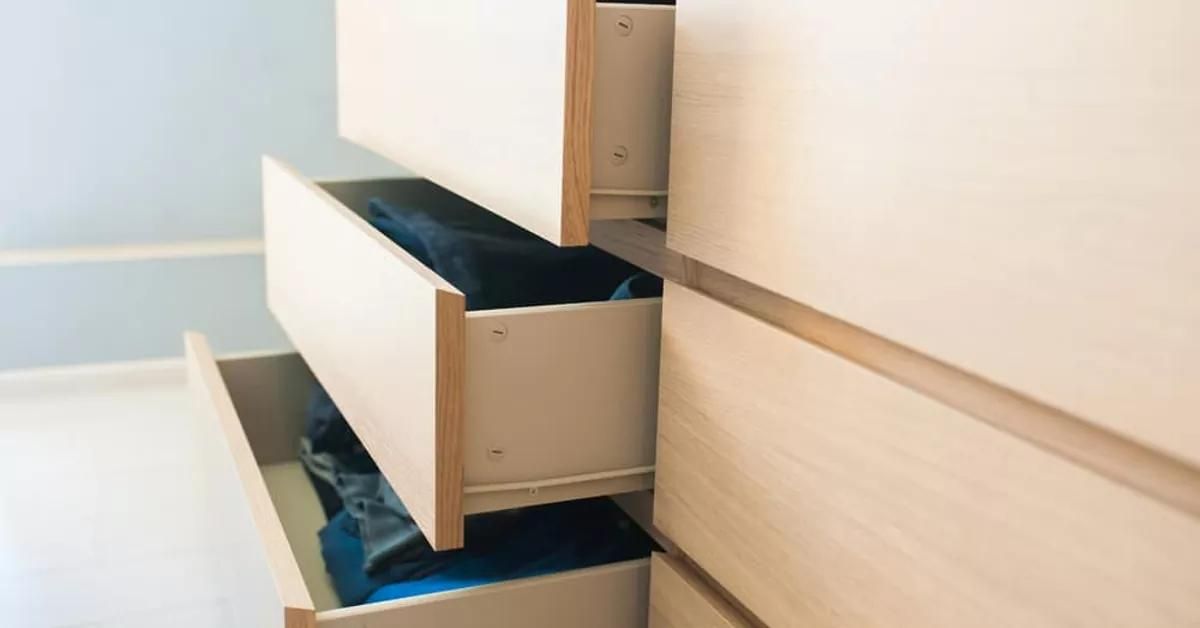
- Hold the freezer drawer: Carefully lift the freezer drawer and hold it at the same angle as the rail slots in the freezer compartment.
- Align the drawer with the rails: Align the sides of the freezer drawer with the rails, ensuring that the drawer is correctly positioned and level.
- Push the drawer onto the rails: Start by inserting the back of the freezer drawer onto the rails and then gently push the drawer towards the back of the refrigerator until it slides in smoothly.
- Ensure proper alignment: Once the freezer drawer is attached, double-check that it is aligned properly with the rails and sits evenly on both sides. This will ensure smooth operation and prevent any issues when opening and closing the drawer.
It is important to handle the freezer drawer with care to avoid any damage or misalignment during the reattachment process. Take your time and make sure the drawer glides smoothly along the rails.
If you encounter any difficulties or the drawer does not slide in easily, check the alignment of the drawer with the rails. Make any necessary adjustments to ensure a proper fit. If the issue persists, consult your user manual or contact Samsung customer support for further assistance.
By following these steps, you will successfully attach the freezer drawer back into the rails of your Samsung refrigerator. Take a moment to ensure everything is secure and properly aligned before moving on.
Conclusion
Removing the freezer drawer from your Samsung refrigerator may seem like a challenging task, but with the right instructions and a little patience, it can be done smoothly. By following the step-by-step process outlined in this article, you can safely remove the freezer drawer for cleaning, maintenance, or accessing the components behind it.
Throughout the process, it’s important to take the necessary precautions and have the proper tools on hand. Prepare the area, remove the contents of the freezer drawer, and detach the drawer and rails carefully. Clean the inside of the drawer and freezer compartment while you have the opportunity.
Reinstalling the freezer drawer rails is a crucial step to ensure stability and proper functioning. Take your time to align the rails correctly and secure them in place with the locking clips or mechanisms.
Finally, attach the freezer drawer back onto the rails, ensuring it is properly aligned and level. Check for smooth operation and proper closure before finishing the process.
Remember to consult your specific Samsung refrigerator model’s user manual for any additional instructions or variations in the removal process.
By following these steps, you can confidently remove and reinstall the freezer drawer in your Samsung refrigerator whenever necessary. This will enable you to clean and maintain your appliance more effectively and access the components behind the drawer for any required repairs or adjustments.
Always prioritize safety and take your time throughout the process. If you encounter any difficulties or have any concerns, reach out to Samsung’s customer support for further assistance.
With a little effort and the right guidance, you can easily remove and reattach the freezer drawer in your Samsung refrigerator, maintaining the functionality and performance of your appliance for years to come.
Now that you've mastered removing the freezer drawer, why not keep that momentum going? Organizing your freezer can be just as satisfying, and we've got just the guide to help. From arranging frozen goods to optimizing space, our article on freezer organization will transform your storage solutions, making meal prep smoother and saving you time. After all, a tidy freezer is a happy freezer!
Frequently Asked Questions about How To Remove Freezer Drawer Samsung
Was this page helpful?
At Storables.com, we guarantee accurate and reliable information. Our content, validated by Expert Board Contributors, is crafted following stringent Editorial Policies. We're committed to providing you with well-researched, expert-backed insights for all your informational needs.


0 thoughts on “How To Remove Freezer Drawer Samsung”