Articles
How To Drain A Rheem Water Heater
Modified: October 20, 2024
Learn how to drain a Rheem water heater with our informative articles. Our step-by-step guides will help you maintain your water heater efficiently and prevent any potential issues.
(Many of the links in this article redirect to a specific reviewed product. Your purchase of these products through affiliate links helps to generate commission for Storables.com, at no extra cost. Learn more)
Introduction
Draining a Rheem water heater is an essential maintenance task that should be performed regularly to ensure the efficient operation of the unit. Over time, sediment and mineral deposits can accumulate at the bottom of the tank, reducing its capacity and making it less efficient. Draining the water heater helps remove these deposits, prolonging its lifespan and preventing potential issues such as reduced hot water flow and increased energy consumption.
In this article, we will guide you through the step-by-step process of draining a Rheem water heater. By following these instructions, you can easily and safely complete the task, even if you have limited plumbing experience.
Before you begin, it’s important to note that draining a water heater involves working with heated water and plumbing systems. If you are unsure or uncomfortable with any step of the process, it’s best to consult a professional plumber. Safety should always be a top priority.
Now, let’s explore the process of draining a Rheem water heater and restore its efficiency and longevity.
Key Takeaways:
- Regularly draining your Rheem water heater helps remove sediment and mineral deposits, improving efficiency and preventing issues like reduced hot water flow and increased energy consumption.
- Prioritize safety by turning off the power supply before draining your water heater. Consult a professional plumber if unsure or uncomfortable with any step.
Read more: How To Install Rheem Water Heater
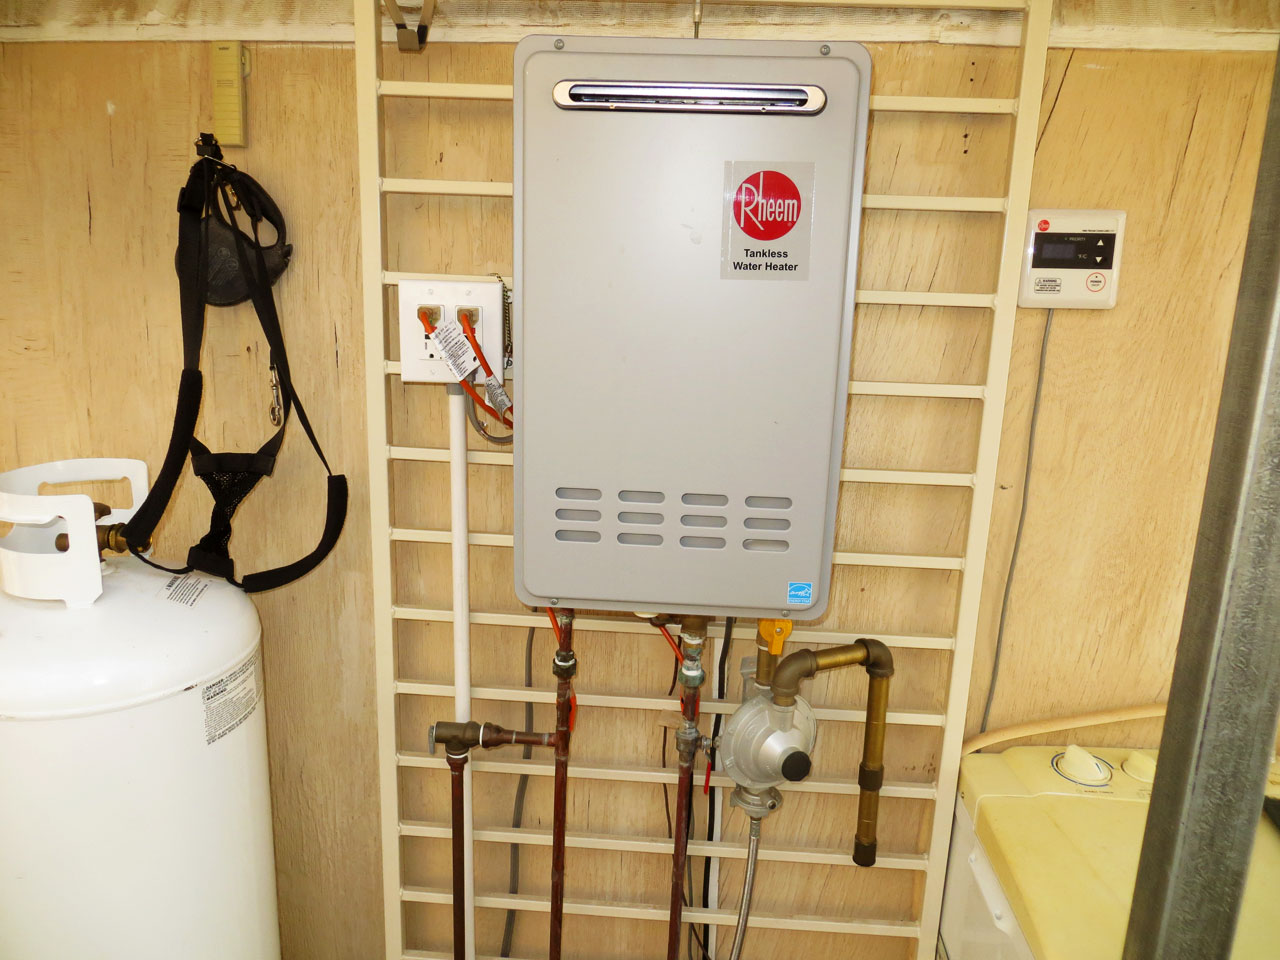
Step 1: Turn off the power supply
The first step in draining a Rheem water heater is to turn off the power supply. This will ensure that there is no risk of heating elements activating while the tank is empty.
If you have an electric water heater, locate the circuit breaker that supplies power to the unit. Switch off the corresponding breaker to cut off the electricity supply. To be sure, you can also turn off the main power switch for the entire house.
For gas water heaters, you will need to turn off the gas supply. Locate the gas control valve on the front of the unit and turn it to the ‘Off’ position. If you are unsure of the location or operation of the gas control valve, consult the manufacturer’s manual or contact a professional plumber for assistance.
Take extra precautions to ensure that the power supply is indeed turned off before proceeding to the next steps. This will minimize the risk of accidents and ensure your safety during the draining process.
Once the power supply is turned off, you can move on to the next step and gather the necessary tools.
Step 2: Gather the necessary tools
Before you begin draining your Rheem water heater, it’s important to gather all the necessary tools. Having the right tools on hand will make the process smoother and more efficient.
Here is a list of tools you will need:
- A garden hose long enough to reach from the water heater to a suitable draining location.
- A pair of pliers or a wrench to loosen and tighten connections.
- A bucket or a large container to collect any water that may spill during the draining process.
- Protective gloves to keep your hands safe from hot water and debris.
- Towels or rags to wipe up any spills or leaks.
Make sure that all the tools are easily accessible and in good working condition before you proceed with the next steps. Having everything ready will save you time and ensure a smooth draining process.
Once you have gathered the necessary tools, it’s time to locate the drain valve on your Rheem water heater.
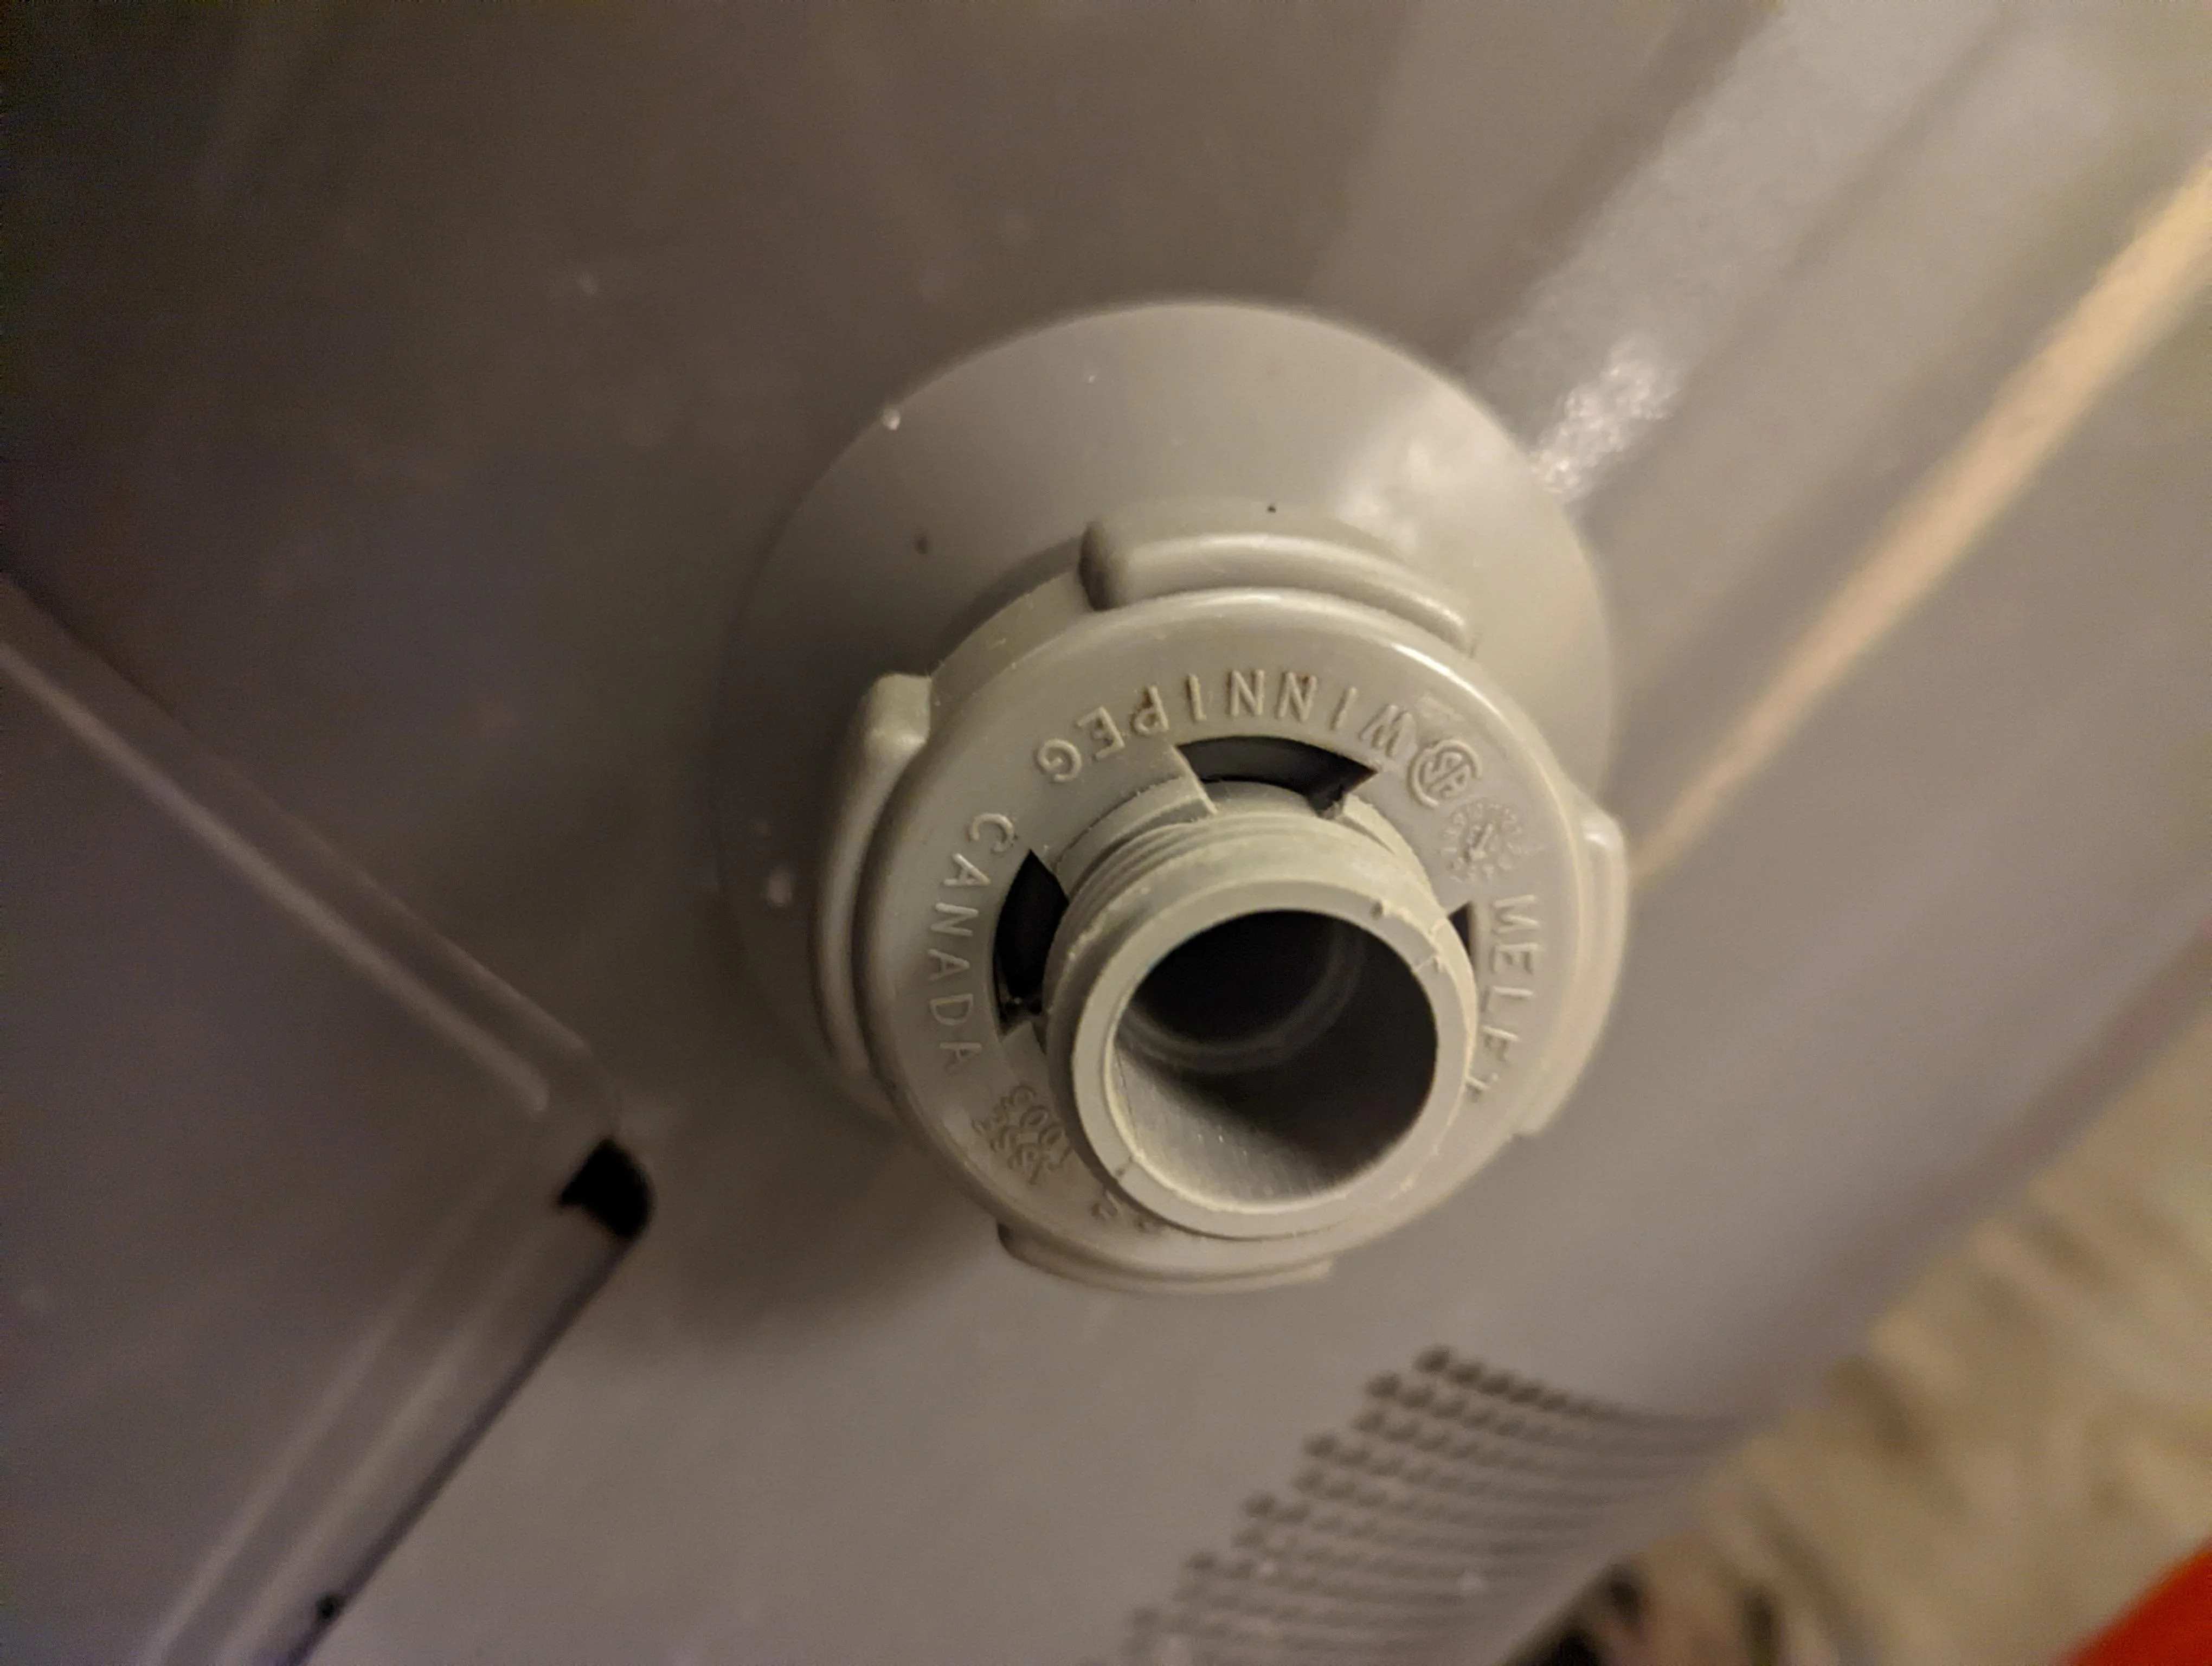
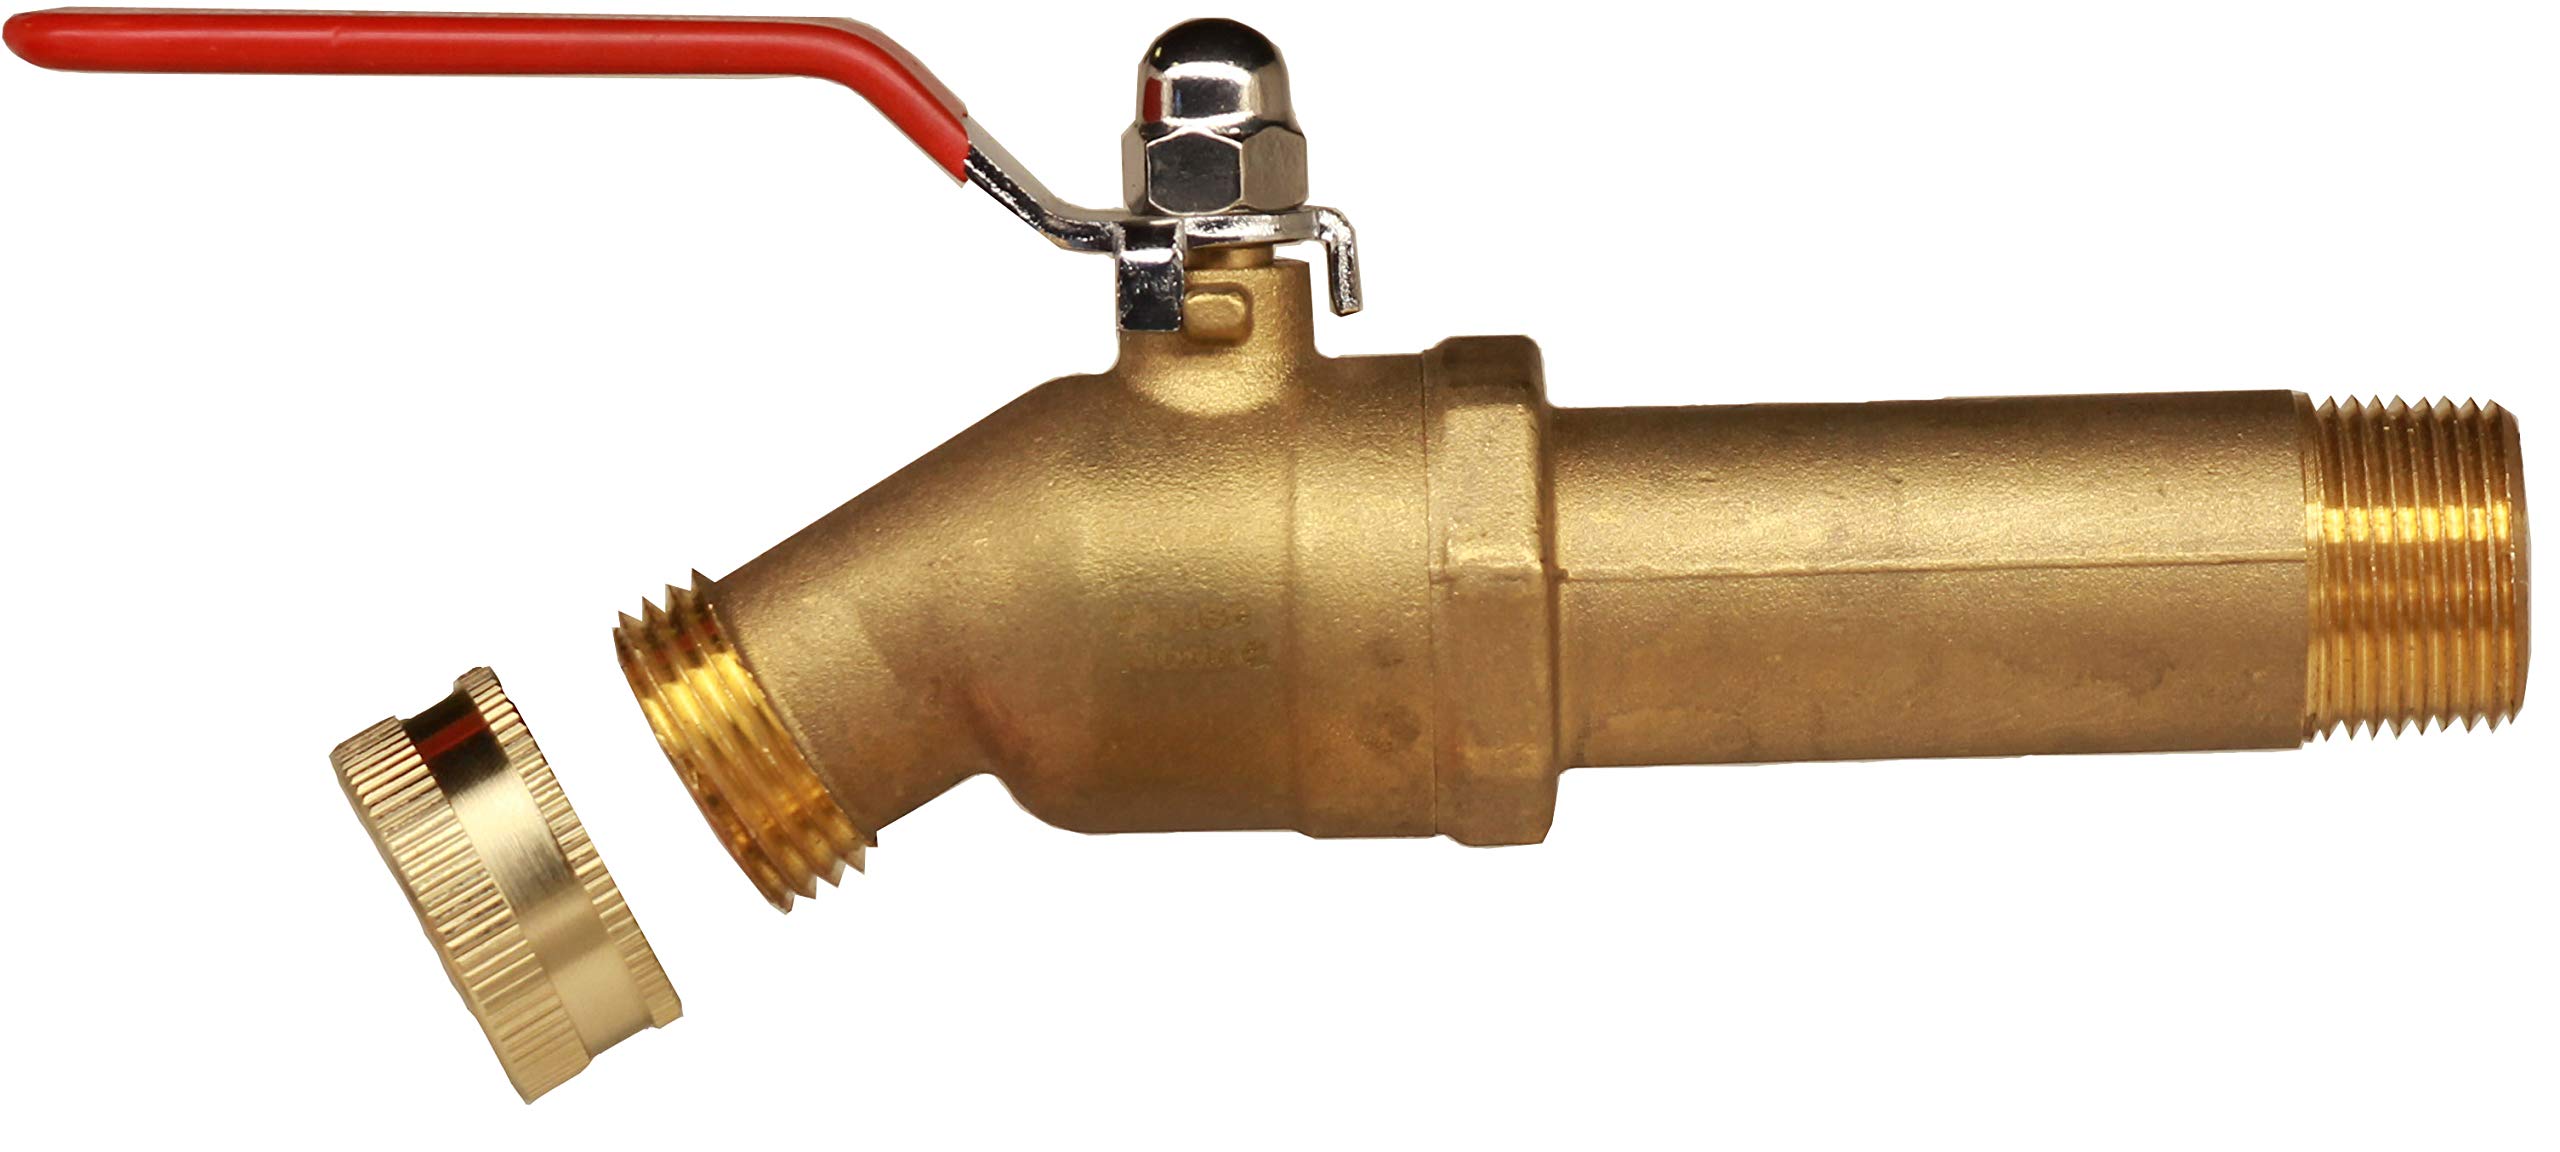
Step 3: Locate the drain valve
In order to drain your Rheem water heater, you need to locate the drain valve. The drain valve is typically located at the bottom of the tank, near the heating element.
To find the drain valve, follow these steps:
- Locate the access panel on the front of your water heater. This panel is where you can access the control panel and other components of the unit.
- Remove the access panel by unscrewing the screws or using a screwdriver, depending on the type of fasteners used.
- Once the access panel is removed, you will have a clear view of the tank. Look for a small valve or spigot at the bottom of the tank. This is the drain valve.
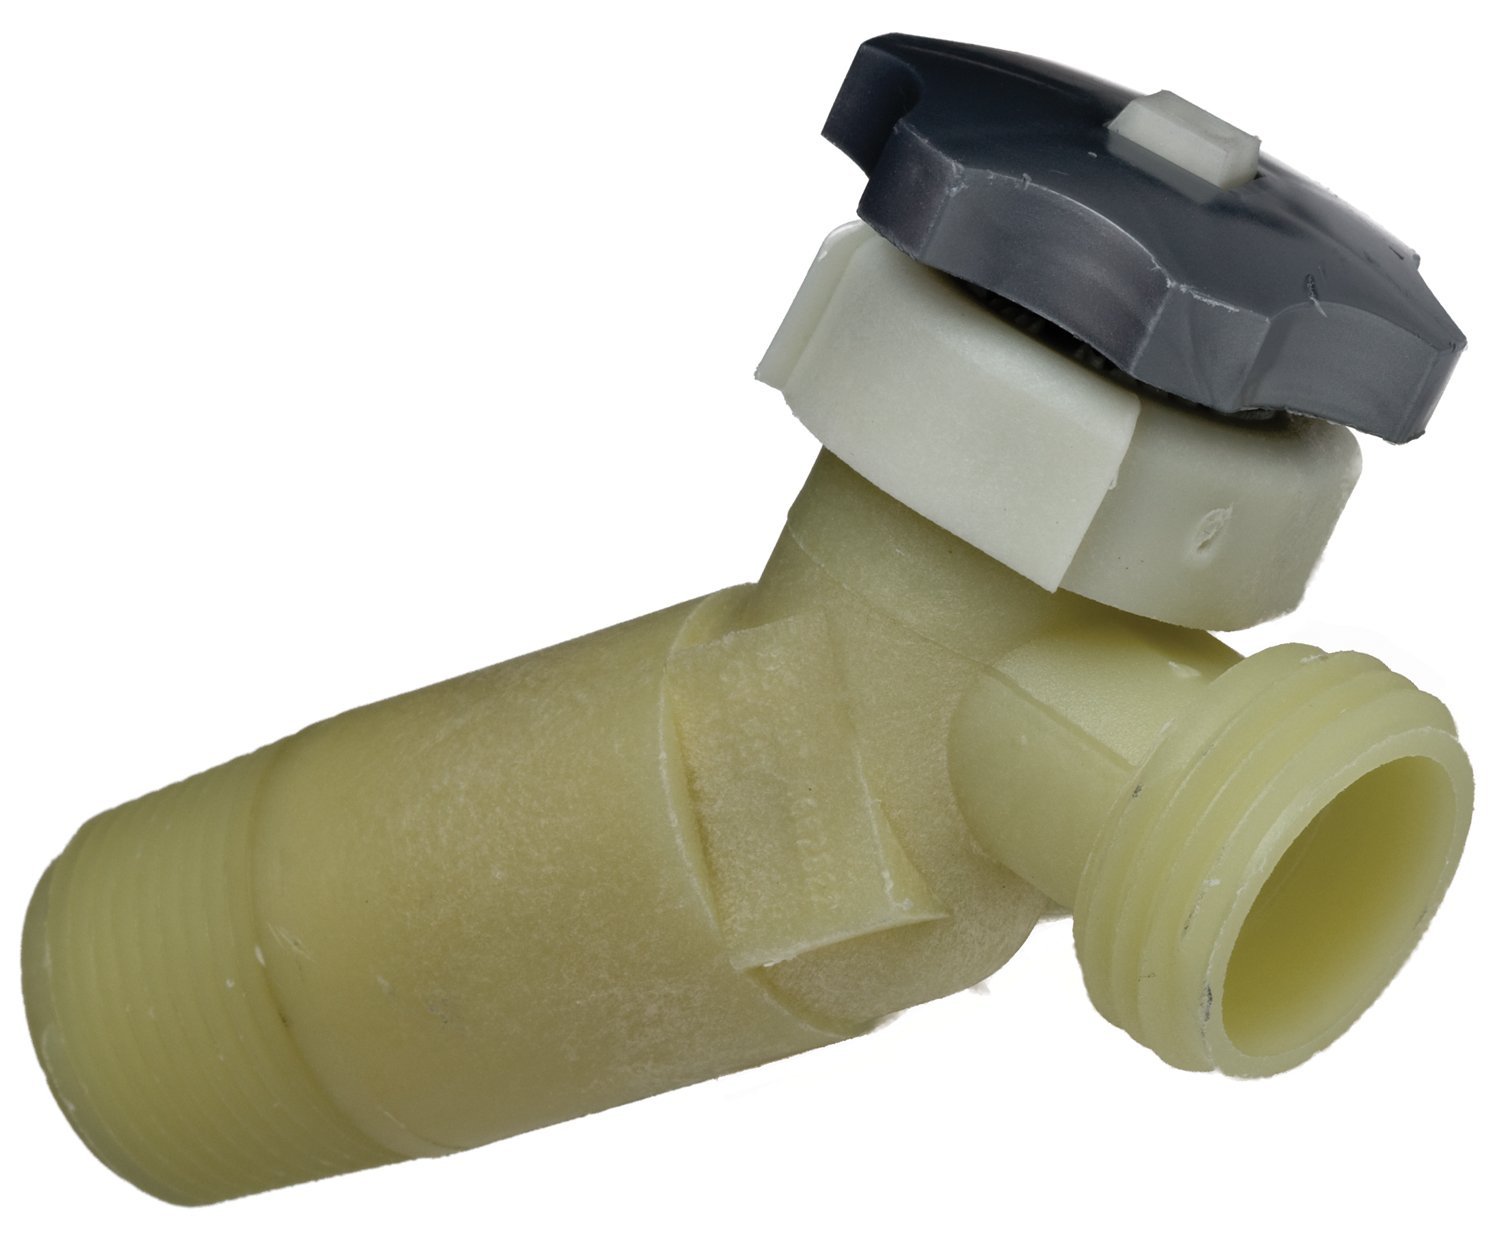
The drain valve is usually a brass or plastic valve with a threaded connection. It might have a handle or a knob that you can turn to open or close it.
If you are having trouble locating the drain valve, consult the user manual that came with your Rheem water heater. The manual will provide detailed instructions on how to locate and operate the drain valve.
Once you have located the drain valve, you’re ready to move on to the next step and attach a garden hose.
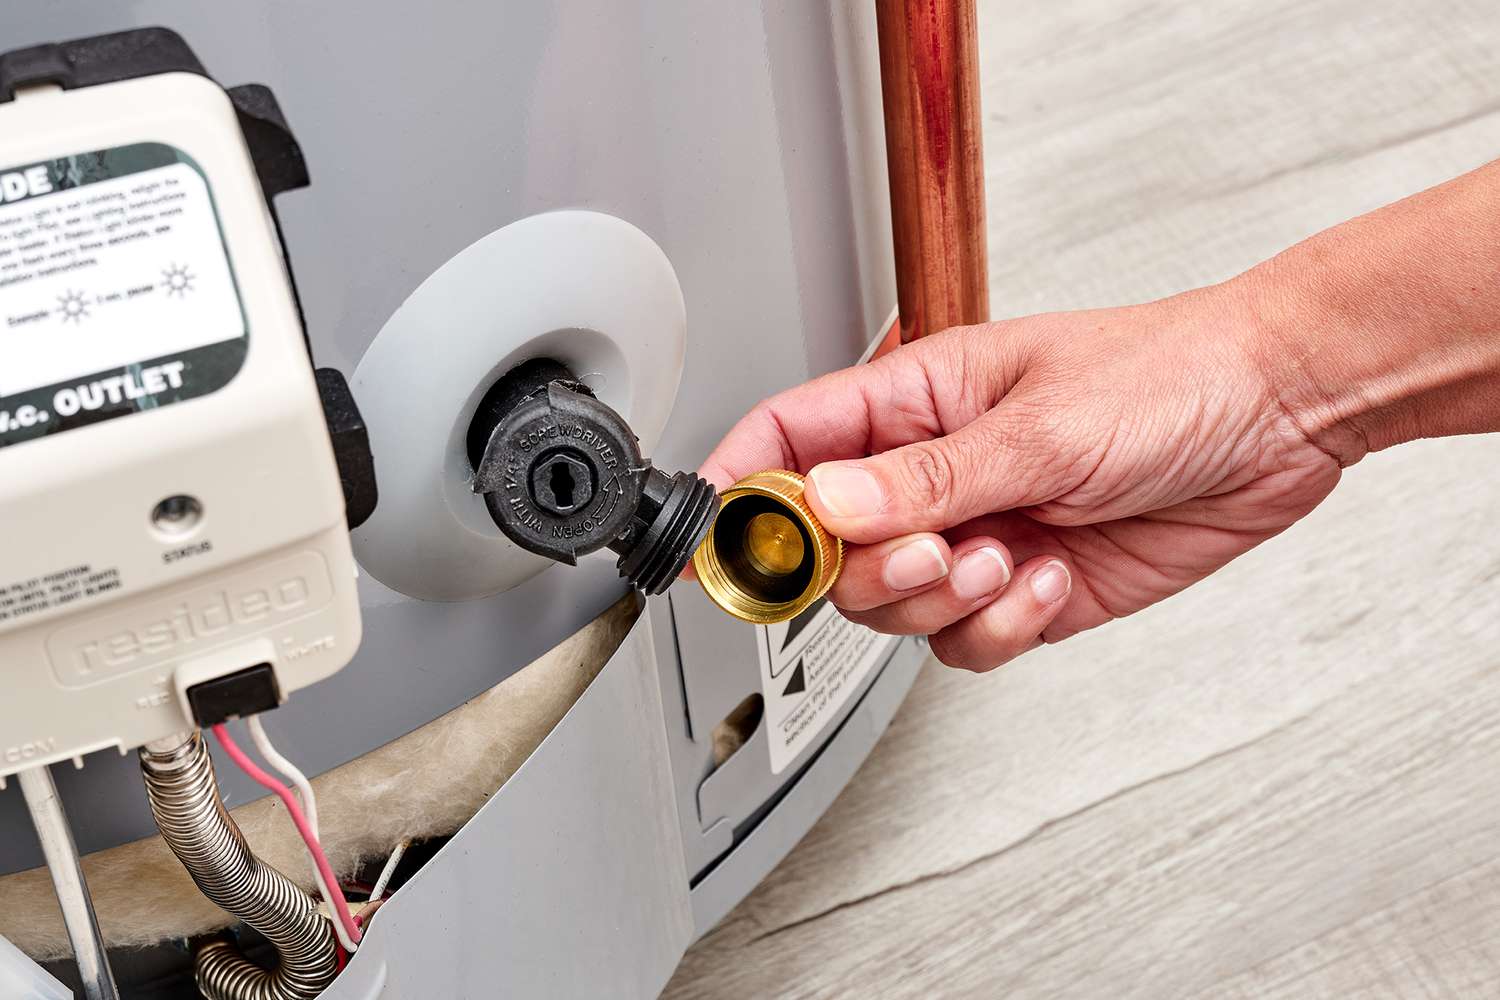
Step 4: Attach a garden hose
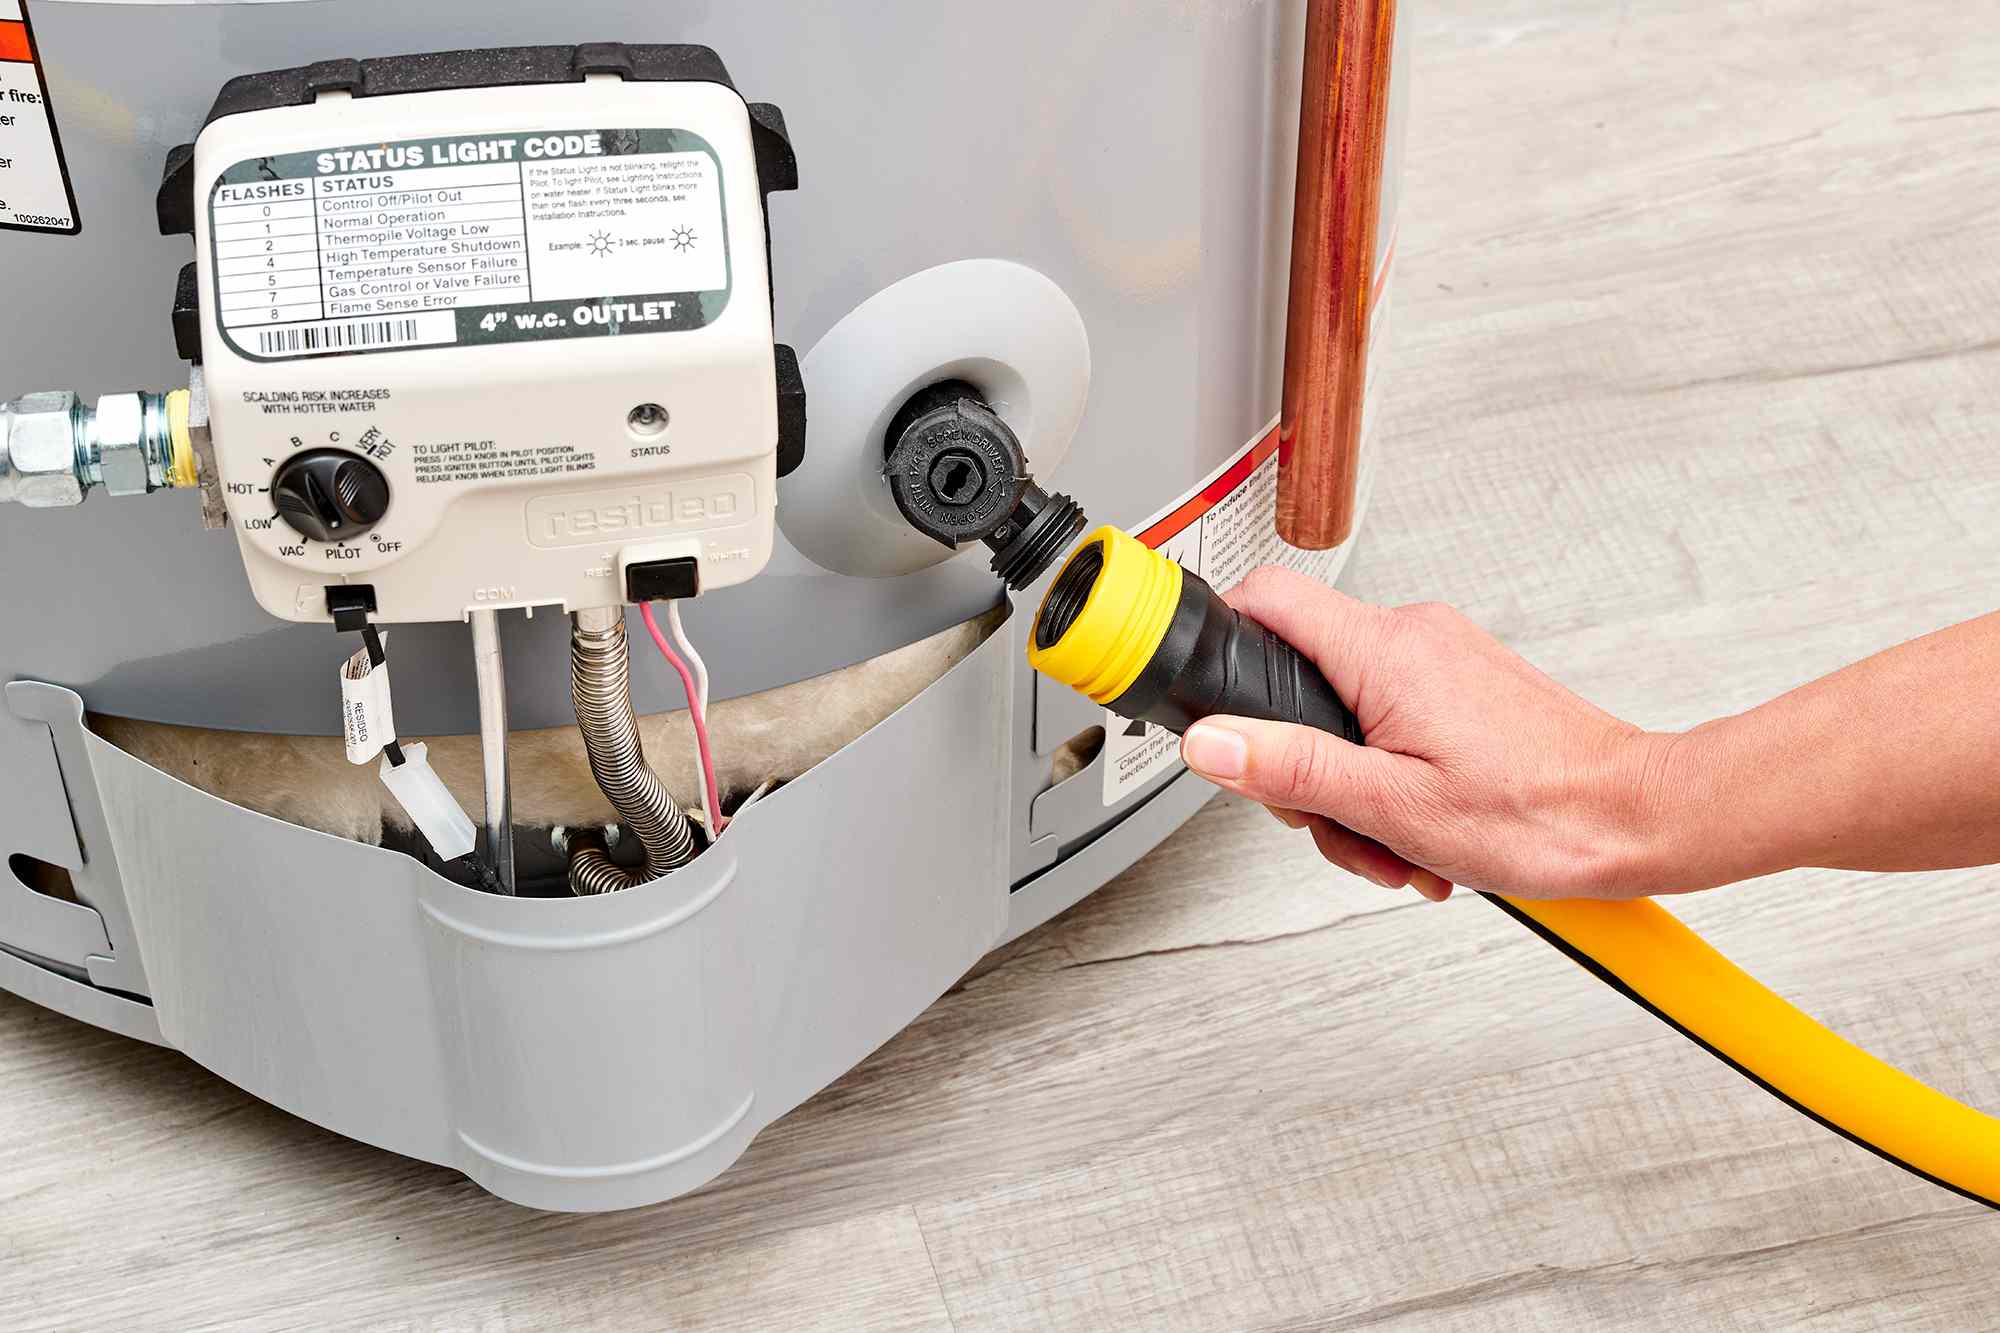
Attaching a garden hose to the drain valve of your Rheem water heater will allow you to direct the water flow and securely funnel it away from the draining area.
Follow these steps to attach the garden hose:
- Ensure that the power supply to the water heater is still turned off.
- Locate the drain valve at the bottom of the water heater, as mentioned in the previous step.
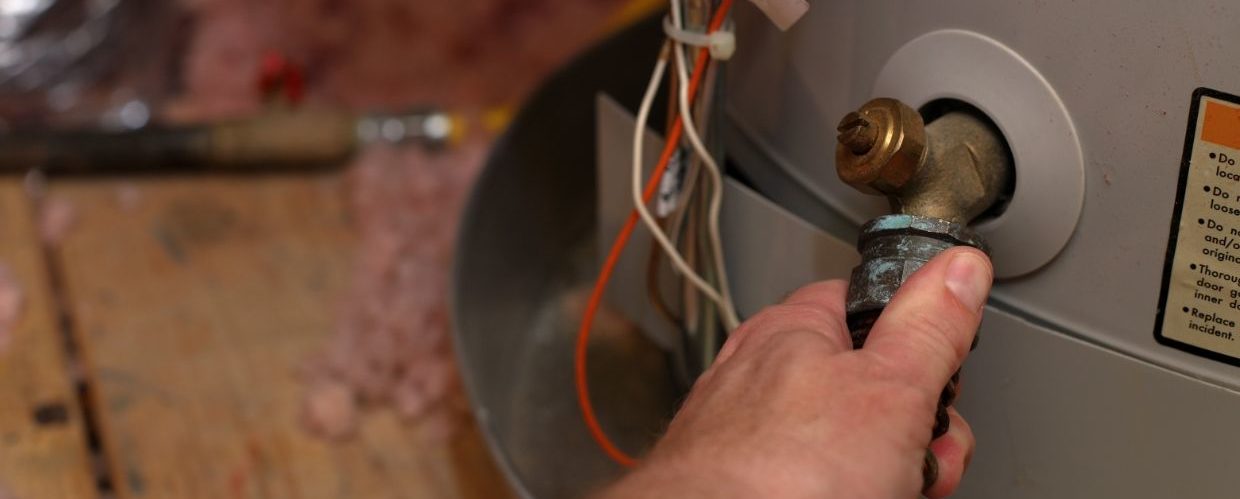
- Inspect the drain valve to check if it has a threaded connection. If it does, you can directly screw the female end of the garden hose onto the drain valve.
- If the drain valve does not have a threaded connection, you may need to use a threaded adapter to connect the garden hose.
- Tighten the connection between the garden hose and the drain valve using pliers or a wrench. Ensure that the connection is secure to prevent any leaks.
With the garden hose securely attached, you can move on to the next step and open the pressure relief valve.
Note: Ensure that the other end of the garden hose is placed in a suitable drainage area, such as an outdoor drain or a bucket.
Read more: How To Reset Rheem Water Heater Thermostat
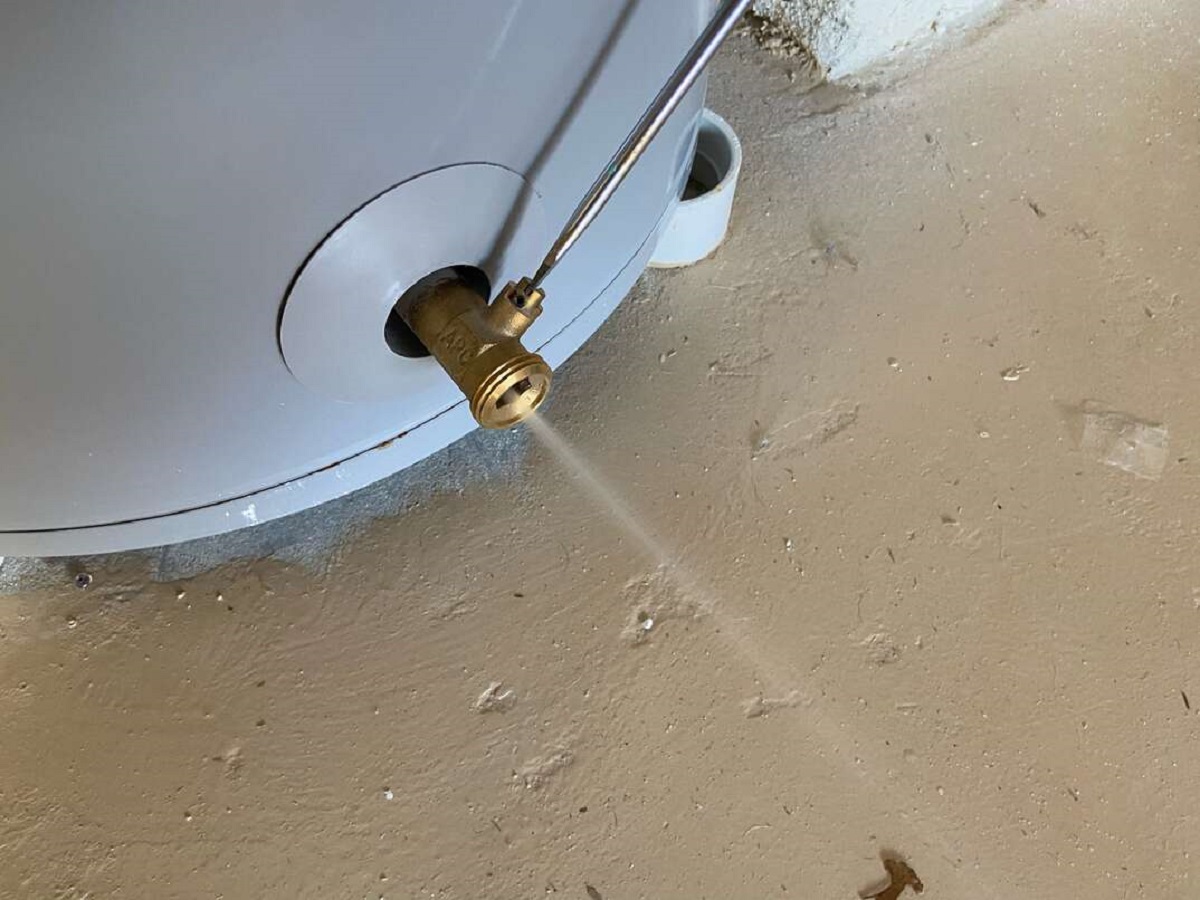
Step 5: Open the pressure relief valve
Before opening the drain valve, it is important to open the pressure relief valve on your Rheem water heater. This valve helps to release any built-up pressure inside the tank, ensuring a smooth and safe draining process.
Follow these steps to open the pressure relief valve:
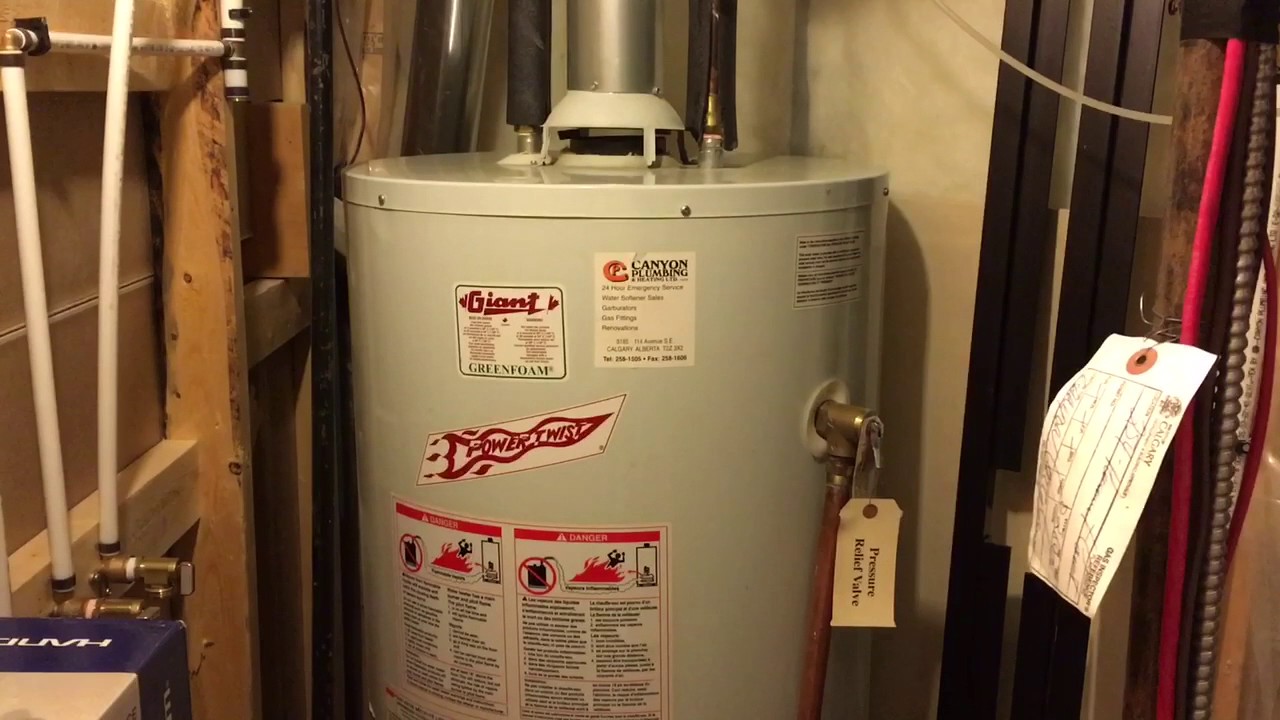
- Locate the pressure relief valve, which is typically located at the top of the water heater.
- Depending on the model of your Rheem water heater, the pressure relief valve may have a lever or a knob. If it has a lever, simply lift it to open the valve. If it has a knob, turn it counterclockwise to release the pressure.
- You may hear a hissing sound as the pressure is released. This is normal and indicates that the pressure relief valve is functioning properly.
- Leave the pressure relief valve open while the water heater drains to ensure continuous and smooth water flow.
Opening the pressure relief valve will prevent any vacuum or pressure build-up in the tank, making the draining process more effective and efficient.
With the pressure relief valve open, you are now ready to proceed to the next step and open the drain valve to start draining the water heater.
To drain a Rheem water heater, first, turn off the power or gas supply. Next, connect a garden hose to the drain valve and run it to a drain or outside. Open the valve and let the water drain completely. Close the valve and refill the tank before turning the power or gas back on.
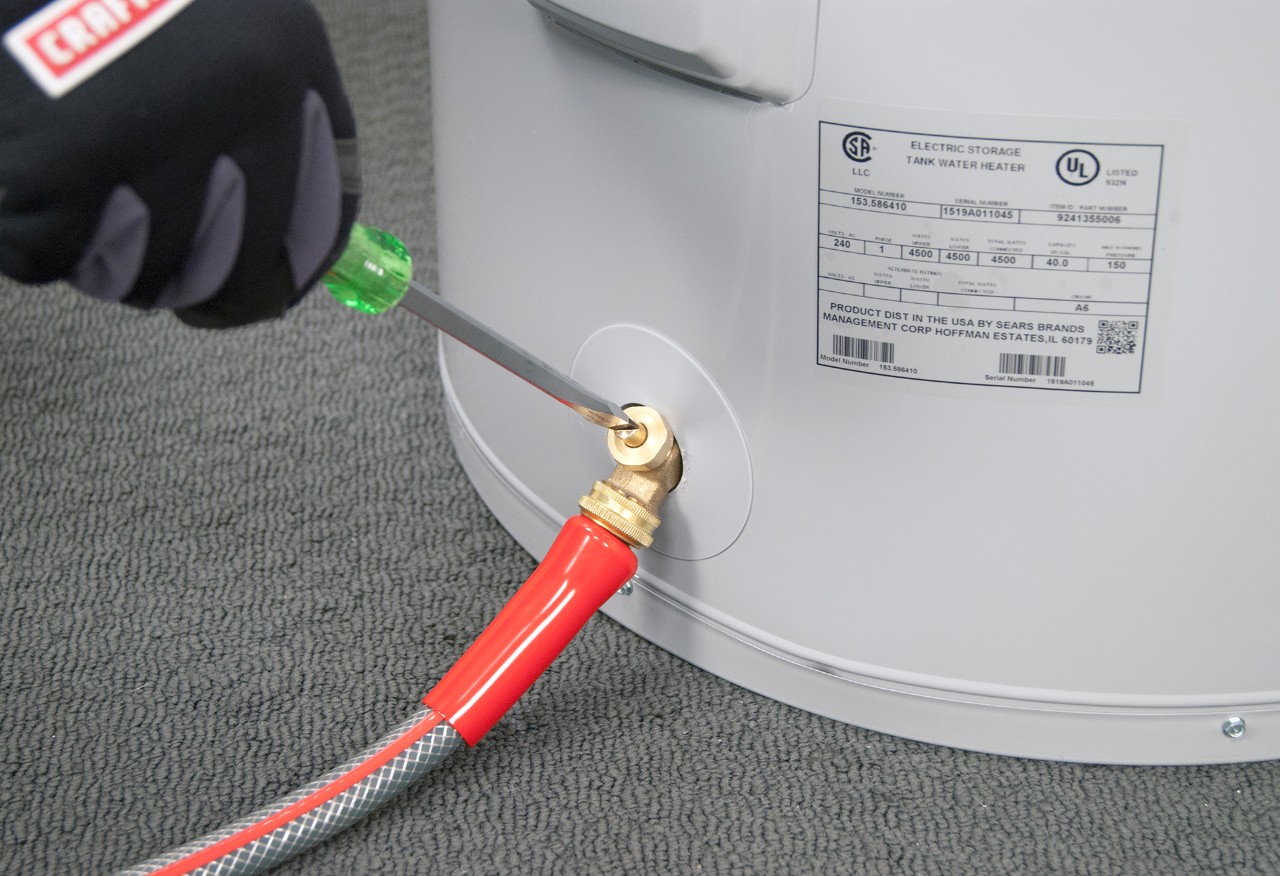
Step 6: Open the drain valve
With the pressure relief valve open, it’s time to open the drain valve on your Rheem water heater to begin the draining process. Opening the drain valve will allow the water to flow out of the tank and into the designated drainage area.
Follow these steps to open the drain valve:
- Make sure that the power supply to the water heater is still turned off.
- Locate the drain valve at the bottom of the water heater, as mentioned earlier.
- If the drain valve has a handle, turn it counterclockwise to open the valve. If it has a knob, turn it anti-clockwise to open the valve.
- Once the valve is open, you will start to see water flowing out of the tank through the garden hose.
It is important to note that the water that comes out of the drain valve will be hot, so use caution to avoid any burns. Additionally, be prepared for the initial gush of water that may carry sediment and debris from inside the tank.
Keep the drain valve open until the water from the water heater stops flowing and the tank is completely drained. This may take some time depending on the size of the tank and the water pressure.
Once the tank is drained, you can proceed to the next step and close the drain valve.
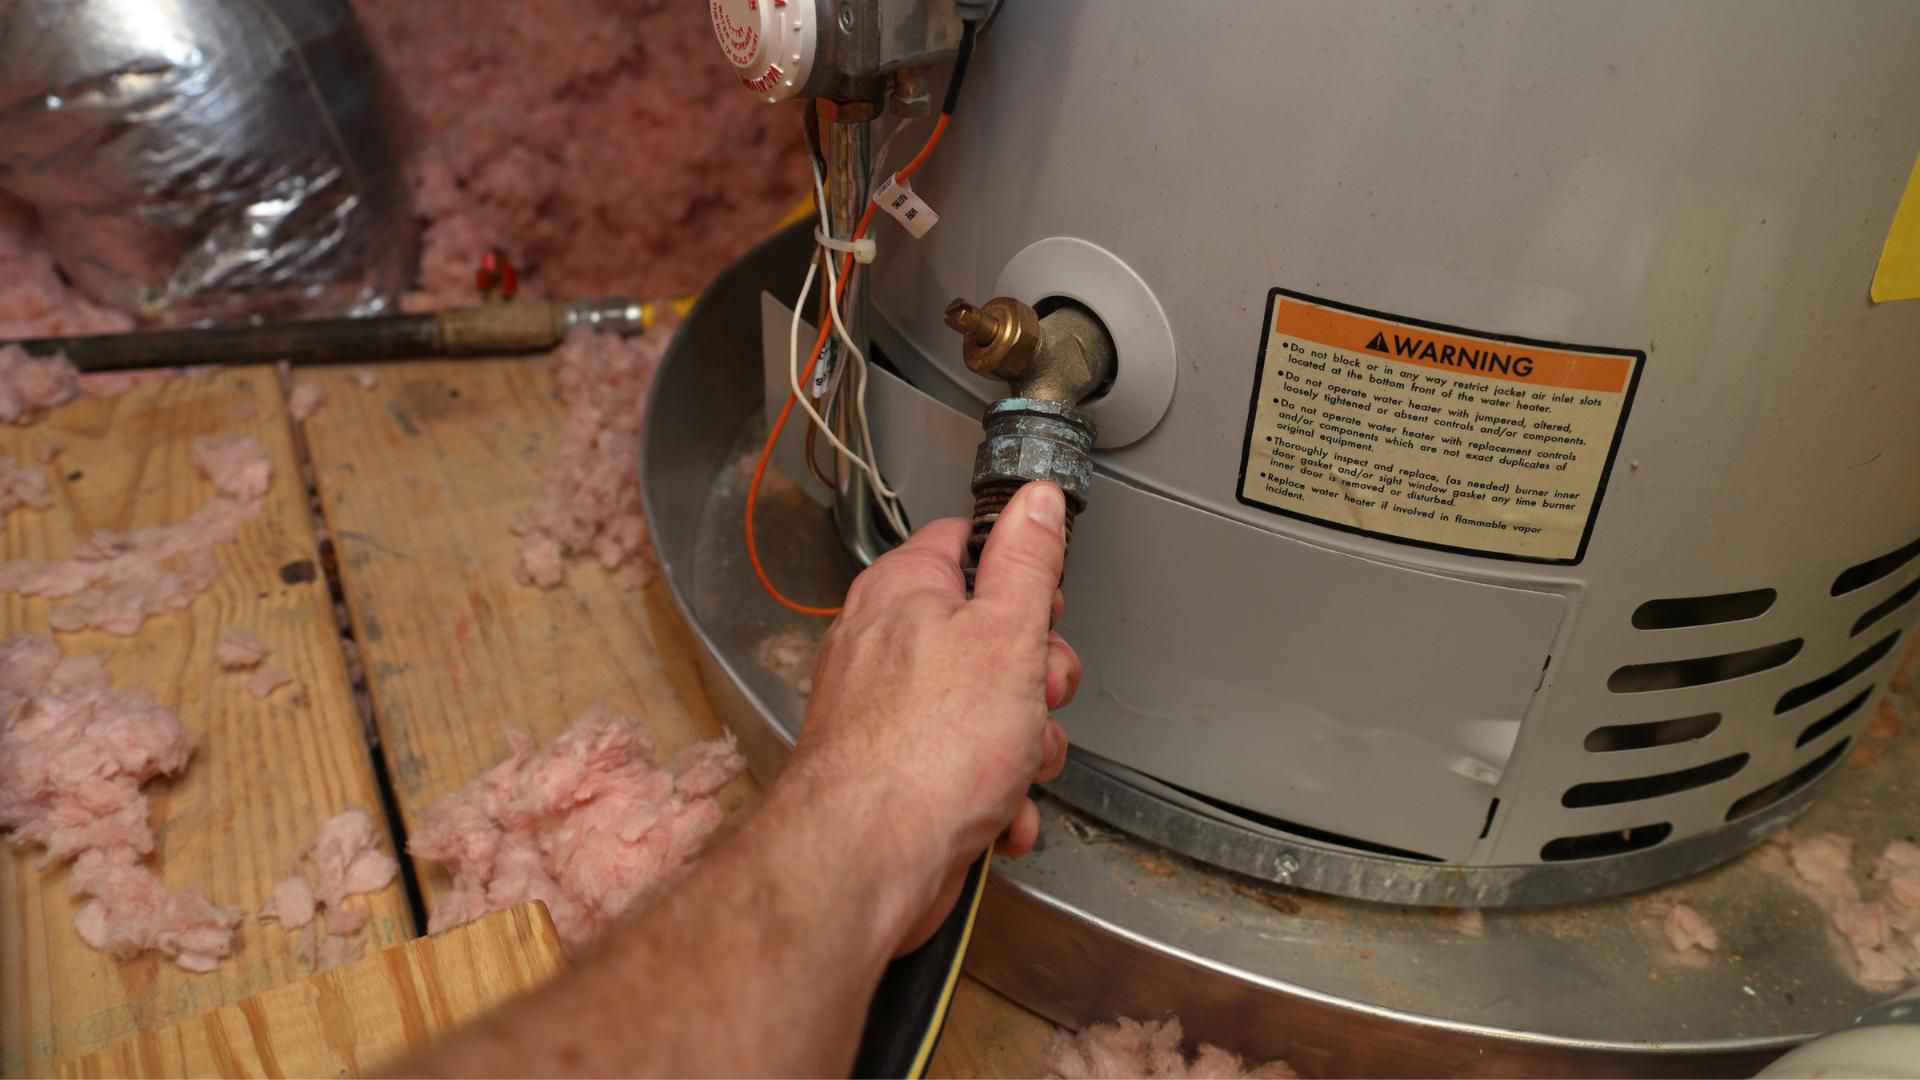
Step 7: Let the water heater drain
After opening the drain valve, it’s important to let the water heater drain completely. Allowing the tank to drain fully will help remove sediment and other impurities that may have settled at the bottom of the tank over time.
While the water heater is draining, it’s important to exercise patience and monitor the process. The time it takes to drain the tank will depend on various factors, including the size of the tank and the water pressure in your home.
Use this opportunity to inspect the draining water. If you notice excessive sediment or debris coming out, it may be an indication that your water heater requires additional maintenance or cleaning. In such cases, you may want to consider contacting a professional plumber for further assistance.
Keep in mind that the water coming out of the drain valve will be hot, so take necessary precautions to prevent burns. It’s advisable to wear protective gloves and avoid direct contact with the draining water.
As the water heater drains, you may also want to use this time to wipe down the exterior of the tank and clean any accumulated dirt or dust. This will help keep your water heater in good condition and maintain its aesthetic appeal.
Once the water heater has drained completely, you can proceed to the next step and close the drain valve.
Step 8: Close the drain valve
Now that the water heater has drained completely, it’s time to close the drain valve and prepare for the next steps in the process. Closing the drain valve will prevent any water from escaping and allow you to refill the tank.
Follow these steps to close the drain valve:
- Ensure that the power supply to the water heater is still turned off.
- Locate the drain valve at the bottom of the water heater.
- If the drain valve has a handle, turn it clockwise to close the valve. If it has a knob, turn it clockwise to close the valve.
- Once the valve is closed, make sure it is tightly sealed to prevent any potential leaks.
Take a moment to inspect the area around the drain valve for any signs of water leakage. If you notice any leaks, tighten the connection between the drain valve and the garden hose using pliers or a wrench.
With the drain valve closed and any leaks addressed, you are now ready to proceed to the next step and refill the water heater.
It’s important to note that some water may still be trapped in the plumbing lines or the hot water outlet. To prevent any potential damage or injury, it’s advisable to let the water run for a few minutes before turning on the power supply, as explained in the following steps.
Read more: How To Install A Rheem Tankless Water Heater
Step 9: Refill the water heater
After draining the water heater, it’s time to refill the tank with fresh water. Refilling the water heater will restore the water supply and prepare it for normal operation.
Follow these steps to refill the water heater:
- Make sure that the drain valve is closed and tightly sealed.
- Turn on the cold water supply to the water heater. This can typically be done by turning the water supply valve located on the inlet pipe.
- Allow the water to flow into the tank. You can monitor the process by listening for the sound of water flowing or by checking the nearby faucets to ensure a steady stream of water.
- While the tank is refilling, open a nearby hot water faucet to release any remaining air from the plumbing system. Once a steady flow of water is observed, close the faucet.
- Continue to let the water flow into the tank until it is completely filled. You can verify the water level by checking the water heater’s sight glass or by using a dip tube with a depth indicator, if available.
It’s important to note that during this step, some air pockets may be pushed through the faucets. This is normal and should resolve itself as the system fills with water.
Once the water heater is completely filled, you can proceed to the final step and restore the power supply to the unit.
Remember to be patient during this step, as it may take some time for the tank to refill completely based on the water pressure and the size of the tank.
Step 10: Restore power supply
With the water heater now refilled, it’s time to restore the power supply and bring it back to normal operation. Restoring the power supply will allow the heating elements to heat the water and provide hot water for your household needs.
Follow these steps to restore the power supply:
- Double-check that the drain valve is closed securely and that there are no visible leaks around the area.
- For electric water heaters, locate the circuit breaker connected to the water heater and switch it back on to restore power. You may have an individual breaker for the water heater or a dedicated switch for the appliance.
- For gas water heaters, turn the gas control valve back to the ‘On’ position. This will allow gas to flow to the burner and ignite the pilot light.
- Wait for the water heater to heat up the newly refilled water. This process may take some time, as the heating elements or the burner need to bring the water to the desired temperature.
During this step, it’s important to be cautious and observant. Keep an eye out for any signs of abnormal operation, such as unusual noises, leaks, or malfunctioning components. If you notice any issues, it’s best to contact a professional plumber to assess and address them.
Once the water heater is fully operational and the water has reached the desired temperature, you can now enjoy a steady supply of hot water for your daily needs.
Regularly draining your Rheem water heater and performing other maintenance tasks can help prolong its lifespan, improve its efficiency, and ensure reliable performance. It’s a good practice to schedule routine maintenance at least once a year or as recommended by the manufacturer.
Congratulations! You have successfully completed the process of draining and refilling your Rheem water heater.
Conclusion
Draining your Rheem water heater is an important maintenance task that helps maintain its efficiency and prolong its lifespan. By following the step-by-step process outlined in this article, you can easily and safely drain and refill your water heater, ensuring optimal performance and a steady supply of hot water.
Remember to always prioritize safety throughout the process. Turn off the power supply before starting and take precautions to avoid burns from hot water. If you are unsure or uncomfortable with any step, it’s best to consult a professional plumber for assistance.
Regularly draining your water heater helps remove sediment and mineral deposits that can accumulate at the bottom of the tank, improving its efficiency and preventing potential issues such as reduced hot water flow and increased energy consumption.
Additionally, take the time to inspect the draining water for excessive sediment or debris. If you notice any abnormalities, consider contacting a professional to assess the condition of your water heater and perform further maintenance if necessary.
Once you have successfully drained, refilled, and restored the power supply to your Rheem water heater, you can enjoy the benefits of a well-maintained system. Be sure to schedule routine maintenance on a regular basis to keep your water heater in peak condition.
By following these maintenance practices, you can ensure that your Rheem water heater continues to provide reliable and efficient hot water for your household needs for years to come.
Thank you for reading this article, and we hope that it has been helpful in guiding you through the process of draining your Rheem water heater. Should you have any further questions or concerns, do not hesitate to reach out to a professional plumber for assistance.
Frequently Asked Questions about How To Drain A Rheem Water Heater
Was this page helpful?
At Storables.com, we guarantee accurate and reliable information. Our content, validated by Expert Board Contributors, is crafted following stringent Editorial Policies. We're committed to providing you with well-researched, expert-backed insights for all your informational needs.


0 thoughts on “How To Drain A Rheem Water Heater”