Articles
How To Fix A Cracked Toilet Tank
Modified: October 18, 2024
Learn how to fix a cracked toilet tank with these helpful articles. Protect your bathroom from leaks and keep your toilet functioning properly.
(Many of the links in this article redirect to a specific reviewed product. Your purchase of these products through affiliate links helps to generate commission for Storables.com, at no extra cost. Learn more)
Introduction
Dealing with a cracked toilet tank can be a frustrating experience. Not only can it lead to leaks and water damage, but it can also disrupt the functioning of your bathroom. While replacing the entire toilet may seem like the only solution, it can be time-consuming and expensive. Fortunately, there are steps you can take to fix a cracked toilet tank and restore it to its former condition.
In this article, we will guide you through the process of fixing a cracked toilet tank. Whether the crack is minor or severe, these steps will help you repair the damage and prevent further issues. With some basic tools and materials, along with a little patience, you can successfully tackle this DIY project and save yourself the costs of a full toilet replacement.
Key Takeaways:
- Repairing a cracked toilet tank is a manageable DIY project that can save you time and money. By following the step-by-step guide and using the right tools and materials, you can successfully fix the crack and avoid a costly replacement.
- Prioritize safety, gather necessary tools, and follow each step carefully to ensure a proper and long-lasting repair. By addressing cracks promptly and conducting regular maintenance, you contribute to the sustainability and longevity of your bathroom fixtures.
Read more: How To Fix Cracked Toilet Seat
Tools and Materials Needed
Before you begin the process of fixing a cracked toilet tank, gather the following tools and materials:
- Adjustable wrench
- Screwdriver (flathead and Phillips)
- Putty knife
- Sanding paper
- Epoxy resin
- Fiberglass mesh or cloth
- Rubbing alcohol
- Clean rags
- Disposable gloves
- Protective eyewear
- Masking tape
- Plumbing sealant
Having these tools and materials on hand will make the repair process much smoother and ensure that you have everything you need to successfully fix the cracked toilet tank.
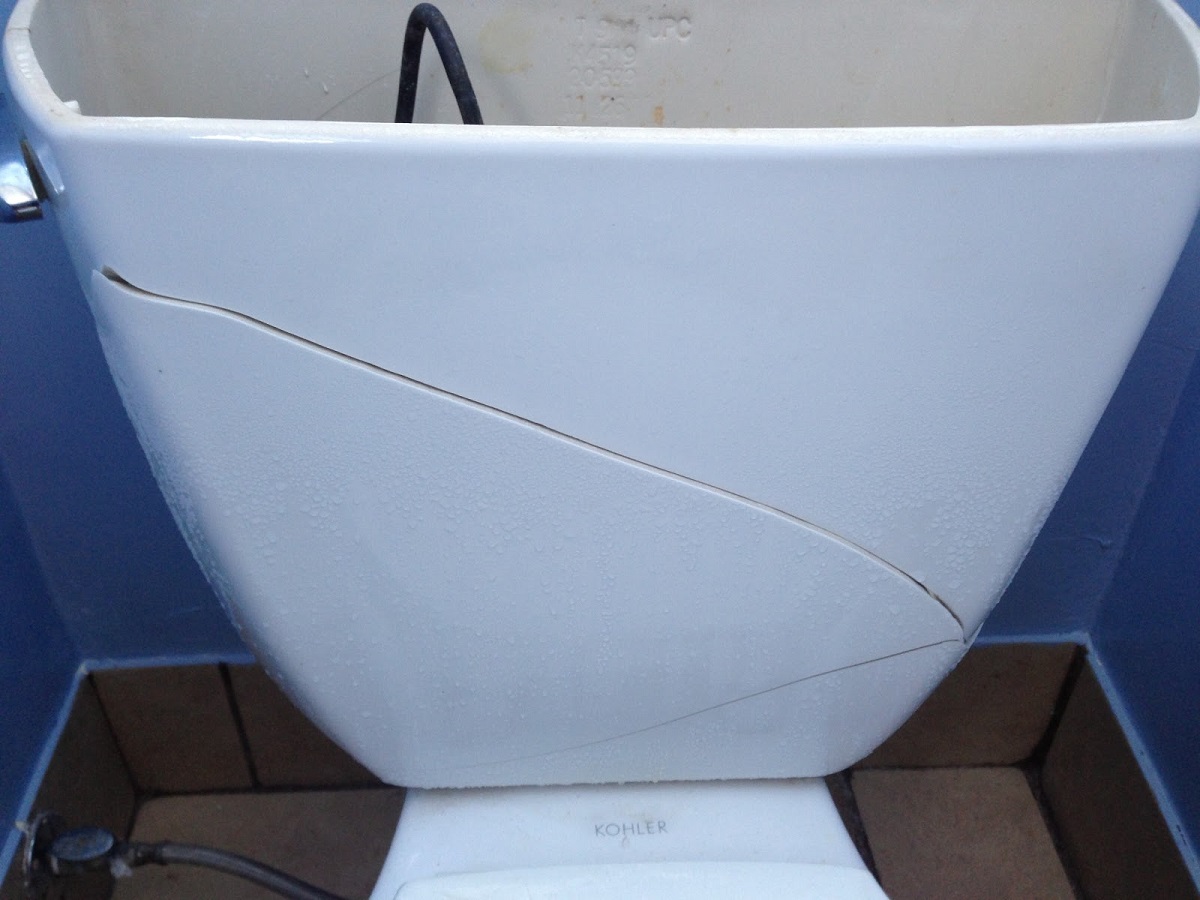
Step 1: Assess the Damage
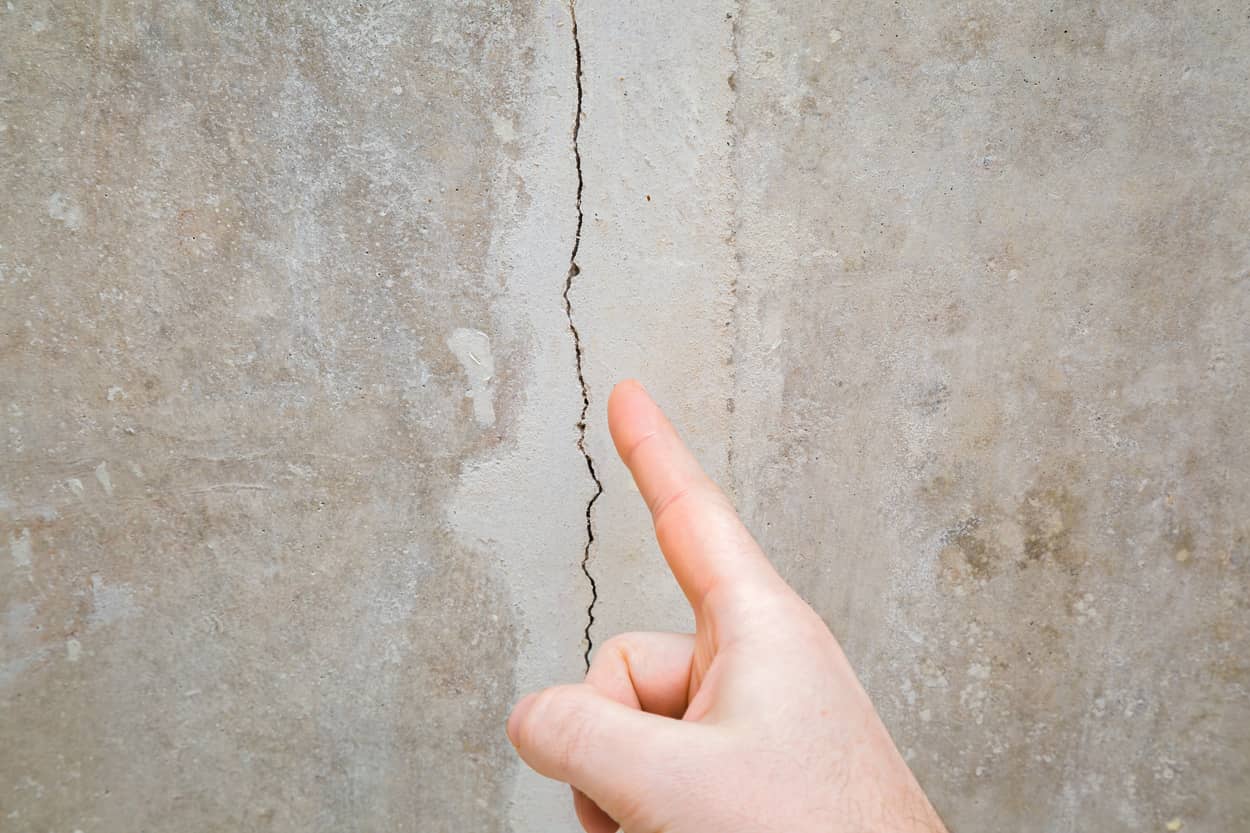
The first step in fixing a cracked toilet tank is to assess the extent of the damage. Carefully examine the crack to determine its size and location. This will help you determine the best course of action for repairing it.
If the crack is small and superficial, you may be able to fix it with a simple repair method. However, if the crack is large or deep, you may need to consider a more involved repair or even replacing the toilet tank altogether.
It’s also important to check for any additional cracks or damage in the tank. Sometimes, what appears to be a single crack may actually be part of a larger issue. Carefully inspect all areas of the tank, including the bottom and sides.
Once you have thoroughly assessed the damage, you can proceed to the next step with a clear understanding of what needs to be done to fix the cracked toilet tank.
Step 2: Empty the Toilet Tank
Before you can begin repairing a cracked toilet tank, you will need to empty it of all water. This is essential to ensure a clean and dry surface for the repair process.
To empty the toilet tank, start by turning off the water supply. Locate the water shut-off valve, which is usually located near the base of the toilet or on the water supply line behind the toilet. Turn the valve clockwise to shut off the water flow.
Once the water supply is turned off, flush the toilet to drain the water from the tank. As you flush, hold down the flush lever to completely empty the tank. This will allow for easier access to the crack and prevent any water from interfering with the repair process.
Alternatively, if the toilet does not have a flush lever or the water does not drain completely, you can use a bucket or a large sponge to manually remove the remaining water from the tank.
After the tank is emptied, use a towel or sponge to soak up any residual water that may be left in the bottom of the tank. It’s important to have a completely dry surface for the repair to adhere properly.
With the toilet tank now empty, you are ready to move on to the next step in fixing the cracked toilet tank.
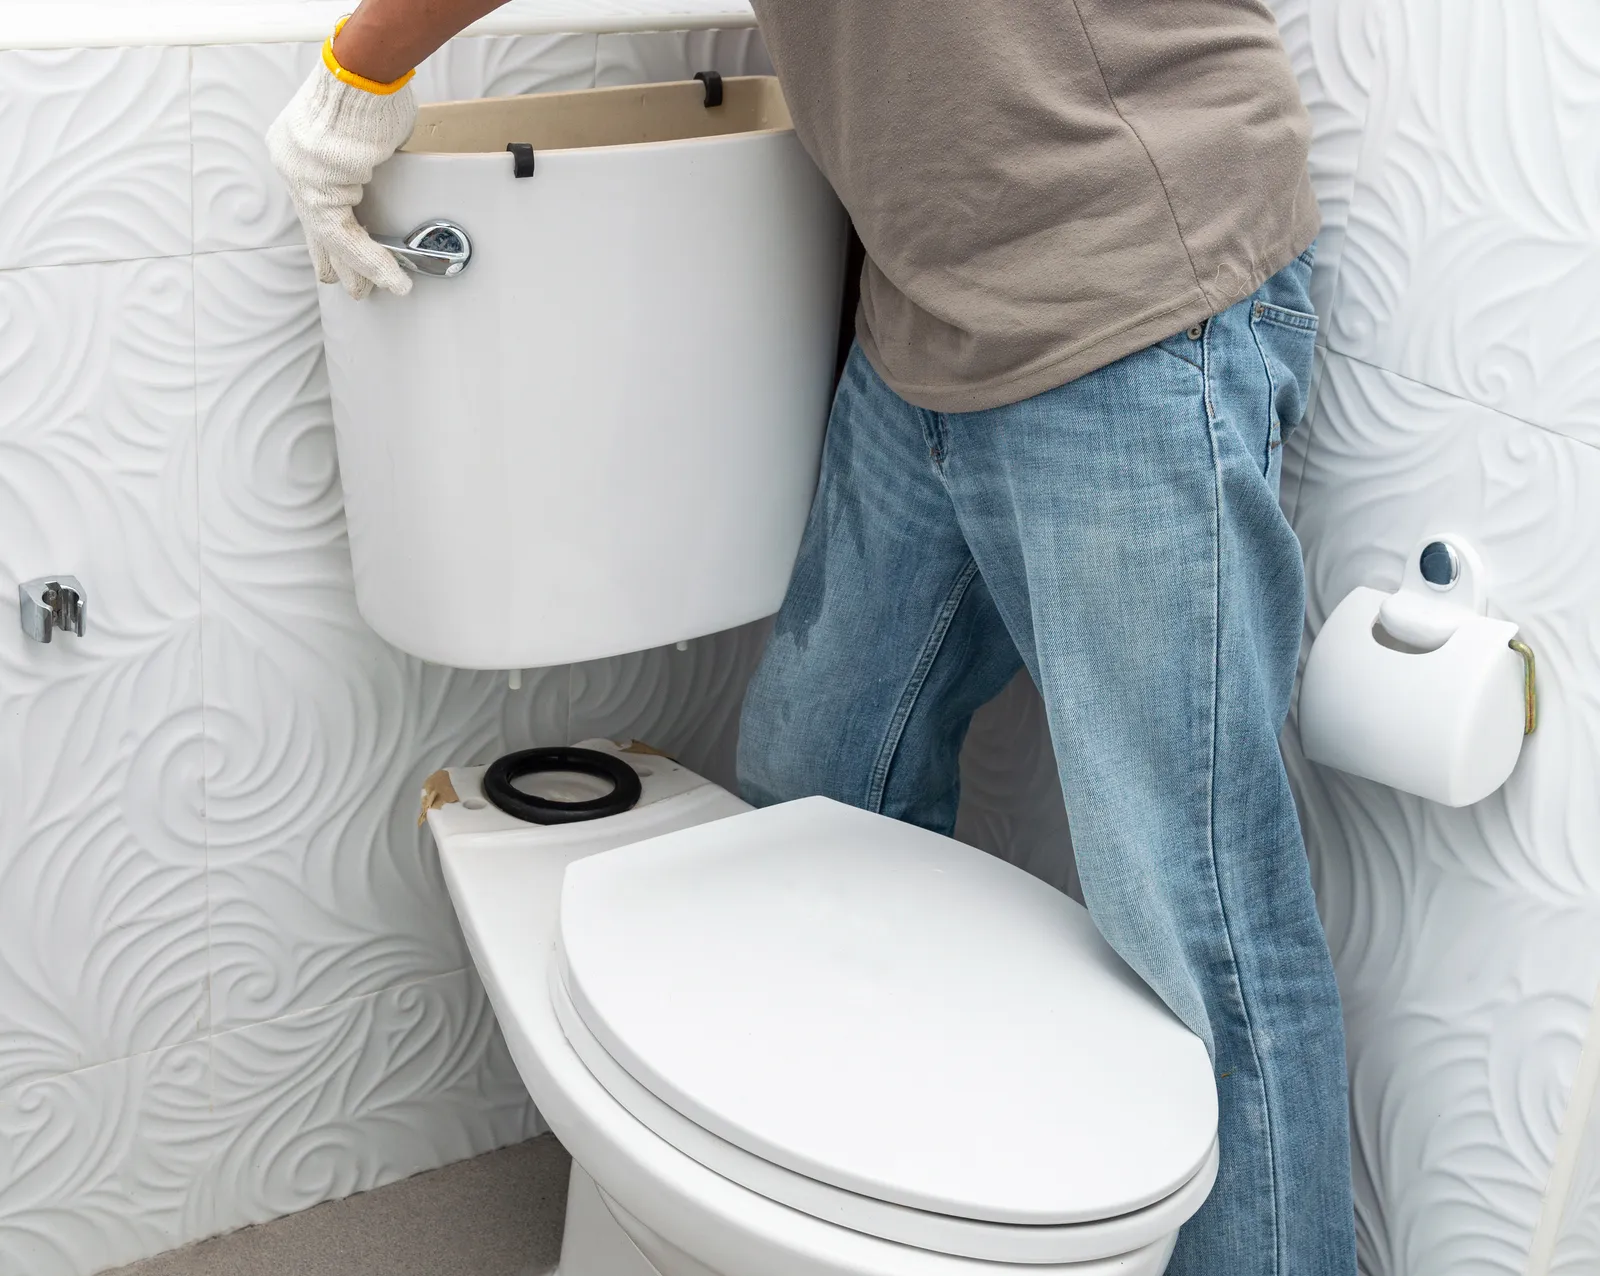
Step 3: Remove the Cracked Toilet Tank
Once you have emptied the toilet tank, the next step is to remove it from the toilet bowl. This will provide easier access to the crack for repair and prevent any damage to the bowl during the process.
To remove the toilet tank, start by disconnecting the water supply line from the bottom of the tank. Use an adjustable wrench to loosen and remove the nut connecting the supply line to the fill valve. Be prepared for some water to spill out when disconnecting the supply line, so have a towel or bucket nearby to catch any drips.
Next, locate the tank bolts on the inside of the tank. These bolts secure the tank to the bowl. Use a screwdriver or wrench to loosen and remove the nuts on the tank bolts. Once the nuts are removed, carefully lift the tank straight up to separate it from the bowl.
Place the removed toilet tank on a stable and protected surface, such as a towel or mat. This will prevent any damage or scratches to the tank while you work on repairing the crack.
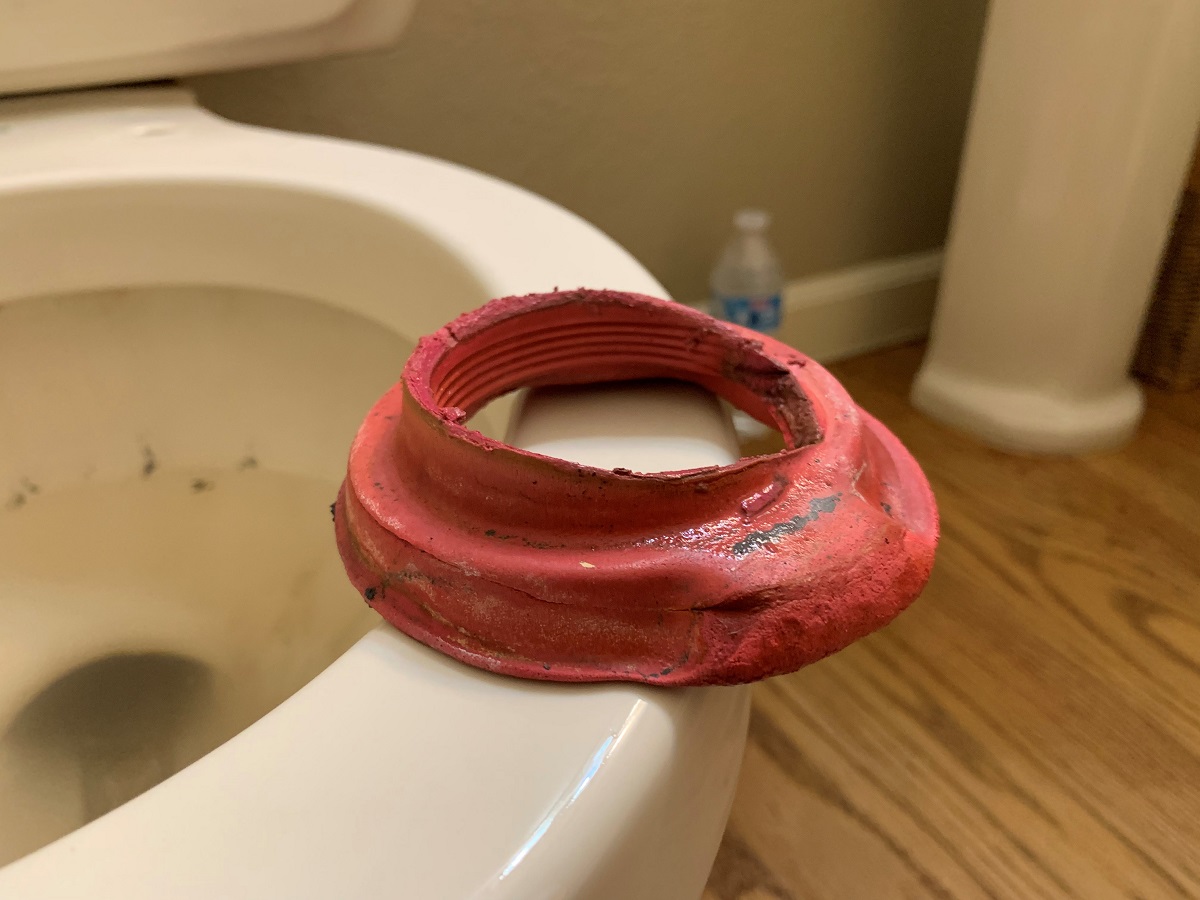
Also, take this opportunity to inspect the rubber gasket or washer located between the tank and the bowl. If it appears worn or damaged, it’s a good idea to replace it before reinstalling the tank.
With the cracked toilet tank removed and safely placed aside, you can now proceed to the next step of cleaning and preparing the surfaces for repair.
Read more: How To Remove Toilet Tank
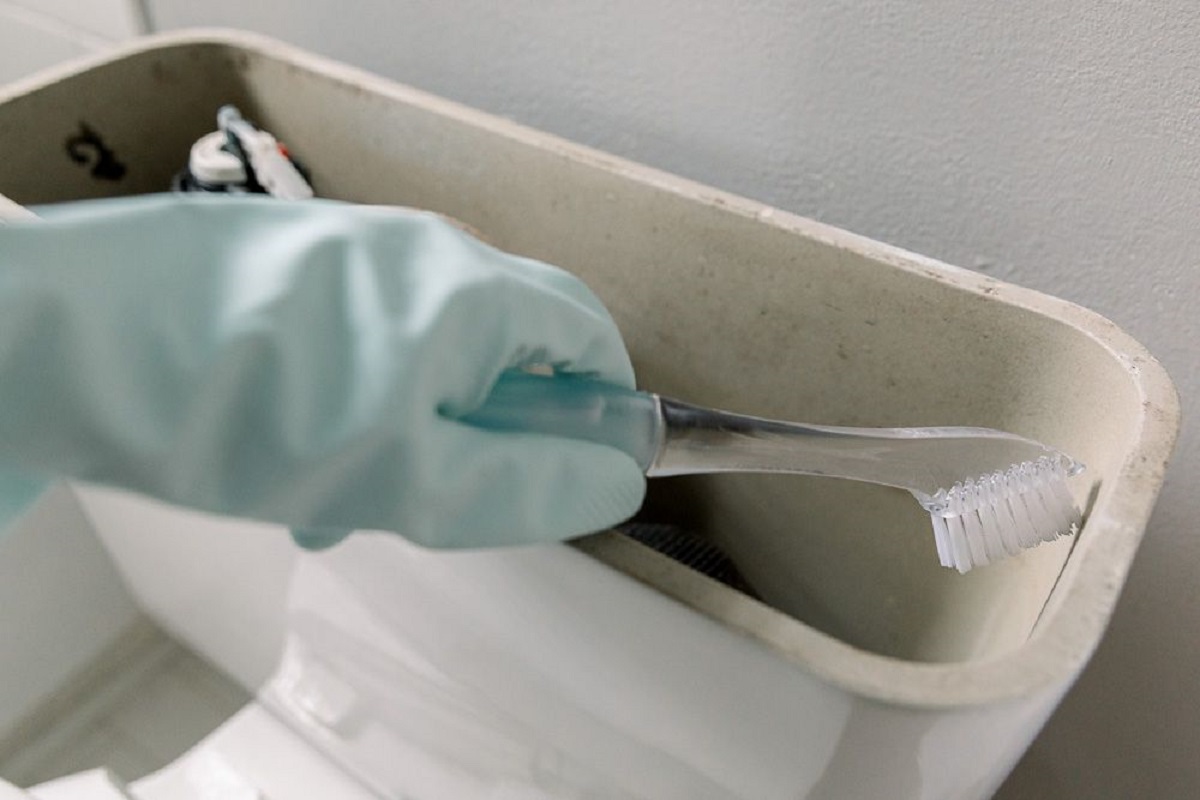
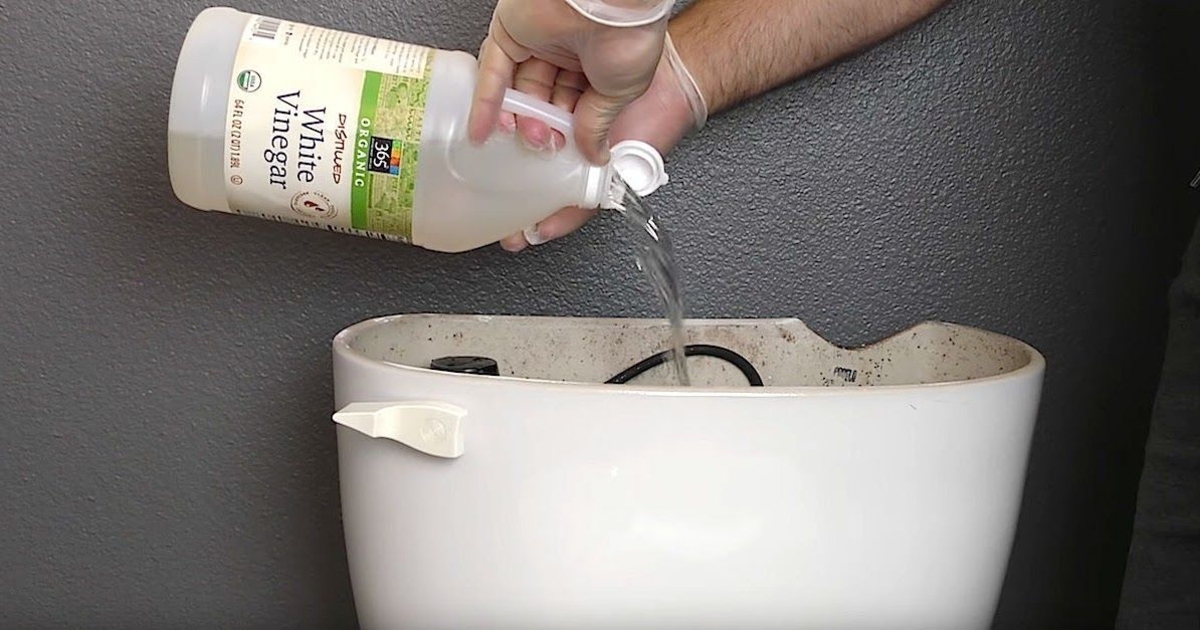
Step 4: Clean and Prepare the Surfaces
Before repairing the cracked toilet tank, it is crucial to clean and prepare the surfaces properly. This will ensure a strong and long-lasting repair.
Start by using a putty knife to scrape off any old adhesive or residue around the crack. This will create a clean surface for the repair materials to adhere to. Be gentle to avoid causing further damage to the tank.
Next, use sanding paper to lightly sand the area around the crack. This will roughen the surface and promote better adhesion. Wipe away any dust or debris with a clean cloth.
Once the surface is clean and free from any loose particles, use rubbing alcohol and a clean cloth to thoroughly clean the area around the crack. This will remove any remaining grease, dirt, or contaminants that could interfere with the repair process.
After cleaning, protect the surrounding areas by applying strips of masking tape around the crack. This will prevent any excess repair materials from spreading onto the tank’s surface and make it easier to achieve a clean and neat repair.
With the surfaces properly cleaned and prepared, you are now ready to move on to the next step of repairing the crack in the toilet tank.
To fix a cracked toilet tank, drain the water, clean the area around the crack, apply epoxy or silicone sealant, and let it dry completely before refilling the tank.
Step 5: Repair the Crack
Now that the surfaces are clean and prepared, it’s time to repair the crack in the toilet tank. There are various methods you can use to repair a cracked toilet tank, depending on the size and severity of the crack.
If the crack is small and shallow, you can use a two-part epoxy resin to fill it. Mix the epoxy resin according to the manufacturer’s instructions and apply it directly to the crack using a small putty knife or brush. Make sure to fill the crack completely and smooth out the surface of the epoxy.
For larger cracks or deeper damage, you may need to use a fiberglass mesh or cloth in addition to the epoxy resin. Cut a piece of fiberglass mesh or cloth slightly larger than the crack and place it over the crack. Apply a layer of epoxy resin over the mesh to cover and reinforce the crack. Smooth out the surface of the epoxy to ensure it is level with the surrounding area.
Regardless of the method used, allow the epoxy resin to cure according to the manufacturer’s instructions. This usually takes several hours or overnight. Avoid using the toilet or reattaching the tank until the epoxy is completely dry and hardened.
Remember, it’s important to follow the instructions provided with the epoxy resin and adhere to any safety precautions, such as wearing gloves and working in a well-ventilated area.
Once the crack is repaired and the epoxy resin has cured, you can move on to the next step of reinforcing the repair with epoxy resin.
Step 6: Reinforce with Epoxy Resin
After repairing the crack in the toilet tank, it is recommended to reinforce the area with an additional layer of epoxy resin. This will provide extra strength and durability to the repair, ensuring that the crack does not reoccur in the future.
To reinforce the repair with epoxy resin, mix a fresh batch of epoxy according to the manufacturer’s instructions. Apply a thin layer of the epoxy resin over the entire repaired area, extending beyond the edges of the crack. This will create a strong bond between the existing epoxy and the new layer.
If you used a fiberglass mesh or cloth in the previous step, make sure to fully saturate the mesh or cloth with the epoxy resin. This will ensure that it adheres properly and reinforces the repaired crack.
Smooth out the surface of the epoxy resin using a putty knife or brush, ensuring an even and level finish. Pay attention to any excess resin, as it can be difficult to remove once it has hardened. Use a clean cloth or Q-tip to carefully wipe away any drips or smudges.
Allow the epoxy resin to cure completely, following the manufacturer’s instructions. This typically takes a few hours or overnight. During this time, avoid using the toilet and placing any weight or pressure on the repaired area. Resisting the urge to rush the curing process will ensure a strong and durable repair.
Once the epoxy resin has fully hardened, you are ready to proceed to the next step of reinstalling the toilet tank.
Step 7: Reinstall the Toilet Tank
Now that the crack in the toilet tank has been repaired and reinforced, it’s time to reinstall the tank back onto the toilet bowl.
Start by positioning the tank over the bowl, aligning the tank bolts with the corresponding holes in the bowl. Lower the tank carefully onto the bowl, ensuring that the rubber gasket or washer is properly seated between the tank and bowl to create a watertight seal.
Once the tank is in place, insert the tank bolts through the holes in the tank and bowl. Secure them by tightening the nuts onto the bolts. Use a screwdriver or wrench to tighten the nuts, but be careful not to overtighten as it may cause damage to the tank or bowl.
Next, reconnect the water supply line to the fill valve at the bottom of the tank. Use an adjustable wrench to tighten the nut onto the fill valve, ensuring a secure connection. Check for any leaks around the connection and make any necessary adjustments.
Double-check that all connections are tight and secure before proceeding to the next step. A tight and properly installed toilet tank will prevent leaks and ensure the toilet functions effectively.
With the toilet tank successfully reinstalled, you can now move on to the final step of testing for leaks.
Read more: How To Fix Cracked Sink
Step 8: Test for Leaks
After reinstalling the toilet tank, it is crucial to test for any potential leaks. Checking for leaks will ensure that your repair was successful and that the toilet functions properly.
To test for leaks, turn on the water supply by slowly opening the shut-off valve. Monitor the tank and the area around the repaired crack for any signs of water leakage. Pay close attention to the base of the tank, the supply line connection, and the repaired crack itself.
If you notice any water dripping or pooling, immediately tighten any loose connections or adjust the nuts on the tank bolts. It’s common for minor adjustments to be needed during the testing process. Wipe away any excess water and dry the area thoroughly before continuing to monitor for leaks.
Allow the tank to fill completely, and then flush the toilet to ensure proper functionality. Listen for any unusual sounds or observe any water not properly flowing into the bowl. If you notice any issues, it may require further adjustments or troubleshooting.
Continue to monitor the toilet tank and the repaired crack for a period of time to ensure there are no hidden leaks or ongoing issues. It’s a good idea to check for leaks periodically to catch any potential problems early on.
Once you are confident that there are no leaks and the toilet is functioning correctly, you can consider the repair process complete.
Congratulations! You have successfully fixed a cracked toilet tank and saved yourself the cost of a full toilet replacement.
Remember, it’s important to address any future cracks or damages to prevent further problems. Regular maintenance and inspection can help prolong the lifespan of your toilet and prevent potential costly repairs in the future.
Thank you for following this step-by-step guide, and we hope it has been helpful to you.
Conclusion
Fixing a cracked toilet tank may seem like a daunting task, but with the right tools, materials, and steps, it is a manageable DIY project. By following the step-by-step guide provided in this article, you can successfully repair a cracked toilet tank and avoid the need for a costly replacement.
Throughout the repair process, it is essential to assess the damage, empty the toilet tank, remove the tank, clean and prepare the surfaces, repair the crack with epoxy resin, reinforce the repair, reinstall the tank, and test for leaks. Each step is crucial to ensuring a proper and long-lasting repair.
Remember to gather the necessary tools and materials beforehand, including an adjustable wrench, screwdriver, putty knife, epoxy resin, fiberglass mesh, rubbing alcohol, and more. Having everything prepared will make the process smoother and more efficient.
Always prioritize safety by wearing protective gloves and eyewear when working with chemicals or tools. Handle the toilet tank with care to avoid any accidental damage or injury.
Once the crack is repaired and the tank is securely reinstalled, test for leaks and ensure proper functioning. Address any issues immediately and continue to monitor the tank for any potential leaks or further damages.
By fixing a cracked toilet tank, you not only save money but also contribute to the sustainability and longevity of your bathroom fixtures. Regular maintenance and prompt repairs can prolong the lifespan of your toilet and prevent future problems.
We hope this comprehensive guide has been helpful in guiding you through the process of repairing a cracked toilet tank. Remember to approach the project patiently and confidently, and if you encounter any difficulties or uncertainties, it may be best to consult a professional plumber for assistance.
Thank you for taking the time to read this article, and we wish you success in your toilet tank repair journey!
Frequently Asked Questions about How To Fix A Cracked Toilet Tank
Was this page helpful?
At Storables.com, we guarantee accurate and reliable information. Our content, validated by Expert Board Contributors, is crafted following stringent Editorial Policies. We're committed to providing you with well-researched, expert-backed insights for all your informational needs.


0 thoughts on “How To Fix A Cracked Toilet Tank”