Articles
How To Replace Toilet Tank
Modified: May 6, 2024
Learn how to replace your toilet tank with our informative articles.
(Many of the links in this article redirect to a specific reviewed product. Your purchase of these products through affiliate links helps to generate commission for Storables.com, at no extra cost. Learn more)
Introduction
Replacing a toilet tank might seem like a daunting task, but with the right tools and a little bit of know-how, you can easily tackle this project yourself. Whether your current toilet tank is old and worn out, or you simply want to upgrade to a new model, this step-by-step guide will walk you through the process of replacing your toilet tank.
A faulty or malfunctioning toilet tank can lead to numerous issues, including leaks, constant running water, or a lack of flushing power. By replacing the tank, you can restore your toilet’s functionality and ensure efficient water usage.
Before you begin the replacement process, it’s important to gather all the necessary tools and materials. This will ensure that you have everything you need at hand and help streamline the process. Let’s take a look at the tools and materials you’ll need for this project.
Key Takeaways:
- Replacing a toilet tank is a manageable DIY project with the right tools and steps. Shut off the water supply, remove the old tank, install the new one, and test for leaks to ensure a fully functioning toilet.
- Thoroughly testing for leaks is crucial to prevent water damage and maintain a reliable toilet system. Address any issues promptly and enjoy the convenience of a properly replaced toilet tank.
Read more: How To Replace Toilet Tank Seal
Tools and Materials Needed
Before you start replacing your toilet tank, it’s essential to have the right tools and materials on hand. Here’s a list of what you’ll need:
1. Adjustable wrench: This tool will come in handy for loosening and tightening nuts.
2. Screwdriver: You’ll need a screwdriver to remove screws that hold various parts in place.
3. Bucket: Having a bucket nearby will help catch any water that spills during the process.
4. Towels: Keep some towels or rags handy to wipe up any water or spills.
5. Replacement toilet tank: Make sure you have purchased a suitable replacement tank that fits your toilet bowl.
6. Toilet tank repair kit: If your tank has a minor issue, such as a faulty flush valve or fill valve, a repair kit can help resolve the problem without replacing the entire tank.
7. Plumbers putty or silicone caulk: This will be required for creating a watertight seal around the tank.
8. Wax ring: You may need this if you are replacing the toilet bowl along with the tank.
Ensure that you have all the required tools and materials ready before you start the replacement process. This will save you time and prevent any interruptions during the installation. Once you have everything gathered, you’re ready to begin replacing your toilet tank.
Step 1: Shut Off the Water Supply
Before you can begin replacing your toilet tank, it’s crucial to shut off the water supply to avoid any leaks or water damage. Follow these steps to shut off the water supply:
1. Locate the water shut-off valve: The shut-off valve is typically located near the base of the toilet, either on the wall behind it or on the floor nearby. It is usually a round or oval-shaped valve with a handle.
2. Turn off the water supply: Turn the handle of the shut-off valve clockwise until it is fully closed. This will stop the flow of water to the toilet tank.
3. Flush the toilet: After shutting off the water supply, flush the toilet a couple of times to drain the remaining water in the tank and bowl. This will prevent any water spills when you disconnect the tank.
Once you’ve shut off the water supply and flushed the toilet, you can proceed to the next step of removing the old toilet tank. Remember to take caution while working with the water supply and ensure that the valve is fully closed to avoid any unwanted water leaks.
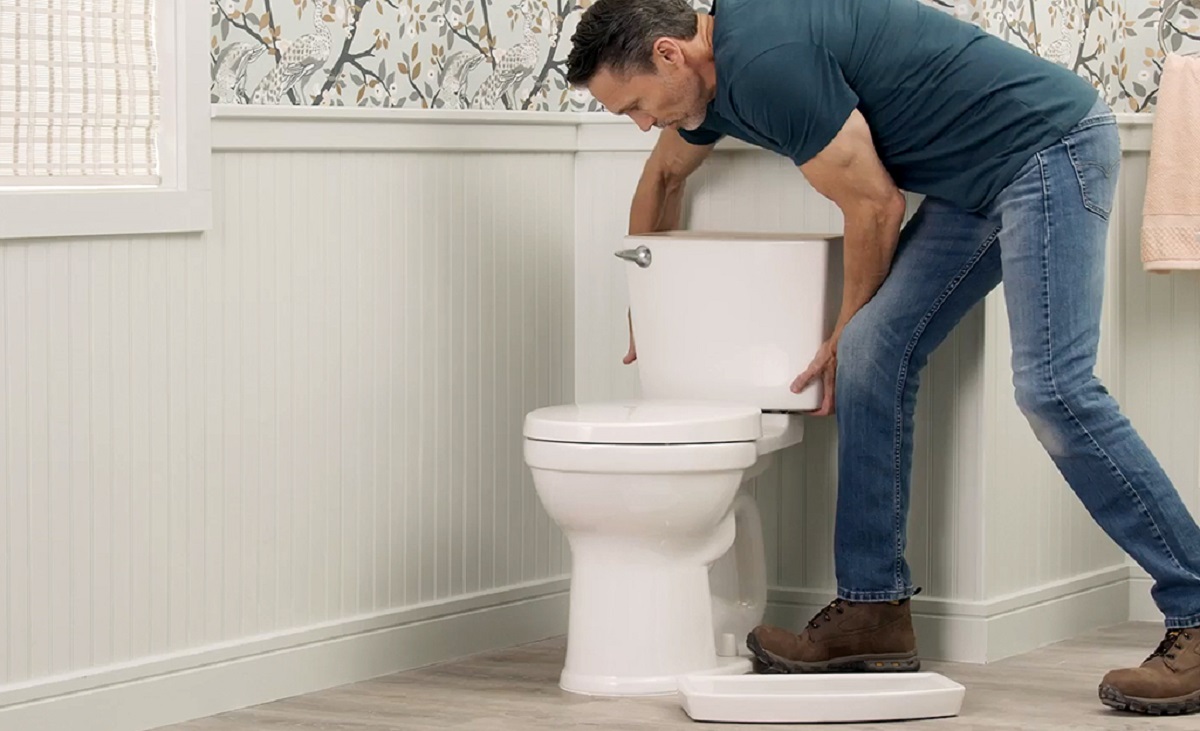
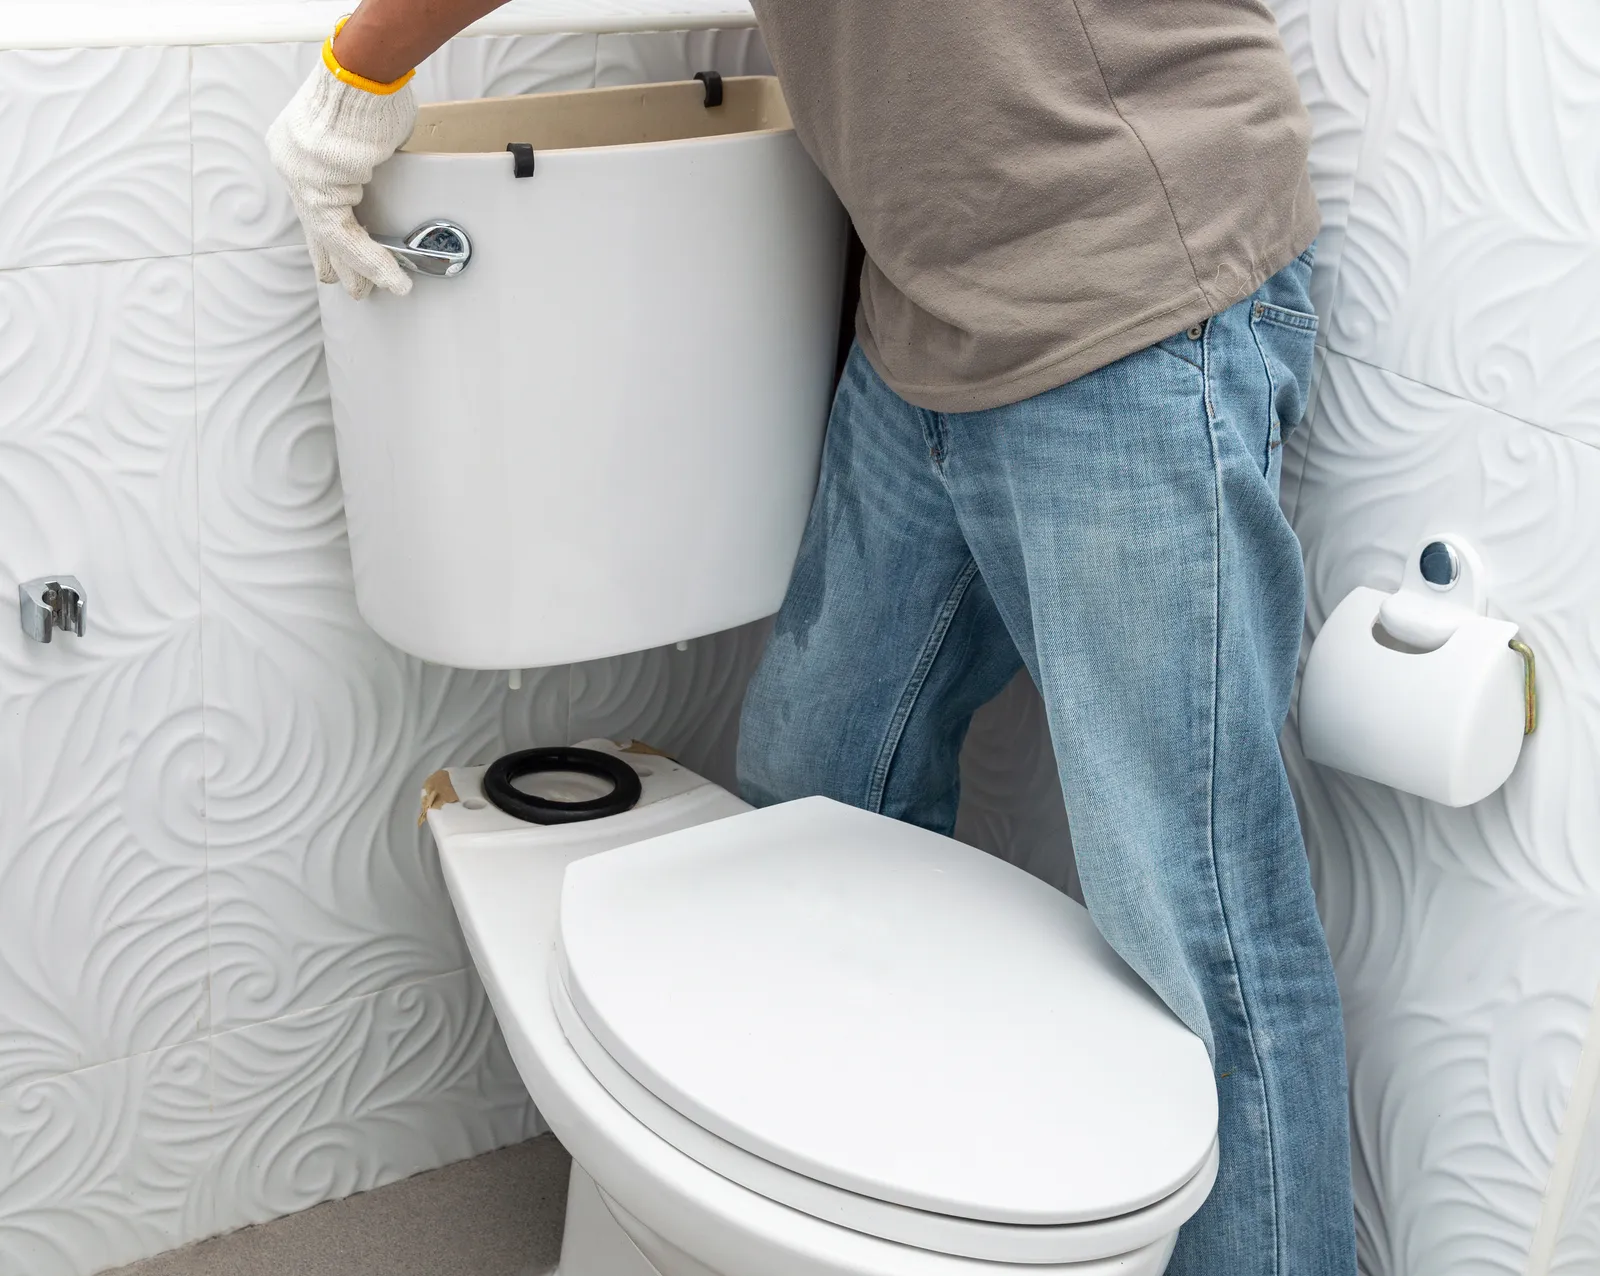
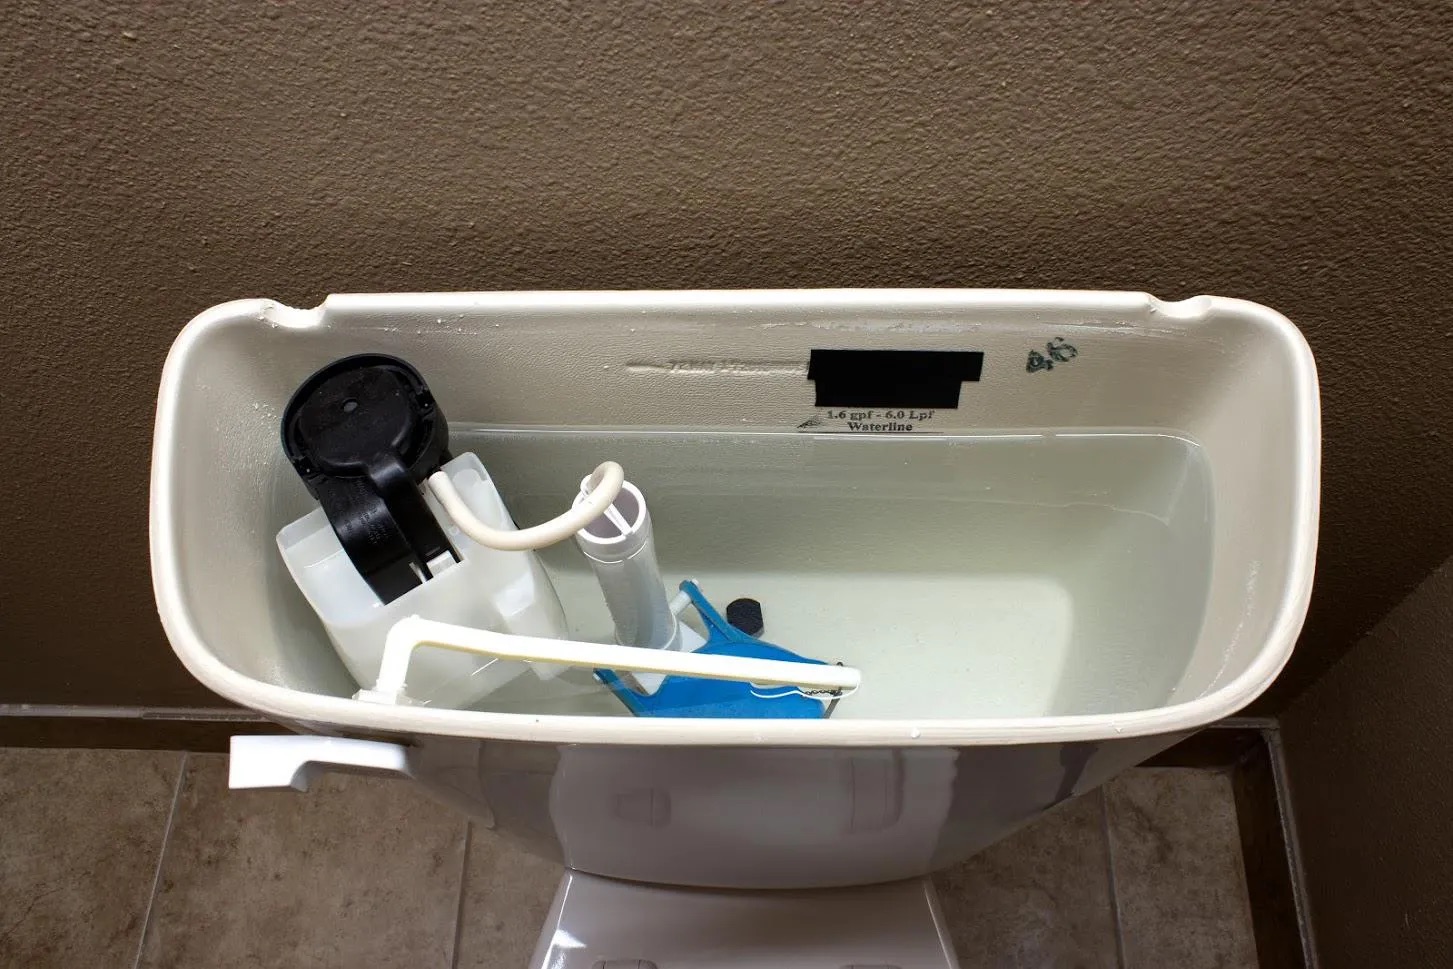
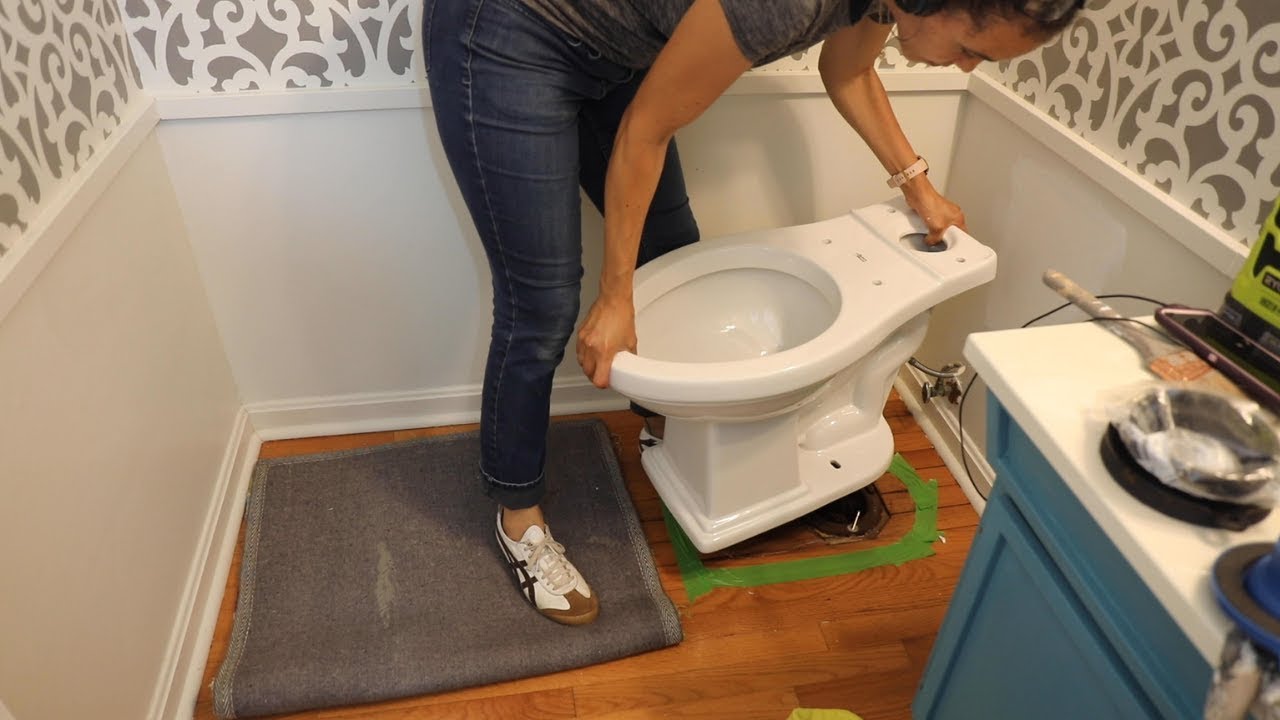
Step 2: Remove the Old Toilet Tank
Now that the water supply is shut off and the toilet is flushed, it’s time to remove the old toilet tank. Follow these steps to safely remove the tank:
1. Disconnect the water supply line: Locate the water supply line connecting the tank to the shut-off valve. Use an adjustable wrench to loosen the nut connecting the supply line to the bottom of the tank. Once loose, remove the nut and gently pull the water supply line out of the tank.
2. Remove the tank bolts: Examine the bottom of the tank and locate the bolts that secure it to the toilet bowl. These bolts are usually covered by plastic caps. Use a screwdriver to remove the caps, exposing the bolts. Use an adjustable wrench to loosen and remove these bolts.
3. Lift the tank off the bowl: With the bolts removed, carefully lift the old toilet tank straight up to detach it from the bowl. Be cautious as the tank can be heavy and may require assistance. Place the tank on a towel or cushioned surface to prevent any damage.
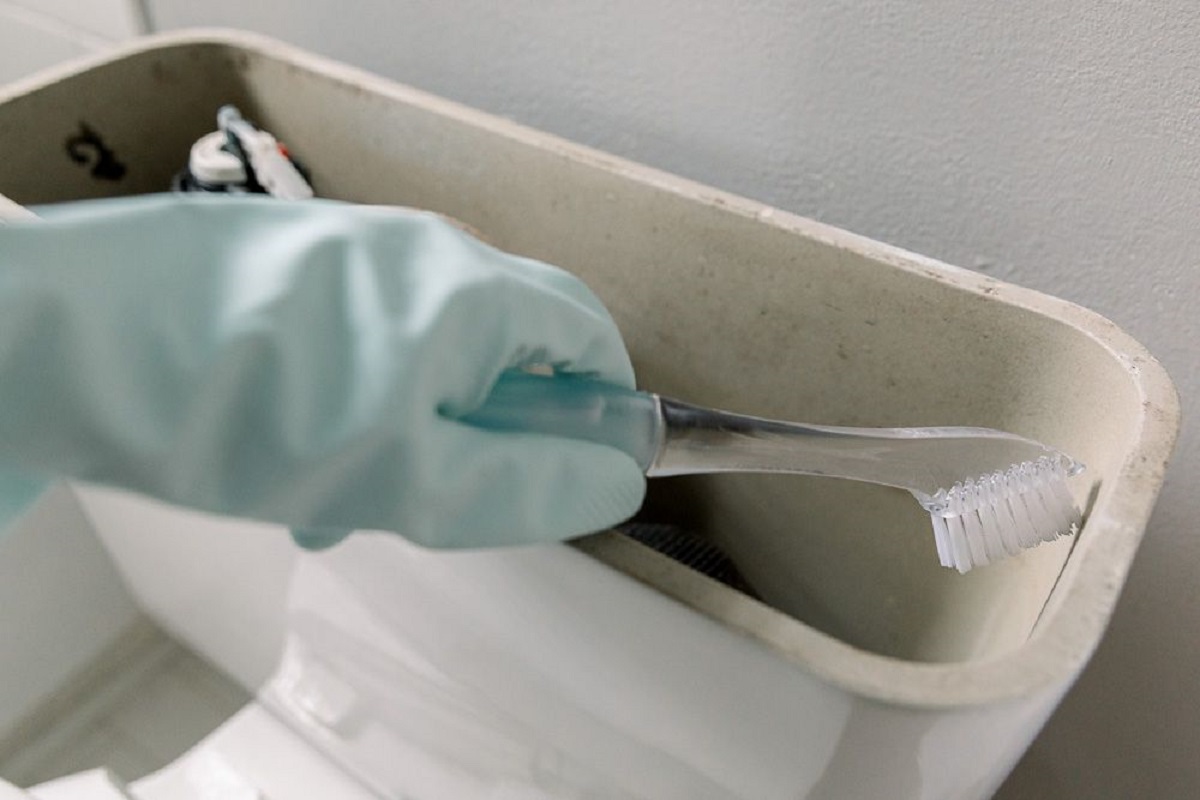
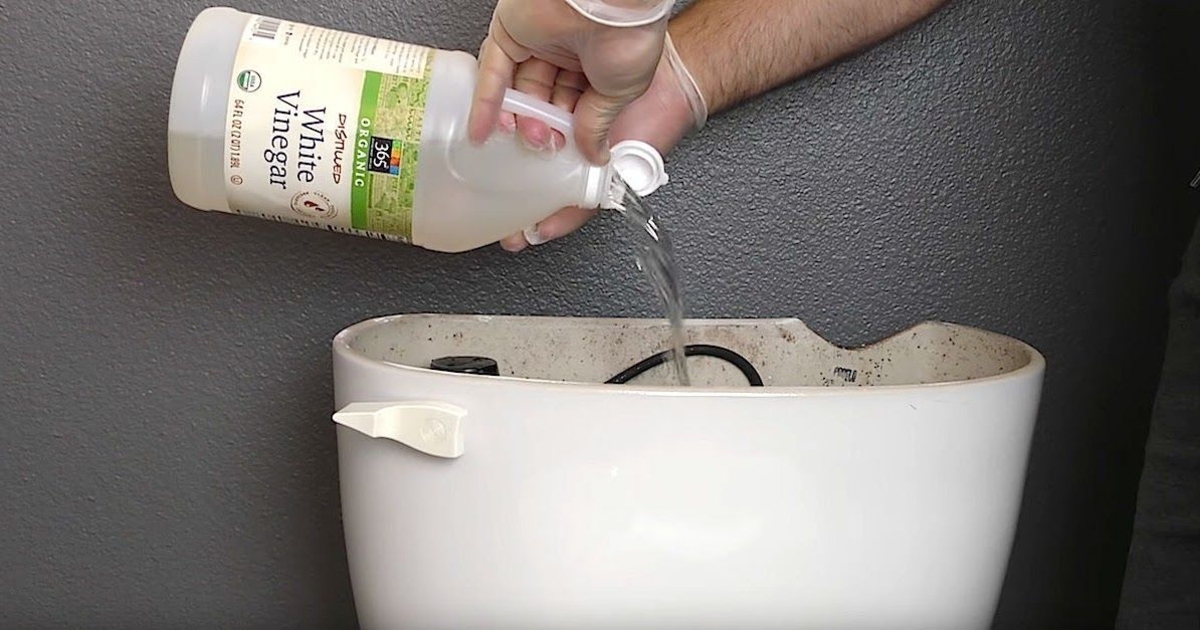
4. Clean the bowl: Once the tank is removed, take the opportunity to clean the area where the tank was attached to the bowl. Use a mild cleaner and a sponge or cloth to remove any residue or buildup.
By following these steps, you can safely remove the old toilet tank without any trouble. Be sure to handle the tank with care to avoid any damage or injuries. Now that you have successfully removed the old tank, you can move on to installing the new toilet tank in the next step.
When replacing a toilet tank, be sure to turn off the water supply and flush the toilet to empty the tank. Disconnect the water supply line and remove the bolts securing the tank to the bowl before carefully lifting and replacing the tank.
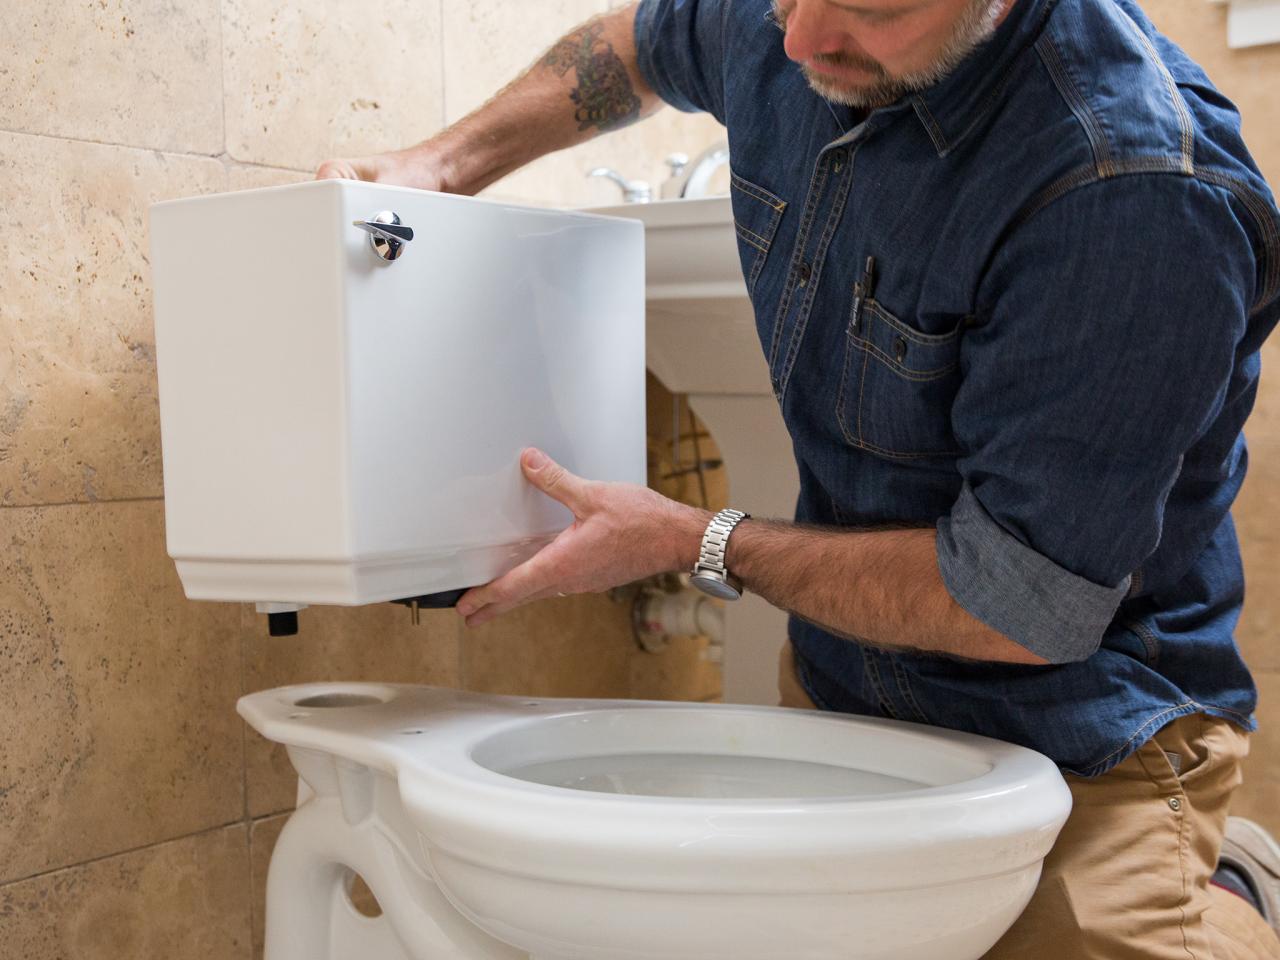
Step 3: Install the New Toilet Tank
With the old toilet tank removed, it’s time to install the new one. Follow these steps to install the new toilet tank properly:
1. Position the tank: Carefully place the new toilet tank onto the bowl, aligning the bolt holes at the bottom of the tank with the corresponding holes on the bowl. Make sure the tank is level and centered.
2. Insert the tank bolts: Insert the tank bolts through the holes at the bottom of the tank and through the corresponding holes on the bowl. Secure them by tightening the nuts with an adjustable wrench. Be careful not to overtighten, as this can crack the porcelain.
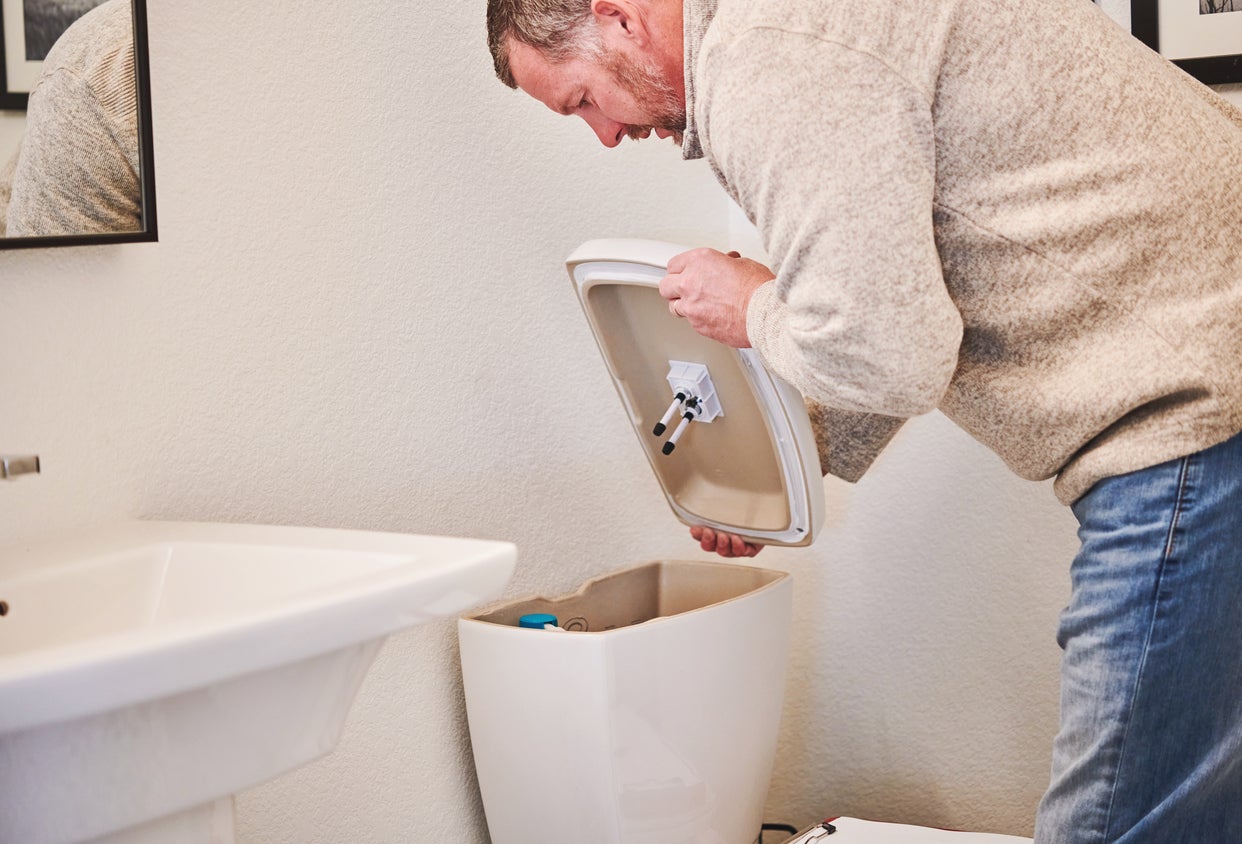
3. Install the tank gasket: Place the tank gasket or rubber washer onto the flush valve located in the center of the bowl. This provides a watertight seal between the tank and the bowl.
4. Attach the water supply line: Take the water supply line and connect it to the threaded outlet on the underside of the tank. Tighten the nut with an adjustable wrench. Ensure it is secure but avoid over-tightening to prevent damage to the connection.
5. Connect the flush handle: Attach the flush handle to the lever inside the tank, following the manufacturer’s instructions. This will allow you to flush the toilet once the installation is complete.
6. Double-check the alignment: Make sure the tank is properly aligned with the bowl and the installation is secure. Adjust as necessary to ensure a proper fit.
Congratulations! You have successfully installed the new toilet tank. In the next step, we will connect the water supply to complete the installation process.
Read more: How To Drain A Toilet Tank
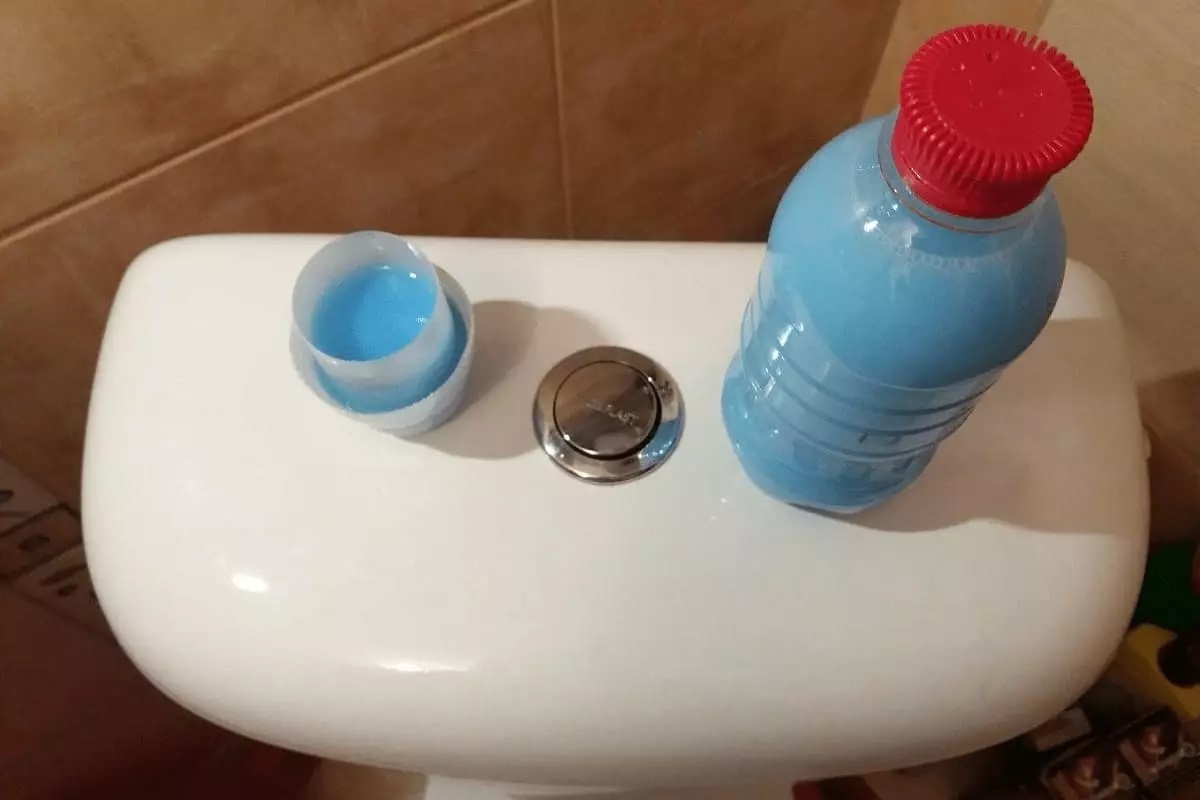
Step 4: Connect the Water Supply
With the new toilet tank installed, it’s time to connect the water supply to ensure proper functionality. Follow these steps to connect the water supply:
1. Turn on the water supply: Locate the shut-off valve and gradually turn the handle counterclockwise to open the valve. This will allow water to flow into the tank.
2. Check for leaks: As the water supply is turned on, carefully inspect all connections for any signs of leakage. Look for drips or water pooling around the supply line, bolts, and gaskets. If you notice any leaks, tighten the connections or replace any faulty components.
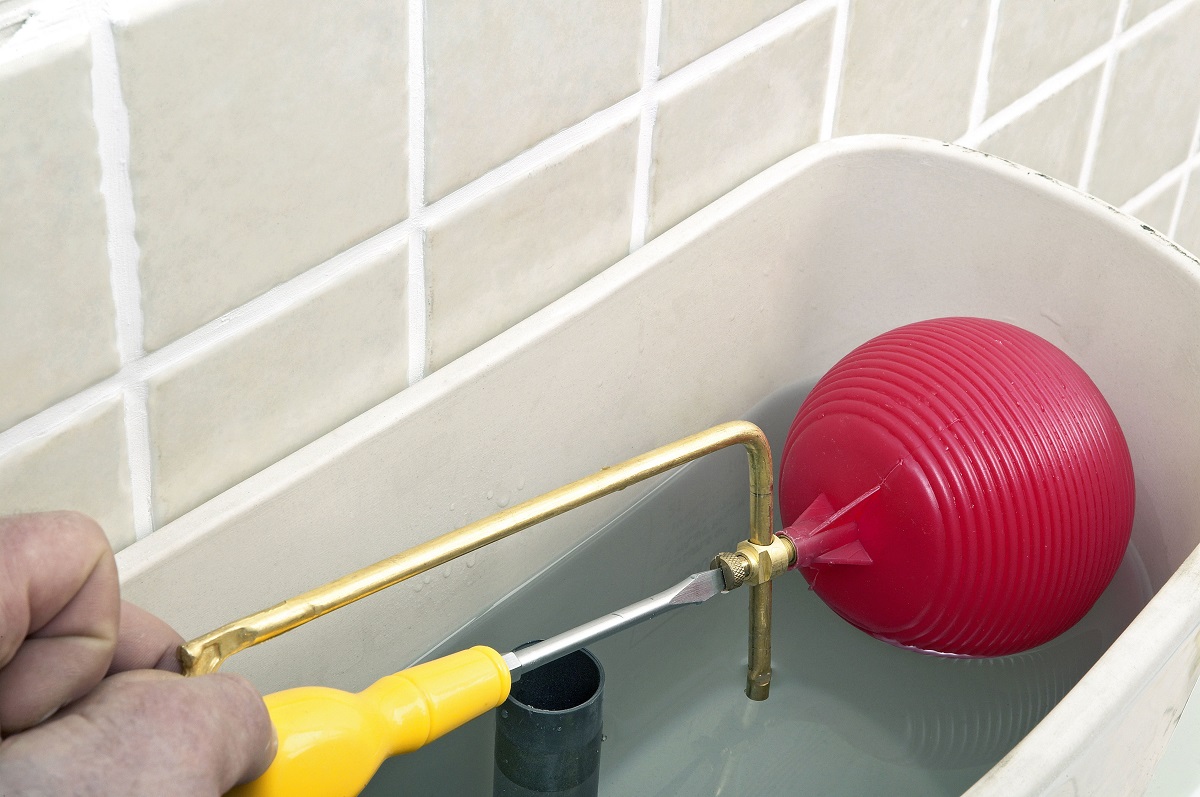
3. Adjust the float valve: Inside the tank, you’ll find the float valve that controls the water level. Ensure that it is properly adjusted so that the water stops filling the tank once it reaches the desired level. Follow the manufacturer’s instructions to adjust the float valve accordingly.
4. Test the flush mechanism: Flush the toilet and observe the flushing mechanism to ensure that it operates smoothly and effectively. The water should evacuate the bowl completely and then refill to the proper level without any issues. If you encounter any problems, you may need to make adjustments or consult the manufacturer’s instructions.
5. Test for proper water flow: Check the water flow into the tank after flushing. Ensure that the water fills the tank efficiently without overflowing or running continuously. Adjust the float valve or the water supply if necessary.
By following these steps, you can successfully connect the water supply to your newly installed toilet tank. Once you are satisfied with the water flow and the absence of leaks, you can move on to the final step: testing for leaks.
Step 5: Test for Leaks
Testing for leaks is a crucial step to ensure that your newly installed toilet tank is functioning properly. Follow these steps to test for leaks:
1. Fill the tank: Turn on the water supply and allow the tank to fill completely. Observe the filling process and ensure that water flows into the tank without any issues.
2. Observe the tank: Once the tank is filled, carefully examine all the connections, gaskets, and seals for any signs of leakage. Look for drips, water pooling, or moisture around the bolts, supply line, and the base of the tank. If you notice any leaks, tighten the connections or replace any faulty components.
3. Check the bowl: After flushing the toilet, examine the bowl for any water leaks. Look for any water escaping from the base of the tank or around the toilet bowl. If you notice any leaks, it is likely that the wax ring needs to be replaced.
4. Repeat the process: Flush the toilet multiple times and continue to observe for leaks. Test the flushing mechanism and ensure that the water flows smoothly during each flush.
5. Address any issues: If you identify any leaks during the testing process, take the necessary steps to fix them. This may involve tightening connections, replacing gaskets, or adjusting the float valve to resolve any problems.
By thoroughly testing for leaks, you can address any issues early on and prevent further water damage. It is important to ensure that all connections are secure and there are no signs of leakage before considering the project complete.
Congratulations! You have successfully replaced and tested your toilet tank. By following these steps, you have completed the installation process and can enjoy a fully functioning toilet once again.
Conclusion
Replacing a toilet tank may seem like a challenging task, but with the right tools, materials, and steps, it can be a manageable DIY project. By following the step-by-step guide outlined in this article, you can successfully replace your toilet tank and restore your toilet’s functionality.
Remember to shut off the water supply before starting the process and take caution when handling the tank to avoid any damage or injuries. Disconnect the water supply line and remove the old tank, ensuring that you clean the area where the tank was attached.
Next, install the new toilet tank by positioning it appropriately and securing it with bolts and gaskets. Connect the water supply line, adjust the float valve, and test the flush mechanism for proper functionality.
With the installation complete, thoroughly test for leaks to ensure that all connections, gaskets, and seals are secure. Address any issues promptly to prevent water damage and maintain the efficiency of your toilet system.
By taking the time to replace your toilet tank properly, you can enjoy a reliable and efficient toilet that operates smoothly. If you ever feel unsure about any aspect of the replacement process, it is advisable to consult a professional plumber for assistance.
Remember, maintaining a functional toilet is essential for everyday convenience and hygiene. Regularly inspect your toilet system and address any issues promptly to prevent costly repairs in the future.
With the knowledge and guidance provided in this article, you are now equipped to confidently replace your toilet tank and ensure a reliable bathroom fixture for years to come.
Now that you've mastered replacing your toilet tank, why not tackle other toilet issues or consider a larger project like updating your bathroom? For those eager to handle more toilet fixes, our compilation of toilet repair strategies will prove invaluable. On the other hand, if you're pondering a full bathroom makeover, understanding how long a bathroom renovation takes will help you plan effectively and avoid surprises. Both articles offer practical tips and insights to guide you through each process smoothly.
Frequently Asked Questions about How To Replace Toilet Tank
Was this page helpful?
At Storables.com, we guarantee accurate and reliable information. Our content, validated by Expert Board Contributors, is crafted following stringent Editorial Policies. We're committed to providing you with well-researched, expert-backed insights for all your informational needs.


0 thoughts on “How To Replace Toilet Tank”