Articles
How To Fix Bubble In Ceiling
Modified: October 19, 2024
Learn how to fix a bubble in your ceiling with our informative articles. Find step-by-step instructions and expert tips to ensure a smooth repair process.
(Many of the links in this article redirect to a specific reviewed product. Your purchase of these products through affiliate links helps to generate commission for Storables.com, at no extra cost. Learn more)
Introduction
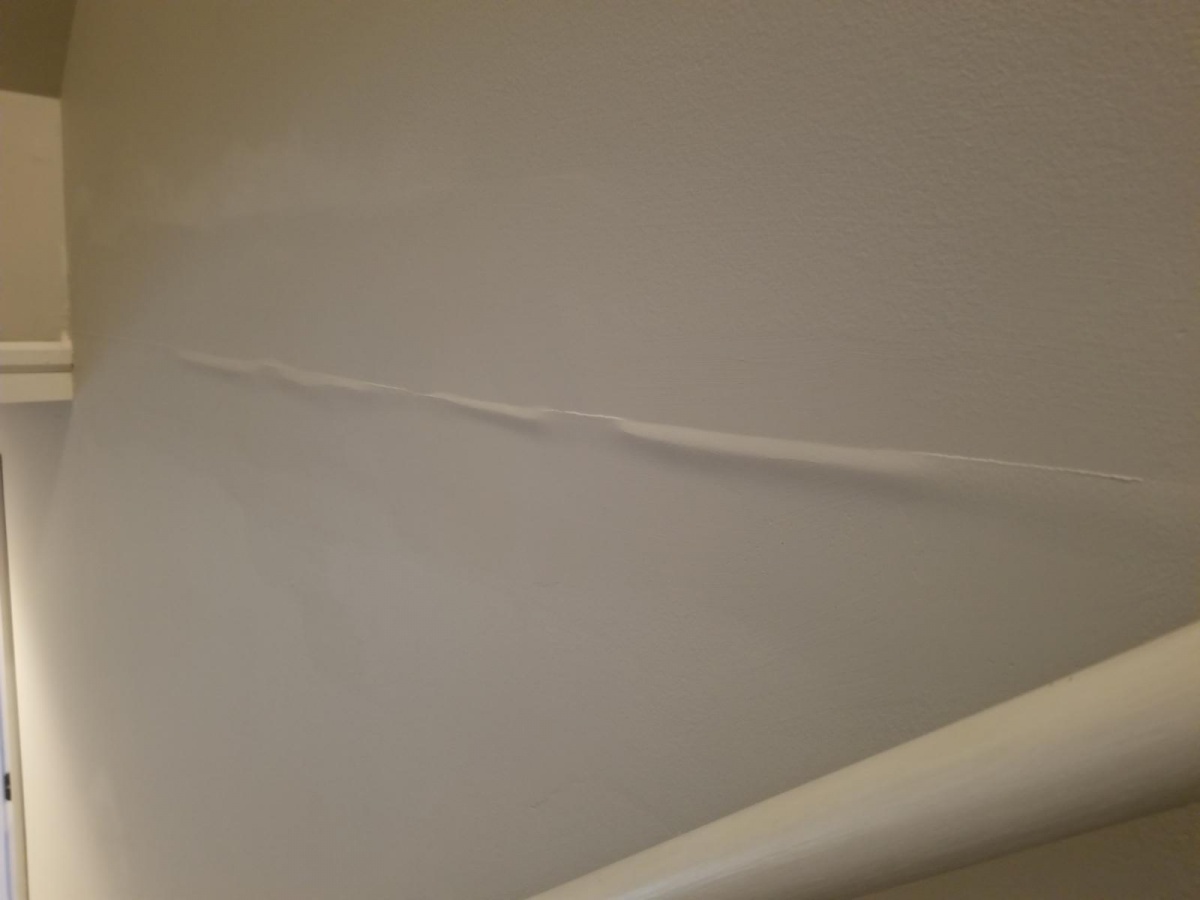
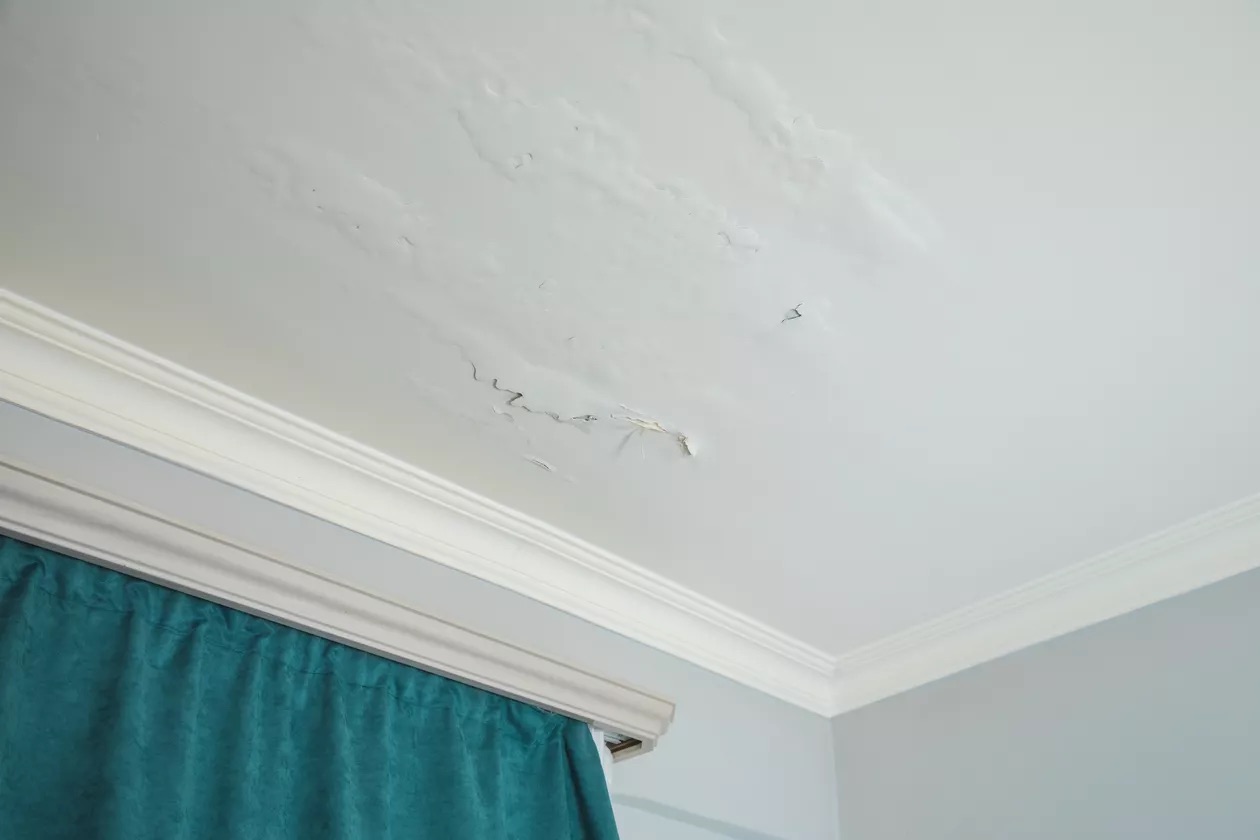
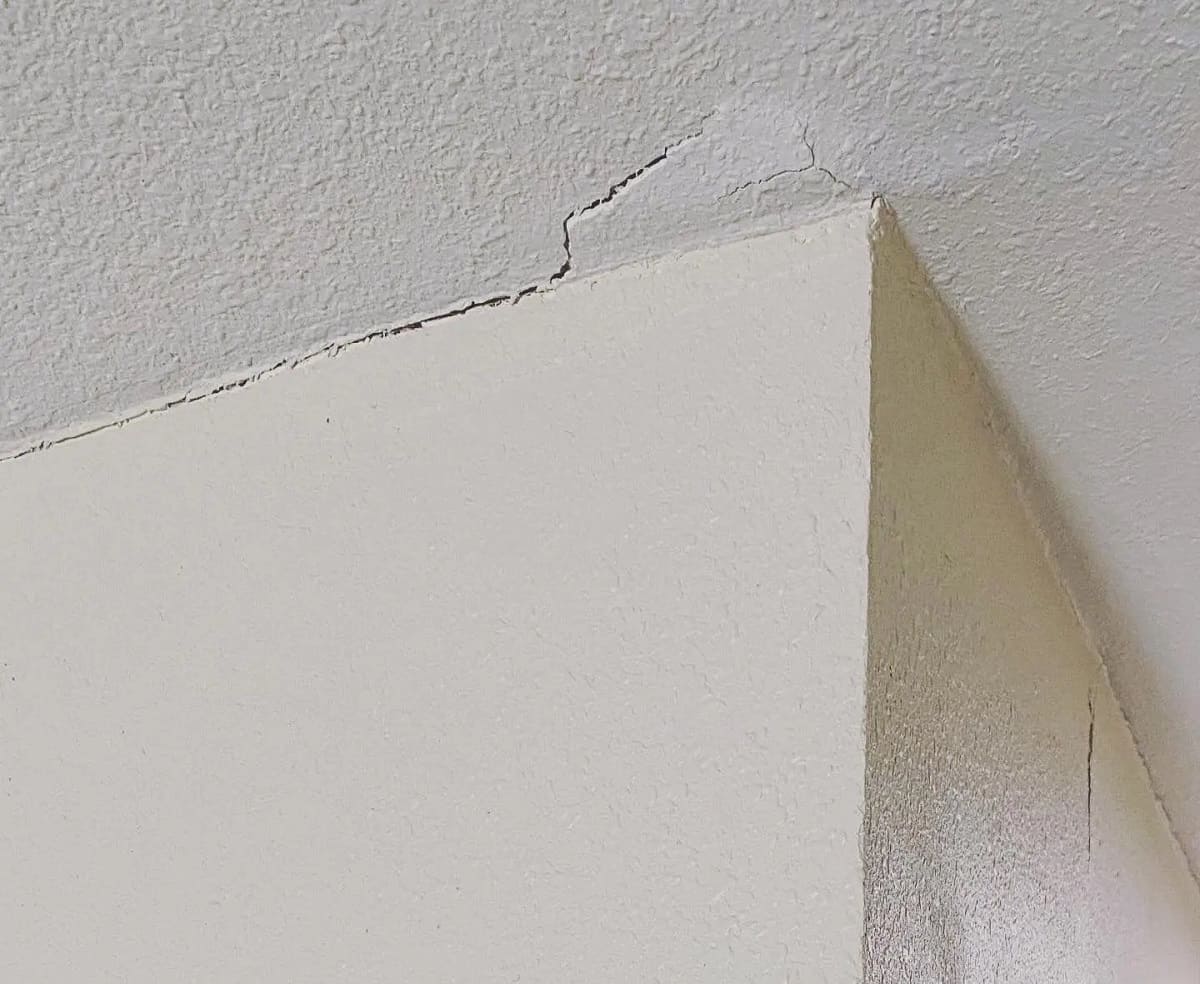
Having a bubble in your ceiling can be a frustrating and unsightly problem. Not only does it ruin the aesthetic appeal of your room, but it can also indicate a more serious underlying issue. It is important to address a ceiling bubble promptly to prevent further damage and ensure the structural integrity of your home.
In this article, we will guide you through the process of fixing a bubble in your ceiling. We will discuss the common causes of ceiling bubbles, the tools and materials you will need, and the step-by-step process to fix the issue. By following these instructions, you can restore the visual appeal of your ceiling and prevent any potential damage.
Before we dive into the solution, it is important to understand why ceiling bubbles occur in the first place. Let’s explore some of the common causes.
Key Takeaways:
- Addressing a ceiling bubble promptly is crucial to prevent further damage and ensure the structural integrity of your home. Understanding the causes and following the step-by-step repair process can restore the visual appeal of your ceiling.
- Properly preparing the work area, draining the bubble, squaring the affected area, and applying adhesive are essential steps in fixing a bubble in your ceiling. Attention to detail and finishing touches ensure a professional-looking repair.
Read more: How To Fix Air Bubbles In Candles
Causes of Ceiling Bubbles
Ceiling bubbles can occur due to a variety of reasons, and understanding the cause can help you address the issue effectively. Here are some common causes of ceiling bubbles:
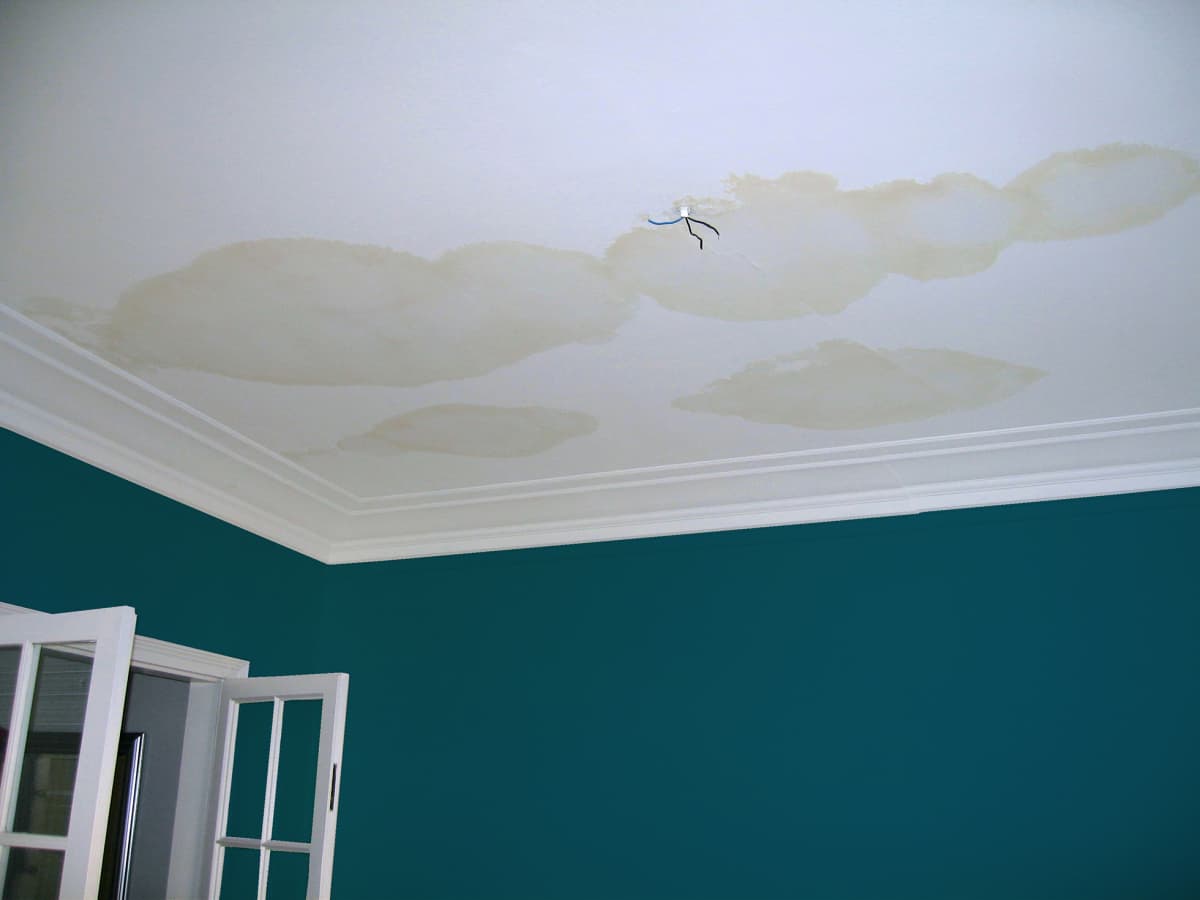
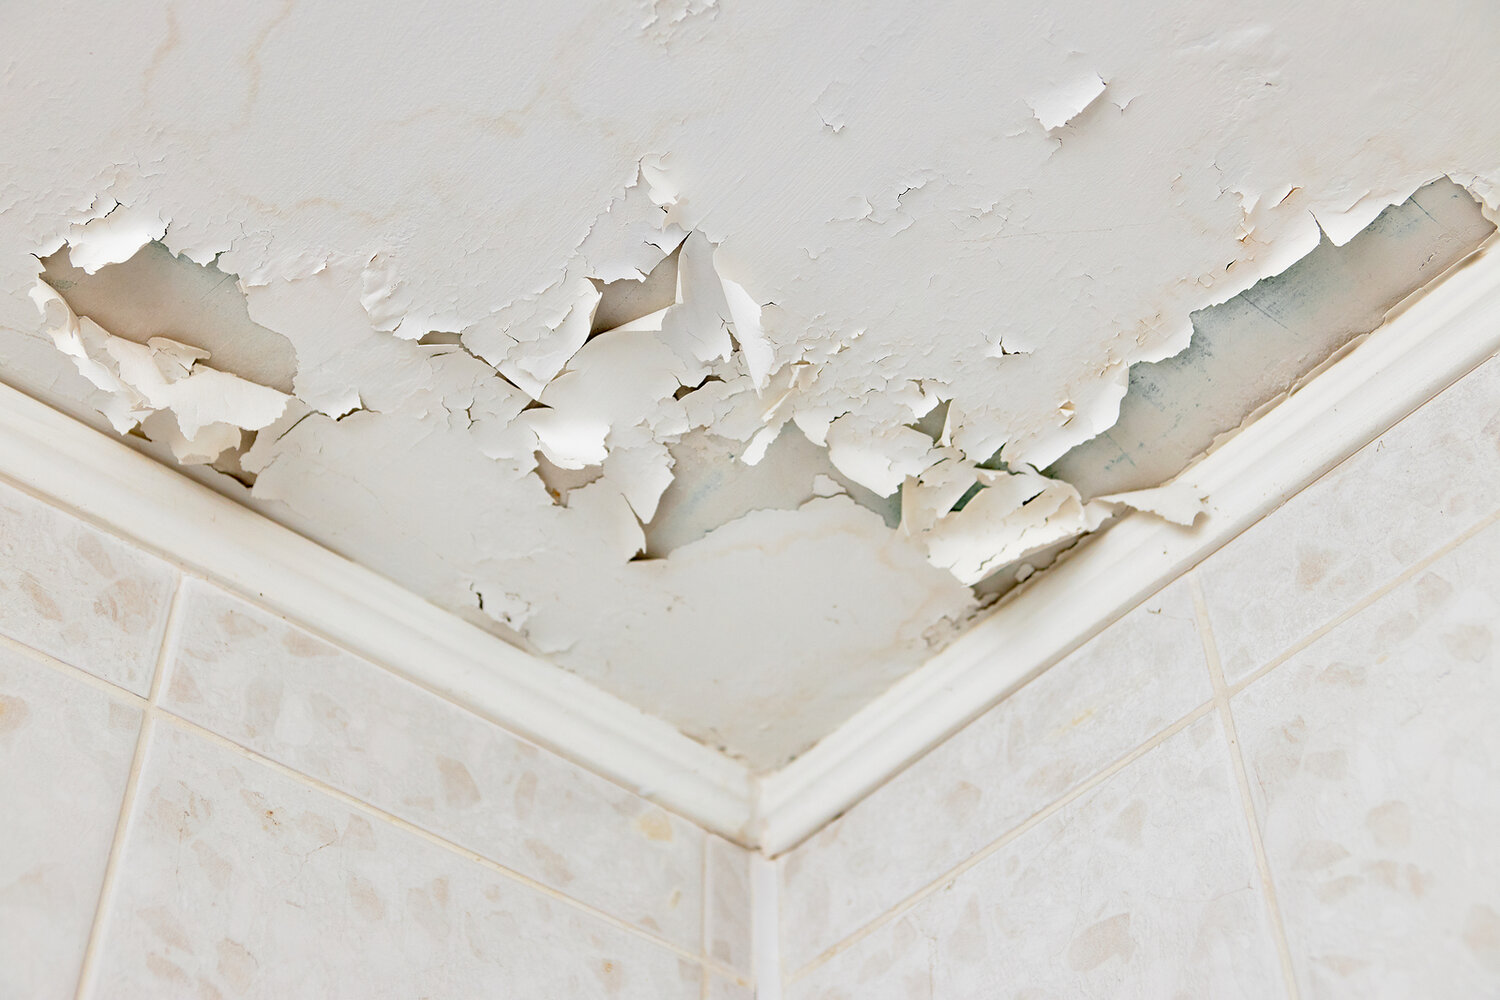
- Water Leakage: The most common cause of ceiling bubbles is water leakage. This can happen due to a leaking pipe, roof damage, or inadequate waterproofing. When water seeps into the ceiling, it creates a bubble as it gets trapped between the layers of paint or plaster. It is important to identify the source of the leak and fix it before addressing the bubble.
- Poor Ventilation: In areas with high humidity, such as bathrooms or kitchens, poor ventilation can lead to the buildup of moisture. This moisture can get trapped in the ceiling, leading to the formation of bubbles. Improving the ventilation in these areas by installing exhaust fans or opening windows can help prevent ceiling bubbles.
- Improper Installation: If the ceiling was not installed properly, it can result in poor adhesion between the layers of paint or plaster. Over time, this can cause bubbles to form. Improper installation can include inadequate priming, incorrect application of adhesive, or using low-quality materials. It is important to ensure that the ceiling is installed correctly to prevent future issues.
- Temperature Fluctuations: Extreme temperature fluctuations can cause the materials used on the ceiling to expand and contract. This can lead to the creation of bubbles as the materials separate. It is important to maintain a consistent temperature in your home to minimize the likelihood of this occurring.
- Structural Issues: In some cases, ceiling bubbles can be a result of underlying structural issues. This can include sagging ceilings, weak support beams, or structural damage from water or pests. If you suspect that the bubble is caused by a structural issue, it is recommended to consult a professional to assess and address the problem.
By understanding the causes of ceiling bubbles, you can better determine the appropriate course of action to fix the issue. Now, let’s move on to the tools and materials you will need for the repair.
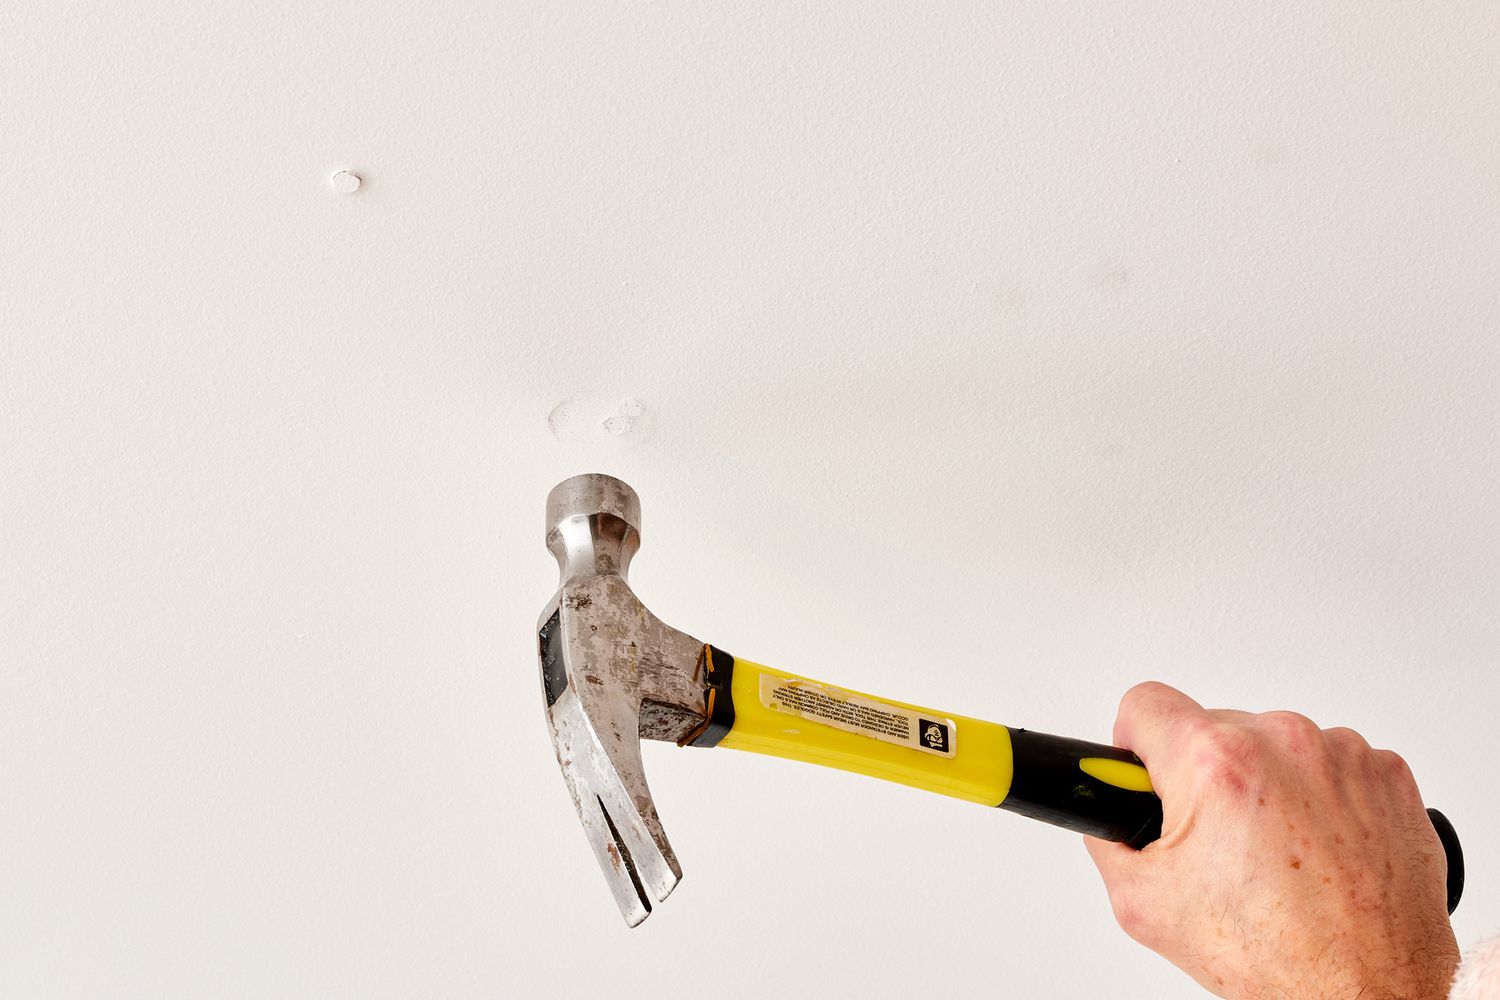
Tools and Materials Needed
Before you can begin the process of fixing a bubble in your ceiling, it is important to gather the necessary tools and materials. Here’s a list of what you will need:
Tools:
- Utility knife or razor blade
- Putty knife
- Sanding block or sandpaper
- Paintbrush or roller
- Paint tray
- Drywall compound
- Joint compound
- Screwdriver
- Drill
- Patching plaster
- Ladder
Materials:
- Drop cloth or plastic sheeting
- Painter’s tape
- Primer
- Paint
- Drywall patch or ceiling repair kit
- Screws
- Sanding sealer
- Caulk or sealant (if necessary)
Having these tools and materials on hand will ensure that you have everything you need to successfully repair the ceiling bubble. Once you have gathered all the necessary items, you can proceed to the next step: identifying the location of the bubble.
Read more: How To Store Bubble Wrap
Step 1: Identifying the Bubble Location
The first step in fixing a bubble in your ceiling is to identify the exact location of the bubble. This is important because it helps you determine the extent of the repair needed and ensures that you address the issue accurately. Here’s how you can identify the bubble location:
- Inspect the ceiling: Carefully examine the affected area to locate the bubble. Look for any visible signs of bubbling, such as protruding or sagging areas on the ceiling’s surface. It is essential to inspect the entire ceiling to identify any other potential bubbles that may be less visible.
- Check for discoloration: Water leakage or moisture buildup often leads to discoloration on the ceiling. Look for any stains or marks in the vicinity of the suspected bubble. Discoloration can be an indication of water damage, which may have caused the bubble to form.
- Tap the ceiling: Gently tap the area around the suspected bubble using a small tool or your knuckles. Bubbles are often hollow and produce a distinctive sound when tapped. Listen for a hollow or echoing noise, which can confirm the presence of a bubble beneath the surface.
- Use a stud finder: If you are unable to visually identify the bubble, a stud finder can help you pinpoint its location. Slowly move the stud finder across the ceiling until you detect a change in the reading. This can indicate the presence of a bubble under the surface.
By carefully identifying the location of the bubble, you can accurately plan and execute the repair process. Once you have identified the bubble, it’s time to prepare the work area for the repair.
Step 2: Preparing the Work Area
Once you have identified the location of the bubble, it is important to properly prepare the work area before proceeding with the repair. This involves taking necessary precautions to ensure a clean and safe workspace. Here’s what you need to do to prepare the work area:
- Clear the area: Move any furniture or other items away from the area where you will be working. This will create sufficient space and prevent any potential damage to your belongings.
- Protect the surrounding area: Cover the floor beneath the work area with a drop cloth or plastic sheeting to catch any debris or dust that may fall during the repair process. Use painter’s tape to secure the covering in place and prevent it from shifting.
- Put on safety gear: Put on safety goggles, gloves, and a dust mask to protect yourself from any potential hazards during the repair process. This will help prevent eye injuries, skin irritation, and inhalation of dust particles or chemical fumes.
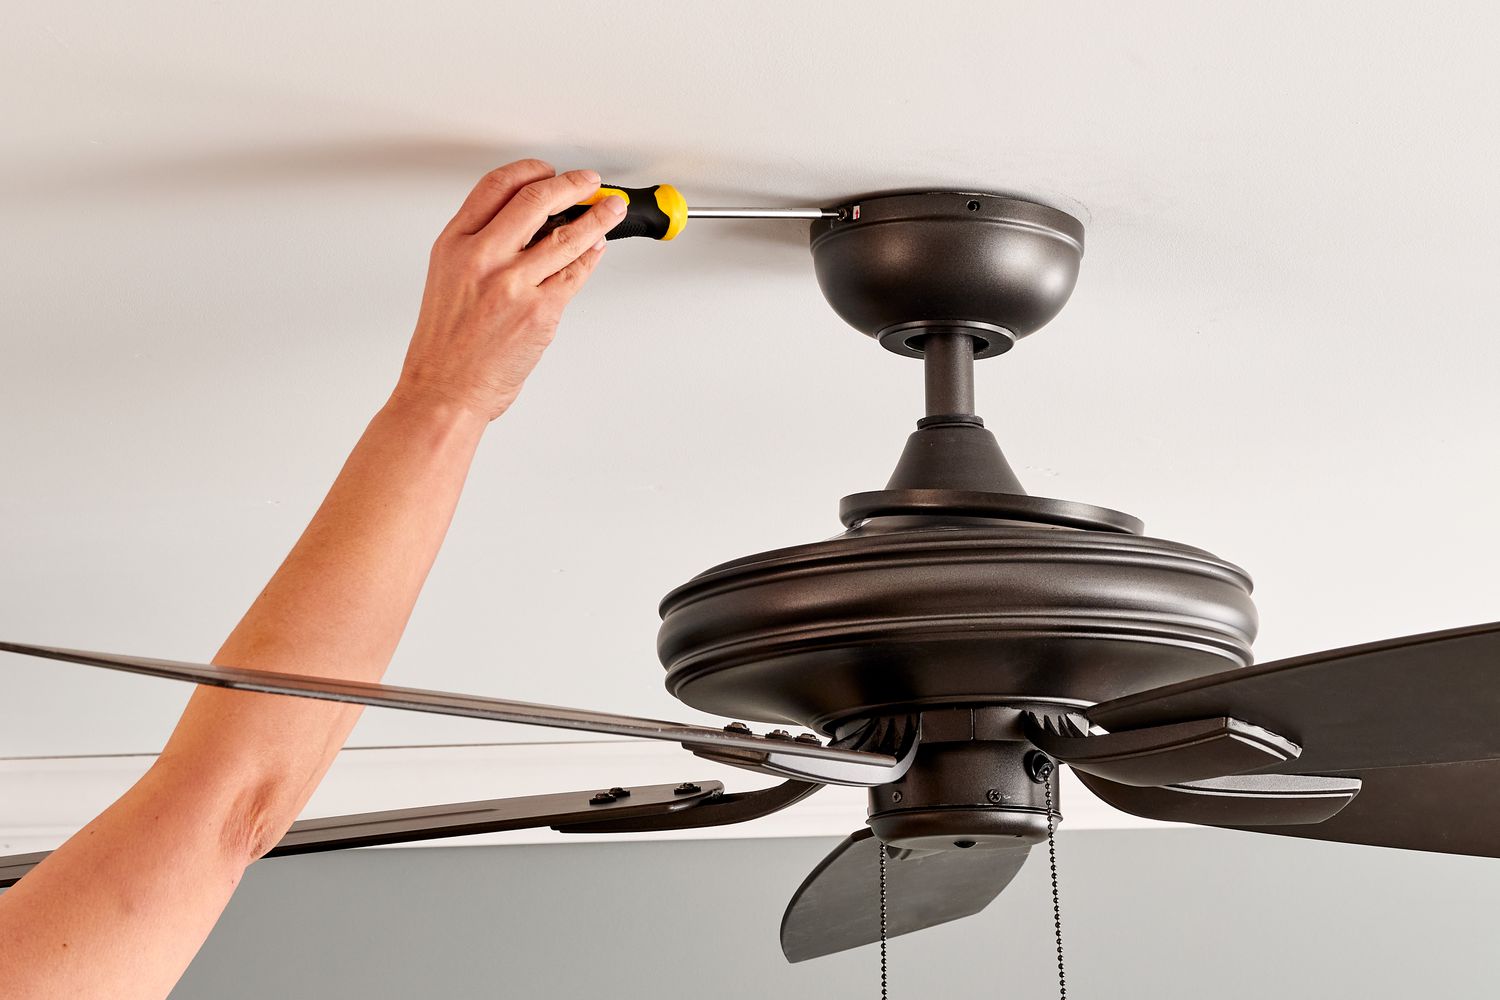
- Turn off electricity: If the bubble is located in an area with electrical fixtures, such as lights or fans, turn off the power supply to the room before starting the repair. This will prevent any risk of electrical shock while working on the ceiling.
- Secure a ladder: Place a sturdy ladder beneath the work area to provide safe and easy access to the ceiling. Ensure that the ladder is stable and on a level surface before climbing on it.
By following these steps, you can create a clean and safe work environment for the repair process. Once you have prepared the work area, you are ready to move on to the next step: draining the bubble.
Step 3: Draining the Bubble
Now that you have prepared the work area, it’s time to drain the bubble in your ceiling. Draining the bubble involves releasing the trapped air or moisture that has caused the bubble to form. Here’s a step-by-step guide on how to drain the bubble:
- Put on protective gear: Before interacting with the bubble, make sure you are wearing safety goggles, gloves, and a dust mask. This will protect your eyes, hands, and respiratory system from any potential hazards.
- Find the edge of the bubble: Use a utility knife or razor blade to carefully cut along the edge of the bubble. Start with a small incision and gradually extend it to release the trapped air or moisture. Be cautious not to cut too deep and damage the underlying materials.
- Press on the bubble: Gently press down on the bubble with your hands or a putty knife to release the air or moisture. Apply even pressure across the entire bubble to ensure that the trapped substance is fully drained.
- Allow the area to dry: After draining the bubble, give the area sufficient time to dry completely. This process may take a few hours or even a day, depending on the extent of moisture present. Ensure that the area is thoroughly dry before proceeding with the repair process.
Draining the bubble is an important step as it removes the trapped air or moisture and prepares the area for the next steps of the repair process. Once the area is dry, you can move on to the next step: squaring the affected area.
Step 4: Squaring the Affected Area
After draining the bubble and ensuring that the area is dry, the next step is to square the affected area. Squaring the area involves creating a clean and even surface for the repair. Here is a detailed guide on how to square the affected area:
- Use a level: Place a level on the surface of the ceiling surrounding the bubble. This will help you determine if the adjacent area is even or if there are any high or low spots. Adjust the level to ensure it is perfectly horizontal or vertical, depending on the direction you are working.
- Mark the square area: Using a pencil or marker, draw a square around the affected area, extending beyond the bubbling portion. The square should have straight lines and even corners.
- Cut along the square lines: Carefully cut along the marked lines using a utility knife or razor blade. Start with small incisions and gradually remove the excess material within the square area. Be cautious not to cut too deep or damage the surrounding ceiling surface.
- Remove the excess material: Once you have cut along the square lines, use a putty knife to gently pry off the excess material within the square area. Take your time to ensure a clean removal without causing any further damage to the surrounding ceiling.
- Smooth the edges: Use sandpaper or a sanding block to smooth the edges of the squared area. This will create a seamless transition between the existing ceiling and the repaired section, resulting in a more aesthetically pleasing finish.
Squaring the affected area is an important step as it provides a stable and even surface for the repair. By following these steps, you can create a clean and precisely squared area for the next stage of the repair process. Once the area is squared, you can move on to the next step: applying adhesive.
To fix a bubble in the ceiling, use a utility knife to make a small slit in the bubble, then press out the excess air and apply a thin layer of joint compound. Sand and repaint the area for a seamless finish.
Read more: How To Fix Bathroom Ceiling
Step 5: Applying Adhesive
Once the affected area has been squared, the next step in fixing a bubble in your ceiling is to apply adhesive. The adhesive helps secure the repaired section and prevent future bubbling. Here’s a step-by-step guide on how to apply adhesive:
- Choose an appropriate adhesive: Select a high-quality adhesive suitable for ceiling repairs. Check the manufacturer’s instructions and ensure it is compatible with the materials used in your ceiling.
- Prepare the adhesive: Follow the instructions provided by the adhesive manufacturer to prepare the adhesive. This may involve mixing it with water or applying it directly from the container. Be sure to wear gloves and follow the safety precautions.
- Apply the adhesive: Using a putty knife or a paintbrush, apply a thin layer of adhesive to the squared area on the ceiling. Spread the adhesive evenly, making sure to cover the entire surface of the repaired section.
- Smooth out the adhesive: After applying the adhesive, use the putty knife or a smoothing tool to level and smooth out the surface. This will help create a seamless blend with the surrounding ceiling.
- Allow the adhesive to dry: Follow the manufacturer’s instructions regarding drying time. Typically, the adhesive will require several hours to fully dry. Avoid touching or applying pressure to the repaired area during this time.
By applying the adhesive correctly, you are ensuring a strong bond between the repaired section and the underlying ceiling. This helps prevent any future bubbling or damage. Once the adhesive has dried, you can proceed to the next step: flattening and securing the bubble.
Step 6: Flattening and Securing the Bubble
Now that the adhesive has dried, it’s time to flatten and secure the bubble in your ceiling. This step ensures that the repaired area blends seamlessly with the surrounding surface and eliminates any remaining signs of bubbling. Here’s how you can flatten and secure the bubble:
- Inspect the bubble: Carefully examine the repaired area to ensure it is fully flattened. If there are any remaining bumps or imperfections, use sandpaper or a sanding block to gently smooth out the surface.
- Apply a layer of joint compound: Use a putty knife to apply a thin layer of joint compound over the flattened area. The joint compound helps create a smooth and even surface for further finishing.
- Blend the joint compound: Gently blend the joint compound with the surrounding ceiling by feathering the edges. This ensures a gradual transition between the repaired area and the existing ceiling, creating a seamless finish.
- Allow the joint compound to dry: Follow the manufacturer’s instructions regarding the drying time of the joint compound. It typically takes a few hours to dry completely. Avoid touching or applying pressure to the area while it is drying.
- Sand the dried joint compound: Once the joint compound has dried, use fine-grit sandpaper or a sanding block to smooth the surface. This will remove any rough or uneven patches, resulting in a polished and flawless finish.
- Prime and paint: Finally, prime the repaired area with a suitable primer and allow it to dry. Then, apply a coat of paint that matches the color of the surrounding ceiling. Feather the paint into the surrounding area to blend it seamlessly.
By following these steps, you can successfully flatten and secure the bubble, creating a professional-looking repair. Once the area is fully flattened and painted, you are ready for the final step: adding finishing touches.
Step 7: Finishing Touches
With the bubble in your ceiling repaired and the area fully flattened and painted, it’s time to add the finishing touches to complete the restoration process. These final steps will ensure that the repaired area seamlessly blends with the rest of the ceiling, leaving no trace of the previous bubble. Here’s what you need to do:
- Inspect the repaired area: Carefully examine the repaired section to ensure it matches the surrounding ceiling. Look for any visible differences in texture or color. If needed, apply an additional coat of paint to achieve a perfect match.
- Clean the work area: Remove the drop cloth or plastic sheeting from the floor and clean up any debris or dust that accumulated during the repair. Vacuum or sweep the area to leave it tidy and ready for use.
- Replace furniture and decor: Return any furniture or decor items that were moved during the repair process back to their original positions. Ensure that everything is secure and level.
- Inspect for further damage: Take the opportunity to inspect the entire ceiling for any signs of additional bubbles or damage. Address any issues promptly to prevent further problems down the line.
- Maintain proper ventilation: To prevent future moisture buildup and bubbles, ensure that the room has proper ventilation, especially in areas prone to humidity, such as bathrooms and kitchens. Consider installing exhaust fans or opening windows regularly to promote airflow.
By completing these final touches, you can be confident that the repaired bubble in your ceiling is no longer visible, and the surrounding area is restored to its original condition. Remember to regularly inspect and maintain your ceiling to catch any potential issues early on and prevent further damage.
Congratulations on successfully fixing the bubble in your ceiling! By following the steps outlined in this article, you have taken the necessary measures to restore the beauty and integrity of your ceiling.
Remember, if you encounter any complex or extensive ceiling issues that require professional assistance, don’t hesitate to consult a qualified contractor or handyman. They can provide expert advice and ensure the repair is done accurately and safely.
Conclusion
Fixing a bubble in your ceiling can be a daunting task, but by following the step-by-step guide outlined in this article, you can successfully restore the appearance and structural integrity of your ceiling. It is important to address ceiling bubbles promptly to prevent further damage and potential hazards.
Throughout this article, we discussed the common causes of ceiling bubbles, the tools and materials needed for the repair, and the detailed steps to fix the issue. From identifying the bubble location to draining the bubble, squaring the affected area, applying adhesive, flattening and securing the bubble, and adding finishing touches, each step plays a crucial role in achieving a professional-looking repair.
Remember, safety should always be a top priority during the repair process. Be sure to wear protective gear, turn off electricity in the area if necessary, and work in a clean and well-ventilated space.
By taking the time to properly identify the bubble, address the underlying cause, and follow the steps precisely, you can eliminate the unsightly bubble and restore the beauty of your ceiling. Maintaining a well-ventilated environment and promptly addressing any signs of moisture or damage can help prevent future bubbles and ensure the longevity of your ceiling.
If you encounter any significant structural issues or feel unsure about your ability to repair the bubble, it’s always a good idea to seek professional assistance. A qualified contractor or handyman can provide expert guidance and ensure that the repair is done accurately and safely.
Remember, prevention is key to avoiding future ceiling bubbles. Regularly inspect your ceilings for any signs of water leakage, maintain proper ventilation, and address any issues promptly to avoid more extensive damage. By taking proactive measures, you can keep your ceilings in excellent condition for years to come.
Thank you for reading this comprehensive guide on fixing a bubble in your ceiling. We hope it has been helpful and provided you with the knowledge and confidence to tackle this repair successfully.
Now that you've tackled fixing a ceiling bubble, why not dive deeper into maintaining your home's integrity? Our detailed guide on home repair walks you through essential techniques and tools that keep your space in top shape. For those who prefer a more hands-on approach, our comprehensive DIY home improvement article offers practical tips and creative solutions to enhance your living environment. Both resources are packed with valuable insights to help you confidently manage and upgrade your home.
Frequently Asked Questions about How To Fix Bubble In Ceiling
Was this page helpful?
At Storables.com, we guarantee accurate and reliable information. Our content, validated by Expert Board Contributors, is crafted following stringent Editorial Policies. We're committed to providing you with well-researched, expert-backed insights for all your informational needs.
0 thoughts on “How To Fix Bubble In Ceiling”