Articles
How To Fix A Kegerator That Doesn’t Get Cold
Modified: August 27, 2024
Looking for articles on how to fix a kegerator that doesn't get cold? Find step-by-step instructions and troubleshooting tips to resolve the issue.
(Many of the links in this article redirect to a specific reviewed product. Your purchase of these products through affiliate links helps to generate commission for Storables.com, at no extra cost. Learn more)
Introduction
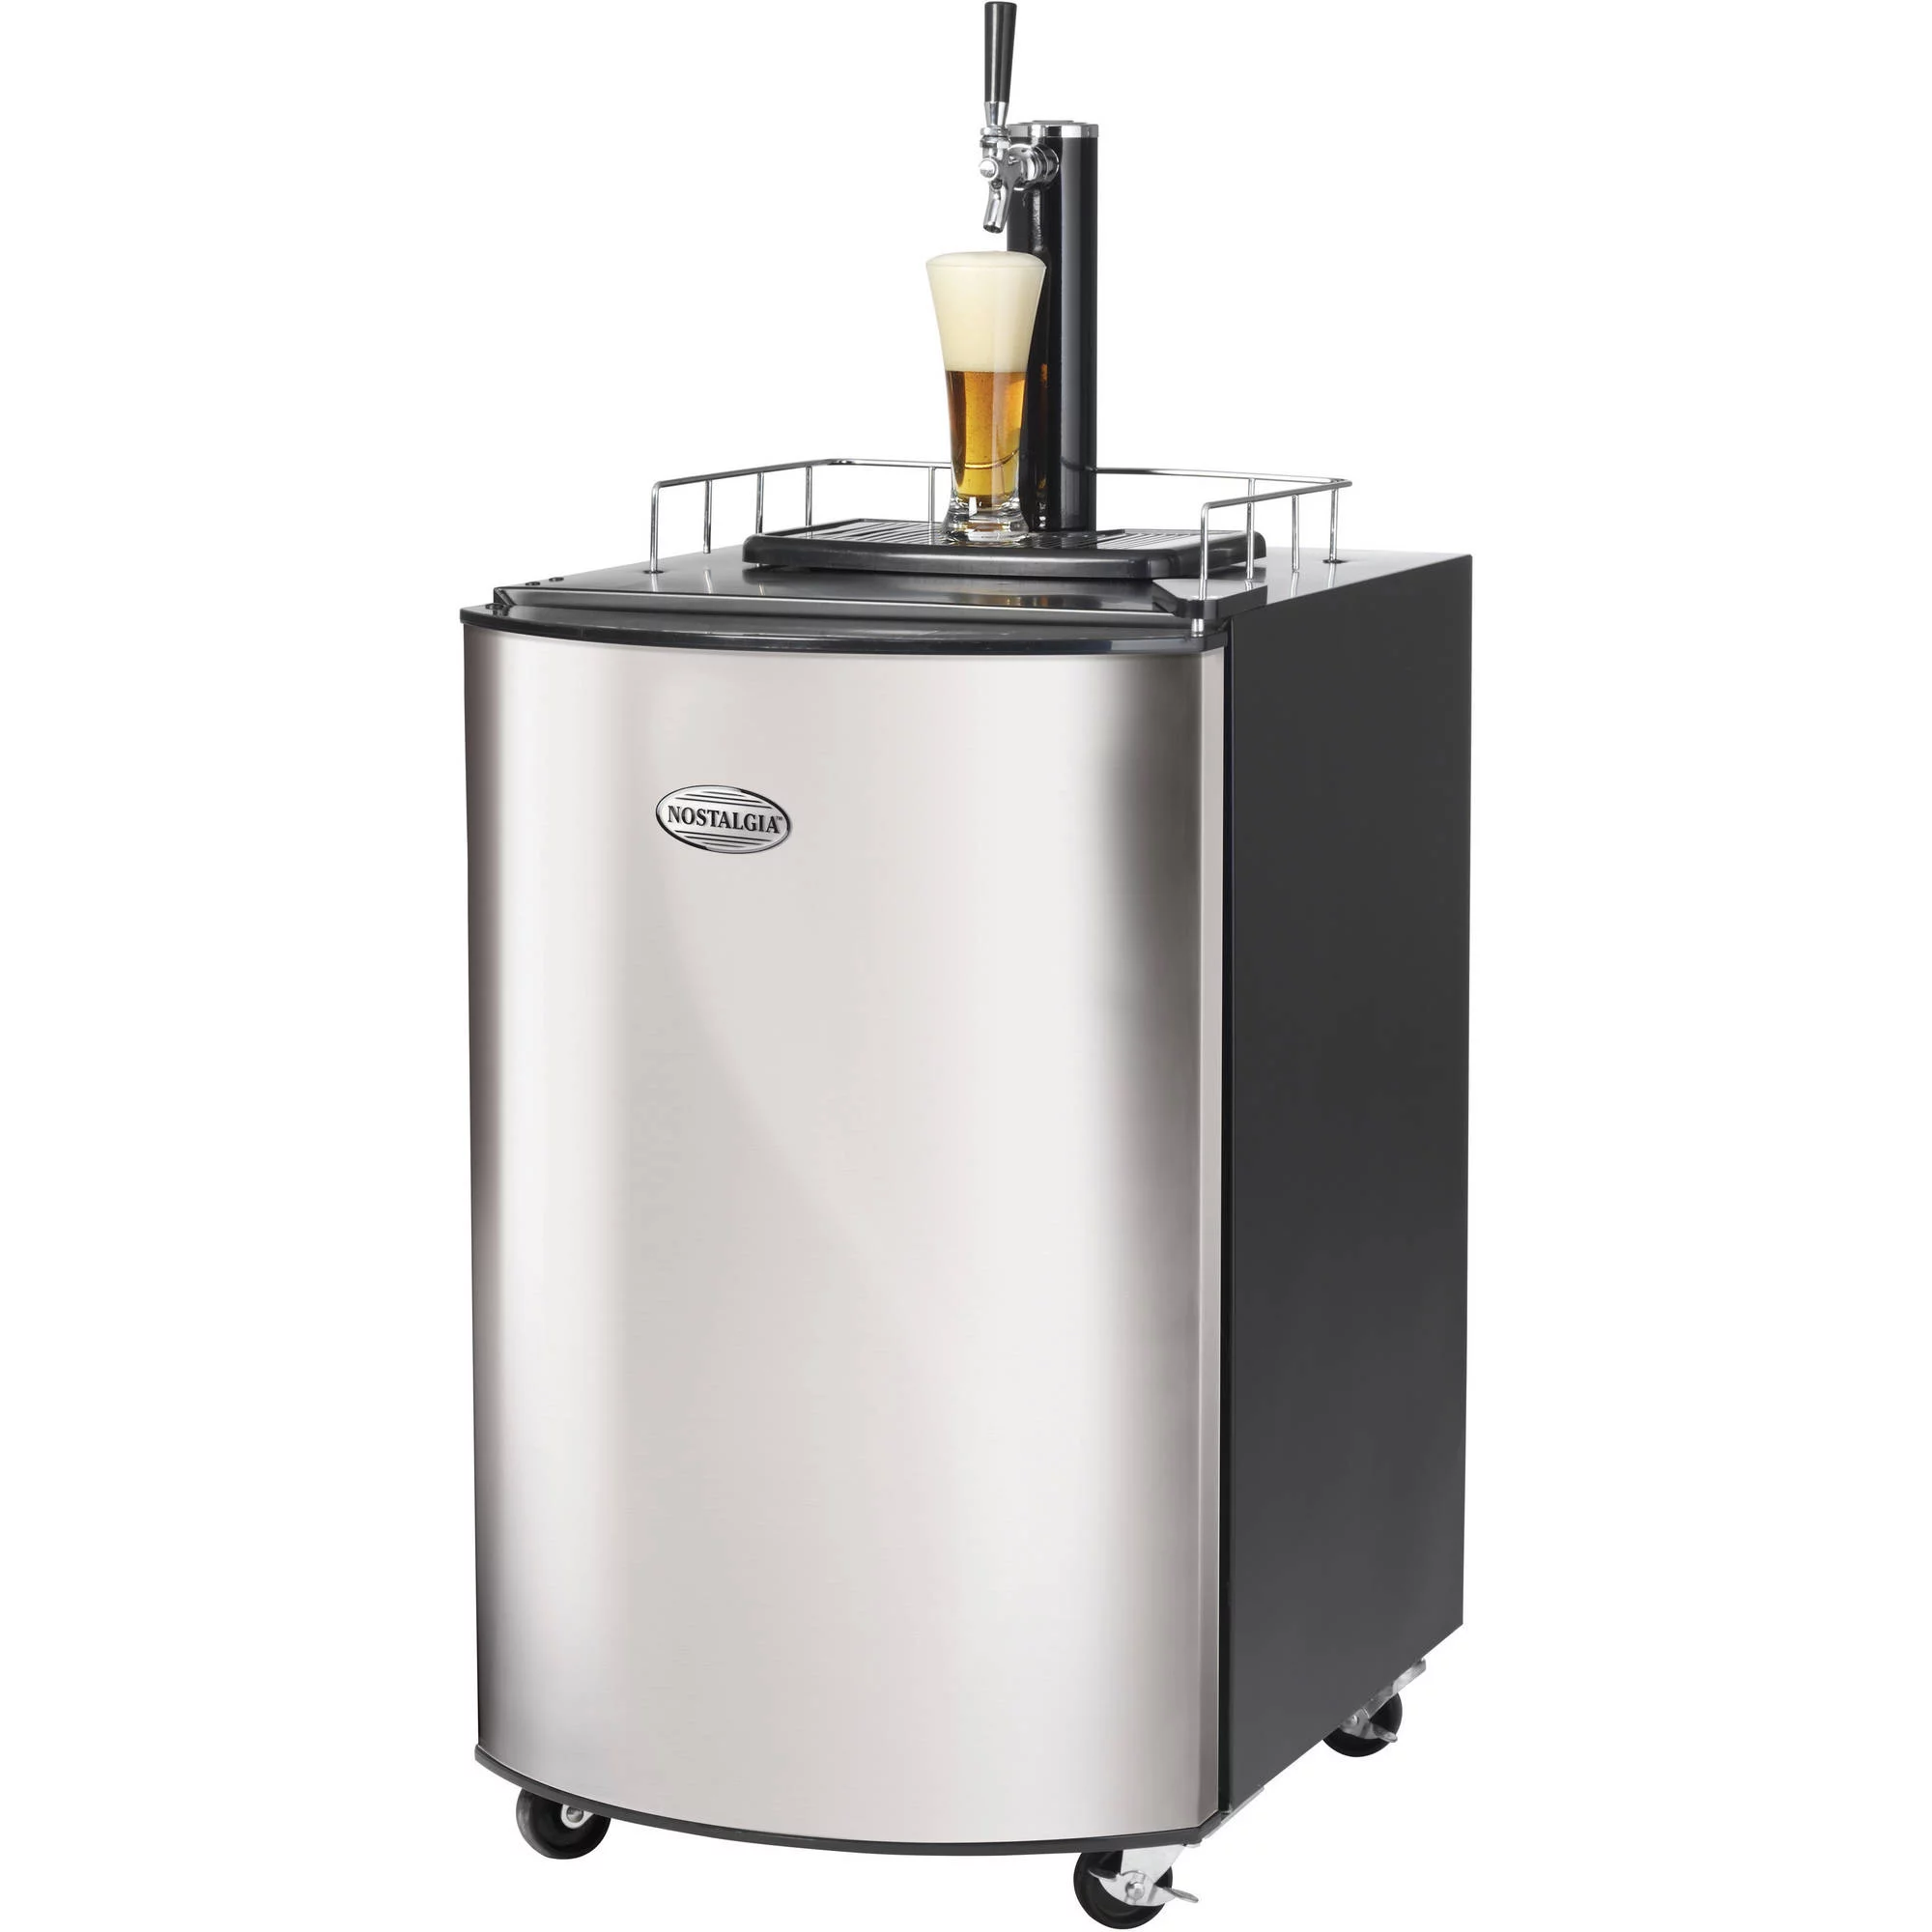
A kegerator is a wonderful appliance that allows you to have draft beer at home, but it can be frustrating when it stops cooling properly. If you have noticed that your kegerator isn’t getting cold, there could be a number of reasons for this issue. In this article, we will walk you through the steps to troubleshoot and fix a kegerator that doesn’t get cold.
Before we dive into the troubleshooting process, it is important to note that kegerators can vary in design and functionality. Therefore, the methods described here may not apply to every model. However, these troubleshooting steps are a good starting point and can help you identify and resolve common issues.
Now, let’s get started with the troubleshooting process to get your kegerator back up and running!
Key Takeaways:
- Keep your kegerator running smoothly by regularly checking the power supply, temperature controls, and cleaning the condenser coils. These simple maintenance steps can help ensure your draft beer stays cold and refreshing.
- If your kegerator still isn’t cooling properly, consider replacing the thermostat or testing the compressor for issues. Regular maintenance and prompt attention to any problems can help keep your kegerator in top condition for enjoying draft beer at home.
Read more: How Cold Will A Beverage Air Kegerator Get
Checking Power Supply
The first step in troubleshooting a kegerator that isn’t getting cold is to check the power supply. Make sure that the kegerator is plugged into a functioning outlet and that the power cord is securely connected.
If the kegerator is plugged in and there is power going to it, check to see if the interior light is turning on. If the light is not working, this could indicate an issue with the power supply or the control board.
Next, verify that the circuit breaker or fuse for the outlet is not tripped or blown. If it is, reset the circuit breaker or replace the fuse and see if that solves the problem.
If none of these issues seem to be the cause of the problem, it is time to move on to the next step in troubleshooting.
Inspecting Temperature Controls
When a kegerator doesn’t get cold, it is important to check the temperature controls. Most kegerators have a thermostat or a temperature control dial that allows you to adjust the cooling settings.
Start by checking the temperature setting on the kegerator. Make sure it is set to a cold enough temperature, typically between 36-40 degrees Fahrenheit (2-4 degrees Celsius). If the setting is too high, the kegerator may not cool properly.
Observe the temperature inside the kegerator by using a thermometer. Place the thermometer inside the kegerator, preferably near the beer tap or in a central location. Allow it some time to measure the temperature accurately.
If the temperature on the thermometer does not match the set temperature on the kegerator, it could indicate a problem with the temperature controls. In such cases, you may need to calibrate or replace the thermostat or control board to restore proper cooling.
Additionally, inspect the temperature sensors or probes inside the kegerator. These sensors play a vital role in regulating the temperature. Check if they are clean, properly positioned, and free from any damage. Dirty or malfunctioning sensors can cause temperature inconsistencies.
By inspecting and adjusting the temperature controls, you can ensure that they are functioning properly and set to an appropriate level for optimal cooling.
Cleaning the Condenser Coils
Another common reason for a kegerator not getting cold is dirty or clogged condenser coils. Over time, dust, dirt, and debris can accumulate on the coils, hindering their ability to efficiently cool the kegerator.
To clean the condenser coils, start by unplugging the kegerator from the power source. Locate the condenser coils, which are typically located at the back or bottom of the kegerator. Remove any protective grilles or covers that may be in place.
Use a soft brush or vacuum cleaner with a brush attachment to gently remove the dust and debris from the coils. Be careful not to bend or damage the delicate fins of the coils while cleaning. Pay extra attention to areas where dust accumulates more heavily.
Once you have removed as much debris as possible, you can use a coil cleaning solution, such as a coil cleaner spray, to thoroughly clean the coils. Follow the instructions on the cleaning product carefully.
After applying the cleaning solution, use a clean cloth or brush to scrub the coils gently. This will help remove any stubborn dirt or residue that may be lingering on the coils.
Once you have completed the cleaning process, allow the coils to dry completely before reassembling the kegerator and plugging it back in.
Regularly cleaning the condenser coils is essential to maintain optimal cooling performance and extend the lifespan of your kegerator.
Replacing the Thermostat
If your kegerator still isn’t getting cold after checking the power supply, temperature controls, and cleaning the condenser coils, the issue could be a faulty thermostat. The thermostat is responsible for regulating the temperature inside the kegerator and if it is malfunctioning, it may not be allowing the cooling system to kick in.
To replace the thermostat, you will first need to locate it. It is typically located near the evaporator coils or inside the control panel of the kegerator.
Start by unplugging the kegerator from the power source to ensure your safety. Remove any screws or fasteners securing the control panel or cover that houses the thermostat.
Gently disconnect the wires connected to the old thermostat, making note of their positions or taking a photo for reference. Then, remove the old thermostat from its mounting bracket or housing.
Once the old thermostat is removed, take the new thermostat and securely mount it in place, following the manufacturer’s instructions. Connect the wires to their corresponding terminals on the new thermostat, ensuring proper connections.
Reassemble the control panel or cover, making sure everything is secured tightly. Plug the kegerator back in and turn it on, then set the temperature to the desired level.
Monitor the kegerator to see if it starts cooling properly with the new thermostat. If it does, congratulations! You have successfully replaced the faulty thermostat. If not, it may be necessary to consult a professional or contact the manufacturer for further assistance.
Replacing a faulty thermostat can often solve the issue of a kegerator not getting cold and restore the functionality of your appliance.
Check the thermostat setting to ensure it’s at the correct temperature for serving beer, typically between 36-40°F. Also, make sure the kegerator has enough ventilation around it to allow for proper air circulation.
Testing the Compressor
If your kegerator still isn’t getting cold after replacing the thermostat, it’s time to test the compressor. The compressor is the heart of the cooling system, responsible for circulating refrigerant and generating the cooling effect.
Before you proceed with testing the compressor, make sure the kegerator is unplugged for safety purposes.
Start by locating the compressor. It is usually located at the back of the kegerator, near the bottom. It is a black or metal cylindrical device with copper tubes connected to it.
Once you have located the compressor, visually inspect it for any visible signs of damage, such as oil leaks or burned-out coils. If you notice any significant damage, it is best to consult a professional for further assistance.
To test the compressor, you will need a multimeter. Set the multimeter to the resistance or ohms setting (Ω).
Disconnect the wires from the compressor terminal. Place the multimeter probes on the terminals of the compressor and check for continuity. If there is no continuity or a very high resistance reading, it indicates a problem with the compressor and it may need to be replaced.
If the compressor passes the continuity test, you can also test it for electrical voltage using the multimeter. Set the multimeter to the voltage setting and reconnect the wires to the compressor terminals. Plug in the kegerator and turn it on. Carefully touch the multimeter probes to the wires connected to the compressor terminals. If there is no voltage reading, it suggests a problem with the electrical supply to the compressor.
If the compressor passes both tests and appears to be functioning correctly, the issue may lie elsewhere, such as a refrigerant leak or a problem with the evaporator coils. In such cases, it is recommended to seek professional assistance.
Testing the compressor can help you determine if it is the source of the cooling problem in your kegerator. Keep in mind that working with electrical components can be dangerous, so if you are unsure or uncomfortable, it is best to consult a professional technician.
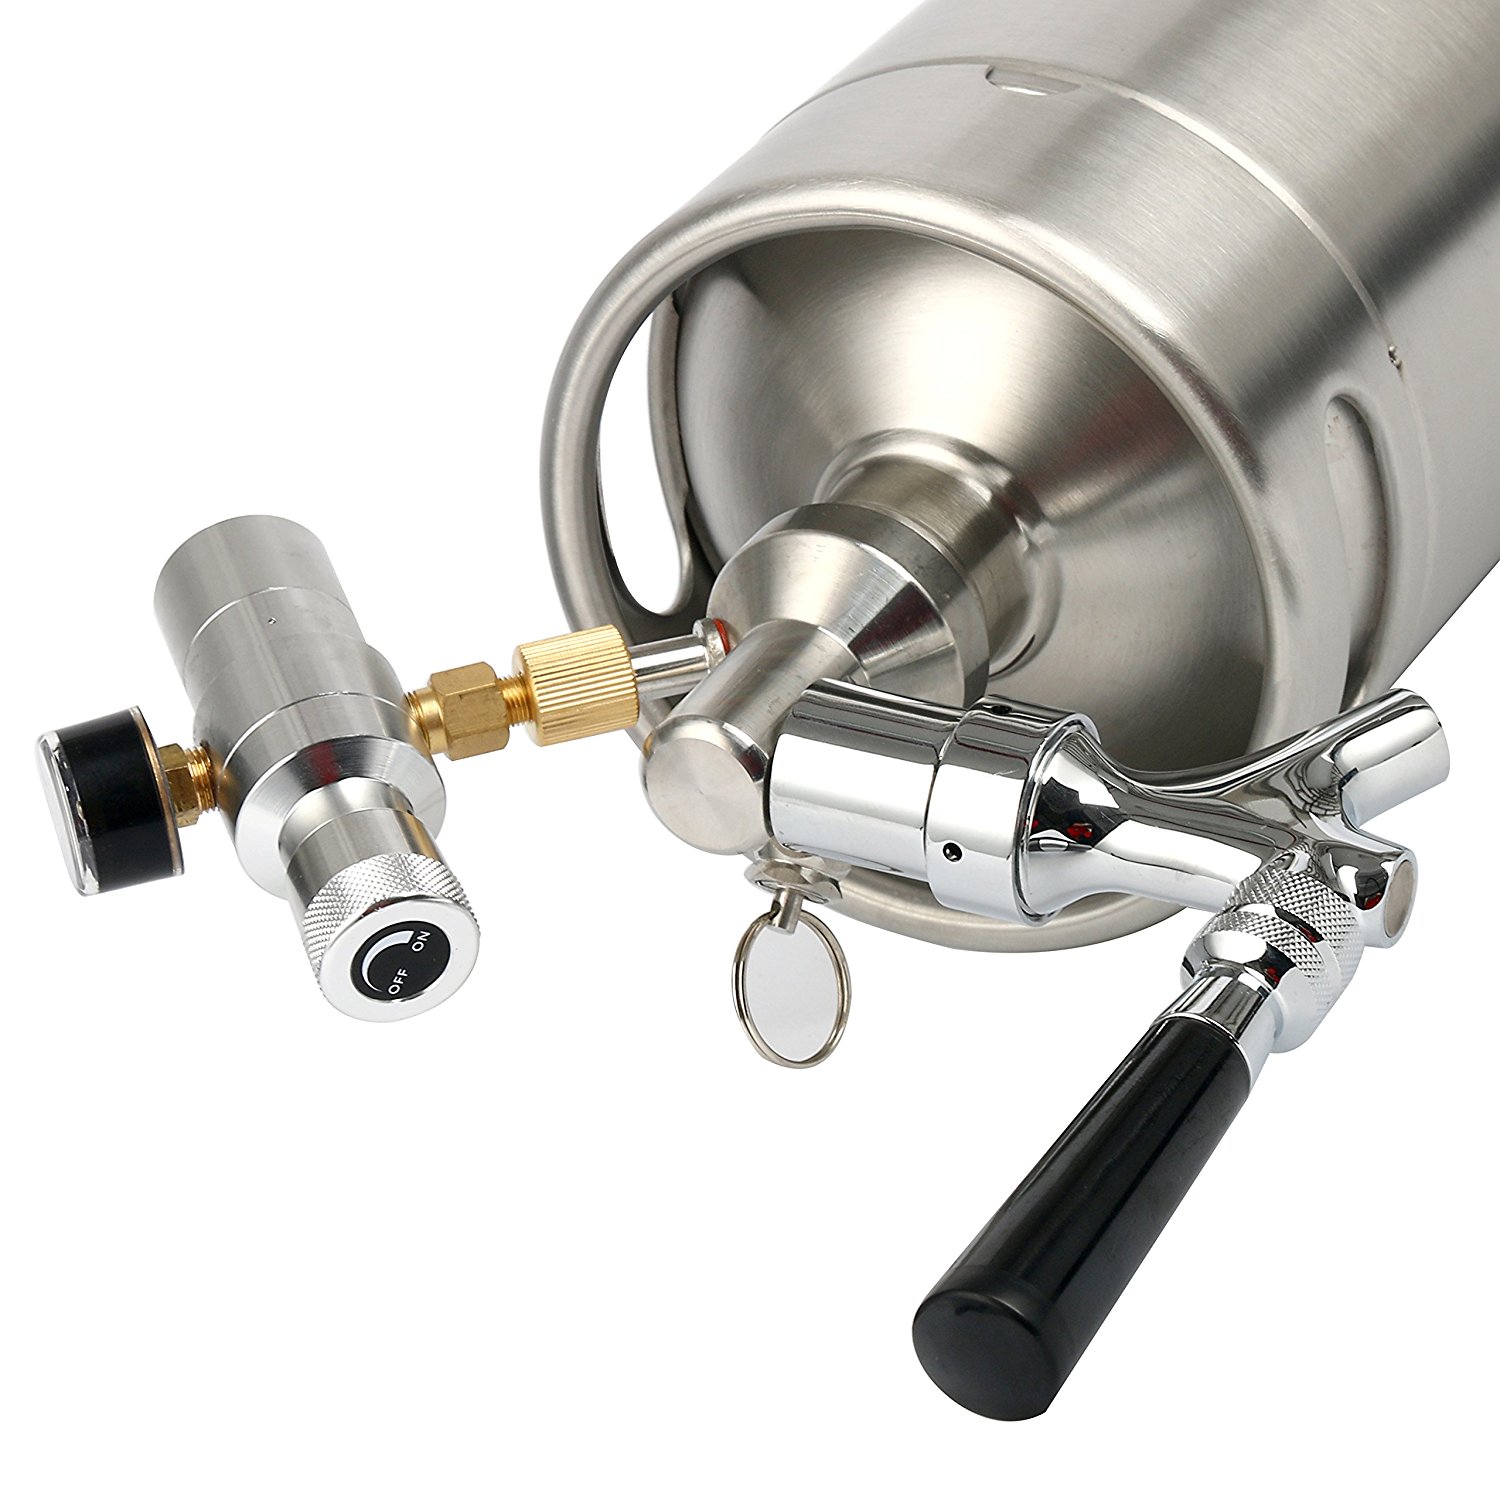
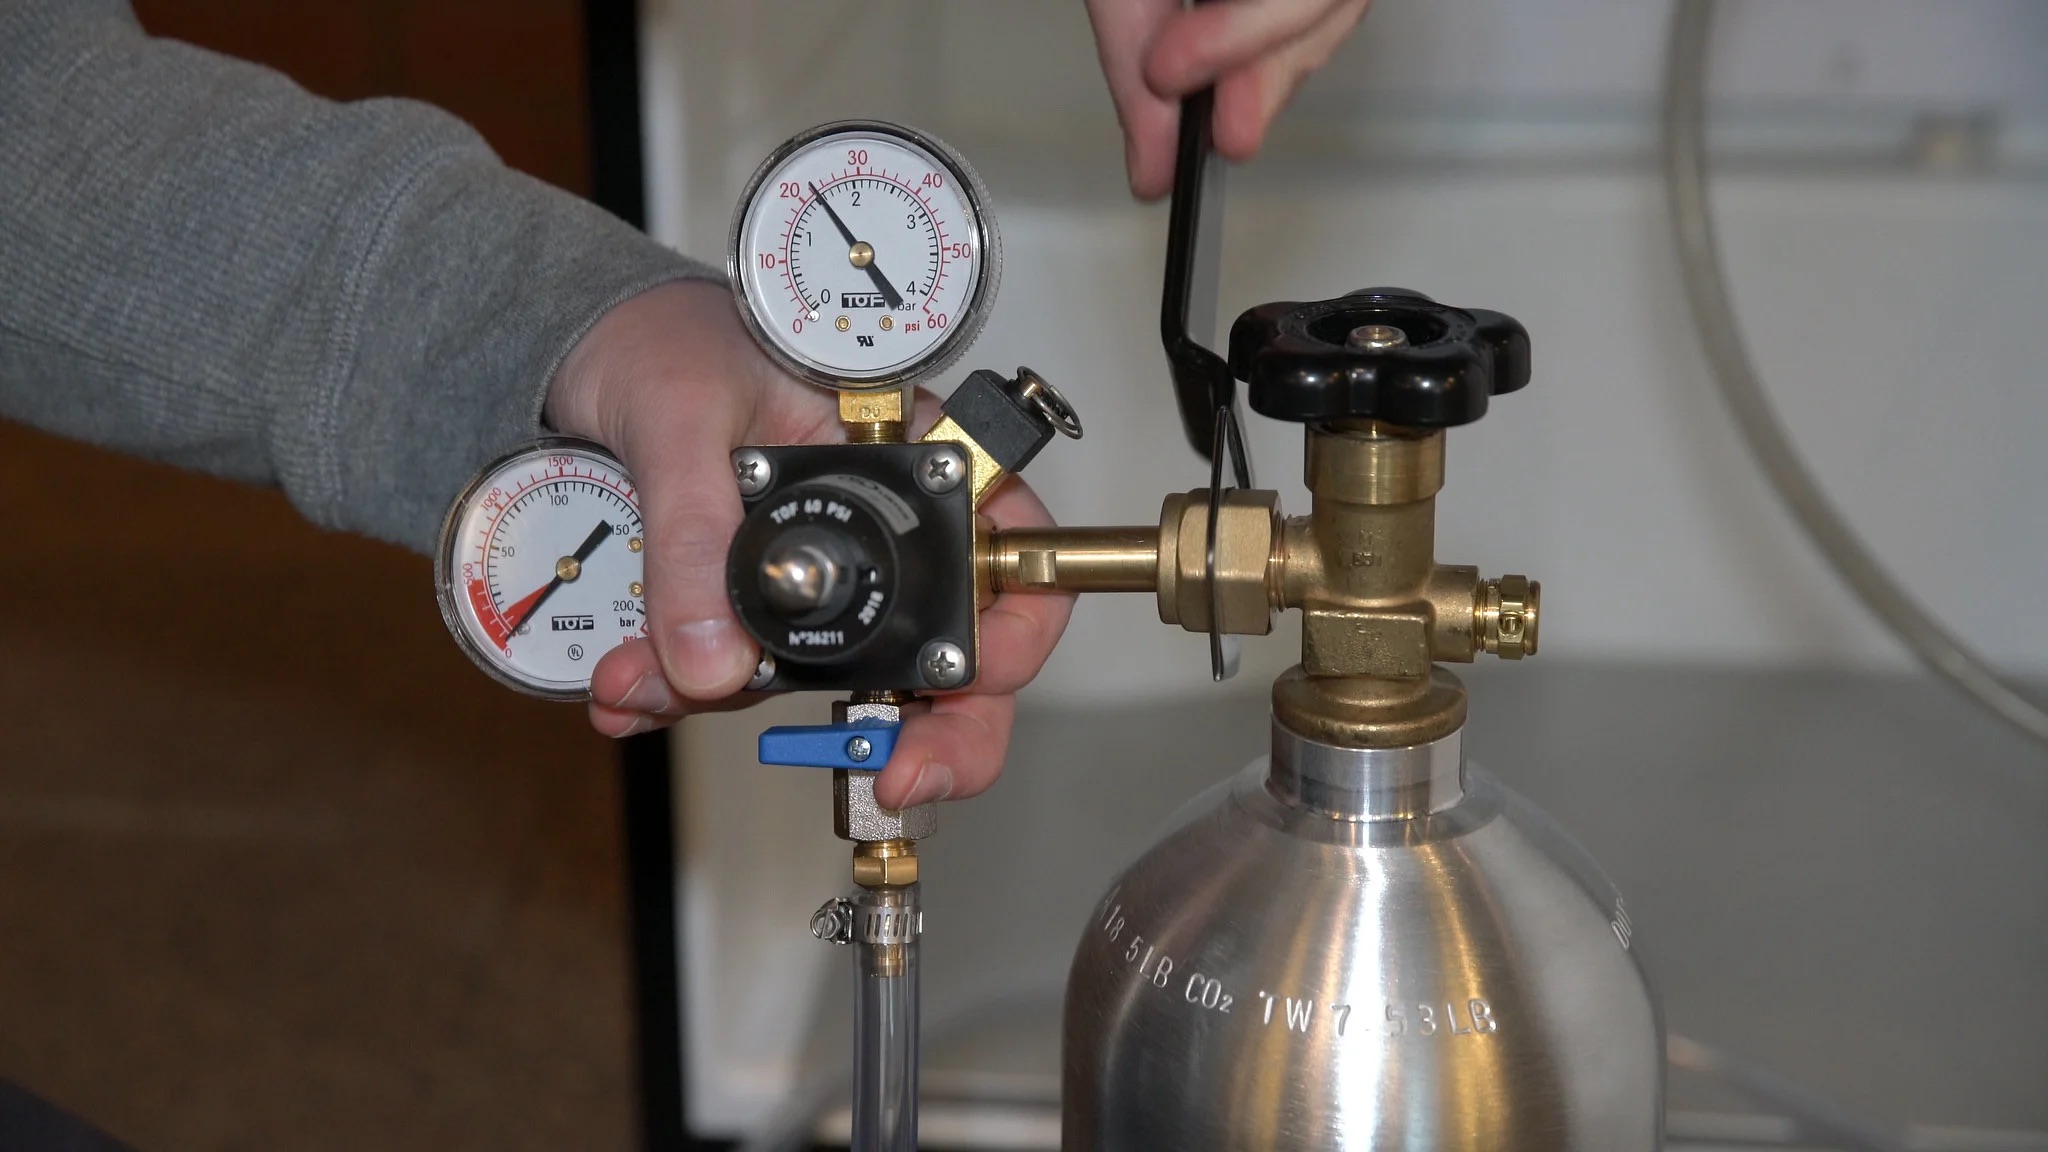
Checking for Refrigerant Leaks
If your kegerator is not getting cold, one possible culprit could be a refrigerant leak. Refrigerant is the substance responsible for absorbing heat from the inside of the kegerator and cooling it down. A leak in the refrigerant system can result in insufficient cooling and the need for a refill.
To check for refrigerant leaks, you will need a leak detector or a solution of soapy water.
Start by ensuring that the kegerator is turned off and unplugged from the power source. Remove any panels or covers that provide access to the refrigerant lines and components.
Once you have clear access to the refrigerant lines, examine them closely for any visible signs of oil or residue. These could indicate a refrigerant leak. Pay attention to joints, connections, and any damaged or corroded areas.
If you have a leak detector, follow the manufacturer’s instructions to scan the refrigerant lines. The detector will emit a sound or light alert if a leak is detected. Move the detector along the lines to cover all areas.
If you don’t have a leak detector, you can use a soapy water solution. Mix a small amount of dish soap with water and apply the solution to the refrigerant lines using a brush or spray bottle. Observe for any bubbles forming, as this indicates a leak.
If you detect a refrigerant leak, it is crucial to address the issue promptly. Refrigerant leaks not only affect the cooling performance of the kegerator but also harm the environment. Contact a professional technician who can safely repair the leak and recharge the refrigerant if needed.
In some cases, refrigerant leaks may not be easily visible or detectable. If you have ruled out other causes and suspect a refrigerant leak, it is best to consult a technician who specializes in refrigeration systems.
Regular maintenance and inspections can help identify refrigerant leaks early on, preventing more significant problems and ensuring the optimal performance of your kegerator.
Defrosting the Evaporator Coils
If your kegerator is not getting cold, another potential issue could be frosted or frozen evaporator coils. Over time, the evaporator coils inside the kegerator can accumulate ice and frost, hindering proper cooling.
To defrost the evaporator coils, follow these steps:
- Turn off and unplug the kegerator from the power source.
- Remove any items stored inside the kegerator and set them aside.
- Open the kegerator door(s) and allow them to remain open. This will help expedite the defrosting process.
- Place towels or a tray under the evaporator coils to catch the melting ice and water.
- If possible, use a hairdryer on a low heat setting to gently melt the ice on the coils. Move the hairdryer back and forth, being careful not to get it too close to the coils.
- Alternatively, you can wait for the ice to naturally melt, which can take several hours or overnight.
- Once the ice has melted, use a clean cloth or sponge to wipe away any remaining water or moisture.
- Close the kegerator door(s) and plug it back into the power source.
After defrosting the evaporator coils, the kegerator should be able to cool properly again. However, if the coils continue to frost over quickly or frequently, it could be a sign of a more significant issue, such as a faulty defrost timer or a problem with the door’s seal. In such cases, it is recommended to consult a professional for further troubleshooting and repair.
Regularly defrosting the evaporator coils can help maintain optimal cooling performance and prevent ice buildup. It is a good practice to defrost the coils at least once a year or when you notice a significant amount of ice accumulation.
Conclusion
A kegerator not getting cold can be a frustrating problem, but by following these troubleshooting steps, you can often identify and resolve the issue. From checking the power supply to defrosting the evaporator coils, each step plays a crucial role in restoring the functionality of your kegerator.
Start by ensuring that the kegerator is plugged in and the power supply is functioning correctly. Then, inspect the temperature controls to make sure they are set properly and the thermostat is functioning correctly. Cleaning the condenser coils can help remove dust and debris that may be obstructing proper cooling.
If these steps do not solve the problem, consider replacing the thermostat or testing the compressor for any electrical or functional issues. Checking for refrigerant leaks is also essential, as they can impact the cooling performance of the kegerator and the environment.
If none of these steps resolve the issue, defrosting the evaporator coils may be necessary. Ice buildup on the coils can impede cooling and disrupt the functionality of the kegerator.
Remember, while these troubleshooting steps are a great starting point, kegerators can vary in design and functionality. If you are unsure or uncomfortable with any of the steps, it is always advisable to consult a professional technician who has experience with kegerator repairs.
By taking the time to troubleshoot and resolve the issue, you can enjoy your draft beer at the perfect temperature and continue to make wonderful memories with friends and family.
Frequently Asked Questions about How To Fix A Kegerator That Doesn't Get Cold
Was this page helpful?
At Storables.com, we guarantee accurate and reliable information. Our content, validated by Expert Board Contributors, is crafted following stringent Editorial Policies. We're committed to providing you with well-researched, expert-backed insights for all your informational needs.


0 thoughts on “How To Fix A Kegerator That Doesn’t Get Cold”