
Articles
How To Fix Co2 Leak In Kegerator
Modified: March 1, 2024
Looking for articles on how to fix a CO2 leak in your kegerator? Check out our comprehensive guide for step-by-step instructions and troubleshooting tips!
(Many of the links in this article redirect to a specific reviewed product. Your purchase of these products through affiliate links helps to generate commission for Storables.com, at no extra cost. Learn more)
Introduction
Welcome to our guide on how to fix a CO2 leak in a kegerator. If you’re a beer enthusiast or a homebrewer, you know how important it is to have a properly functioning kegerator to keep your beer cold and carbonated. However, one common issue that can arise is a CO2 leak, which can result in low carbonation levels or even prevent your kegerator from dispensing beer altogether.
Understanding how to identify and fix a CO2 leak is crucial for maintaining the optimal performance of your kegerator. In this article, we will walk you through the step-by-step process of identifying the source of the leak and providing solutions to repair it. Whether you’re a seasoned kegerator owner or just starting out, this guide will equip you with the knowledge and tools to get your kegerator back up and running in no time.
But first, let’s understand the importance of addressing a CO2 leak as soon as possible. When there is a leak, the CO2 gas that is meant to carbonate your beer escapes, resulting in flat or under-carbonated brews. Additionally, a CO2 leak can lead to wasted gas, which not only affects the taste and quality of your beer but can also increase your expenses by requiring more frequent CO2 tank refills. By taking the time to identify and fix a CO2 leak in your kegerator, you can ensure that your beer remains carbonated and avoid any unnecessary costs.
Now that we’ve discussed why addressing a CO2 leak is important, let’s dive into the steps you can take to identify the source of the leak in your kegerator.
Key Takeaways:
- Identifying and repairing CO2 leaks in your kegerator is crucial for maintaining the quality and carbonation of your beer. By following the step-by-step process outlined in this guide, you can ensure a hassle-free and enjoyable beer dispensing experience.
- Regular maintenance and preventive measures, such as periodic inspections and tightening connections, can help minimize the occurrence of CO2 leaks in your kegerator. By addressing leaks promptly, you can avoid flat or under-carbonated brews and unnecessary expenses for CO2 refills.
Read more: How To Build A Co2 Kegerator
Understanding CO2 Leaks in Kegerators
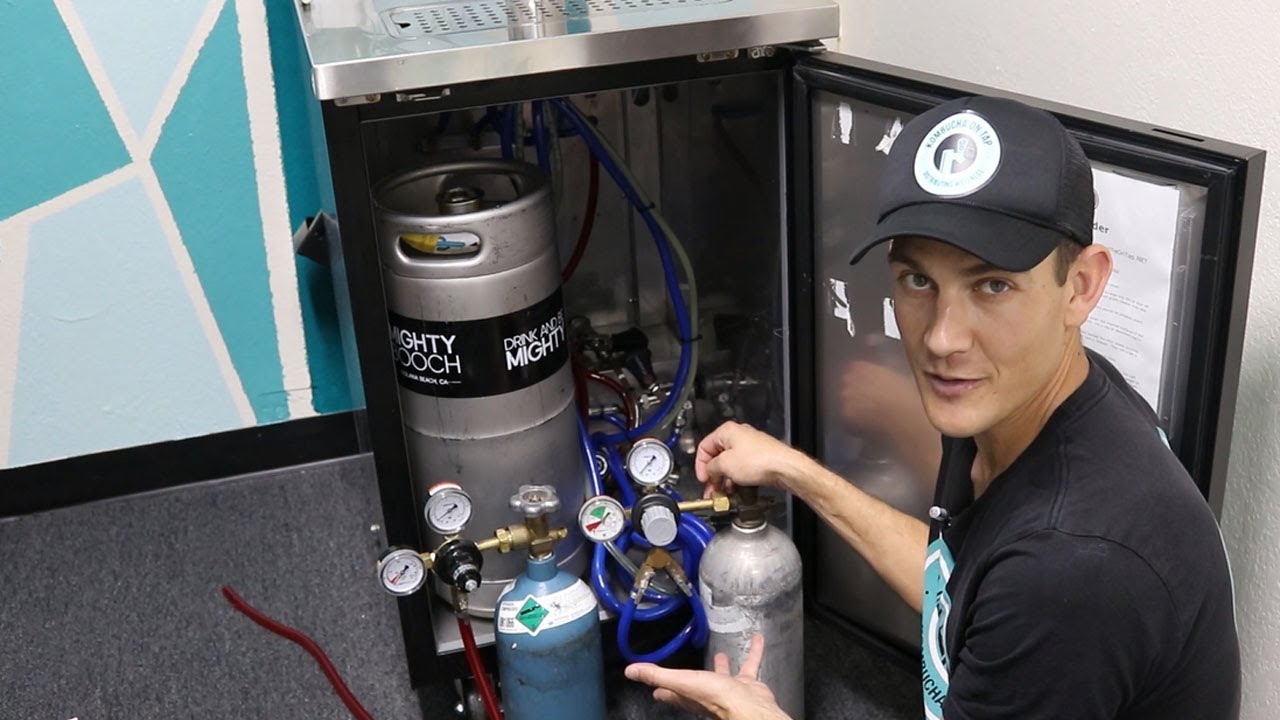
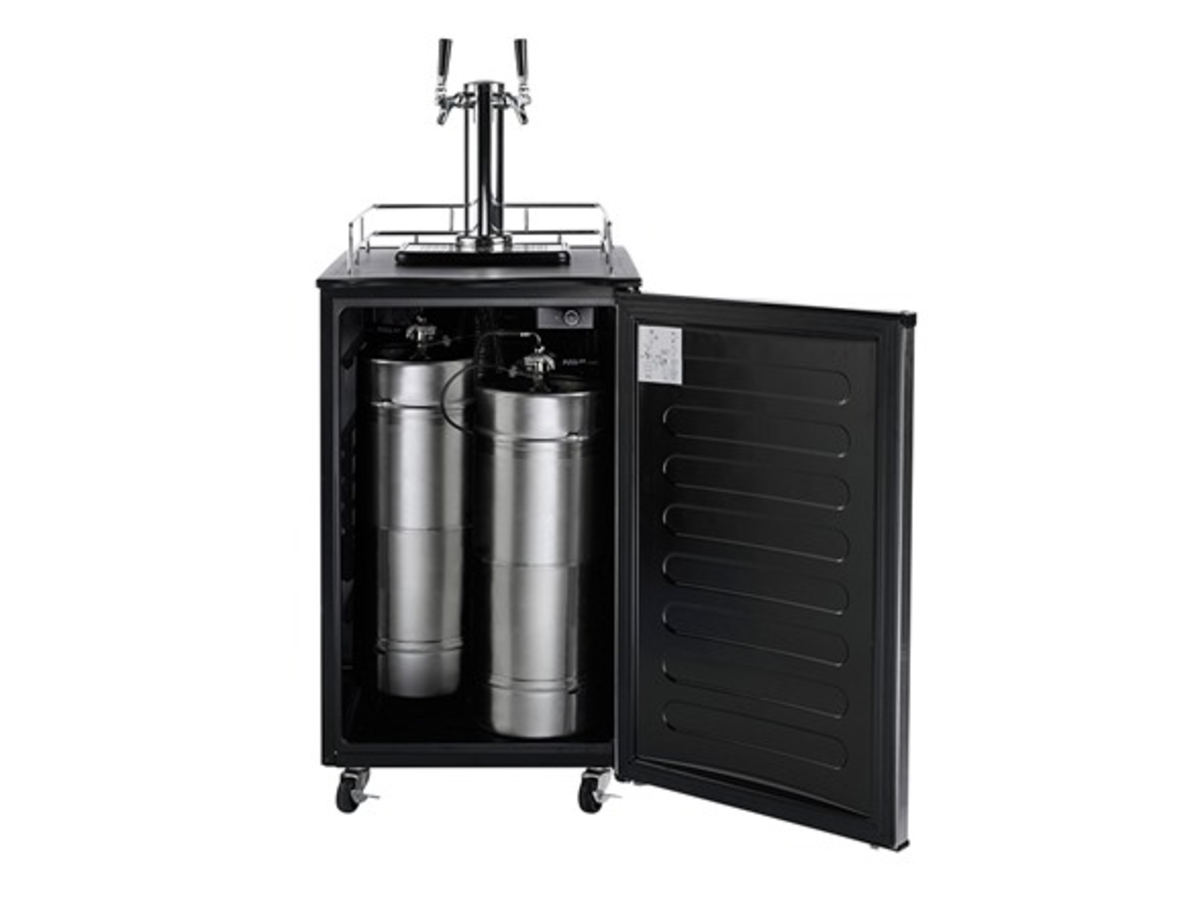
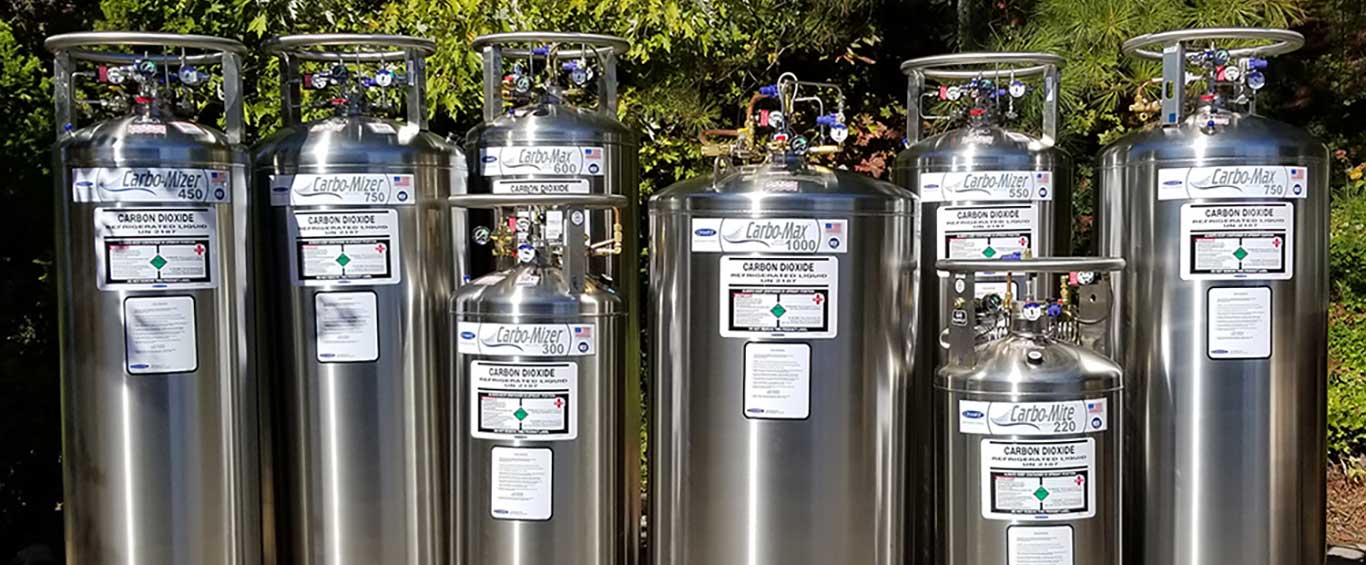
Before we dive into the process of identifying and fixing CO2 leaks in kegerators, it’s important to have a good understanding of how these leaks can occur in the first place. A kegerator is essentially a refrigerated cabinet or box that is designed to hold and dispense kegs of beer. It relies on a CO2 system to carbonate the beer and push it out of the tap. However, with time and usage, CO2 leaks can develop, causing issues with carbonation and beer dispensing.
There are several potential causes of CO2 leaks in kegerators. One common culprit is a faulty or worn-out CO2 regulator. The regulator controls the flow of CO2 from the tank to the keg, and if it is damaged or not functioning properly, it can lead to leaks. Another possible source of leaks is the gas lines. Over time, these lines can become brittle or develop cracks, allowing CO2 to escape. Additionally, faulty or improperly connected couplers, which are responsible for attaching the gas lines to the keg, can also cause leaks.
A keg itself can also be a source of CO2 leaks. The valve or seal on the keg might be damaged or worn out, resulting in gas leakage. It’s important to thoroughly inspect the keg as part of the leak identification process. Finally, it’s worth noting that CO2 leaks can occur in any part of the kegerator system, from the regulator down to the keg. That’s why a comprehensive inspection is necessary to pinpoint and fix the issue.
Now that we have a better understanding of how CO2 leaks can occur in kegerators, let’s move on to the steps you can take to identify these leaks and ensure proper troubleshooting.
Steps to Identify CO2 Leak in Kegerator
Identifying a CO2 leak in your kegerator is essential to resolving the issue and getting your system back to optimal functioning. Follow these steps to locate and pinpoint the source of the leak:
- Step 1: Disconnect the CO2 Cylinder
- Step 2: Inspect the Regulator
- Step 3: Check the Gas Lines
- Step 4: Inspect the Couplers
- Step 5: Examine the Keg
- Step 6: Perform a Soapy Water Test
- Step 7: Repairing CO2 Leaks
Before starting the inspection, make sure to turn off the CO2 tank valve and disconnect the cylinder from the kegerator. This will prevent any potential hazards and ensure your safety during the process.
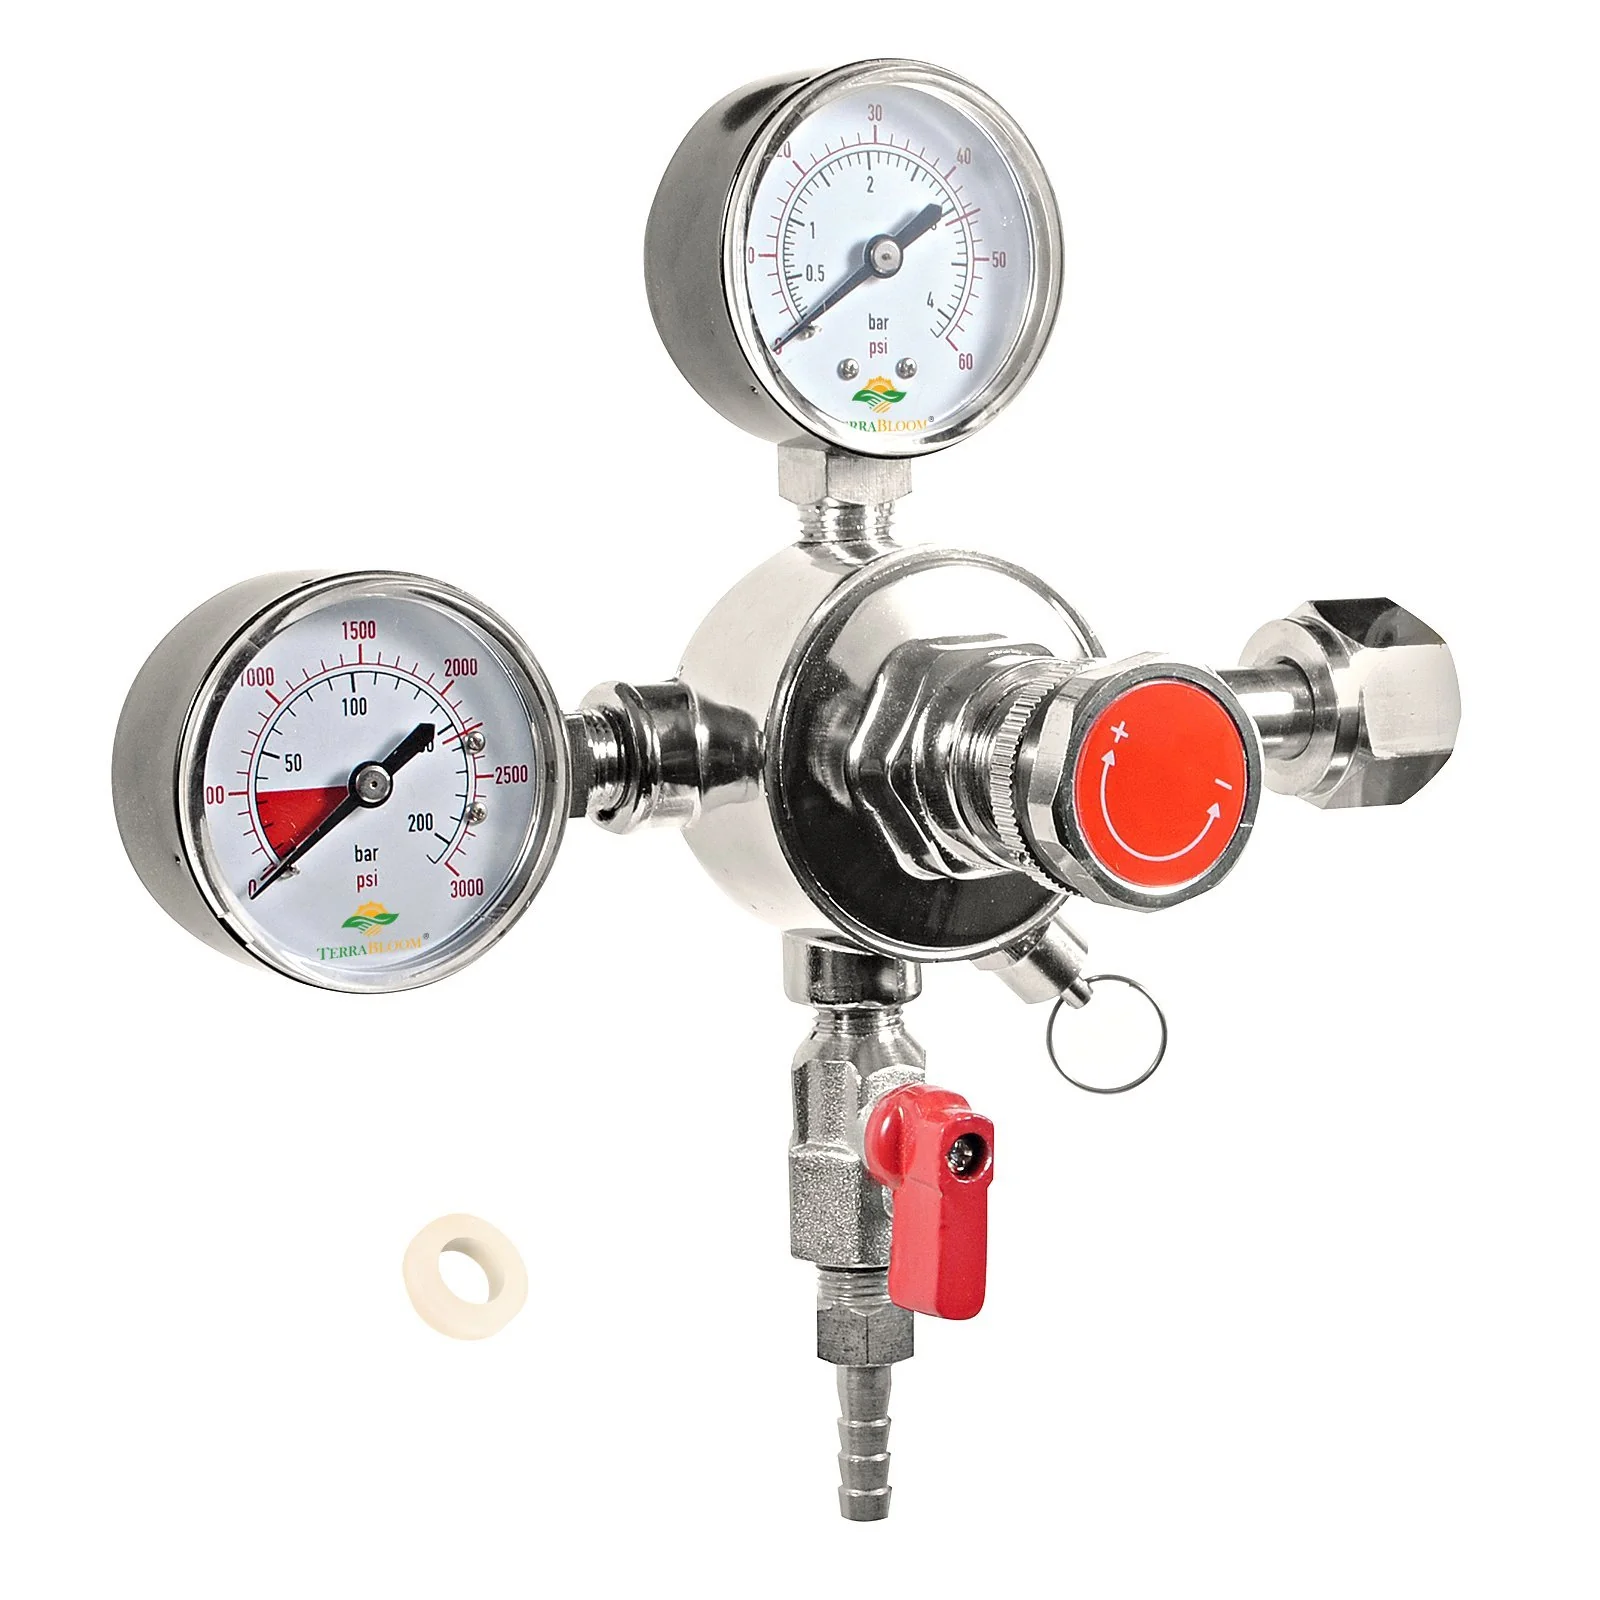
Begin by examining the CO2 regulator, the device responsible for controlling the pressure of the gas flow. Check for any visible signs of damage, such as cracks, loose fittings, or worn-out seals. Pay close attention to the connection points between the regulator and the gas lines.
Follow the gas lines from the regulator to the couplers and inspect them thoroughly. Look for any signs of wear, cracks, or loose connections. It’s beneficial to run your fingertips along the lines to feel for any leaks. Additionally, check the O-rings and gaskets for any signs of damage.
Move on to the couplers, which connect the gas lines to the keg. Ensure that they are securely attached and tightened. Look for any visible signs of damage, such as cracks or broken seals. Faulty or damaged couplers are a common source of CO2 leaks.
Thoroughly inspect the keg for any signs of leakage. Check the valve and the seal for wear, cracks, or improper sealing. Look for any bubbles or hissing sounds around the keg, as these could indicate a leak. If possible, try swapping the keg with another one to see if the issue persists.
This simple test can help you identify small leaks that may not be immediately visible. Mix a solution of soapy water and apply it to all the connection points, including the regulator, gas lines, couplers, and keg. Watch closely for any bubbles forming, as they indicate escaping gas and pinpoint the source of the leak.
Once you’ve identified the source of the CO2 leak, you can proceed with repairing it. Depending on the nature of the leak, solutions may include tightening connections, replacing faulty parts, or sealing any cracks or damaged areas. Consult the manufacturer’s instructions or seek professional assistance if needed.
By following these steps, you’ll be able to identify the source of the CO2 leak in your kegerator and take the necessary steps to repair it. Remember to exercise caution and prioritize your safety throughout the process.
Now that you know how to identify the CO2 leak, let’s move on to the tools and materials you’ll need to perform the inspection and repair.
Tools and Materials Needed
Before you begin the process of identifying and fixing a CO2 leak in your kegerator, it’s important to gather the necessary tools and materials. Here’s a list of what you’ll need:
- Soapy Water Solution: This will be used to perform the soapy water test to identify leaks. Mix a small amount of liquid dish soap with water in a spray bottle or a bowl.
- Adjustable Wrench: You’ll need an adjustable wrench to tighten or loosen fittings and connections during the inspection and repair process.
- Silicone Sealant: If you come across any cracks or damaged areas that are causing the leak, silicone sealant can be used to patch and seal those areas.
- Replacement Parts: Depending on the source of the leak, you may need to replace certain components, such as O-rings, couplers, or gaskets. Identify the specific parts needed based on your inspection.
- Protective Gloves: To protect your hands during the inspection and repair, it’s recommended to wear disposable or protective gloves.
- Flashlight: A flashlight will come in handy for examining hard-to-reach areas inside the kegerator and to get a better view of any potential leaks.
- Teflon Tape: If you find any threaded connections that are causing the leak, applying Teflon tape can help create a tight seal when reassembling those parts.
Having these tools and materials readily available will ensure a smooth inspection process and enable you to address the CO2 leak effectively.
Now that you have gathered the necessary tools and materials, let’s proceed with the step-by-step process of identifying and repairing the CO2 leak in your kegerator.
Step 1: Disconnect the CO2 Cylinder
The first step in the process of identifying and fixing a CO2 leak in your kegerator is to disconnect the CO2 cylinder. This crucial step ensures your safety and prevents any potential hazards during the inspection and repair.
Here’s how to properly disconnect the CO2 cylinder:
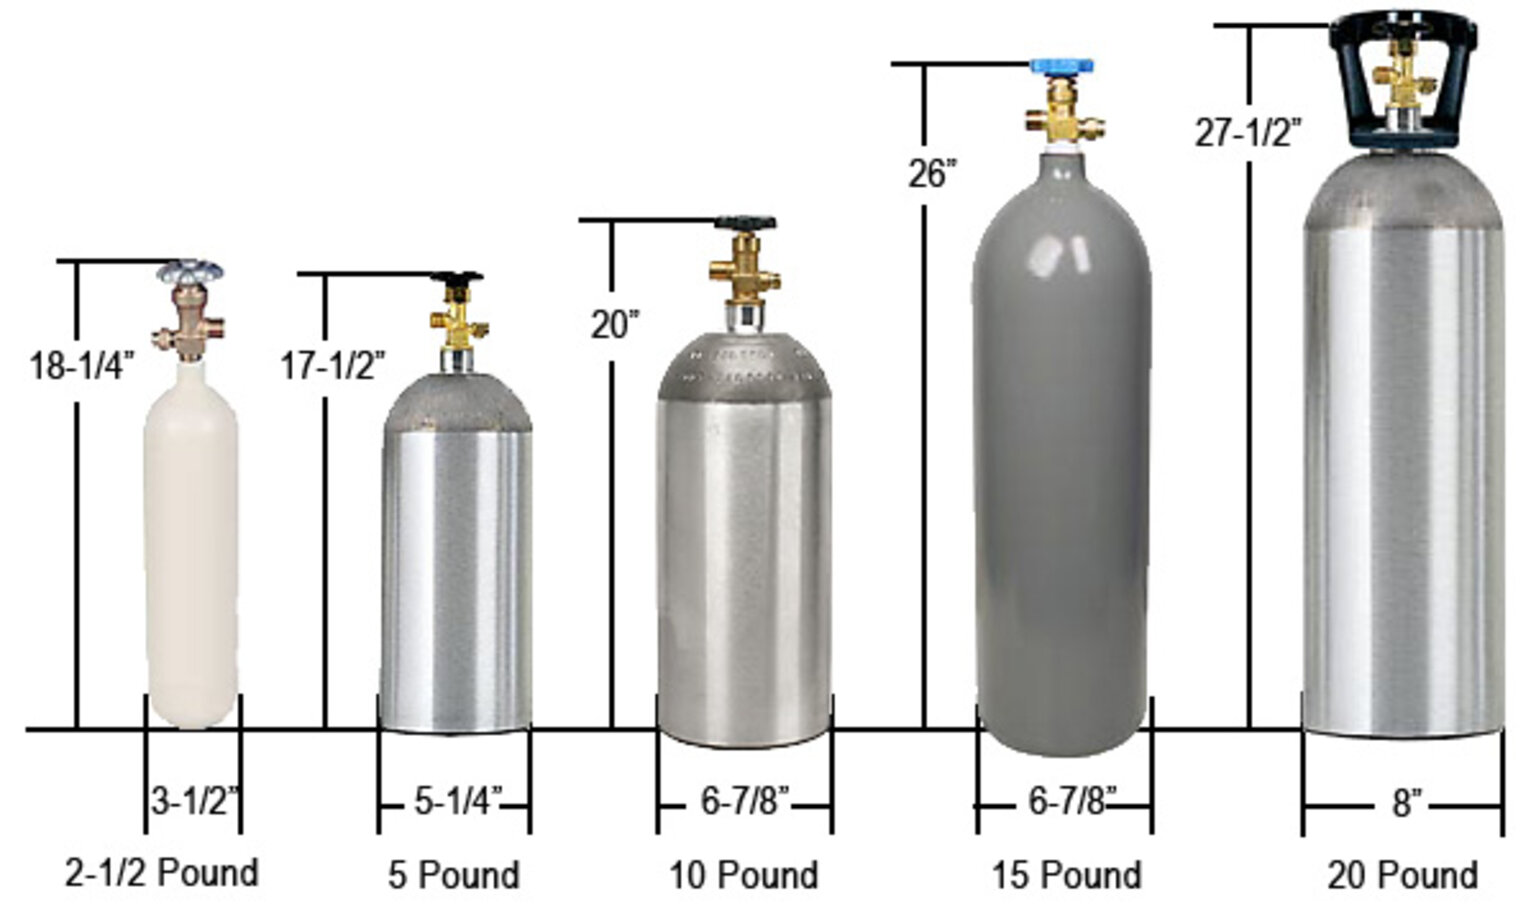
- Locate the CO2 cylinder, which is typically housed on the back or side of the kegerator.
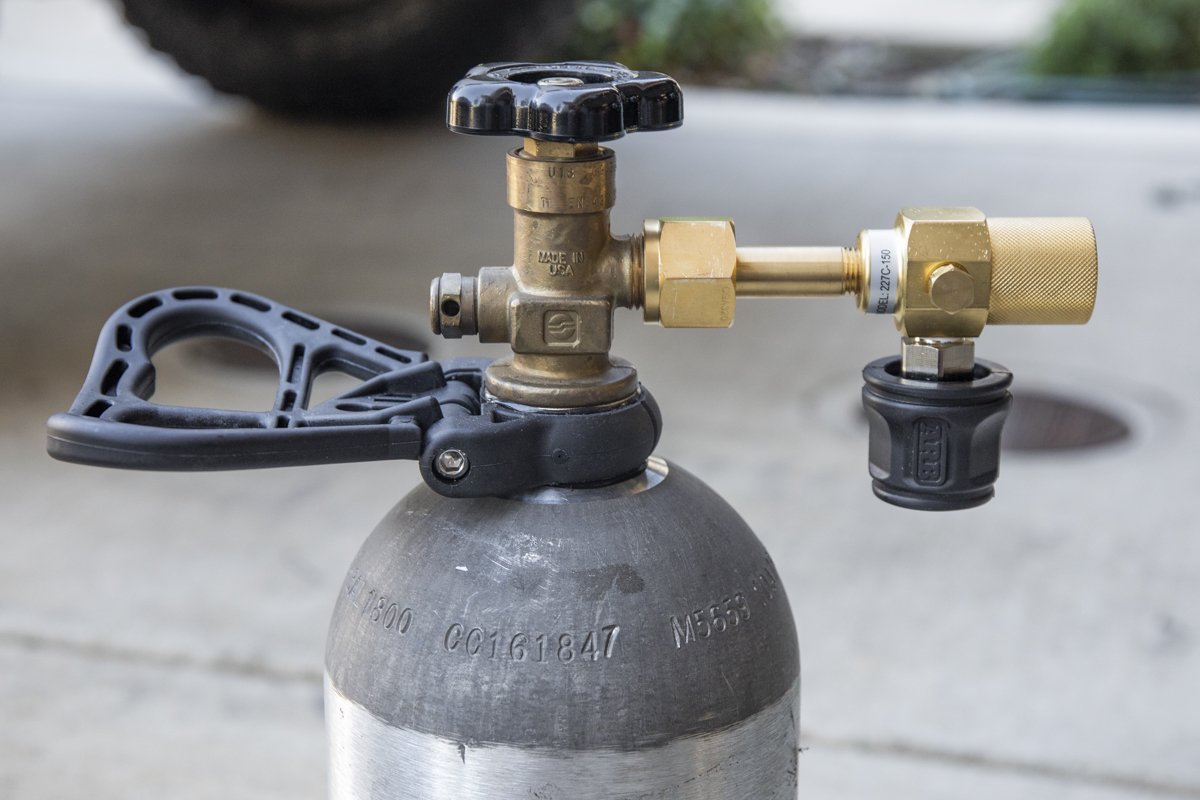
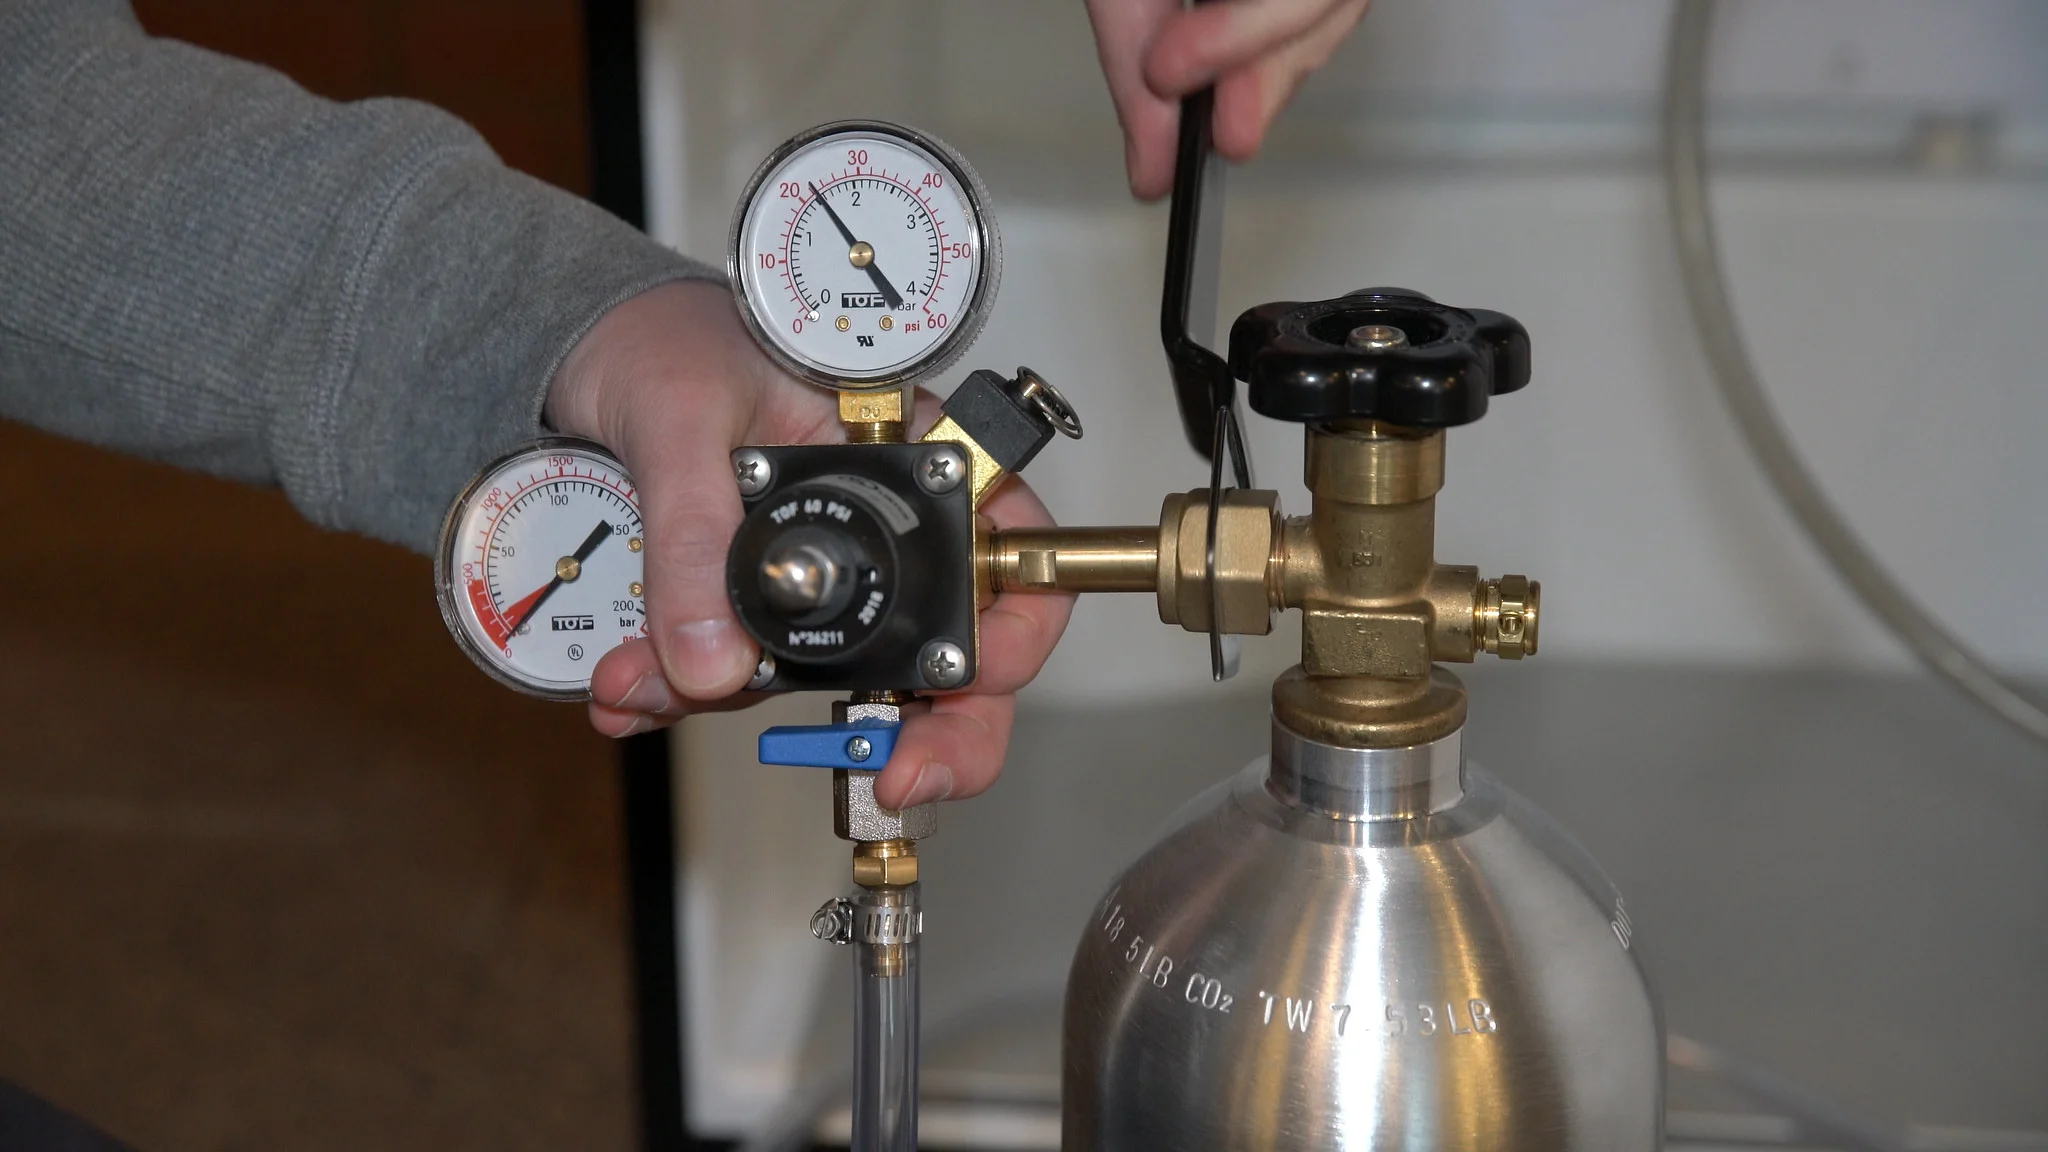
- Turn off the valve on the top of the CO2 tank by twisting it in a clockwise direction. This will shut off the flow of CO2.
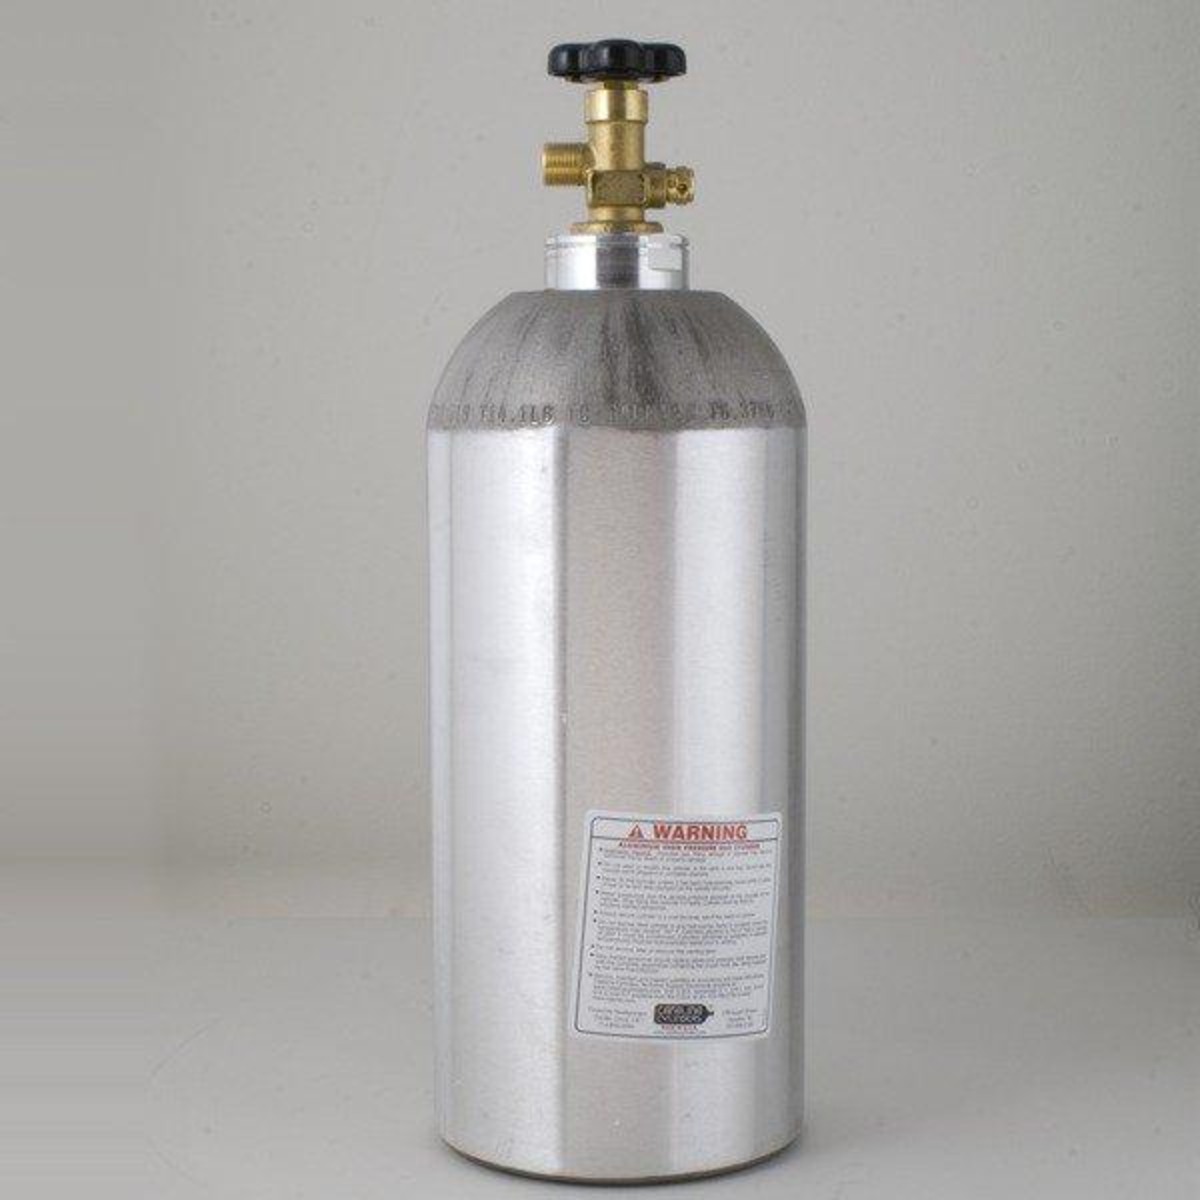
- Using an adjustable wrench, loosen the nut or coupling that connects the regulator to the CO2 tank. Turn it counterclockwise to separate the regulator from the tank.
- Once the connection is loosened, carefully lift and remove the CO2 cylinder from its position.
- Place the disconnected CO2 tank in a safe and well-ventilated area away from heat sources or open flames.
It’s important to ensure that the CO2 tank is properly disconnected and turned off before proceeding with the inspection. This helps prevent any accidental gas leaks and ensures your safety throughout the process. Remember, CO2 gas can be hazardous in high concentrations, so always take precautionary measures.
Now that you’ve successfully disconnected the CO2 cylinder, you’re ready to move on to the next step: inspecting the regulator.
Read more: How Adjust Co2 Kegerator
Step 2: Inspect the Regulator
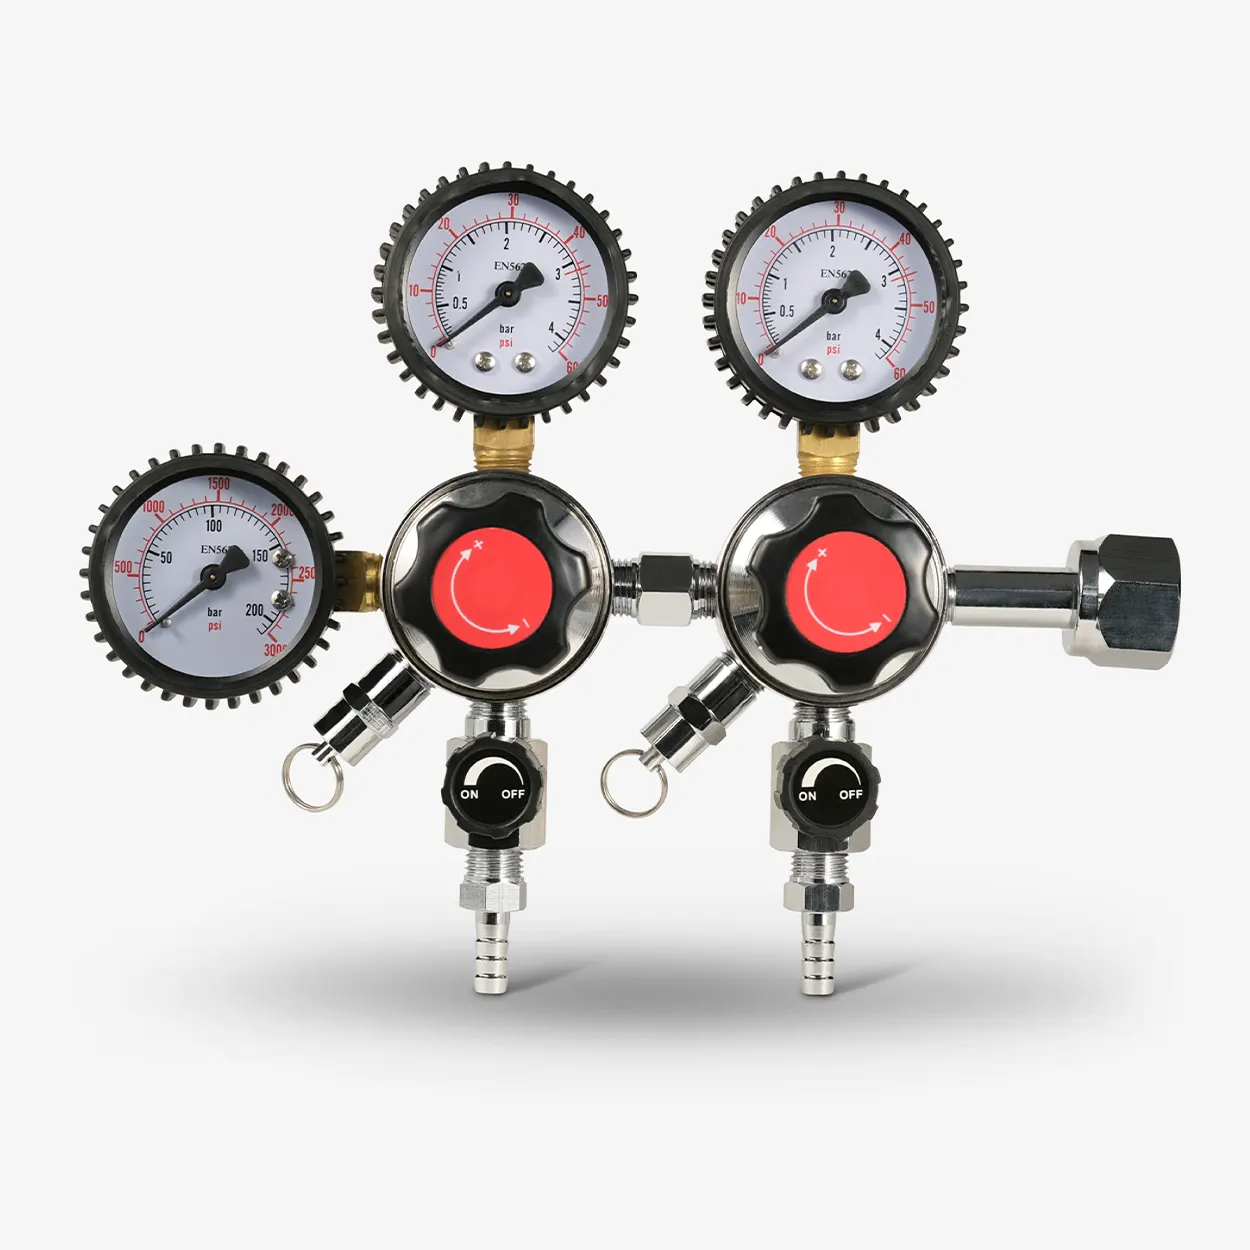
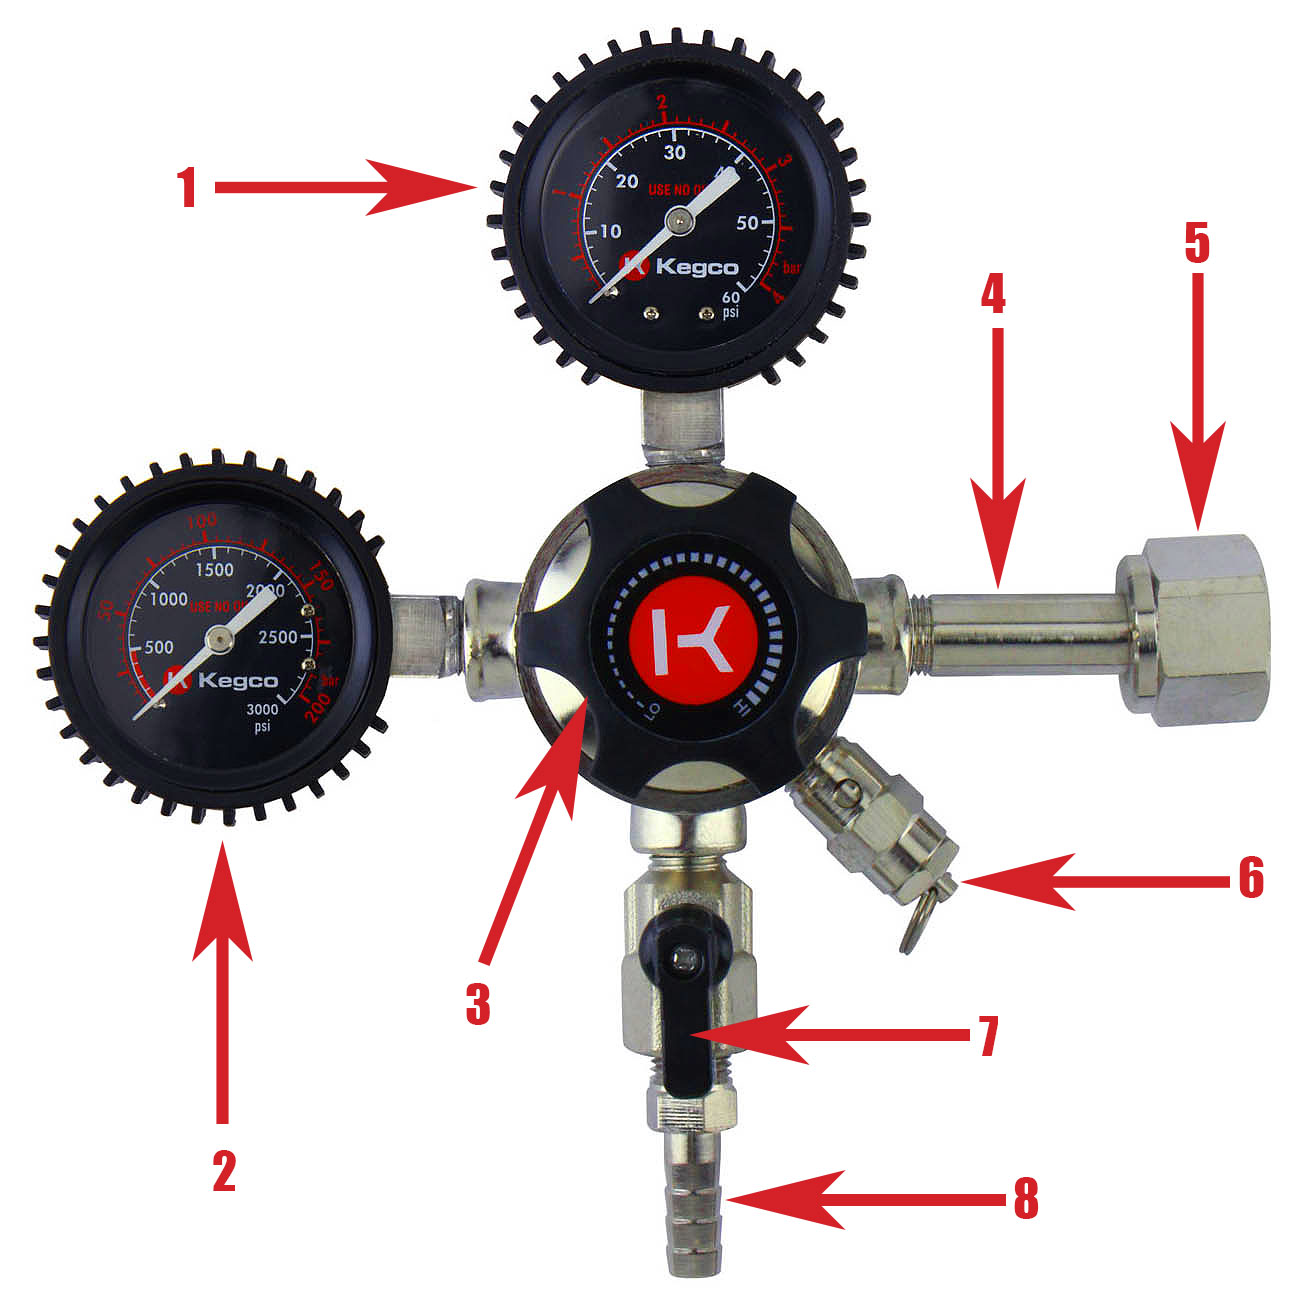
After disconnecting the CO2 cylinder, the next step in addressing a CO2 leak in your kegerator is to inspect the regulator. The regulator is responsible for controlling the pressure of the CO2 gas as it flows from the tank to the keg. A faulty or damaged regulator can often be the source of the leak.
Here’s how to effectively inspect the regulator:
- Start by visually examining the regulator for any visible signs of damage. Look for cracks, dents, or worn-out seals. Pay close attention to the connection points between the regulator and the gas lines.
- Check that the pressure gauge on the regulator is functioning properly. Ensure that it provides an accurate reading and isn’t stuck or damaged.
- Tighten any loose fittings or connections on the regulator. Use an adjustable wrench if necessary, but be careful not to overtighten.
- If you suspect a leak in the regulator, you can perform a simple test by submerging it in a container filled with soapy water. Look for any bubbles or foaming around the regulator; this indicates gas escaping and indicates a leak.
- If you find any issues with the regulator, such as cracks or worn-out seals, it may be necessary to replace it. Consult the manufacturer’s instructions or seek professional help if needed.
By thoroughly inspecting the regulator, you can identify any potential issues that may be causing the CO2 leak. Don’t overlook this step, as a faulty regulator can significantly impact the performance of your kegerator.
Once you’ve completed the inspection of the regulator, it’s time to move on to the next step: checking the gas lines.
Check all connections for any signs of wear or damage. Replace any damaged parts and ensure all connections are tight to prevent CO2 leaks in your kegerator.
Step 3: Check the Gas Lines
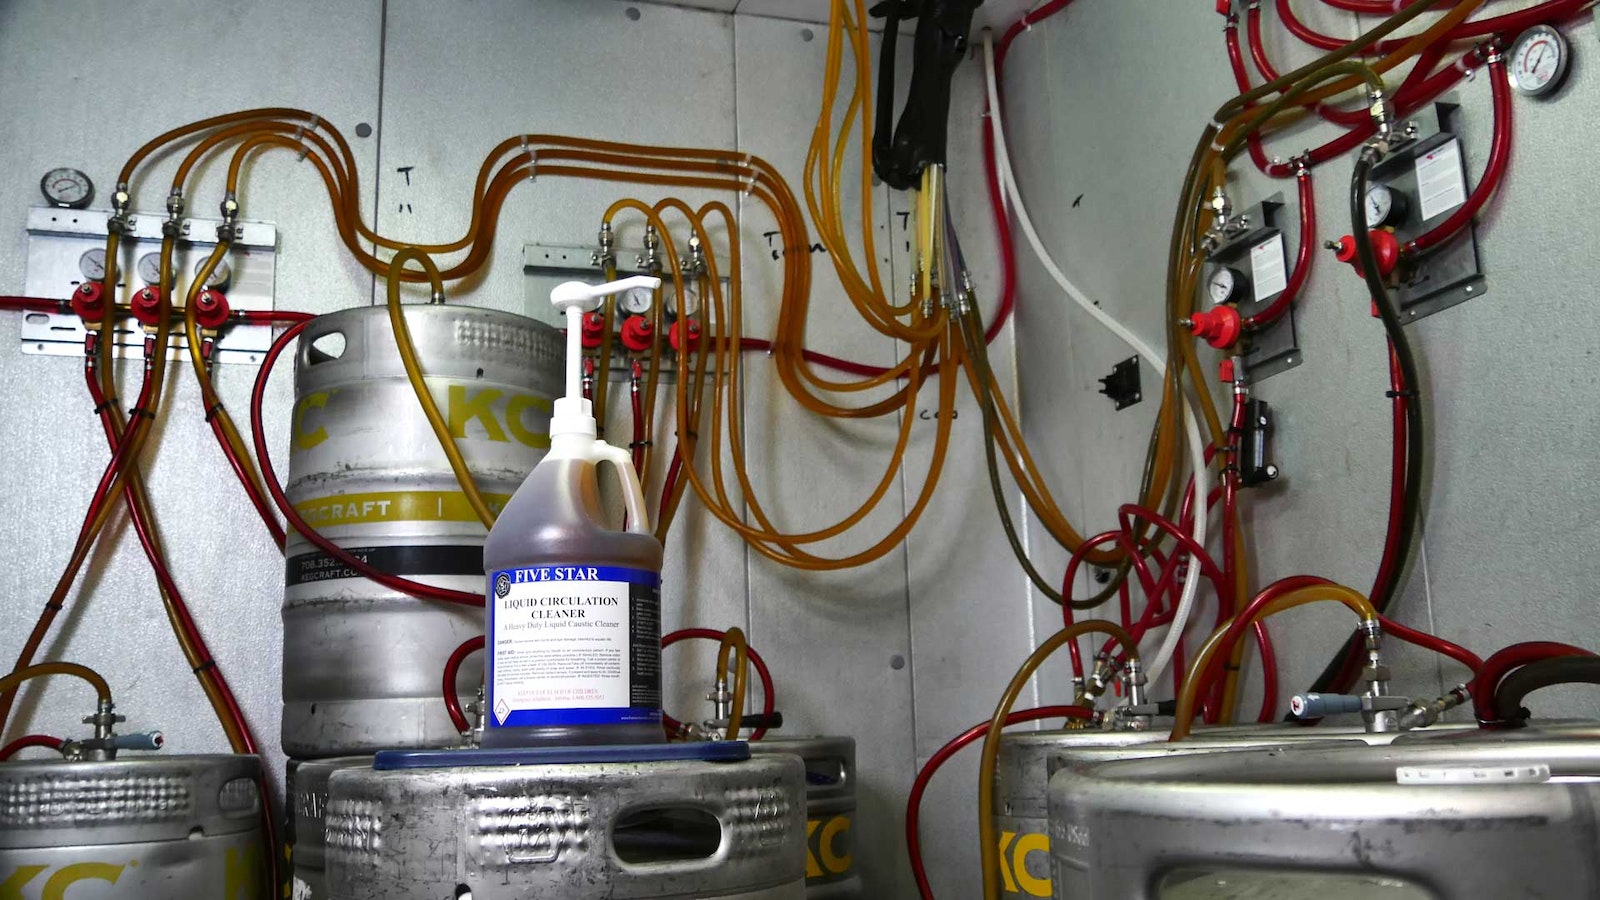
After inspecting the regulator, the next important step in identifying a CO2 leak in your kegerator is checking the gas lines. The gas lines are responsible for carrying the CO2 gas from the regulator to the couplers and keg. Over time, these lines can become brittle, develop cracks, or have loose connections, leading to potential leaks.
Follow these steps to effectively check the gas lines:
- Visually inspect the gas lines from the regulator to the couplers. Look for any signs of wear, cracks, or damage along the entire length of the lines.
- Run your fingertips along the gas lines to feel for any leaks. This is particularly useful for detecting small, subtle leaks that may not be immediately visible.
- Check the connection points between the gas lines and the regulator, as well as the connections to the couplers. Ensure that all fittings are secure and tightened properly.
- Inspect the O-rings and gaskets on the gas lines for any signs of damage or wear. Replace them if necessary.
- If you suspect a leak in the gas lines, you can do a simple test. Mix a solution of soapy water and apply it to the gas lines. Look for any bubbles forming, as they indicate gas escaping and pinpoint the source of the leak.
- If you find any cracks, damaged areas, or loose connections in the gas lines, it may be necessary to replace them. Consult the manufacturer’s instructions or seek professional assistance if needed.
Checking the gas lines is crucial as they are a common area where CO2 leaks can occur. By carefully inspecting and addressing any issues with the gas lines, you can ensure a properly functioning kegerator with minimal leaks.
Now that you’ve checked the gas lines, let’s proceed to the next step: inspecting the couplers.
Step 4: Inspect the Couplers
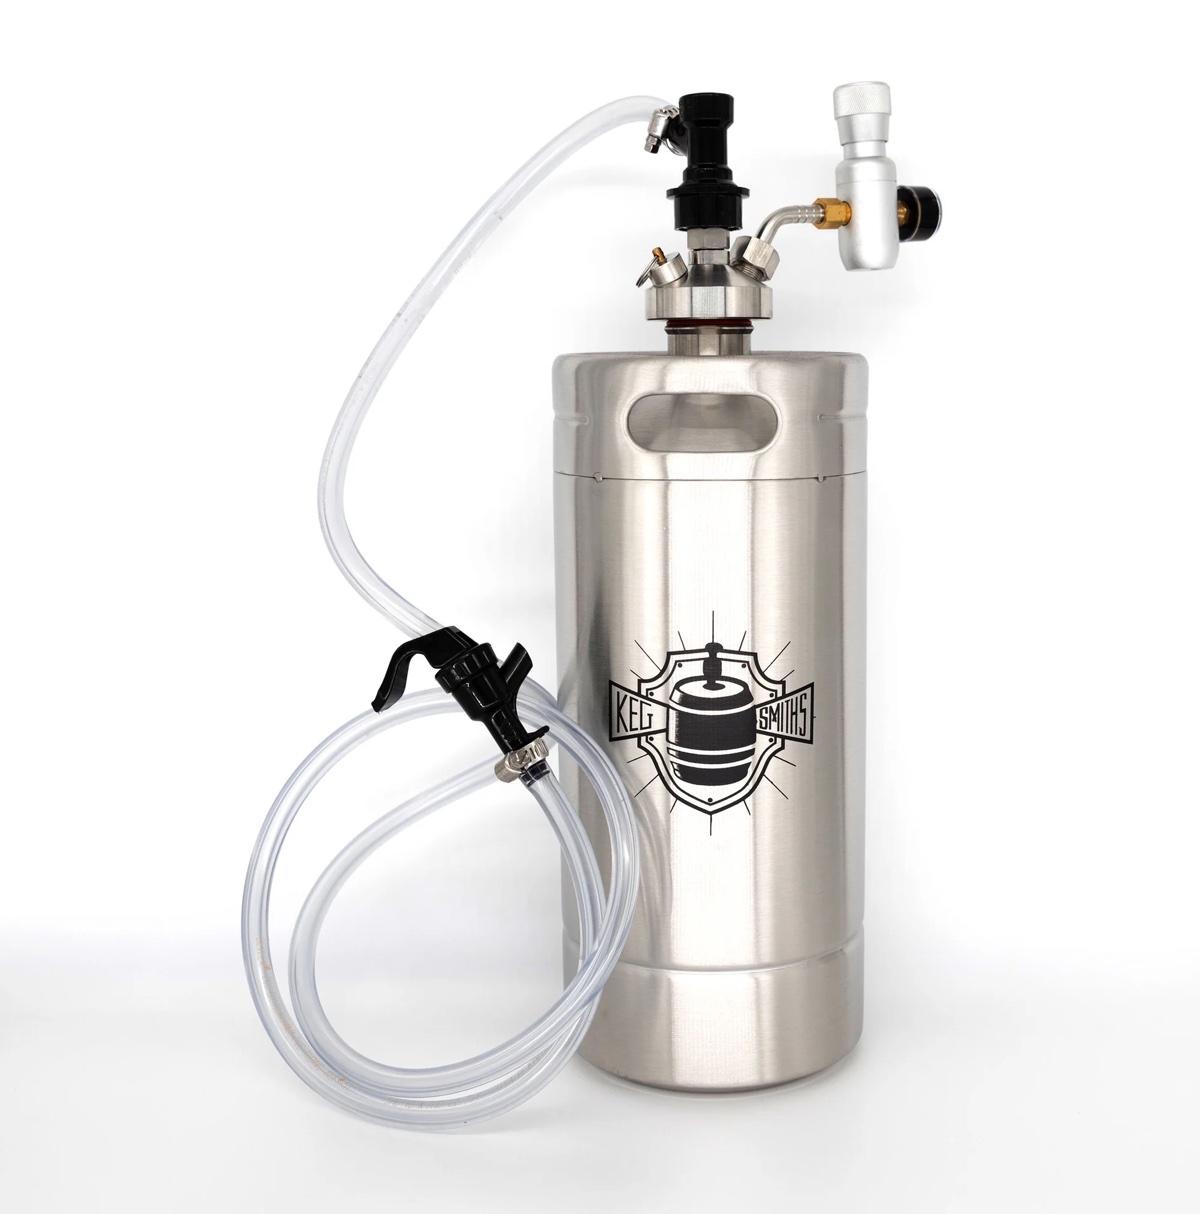
After checking the gas lines, the next step in the process of identifying a CO2 leak in your kegerator is to inspect the couplers. Couplers are responsible for attaching the gas lines to the keg, ensuring a tight and secure connection. Faulty or damaged couplers can lead to leaks and impact the overall performance of your kegerator.
Here’s how to effectively inspect the couplers:
- Visually examine the couplers for any visible signs of damage. Look for cracks, broken seals, or loose fittings.
- Check that the couplers are securely attached and tightened to the gas lines. Use an adjustable wrench if necessary to ensure a snug connection.
- If you suspect a leak in the couplers, you can perform a simple test. Apply a solution of soapy water to the couplers and observe for any bubbles or foam forming. This indicates gas escaping and pinpoint the source of the leak.
- If you find any issues with the couplers, such as cracks or broken seals, it may be necessary to replace them. Consult the manufacturer’s instructions or seek professional assistance if needed.
Inspecting the couplers is crucial to ensure a tight and secure connection between the gas lines and the keg. By addressing any issues with the couplers, you can minimize the risk of CO2 leaks and maintain the efficient operation of your kegerator.
Now that you’ve completed the inspection of the couplers, let’s move on to the next step: examining the keg.
Step 5: Examine the Keg
After inspecting the couplers, the next step in identifying a CO2 leak in your kegerator is to examine the keg itself. The keg plays a vital role in storing and dispensing your beer, and any leaks in the keg can result in loss of carbonation and compromised beer quality.
Follow these steps to effectively examine the keg:
- Visually inspect the keg for any visible signs of leakage. Check for any cracks, dents, or damage on the keg, especially near the valve or seal area.
- Examine the valve and seal of the keg to ensure they are in good condition. Look for any signs of wear, cracks, or improper sealing. Pay close attention to any hissing sounds or bubbles around the valve area, as they may indicate a leak.
- Consider swapping the keg with another one if available. This will help determine if the issue persists with the keg itself or if it’s related to the kegerator system.
Inspecting the keg is vital because any leaks in the keg can result in low carbonation levels or even prevent the beer from being dispensed properly. If you notice any issues with the valve, seal, or overall condition of the keg, it may be necessary to repair or replace it.
Now that you’ve examined the keg, it’s time to move on to the next step: performing a soapy water test.
Read more: Where To Get Co2 For A Kegerator
Step 6: Perform a Soapy Water Test
After examining the keg for any visible signs of leakage, the next step in identifying a CO2 leak in your kegerator is to perform a soapy water test. This simple yet effective test helps pinpoint small leaks that may not be immediately visible, allowing you to locate the exact source of the leak.
Follow these steps to perform a soapy water test:
- Mix a solution of soapy water by combining liquid dish soap with water in a spray bottle or a bowl. Ensure that the mixture is well-mixed.
- Apply the soapy water solution to all the connection points in your kegerator, including the regulator, gas lines, couplers, and keg. Make sure to cover the entire area and focus on the potential problem areas identified during the inspection.
- Observe closely for any bubbles or foaming that form when the soapy water comes in contact with a leak. The presence of bubbles indicates escaping gas and narrows down the location of the leak.
- If you spot any bubbles or foam, use a marker or take a mental note of the exact location of the leak. This will be helpful during the repair process.
The soapy water test is a reliable method to identify minor leaks within your kegerator system. It can help you pinpoint the source of the CO2 leak with accuracy, ensuring efficient repairs and maintenance.
Now that you’ve performed the soapy water test and identified the location of the leak, it’s time to move on to the final step: repairing the CO2 leak.
Step 7: Repairing CO2 Leaks
After identifying the source of the CO2 leak in your kegerator, the final step is to repair the leak and ensure that your kegerator is functioning properly again. The specific repair method will depend on the nature and location of the leak, as well as the components involved. Here are some general guidelines for repairing CO2 leaks:
- Tighten connections: If the leak is simply due to loose connections, use an adjustable wrench to tighten them. Be careful not to overtighten, as this can cause damage.
- Replace damaged parts: If any components like O-rings, gaskets, regulators, gas lines, or couplers are damaged, they will need to be replaced. Consult the manufacturer’s instructions or seek professional assistance to ensure proper replacement.
- Seal cracks or damaged areas: In cases where there are cracks or damaged areas, apply a silicone sealant or epoxy to seal the leak. Make sure to follow the product instructions carefully for the best results.
- Reassemble the kegerator: Once you have repaired the leak, reassemble the kegerator carefully. Ensure that all connections are secure and tightened properly.
- Perform a final test: After completing the repairs, perform another soapy water test to verify that the leak has been successfully fixed. Check for any bubbles or foaming around the previously identified leak location. If no bubbles are present, you have successfully repaired the CO2 leak.
If you are unsure about how to repair the CO2 leak yourself or if the issue is more complex, it is recommended to consult a professional or contact the manufacturer for assistance. They can provide specific guidance and ensure that the repair is done correctly.
By taking the necessary steps to repair CO2 leaks in your kegerator, you can ensure the proper carbonation and dispensing of your beer, providing you with a delightful and refreshing drinking experience.
With the CO2 leak now repaired, you can confidently enjoy your perfectly carbonated beer from your kegerator once again.
Congratulations on successfully troubleshooting and fixing the CO2 leak in your kegerator!
Remember to regularly check for any signs of potential leaks and perform routine maintenance on your kegerator to prevent future issues.
Cheers!
Conclusion
Congratulations! You’ve now reached the end of our guide on how to fix a CO2 leak in your kegerator. By following the steps outlined in this article, you’ve gained the knowledge and skills to identify and repair CO2 leaks, ensuring that your kegerator operates efficiently and delivers perfectly carbonated beer.
Remember, addressing CO2 leaks in your kegerator is essential to maintain the taste, quality, and carbonation of your beer. Ignoring leaks can lead to flat or under-carbonated brews, wasted CO2, and increased expenses for refills. By taking the time to inspect and repair your kegerator, you can enjoy hassle-free beer dispensing and truly savor the flavors of your favorite brews.
Throughout the process, be sure to take safety precautions and follow the manufacturer’s instructions. If you encounter any challenges or are unsure about any steps, consult a professional or reach out to the manufacturer for assistance.
Regular maintenance and preventive measures can help minimize the occurrence of CO2 leaks in your kegerator. Conduct periodic inspections, tighten connections, and replace any worn-out components to ensure the longevity and optimal performance of your kegerator.
We hope this guide has been helpful in resolving your CO2 leak issue. Now, it’s time to sit back, relax, and enjoy a crisp, carbonated pint of your favorite beer, knowing that your kegerator is in excellent working condition.
Cheers to a well-functioning kegerator and many enjoyable beer-drinking moments!
Frequently Asked Questions about How To Fix Co2 Leak In Kegerator
Was this page helpful?
At Storables.com, we guarantee accurate and reliable information. Our content, validated by Expert Board Contributors, is crafted following stringent Editorial Policies. We're committed to providing you with well-researched, expert-backed insights for all your informational needs.

0 thoughts on “How To Fix Co2 Leak In Kegerator”