

Articles
How To Fix Leaky Kegerator
Modified: March 1, 2024
Discover effective articles and proven techniques to fix a leaky kegerator and bring your beloved beer dispenser back to optimal performance.
(Many of the links in this article redirect to a specific reviewed product. Your purchase of these products through affiliate links helps to generate commission for Storables.com, at no extra cost. Learn more)
Introduction
A kegerator is a fantastic addition to any home bar or man cave, allowing you to enjoy cold, fresh draft beer at your convenience. However, one of the common issues kegerator owners encounter is a leaky unit. Nothing can ruin your beer-drinking experience faster than a kegerator that is constantly dripping or spraying beer all over the place.
If you’re facing this problem, don’t worry! In this article, we’ll guide you through the steps to fix a leaky kegerator and get it back to its optimal performance. We’ll explore the common causes of leaks, the tools and materials you’ll need, and provide detailed instructions on how to troubleshoot and resolve the issue.
But before we delve into the solutions, it’s important to understand why your kegerator may be leaking in the first place. Leaks can occur due to various reasons, such as faulty faucet seals, damaged or worn-out O-rings, loose beer line connections, or even issues with the CO2 regulator. Pinpointing the exact cause of the leak will help you take the necessary steps to fix it.
So, let’s get started and put an end to those pesky kegerator leaks once and for all!
Key Takeaways:
- Identify and address common causes of kegerator leaks, such as faulty faucet seals, damaged O-rings, loose beer line connections, and issues with the CO2 regulator, to ensure a smooth and leak-free beer dispensing experience.
- By following the step-by-step guide to inspect, clean, and repair kegerator components, including the faucet, beer lines, O-rings, and CO2 regulator, you can confidently troubleshoot and fix leaks, ensuring a safe and enjoyable draft beer experience.
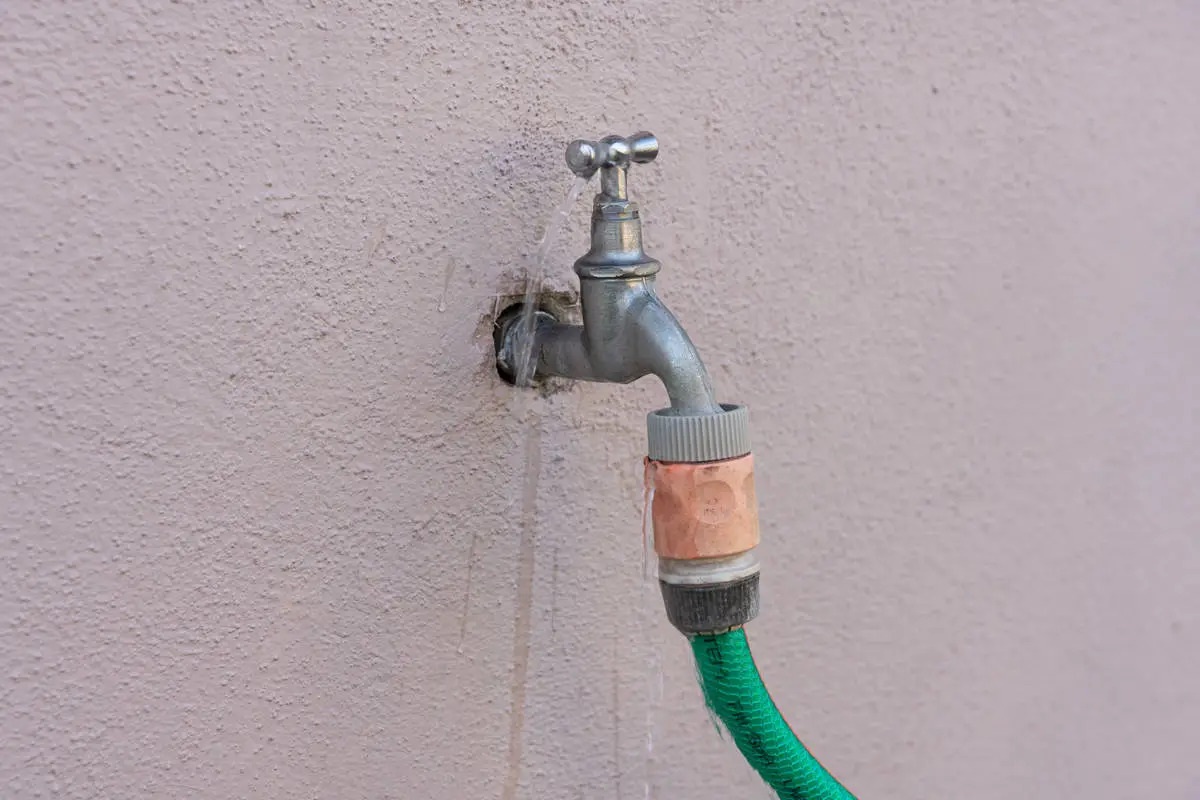
Read more: How To Fix A Leaky Outdoor Faucet
Common Causes of a Leaky Kegerator
Understanding the common causes of a leaky kegerator is essential for troubleshooting and fixing the issue. Here are the most frequent culprits behind the leaks:
- Faulty Faucet Seal: The faucet on your kegerator has a seal that prevents beer from leaking out when not in use. Over time, this seal can become worn out or damaged, leading to leaks.
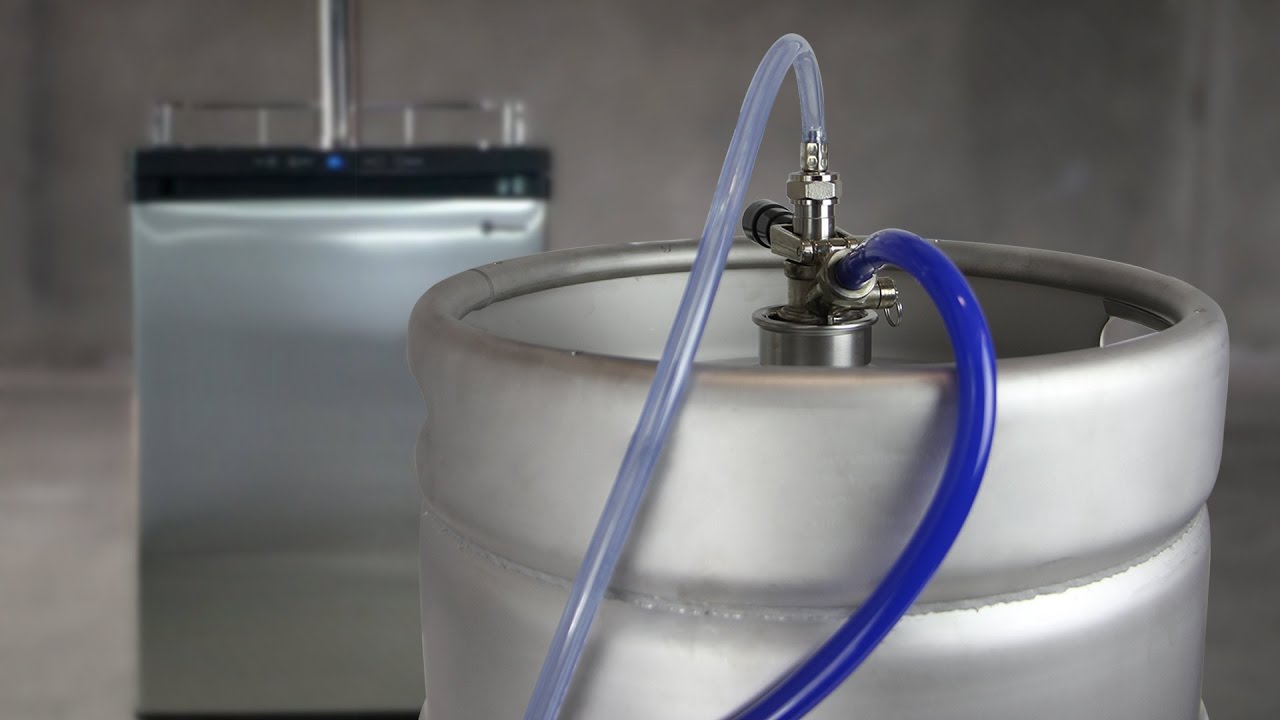
- Damaged or Worn-Out O-Rings: O-rings are small rubber rings that provide a seal between different components of your kegerator, such as the keg coupler, beer line, and CO2 regulator. If these O-rings are damaged or worn out, they can cause leaks.
- Loose Beer Line Connections: The beer lines that connect the keg coupler to the faucet can sometimes become loose, causing beer to leak out. It’s important to ensure these connections are tight and secure.
- Issues with CO2 Regulator: The CO2 regulator regulates the pressure of the CO2 gas that pushes the beer out of the keg. If there are any issues with the regulator or its connections, it can result in leaks.
- Cracked or Damaged Components: Cracks or damage in any part of your kegerator, such as the faucet, beer lines, or coupler, can lead to leaks.
Identifying the cause of the leak is the first step in the troubleshooting process. By understanding these common causes, you’ll be better equipped to resolve the issue and get your kegerator back in working condition.
Tools and Materials Needed
Before you begin fixing your leaky kegerator, make sure you have the necessary tools and materials on hand. Here’s a list of what you’ll need:
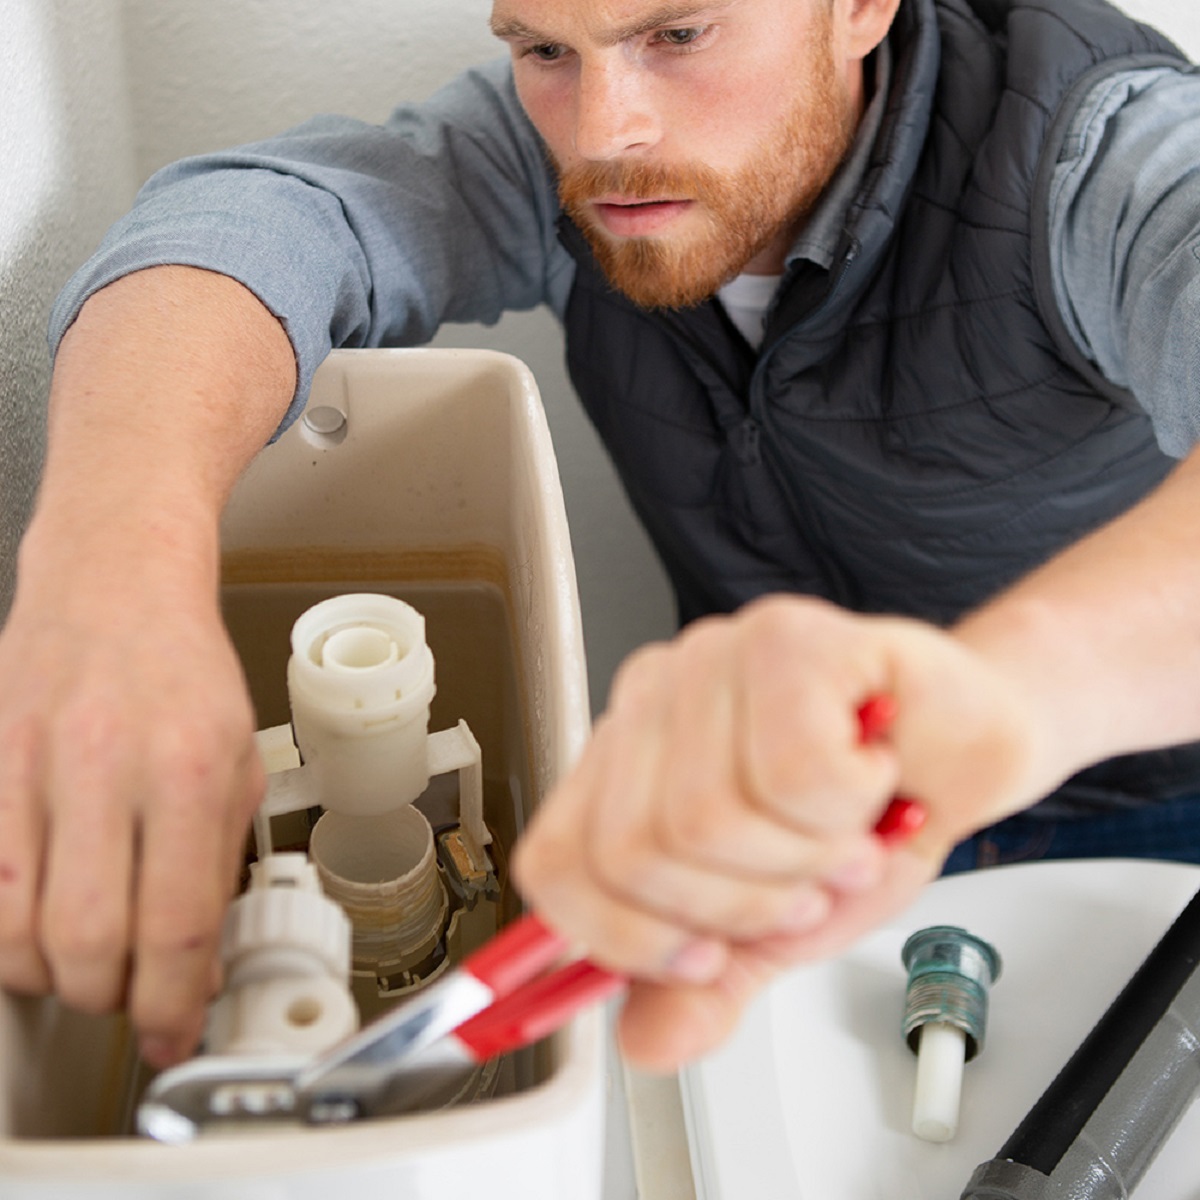
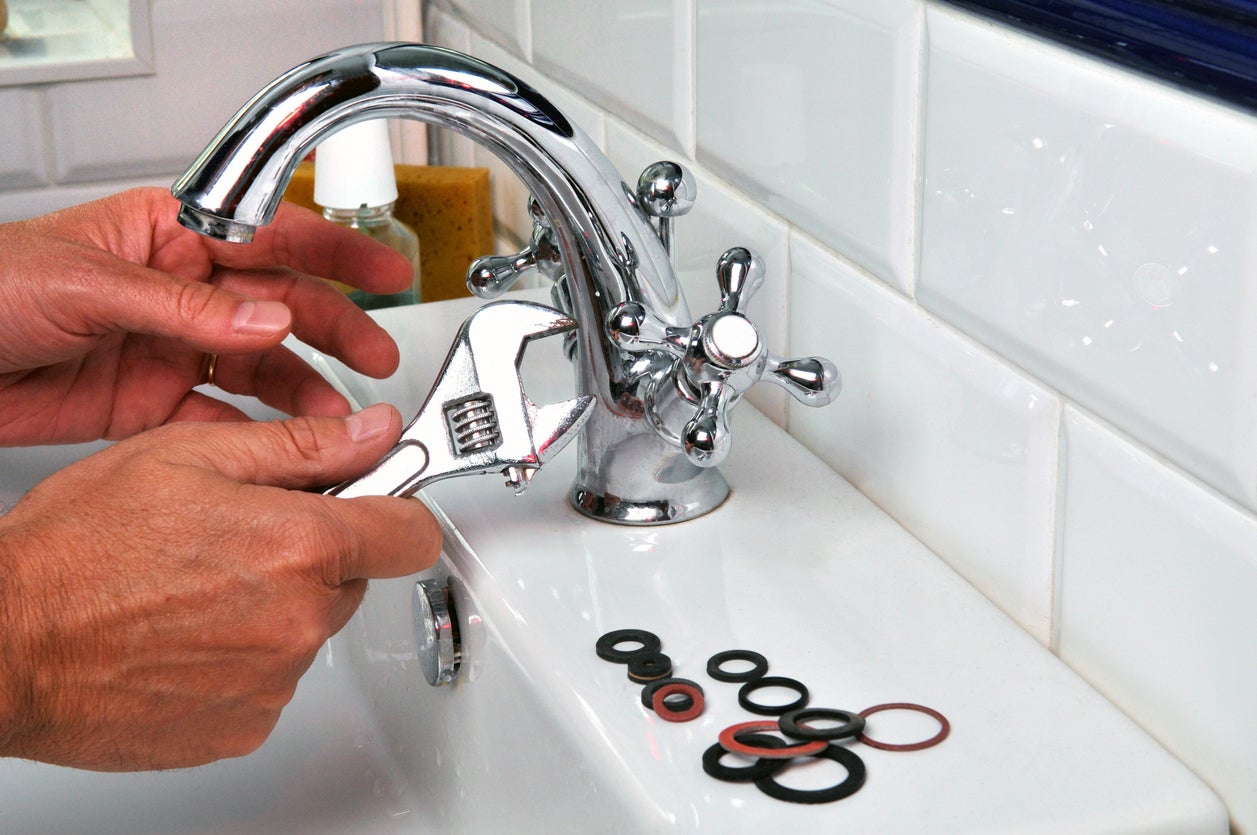
- Adjustable Wrench: This tool will come in handy for loosening and tightening connections.
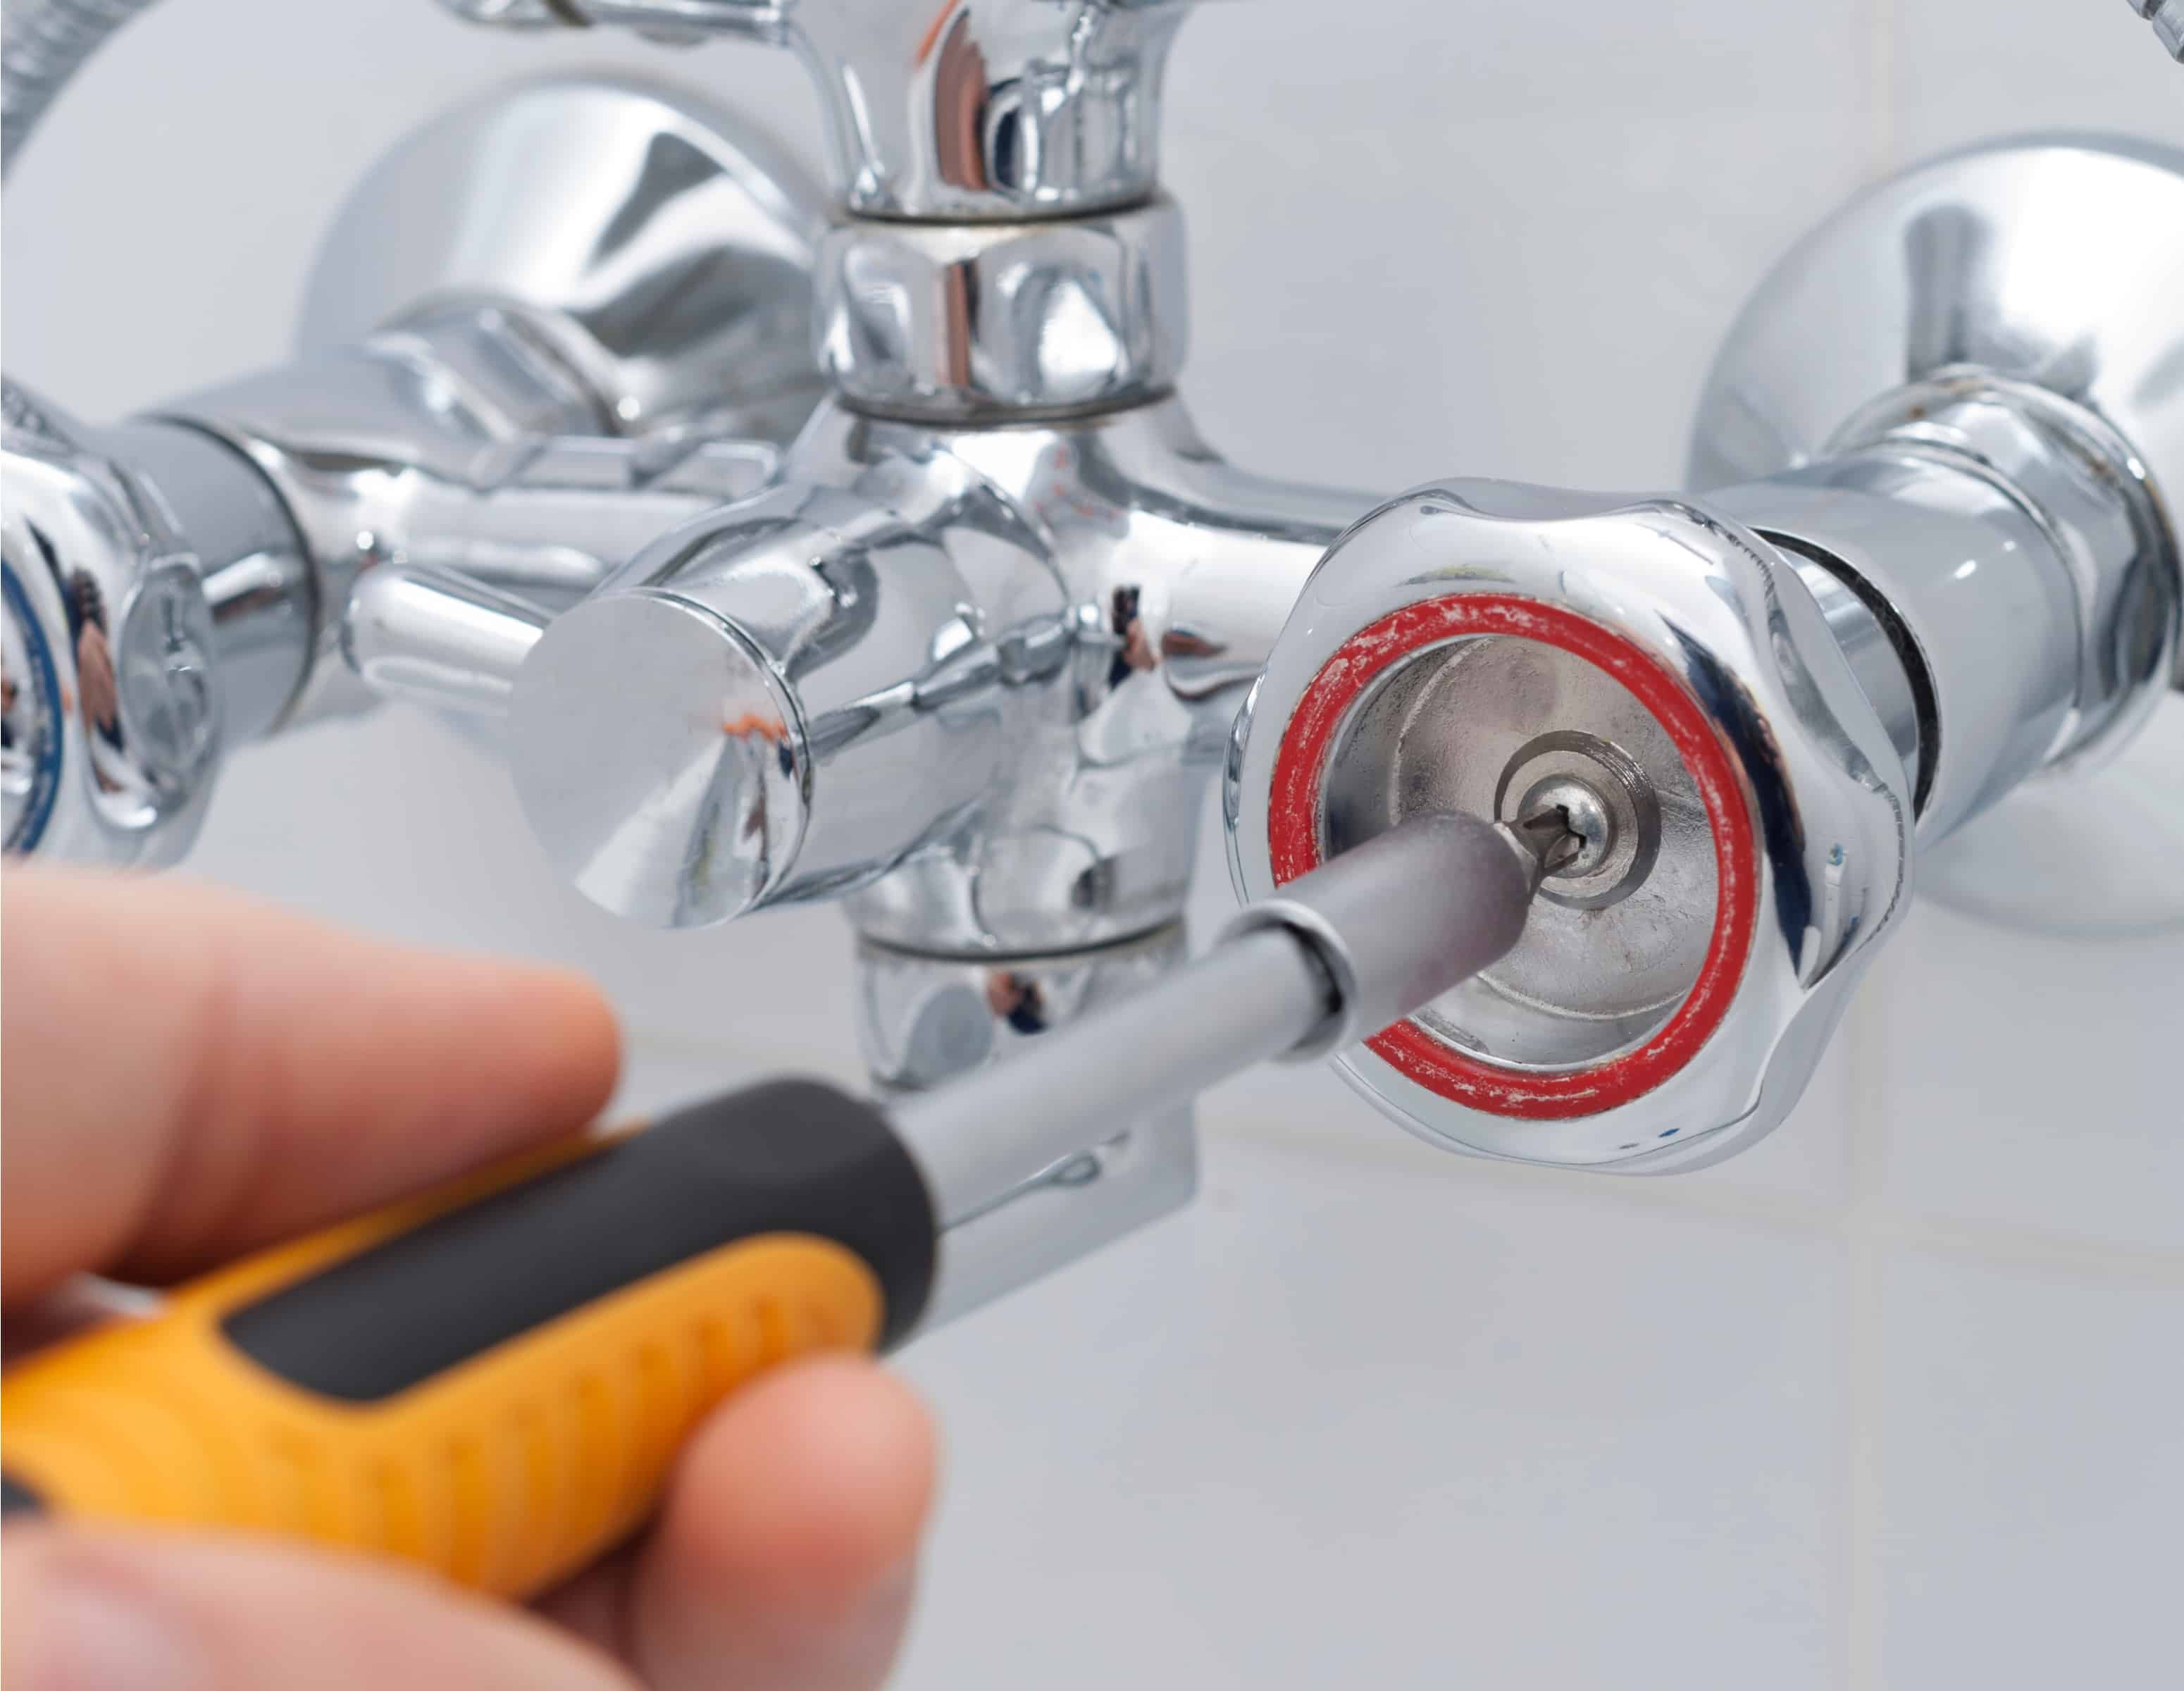
- Flathead Screwdriver: A flathead screwdriver is useful for removing and securing various components of the kegerator.
- Nylon Brush: You’ll need a nylon brush to clean the faucet and remove any build-up or debris that may be causing the leak.
- New O-Rings: Depending on your kegerator model, you may need to replace the O-rings that create a seal between different parts of the kegerator.
- Cleaning Solution: A mild cleaning solution or beer line cleaner will be necessary to clean the components thoroughly.
- Teflon Tape: Teflon tape is used to create a tight and secure seal on threaded connections.
- Replacement Parts: In some cases, you may need to replace damaged or faulty components such as the faucet or beer lines.
Having these tools and materials readily available will streamline the repair process and help you fix the leak in your kegerator more efficiently.
Step 1: Turn off and Unplug the Kegerator
Before you start troubleshooting and fixing the leak in your kegerator, it’s crucial to ensure your safety. The first step is to turn off and unplug the kegerator from the power source. This will minimize the risk of electric shock and allow you to work on the unit without any power supply.
To turn off the kegerator, locate the power switch or knob usually located on the front or side of the unit. Switch it to the “Off” position. If your kegerator doesn’t have a dedicated power switch, simply unplug it from the electrical outlet.
Once the kegerator is powered off and unplugged, take a moment to close the CO2 tank valve. This will prevent any potential leaks or pressure buildup while you work on the kegerator.
Turning off and unplugging the kegerator and closing the CO2 tank valve ensures your safety as you proceed with troubleshooting and repairing the leak. Remember to always prioritize safety when working with electrical appliances.
Step 2: Remove the Faucet and Beer Line
With the kegerator powered off and unplugged, it’s time to remove the faucet and beer line for further inspection. Follow these steps:
- Start by loosening the faucet collar nut using an adjustable wrench or your hand. Turn it counterclockwise to loosen and remove it.
- Once the collar nut is removed, gently pull the faucet straight up to detach it from the shank. Be careful not to damage any of the components.
- Next, locate the end of the beer line that connects to the keg coupler. Using your hand or a wrench, loosen the hex nut or clamp that secures the beer line to the coupler.
- Slide the hex nut or clamp down the beer line to disconnect it from the coupler.
- Once the beer line is disconnected, carefully remove it from the kegerator. Take note of any fittings or connectors that may also be attached to the beer line.
By removing the faucet and beer line, you’ll have better access to inspect and clean these components, which are common sources of leaks in a kegerator. This step allows you to proceed with the necessary repairs or replacements with ease.
Read more: How To Fix Leaky Gutters
Step 3: Inspect and Clean the Faucet
Now that the faucet and beer line are removed, it’s time to inspect and clean the faucet. Follow these steps:
- Take a close look at the faucet for any visible signs of damage, such as cracks or rust. If you notice any significant damage, it may be necessary to replace the faucet.
- Inspect the faucet’s internal components, including the spout, lever, and sealing mechanism. Check for any debris, build-up, or worn-out seals that could be causing the leak.
- Using a nylon brush or a soft cloth, thoroughly clean the faucet, paying attention to all the crevices. Remove any residue or build-up that may be obstructing the proper functioning of the faucet. Ensure that the internal parts are also cleaned and free from any blockages.
- Inspect the faucet’s seal or washer for any signs of wear or damage. A faulty seal can lead to leaks. If necessary, replace the seal or washer with a new one.
- Once the faucet is clean and the seal is in good condition, reposition the faucet back onto the shank and secure it by tightening the collar nut. Use your hand or an adjustable wrench to ensure it is snugly and securely fastened.
By inspecting and cleaning the faucet, you can address any issues that may be causing leaks. Removing debris, ensuring the proper functioning of the internal components, and replacing damaged seals or washers will contribute to resolving the leaky faucet problem in your kegerator.
Check the rubber gaskets and connections for any signs of wear or damage. Replace any worn parts to ensure a tight seal and prevent leaks in your kegerator.
Step 4: Check the Beer Line Connections
After inspecting and cleaning the faucet, it’s time to focus on the beer line connections. Follow these steps to check and ensure their tightness:
- Examine both ends of the beer line for any signs of damage or wear. Look for cracks, kinks, or any other abnormalities that could be contributing to the leak.
- Inspect the connectors or fittings at each end of the beer line. Check for any looseness or improper alignment that may be causing leaks.
- If the beer line connections are loose, use an adjustable wrench or your hand to tighten them. Make sure the hex nut or clamp is securely fastened to both the keg coupler and the faucet.
- If you notice any damaged connectors or fittings, it may be necessary to replace them. Ensure you have the correct replacement parts on hand for a seamless repair.
- If the beer line itself appears to be damaged or worn, consider replacing it with a new one. A compromised beer line can lead to leaks and affect the quality of your draft beer.
Checking and tightening the beer line connections is crucial for preventing leaks. Ensuring that the connectors, fittings, and beer line itself are in good condition and properly aligned will significantly reduce the risk of leaks in your kegerator.
Step 5: Replace or Repair O-Rings
O-rings are small but vital components that create a seal between different parts of your kegerator. If these O-rings are damaged or worn out, they can result in leaks. Here’s how to determine if your O-rings need to be replaced or repaired:
- Inspect the O-rings on the keg coupler, beer line connections, and CO2 regulator. Look for any signs of wear, cracks, or deterioration.
- If you notice damaged O-rings, carefully remove them using a flathead screwdriver or your fingertips. Be cautious not to scratch or damage the surfaces of the components.
- Clean the O-ring grooves in the keg coupler, beer line connections, and CO2 regulator using a soft cloth or nylon brush. Ensure that the grooves are completely free from debris or residue.
- Replace the damaged O-rings with new ones of the appropriate size and material. Lubricate the O-rings with a food-grade lubricant before inserting them into the grooves.
- If the O-rings appear to be in decent condition but are not creating a proper seal, you may try cleaning them thoroughly with warm soapy water or a mild cleaning solution. However, if the problem persists, it’s best to replace them.
Replacing or repairing damaged O-rings is crucial for maintaining a tight seal in your kegerator. By ensuring the proper functioning of these small but essential components, you can eliminate potential sources of leaks and keep your draft beer system running smoothly.
Step 6: Check the CO2 Regulator and Connections
The CO2 regulator plays a crucial role in maintaining the right pressure for dispensing your draft beer. If there are issues with the regulator or its connections, it can result in leaks. Here’s how to inspect and address potential problems:
- Inspect the CO2 regulator for any visible signs of damage, such as cracks or loose connections. If you notice any significant damage, it may be necessary to replace the regulator.
- Ensure that the CO2 tank valve is closed to prevent any pressure from escaping while you work on the regulator and connections.
- Check the connection between the CO2 tank and the regulator. Make sure it is tight and secure. If it is loose, use an adjustable wrench or your hand to tighten it.
- Inspect the connection between the regulator and the keg. Verify that it is properly threaded and tightly secured. If necessary, tighten it using an adjustable wrench or your hand.
- Look for any signs of gas leakage around the connections. Apply a mixture of soap and water to the connections and observe if there are any bubbles forming. Bubbling indicates a gas leak, and you may need to retighten the connections or replace faulty parts.
- If you identify a leak, try applying Teflon tape to the threaded connections. This will help create a better seal and prevent leaks. Ensure that the tape is applied correctly, following the manufacturer’s instructions.
Checking the CO2 regulator and its connections is essential for maintaining the appropriate gas pressure and preventing leaks. Ensuring that the regulator is in good condition and that all connections are tight and secure will contribute to a leak-free kegerator system.
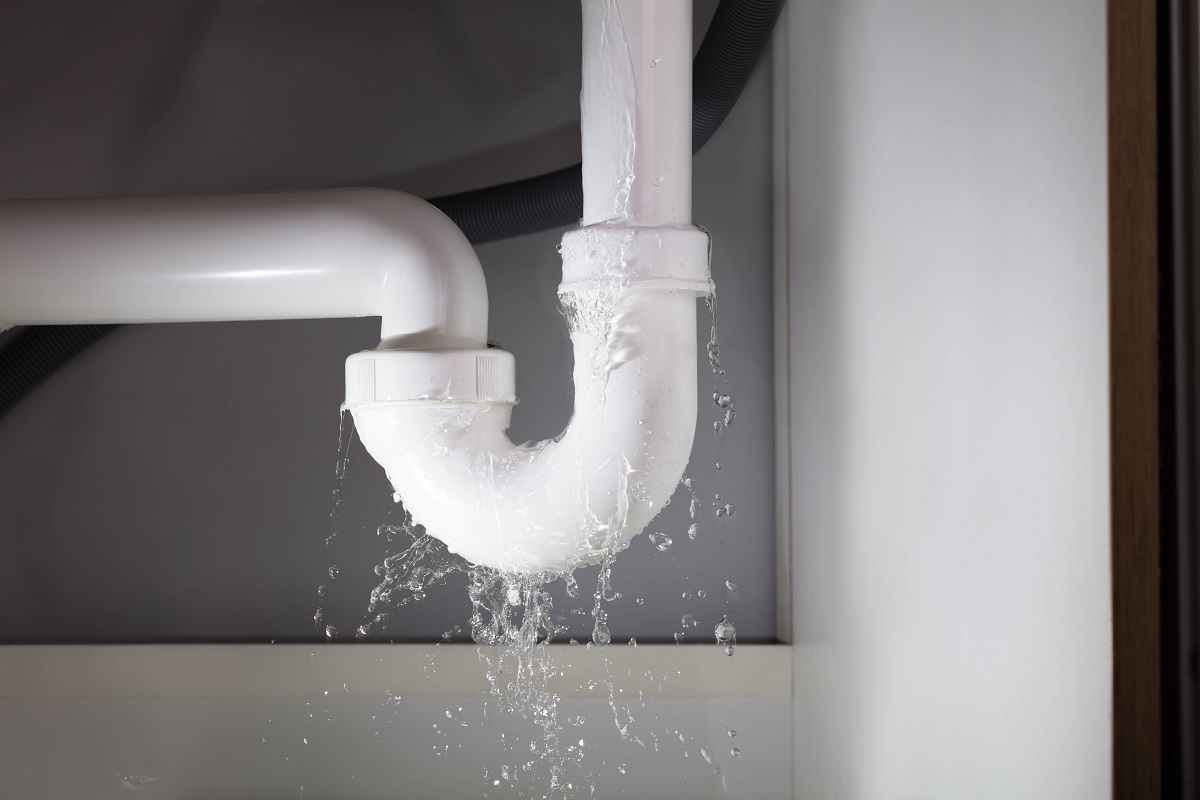
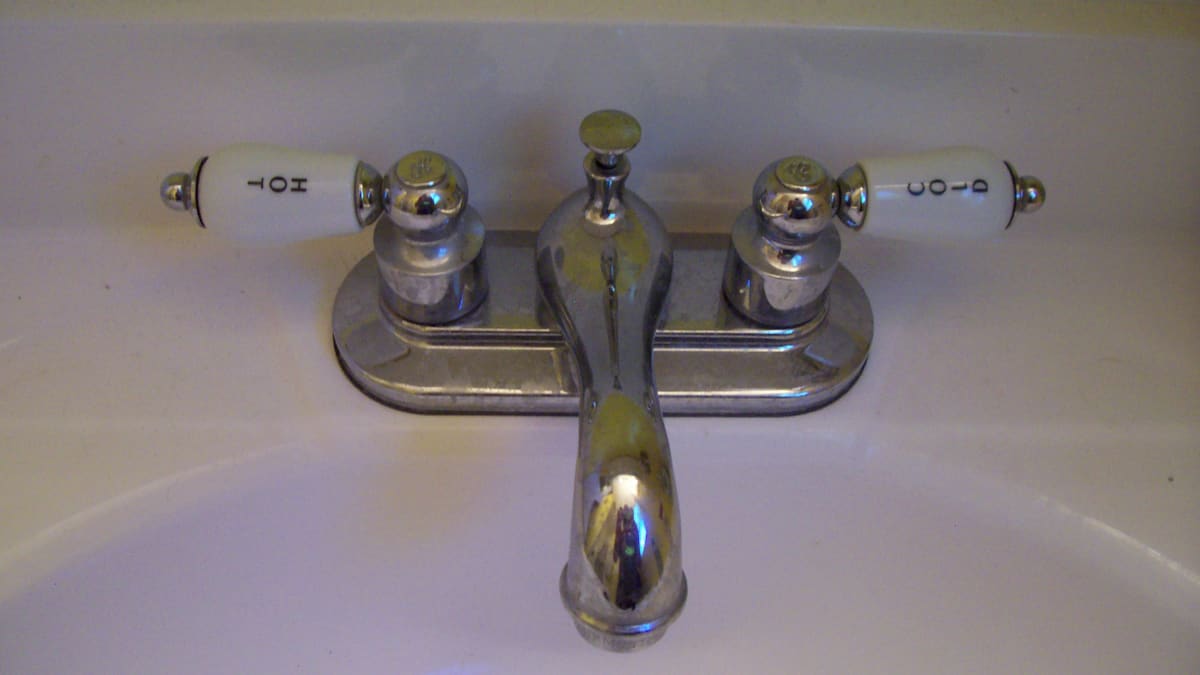
Read more: How To Fix A Leaky Faucet
Step 7: Reassemble the Kegerator
Now that you have inspected and repaired the various components of your kegerator, it’s time to reassemble the unit. Follow these steps to ensure everything is properly put back together:
- Start by reattaching the beer line to the keg coupler. Slide the hex nut or clamp back onto the beer line and tighten it securely onto the coupler.
- Next, reconnect the faucet to the shank. Align the faucet with the shank and insert it until it fits snugly. Use the collar nut to secure the faucet in place, ensuring it is tightened securely.
- If you have replaced any O-rings or other components, double-check that they are installed correctly and provide a proper seal.
- Take a moment to ensure that all connections, including the beer line, faucet, and CO2 regulator, are securely tightened and properly aligned.
- Plug the kegerator back into the power outlet and turn it on. This will allow the unit to start cooling and maintain the desired temperature for your draft beer.
By methodically reassembling the kegerator and ensuring that all connections are tight and aligned, you will contribute to a leak-free and properly functioning unit.
Step 8: Test for Leaks
After reassembling the kegerator, it’s important to test for any potential leaks before fully enjoying your draft beer. Follow these steps to ensure that your repairs have successfully resolved the leaking issue:
- Turn on the CO2 tank valve to allow gas to flow into the kegerator.
- Check all the connections, including the beer line, faucet, and CO2 regulator, for any signs of gas leakage. Look for bubbling or hissing sounds, which indicate a leak.
- Apply a mixture of soap and water to the connections and observe if there are any bubbles forming. Bubbling indicates a gas leak that needs to be addressed.
- If you detect a leak, immediately turn off the CO2 tank valve and proceed to re-tighten the loose connection. Apply Teflon tape or use a new O-ring if necessary.
- Once you have addressed any leaks, allow the kegerator to sit for a few minutes and observe if any new leaks appear. This will ensure that all connections are properly sealed.
Testing for leaks is a crucial step to guarantee that your kegerator is fully operational and leak-free. By identifying and resolving any remaining leaks, you can confidently dispense and enjoy your draft beer without any unwanted surprises.
Conclusion
Fixing a leaky kegerator might seem like a daunting task, but with the right knowledge and steps, you can successfully resolve the issue and get back to enjoying cold, fresh draft beer. By following the steps outlined in this article, you’ve learned how to troubleshoot and fix common causes of kegerator leaks.
From inspecting and cleaning the faucet to checking the beer line connections, replacing O-rings, and ensuring the CO2 regulator and connections are sound, each step contributes to identifying and resolving the leaks in your kegerator. Taking the time to properly reassemble the kegerator and conducting thorough leak testing ensures that you have addressed any potential issues before indulging in your favorite draft beer.
Remember, safety is paramount throughout the process. Always turn off and unplug the kegerator before conducting any repairs, and use caution when handling tools and components.
By following the steps outlined in this guide, you are well-equipped to tackle a leaky kegerator. However, if the issue persists despite your efforts, it may be necessary to seek professional assistance.
Cheers to a leak-free kegerator and many enjoyable pints of draft beer!
Frequently Asked Questions about How To Fix Leaky Kegerator
Was this page helpful?
At Storables.com, we guarantee accurate and reliable information. Our content, validated by Expert Board Contributors, is crafted following stringent Editorial Policies. We're committed to providing you with well-researched, expert-backed insights for all your informational needs.

0 thoughts on “How To Fix Leaky Kegerator”