Articles
How To Clean Delta Kitchen Faucet
Modified: April 23, 2024
Discover effective ways to clean your Delta kitchen faucet with these helpful articles. Keep your faucet looking pristine and functioning flawlessly.
(Many of the links in this article redirect to a specific reviewed product. Your purchase of these products through affiliate links helps to generate commission for Storables.com, at no extra cost. Learn more)
Introduction
Welcome to this comprehensive guide on how to clean your Delta kitchen faucet! Over time, faucets can accumulate mineral deposits, soap scum, and other debris, leading to reduced water flow and an unsightly appearance. Regular cleaning of your Delta kitchen faucet not only helps maintain its functionality, but also keeps it looking its best.
In this article, we will walk you through the step-by-step process of cleaning your Delta kitchen faucet, ensuring that you have all the necessary tools and materials to get the job done efficiently. By following these instructions, you will be able to restore your faucet to its optimal condition and enjoy a clean and refreshing water flow in your kitchen.
Before we delve into the cleaning process, it’s important to note that Delta kitchen faucets come in different styles and models, each with their unique features and mechanisms. Therefore, it’s recommended to consult the user manual specific to your Delta kitchen faucet model for any manufacturer-specific instructions or recommendations.
Now, let’s gather the tools and materials you will need for cleaning your Delta kitchen faucet:
Key Takeaways:
- Regularly cleaning your Delta kitchen faucet with simple tools and materials can maintain its functionality and appearance, ensuring optimal water flow and a visually pleasing kitchen.
- Following the step-by-step process of shutting off the water supply, disassembling, cleaning, and reassembling your Delta kitchen faucet can eliminate mineral deposits, dirt, and debris, prolonging its lifespan and preventing issues like leaks and sediment buildup.
Read more: How To Install A Delta Faucet
Tools and Materials Needed
Before you begin cleaning your Delta kitchen faucet, make sure you have the following tools and materials handy:
- Adjustable wrench or pliers: You will need these tools to disassemble and reassemble the faucet.
- Soft cloth or sponge: To wipe away dirt and grime from the surface of the faucet.
- White vinegar or mild soap: These cleaning agents will help dissolve mineral deposits and remove stains.
- Toothbrush: Use a soft-bristle toothbrush to scrub hard-to-reach areas and remove debris.
- Bucket or bowl: For soaking the faucet parts in the cleaning solution.
- Clean towel or mat: To protect your countertop or sink from any scratches while working on the faucet.
Once you have gathered these tools and materials, you will be ready to embark on the cleaning process. Now, let’s move on to the first step: shutting off the water supply.
Step 1: Shut off the Water Supply
Before you can begin cleaning your Delta kitchen faucet, it is essential to turn off the water supply to prevent any accidental leaks or water damage. Follow the steps below to shut off the water supply:
- Locate the shut-off valves: The shut-off valves are usually located beneath the sink. Look for two small valves—one for hot water and one for cold water.
- Turn off the valves: Use the adjustable wrench or pliers to turn the valves clockwise until they are fully closed. This will stop the flow of water to the faucet.
- Turn on the faucet: Turn on the faucet to confirm that the water supply has been successfully shut off. If no water flows, you have successfully shut off the water supply and can proceed to the next step.
By shutting off the water supply, you can safely disassemble and clean your Delta kitchen faucet without any unwanted water flow. Now that the water supply is turned off, let’s move on to step 2: disassembling the faucet.
Step 2: Disassemble the Faucet
Now that you have successfully shut off the water supply, it’s time to disassemble the Delta kitchen faucet. Follow these steps:
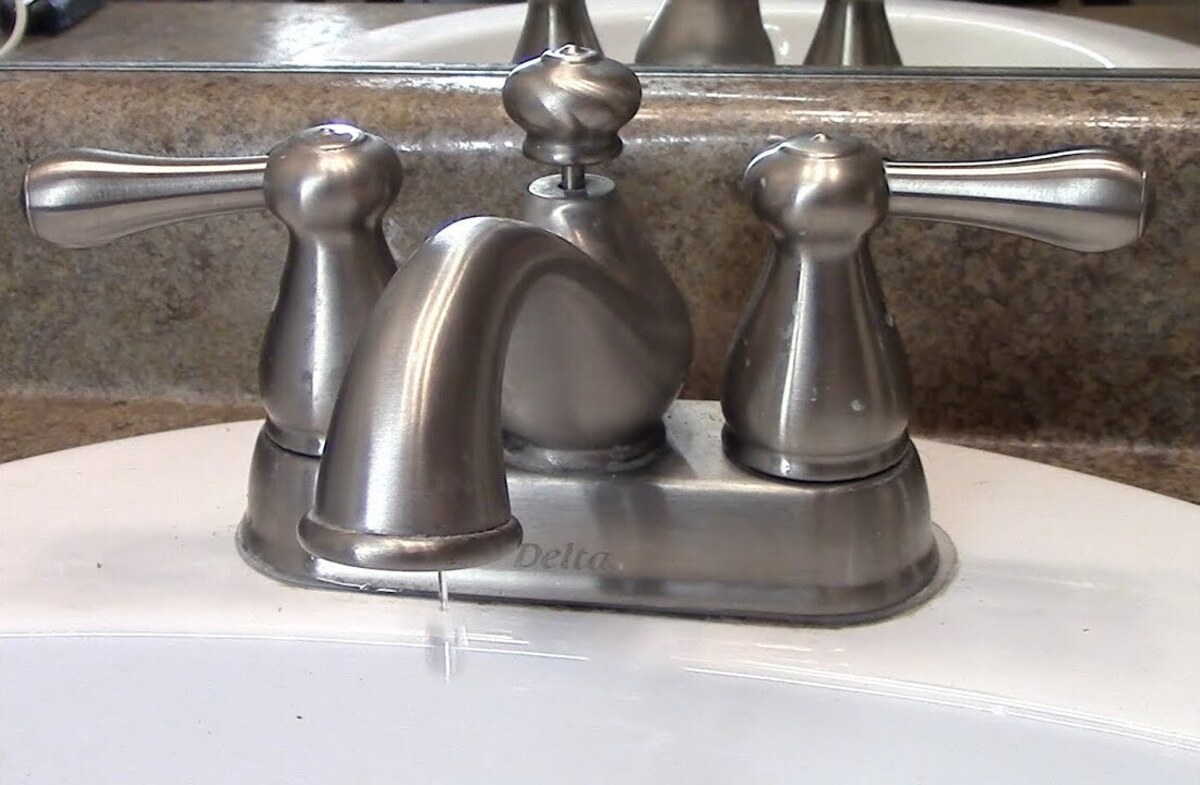
- Remove any decorative accents: Some Delta faucets may have decorative accents, such as a cap or emblem on the handle. Gently pry off these accents using a small flat-head screwdriver.
- Unscrew the handle: Locate the screw holding the handle in place. It is typically located under the decorative accent or on the side of the handle. Use the screwdriver to loosen and remove the screw. Once the screw is removed, carefully lift off the handle.
- Remove the base or cartridge: Depending on the model of your Delta kitchen faucet, you may need to remove the base or cartridge. Refer to your user manual for specific instructions on how to remove these components.
- Take note of the order: As you disassemble the faucet, it’s important to pay attention to the order in which the components are removed. This will make reassembly easier later on.
As you disassemble the faucet, be mindful of any small components that may be prone to falling or getting lost. You can lay down a towel or mat to keep the parts organized and prevent them from rolling off the counter or sink.
Now that you have successfully disassembled the faucet, you can move on to step 3: cleaning the individual parts.
Step 3: Clean the Individual Parts
With the Delta kitchen faucet disassembled, it’s time to clean the individual parts. Follow these steps to ensure a thorough cleaning:
- Soak the parts in a cleaning solution: Fill a bucket or bowl with a mixture of warm water and either white vinegar or mild soap. Submerge the faucet parts, such as the handles, aerator, base, and cartridge, into the cleaning solution. Allow them to soak for about 10-15 minutes to help loosen any dirt or mineral deposits.
- Scrub away dirt and debris: After the parts have soaked, take a soft cloth or toothbrush and gently scrub away any dirt or debris. Pay special attention to areas with visible stains or buildup. For stubborn mineral deposits, you can use an old toothbrush dipped in white vinegar to scrub the affected areas.
- Rinse with clean water: Once you have scrubbed the parts, rinse them thoroughly with clean water to remove any leftover cleaning solution or residue. This will ensure that your faucet components are free from any chemical cleaning agents.
- Dry the parts: After rinsing, use a clean towel or allow the parts to air dry completely before reassembling the faucet. This will help prevent any water spots or moisture-related issues.
By cleaning the individual parts, you are removing any accumulated grime, mineral deposits, and debris that may affect the functionality and appearance of your Delta kitchen faucet. Now that the parts are clean and dry, let’s move on to step 4: cleaning the aerator.
To clean a Delta kitchen faucet, mix equal parts white vinegar and water, then soak a cloth in the solution and wrap it around the faucet. Let it sit for 10-15 minutes to dissolve any mineral deposits, then wipe clean with a dry cloth.
Read more: How To Tighten A Delta Kitchen Faucet
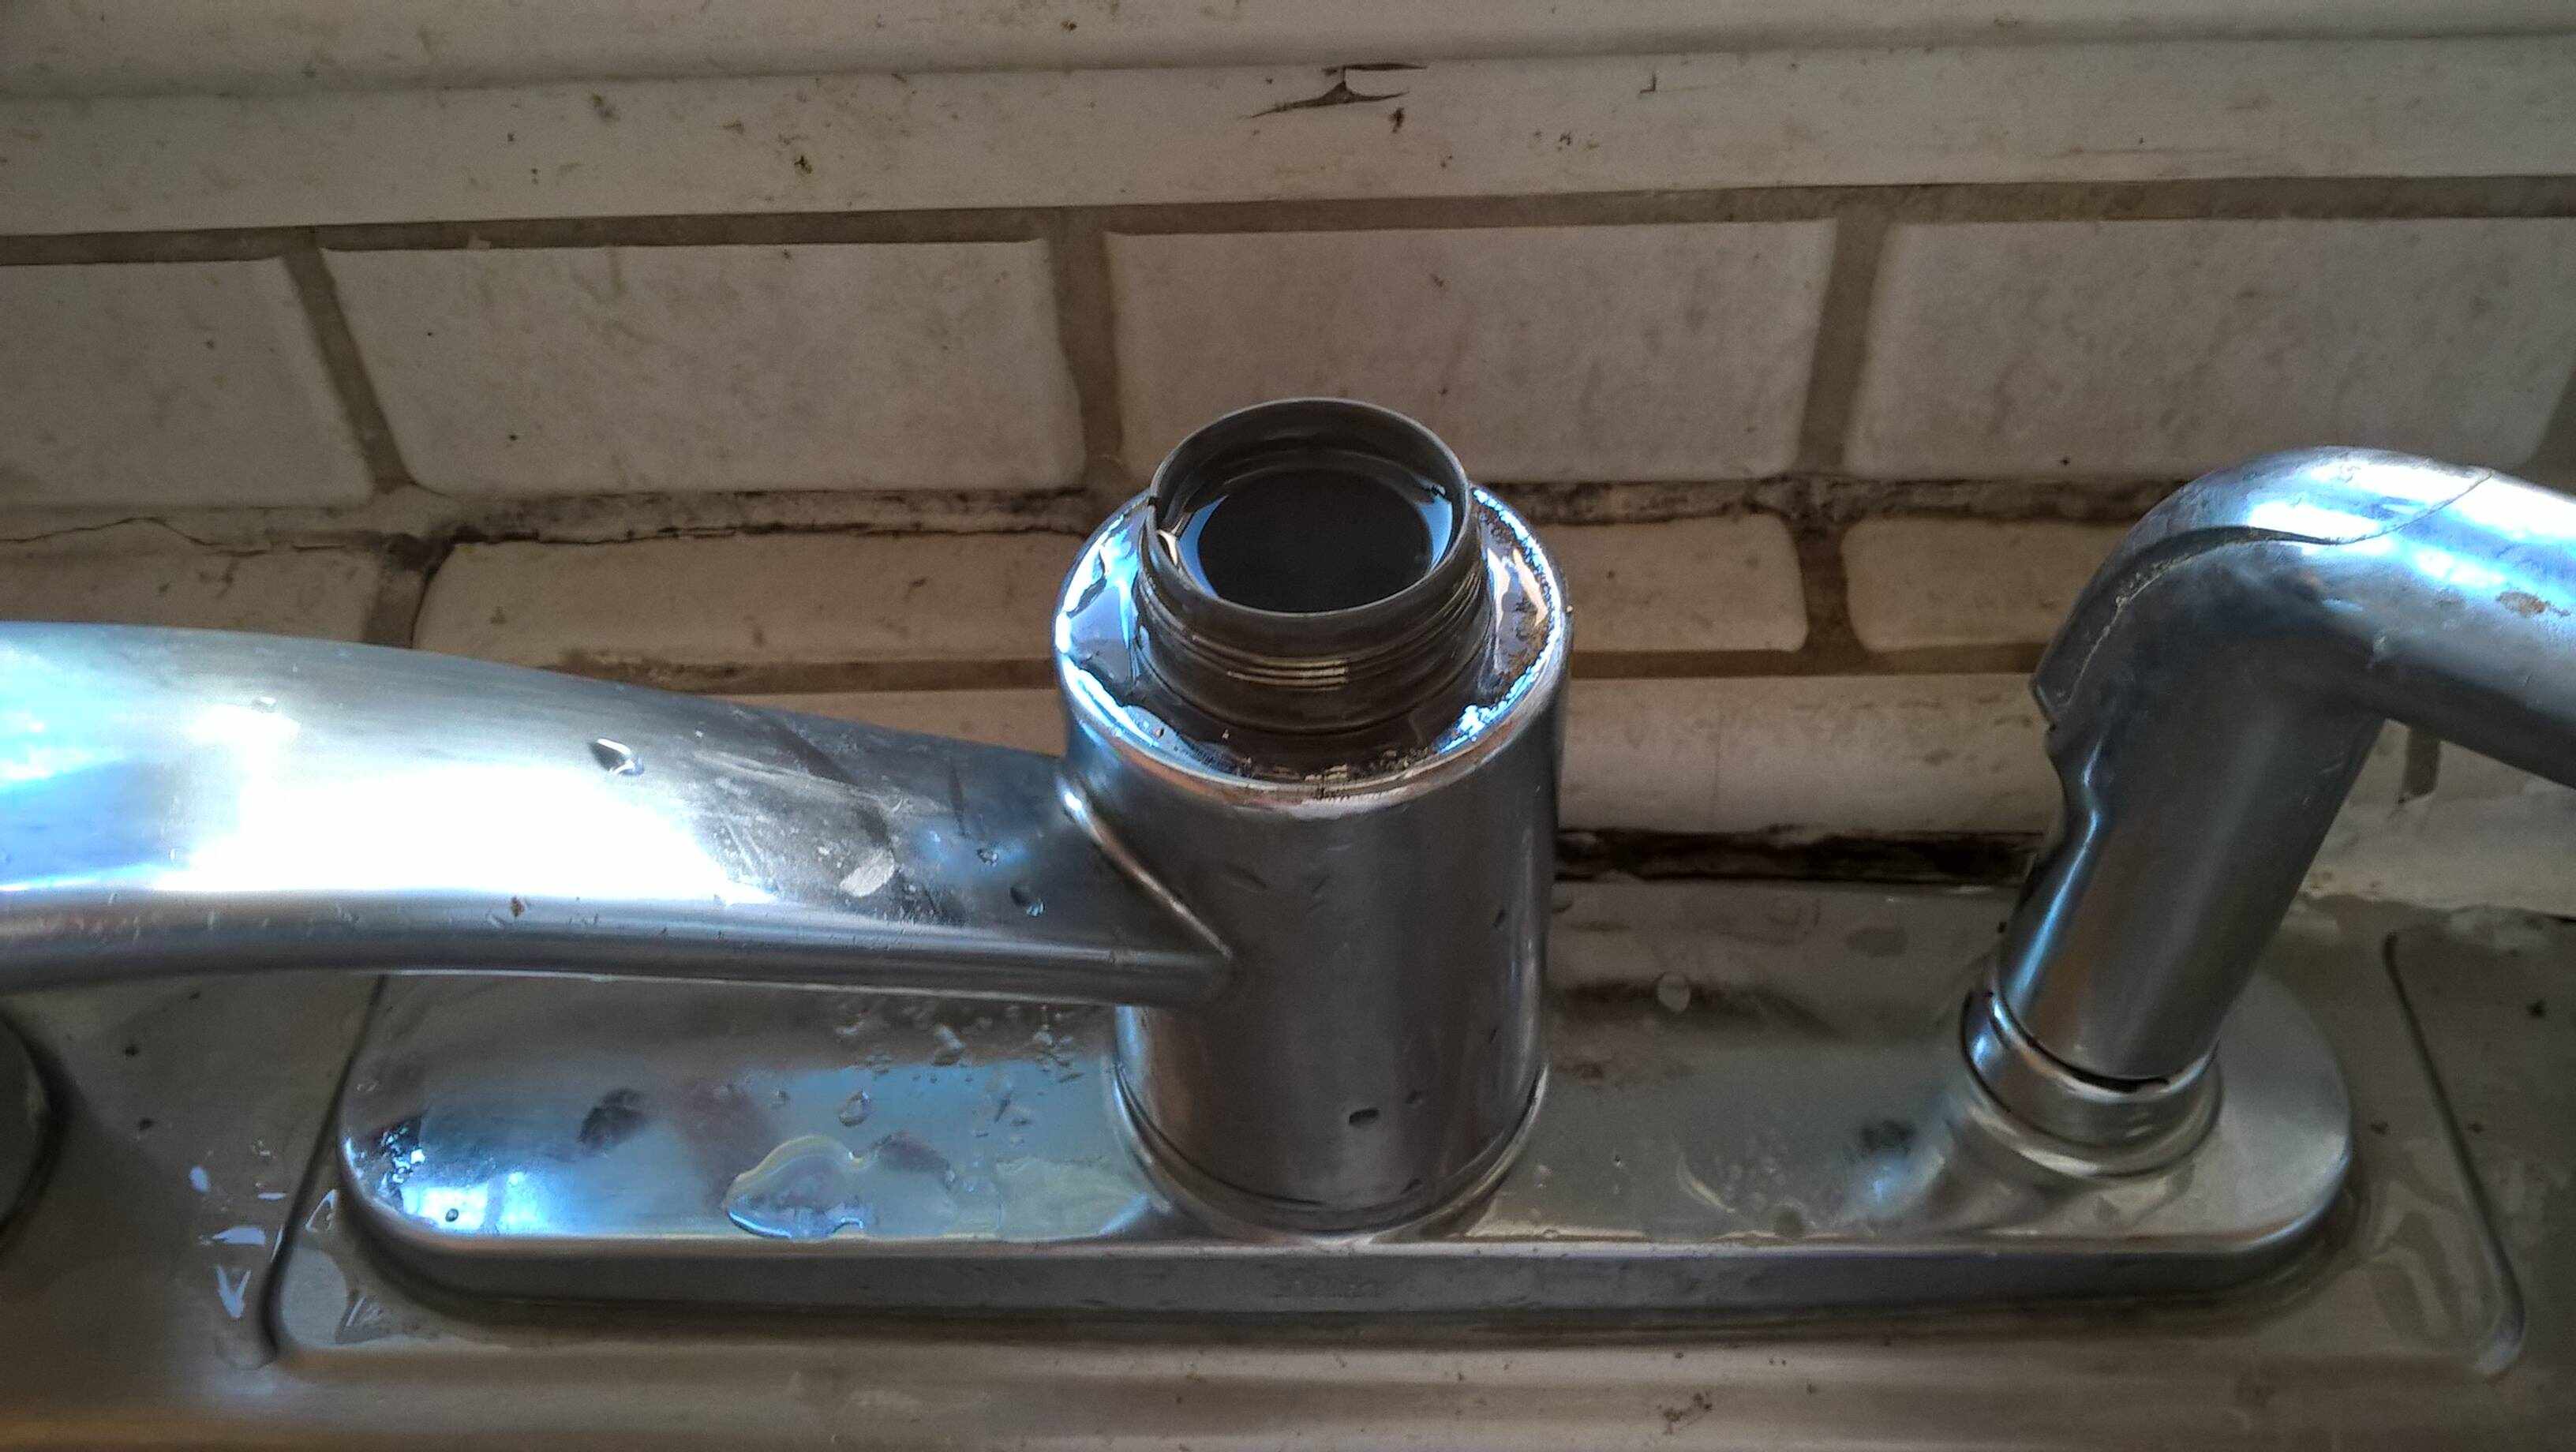
Step 4: Clean the Aerator
The aerator is a crucial component of your Delta kitchen faucet as it helps regulate water flow and prevent splashing. To ensure optimal performance, it’s essential to clean the aerator regularly. Follow these steps:
- Remove the aerator: Locate the aerator at the end of the faucet spout. It is a small, mesh screen-like attachment. Depending on the model of your Delta kitchen faucet, you may be able to unscrew the aerator by hand or use pliers or an adjustable wrench to loosen it.
- Soak the aerator in a cleaning solution: Fill a bowl with a mixture of warm water and white vinegar. Submerge the aerator in the cleaning solution and let it soak for about 10-15 minutes. This will help dissolve any mineral deposits or debris that may have accumulated.
- Scrub the aerator: After soaking, take a toothbrush or a small brush with soft bristles and gently scrub the aerator. Pay attention to the tiny holes and crevices, making sure to remove any remaining debris or buildup. If necessary, you can use a pin or needle to unclog any stubborn blockages in the aerator holes.
- Rinse and reassemble: Once the aerator is clean, rinse it thoroughly with water to remove any traces of the cleaning solution. Then, carefully reattach the aerator to the faucet spout and ensure it is securely tightened.
By cleaning the aerator, you will improve water flow and prevent any blockages or splashing issues. Now that the aerator is clean and back in place, let’s move on to step 5: reassembling the faucet.
Step 5: Reassemble the Faucet
Now that all the individual parts, including the aerator, have been cleaned, it’s time to reassemble your Delta kitchen faucet. Follow these steps to ensure proper reassembly:
- Refer to your notes: As you begin reassembling the faucet, refer back to any notes or photos you took during the disassembly process. This will help ensure that you put the parts back in the correct order and position.
- Attach the base or cartridge: If you had to remove the base or cartridge during the disassembly, carefully reattach it according to the manufacturer’s instructions. This may involve aligning specific grooves or slots.
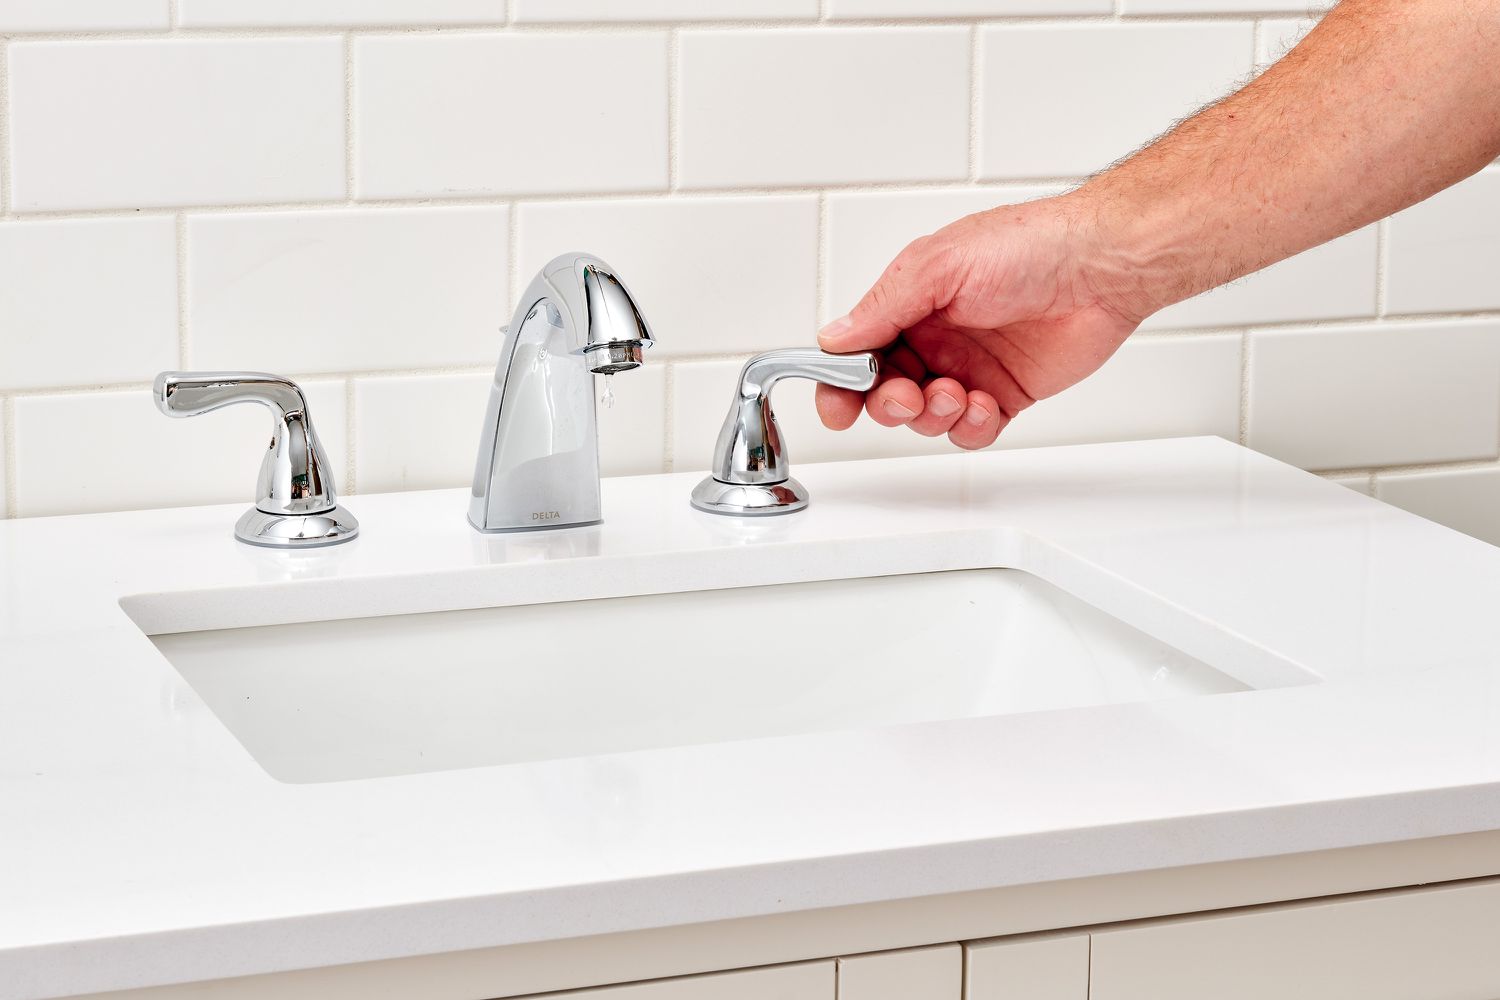
- Place the handles: Take the handles and carefully position them back onto the faucet base. Make sure they are aligned properly and fit snugly.
- Screw on the handles: Use the screwdriver to reinsert and tighten the screws that secure the handles in place. Ensure that the handles are securely fastened but be careful not to overtighten, as this can cause damage.
- Attach any decorative accents: If your Delta kitchen faucet has decorative accents, such as caps or emblems, reattach them to the handles or base as per their original positions. This will give your faucet a finished look.
Take your time during the reassembly process to ensure that each part is correctly positioned and secured. This will help prevent any leaks or issues once the water supply is turned back on. Now that the faucet is reassembled, let’s move on to the final step: turning on the water supply.
Step 6: Turn on the Water Supply
After successfully reassembling your Delta kitchen faucet, it’s time to turn the water supply back on. Follow these steps to resume water flow:
- Locate the shut-off valves: Refer back to step 1 to locate the shut-off valves beneath your sink.
- Turn on the valves: Use an adjustable wrench or pliers to turn the shut-off valves counterclockwise, gradually allowing the water to flow back into the faucet.
- Check for leaks: As you turn on the valves, keep an eye out for any leaks or drips around the faucet or its connections. If you notice any leaks, tighten the affected parts or consult a professional for assistance.
- Test the faucet: Once the water supply is turned back on, turn on the faucet and let the water run for a few minutes. Check for any irregular water flow, splashing, or strange noises. If everything appears to be working properly, you have successfully cleaned and reassembled your Delta kitchen faucet!
By turning on the water supply and testing the faucet, you are ensuring that the cleaning and reassembly process was successful. Any residual cleaning solution or debris should be flushed out, leaving you with a clean and functioning faucet.
Congratulations! You have completed the process of cleaning your Delta kitchen faucet. By regularly following these steps, you can sustain the performance and appearance of your faucet for years to come. Remember to consult your user manual or Delta’s website for any additional model-specific maintenance or cleaning recommendations.
Thank you for reading this guide, and happy cleaning!
Conclusion
Cleaning your Delta kitchen faucet is an essential task that helps maintain its functionality and appearance. By following the step-by-step process outlined in this guide, you can easily clean and restore your faucet to its optimal condition.
Throughout the cleaning process, remember to gather the necessary tools and materials, shut off the water supply, disassemble the faucet, clean the individual parts, scrub the aerator, reassemble the faucet, and finally, turn on the water supply. Taking these steps ensures a thorough cleaning that eliminates mineral deposits, dirt, and debris.
Regular cleaning of your Delta kitchen faucet not only improves water flow but also enhances the overall aesthetic of your kitchen. Additionally, consistent maintenance helps prevent issues such as leaks and sediment buildup, prolonging the lifespan of your faucet.
Remember to consult your specific Delta kitchen faucet model’s user manual for any manufacturer-specific instructions or recommendations. Not all models are the same, and it’s important to follow the guidelines provided by the manufacturer.
By dedicating a small amount of time to cleaning and maintaining your Delta kitchen faucet, you can enjoy a clean, functional, and visually pleasing faucet for years to come. So, roll up your sleeves, gather your tools, and give your Delta kitchen faucet the care it deserves!
Frequently Asked Questions about How To Clean Delta Kitchen Faucet
Was this page helpful?
At Storables.com, we guarantee accurate and reliable information. Our content, validated by Expert Board Contributors, is crafted following stringent Editorial Policies. We're committed to providing you with well-researched, expert-backed insights for all your informational needs.


0 thoughts on “How To Clean Delta Kitchen Faucet”