Articles
How To Fix Sink Sprayer
Modified: August 24, 2024
Learn how to fix a sink sprayer with these helpful articles. Find step-by-step guides and expert tips to solve your sink sprayer issues.
(Many of the links in this article redirect to a specific reviewed product. Your purchase of these products through affiliate links helps to generate commission for Storables.com, at no extra cost. Learn more)
Introduction
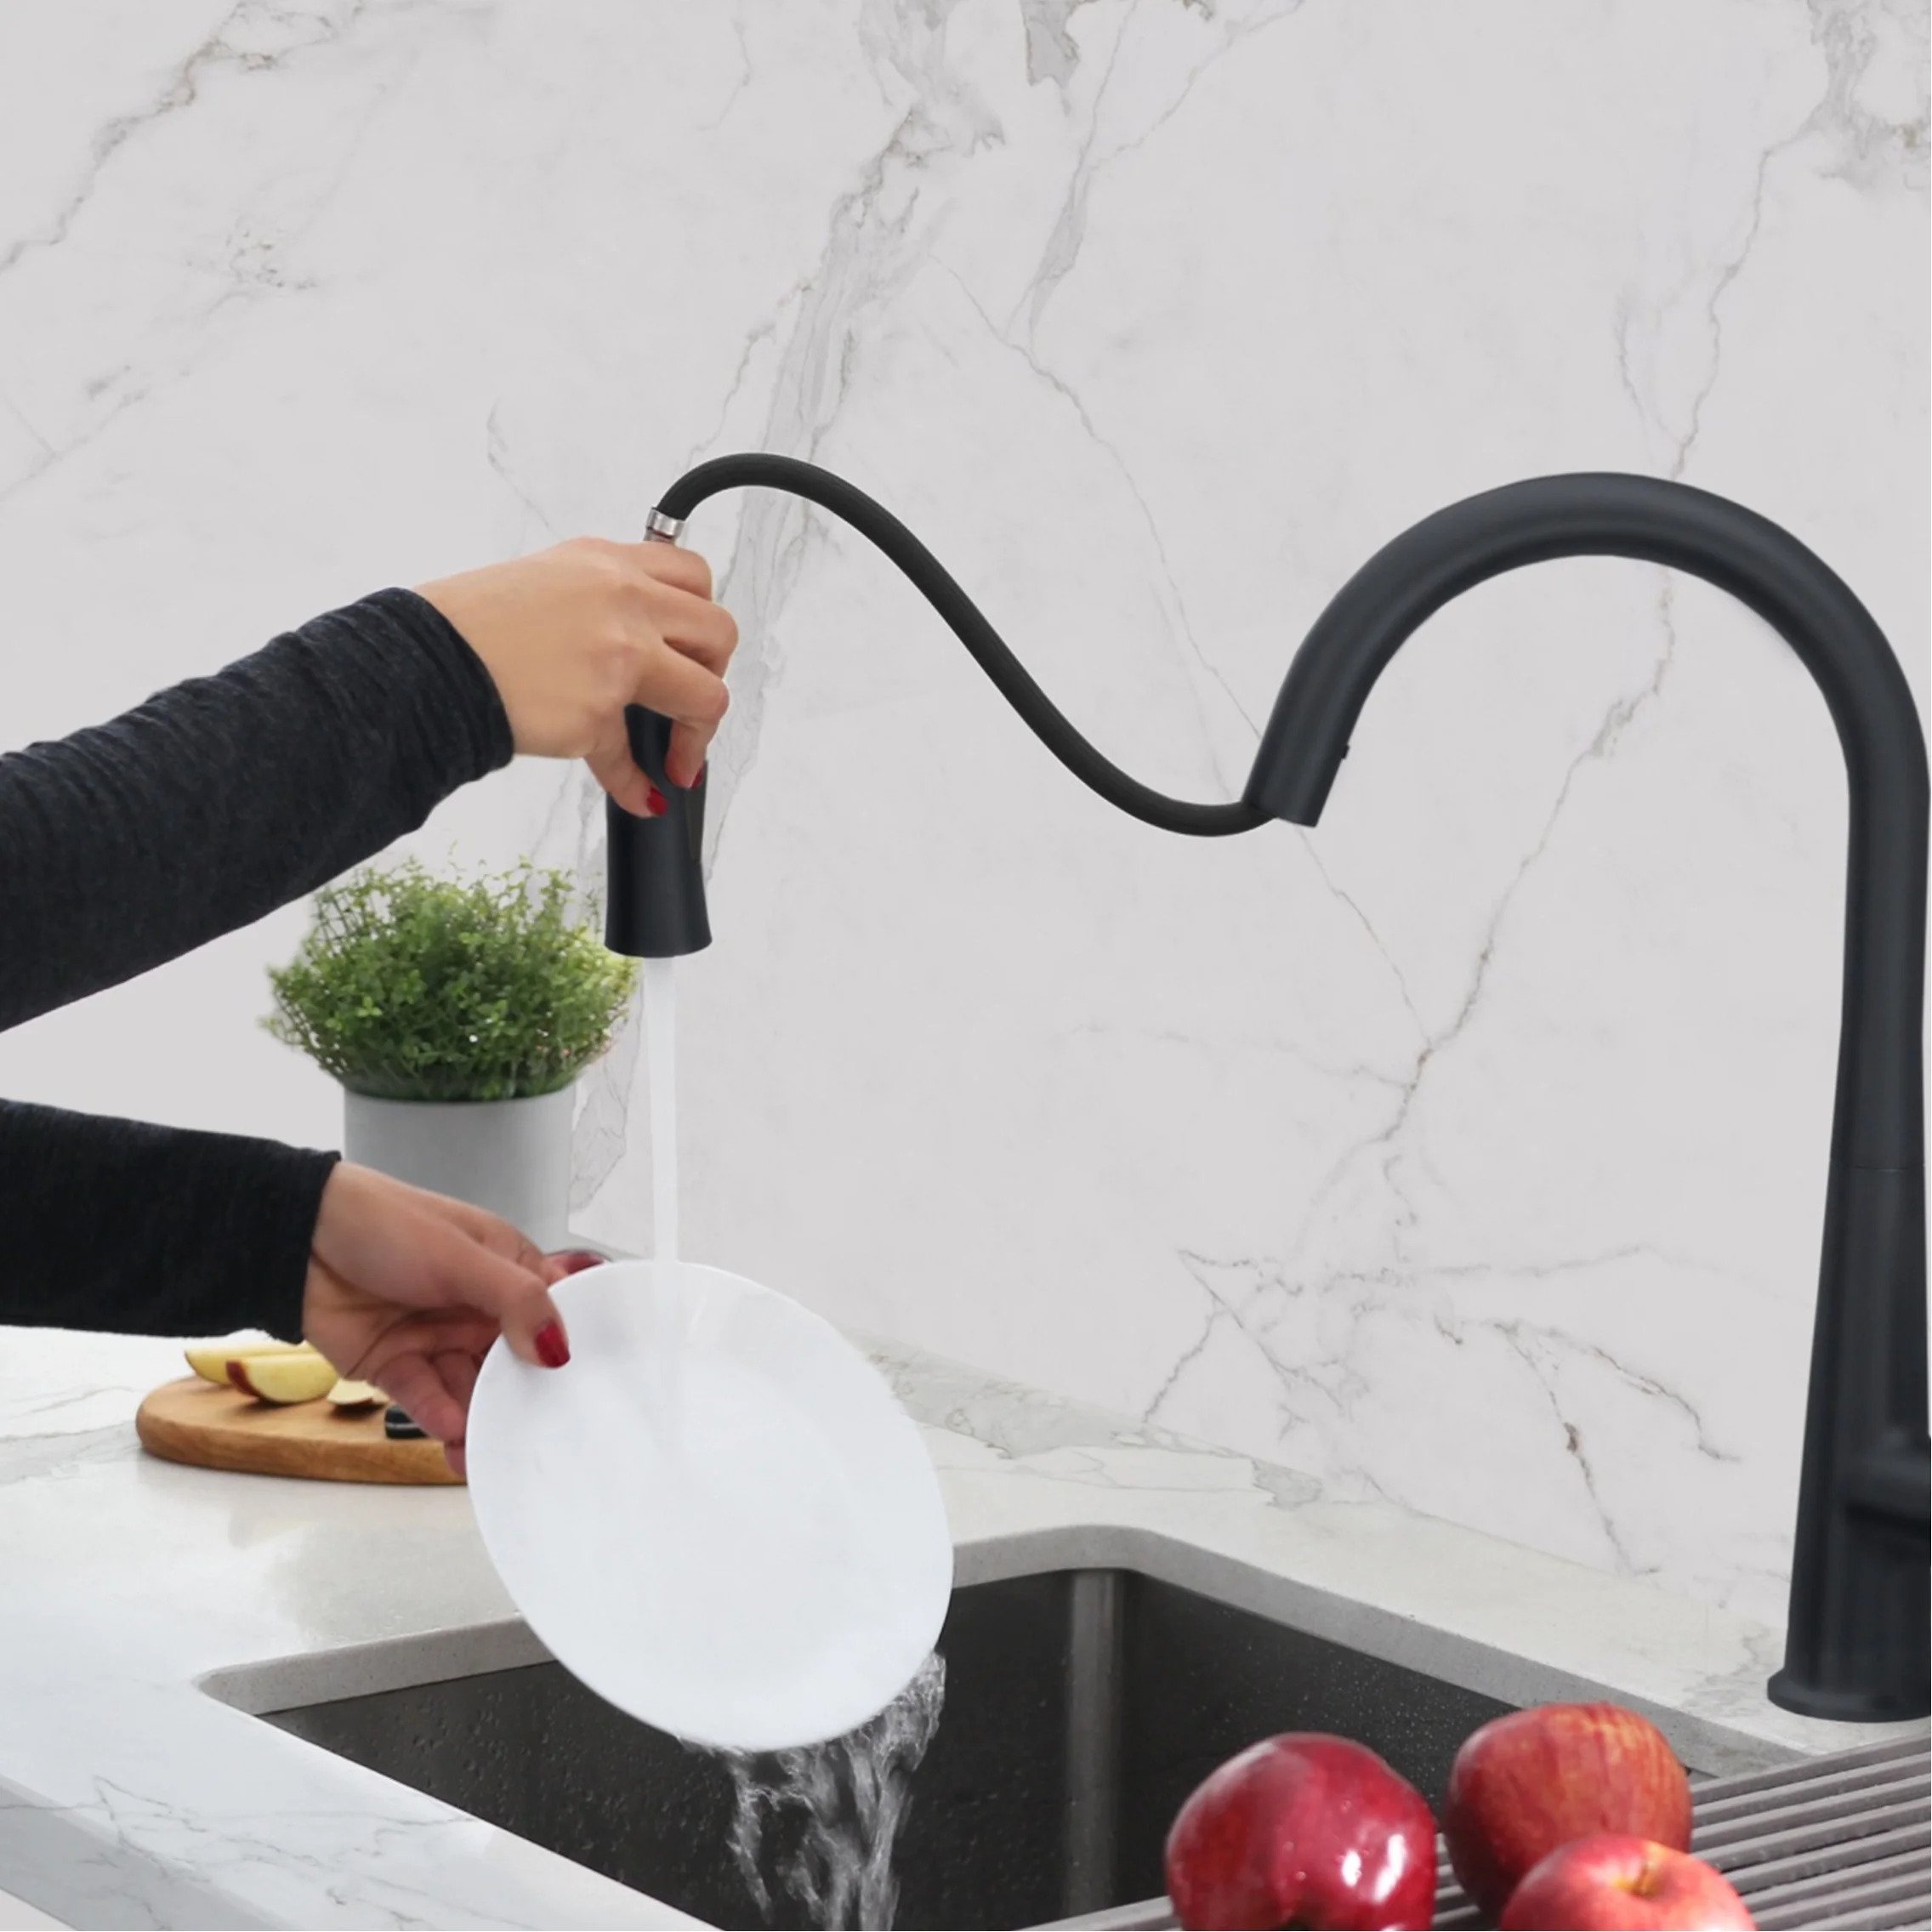
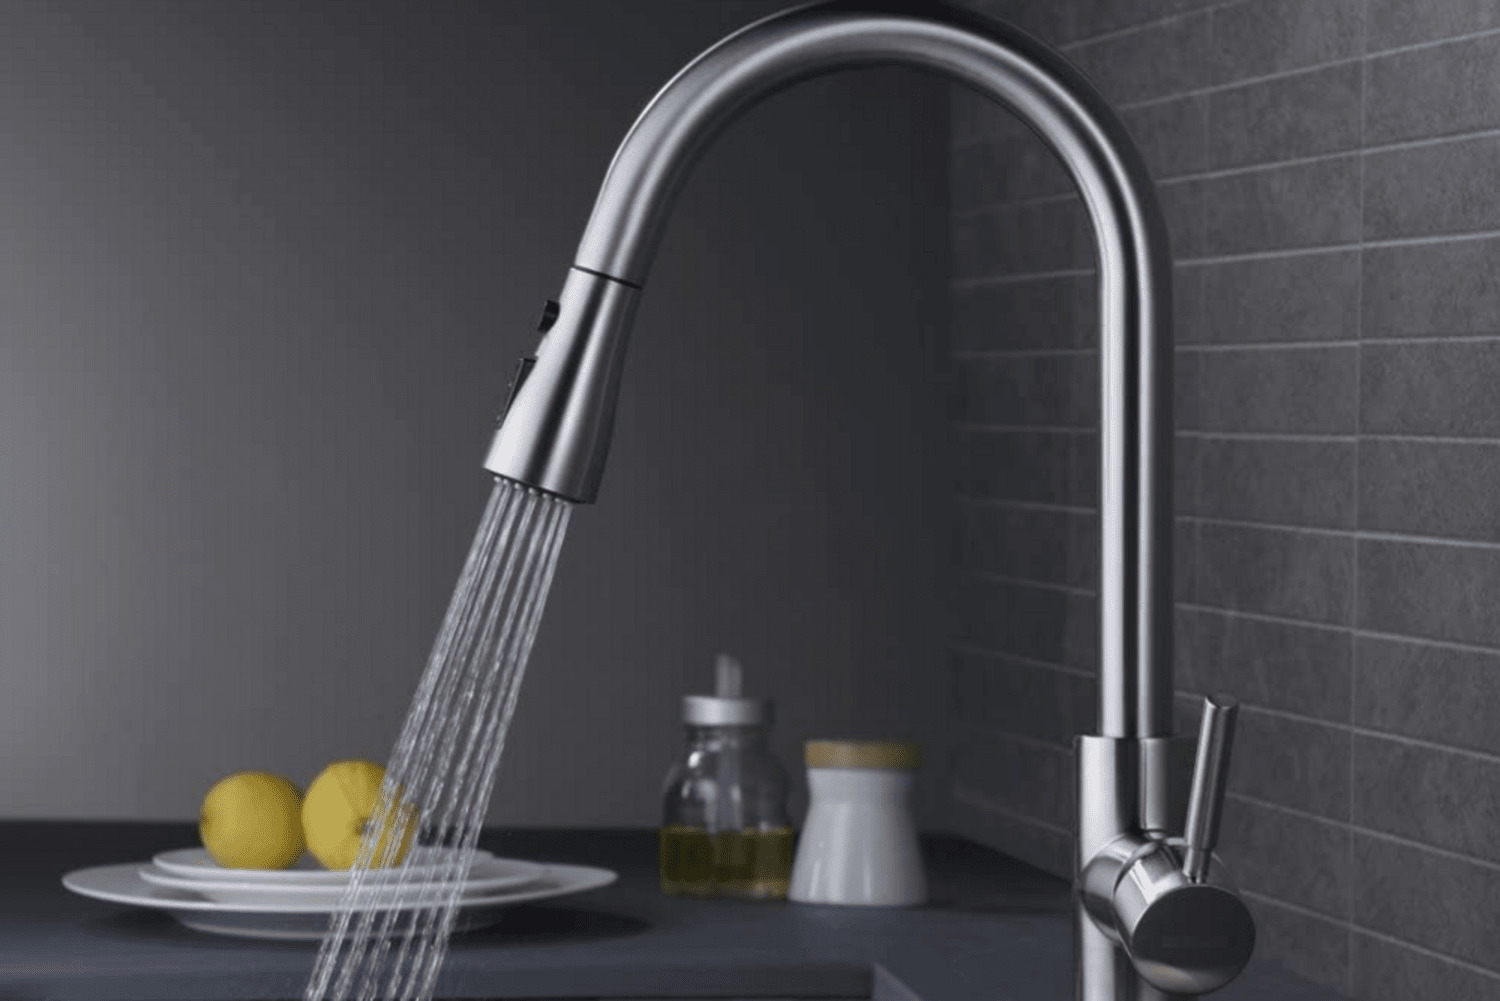
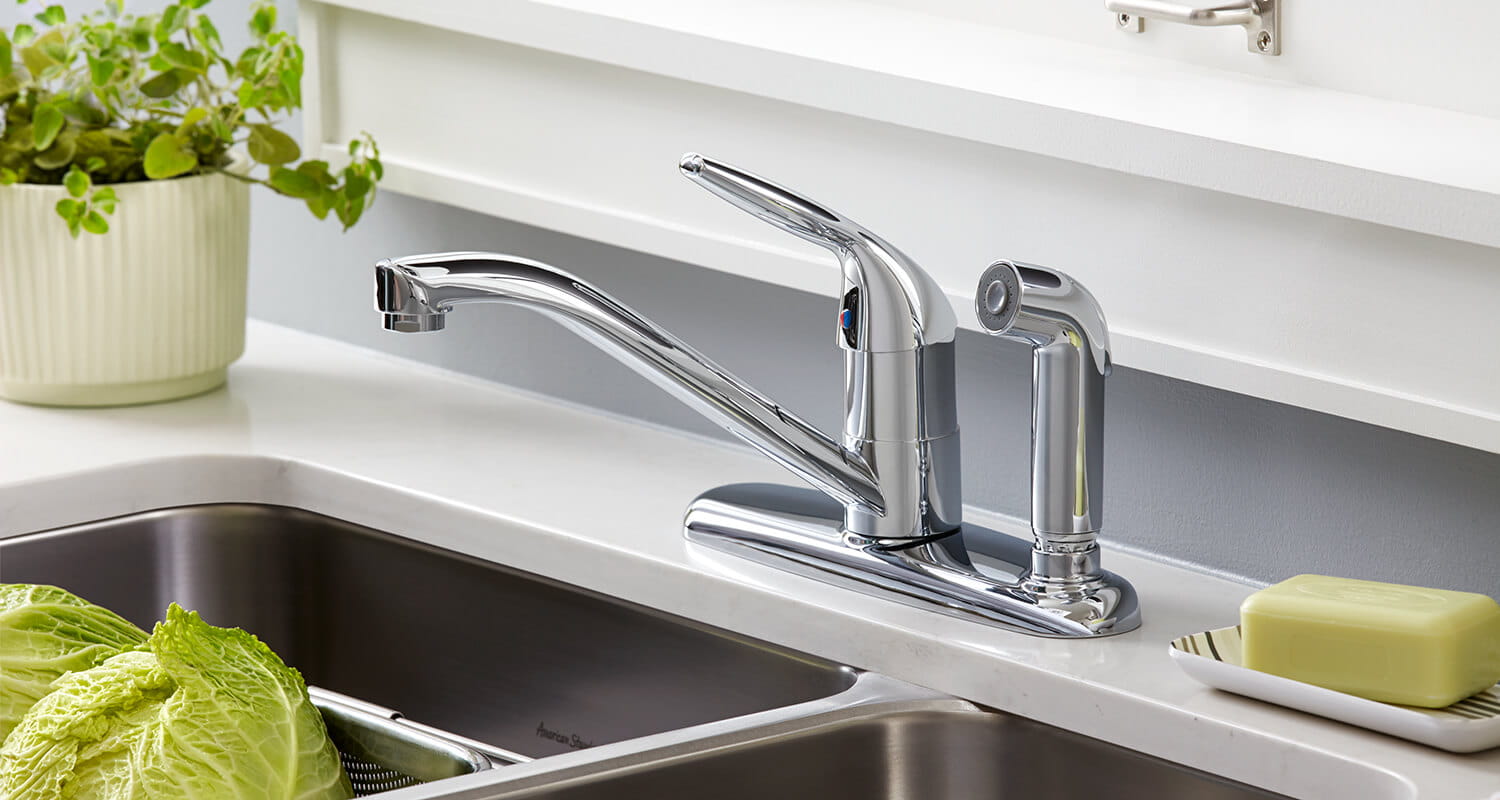
A sink sprayer is a convenient and practical tool that allows you to clean dishes, wash vegetables, and rinse your sink with ease. However, like any other plumbing fixture, sink sprayers can encounter issues over time. Whether it’s a clogged nozzle, a leaky hose, or a malfunctioning sprayer head, these problems can disrupt your daily routine in the kitchen.
Calling a plumber to fix a sink sprayer issue can be costly, but the good news is that many common problems can be easily resolved by following a few simple steps. In this article, we will guide you through the process of fixing a sink sprayer yourself, saving you time and money.
Before we begin, it’s important to note that safety should always be a priority when working with plumbing fixtures. Make sure to turn off the water supply before starting any repairs and take necessary precautions to avoid burns or injuries.
In the following sections, we will outline the tools and materials you will need, as well as the step-by-step process for fixing your sink sprayer.
Key Takeaways:
- Easily fix common sink sprayer issues at home using simple steps and save money on plumbing expenses. Prioritize safety and follow the guide to troubleshoot and resolve problems with your sink sprayer.
- Regular maintenance and proactive measures can prolong the lifespan of your sink sprayer. Take the satisfaction of troubleshooting and repairing common plumbing problems while ensuring optimal performance in the long run.
Read more: How To Replace Sink Sprayer
Tools and Materials Needed
Before you begin fixing your sink sprayer, gather the following tools and materials:
- Adjustable wrench
- Bucket
- Replacement sprayer nozzle (if necessary)
- Needle or small brush
- Plumber’s tape
- Replacement sink sprayer hose (if necessary)
- Towel or rag
Having these tools and materials ready will help make the repair process smoother and more efficient.
Now that we have all the necessary tools and materials, let’s move on to the step-by-step process of fixing your sink sprayer.
Step 1: Turn off the Water Supply
The first step in fixing your sink sprayer is to turn off the water supply to your sink. This is crucial to prevent any water leakage or accidental spraying while working on the sprayer.
Locate the shut-off valves under the sink. There should be two valves; one for hot water and one for cold water. Turn both valves clockwise to close them and stop the water flow.
If your sink does not have shut-off valves, you may need to turn off the main water supply to your home. This can typically be done by locating the main shut-off valve, often found near the water meter or in the basement.
Once the water supply is turned off, test the sink faucet to ensure that no water is coming out. This confirms that the water supply to the sink is successfully shut off.
Now that we have taken the necessary precautions, we can move on to the next step of fixing the sink sprayer.
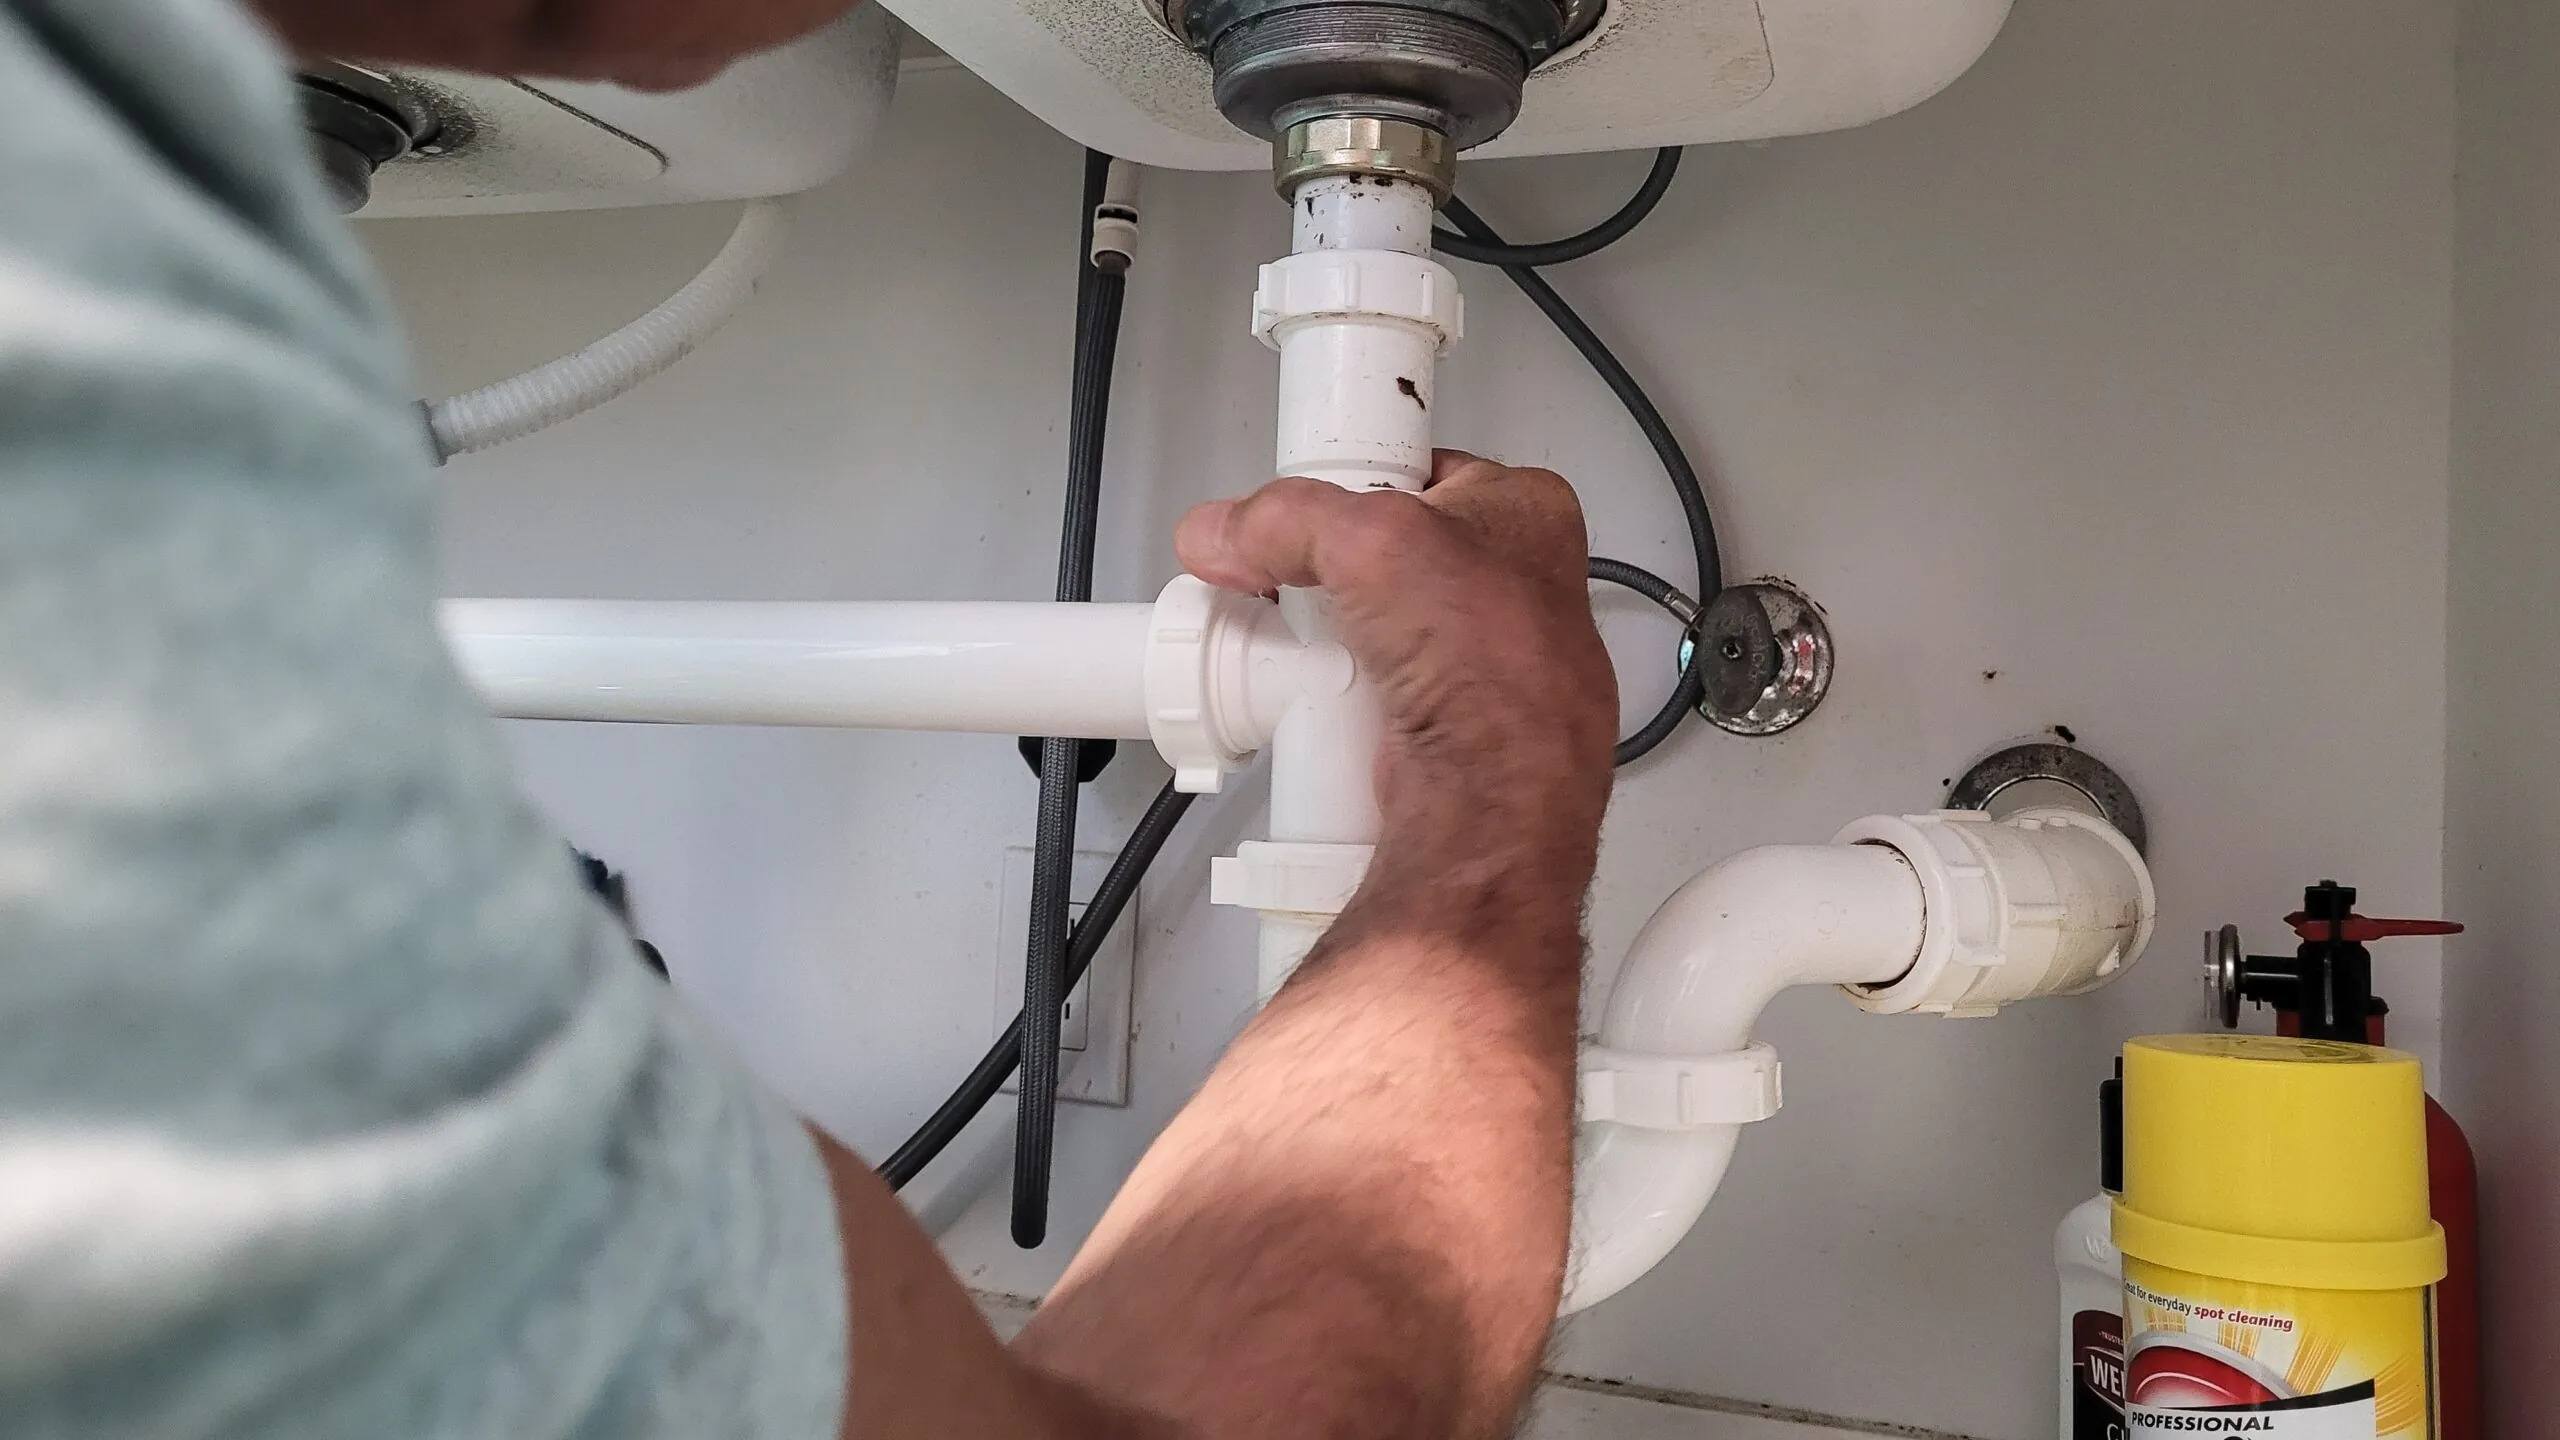
Step 2: Detach the Sink Sprayer Hose
In order to fix the sink sprayer, you will need to detach the sprayer hose from the water supply.
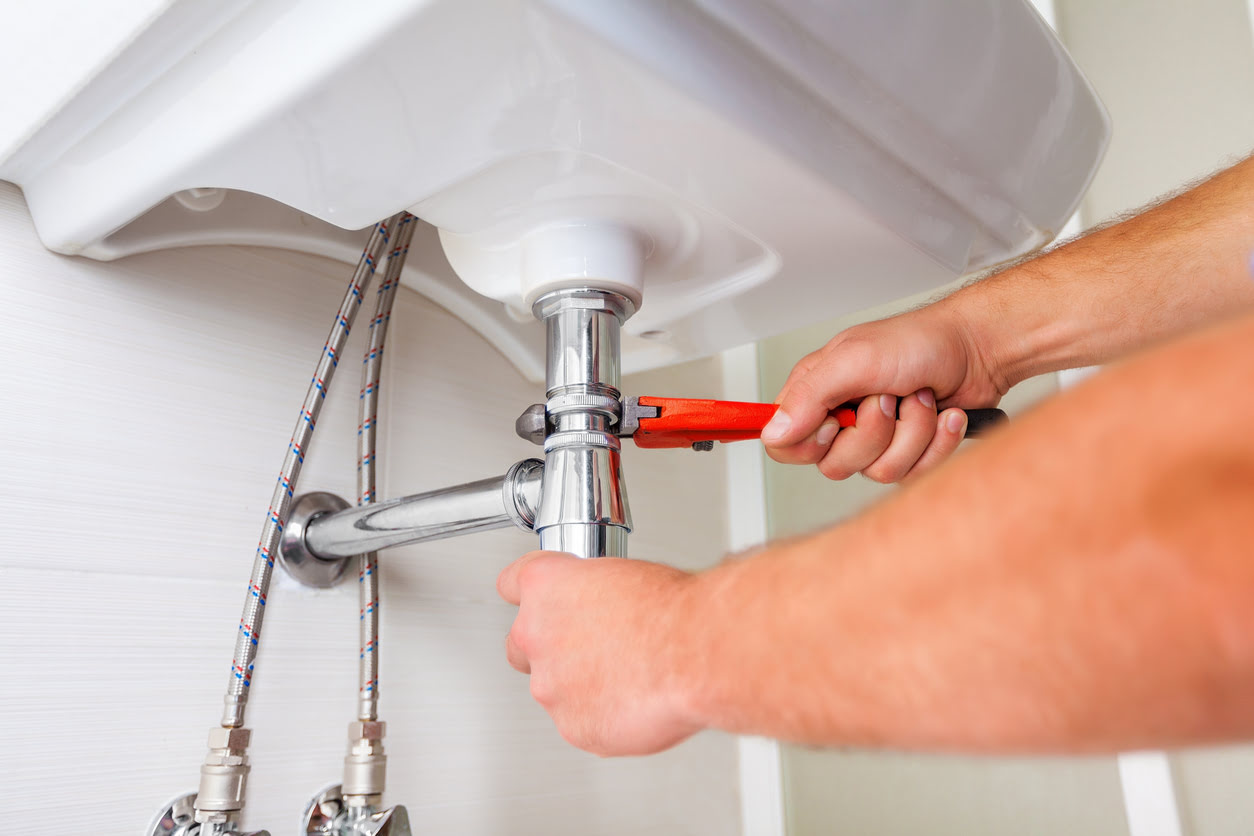
Locate the connection point between the sprayer hose and the water supply under the sink. This is typically near the base of the faucet or on the side of the sink.
Using an adjustable wrench, loosen the nut that secures the sprayer hose to the water supply. Turn the nut counterclockwise until it is loose enough to detach the hose.
Once the nut is loose, carefully pull the sprayer hose away from the water supply. Be cautious of any residual water in the hose and use a bucket or towel to catch any drips.
With the sprayer hose detached, inspect it for any signs of damage or leaks. If you notice any cracks or leaks in the hose, it may need to be replaced. If the hose appears to be in good condition, you can proceed to the next step.
Set the sprayer hose aside for now and move on to the next step of fixing the sink sprayer.
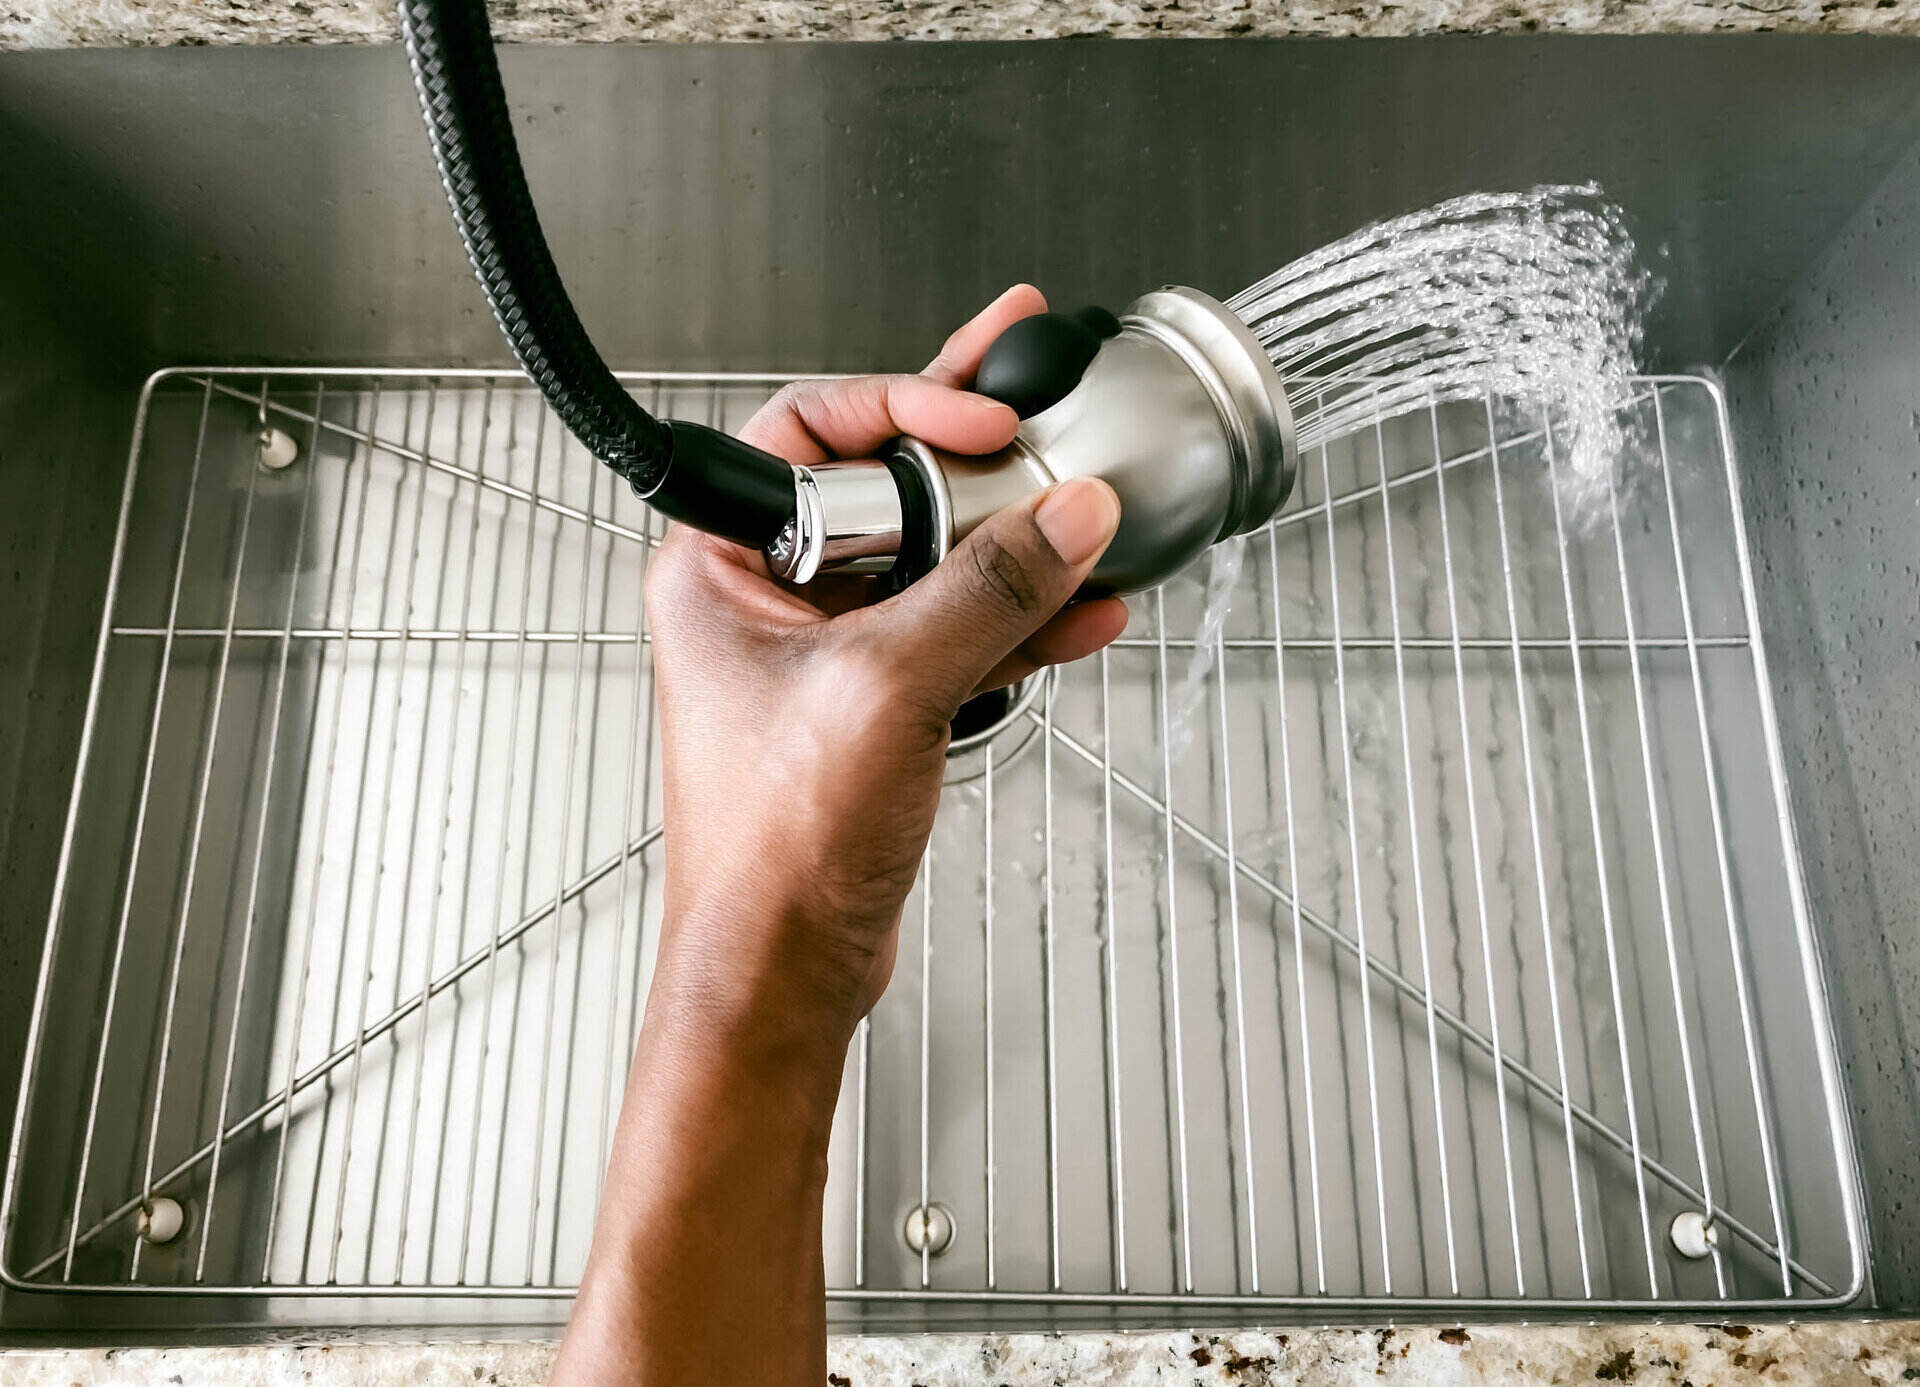
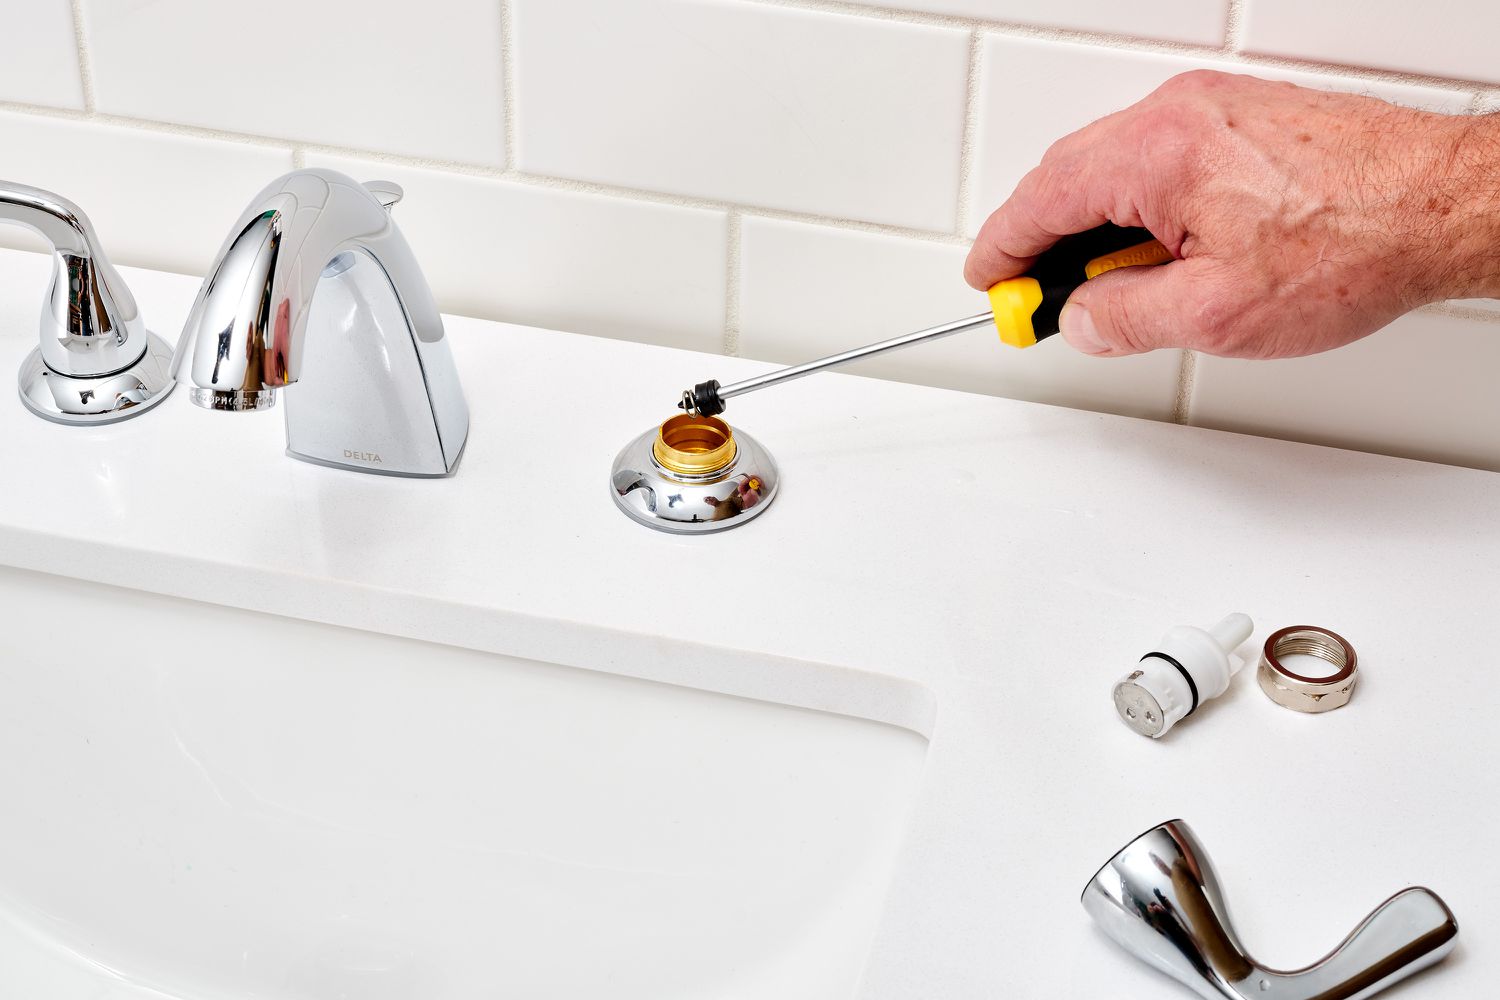
Step 3: Inspect the Sprayer Nozzle
Now that the sink sprayer hose has been detached, it’s time to inspect the sprayer nozzle. The sprayer nozzle is the part of the sink sprayer that emits the water in a spray pattern.
Examine the sprayer nozzle for any clogs or debris that may be causing the issue. Over time, mineral deposits and debris can accumulate, obstructing the flow of water and affecting the sprayer’s performance.
If you notice any buildup or blockages in the sprayer nozzle, there are a couple of methods you can try to remove them:
- Cleaning with a Needle: Gently insert a needle into the small holes of the sprayer nozzle and move it around to dislodge any clogs or debris. Be careful not to damage the nozzle or enlarge the holes.
- Using a Small Brush: Alternatively, you can use a small brush, such as a toothbrush or bottle brush, to scrub the nozzle and remove any buildup. Make sure to thoroughly clean both the inside and outside of the nozzle.
After cleaning the sprayer nozzle, run water through it to check if the flow has improved. If the issue persists, it may be necessary to replace the sprayer nozzle altogether.
In the following step, we will discuss how to clean or replace the sprayer nozzle, depending on the condition of the nozzle.
Check the sprayer hose for any kinks or blockages. If the hose is clear, the issue may be with the diverter valve. Remove and clean or replace the valve to fix the problem.
Read more: How To Fix Bidet Sprayer
Step 4: Clean or Replace the Sprayer Nozzle
After inspecting the sprayer nozzle and identifying any clogs or debris, it’s time to clean or replace the nozzle, depending on its condition.
If the sprayer nozzle has minor buildup or blockages, cleaning it should be sufficient to restore proper water flow. To clean the nozzle:
- Soak the sprayer nozzle in a mixture of warm water and mild dish soap for a few minutes to loosen any stubborn dirt or debris.
- Using a toothbrush or small brush, gently scrub the nozzle to remove any remaining buildup.
- Rinse the nozzle thoroughly with water to remove any soap residue.
Once clean, reinstall the sprayer nozzle onto the sprayer hose. Make sure it is securely tightened to prevent any leaks.
If, however, the sprayer nozzle is damaged or heavily clogged and cannot be cleaned effectively, it will need to be replaced. To replace the sprayer nozzle:
- Purchase a replacement sprayer nozzle suitable for your sink sprayer model.
- Detach the old nozzle from the sprayer hose by twisting it counterclockwise.
- Attach the new sprayer nozzle to the sprayer hose by twisting it clockwise until it is securely tightened.
Ensure that the replacement nozzle is compatible with your sink sprayer and that it is firmly attached to prevent any leaks.
With the sprayer nozzle cleaned or replaced, we can now move on to the next step of fixing the sink sprayer.
Step 5: Reattach the Sink Sprayer Hose
Now that the sprayer nozzle has been cleaned or replaced, it’s time to reattach the sink sprayer hose to the water supply.
Take the sprayer hose and carefully insert the end back into the opening of the water supply under the sink. Make sure it is aligned properly to ensure a secure connection.
Once the hose is properly inserted, use an adjustable wrench to tighten the nut that secures the sprayer hose to the water supply. Turn the nut clockwise until it is securely tightened, but be careful not to overtighten as it may damage the threads.
After tightening the nut, give the sprayer hose a gentle tug to ensure that it is securely attached to the water supply. It should not move or be loose.
With the hose reattached, inspect the connection for any signs of leaks. If you notice any leaks, try tightening the nut further or use plumber’s tape to create a tighter seal. If the leaks persist, you may need to replace the sprayer hose.
Now that the sink sprayer hose is successfully reattached, we can move on to the final step of fixing the sink sprayer.
Step 6: Turn on the Water Supply
After completing the necessary repairs and reattaching the sink sprayer hose, it’s time to turn on the water supply and test the functionality of the sprayer.
Locate the shut-off valves under the sink that were previously closed. Slowly turn the valves counterclockwise to reopen them and allow water to flow into the sink.
Once the water supply is turned on, check for any leaks around the sprayer nozzle and the connection point of the hose. If you notice any leaks, turn off the water supply immediately and reinspect the connections, tightening them if necessary.
With the water flowing, test the functioning of the sink sprayer by pressing the sprayer handle. The water should flow smoothly through the nozzle, providing a consistent spray pattern.
If the sprayer is working properly without any leaks or issues, congratulations! You have successfully fixed your sink sprayer.
However, if you encounter any problems such as low water pressure or a malfunctioning sprayer, you may need to further inspect the sprayer hose or seek the assistance of a professional plumber.
Remember to always keep an eye on your sink sprayer for any signs of future issues, and take prompt action to address them to prevent further damage.
Now that you have completed the final step, enjoy the convenience of a fully functioning sink sprayer in your kitchen!
Conclusion
Fixing a sink sprayer can seem like a daunting task, but with the right tools and knowledge, you can tackle it yourself and save money on plumbing expenses. By following the step-by-step guide outlined in this article, you can successfully troubleshoot and resolve common issues with your sink sprayer.
Remember to approach the repair process with caution and prioritize your safety. Always turn off the water supply before starting any repairs, and take necessary precautions to avoid burns or injuries.
Inspecting and cleaning the sprayer nozzle is often the key to restoring proper water flow. Remove any clogs or debris using a needle or small brush, or replace the nozzle if necessary. Additionally, reattaching the sink sprayer hose securely and checking for leaks is crucial for optimal functionality.
Once you have completed the necessary repairs and turned on the water supply, test the sink sprayer to ensure it’s working smoothly without any leaks or issues.
By taking the time to fix your sink sprayer yourself, you not only save money but also gain the satisfaction of being able to troubleshoot and repair common plumbing problems. However, it’s important to note that more complex issues or recurring problems may require the expertise of a professional plumber.
Remember to regularly maintain and inspect your sink sprayer to prevent future issues. Clean the sprayer nozzle periodically and keep an eye out for any signs of leaks or malfunctions. Taking proactive measures can help prolong the lifespan of your sink sprayer and ensure its optimal performance in the long run.
We hope this article has provided you with the guidance and information you need to fix your sink sprayer successfully. With the right tools, a little bit of patience, and the knowledge gained from this article, you’ll be able to enjoy the convenience and functionality of your sink sprayer for years to come.
Frequently Asked Questions about How To Fix Sink Sprayer
Was this page helpful?
At Storables.com, we guarantee accurate and reliable information. Our content, validated by Expert Board Contributors, is crafted following stringent Editorial Policies. We're committed to providing you with well-researched, expert-backed insights for all your informational needs.


0 thoughts on “How To Fix Sink Sprayer”