
Articles
How To Fix A Loose Toilet Paper Holder
Modified: March 1, 2024
Learn how to fix a loose toilet paper holder with our step-by-step articles. Ensure a secure and functional bathroom accessory.
(Many of the links in this article redirect to a specific reviewed product. Your purchase of these products through affiliate links helps to generate commission for Storables.com, at no extra cost. Learn more)
Introduction
Having a loose toilet paper holder can be frustrating. Not only does it make it difficult to use the holder, but it can also lead to other issues such as the holder falling off the wall or the toilet paper roll constantly unraveling. Fortunately, fixing a loose toilet paper holder is a relatively simple DIY task that you can tackle with just a few tools and materials.
In this article, we will guide you through the step-by-step process of tightening a loose toilet paper holder. Whether you have a wall-mounted holder or one with a mounting plate, we will cover the necessary steps to ensure a secure and stable installation. So, grab your tools and let’s get started!
Key Takeaways:
- Easily fix a loose toilet paper holder by removing, tightening, and reattaching it with simple tools and materials. Enjoy a secure and functional bathroom accessory with DIY pride!
- Ensure a stable and secure toilet paper holder by testing its stability and making necessary adjustments. Say goodbye to wobbly holders and unraveled toilet paper rolls!
Read more: How To Fix My Toilet Paper Holder
Tools and Materials Needed
Before you begin fixing a loose toilet paper holder, gather the necessary tools and materials to ensure a smooth and efficient repair. Here’s what you’ll need:
- Phillips screwdriver
- Flathead screwdriver
- Adjustable wrench
- All-purpose cleaner
- Clean cloth
- New screws (if necessary)
- Wall anchors (if necessary)
- Mounting adhesive (optional)
Make sure to have all these tools and materials ready before you start the repair process. Additionally, it is a good idea to wear safety gloves and protective eyewear to prevent any injuries during the repair.
Step 1: Removing the Holder
The first step in fixing a loose toilet paper holder is to remove it from the wall. This will allow you to access the screws or mounting plate that need to be tightened or replaced. Follow these steps:
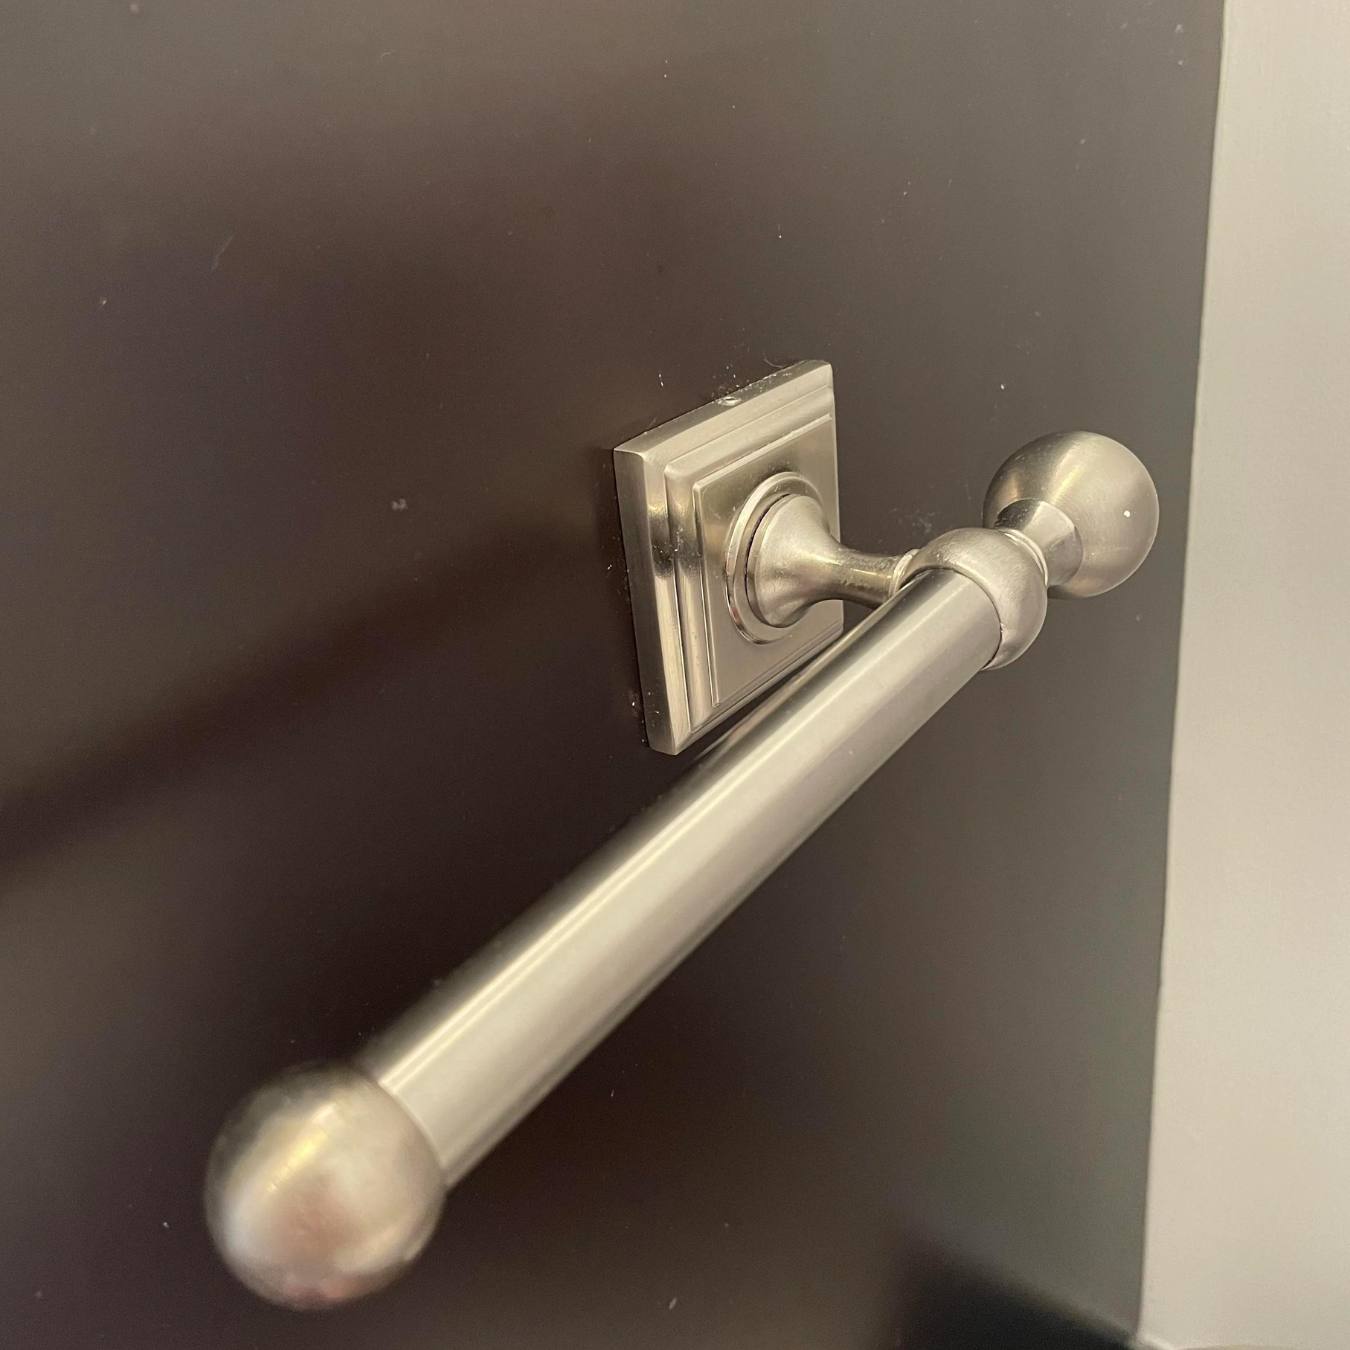
- Assess the type of toilet paper holder you have. Some holders are attached directly to the wall with screws, while others have a mounting plate that covers the screws.
- If your holder has a mounting plate, use a flathead screwdriver or your fingers to gently pry it off the wall. Be careful not to damage the wall surface.
- If your holder is screwed directly into the wall, locate the screws on the underside or side of the holder.
- Using a Phillips screwdriver, unscrew the screws counterclockwise until the holder is loose enough to remove from the wall.
- Once the screws are removed, gently pull the holder away from the wall. If it is stuck or difficult to remove, try wiggling it back and forth to loosen it.
If the screws are stripped or damaged, you may need to use pliers or an adjustable wrench to remove them. Take your time and be gentle to avoid causing any further damage.
With the holder removed, you can now proceed to the next step of tightening the screws or mounting plate.
Step 2: Tightening Screws or Mounting Plate
Once you have removed the loose toilet paper holder, it’s time to tighten the screws or adjust the mounting plate. Follow these steps:
- If the holder is attached with screws, inspect them for any damage or wear. If the screws are in good condition, move on to the next step. If they are stripped or damaged, you will need to replace them with new screws.
- Using a Phillips screwdriver, clockwise rotate the screws to tighten them. Start by turning the screw slightly to see if it catches and holds the holder securely. If not, continue turning until the holder is snug against the wall.
- If the holder has a mounting plate, check if it is securely fastened to the wall. If it is loose, use a screwdriver to tighten the screws holding the plate in place. If the screws are stripped or damaged, remove them and replace them with new ones.
- If tightening the screws or mounting plate doesn’t provide a secure hold, you may need to use wall anchors. Wall anchors provide additional support by securing the screws in the wall. Follow the manufacturer’s instructions to install the wall anchors, and then reattach the holder.
During this step, it is important not to overtighten the screws or mounting plate, as it may damage the holder or the wall. Use steady, controlled force to ensure a secure but not overly tight fit.
Once you’ve tightened the screws or mounting plate, you’re ready to reattach the toilet paper holder in the next step.
Use a screwdriver to tighten the screws on the toilet paper holder. If the screws are stripped, replace them with larger ones or use wall anchors for a secure hold.
Step 3: Reattaching the Holder
With the screws tightened or the mounting plate adjusted, it’s time to reattach the toilet paper holder to the wall. Follow these steps:
- Hold the holder in position against the wall, aligning the screw holes or mounting plate with the appropriate slots.
- If the holder has a mounting plate, secure it in place by inserting the screws through the slots and tightening them with a screwdriver.
- If the holder is attached with screws, insert them through the screw holes and start tightening them with a Phillips screwdriver. Ensure that they are going into the wall anchors or, if there are no wall anchors, directly into the wall.
- Tighten the screws gradually, alternating between them to ensure an even and secure attachment.
- Continue tightening the screws until the holder is firmly in place against the wall.
If you are using wall anchors, make sure they are fully inserted into the wall and provide a stable foundation for the screws.
Once the toilet paper holder is reattached, give it a gentle tug to ensure that it is securely in place. If it feels loose or wobbly, you may need to revisit the previous steps and further tighten the screws or adjust the mounting plate as necessary.
Now that the holder is securely reattached, let’s move on to the final step of testing and adjusting.
Read more: How To Screw On Toilet Paper Holder
Step 4: Testing and Adjusting
After reattaching the toilet paper holder, it’s essential to test its stability and make any necessary adjustments. Follow these steps:
- Gently pull on the holder to test its stability. It should remain firmly in place without any wobbling or movement.
- If the holder feels loose or wobbly, repeat the tightening process by removing the holder and inspecting the screws or mounting plate. Ensure they are securely fastened and tighten them further if needed.
- If the holder is wobbly due to the wall surface being uneven or damaged, consider using mounting adhesive. Apply a small amount of adhesive to the back of the holder or the mounting plate and press it firmly against the wall. Follow the adhesive manufacturer’s instructions for proper application and drying time.
- Once the holder feels secure and stable, load it with a toilet paper roll and test its functionality. Ensure that the roll spins smoothly and doesn’t unravel excessively.
- If any adjustments are required, repeat the previous steps as necessary until you achieve a secure and functional installation.
Remember to check the holder periodically for any signs of loosening in the future. If you notice any issues, promptly address them to prevent further damage or inconvenience.
By following these steps, you can easily fix a loose toilet paper holder and restore functionality to your bathroom. Congratulations on completing the repair!
Conclusion
A loose toilet paper holder can be an annoyance, but with a few simple steps, you can easily fix and secure it back to the wall. By removing the holder, tightening the screws or adjusting the mounting plate, reattaching the holder, and testing its stability, you can restore functionality and prevent further issues.
Remember to gather the necessary tools and materials before starting the repair, and always prioritize safety by wearing protective gear. Take your time during each step to ensure a proper and secure installation.
With a newly tightened toilet paper holder, you can enjoy a more convenient and enjoyable bathroom experience. No more fumbling with a loose holder or dealing with unraveled toilet paper rolls. Take pride in your DIY skills and the accomplishment of completing a simple yet impactful fix.
If you encounter any difficulties during the process or the holder continues to be loose after attempting the repair, it may be worth consulting a professional for assistance. They can provide expert advice and ensure a long-lasting and secure installation.
Now that you have the knowledge and skills to fix a loose toilet paper holder, go ahead and tackle this simple DIY project. Your bathroom will thank you!
Frequently Asked Questions about How To Fix A Loose Toilet Paper Holder
Was this page helpful?
At Storables.com, we guarantee accurate and reliable information. Our content, validated by Expert Board Contributors, is crafted following stringent Editorial Policies. We're committed to providing you with well-researched, expert-backed insights for all your informational needs.

0 thoughts on “How To Fix A Loose Toilet Paper Holder”