Home>Articles>How To Fix One Arm Toilet Paper Holder Without Screws
Articles
How To Fix One Arm Toilet Paper Holder Without Screws
Modified: August 28, 2024
Learn how to fix a one-arm toilet paper holder without screws with our informative Articles. Discover simple solutions for a hassle-free bathroom experience.
(Many of the links in this article redirect to a specific reviewed product. Your purchase of these products through affiliate links helps to generate commission for Storables.com, at no extra cost. Learn more)
Introduction
Welcome to the world of DIY fixes! Have you ever encountered a loose or broken one-arm toilet paper holder and wondered how to fix it without screws? Well, you’ve come to the right place. In this article, we will explore various methods that can help you solve this problem easily and efficiently.
Whether you’re dealing with a rental property where you can’t install anything permanent or you simply don’t have the necessary tools, these methods will come in handy. By utilizing adhesive strips, double-sided tape, command hooks, or even installing a wall-mounted toilet paper holder, you can secure your one-arm toilet paper holder in no time.
So, let’s dive into the different methods and find the perfect solution for you!
Key Takeaways:
- Easily fix a loose or broken one-arm toilet paper holder without screws using adhesive strips, double-sided tape, command hooks, or a wall-mounted holder. Enjoy a well-organized and functional bathroom with these simple DIY solutions.
- Whether you need a temporary or permanent fix, there are versatile methods to secure your one-arm toilet paper holder. From non-permanent options like adhesive strips and command hooks to a more permanent wall-mounted fixture, you can choose the best solution for your needs.
Read more: How To Screw On Toilet Paper Holder
Method 1: Using Adhesive Strips
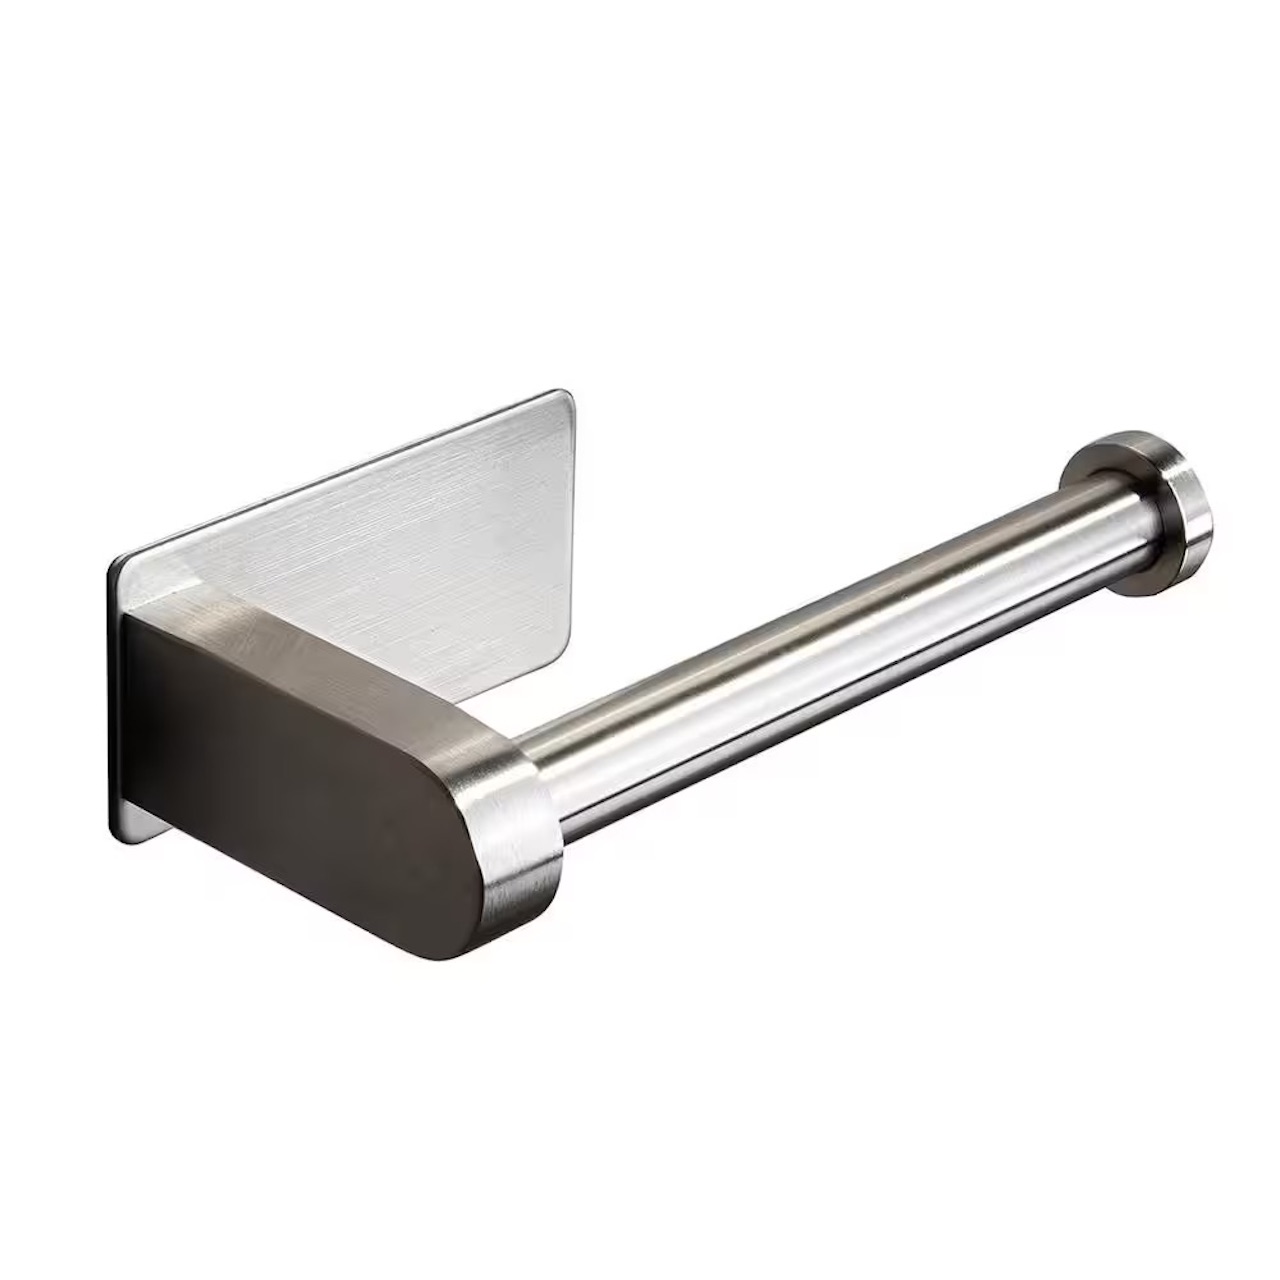
Using adhesive strips is a simple and effective way to fix a one-arm toilet paper holder without screws. Adhesive strips are strong yet removable, making them an ideal option for temporary fixes or situations where drilling holes is not an option.
Here’s how you can use adhesive strips to secure your one-arm toilet paper holder:
- Start by cleaning the surface of the wall and the backside of the toilet paper holder. Removing any dirt or residue will ensure a strong bond.
- Measure the desired placement for the holder and mark it with a pencil.
- Take one adhesive strip and remove the protective backing from one side.
- Press the exposed adhesive side firmly onto the backside of the toilet paper holder.
- Remove the protective backing from the other side of the adhesive strip.
- Align the toilet paper holder with the marked spot on the wall and press it firmly against the surface.
- Hold the toilet paper holder in place for a few seconds to allow the adhesive strip to bond.
- Repeat the process with additional adhesive strips for added stability, if necessary.
- Wait for the adhesive to fully set according to the manufacturer’s instructions before hanging the toilet paper roll.
It is important to note that adhesive strips may not be suitable for all surfaces. They work best on smooth and clean surfaces such as tiles or painted walls. Avoid using adhesive strips on wallpaper or porous surfaces as they may not provide a secure hold.
If you ever need to remove the toilet paper holder, simply follow the instructions provided by the adhesive strip manufacturer to avoid damaging the wall.
Adhesive strips are readily available at most hardware stores and come in various sizes and weight capacities. Choose the appropriate adhesive strips based on the weight of your toilet paper holder to ensure a secure and long-lasting fix.
Now that you know how to utilize adhesive strips, let’s explore another method using double-sided tape in the next section.
Method 2: Using Double-Sided Tape
If you don’t have adhesive strips on hand or prefer an alternative option, using double-sided tape can also help fix a one-arm toilet paper holder without screws. Double-sided tape is convenient and provides a strong bond between surfaces, making it a reliable choice for securing lightweight items.
Here’s how you can use double-sided tape to secure your one-arm toilet paper holder:
- Clean the surface of the wall and the backside of the toilet paper holder to ensure a clean and smooth bonding surface.
- Measure and mark the desired placement for the holder using a pencil.
- Cut the double-sided tape into smaller pieces to fit the backside of the toilet paper holder.
- Remove the protective backing from one side of the double-sided tape pieces.
- Apply the exposed adhesive side of the tape pieces onto the backside of the toilet paper holder.
- Remove the protective backing from the other side of the double-sided tape.
- Align the toilet paper holder with the marked spot on the wall and press it firmly against the surface.
- Hold the holder in place for a few seconds to allow the double-sided tape to bond.
- Ensure the tape is securely adhered to both the holder and the wall.
Once the double-sided tape is properly applied, it will create a strong bond between the toilet paper holder and the wall, providing stability and support. However, it’s important to note that the weight capacity of the double-sided tape should be considered. Make sure to choose a tape that can securely hold the weight of the toilet paper holder and roll.
If you ever need to remove the toilet paper holder, be cautious to avoid damaging the wall. Slowly and gently peel off the double-sided tape, and if any residue is left behind, use an adhesive remover to clean the surface.
Double-sided tape is widely available in most hardware stores and comes in various sizes and strengths. Make sure to choose a tape specifically designed for mounting purposes to ensure the best results.
Now that you’ve learned how to use double-sided tape, let’s move on to Method 3, where we’ll explore the option of using command hooks.
You can use adhesive mounting tape or putty to secure the one arm toilet paper holder to the wall without screws. Make sure to clean the surface before applying the adhesive for better adhesion.
Method 3: Utilizing Command Hooks
If you’re looking for a temporary yet sturdy solution to fix a one-arm toilet paper holder without screws, command hooks can be a great option. Command hooks are designed to stick to a variety of surfaces and can be easily removed without leaving any residue or damage behind.
Here’s how you can utilize command hooks to secure your one-arm toilet paper holder:
- Clean the surface of the wall where you plan to attach the command hook. Make sure it is dry and free from any dust or debris.
- Choose the appropriate size and weight capacity of the command hook based on the requirements of your toilet paper holder.
- Remove the backing from the adhesive strip of the command hook.
- Press the adhesive side of the command hook firmly against the wall, holding it in place for a few seconds to ensure proper adhesion.
- Wait for the adhesive to set according to the manufacturer’s instructions before proceeding.
- Attach the one-arm toilet paper holder to the command hook, ensuring it is secure and level.
Command hooks provide a strong hold and can withstand the weight of most standard one-arm toilet paper holders. However, it’s important to check the weight capacity of the specific command hook you’re using to ensure it can support the weight of your holder and roll.
If you ever need to remove the toilet paper holder, simply hold the base of the command hook and pull the tab straight downward to release it from the wall. This action stretches and breaks the adhesive strip, allowing for easy removal without any damage or residue left behind.
Command hooks are readily available in most hardware stores and come in various sizes and weight capacities. They offer a versatile and non-permanent mounting solution, making them an ideal choice for renters or anyone who prefers not to drill into the wall.
Now that you’ve explored the option of using command hooks, let’s move on to Method 4, where we’ll delve into installing a wall-mounted toilet paper holder.
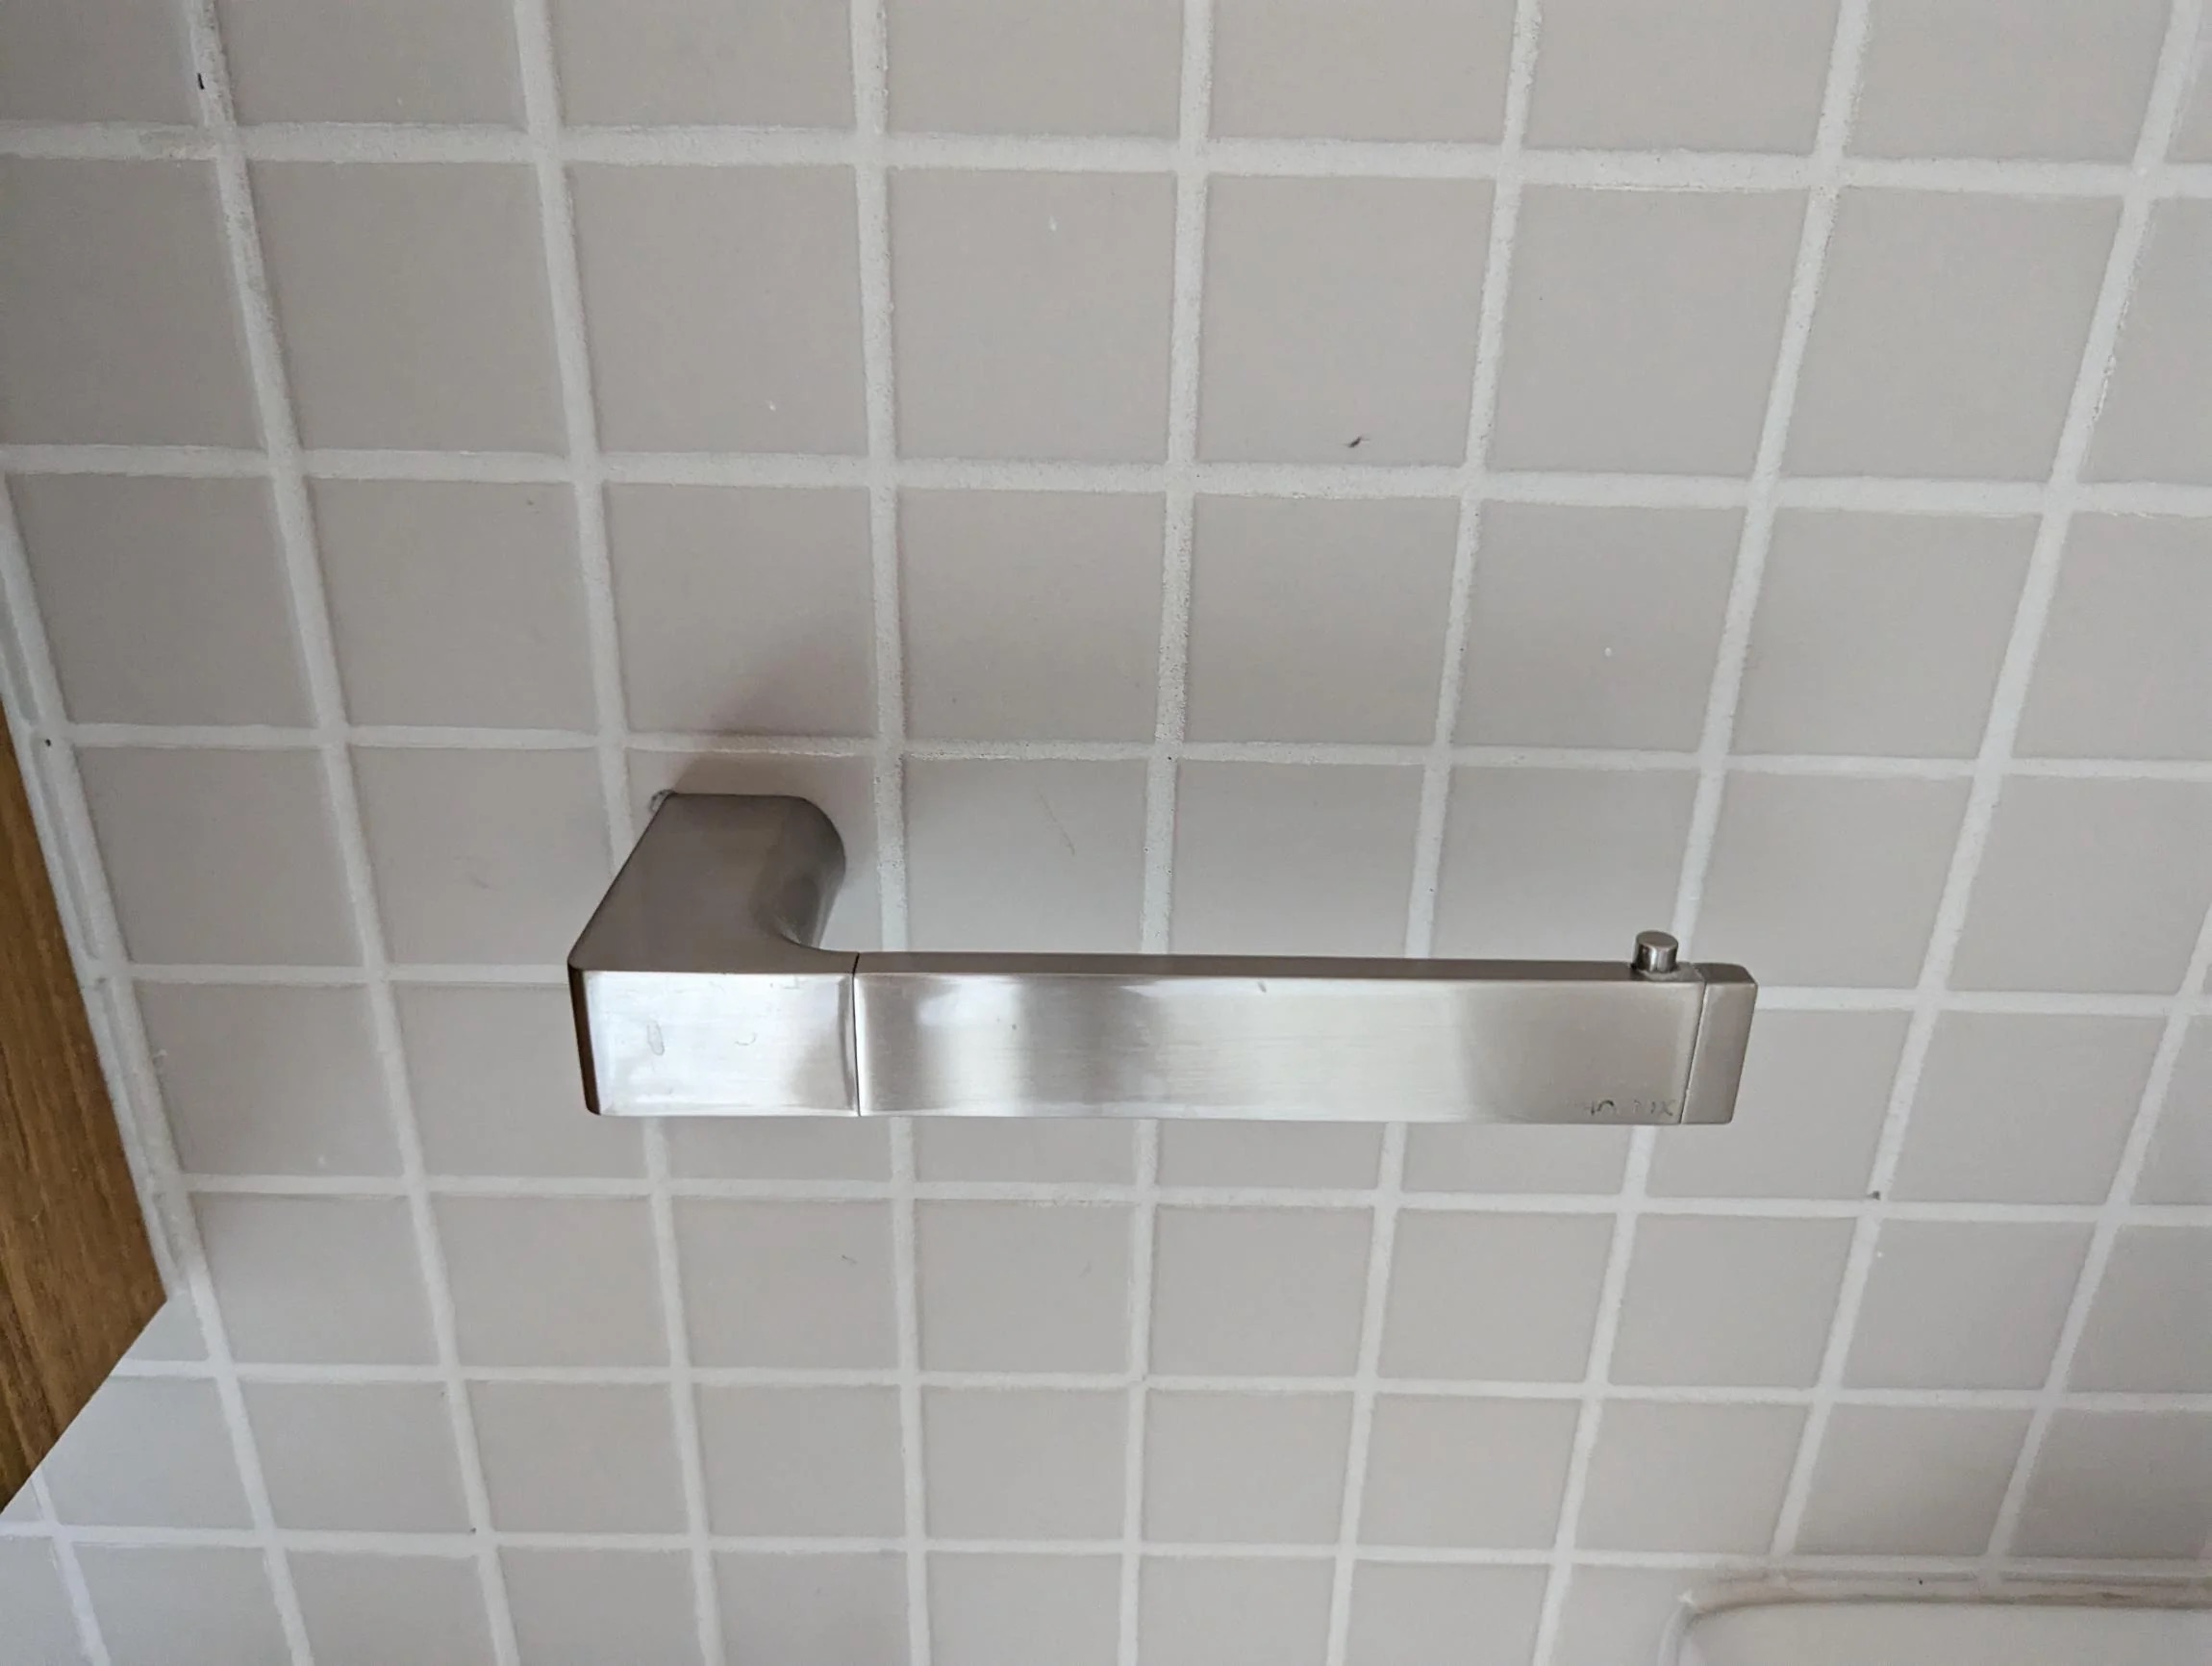
Method 4: Installing a Wall-Mounted Toilet Paper Holder
If you’re open to a more permanent solution and have the necessary tools, installing a wall-mounted toilet paper holder can provide a secure and long-lasting fixture in your bathroom. This method involves drilling holes in the wall to attach the holder, ensuring stability and convenience.
Here’s how you can install a wall-mounted toilet paper holder:
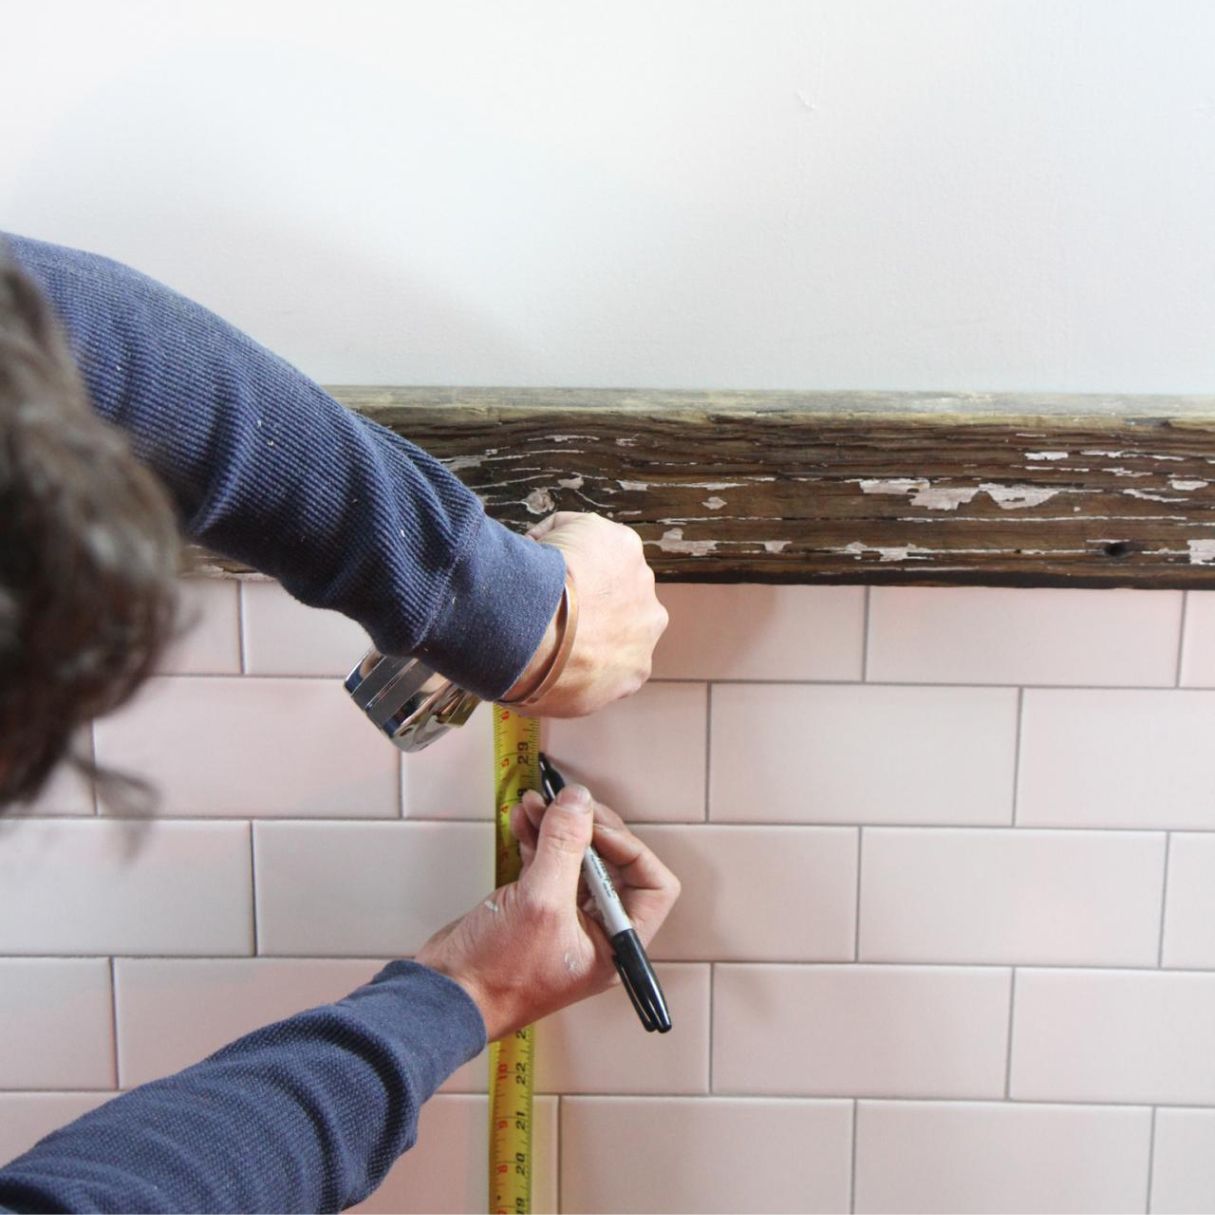
- Determine the desired location for the toilet paper holder on the wall. Consider the height, accessibility, and proximity to the toilet.
- Use a measuring tape to mark the spots where you will drill the holes for the mounting brackets.
- Double-check the measurements to ensure accuracy before proceeding.
- Using a drill with the appropriate drill bit, carefully drill holes into the marked spots on the wall.
- Insert wall anchors into the drilled holes. These anchors provide additional support and help prevent the screws from coming loose over time.
- Align the mounting brackets of the toilet paper holder with the drilled holes, ensuring they are level and straight.
- Secure the mounting brackets to the wall by inserting screws into the wall anchors.
- Attach the toilet paper holder to the mounting brackets, ensuring it is properly aligned and supported.
- Test the stability of the holder by gently pulling on it to ensure it is firmly attached to the wall.
By installing a wall-mounted toilet paper holder, you can enjoy the convenience and peace of mind that comes with a secure fixture. It eliminates the worry of the holder coming loose or falling off, providing a reliable solution for your bathroom needs.
When choosing a wall-mounted toilet paper holder, consider factors such as style, finish, and durability. There are various options available on the market, ranging from traditional designs to modern and sleek styles.
If you’re unsure about performing the installation yourself, you may seek assistance from a professional handyman or consult online tutorials that provide detailed step-by-step instructions.
Now that you’ve explored the option of installing a wall-mounted toilet paper holder, it’s time to wrap up our discussion.
Conclusion
Fixing a one-arm toilet paper holder without screws can be easier than you think. Whether you’re looking for a temporary solution or a more permanent fixture, there are several methods available to suit your needs.
Using adhesive strips provides a simple and non-permanent option, allowing for easy removal without leaving a trace. Double-sided tape offers a reliable bond for lightweight holders, while command hooks provide a versatile solution that can be easily adjusted or removed.
If you’re open to a more permanent solution, installing a wall-mounted toilet paper holder ensures stability and convenience. Although it requires drilling holes and securing the holder with screws, it provides a long-lasting fixture that can withstand regular use.
No matter which method you choose, it’s important to consider the weight capacity of the holder and the condition of the surface you’re attaching it to. Clean and prepare the surfaces properly to ensure a strong bond.
Remember, these methods can be applied not only to one-arm toilet paper holders but also to other bathroom accessories like towel holders or hooks.
Now that you have a variety of options to fix your one-arm toilet paper holder without screws, you can confidently tackle this issue and enjoy a well-organized and functional bathroom.
So go ahead, choose the method that suits your needs and materials, and make your bathroom a place of convenience and comfort.
Excited to tackle more home maintenance projects after mastering your toilet paper holder setup? Dive into our comprehensive guide on how to do home repair. Whether you're dealing with a leaky faucet or a squeaky door, this article is packed with practical advice and easy-to-follow steps to help you become your own handyman. Keep your living space in top shape with skills that save time, money, and bring you a sense of accomplishment.
Frequently Asked Questions about How To Fix One Arm Toilet Paper Holder Without Screws
Was this page helpful?
At Storables.com, we guarantee accurate and reliable information. Our content, validated by Expert Board Contributors, is crafted following stringent Editorial Policies. We're committed to providing you with well-researched, expert-backed insights for all your informational needs.


0 thoughts on “How To Fix One Arm Toilet Paper Holder Without Screws”