
Articles
How To Fix A Leaking Tub Faucet
Modified: September 2, 2024
Learn effective methods to fix a leaking tub faucet with our informative articles. Save money on plumbing repairs with these expert tips.
(Many of the links in this article redirect to a specific reviewed product. Your purchase of these products through affiliate links helps to generate commission for Storables.com, at no extra cost. Learn more)
Introduction
Welcome to our comprehensive guide on how to fix a leaking tub faucet. A leaking tub faucet can be quite a nuisance, causing water waste, increased water bills, and potential damage to your bathroom if not addressed promptly. Fortunately, fixing a leaking tub faucet is a relatively simple task that can be completed with just a few basic tools and materials.
In this article, we will provide you with step-by-step instructions on how to identify and fix a leaking tub faucet, as well as a list of the tools and materials you will need for the job. Whether you are a seasoned DIY enthusiast or a novice homeowner, our guide will help you tackle this common household issue and save you from the inconvenience and expense of a constantly dripping faucet.
Before we dive into the details, let’s understand why your tub faucet may be leaking in the first place. There are several possible causes for a leaking tub faucet, including a worn-out washer or O-ring, a faulty cartridge, or a loose or damaged valve seat. By identifying the root cause, you will be better equipped to fix the issue effectively.
Now that we have a basic understanding of the problem, let’s proceed to the next section where we will outline the tools and materials you will need to fix a leaking tub faucet.
Key Takeaways:
- Easily fix a leaking tub faucet by following simple step-by-step instructions and using basic tools and materials, saving money on water bills and preventing potential bathroom damage.
- Identifying the cause of the leak and replacing worn-out components, such as washers and cartridges, can effectively eliminate the nuisance of a leaking tub faucet.
Read more: How To Fix Tub Faucet Diverter
Tools and Materials Needed
Before you start fixing the leaking tub faucet, gather the following tools and materials:
- Adjustable wrench
- Screwdriver (flathead or Phillips, depending on the faucet type)
- Replacement parts (washer, O-ring, cartridge, etc.)
- Plumber’s tape
- Towel or rag
The adjustable wrench will be essential for removing the faucet handles and other components. If your faucet has screws, you will need a screwdriver to remove them. Make sure you have both flathead and Phillips screwdrivers on hand, as different faucets may require different types.
Having replacement parts is crucial for fixing the leaking tub faucet. The specific parts you need will depend on the type and model of your faucet. Common replacement parts include washers, O-rings, cartridges, and valve seats. It’s a good idea to consult the manufacturer’s instructions or do some research to determine the exact replacements you need for your specific faucet.
Plumber’s tape, also known as Teflon tape, is used to create a watertight seal on threaded connections. It will come in handy when reassembling the faucet components after fixing the leak. Additionally, having a towel or rag nearby will help you clean up any water that may spill during the repair process.
Now that you have gathered the necessary tools and materials, let’s move on to the step-by-step instructions for fixing a leaking tub faucet.
If your tub faucet is leaking, try replacing the O-ring or the cartridge. These are common causes of leaks and can be easily fixed with the right tools.
Step-by-Step Instructions for Fixing a Leaking Tub Faucet
Follow these simple steps to fix a leaking tub faucet:
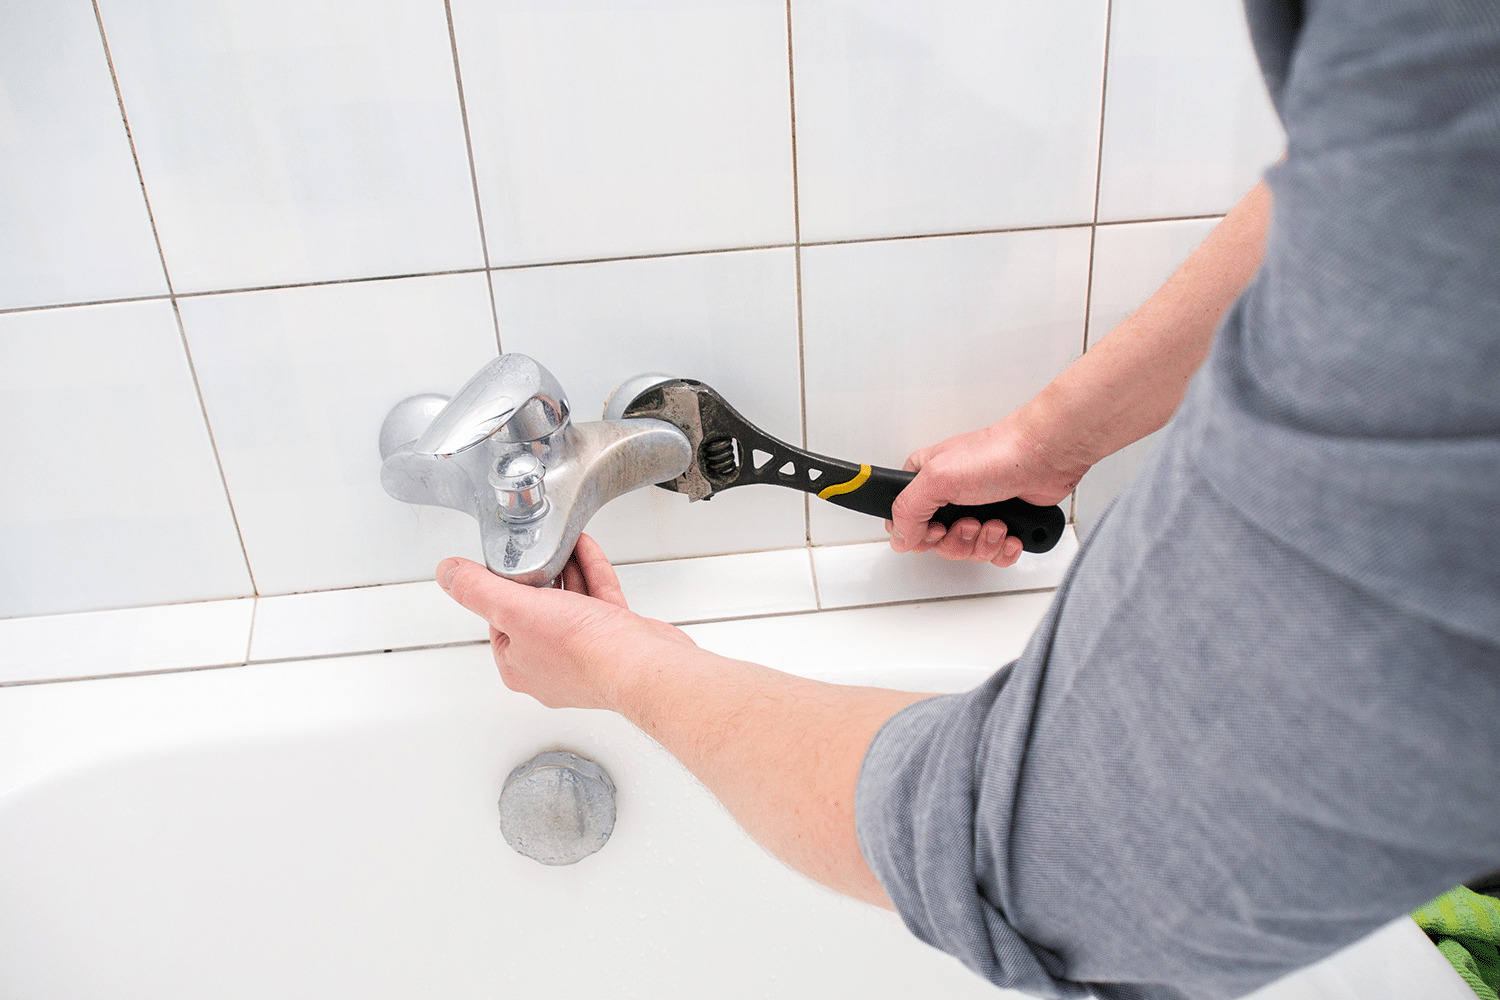
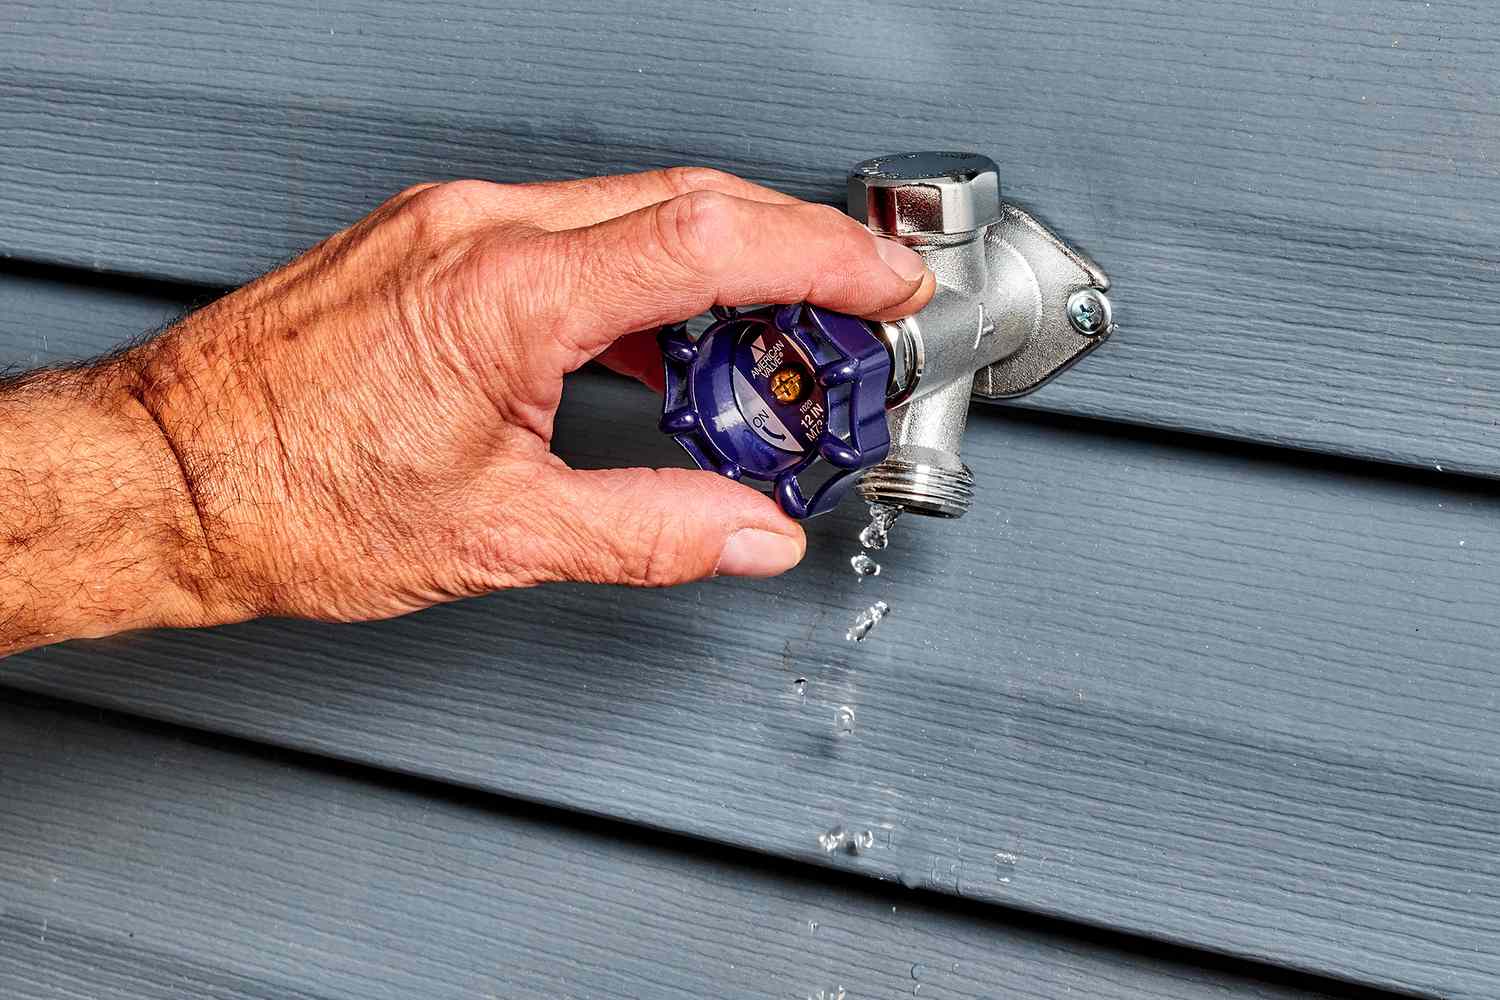
- Turn off the water supply: Before you begin any repairs, shut off the water supply to the tub. Look for the water shut-off valves under the sink or near the tub and turn them clockwise to close.
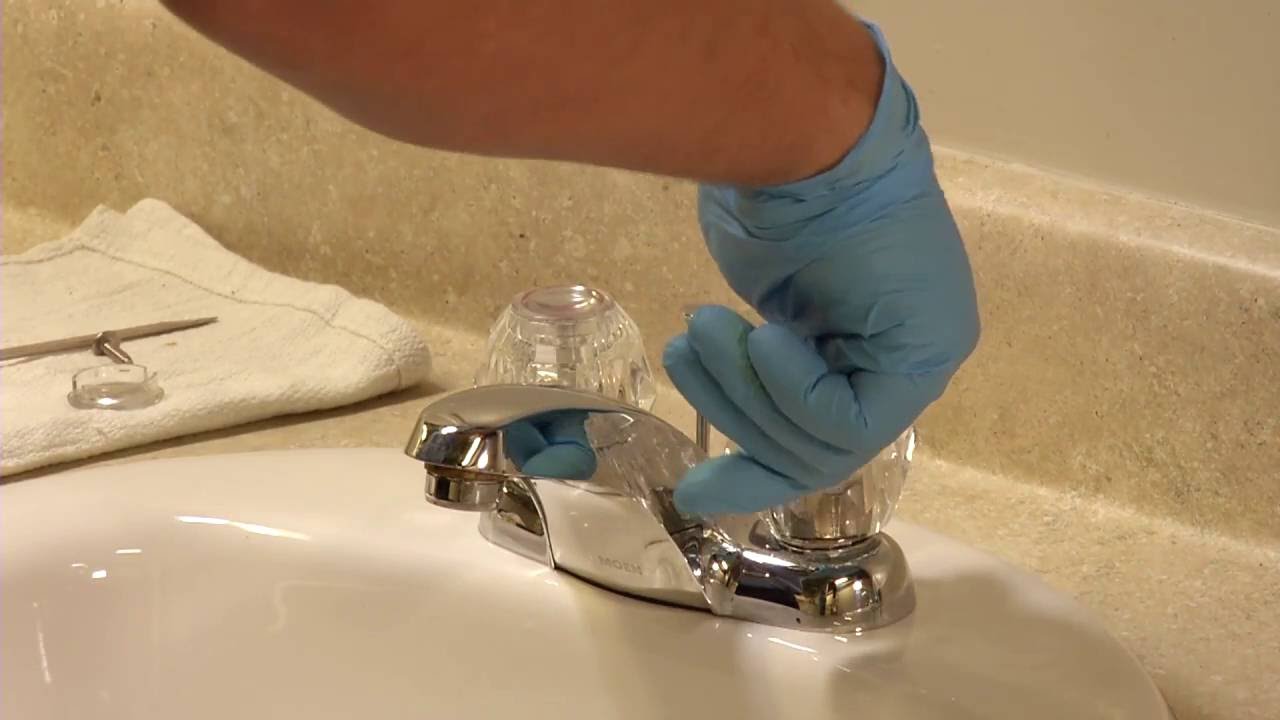
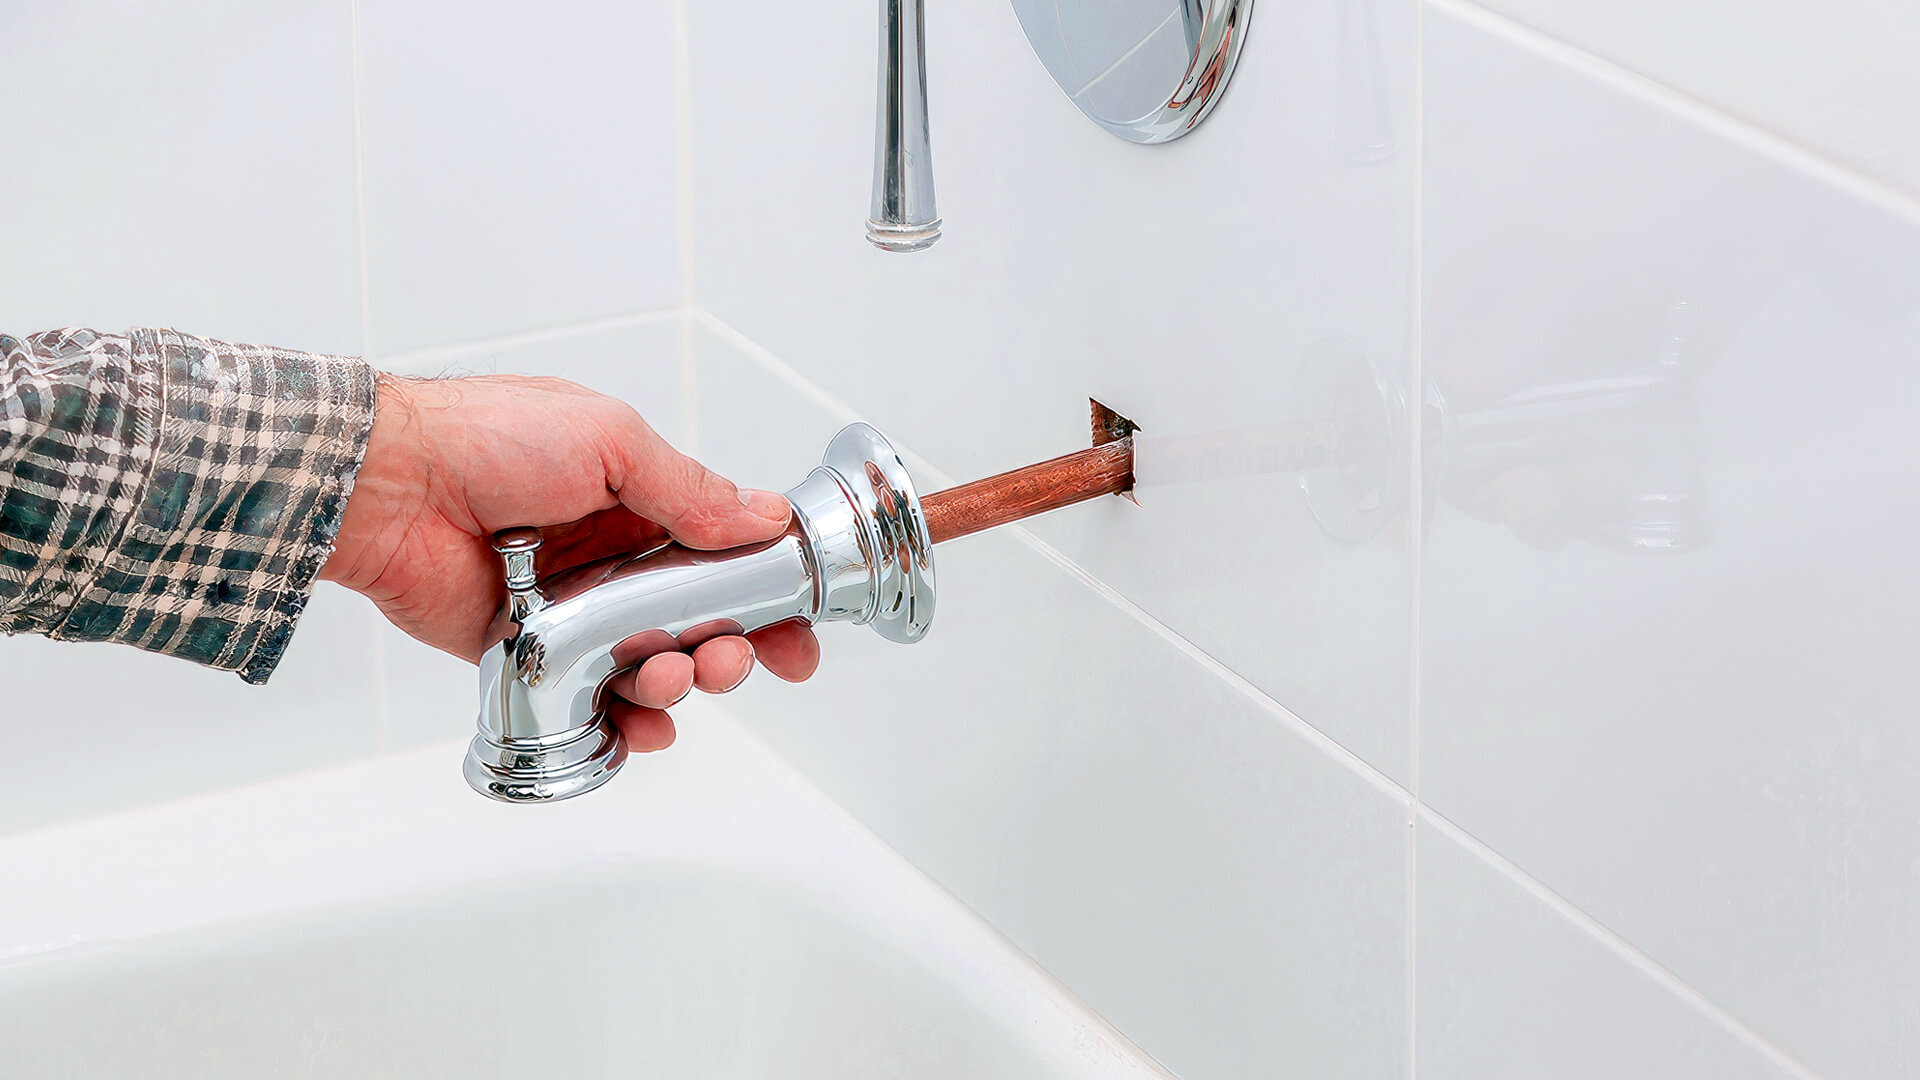
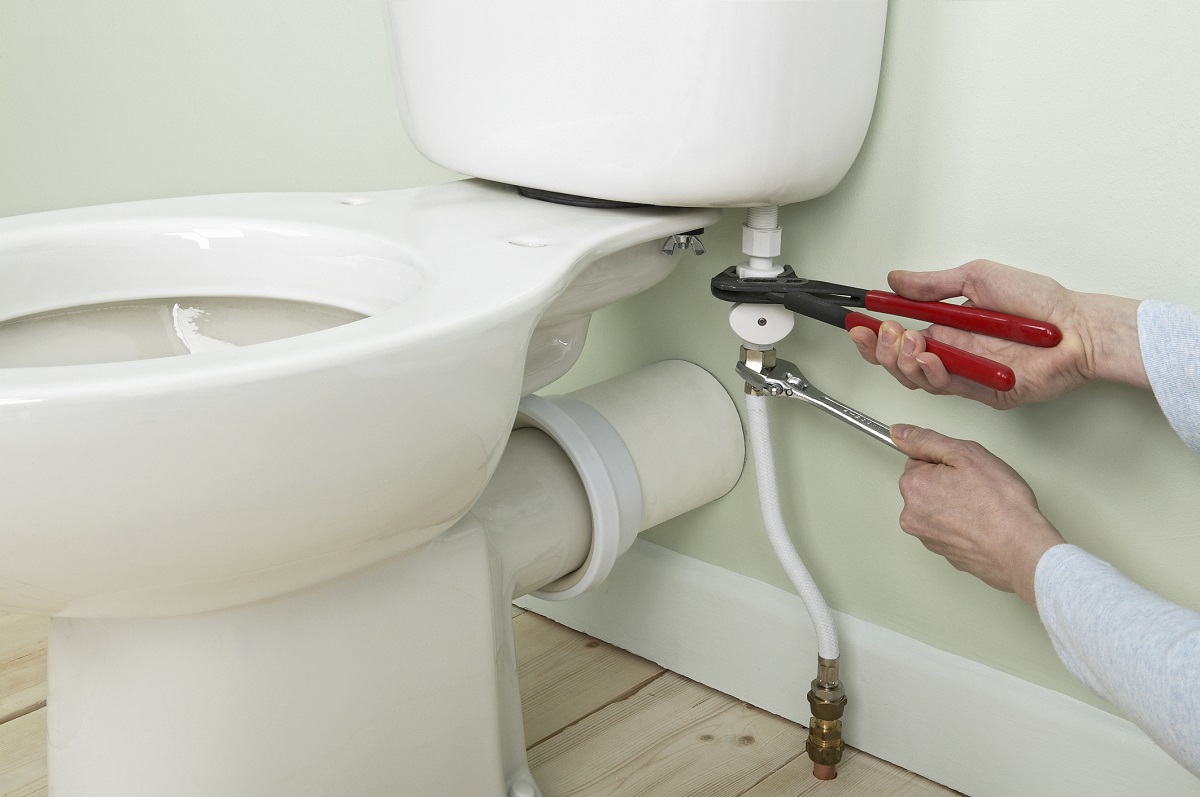
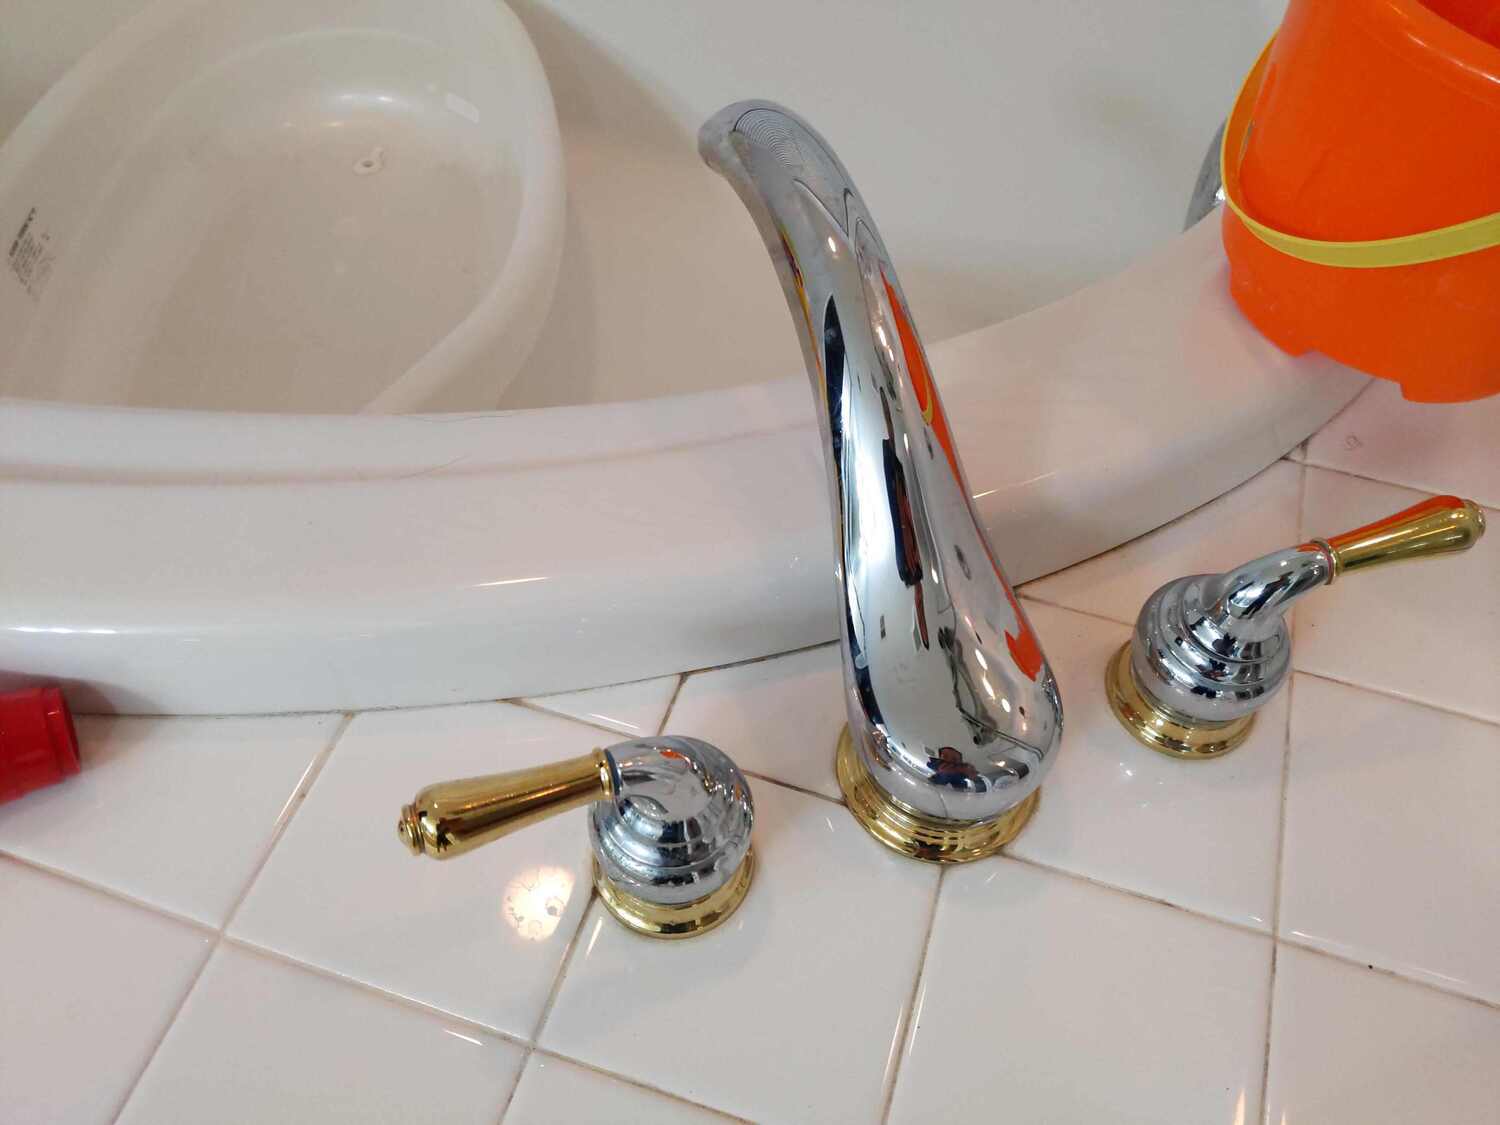
- Remove the faucet handle: Use a screwdriver or an adjustable wrench to remove the screws or nuts holding the faucet handles in place. Once the handles are loose, carefully pull them off the stems.
- Inspect the components: Take a close look at the faucet components, including the stem, washer, O-ring, and cartridge. Look for any signs of wear, damage, or buildup. If you notice any worn-out or damaged parts, proceed with replacing them.
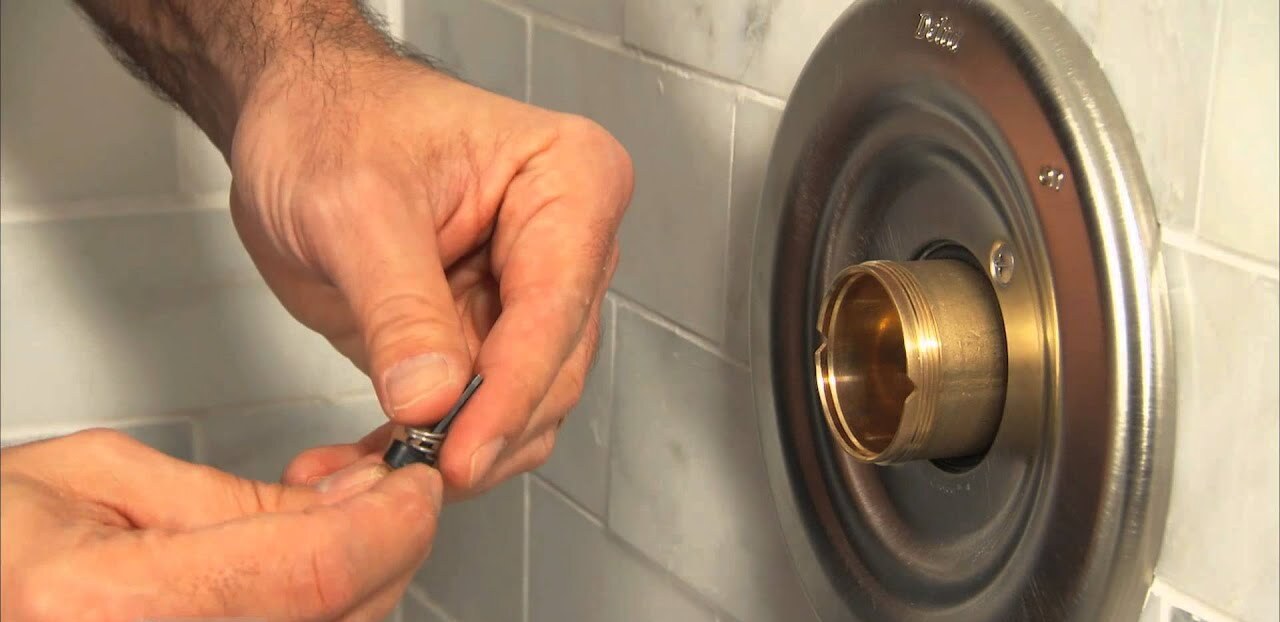
- Replace the washer and O-ring: If the leak is coming from the base of the faucet, the problem is likely a worn-out washer or O-ring. Remove the old washer and O-ring and replace them with new ones of the same size and shape.
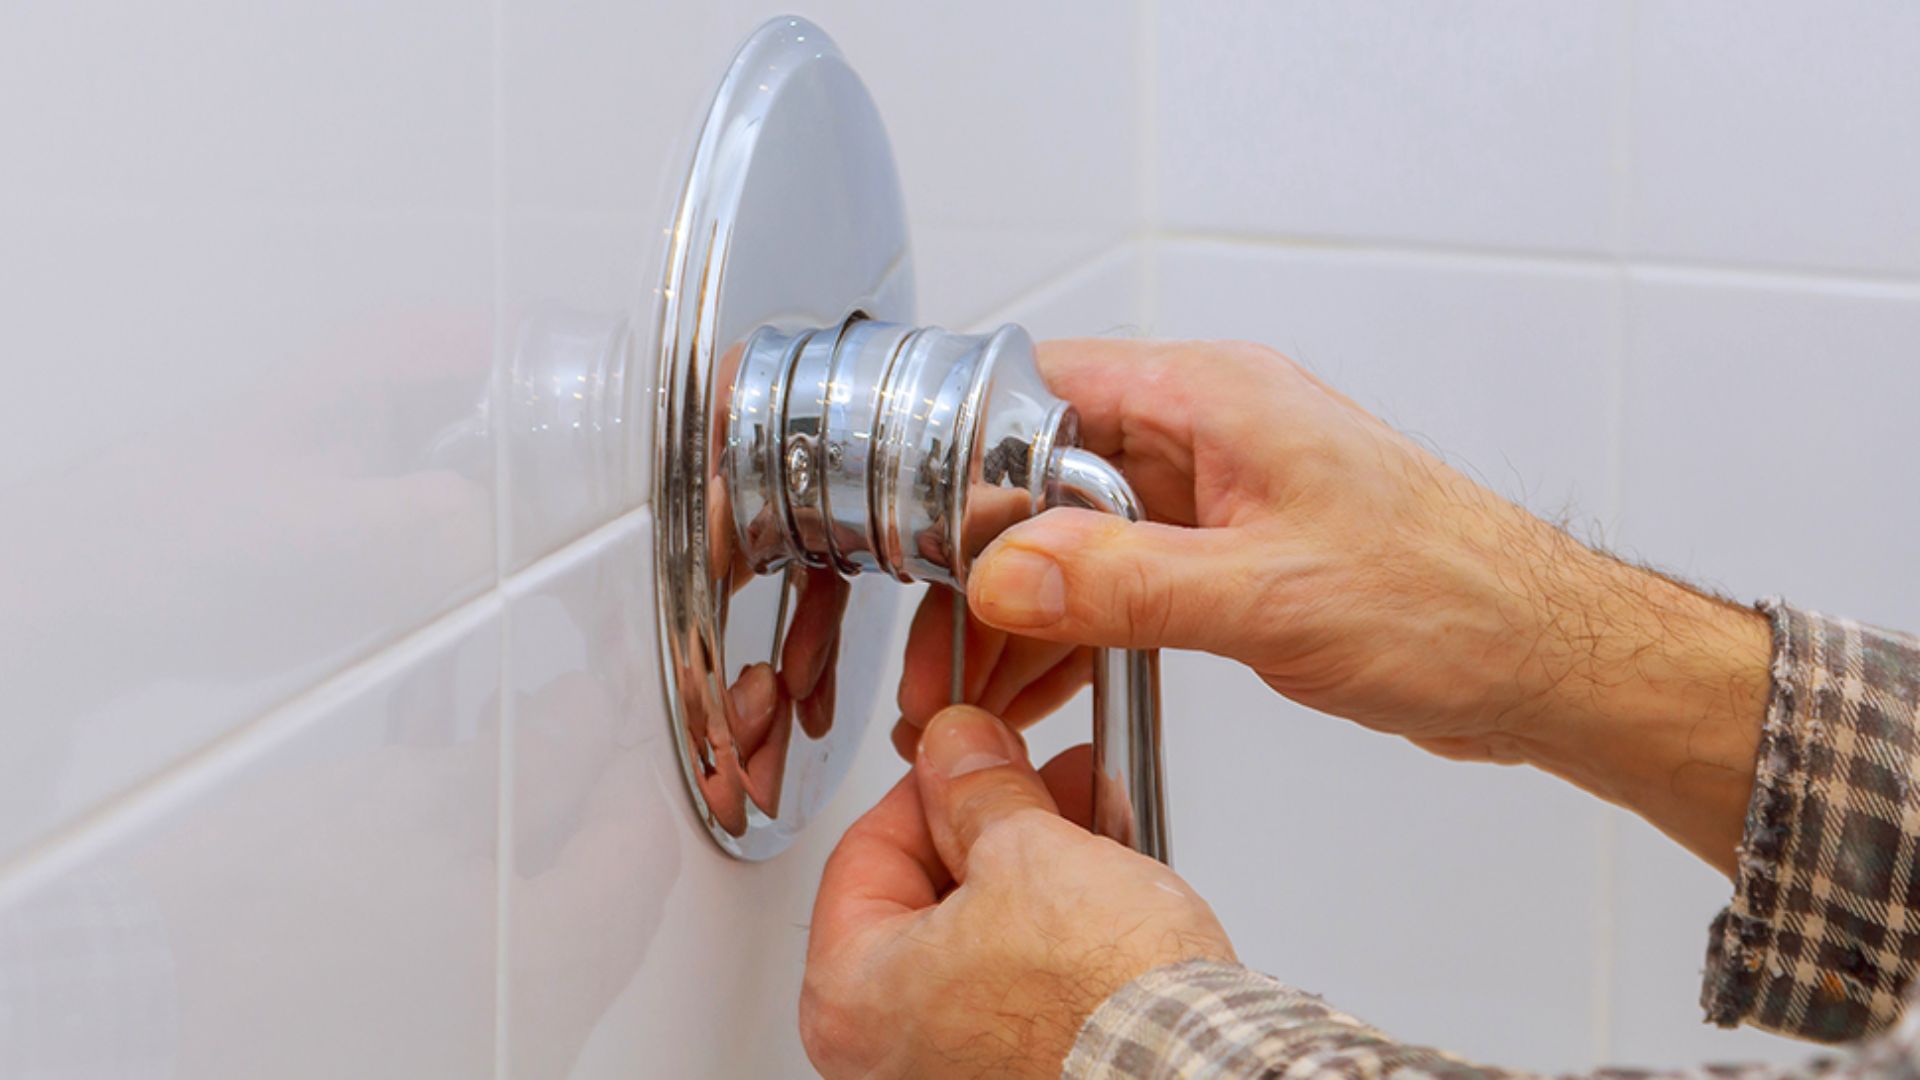
- Replace the cartridge: If the leak persists even after replacing the washer and O-ring, the issue may be a faulty cartridge. Consult the manufacturer’s instructions or do some research to determine the correct cartridge for your faucet model. Remove the old cartridge and install the new one, making sure it is properly aligned and secured.
- Apply plumber’s tape: Wrap a few layers of plumber’s tape clockwise around the threads of the faucet stems and any other threaded connections. This will help create a tight seal and prevent leaks.
- Reassemble the faucet: Once you have replaced the necessary components and applied plumber’s tape, carefully reattach the faucet handles in the reverse order of how you removed them. Use a screwdriver or wrench to tighten the screws or nuts, but be careful not to overtighten.
- Turn on the water supply: Slowly turn the water supply back on by turning the shut-off valves counterclockwise. Check for any leaks and make sure the faucet handles are functioning properly.
- Test the faucet: Finally, turn on the tub faucet and check for any signs of leakage. Let the water run for a few minutes to ensure that the repair was successful and that the faucet is functioning as it should.
By following these step-by-step instructions, you should be able to fix a leaking tub faucet and eliminate the annoying drip. Remember to take your time, use the appropriate tools and materials, and exercise caution throughout the repair process.
And there you have it! You’ve successfully fixed your leaking tub faucet and saved yourself from the inconvenience of a constant drip and potential water damage. Congratulations on a job well done!
Conclusion
Fixing a leaking tub faucet doesn’t have to be a challenging task. With the right tools, materials, and step-by-step instructions, you can easily repair the leak and save yourself from the frustration of a dripping faucet. In this guide, we have provided you with comprehensive instructions on how to identify and fix a leaking tub faucet, as well as a list of the essential tools and materials you’ll need for the job.
Remember, it’s important to first turn off the water supply before starting any repairs. Take the time to inspect the faucet components and determine the cause of the leak, whether it’s a worn-out washer, faulty cartridge, or loose valve seat. Replace any damaged parts with new ones that are suitable for your faucet model.
Applying plumber’s tape to the threaded connections will help create a watertight seal and prevent future leaks. And once you have reassembled the faucet and turned on the water supply, test the faucet to ensure that the leak has been successfully fixed.
By following these step-by-step instructions and using proper techniques, you can easily fix a leaking tub faucet and save money on your water bills. Additionally, addressing the issue promptly will prevent any further damage to your bathroom and prolong the lifespan of your faucet.
We hope this guide has been helpful to you in fixing your leaking tub faucet. Remember, if you feel unsure or uncomfortable with the repair process, it is always best to seek professional help. A qualified plumber can tackle the task efficiently and ensure that your faucet is repaired correctly.
Thank you for reading, and happy fixing!
Now that you've learned how to fix a leaking tub faucet, why not dive deeper into maintaining your bathroom fixtures? If you're dealing with more complex issues or just want to be prepared for future repairs, checking out our detailed guide on the best Delta faucet repair kit for 2024 would be a smart move. This guide not only lists top choices but also offers insights on how to use them effectively, ensuring you're always ready for any plumbing challenge.
Frequently Asked Questions about How To Fix A Leaking Tub Faucet
Was this page helpful?
At Storables.com, we guarantee accurate and reliable information. Our content, validated by Expert Board Contributors, is crafted following stringent Editorial Policies. We're committed to providing you with well-researched, expert-backed insights for all your informational needs.


0 thoughts on “How To Fix A Leaking Tub Faucet”