Articles
How To Fix A Leaking Basement Wall
Modified: August 28, 2024
Learn effective techniques and tips on repairing a leaking basement wall with our informative articles. Find solutions to prevent further damage and protect your home.
(Many of the links in this article redirect to a specific reviewed product. Your purchase of these products through affiliate links helps to generate commission for Storables.com, at no extra cost. Learn more)
Introduction
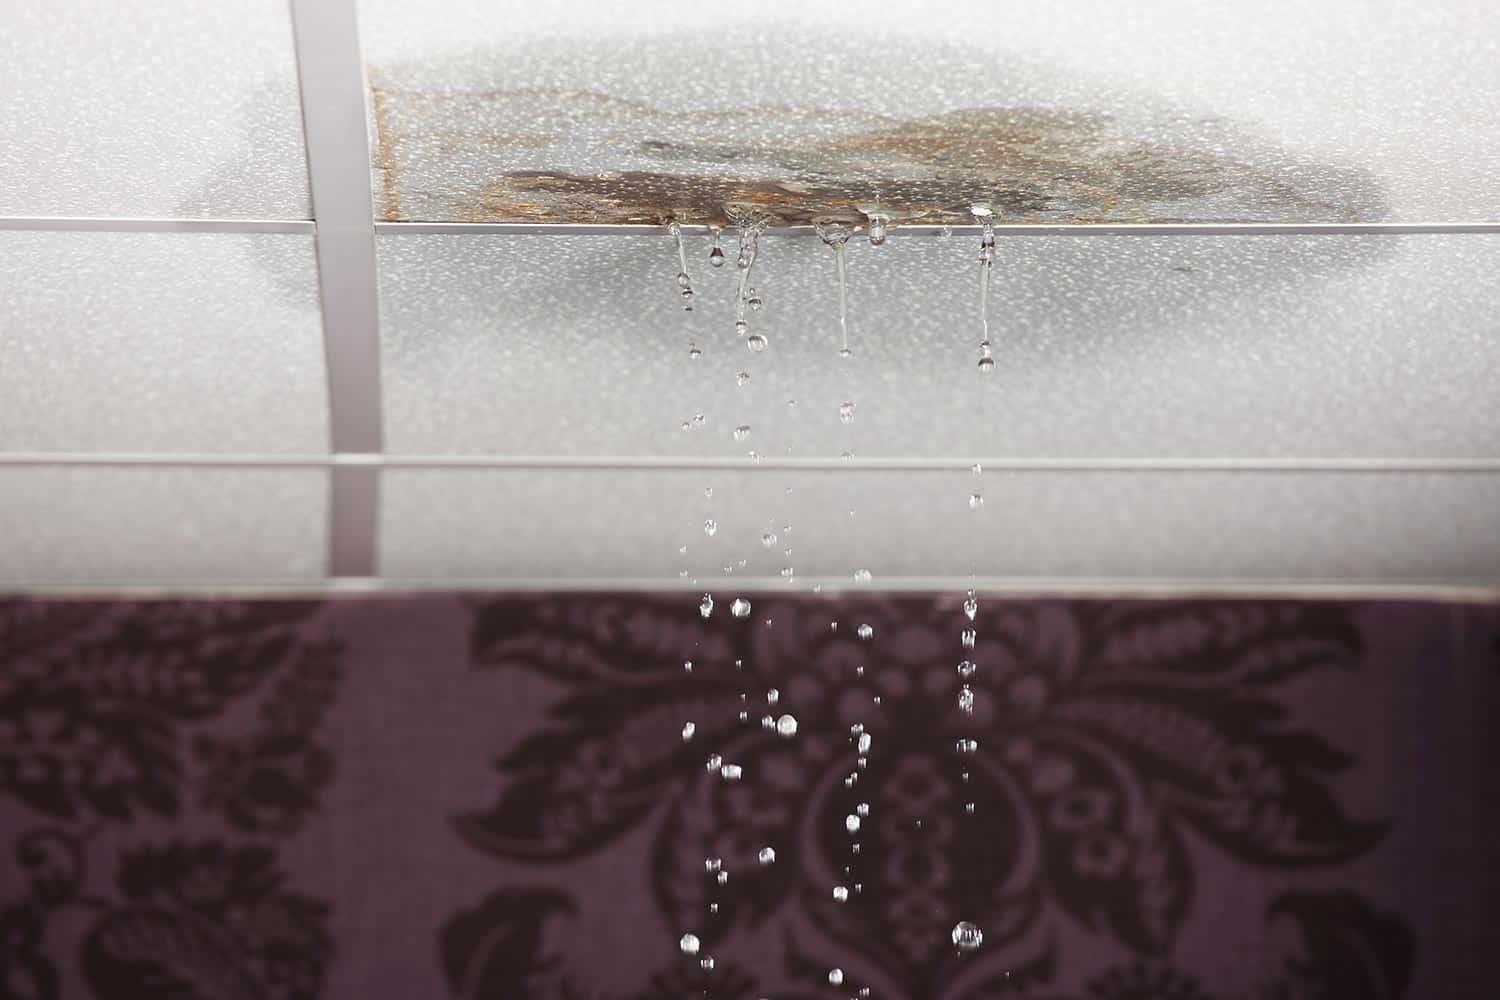
Welcome to the comprehensive guide on how to fix a leaking basement wall. A leaking basement wall can be a homeowner’s worst nightmare, causing damage to the foundation, walls, and possessions stored in the basement. Not only can it lead to costly repairs, but it can also create a damp and unhealthy environment. However, with the right knowledge and steps, you can effectively address this issue and restore your basement to a dry and secure space.
Understanding the source of the leak is crucial before attempting any repairs. It could be due to various reasons such as hydrostatic pressure, foundation cracks, or poor drainage systems. Once you identify the cause, you can proceed with the necessary tools and materials to fix the problem.
In this guide, we will walk you through a step-by-step process to help you fix a leaking basement wall. From identifying the source of the leak to applying waterproofing solutions and sealing the wall, we will cover all the essential steps to ensure a successful repair.
Before we dive into the process, it’s important to note that fixing a leaking basement wall may require some physical exertion and time. However, with careful attention to detail and following the instructions provided, you can tackle this task effectively and save yourself from future headaches and expenses.
So, let’s get started on the journey to fix that leaking basement wall and regain control over your basement space!
Key Takeaways:
- Identifying the source of the leak is crucial for effective repair. From minor crack repairs to applying waterproofing solutions, each step plays a vital role in safeguarding your basement from future water damage.
- Regular monitoring is essential to catch potential leaks early and prevent further damage. By following the comprehensive guide and taking preventive measures, you can enjoy a dry and secure basement space.
Read more: Basement Leaking Where Wall Meets Floor
Step 1: Identify the source of the leak
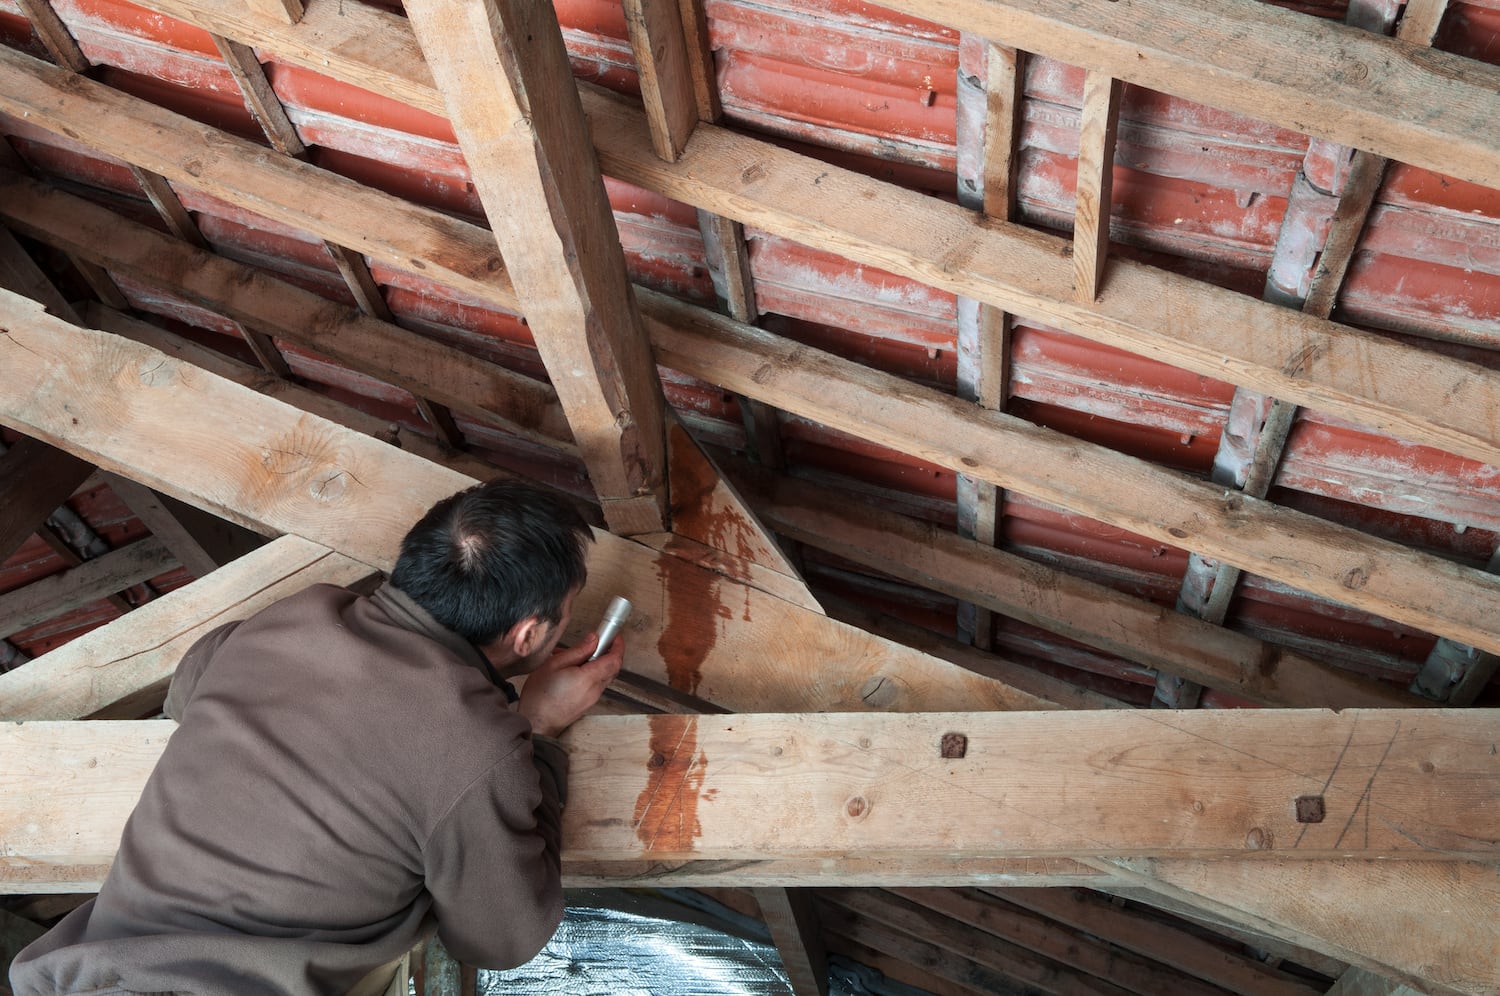
The first and most crucial step in fixing a leaking basement wall is to identify the source of the leak. This will help you determine the appropriate course of action and prevent the issue from recurring in the future.
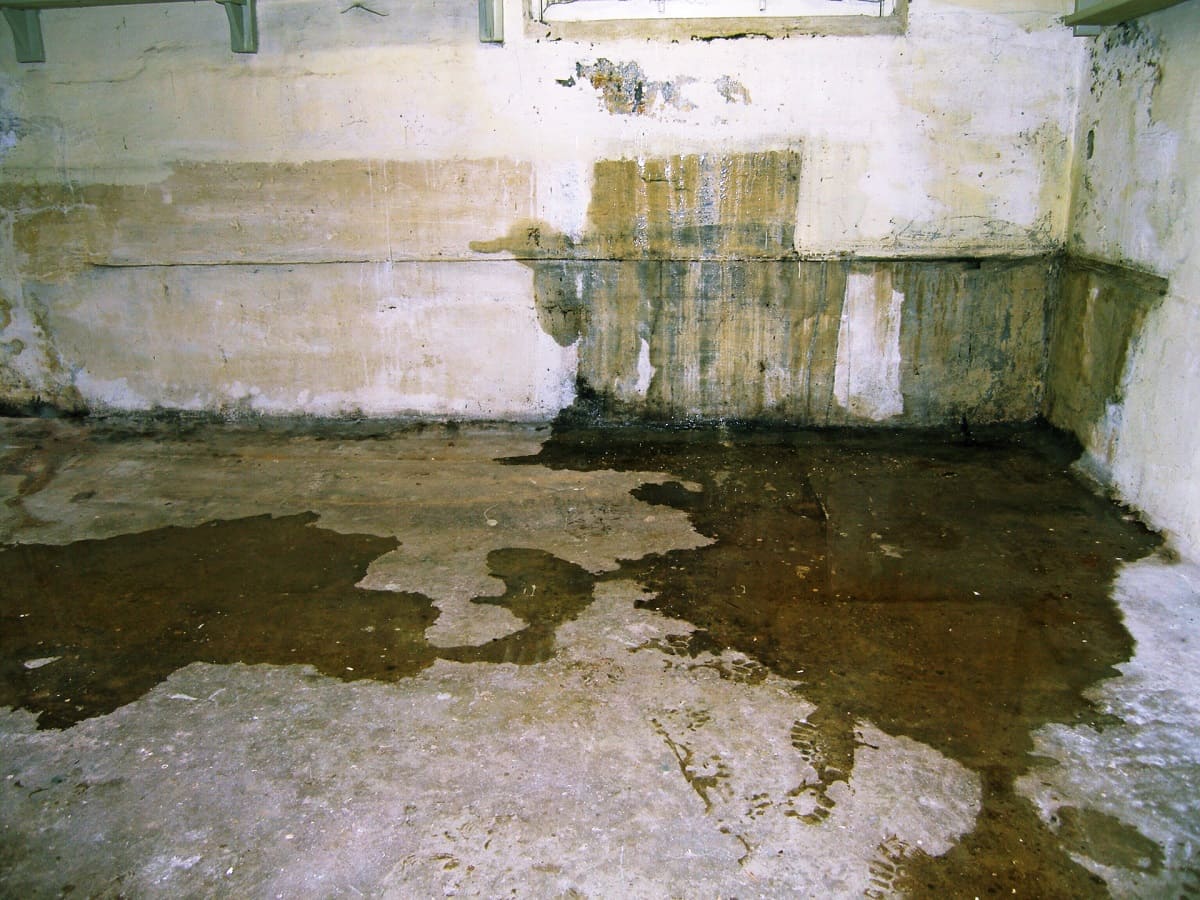
Start by inspecting your basement for any visible signs of water infiltration. Look for damp areas, water stains, or puddles near the walls. Pay close attention to areas where the floor meets the wall, as this is a common location for leaks.
If you can’t find any visible signs, try running water on different parts of the wall to see if it triggers or amplifies the leak. You may also need to check the exterior of your home for any signs of water penetration, such as clogged gutters or damaged downspouts.
Common causes of basement wall leaks include:
- Cracks or gaps in the foundation: Over time, the foundation may develop cracks or gaps due to settlement or external pressures. These can allow water to seep into your basement.
- Hydrostatic pressure: If the groundwater around your home’s foundation builds up due to poor drainage, it can exert pressure on the basement walls, leading to leaks.
- Improperly installed or damaged waterproofing membranes: If the waterproofing layer on your basement walls was not properly installed or has been damaged, it can allow water to infiltrate.
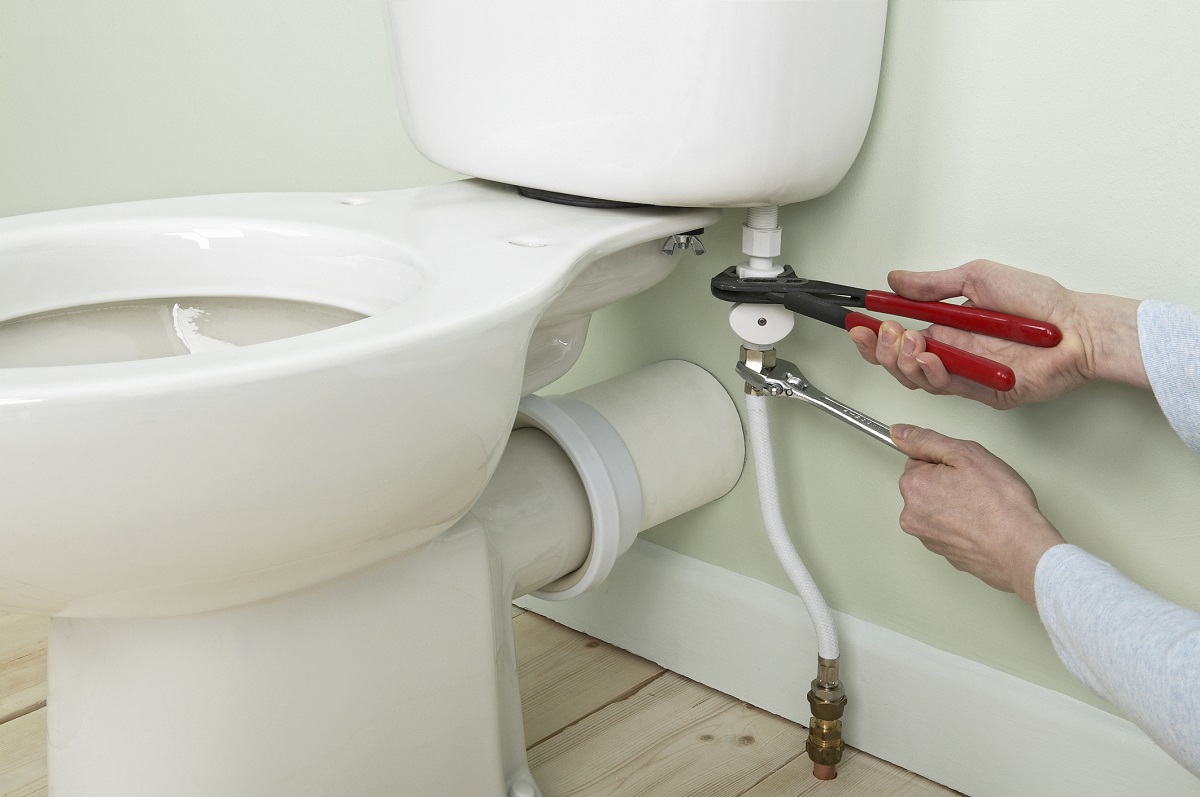
- Leaking plumbing pipes or fixtures: Sometimes, leaks in plumbing pipes or fixtures located near the basement walls can cause water to seep into the basement.
By identifying the source of the leak, you will be able to choose the appropriate repair method and materials to fix the problem effectively. Keep in mind that in some cases, you may need the help of a professional to pinpoint the exact source of the leak.
Once you have identified the source of the leak, you can proceed to the next steps in the repair process. Remember, addressing the root cause of the leak is essential to ensure a long-lasting solution and prevent further damage to your basement.
Step 2: Prepare the necessary tools and materials
Before you embark on fixing a leaking basement wall, it’s essential to gather all the necessary tools and materials. Having everything prepared beforehand will save you time and ensure a smooth repair process. Here are some of the tools and materials you will need:
Tools:
- Safety goggles and gloves
- Dust mask
- Hammer
- Chisel
- Wire brush
- Putty knife
- Paintbrush
- Caulking gun
- Drill with masonry bits
- Sponge or cloth
- Bucket
Materials:
- Hydraulic cement or specialized crack repair compound
- Waterproofing paint or coating
- Waterproofing membrane
- Concrete patching compound
- Concrete sealer
- Backer rod (for larger cracks or gaps)
- Expanding foam (for hard-to-reach areas)
Depending on the severity of the leak and the condition of your basement walls, you may need additional materials such as drainage systems, sump pumps, or professional-grade waterproofing products. If you are unsure about the specific tools and materials needed, consult with a local hardware store or seek advice from a professional.
It’s also important to ensure your safety during the repair process. Wear safety goggles, gloves, and a dust mask to protect yourself from any harmful particles or fumes. Working in a well-ventilated area is recommended, and if necessary, use fans or open windows to improve air circulation.
By preparing the necessary tools and materials ahead of time, you will be ready to move on to the next steps in fixing your leaking basement wall. Keeping everything organized and within reach will make the repair process more efficient and help you achieve better results.
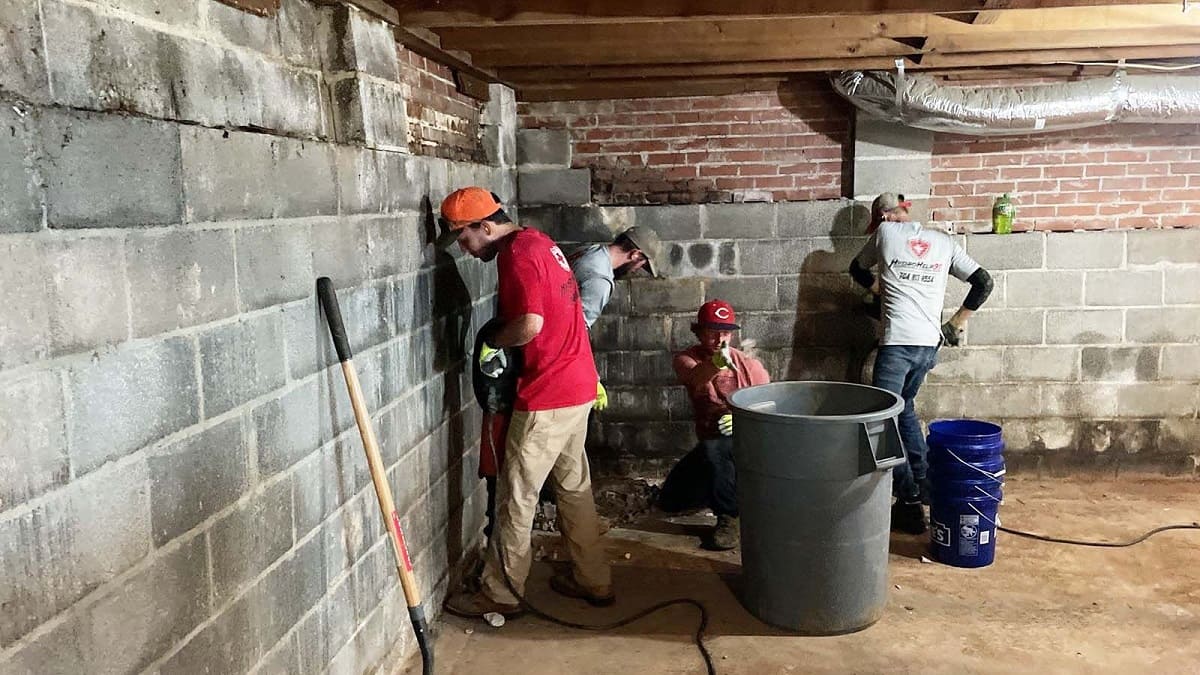
Step 3: Clear the area around the leaking wall
Now that you have gathered the necessary tools and materials, it’s time to prepare the area around the leaking wall for the repair process. Clearing the area will ensure that you have a clean and clutter-free workspace to work in. Follow these steps to clear the area effectively:
1. Remove any furniture, belongings, or storage items: Start by clearing out any furniture, boxes, or other items that may be stored near the leaking wall. This will give you ample space to work and prevent any damage to your belongings during the repair process.
2. Protect the floor: Lay down protective covers or plastic sheets to shield the floor from any debris, dust, or water that may be generated during the repair. This will make the cleanup process easier once the repairs are complete.
3. Clean the area: Thoroughly clean the surface of the leaking wall using a brush or a damp cloth to remove any loose dirt, debris, or mold. This step is crucial to ensure proper adhesion of the repair materials and prevent any interference with the repair process.
4. Address any drainage issues: If you notice any signs of poor drainage around the leaking wall, such as standing water or moisture accumulation, address these issues before proceeding with the repair. Ensure that the area has proper drainage systems in place to prevent future leaks.
5. Take safety precautions: Remember to wear appropriate safety gear, such as gloves and goggles, while cleaning the area. This will protect you from any harmful substances or sharp objects that may be present.
By clearing the area around the leaking wall, you create a clean and safe environment to work in. This will allow you to focus on the repair process and ensure optimal conditions for the repair materials to adhere properly.
Once you have effectively cleared the area, you can move on to the next steps in fixing your leaking basement wall.
Step 4: Repair minor cracks or holes
Now that you have prepared the area around the leaking wall, it’s time to address any minor cracks or holes that may be contributing to the leak. Repairing these small imperfections will help prevent further water infiltration and ensure a solid foundation for the subsequent waterproofing steps. Follow these steps to repair minor cracks or holes:
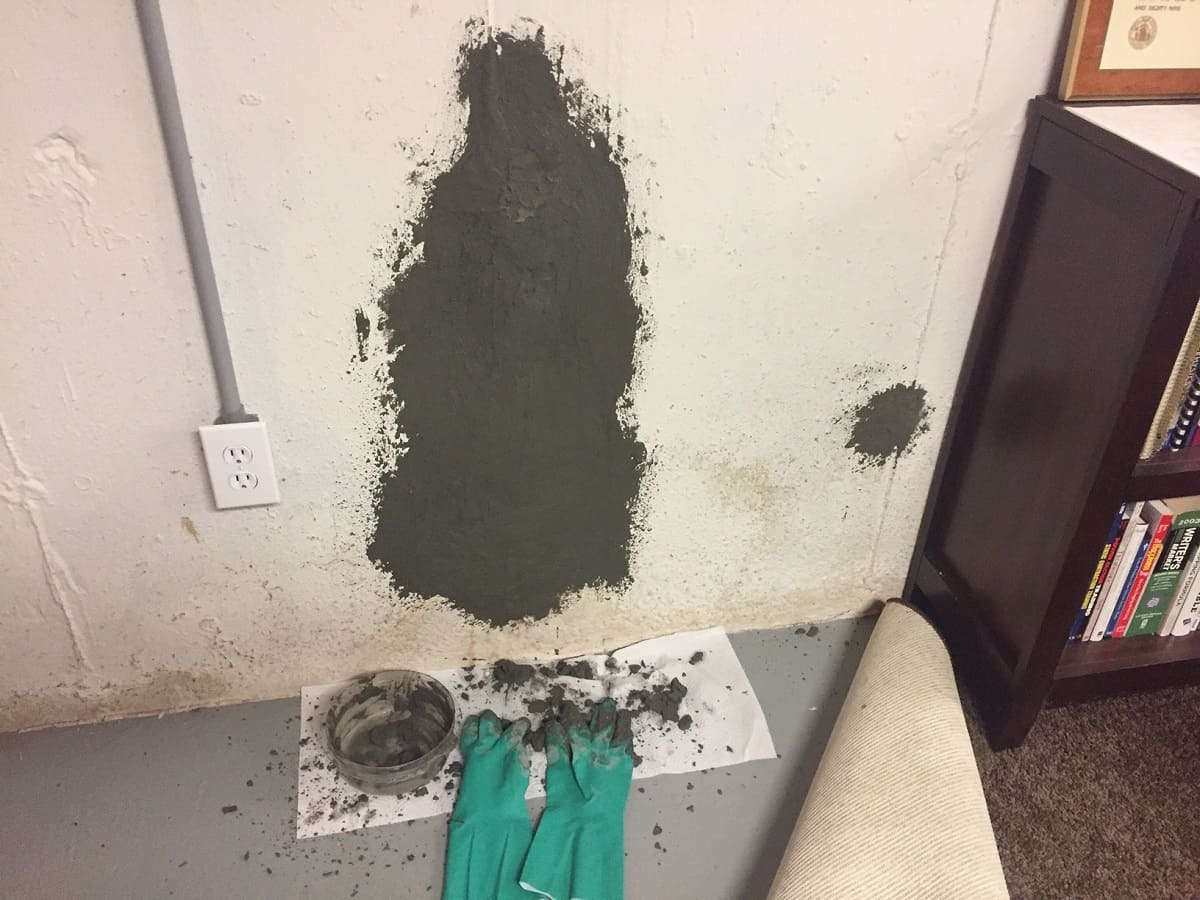
1. Clean the crack or hole: Use a wire brush or a chisel to clean out any debris or loose material from the crack or hole. This will create a clean surface for the repair material to adhere to.
2. Apply the crack repair compound: Fill the crack or hole with a hydraulic cement or a specialized crack repair compound. Use a putty knife or a trowel to press the material into the crevices and ensure a thorough fill. Smooth out the surface of the repair compound with the putty knife.
3. Allow the repair compound to cure: Follow the manufacturer’s instructions for the specific repair compound used. Typically, it takes a few hours to a day for the compound to fully cure. Avoid touching or disturbing the repaired area during this time.
4. Check for any additional cracks or holes: Inspect the surrounding area for any additional cracks or holes that may have been overlooked. Repeat the cleaning and repair process for any new areas that require attention.
5. Sand and smooth the repaired area: Once the repair compound has cured, use sandpaper or a sanding block to smoothen the surface of the repaired area. This will ensure a seamless integration with the rest of the wall and create a uniform appearance.
Repairing minor cracks and holes is an essential step in addressing the source of the leak. By filling these small imperfections, you create a solid foundation for the subsequent waterproofing steps, helping to prevent further water infiltration and damage.
After repairing the minor cracks and holes, you can proceed to the next steps in fixing your leaking basement wall.
Inspect the exterior of your home for any cracks or gaps in the foundation. Use waterproof sealant to fill any cracks and prevent water from seeping in.
Read more: How To Fix Efflorescence On Basement Walls
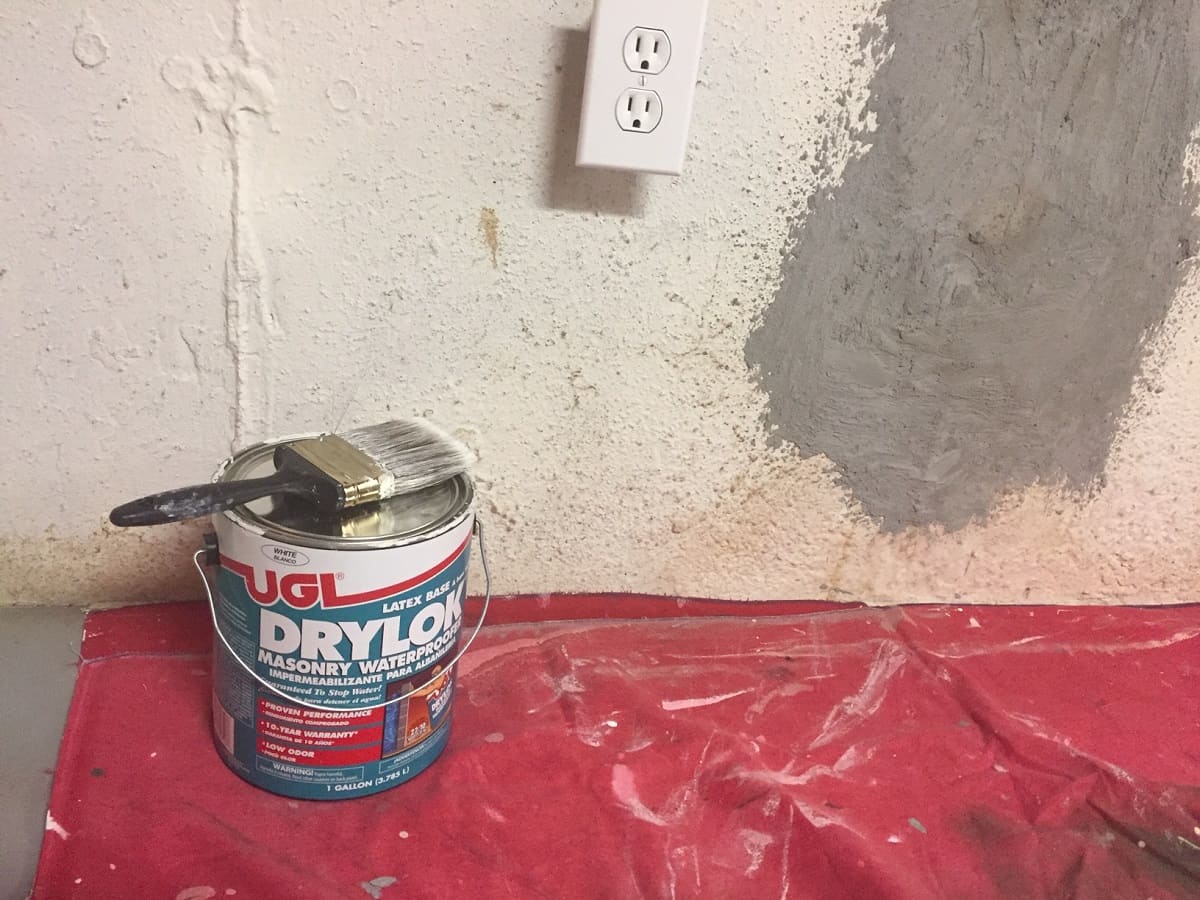
Step 5: Apply waterproofing solutions
With the minor cracks and holes repaired, it’s time to take the necessary steps to waterproof your basement wall. Applying waterproofing solutions will create a barrier that prevents water from seeping through the wall and causing further leaks. Follow these steps to effectively apply waterproofing solutions:
1. Choose the appropriate waterproofing product: There are various waterproofing products available in the market, including waterproofing paints, coatings, and membranes. Consider the specific needs of your basement and consult with a professional if needed to determine the best product for your situation.
2. Prepare the surface: Before applying the waterproofing solution, ensure that the surface of the wall is clean and free from any loose debris or dust. Use a brush or a damp cloth to remove any residues.
3. Apply the waterproofing solution: Follow the manufacturer’s instructions for the specific waterproofing product you are using. Use a paintbrush or a roller to apply an even coat of the product onto the surface of the basement wall. Pay extra attention to areas that are prone to leaks, such as corners or areas with previous repairs.
4. Allow the waterproofing solution to dry: Give the waterproofing solution sufficient time to dry and cure. Follow the recommended drying time specified by the manufacturer. Avoid any contact or disturbance to the treated wall during this period.
5. Apply additional coats if necessary: Depending on the type of waterproofing product used, you may need to apply multiple coats to achieve maximum effectiveness. Follow the manufacturer’s instructions for applying additional coats and make sure each layer is adequately dry before applying the next one.
Applying waterproofing solutions is a crucial step in preventing future leaks and protecting your basement from water damage. These solutions create a protective barrier that keeps water out, ensuring a dry and secure environment.
Once you have applied the waterproofing solutions, you can move on to the next steps in fixing your leaking basement wall.
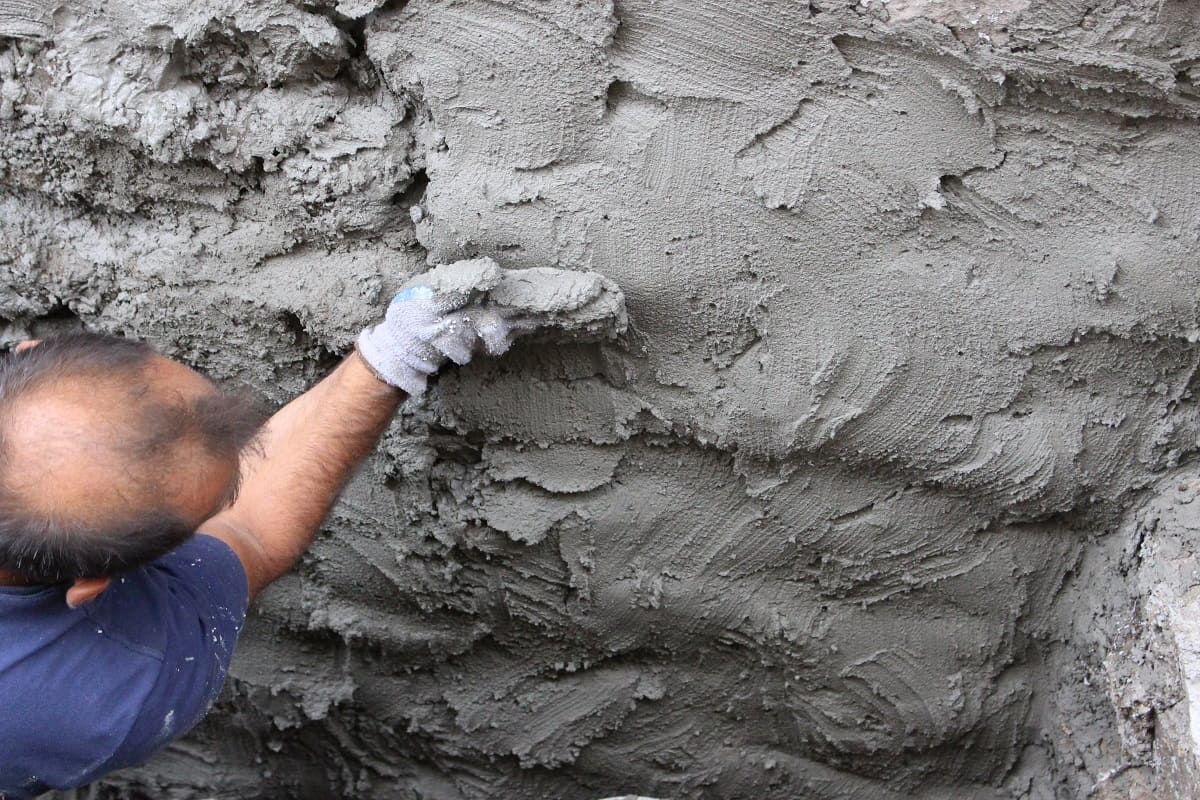
Step 6: Seal the basement wall
After applying waterproofing solutions, the next step in fixing a leaking basement wall is to seal the surface. Sealing the basement wall helps to further protect it from moisture and potential leaks. Follow these steps to effectively seal the basement wall:
1. Clean the wall: Ensure that the surface of the wall is clean, dry, and free from any debris or loose material. Use a brush or a damp cloth to remove any residues that may interfere with the sealing process.
2. Choose an appropriate sealant: There are different types of sealants available, such as epoxy, polyurethane, or silicone-based ones. Consider the specific needs of your basement and consult with a professional if needed to determine the best sealant for your situation.
3. Fill any remaining cracks or gaps: Inspect the basement wall for any remaining cracks or gaps that may have been missed during the previous repair steps. Use the chosen sealant to fill in these areas, ensuring a thorough application.
4. Apply the sealant to the entire wall: Using a caulk gun or a trowel, apply the sealant to the entire surface of the basement wall. Work in small sections, applying an even and continuous bead of sealant along the wall’s surface. Make sure to cover all areas, including corners and joints.
5. Smooth and level the sealant: Use a putty knife or a smoothing tool to smooth and level the applied sealant, ensuring a neat and uniform finish. This helps to improve the overall appearance and effectiveness of the sealant.
6. Allow the sealant to dry and cure: Follow the manufacturer’s instructions for the specific sealant used. Give the sealant sufficient time to dry and cure, ensuring that it forms a durable and watertight seal. Avoid any contact or disturbance to the sealed wall during this period.
Sealing the basement wall provides an additional layer of protection against moisture and potential leaks. It helps to reinforce the waterproofing efforts and ensures a robust barrier against water infiltration.
Once you have successfully sealed the basement wall, you can proceed to the final step in fixing your leaking basement wall.
Step 7: Monitor for any further leaks
After completing the necessary repairs and sealing the basement wall, it’s important to monitor for any further leaks. This step is crucial to ensure that the fixes were successful and that no new leaks develop over time. Follow these steps to effectively monitor for any potential leaks:
1. Allow the repairs to fully dry and cure: Give the repaired and sealed areas sufficient time to fully dry and cure. Follow the recommended drying and curing time specified by the manufacturer of the repair products used. This will ensure that the repairs have properly set and provide accurate results during monitoring.
2. Observe the basement wall regularly: Keep a close eye on the basement wall over the next weeks and months. Look for any signs of water infiltration, such as dampness, discoloration, or puddles. Pay attention to both the interior and exterior of the wall.
3. Check after heavy rain or melting snow: Monitor the basement wall particularly after heavy rainfall or during the melting of snow. These conditions can put extra stress on the waterproofing and sealing efforts. Check for any signs of water penetration or leakage during these times.
4. Investigate the source of any new leaks: If you notice any new leaks or water intrusion, investigate the source promptly. It could be due to unforeseen factors such as changes in the water table, plumbing issues, or external water sources. Address the source of the leak and make any necessary repairs to prevent further damage.
5. Take preventive measures: In addition to monitoring for leaks, it’s essential to take preventive measures to maintain the integrity of your basement wall. Keep the area around the foundation clear of excessive moisture, maintain proper drainage systems, and address any signs of water accumulation promptly.
Regular monitoring allows you to catch any potential leaks early on and take appropriate action to prevent further damage. It is an ongoing process to ensure the long-term effectiveness of the repair and sealing efforts on your basement wall.
If you notice any persistent or significant leaks that you are unable to address, don’t hesitate to seek professional help. They can provide expert guidance and assistance in resolving the issue.
Congratulations on successfully completing the steps to fix your leaking basement wall! With proper repairs, waterproofing, and monitoring, you have restored your basement to a dry and secure environment.
Conclusion
Fixing a leaking basement wall can be a daunting task, but with the right knowledge and steps, you can successfully address the issue and restore your basement to a dry and secure space. We have covered a comprehensive guide to help you through each step of the process, from identifying the source of the leak to monitoring for further leaks. By following these steps and taking preventive measures, you can safeguard your basement and prevent future water damage.
Remember, the first and most crucial step is to identify the source of the leak. Understanding the underlying cause will guide you in choosing the right repair methods and materials. Repairing minor cracks and holes is essential to create a solid foundation for the subsequent waterproofing steps.
Applying waterproofing solutions, such as waterproofing paints, coatings, or membranes, creates a barrier that prevents water infiltration. Sealing the basement wall further reinforces the protection against moisture and potential leaks. Regular monitoring allows you to catch any potential leakage and take appropriate action promptly.
Throughout the process, it’s important to ensure safety by wearing appropriate gear and taking precautions. If at any point you feel unsure or overwhelmed, don’t hesitate to seek professional assistance. They can provide expert advice and help in resolving any complex issues.
By completing these steps and maintaining a vigilant approach, you can enjoy a dry and secure basement, free from the worries of leaky walls and water damage. Take pride in your efforts and enjoy the peace of mind that comes with a well-maintained and protected living space.
Remember, a leaking basement wall is a problem that should be addressed promptly. Ignoring it can lead to more extensive damage and costly repairs down the line. So don’t wait, and embark on the journey to fix your leaking basement wall today!
Frequently Asked Questions about How To Fix A Leaking Basement Wall
Was this page helpful?
At Storables.com, we guarantee accurate and reliable information. Our content, validated by Expert Board Contributors, is crafted following stringent Editorial Policies. We're committed to providing you with well-researched, expert-backed insights for all your informational needs.


0 thoughts on “How To Fix A Leaking Basement Wall”