
Articles
How To Fix The Pull Chain On A Ceiling Fan
Modified: August 31, 2024
Learn how to fix the pull chain on a ceiling fan with these informative articles. Get step-by-step instructions and expert advice to solve the issue quickly.
(Many of the links in this article redirect to a specific reviewed product. Your purchase of these products through affiliate links helps to generate commission for Storables.com, at no extra cost. Learn more)
Introduction
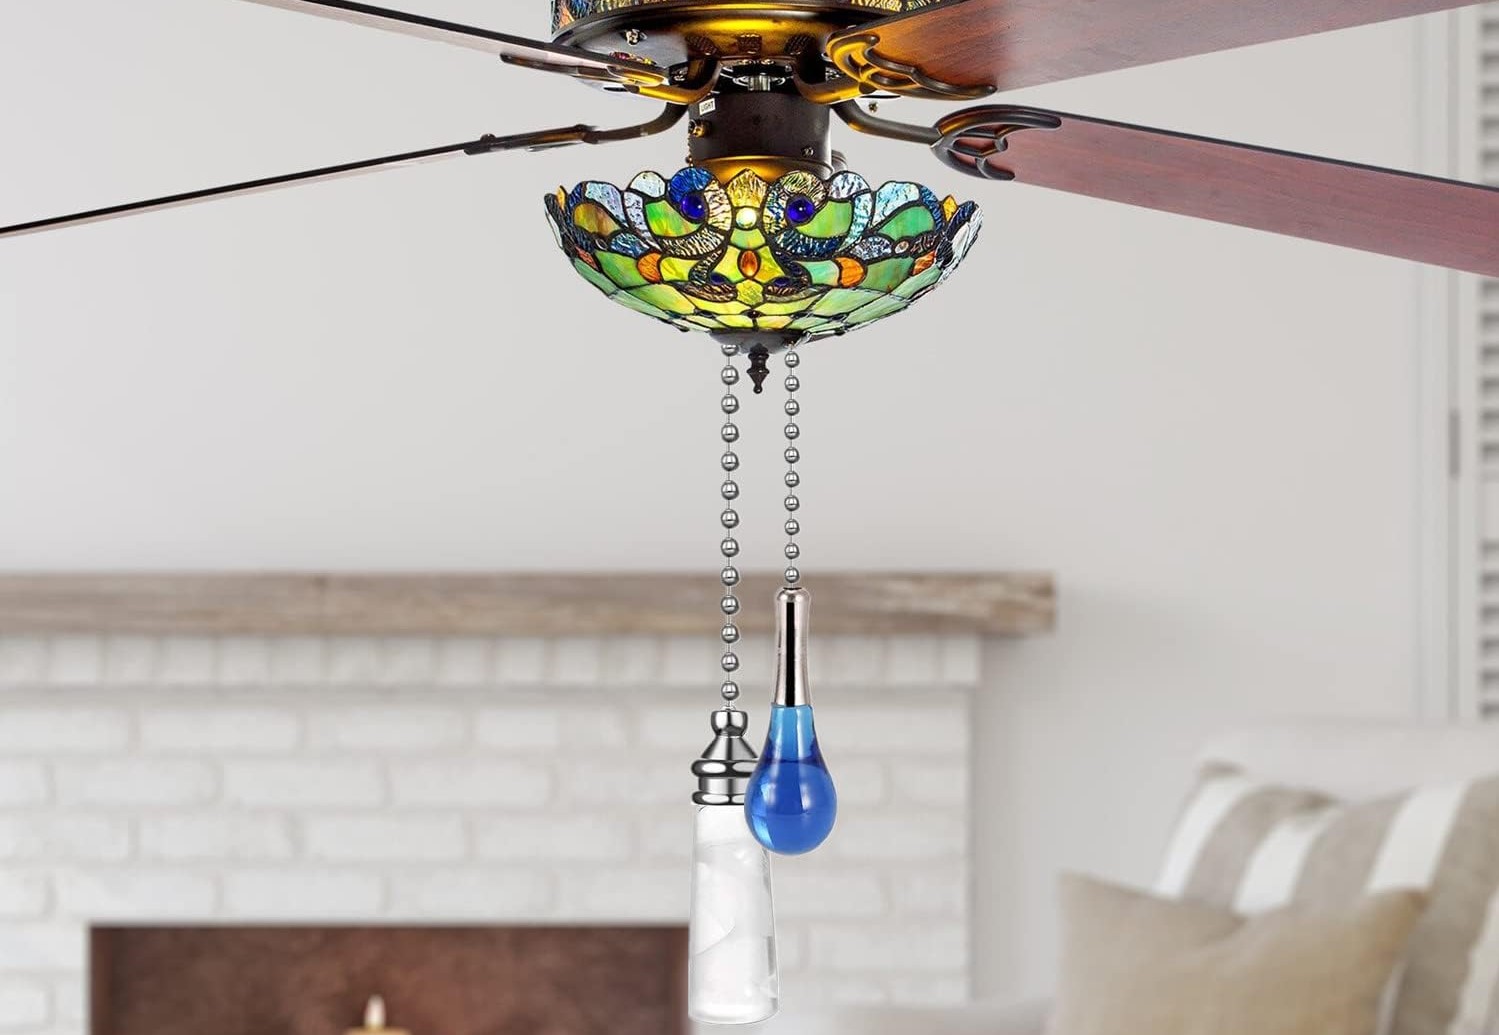
Ceiling fans are a popular and practical addition to any home. They provide relief from hot weather, circulate air, and can help save energy by reducing the need for air conditioning. However, like any other device, ceiling fans can encounter issues over time. One common problem is a malfunctioning or broken pull chain.
The pull chain is a crucial component of a ceiling fan as it allows you to control the fan’s speed, turn it on or off, and even adjust the direction of the blades. When the pull chain breaks or gets stuck, it can be frustrating, especially if you rely on it to operate your fan.
Luckily, fixing a pull chain on a ceiling fan is a relatively simple process that can be done without the need for professional help. In this article, we will guide you through the steps to fix a pull chain on a ceiling fan and get it up and running again in no time.
Key Takeaways:
- Easily troubleshoot and fix a malfunctioning ceiling fan pull chain with basic tools and step-by-step guidance, saving time and money on professional repairs.
- Prioritize safety, gather necessary tools, and follow clear steps to confidently replace a broken pull chain, ensuring a fully functional and convenient ceiling fan experience.
Read more: How To Fix A Pull Chain On A Ceiling Light
Tools and Materials Needed
Before you begin fixing the pull chain on your ceiling fan, it’s essential to gather the necessary tools and materials. Having everything ready upfront will make the process more efficient and help you avoid any unnecessary delays. Here’s a list of what you’ll need:
- Step ladder or stool
- Screwdriver (usually Phillips-head)
- Needle-nose pliers
- Wire stripper (if necessary)
- Replacement pull chain
- Optional: Replacement pull chain switch
Most of these tools are commonly found in households, but if you don’t have them, you can easily find them at your local hardware store. As for the replacement pull chain, it’s crucial to ensure that you purchase the correct type and size that matches your ceiling fan. You can refer to your fan’s manual or contact the manufacturer for guidance if needed.
Once you have gathered all the necessary tools and materials, you’re ready to move on to the next steps to fix the pull chain on your ceiling fan.
Step 1: Turn off the Power
Safety should always be your top priority when working on electrical devices. Before you begin fixing the pull chain on your ceiling fan, make sure to turn off the power to the fan and the room it is located in. This will help prevent any accidents or electrical shocks.
To turn off the power, locate the circuit breaker for the room where the ceiling fan is installed. Flip the corresponding switch to the “off” position. You can also use a voltage tester to double-check that there is no power flowing to the fan.
It is always a good idea to work with a partner or inform someone else in the house that you will be working on electrical components. This way, they can assist you if needed or help in case of an emergency.
Take note that turning off the fan using the handheld remote or wall switch is not sufficient to ensure your safety. Cutting off the power from the circuit breaker is the most effective way to prevent any accidental electrical contact.
Once you have confirmed that the power is off, you can proceed to the next steps and begin troubleshooting the pull chain on your ceiling fan.
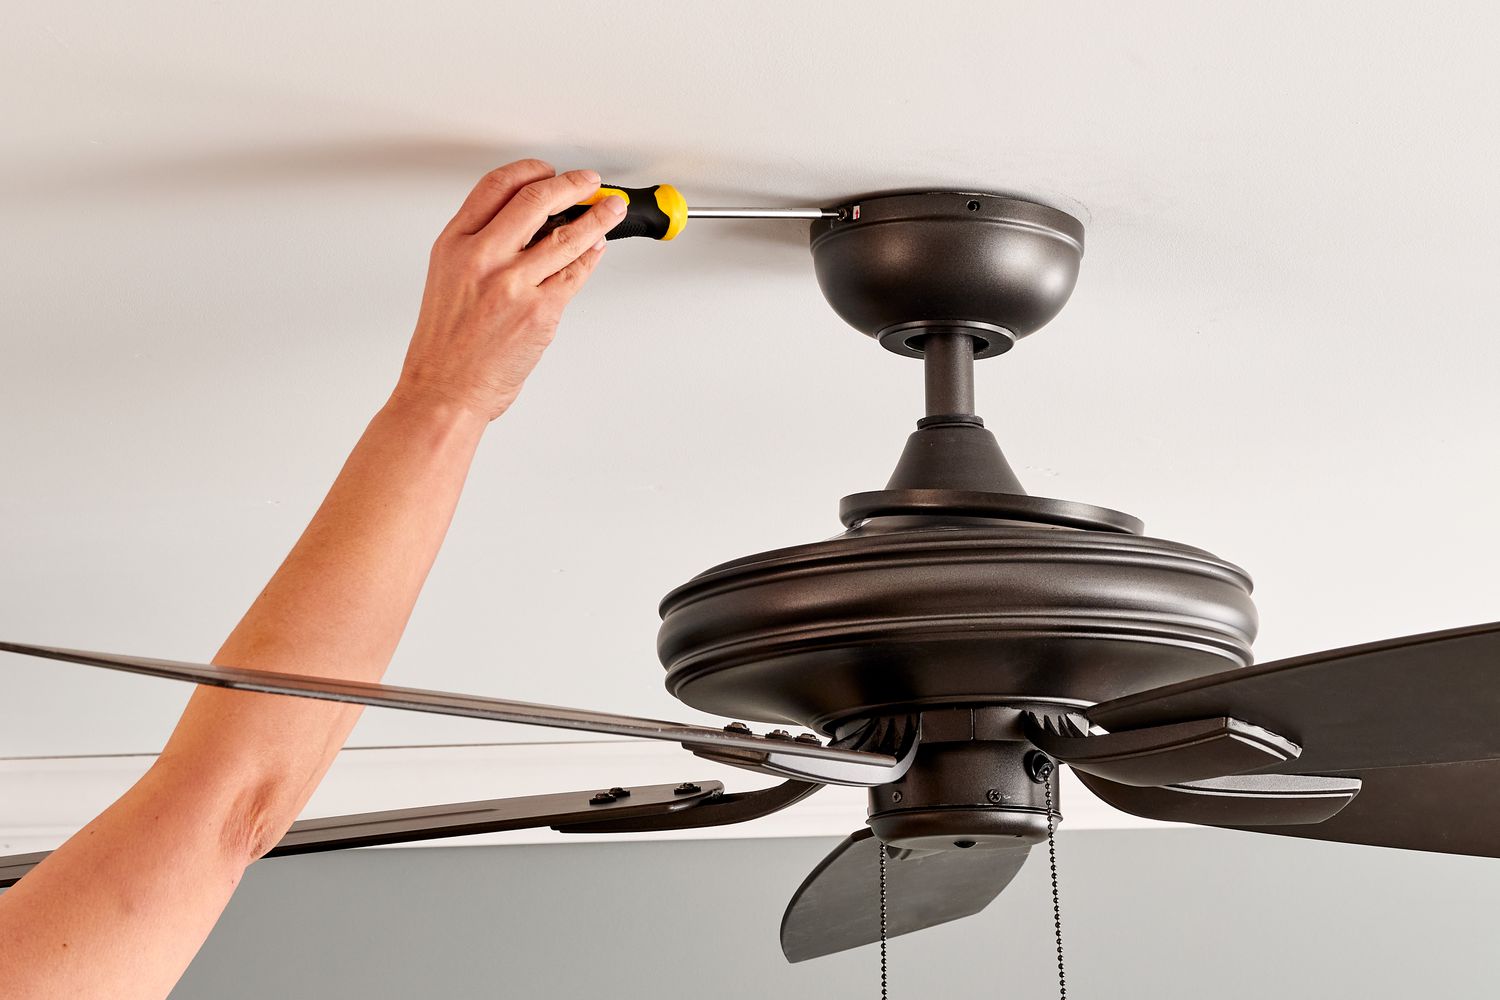
Step 2: Remove the Ceiling Fan Cover
With the power turned off, you can now safely remove the cover of the ceiling fan to access the internal components, including the pull chain assembly. Depending on the type and model of your fan, the cover may be held in place by screws or clips.
Grab a step ladder or stool that provides a stable and secure base for you to reach the fan comfortably. Position it directly beneath the fan so that you can work safely without straining or stretching too much.
Use a screwdriver to unfasten the screws that secure the fan cover. Typically, there will be two or more screws located at the bottom of the cover or on the sides. Carefully remove the screws and set them aside in a safe place to prevent them from getting lost.
If your fan’s cover is held in place by clips, gently push or pull on the cover to release the clips from their slots. Take caution not to exert too much force or cause any damage to the clips or the cover itself.
Once the screws have been removed or the clips have been released, carefully lower the cover down and set it aside. Take note of any connections or wires attached to the cover, as you will need to disconnect them in the next steps.
With the ceiling fan cover now removed, you have clear access to the internal components, including the pull chain assembly. This will allow you to thoroughly inspect and resolve any issues with the pull chain.
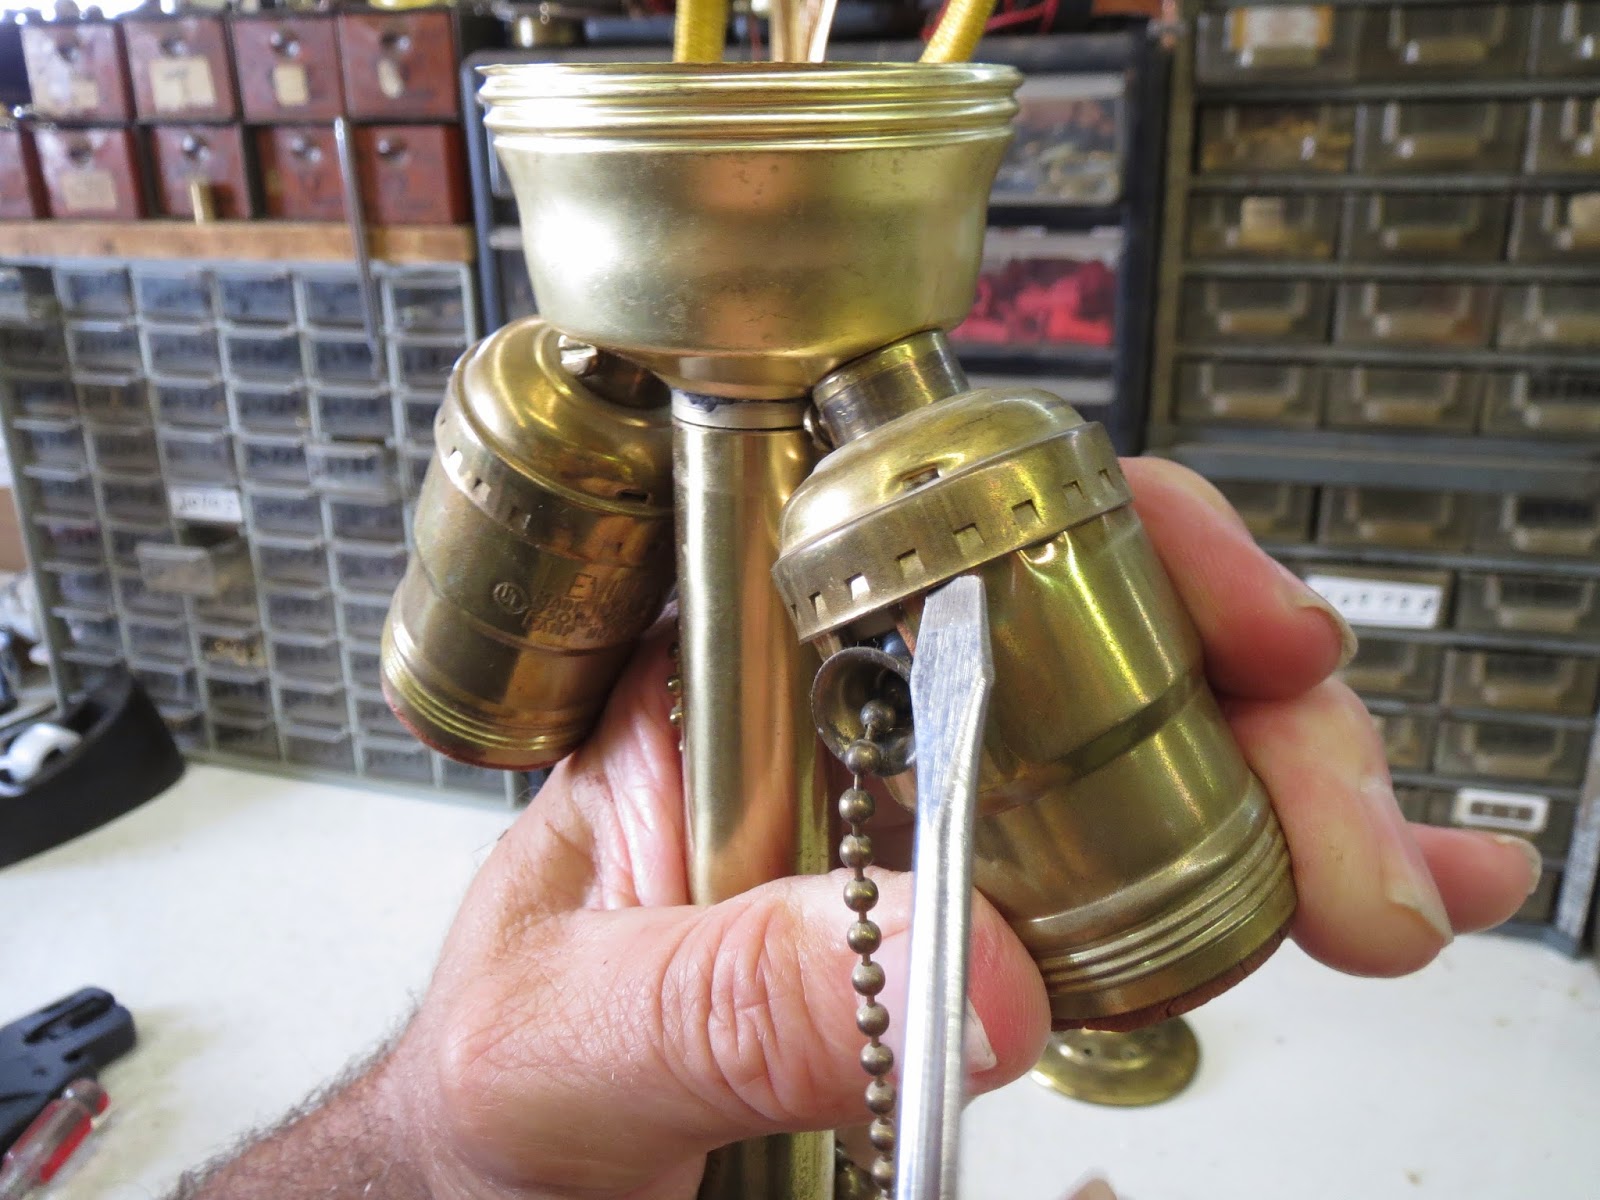
Step 3: Locate the Pull Chain Assembly
Now that the ceiling fan cover has been removed, it’s time to locate the pull chain assembly. The pull chain assembly is typically found in the center of the fan, above the motor housing.
Take a closer look at the internal components of the fan. You should be able to see a small box or housing with multiple wires connected to it. This is the pull chain assembly.
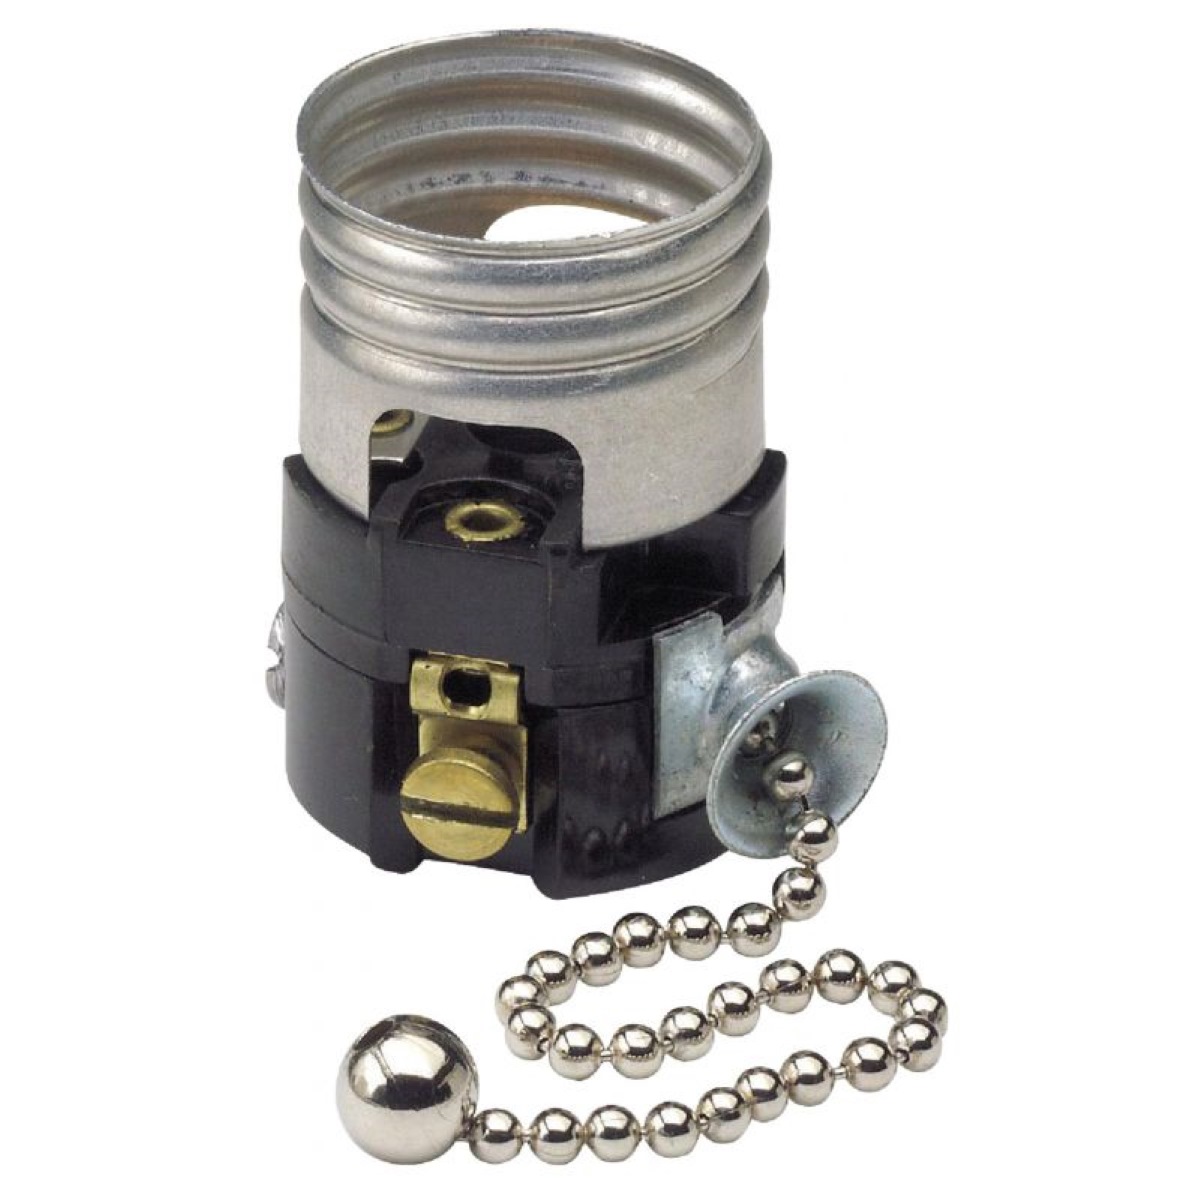
The pull chain assembly consists of several parts, including the pull chain itself, a pull chain switch, and sometimes a capacitor. The pull chain switch is responsible for controlling the fan’s speed and turning it on or off.
Inspect the pull chain assembly carefully to identify any visible signs of damage or wear. Common issues with the pull chain assembly include the chain being stuck or broken, the switch being loose or faulty, or the wires being improperly connected.
Take note of the position and arrangement of the wires connected to the pull chain assembly. It is essential to remember this configuration as you will need to reconnect the wires correctly later on in the process.
By locating the pull chain assembly, you have made significant progress in fixing the pull chain on your ceiling fan. Now that you have identified the necessary components, it’s time to move on to assessing and identifying the specific problem with the pull chain assembly.
When fixing a pull chain on a ceiling fan, first turn off the power to the fan. Then, remove the fan’s housing to access the pull chain mechanism. Inspect the chain for any damage and replace if necessary. If the issue is with the switch, replace it with a new one. Finally, reassemble the fan and restore power to test the pull chain.
Read also: 9 Amazing Ceiling Fan Pull Chain for 2025
Step 4: Assess and Identify the Problem
With the pull chain assembly in view, it’s time to assess and identify the specific issue causing the malfunction. Understanding the problem will help you determine the appropriate solution and take the necessary steps to fix it.
There are several common problems that can occur with the pull chain on a ceiling fan:
- The pull chain is stuck or difficult to pull: This can happen due to dirt, dust, or debris buildup inside the pull chain assembly. It can also be caused by a worn-out or tangled chain.
- The pull chain is broken: If the pull chain is completely detached or broken, it will need to be replaced.
- The pull chain switch is faulty: The switch itself may be loose, damaged, or worn out, resulting in the fan not responding to the chain’s movements.
- The wires are loose or disconnected: Sometimes, the wires connecting the pull chain assembly may become loose or disconnected due to regular usage or vibrations. This can cause the fan to stop working or respond incorrectly to the pull chain.
Take a close look at the pull chain, switch, and wires to determine the exact problem. Gently tug on the pull chain to see if it moves freely or if it is stuck. Examine the switch to check for any visible damage or looseness. Inspect the wires to ensure they are securely connected and undamaged.
Once you have identified the issue, you can proceed to the necessary steps to fix or replace the pull chain on your ceiling fan. The next section will guide you through the process of replacing the pull chain if necessary.
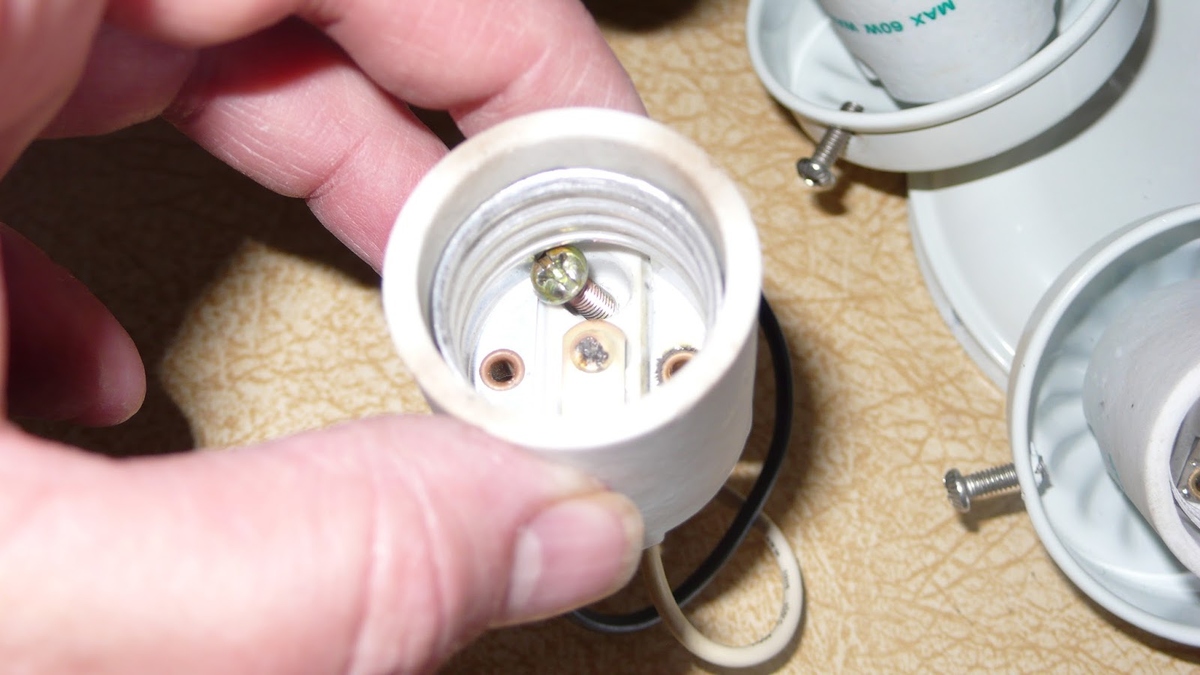
Step 5: Replace the Pull Chain
If you have determined that the pull chain on your ceiling fan is broken or damaged beyond repair, it’s time to replace it. Replacing the pull chain will ensure that you have a fully functional and operational fan.
To replace the pull chain, follow these steps:
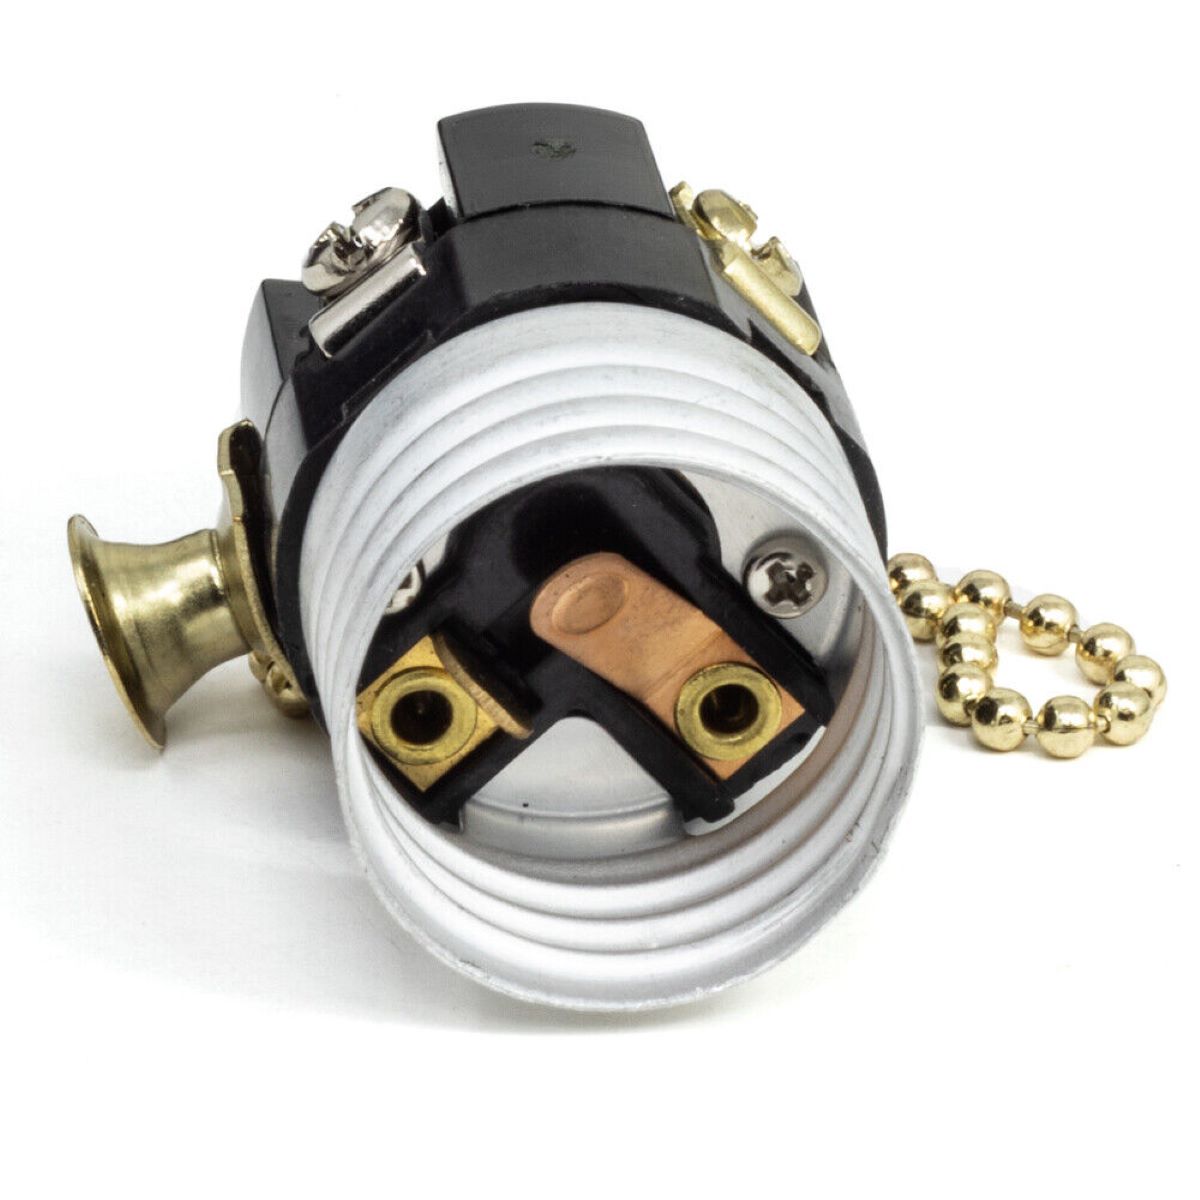
- Disconnect the wires: If the pull chain is still connected to the switch, you’ll need to disconnect the wires. Use needle-nose pliers to carefully remove the wire connectors or terminals.
- Remove the old pull chain: Once the wires are disconnected, you can remove the old pull chain from the pull chain switch. This may involve unscrewing the switch or opening a small panel to access the chain.
- Attach the new pull chain: Take your replacement pull chain and follow the manufacturer’s instructions for attaching it to the pull chain switch. This may involve threading the chain through a hole or attaching it to a connector.
- Connect the wires: Reconnect the wires to the pull chain switch, ensuring that each wire is securely attached. Double-check the wire connections to guarantee they are properly aligned.
Once the new pull chain is securely attached and the wires are connected, you can test it by gently pulling on the chain to see if it operates the fan correctly. If the fan responds as expected, you have successfully replaced the pull chain.
If the pull chain does not operate the fan correctly or if you encounter any difficulties during the replacement process, it may be necessary to replace the pull chain switch. This switch controls the fan’s speed and on/off functions, so a faulty switch could be the underlying issue.
In such a case, follow the manufacturer’s instructions to replace the pull chain switch. This generally involves disconnecting the wires, removing the old switch, and installing the new switch using the provided instructions.
Now that you have replaced the pull chain or switch, you’re ready to reassemble the ceiling fan and test the functionality of the pull chain in the next step.
Step 6: Reassemble the Ceiling Fan
With the pull chain issue resolved, it’s time to reassemble your ceiling fan. This step involves putting the fan cover back in place and ensuring that all the components are properly secured.
Follow these steps to reassemble the ceiling fan:
- Position the fan cover: Hold the fan cover up to the ceiling fan in its correct orientation. Align any screw holes or clips with their corresponding slots on the fan.
- Secure the fan cover: If your fan cover uses screws, insert and tighten them using a screwdriver. Make sure not to overtighten, as it can damage the cover or fan. If your fan cover uses clips, push it up firmly until the clips lock into place.
- Reconnect any wires: If there were any wires attached to the fan cover, such as grounding wires or light fixture wires, ensure that you reconnect them securely. Match the wire colors to their respective connectors and use wire connectors or electrical tape to secure them.
Once you have reassembled the ceiling fan and all components are securely in place, take a moment to double-check that everything is aligned correctly. Ensure that the fan cover is snug and that there are no loose or dangling wires.
At this point, you are almost finished with the process of fixing the pull chain on your ceiling fan. The final step involves testing the functionality of the pull chain to verify that the issue has been resolved successfully.
Step 7: Test the Pull Chain
After reassembling the ceiling fan, it’s crucial to test the functionality of the pull chain to ensure that the issue has been resolved. Testing the pull chain will confirm if the fan responds correctly to the chain’s movements and if the desired settings can be easily adjusted.
Follow these steps to test the pull chain:
- Turn on the power: Go to the circuit breaker and flip the switch for the fan’s circuit back to the “on” position. This will restore power to the fan.
- Gently pull the chain: Grab the pull chain and give it a gentle pull to activate the fan. The fan should start spinning at the desired speed according to the chain’s setting. Pull the chain again to adjust the fan’s speed as needed.
- Test other functions: If your fan has additional settings such as a light or a reverse mode for the blades, test those functions as well to ensure they are working correctly. Use the pull chain as necessary to activate or adjust the settings.
Observe the fan’s response to the pull chain and confirm that it operates smoothly and as expected. If you notice any issues, such as the fan not starting, not responding to the pull chain, or producing unusual noises, double-check the connection of the pull chain and the wires. Make sure everything is properly secured and connected.
If the pull chain and fan are functioning correctly, congratulations! You have successfully fixed the pull chain on your ceiling fan. Enjoy the convenience and comfort of having a fully operational fan in your home.
However, if you encounter any ongoing issues despite your troubleshooting efforts, it may be necessary to consult a professional electrician or contact the manufacturer for further assistance and guidance.
With the pull chain tested and functioning, you’re now ready to enjoy the benefits of a fully operational ceiling fan. Remember to always exercise caution when working with electrical components and follow safety procedures to ensure a safe and successful repair.
Read also: 10 Amazing Fan Pull Chain for 2025
Conclusion
Fixing the pull chain on a ceiling fan is a rewarding and relatively simple task that can save you the hassle and expense of hiring a professional. By following the steps outlined in this guide, you can successfully troubleshoot and resolve common issues with your fan’s pull chain.
Throughout the process, it’s important to prioritize safety by turning off the power and taking precautions when working with electrical components. Gather all the necessary tools and materials before starting, and proceed with a clear understanding of the problem at hand.
From turning off the power to removing the fan cover, locating the pull chain assembly, identifying the problem, replacing the pull chain if necessary, and reassembling the fan, each step is crucial to achieving a fully functioning pull chain. Finally, testing the pull chain ensures that the issue has been successfully resolved.
Remember, if you encounter any challenges or don’t feel comfortable working with electrical components, it’s always a good idea to seek professional assistance. Safety should be your top priority throughout the process.
By fixing the pull chain on your ceiling fan, you can restore its functionality and enjoy the benefits of a comfortable and well-ventilated living space. No more struggling with a broken or stuck chain – now you can effortlessly control the fan’s speed, turn it on or off, and adjust the blade direction with ease.
So go ahead, grab your tools and get to work. With a little effort and know-how, you’ll have your ceiling fan’s pull chain working flawlessly again in no time.
Now that you've mastered fixing a ceiling fan's pull chain, you might want to tackle more complex ceiling fan issues or other projects around your house. For those keen on broader fan fixes, our detailed guide on ceiling fan repair offers practical solutions. If you’re itching for more DIY projects, check out our comprehensive tips on DIY home improvement. And for regular upkeep, our straightforward advice on home maintenance ensures your home stays in top shape year-round. Dive into these resources for all your household needs!
Frequently Asked Questions about How To Fix The Pull Chain On A Ceiling Fan
Was this page helpful?
At Storables.com, we guarantee accurate and reliable information. Our content, validated by Expert Board Contributors, is crafted following stringent Editorial Policies. We're committed to providing you with well-researched, expert-backed insights for all your informational needs.


0 thoughts on “How To Fix The Pull Chain On A Ceiling Fan”