Articles
How To Fix AC Unit
Modified: January 8, 2024
Learn effective tips and techniques with our informative articles on how to fix your AC unit. Get expert advice and DIY solutions to keep your home cool and comfortable.
(Many of the links in this article redirect to a specific reviewed product. Your purchase of these products through affiliate links helps to generate commission for Storables.com, at no extra cost. Learn more)
Introduction
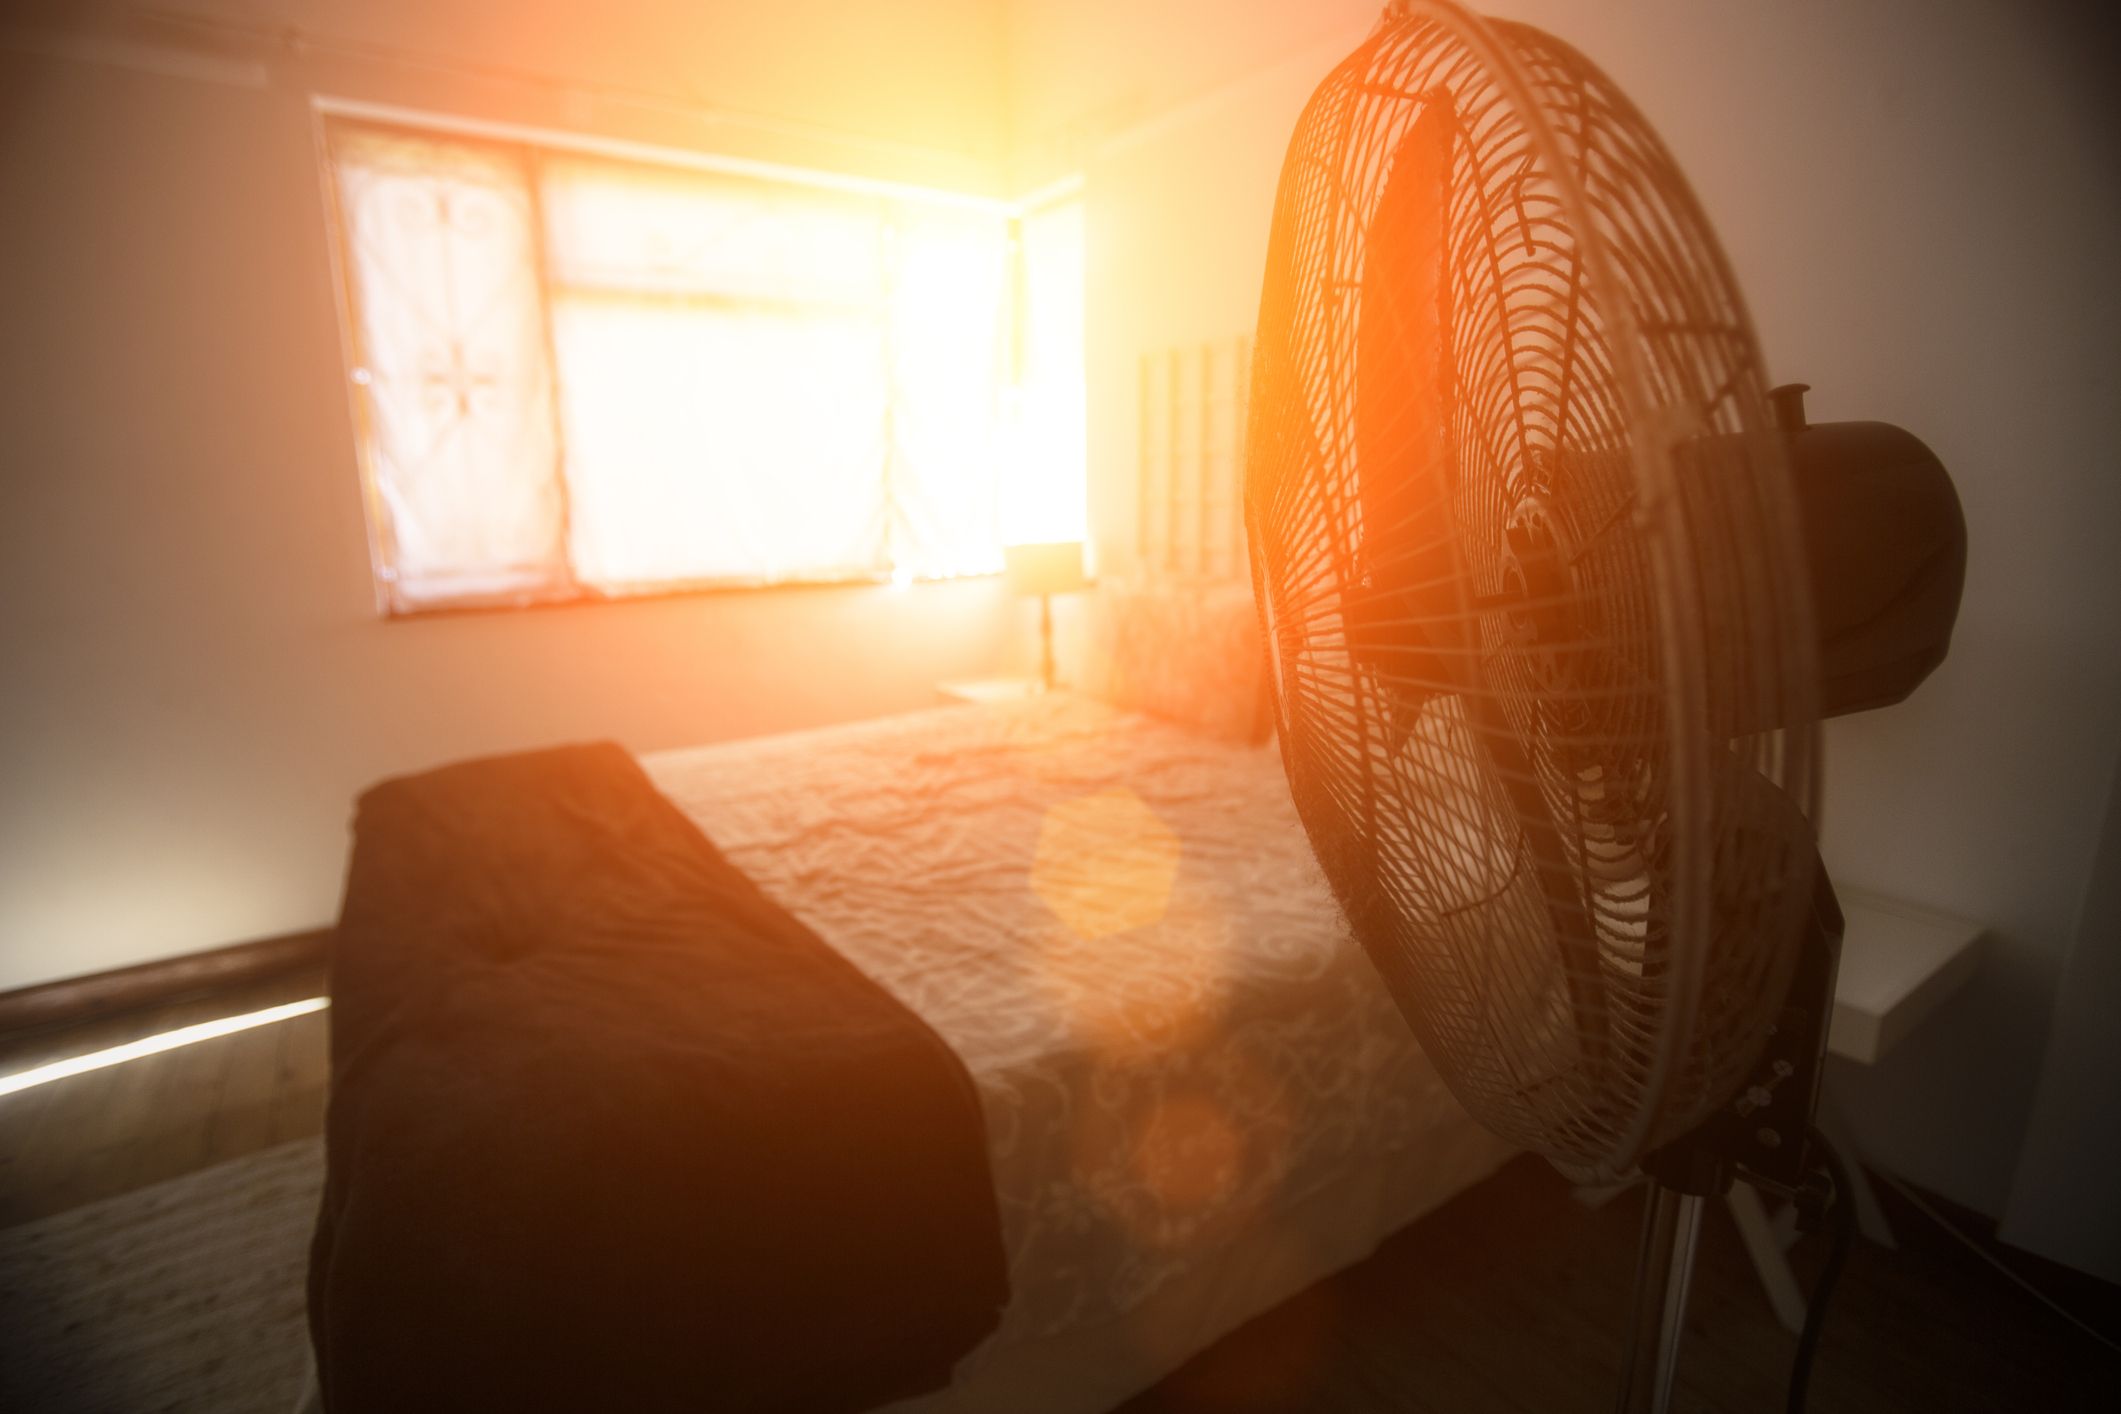
When the summer heat becomes unbearable, your AC unit becomes your best friend, providing cool and refreshing air to make your indoor space comfortable. However, like any mechanical system, AC units can encounter issues that may hinder their performance.
In this guide, we will explore common problems experienced with AC units and provide step-by-step instructions on how to fix them. Whether you’re a DIY enthusiast or simply want to be informed before calling a professional, this article will help you troubleshoot and address AC unit issues effectively.
Before diving into the troubleshooting steps, it’s important to note that safety should always be a top priority when working with any electrical appliance. Make sure to follow all safety precautions outlined in the manufacturer’s instructions and consult a professional if you feel uncertain in any way.
Now, let’s dig into the common issues that can arise with AC units and how to resolve them.
Key Takeaways:
- Regular maintenance and cleaning of the air filter, condenser unit, and ductwork are essential for efficient AC unit operation, ensuring optimal cooling performance and energy efficiency.
- When encountering complex AC unit issues, safety concerns, or the need for preventive maintenance, it’s advisable to seek the expertise of a professional HVAC technician to ensure proper diagnosis and resolution.
Read more: How To Fix Overcharged AC
Common Issues with AC Units
AC units are complex systems that can experience a range of problems over time. Understanding these common issues will help you diagnose and address them efficiently. Here are some of the most frequent problems encountered with AC units:
- Lack of Cooling: One of the main issues people face with AC units is inadequate cooling. This can be caused by a variety of factors, including a dirty air filter, refrigerant leaks, or a malfunctioning compressor. By identifying the root cause, you can take appropriate measures to restore proper cooling.
- Noise: AC units can produce unusual noises, such as rattling, grinding, or banging sounds. These noises can be indicative of loose components, worn-out fan blades, or damaged motors. Addressing these issues promptly will prevent further damage and improve the unit’s operation.
- Frequent Cycling: If your AC unit turns on and off frequently, it can be frustrating and impact energy efficiency. This can be due to a faulty thermostat, improper refrigerant levels, or an inadequate size of the unit for the space it is cooling. Identifying the cause will allow you to rectify the issue.
- Water Leaks: Another common problem is water leakage from the AC unit. This can be caused by a clogged condensate drain line, frozen evaporator coils, or a malfunctioning condensate pump. Taking the necessary steps to address these issues will prevent water damage and maintain the unit’s functionality.
- Electrical Issues: AC units rely on electrical power, and problems can arise with the unit’s electrical components. Faulty wiring, tripped breakers, or blown fuses can disrupt the operation of the unit. Ensuring proper electrical connections and addressing any issues will help restore the functionality of the AC unit.
These are just a few of the common problems experienced with AC units. By recognizing the symptoms and understanding the root causes, you can effectively troubleshoot and resolve the issues to keep your AC unit running efficiently.
Tools and Materials Needed
Before you start working on fixing your AC unit, it’s important to gather the necessary tools and materials. Having the right equipment on hand will ensure a smooth troubleshooting process and enable you to address the issues effectively. Here is a list of tools and materials you may need:
- Adjustable wrench
- Screwdriver set
- Wire cutter/stripper
- Socket set
- Refrigerant pressure gauge
- Cleaning solution (for condenser unit)
- Vacuum cleaner (with a brush attachment)
- Replacement air filter (if necessary)
- Condensate drain line cleaner or vinegar
- Electrical tape
- Protective gloves
- Safety goggles
- Flashlight
Keep in mind that the specific tools and materials needed may vary depending on the type and brand of your AC unit. It’s always a good idea to consult the manufacturer’s instructions or seek professional advice if you are unsure.
With these tools and materials at your disposal, you’ll be well-prepared to tackle the issues with your AC unit and restore its optimal functionality.
Safety Precautions
Working on an AC unit involves dealing with electrical components and potentially hazardous situations. Therefore, it is crucial to take proper safety precautions to ensure your well-being throughout the troubleshooting process. Here are some important safety measures to keep in mind:
- Turn off the power: Before beginning any work on your AC unit, make sure to switch off the power supply. This can be done by turning off the circuit breaker or disconnecting the unit from its power source. This step will prevent the risk of electric shock.
- Wear protective gear: Always wear protective gloves and safety goggles to protect yourself from any potential injury while working with the AC unit. These items will shield your hands and eyes from sharp edges, debris, and harmful chemicals.
- Handle refrigerant carefully: If you suspect a refrigerant leak, it’s important to exercise caution. Refrigerants can be harmful if inhaled or in contact with the skin. Utilize gloves and avoid direct contact with the refrigerant. If a leak is detected, contact a professional for assistance.
- Work in a well-ventilated area: When working with cleaning solutions or solvents, ensure that the area is well-ventilated. Proper ventilation will minimize exposure to fumes and create a safer working environment.
- Follow manufacturer’s instructions: Always refer to the manufacturer’s instructions when conducting any repairs or maintenance on your AC unit. Each model might have specific guidelines and safety precautions, so it’s important to adhere to them for your own safety.
- If uncertain, seek professional help: If you are unsure about any step or feel uncomfortable working on your AC unit, it is wise to seek professional assistance. HVAC professionals have the expertise and experience to handle complex repairs and ensure safety.
By following these safety precautions, you can minimize the risk of accidents and injuries while working on your AC unit. Your safety should always be a top priority, so take the necessary steps to protect yourself throughout the troubleshooting process.
Step 1: Check the Power
Before diving into the specifics of troubleshooting your AC unit, it’s important to start with a fundamental step – checking the power supply. This simple yet crucial step can help identify if there is a power issue that is causing the unit to malfunction. Here’s how to check the power:
- Inspect the circuit breaker: Start by locating the circuit breaker panel in your home. Check if the breaker for the AC unit is tripped or in the “Off” position. If it is, reset the breaker by flipping it to the “On” position. Wait a few minutes to see if the AC unit powers back on.
- Check the power switch: Locate the power switch near the AC unit. It is usually mounted on a wall or on the unit itself. Make sure it is in the “On” position. Sometimes, this switch can accidentally be turned off, causing the AC unit to lose power.
- Inspect the wiring: Look for any visible signs of damage to the wiring connected to the AC unit. If you notice frayed wires, loose connections, or burnt insulation, it may indicate a wiring issue. In such cases, it is recommended to consult a professional electrician to address the problem.
- Check the outlet: Ensure that the outlet where the AC unit is plugged into is functioning properly. You can do this by plugging in another device or appliance and checking if it powers on. If the outlet is faulty, try plugging the AC unit into a different outlet or consult an electrician to fix the issue.
- Inspect the power cord: Examine the power cord of the AC unit for any signs of damage or wear. If there are visible cracks, exposed wires, or frayed insulation, it is crucial to replace the power cord. Damaged cords can pose a safety hazard and should not be used.
By checking the power supply and addressing any power-related issues, you can rule out simple causes of AC unit malfunctions. If the AC unit still doesn’t turn on after performing these checks, proceed to the next step for further troubleshooting.
Read more: How To Fix An AC Leak
Step 2: Clean or Replace the Air Filter
A clogged or dirty air filter can restrict airflow and reduce the efficiency of your AC unit. This can lead to insufficient cooling and increased strain on the system. Cleaning or replacing the air filter is a simple yet important step in maintaining the performance of your AC unit. Here’s how to do it:
- Locate the air filter: The air filter is typically located in the air return grille or near the air handler of your AC unit. Refer to the manufacturer’s instructions or the unit’s manual to locate the filter.
- Turn off the AC unit: Before removing the air filter, make sure to turn off the AC unit from the power source. This will ensure safety while working on the unit.
- Remove the filter: Gently remove the air filter from its housing. Be careful not to damage or bend the filter frame during the process.
- Inspect the filter: Examine the condition of the filter. If it appears dirty, clogged, or covered in dust and debris, it’s time to clean or replace it.
- Clean the filter: If your filter is reusable and in good condition, clean it using a vacuum cleaner with a brush attachment or wash it with mild soap and water. Allow the filter to dry completely before reinstalling it.
- Replace the filter: If your filter is disposable or damaged, contact your local HVAC supplier or home improvement store to obtain a replacement filter of the same size and type. Insert the new filter into the housing, ensuring it is correctly aligned with the arrows or instructions on the filter frame.
- Turn on the AC unit: After cleaning or replacing the air filter, turn on the AC unit and verify that the airflow has improved. You should notice better cooling performance and improved air quality.
It is recommended to clean or replace the air filter every one to three months, depending on factors such as the level of pollutants in your environment and the frequency of AC usage. Regular maintenance of the air filter helps optimize the performance and energy efficiency of your AC unit.
Taking the time to clean or replace the air filter can greatly improve the airflow and overall performance of your AC unit. With this step completed, move on to the next troubleshooting step to resolve any remaining issues.
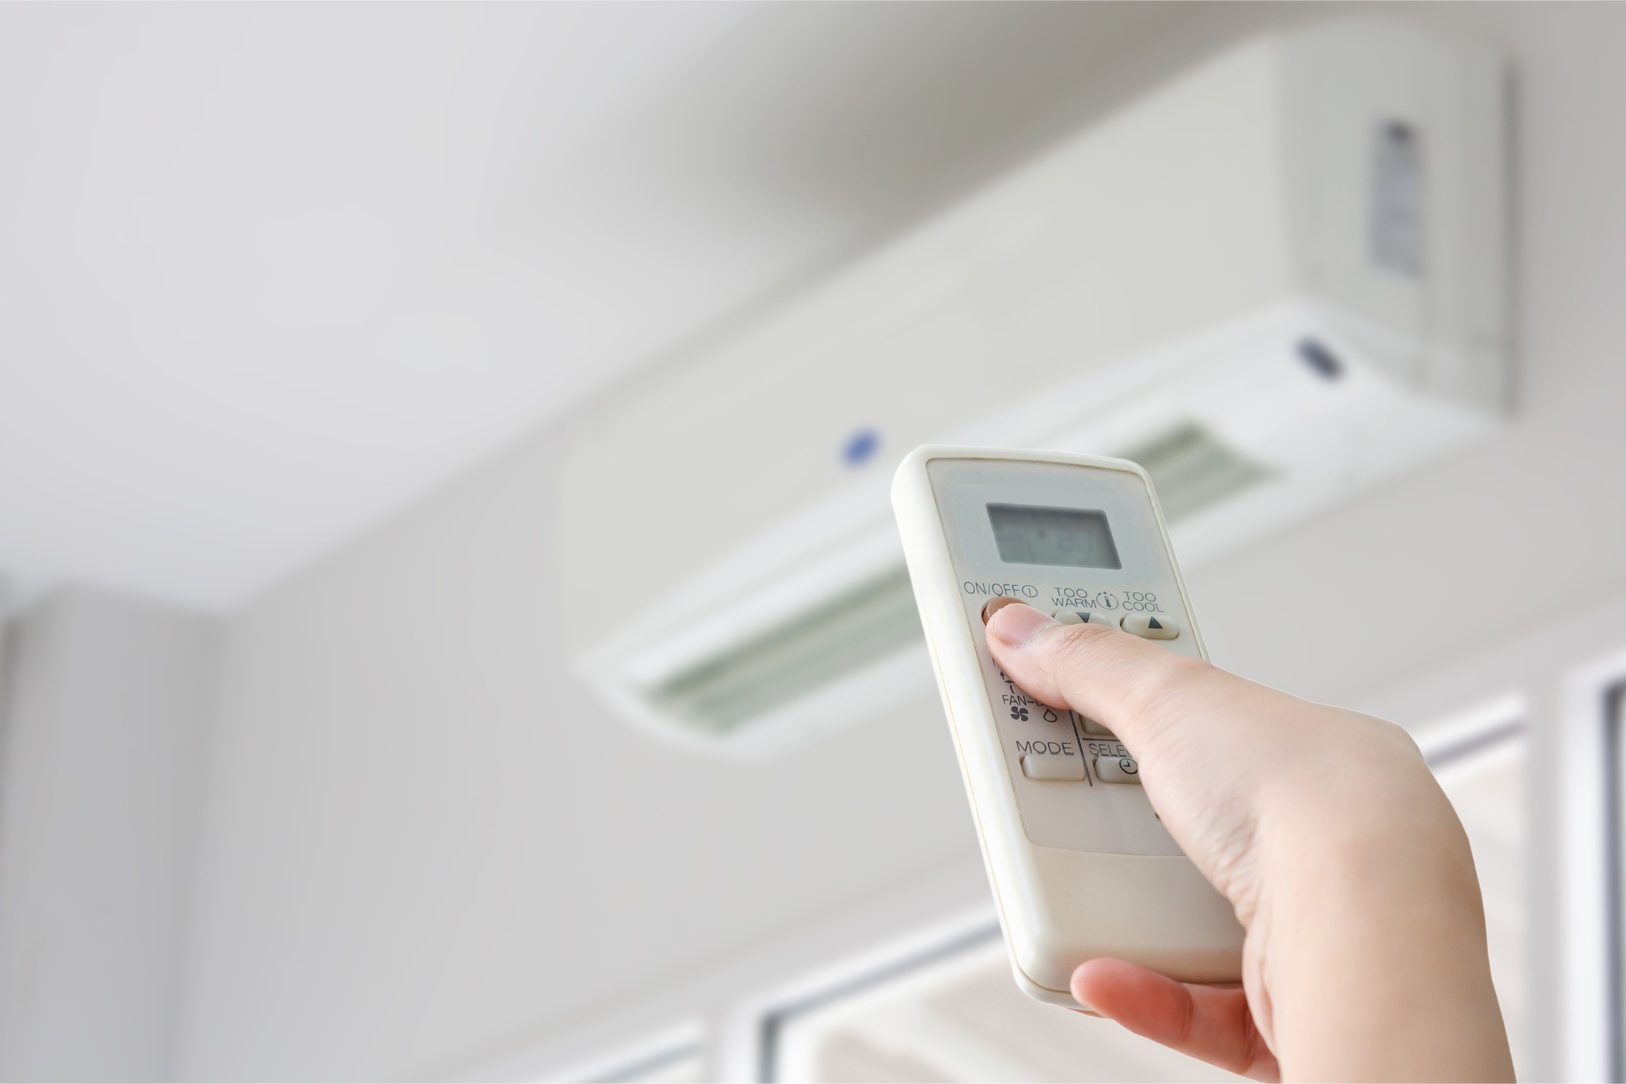
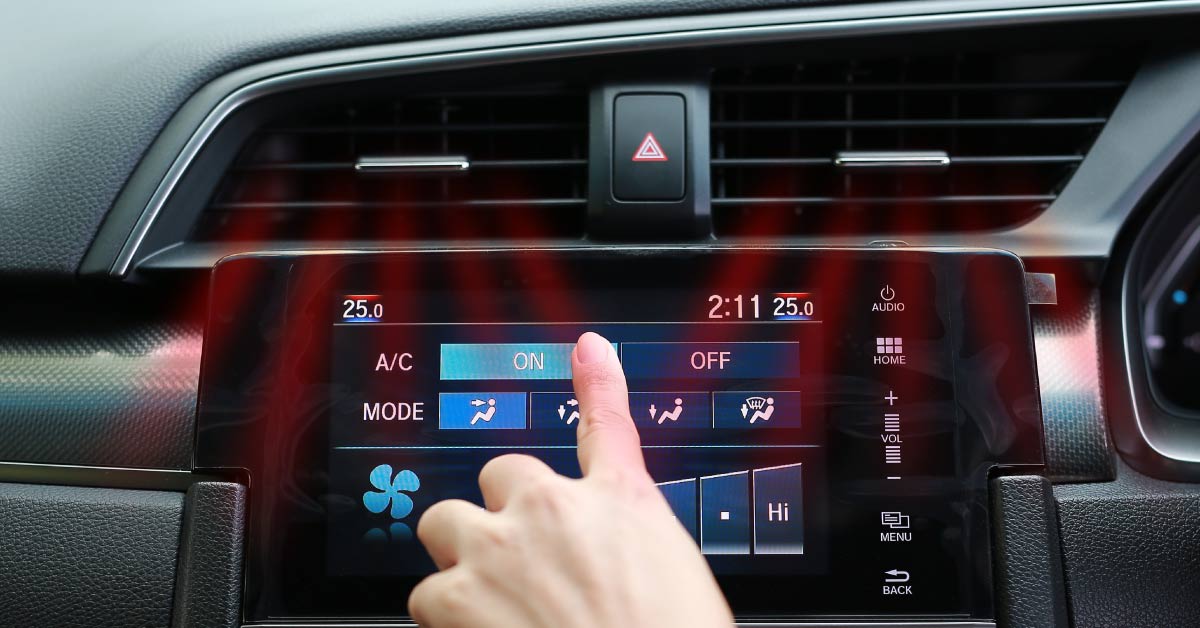
Step 3: Inspect the Thermostat
The thermostat is the control center of your AC unit, responsible for regulating the temperature and ensuring optimal comfort. If your AC unit is not functioning properly, it’s essential to inspect the thermostat to rule out any issues. Follow these steps to inspect and troubleshoot the thermostat:
- Check the power: Ensure that the thermostat has power. Make sure it is securely connected to its wiring and that there are no loose connections. If the thermostat is battery-powered, replace the batteries with fresh ones.
- Set the temperature: Set the thermostat to a temperature that is lower than the current room temperature. Listen for a clicking sound, which indicates that the thermostat is signaling the AC unit to turn on.
- Check programmable settings: If your thermostat has programmable settings, double-check that the current settings are appropriate for the time of day and desired comfort level. Adjust the settings if necessary.
- Calibrate the thermostat: Sometimes, thermostats can become miscalibrated, causing inaccurate temperature readings. To calibrate the thermostat, use a separate thermometer to compare the temperature readings. Adjust the calibration settings on the thermostat as needed.
- Clean the thermostat: Remove the thermostat cover and gently clean any dust or debris that may have accumulated on the device. Use a soft brush or a can of compressed air to clean the components and ensure smooth operation.
- Check the thermostat location: Inspect the thermostat’s placement. It should be away from direct sunlight, heat sources, drafty areas, and any potential obstructions. A poorly located thermostat can result in inaccurate temperature readings and inefficient operation.
- Test additional functions: If your thermostat has additional functions such as fan modes or programmable schedules, test these features to ensure they are working correctly. Refer to the manufacturer’s instructions for guidance on how to program and operate these functions.
By thoroughly inspecting and troubleshooting the thermostat, you can rule out any issues related to temperature control and ensure that your AC unit is receiving the proper signals to operate. If further issues persist, move on to the next step to continue the troubleshooting process.
Regularly clean or replace the air filters in your AC unit to ensure proper airflow and efficiency. Clogged filters can lead to reduced cooling and increased energy consumption.
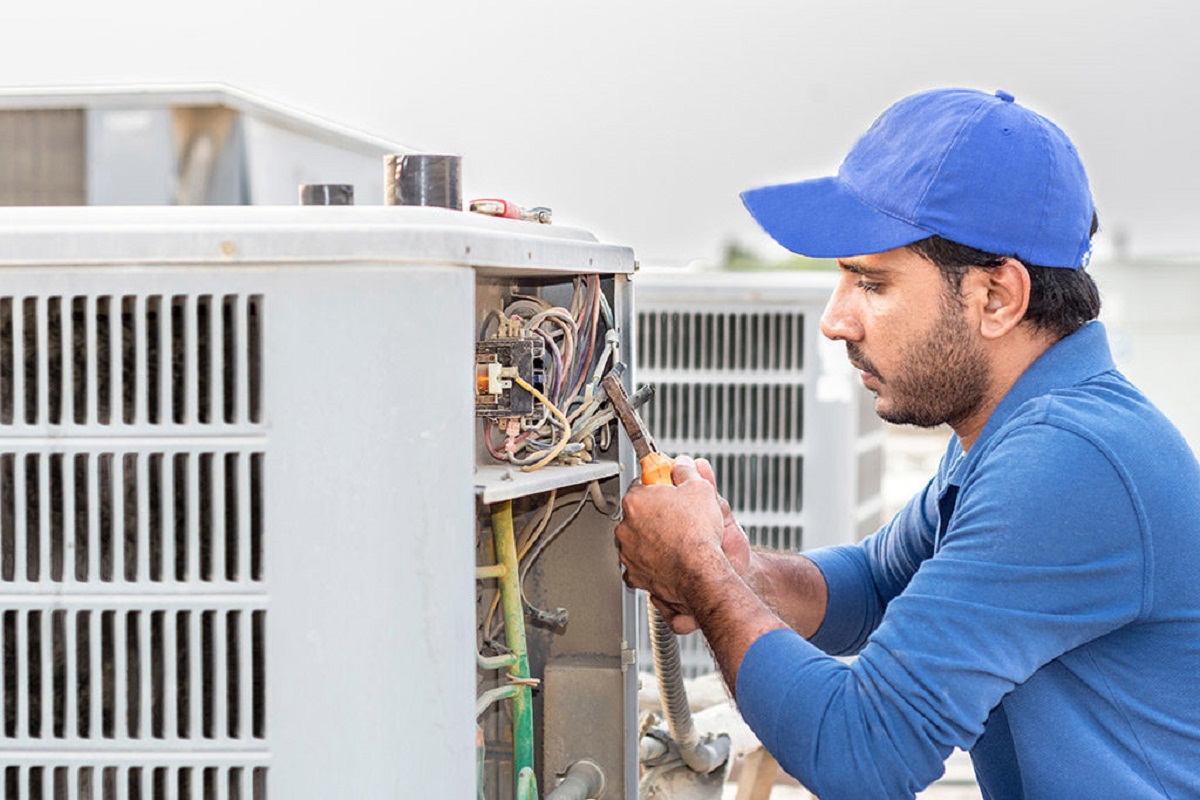
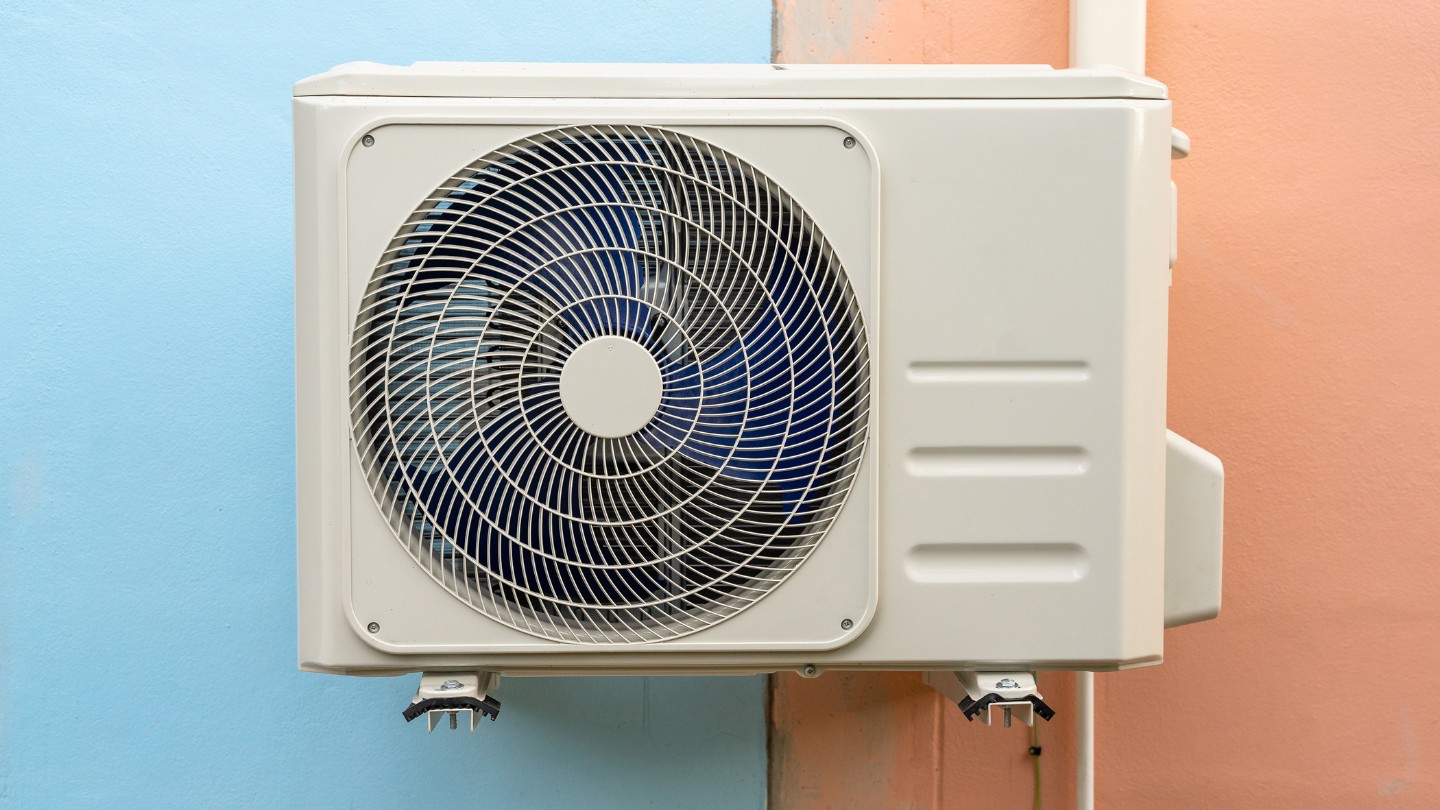
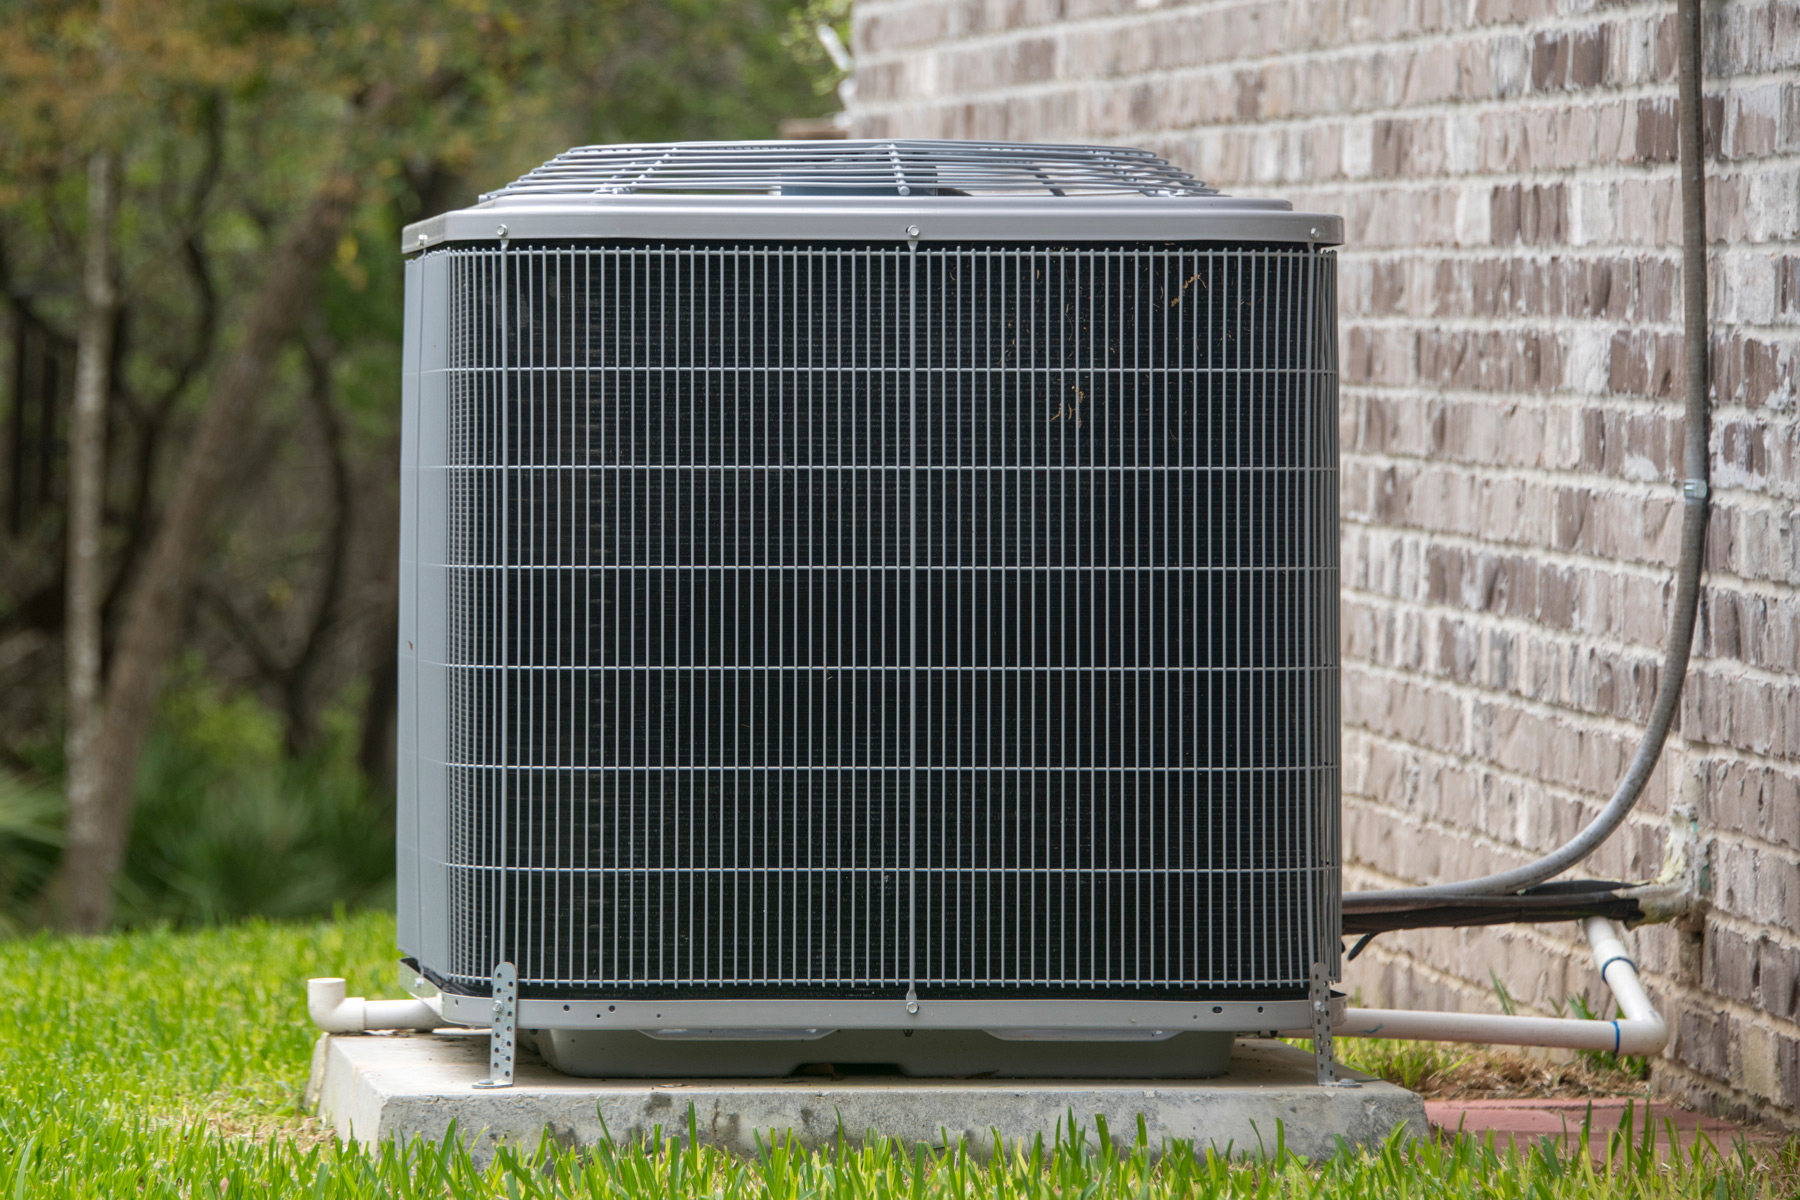
Step 4: Check and Clear the Condenser Unit
The condenser unit is an essential component of your AC system, located outside your home. It plays a crucial role in releasing heat from the refrigerant and maintaining efficient cooling. However, the condenser unit can become clogged with debris over time, affecting its performance. Follow these steps to check and clear the condenser unit:
- Power off the AC unit: Before inspecting or working on the condenser unit, make sure to turn off the power supply. Locate the disconnect switch near the unit and turn it off, or switch off the circuit breaker dedicated to the AC unit.
- Remove debris: Carefully examine the exterior of the condenser unit for any debris, such as leaves, grass, or twigs. Use gloves or a brush to remove the debris from the fins, fan blades, and around the unit. Be gentle to prevent damage to the delicate fins.
- Clean the fins: The condenser fins are responsible for dissipating heat. If they are dirty or clogged, it can hinder proper airflow. Use a soft brush or a fin cleaning tool to gently remove any dirt and debris from the fins. You can also use a vacuum cleaner or a hose with low pressure to clean the fins from the inside. Avoid bending the fins, as it can restrict airflow.
- Clean the condenser coils: Over time, the condenser coils can accumulate dirt and grime, reducing their efficiency. Using a coil cleaning solution or a mixture of mild detergent and water, spray the solution onto the coils and gently scrub them with a soft brush. Rinse thoroughly with water to remove any residue.
- Trim vegetation: Ensure that there is at least two feet of clearance around the condenser unit. Trim any bushes, shrubs, or tree branches that may obstruct the unit or impede airflow. Proper airflow is essential for the condenser unit to function optimally.
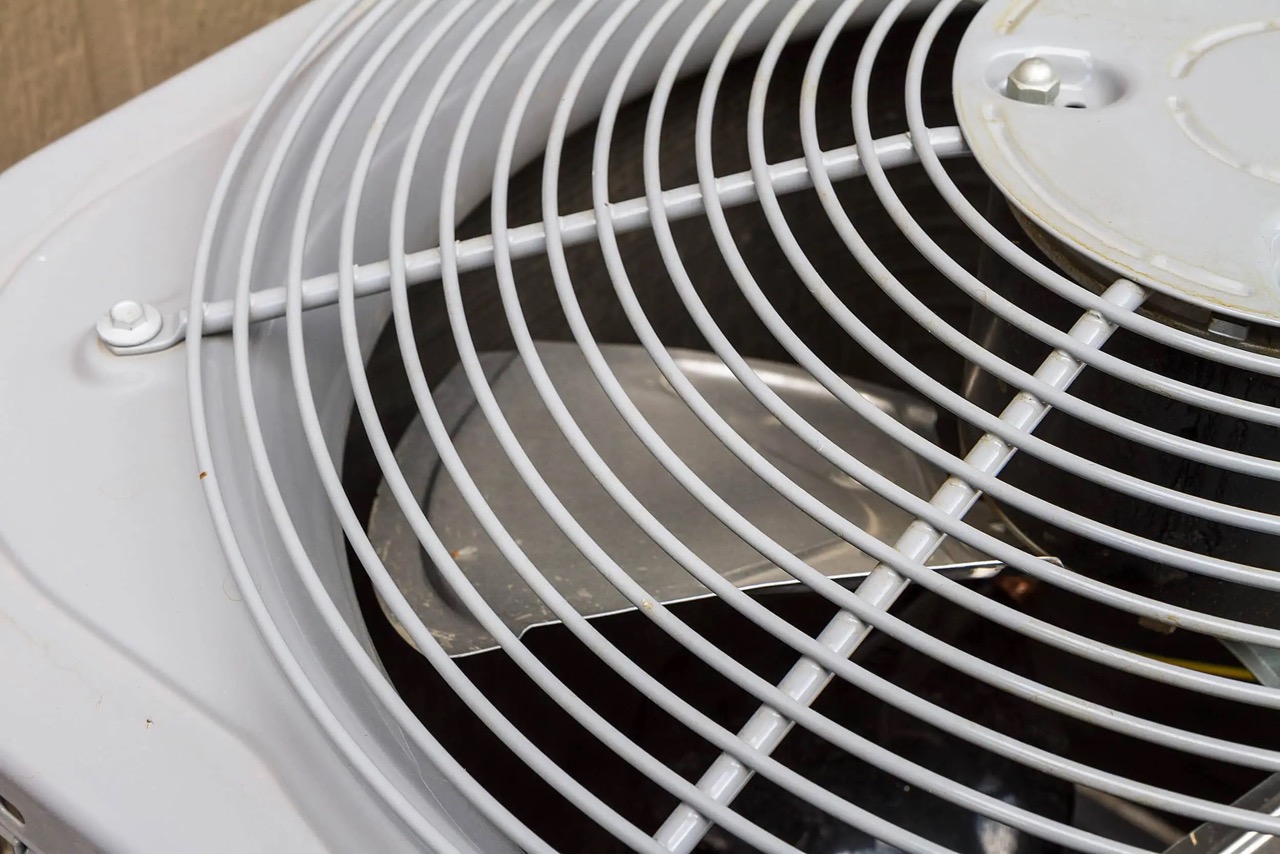
- Inspect the fan: Examine the fan blades for any signs of damage or wear. If you notice any cracks, chips, or bent blades, it may be necessary to replace the fan. A damaged fan can result in inefficient operation and cooling performance.
- Power on the AC unit: After cleaning and clearing the condenser unit, turn on the power supply and observe. You should hear the fan running smoothly, and the condenser should operate without any unusual sounds or vibrations.
Regular maintenance and cleaning of the condenser unit can significantly improve the efficiency and performance of your AC system. By following these steps, you’ll ensure proper airflow and heat dissipation, allowing your AC unit to cool your home effectively.
If issues persist or you notice any major damage to the condenser unit, it’s advisable to contact a professional HVAC technician for further inspection and repair.
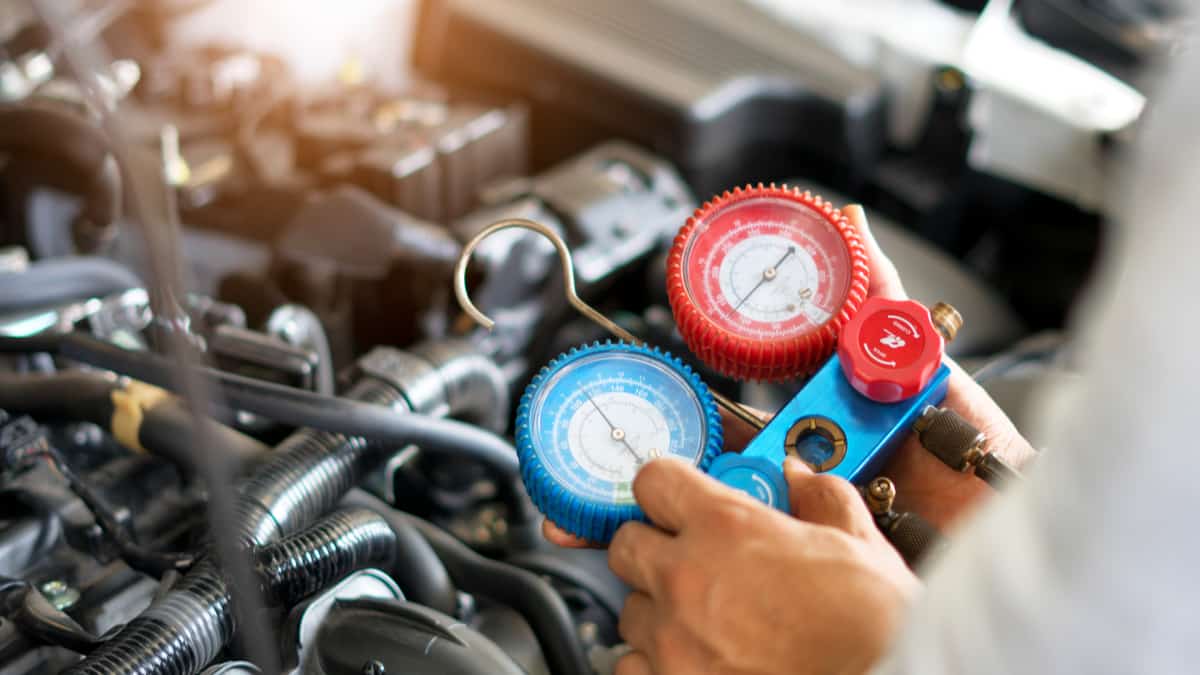
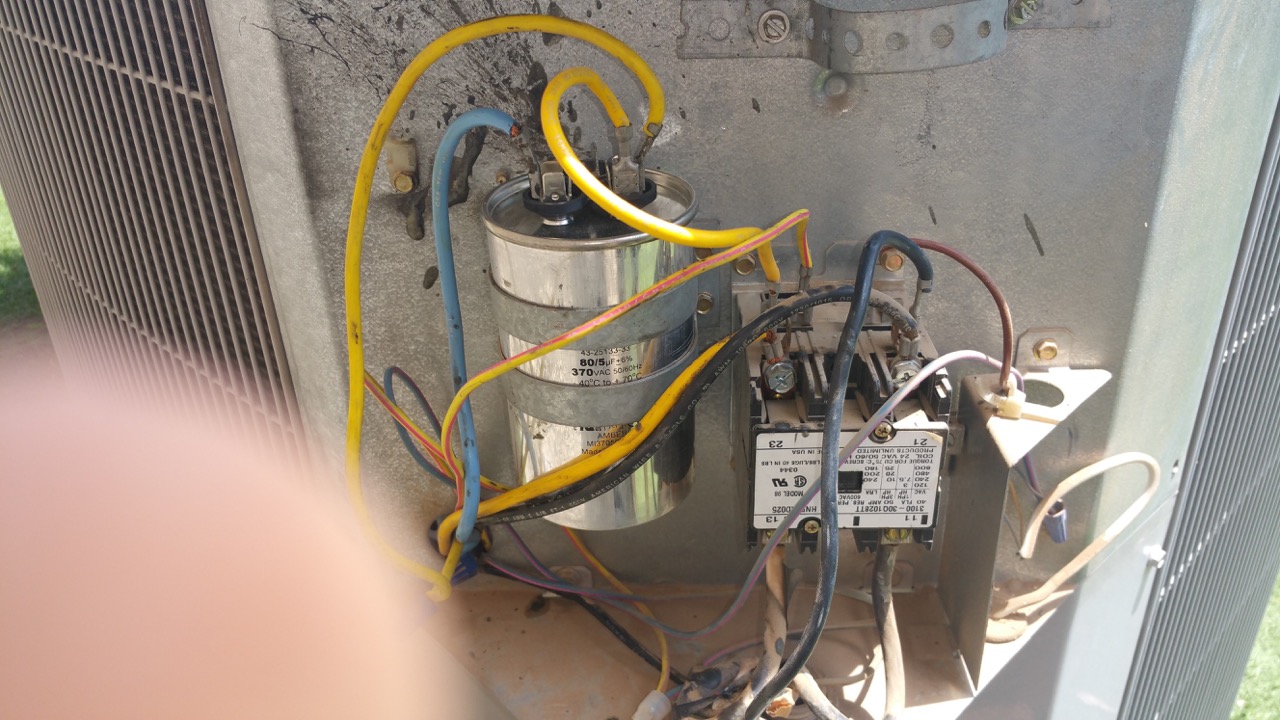
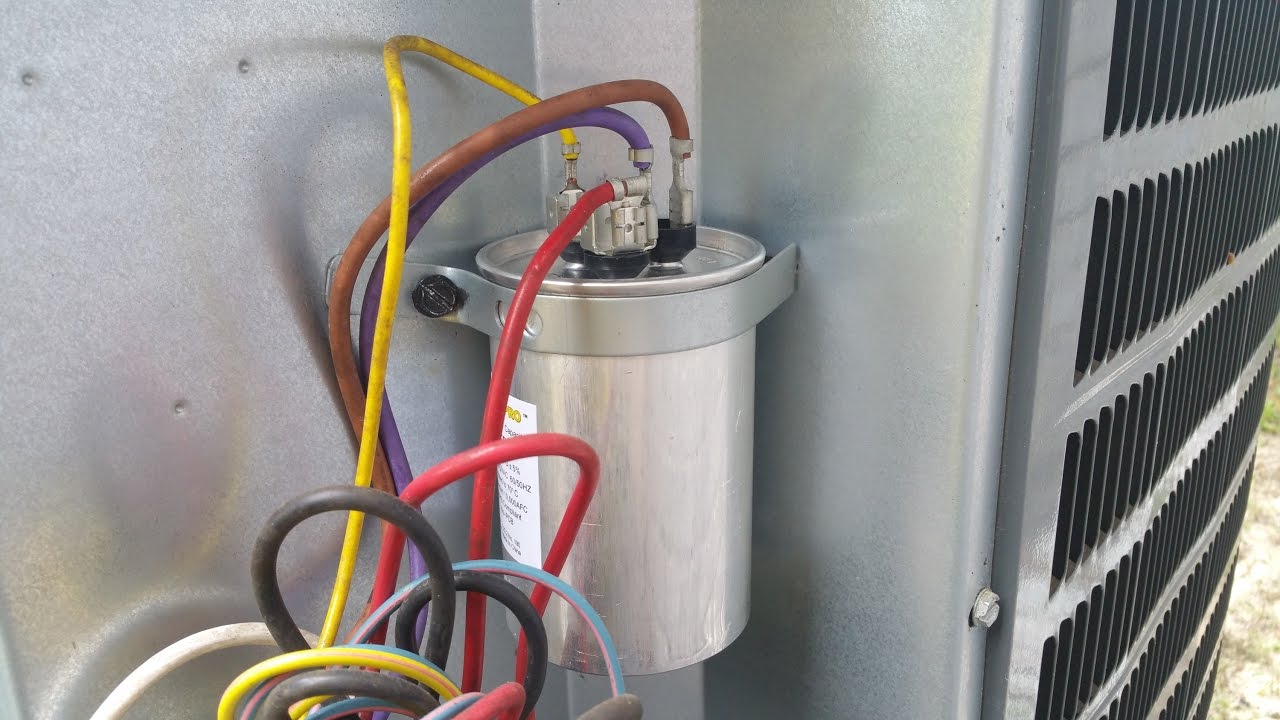
Step 5: Evaluate the Refrigerant Levels
Refrigerant is a crucial component in the air conditioning system, responsible for absorbing heat from indoor air and releasing it outside. Insufficient refrigerant levels can lead to poor cooling performance and potential damage to the AC unit. Follow these steps to evaluate the refrigerant levels:
- Turn off the AC unit: Before inspecting the refrigerant levels, ensure that the AC unit is turned off and the power supply is disconnected. This is important for your safety and to prevent any accidental damage to the unit.
- Locate the refrigerant lines: The refrigerant lines are usually located near the condenser unit outside your home. They are typically covered with insulation. Carefully remove the insulation to access the refrigerant lines.
- Inspect the refrigerant lines: Look for any signs of leakage, such as oil stains or refrigerant residue around the joints or connections. If you notice any leaks, it is advisable to contact a professional HVAC technician to repair the leaks and recharge the refrigerant.
- Check the pressure: To evaluate the refrigerant levels accurately, you will need a refrigerant pressure gauge. Attach the gauge to the service valve located on the refrigerant line. Follow the manufacturer’s instructions to connect the gauge properly and ensure a secure seal.
- Refer to the manufacturer’s guidelines: Consult the manufacturer’s specifications or the unit’s manual to determine the recommended refrigerant levels for your specific AC unit. Compare the gauge readings to the specified levels to assess if the refrigerant is within the appropriate range.
- Observe the pressure readings: Depending on the type of AC system, the pressure readings may vary. Low pressure may indicate a refrigerant leak or an insufficient charge, while high pressure could indicate an overcharged system or a problem with the condenser or compressor. If the readings are outside the recommended range, it is advisable to seek professional assistance.
Evaluating the refrigerant levels is a critical step in maintaining the efficiency and performance of your AC unit. If you suspect any leaks or if the refrigerant levels are outside the recommended range, it is best to consult a professional HVAC technician for proper diagnosis and repair.
Remember, handling refrigerant requires proper training and certification. It is not recommended for homeowners to add refrigerant themselves. Professional technicians have the knowledge and equipment to handle refrigerant safely and ensure your AC unit operates effectively.
Read more: How To Fix Frozen AC
Step 6: Examine the Fan and Blower Motor
The fan and blower motor in your AC unit are responsible for circulating air throughout your home. If these components are not functioning properly, it can result in restricted airflow and reduced cooling efficiency. Follow these steps to examine the fan and blower motor:
- Turn off the power: Ensure that the power supply to the AC unit is turned off before conducting any examination or maintenance. This is crucial for your safety and to prevent any accidental injury.
- Access the fan and blower motor: Depending on the design of your AC unit, access to the fan and blower motor may require removing a panel or cover. Follow manufacturer instructions or refer to the unit’s manual to locate and access these components.
- Inspect the fan blades: Check the fan blades for any signs of damage, such as cracks, warping, or excessive dust accumulation. Damaged fan blades can disrupt airflow and reduce the efficiency of the AC unit. If any damage is detected, it is recommended to replace the fan blades.
- Lubricate the fan motor: If your AC unit has a fan motor that requires lubrication, apply a few drops of lubricating oil to the designated oil ports. Be sure to use the recommended lubricant specified in the manufacturer’s instructions. Over-lubrication can also be harmful to the fan motor.
- Clean the blades and motor: Gently clean the blades and the motor housing using a soft brush or a cloth. Remove any accumulated dirt, debris, or dust that may obstruct the fan or motor. A clean fan and motor will ensure unrestricted airflow and optimal performance.
- Check the blower motor belt: If your AC unit has a belt-driven blower motor, inspect the belt for signs of wear or damage. Look for cracks, fraying, or slackness. If the belt appears worn out, replace it with a new one, following the manufacturer’s specifications for the correct belt size and tension.
- Reassemble and test: Once you have completed the examination and maintenance of the fan and blower motor, reassemble any panels or covers that were removed. Restore power to the AC unit and test its operation. Observe the fan and blower motor for proper functioning and smooth operation.
Examining the fan and blower motor ensures proper airflow and circulation within your AC unit. Regular maintenance of these components will improve the overall efficiency and performance of your AC system. If you encounter any major issues or are unsure about performing these tasks, it is recommended to consult a professional HVAC technician for assistance.
Step 7: Inspect Ductwork for Leaks
The ductwork in your home plays a crucial role in delivering cooled air from your AC unit to each room. Over time, leaks in the ductwork can develop, causing air to escape and reducing the efficiency of your cooling system. It is important to inspect your ductwork regularly for any signs of leaks. Follow these steps to inspect your ductwork:
- Turn on the AC: Before inspecting the ductwork, turn on the AC to create airflow through the system. This will help in identifying any leaks that can be detected by feeling for drafts or listening for air escaping.
- Access the ductwork: Locate the accessible sections of ductwork in your home. This can include areas such as the basement, attic, or crawl space. Remove any covers or insulation that may be concealing the ductwork.
- Inspect visible ductwork: Visually inspect the exposed sections of ductwork for any obvious signs of leaks or damage. Look for disconnected joints, loose fittings, or holes in the ducts. Pay close attention to areas where the ducts are supported by hangers or pass through walls or floors.
- Feel for drafts: Run your hand along the ductwork while the AC is running. Feel for any noticeable drafts or air escaping from the ducts. Leaks in the ductwork can lead to uneven cooling and reduced efficiency of your AC system.
- Listen for air escaping: While the AC is running, listen for any hissing sounds or air escaping from the ductwork. This can indicate the presence of leaks that need to be addressed.
- Seal any detected leaks: If you find any leaks or disconnected joints, seal them using HVAC foil tape or mastic sealant. Make sure to clean the surface before applying the sealant for proper adhesion. Larger holes or damaged sections may require professional assistance.
- Insulate exposed ductwork: If the exposed ductwork is not already insulated, consider insulating it. Proper insulation helps prevent condensation, improves energy efficiency, and maintains consistent cooling throughout your home.
- Repeat the process: Inspect all accessible sections of ductwork throughout your home, including those in different levels or rooms. Be thorough in your examination and address any identified leaks or issues.
Inspecting your ductwork for leaks is vital to ensure efficient airflow and optimal cooling in your home. Addressing any leaks will not only improve the performance of your AC system but also help save energy and reduce utility costs. If you’re unsure about inspecting or sealing ductwork, it’s best to seek professional assistance to ensure a thorough and proper assessment.
Step 8: Consider Hiring a Professional
While many AC unit issues can be resolved with DIY troubleshooting and maintenance, there are situations where it is best to seek the expertise of a professional HVAC technician. Here are some instances where it is recommended to consider hiring a professional:
- Complex or major repairs: If you encounter complex issues such as a malfunctioning compressor, refrigerant leaks, or motor failures, it’s best to leave the repairs to a trained professional. These repairs require specialized knowledge and equipment that only a professional technician possesses.
- Safety concerns: If you come across any safety concerns while troubleshooting or repairing your AC unit, such as exposed electrical wiring or refrigerant leaks, it is crucial to hire a professional. They have the expertise to handle these safety hazards and ensure the proper resolution of the issue.
- Manufacturer warranty: If your AC unit is still under warranty, attempting repairs or maintenance on your own can void the warranty. It is advisable to consult the manufacturer’s warranty terms and contact an authorized service provider to handle any repairs covered by the warranty.
- Lack of experience: If you do not have experience or knowledge in HVAC systems, it may be challenging to accurately diagnose and resolve complex AC issues. Professional technicians are trained to identify and repair problems efficiently and effectively.
- Time and convenience: Hiring a professional to handle AC repairs can save you valuable time and effort. They have the necessary tools, experience, and resources to quickly diagnose and fix the problem, allowing you to enjoy a fully functioning AC unit without the hassle.
- Preventive maintenance: Regular preventive maintenance is important to keep your AC unit in optimal condition. Professional HVAC technicians can provide comprehensive maintenance services, including cleaning, lubrication, and system inspections, to ensure your AC unit operates efficiently and reliably.
When it comes to complex repairs, safety concerns, and ensuring the longevity of your AC unit, hiring a professional is the best course of action. Professional technicians have the expertise, experience, and proper tools to address any issues and keep your AC unit running smoothly.
Remember to choose a reputable HVAC company or technician who is licensed, insured, and offers a warranty on their work. Conduct research, read reviews, and obtain multiple quotes before making a decision. By choosing a trusted professional, you can have peace of mind knowing that your AC unit is in capable hands.
Conclusion
Having a well-functioning AC unit is essential for maintaining a cool and comfortable environment in your home, especially during the scorching summer months. By following the troubleshooting steps outlined in this guide, you can address common issues with your AC unit and restore its optimal performance.
Throughout the troubleshooting process, it’s important to prioritize safety. Always remember to turn off the power before inspecting or working on the unit, wear protective gear, and consult a professional if you encounter any uncertainty or safety concerns.
From checking the power supply to inspecting the fan and blower motor, each step plays a crucial role in identifying and resolving AC unit issues. Regular maintenance and proper cleaning of components such as the air filter, condenser unit, and ductwork will help ensure smooth airflow and efficient cooling.
However, there may be instances where the expertise and knowledge of a professional HVAC technician are necessary. Complex repairs, safety concerns, or the need for preventive maintenance are all valid reasons to consider hiring a professional. They have the experience, tools, and training to handle more intricate AC unit issues.
By keeping up with regular maintenance, addressing issues promptly, and seeking professional help when needed, you can extend the lifespan of your AC unit and enjoy optimal cooling performance for years to come.
Remember, a well-maintained AC unit not only provides comfort but also saves energy, reduces utility costs, and enhances the overall quality of your indoor environment.
So, don’t let AC unit problems spoil your summer. Take the necessary steps to troubleshoot, maintain, and repair your AC unit and enjoy a cool and comfortable living space all season long.
Frequently Asked Questions about How To Fix AC Unit
Was this page helpful?
At Storables.com, we guarantee accurate and reliable information. Our content, validated by Expert Board Contributors, is crafted following stringent Editorial Policies. We're committed to providing you with well-researched, expert-backed insights for all your informational needs.


0 thoughts on “How To Fix AC Unit”