Articles
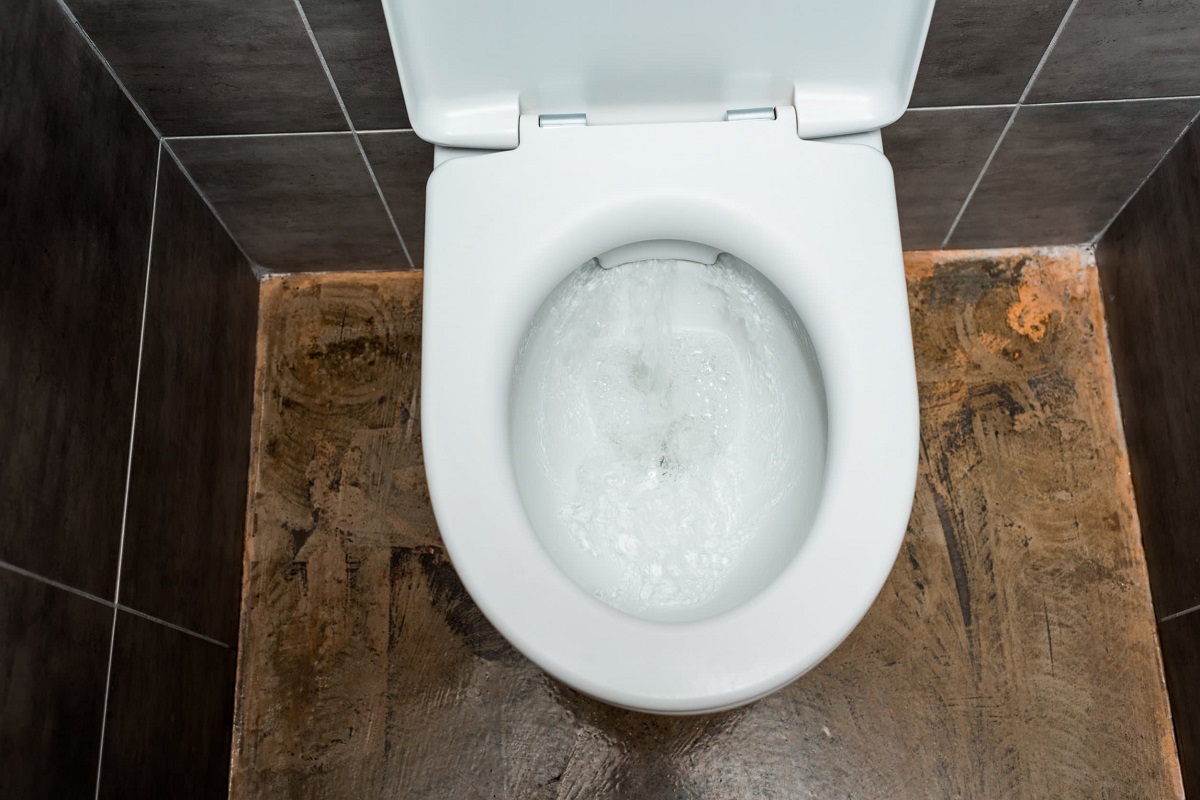
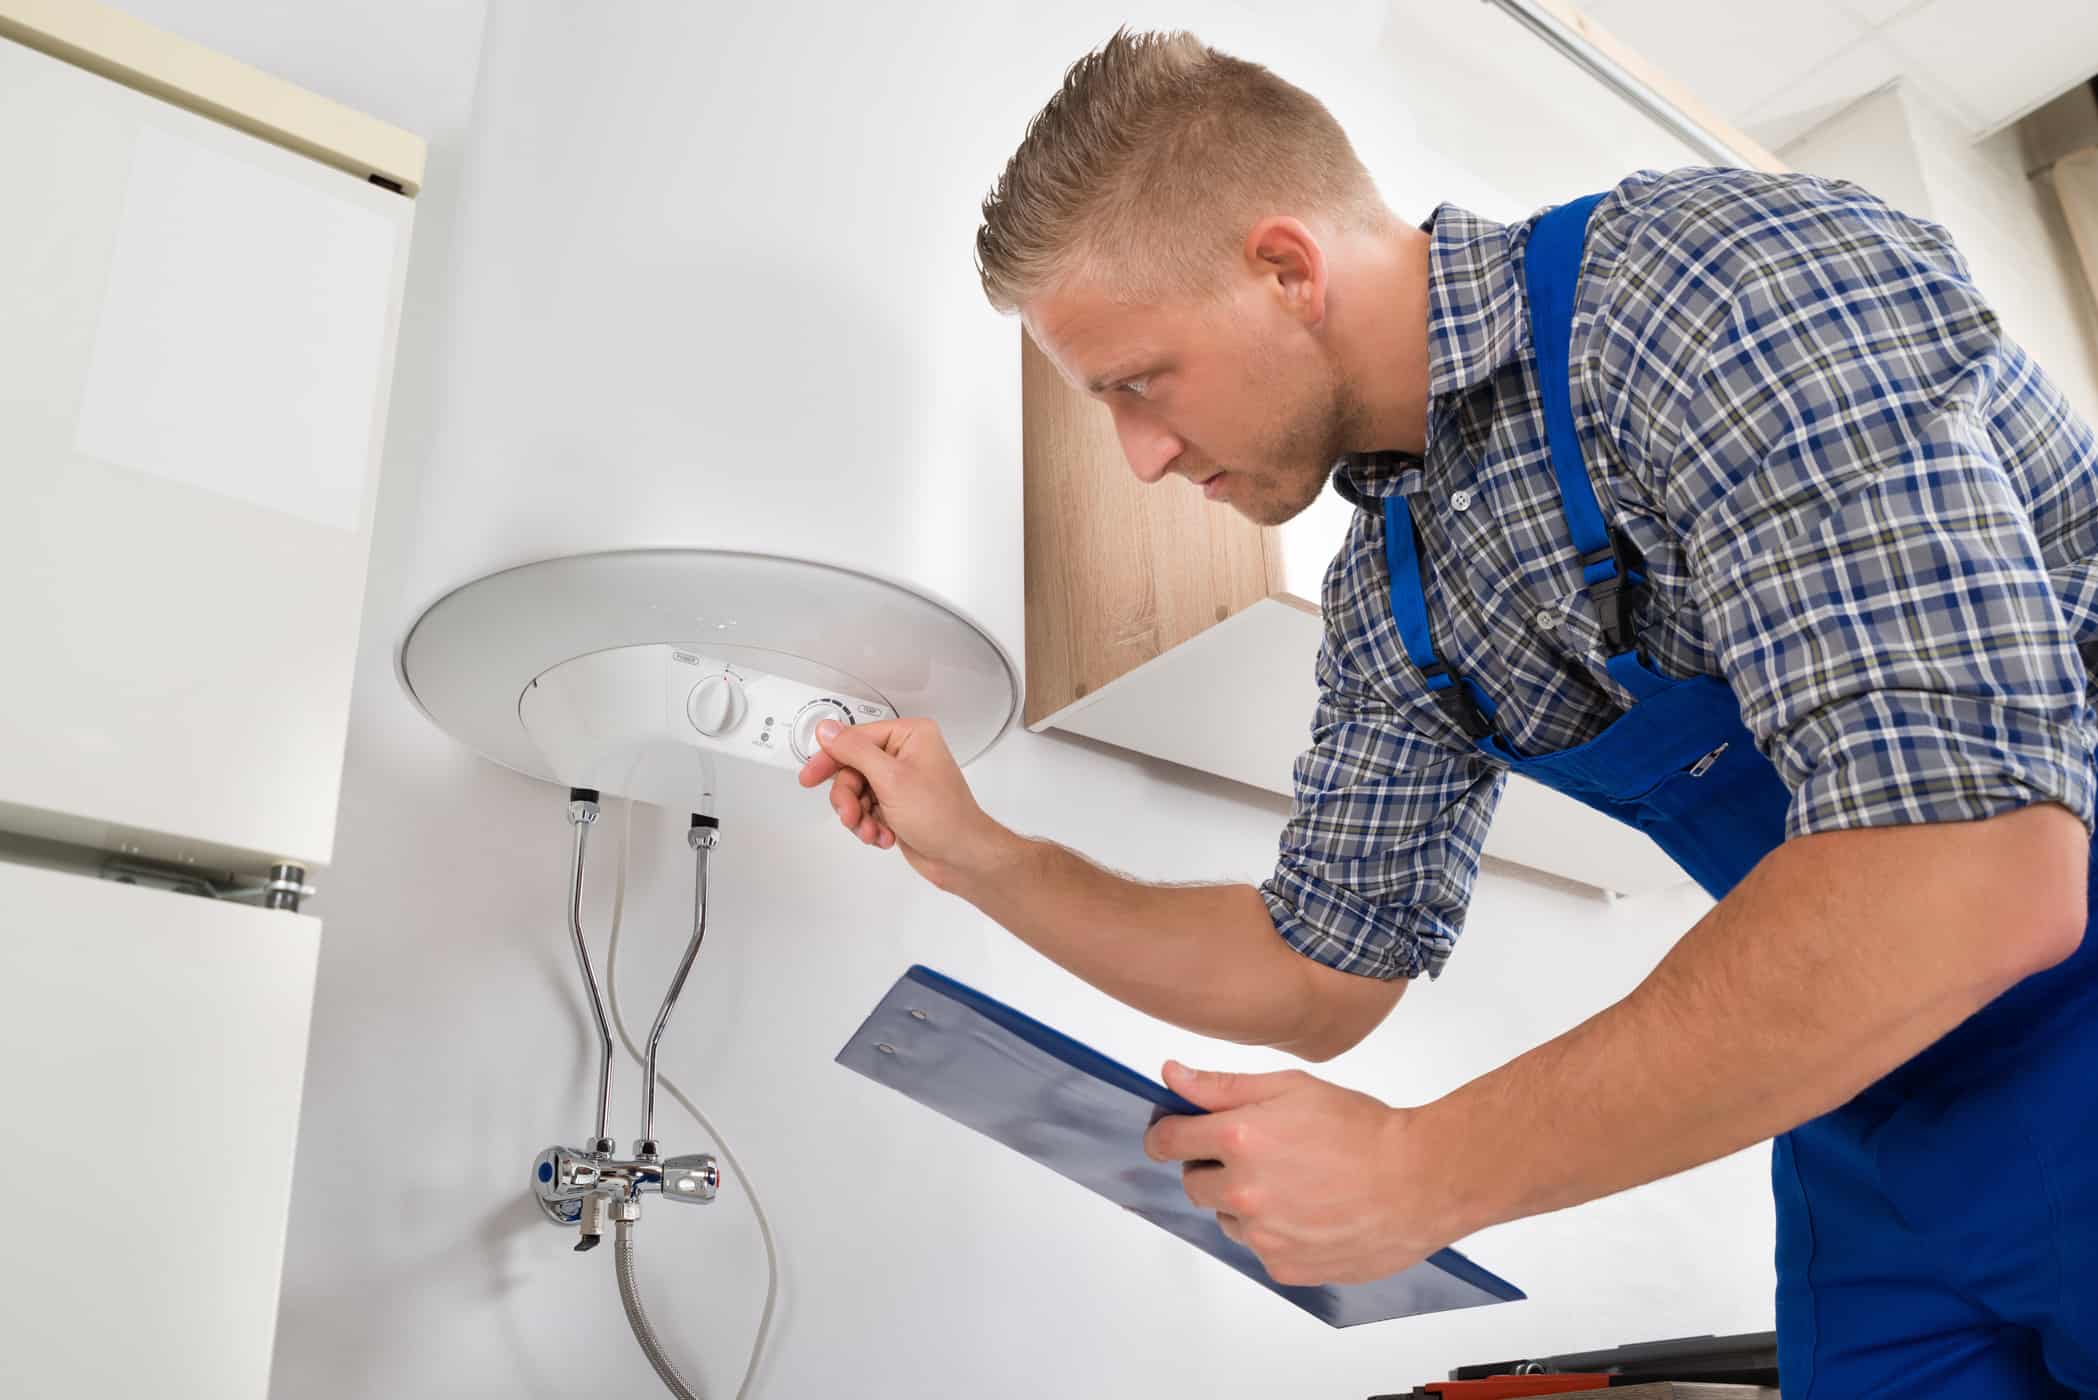
How To Fix Toilet Running Water
Modified: January 6, 2024
Learn how to fix a running toilet and stop wasting water with these helpful articles. Find step-by-step guides and expert tips to resolve the issue.
(Many of the links in this article redirect to a specific reviewed product. Your purchase of these products through affiliate links helps to generate commission for Storables.com, at no extra cost. Learn more)
Introduction
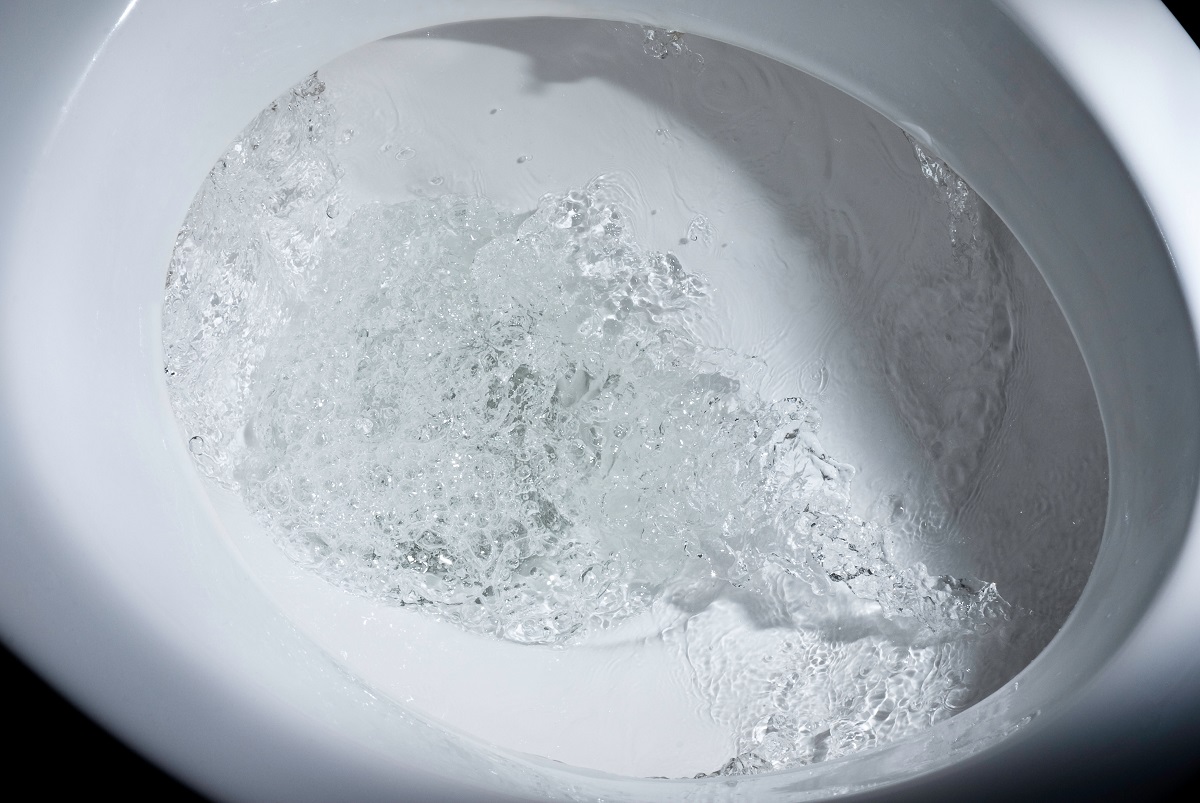
Having a running toilet can be annoying and wasteful. Not only does it result in a constant flow of water, but it can also lead to higher water bills and potential damage to your toilet. However, the good news is that fixing a running toilet is often a simple task that you can do on your own. With a little bit of troubleshooting and some basic tools, you can easily identify and fix the cause of the problem.
In this article, we will guide you through the steps to fix a toilet with running water. Whether it’s a faulty flapper, a damaged fill valve, or an issue with the float, we’ll cover all the common causes and provide you with the solutions to get your toilet functioning properly again.
Key Takeaways:
- Troubleshooting a running toilet involves inspecting and adjusting components such as the flapper, flapper chain, fill valve, float, overflow tube, water level, and flush handle. DIY fixes are possible, but professional help may be needed for complex issues.
- If DIY steps fail to resolve a running toilet, calling a professional plumber is advisable. Providing detailed information about the issue and steps taken can help the plumber diagnose and fix the problem efficiently, ultimately ensuring a properly functioning toilet.
Read more: How To Fix A Running Toilet
Step 1: Identify the Cause of Toilet Running Water
The first step in fixing a running toilet is to identify the underlying cause of the problem. There are several potential culprits that could be causing the water to continuously run in your toilet.
One common cause is a faulty flapper. The flapper is a rubber valve that controls the flow of water from the tank into the bowl. Over time, the flapper may become worn out or damaged, preventing it from properly sealing the tank and bowl. This can result in water continuously leaking into the bowl, causing the toilet to run.
Another possible cause is a malfunctioning fill valve. The fill valve is responsible for refilling the toilet tank after each flush. If the fill valve is not functioning correctly, it may not shut off properly, leading to a constant flow of water into the tank.
Additionally, an issue with the float can cause a running toilet. The float, usually a plastic ball or cylindrical device, is connected to the fill valve. It rises with the water level in the tank and signals the fill valve to shut off once the desired level is reached. If the float is damaged or improperly adjusted, it can prevent the fill valve from closing, resulting in continuous water flow.
By carefully inspecting these components and understanding their functions, you can determine the cause of the running water in your toilet. This will help you proceed with the appropriate solution for fixing the issue.
Step 2: Check the Flapper
Once you’ve identified a faulty flapper as the potential cause of a running toilet, it’s time to inspect it more closely. The flapper is a rubber valve that allows water to flow from the toilet tank into the bowl during a flush. Over time, the flapper can become worn out or damaged, preventing it from creating a proper seal and causing water to continuously leak into the bowl.
Start by removing the tank lid and observing the flapper. It is usually located at the bottom of the tank, connected to a chain. Check for any visible signs of wear or damage, such as cracks, tears, or discoloration. If the flapper appears to be in good condition, try flushing the toilet and observe its behavior. If the flapper doesn’t close tightly or if water continues to flow into the bowl even when it’s closed, it’s likely that the flapper needs to be adjusted or replaced.
To adjust the flapper, simply shorten or lengthen the chain that connects it to the toilet lever. Ensure that there is enough slack in the chain to allow the flapper to close fully, but not so much that it gets caught underneath the flapper when it’s closed. Test the flush again to see if the adjusted chain has fixed the running water issue.
If adjusting the chain doesn’t solve the problem, it’s time to replace the flapper. Turn off the water supply to the toilet by shutting off the water valve located behind or near the toilet. Flush the toilet to drain the tank, and then remove the old flapper by detaching it from the chain and unhooking it from the overflow tube.
Take the old flapper to your local hardware store to find a suitable replacement. Install the new flapper by attaching it to the chain and hooking it onto the overflow tube. Ensure that it sits flush against the opening and creates a tight seal. Turn on the water supply, wait for the tank to refill, and test the flush to confirm that the running water problem has been resolved.
Checking and adjusting or replacing the flapper is usually an effective solution for fixing a running toilet. However, if the issue persists, proceed to the next step to further troubleshoot and resolve the problem.
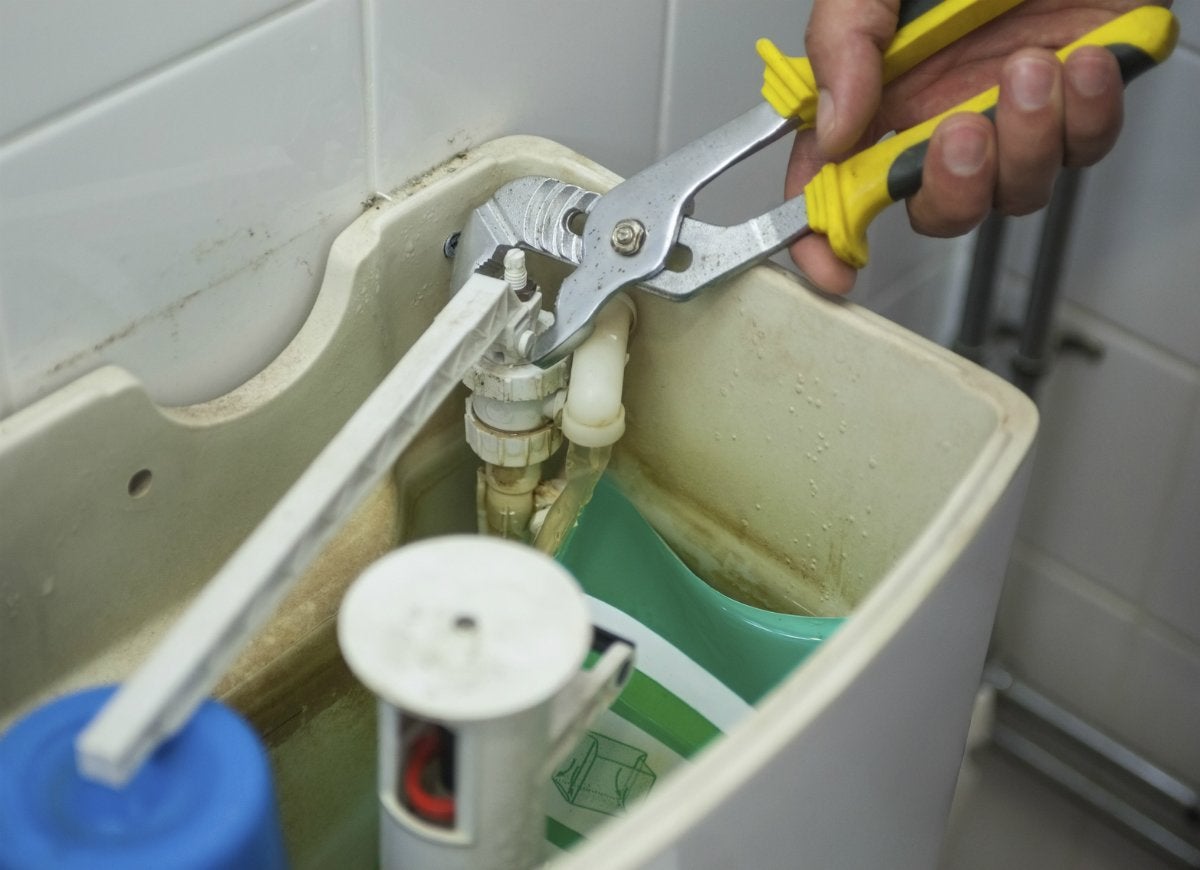
Step 3: Adjust or Replace the Flapper Chain
If you’ve determined that the flapper chain is causing the running toilet issue, it’s time to adjust or replace it. The flapper chain connects the flapper to the toilet lever, allowing the flapper to lift and close during each flush. An improperly adjusted or damaged chain can prevent the flapper from closing tightly, resulting in water continuously flowing into the toilet bowl.
Start by removing the tank lid and locating the flapper chain. It should be attached to the flapper and the toilet lever. Inspect the chain for any kinks, tangles, or excessive slack. If the chain is too long, it may get caught under the flapper, preventing it from sealing properly. Conversely, if the chain is too short, it may not allow the flapper to lift and close fully.
To adjust the flapper chain, you can use a pair of pliers to carefully add or remove links as needed. The ideal length allows for smooth movement of the flapper without any interference or slack. Aim for a chain length that allows the flapper to close tightly when the toilet is not in use and lifts completely when the toilet is flushed.
If the chain is damaged or severely corroded, it’s recommended to replace it entirely. You can find replacement flapper chains at your local hardware store or home improvement center. Install the new chain by attaching it to both the flapper and the toilet lever, ensuring that it has adequate length for proper functioning.
After adjusting or replacing the flapper chain, test the flush to see if the running water problem has been resolved. If water no longer leaks into the toilet bowl and the tank refills properly, congratulations! You’ve successfully fixed the running toilet.
However, if the issue persists, it may be necessary to move on to the next step to further investigate and address the cause of the running water.
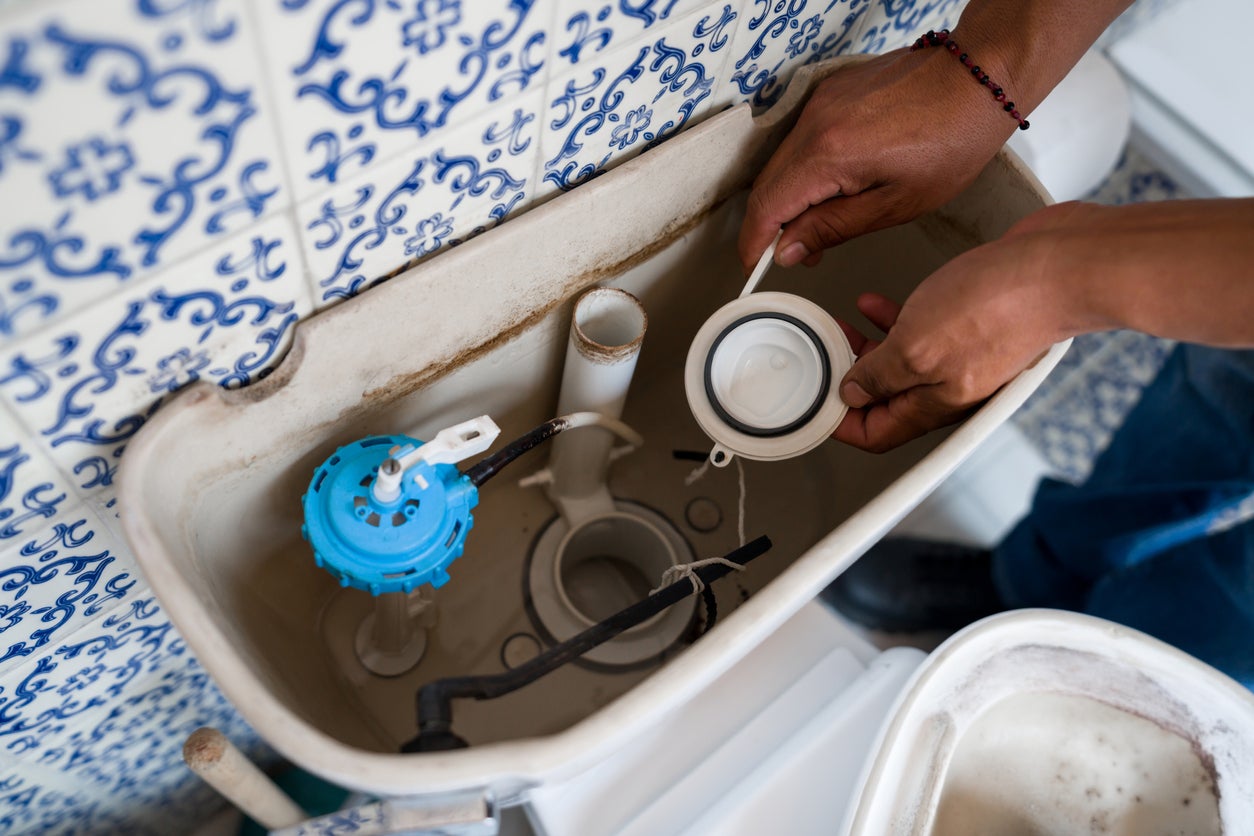
Step 4: Inspect and Clean the Fill Valve
If adjusting or replacing the flapper and flapper chain did not resolve the running toilet issue, the next step is to inspect and clean the fill valve. The fill valve is responsible for refilling the toilet tank with water after each flush. If it is not functioning properly, it can result in a continuous flow of water, leading to a running toilet.
Start by turning off the water supply to the toilet. Locate the shut-off valve, usually located on the wall or floor near the base of the toilet, and turn it clockwise to shut off the water. Flush the toilet to drain the tank and remove any excess water.
Next, locate the fill valve, which is usually located on the left side of the toilet tank. It has a water supply line connected to it and a float attached. Inspect the fill valve for any signs of debris, corrosion, or buildup. Mineral deposits or debris can obstruct the flow of water and prevent the fill valve from closing properly.
To clean the fill valve, you can use a mixture of vinegar and water. Fill a container with equal parts vinegar and water and submerge the fill valve in the solution. Allow it to soak for at least 30 minutes to dissolve any mineral deposits and loosen debris. Use a small brush or toothbrush to scrub away any stubborn buildup.
After cleaning, rinse the fill valve with clean water to remove any leftover residue. Reinstall the fill valve back into the toilet tank and reconnect the water supply line. Turn on the water supply and allow the tank to refill.
Once the tank has refilled, observe the fill valve’s behavior. Ensure that it shuts off properly and does not continue to release water into the tank. Test the flush to see if the running water problem has been resolved. If the toilet no longer runs and the tank refills as it should, congratulations! You have successfully fixed the running toilet.
However, if the issue persists, it may be necessary to move on to the next step to further troubleshoot and find a solution.
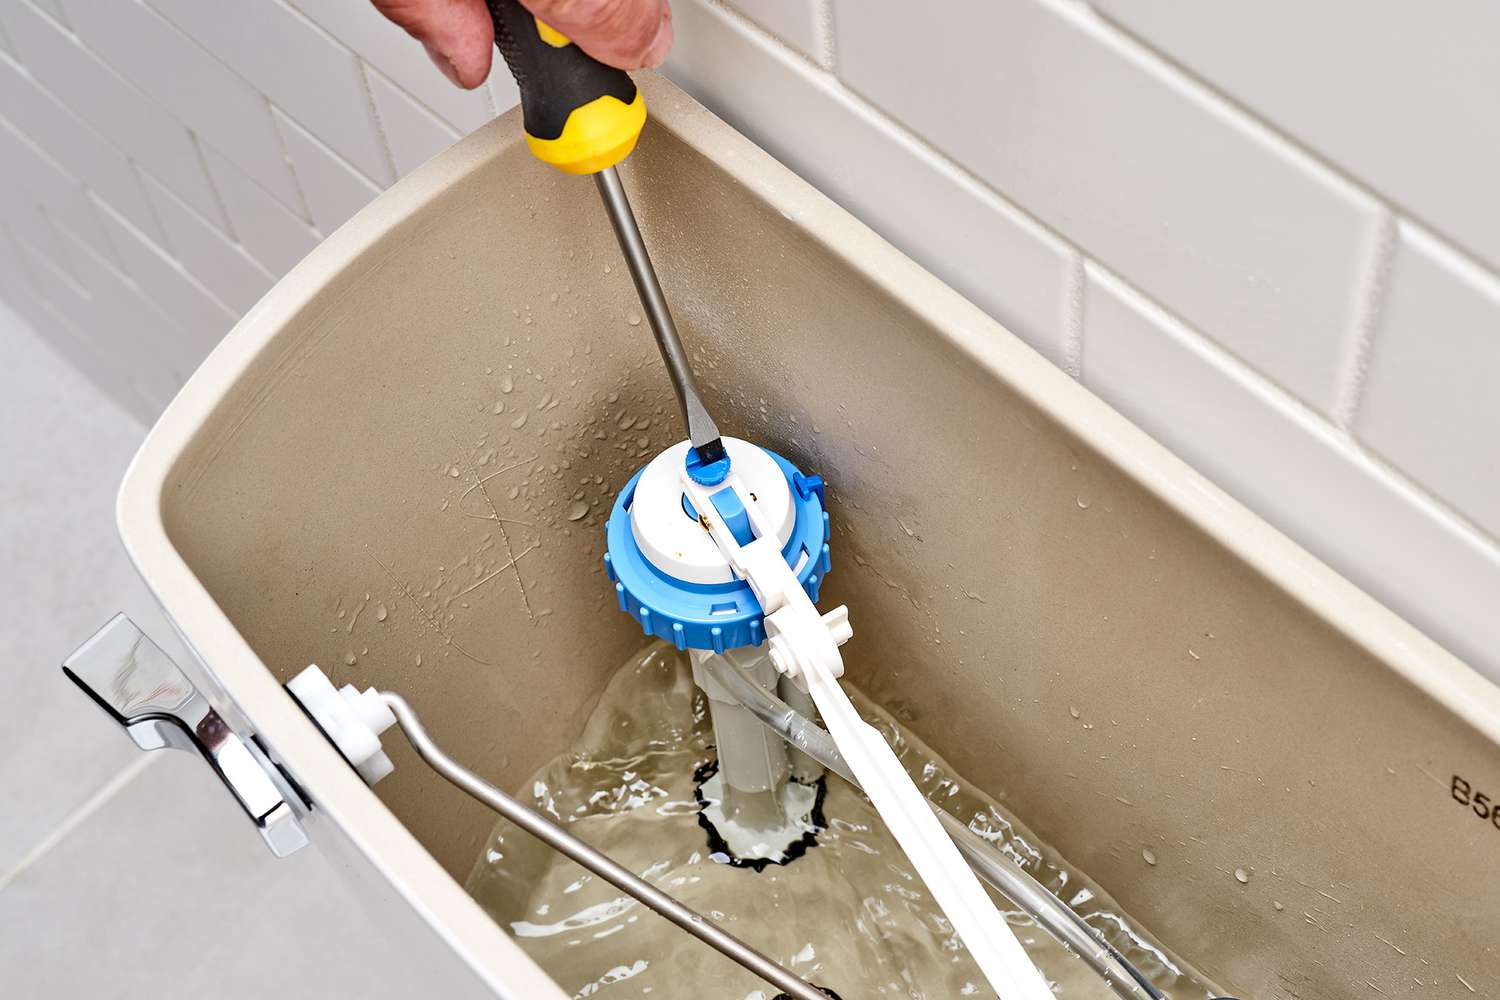
Step 5: Adjust the Float
If you have ruled out the flapper, flapper chain, and fill valve as the causes of a running toilet, the next step is to adjust the float. The float is a mechanism that is responsible for regulating the water level in the toilet tank. If it is set too high or too low, it can result in a continuous flow of water, leading to a running toilet.
Start by removing the tank lid and locate the float. In most toilets, the float is a plastic ball or a cylindrical device that is attached to the fill valve. It moves along with the water level in the tank and signals the fill valve to shut off when the desired water level is reached.
If the float is set too high, it can cause the fill valve to not shut off properly, resulting in water continuously flowing into the toilet tank. Similarly, if the float is set too low, it may not trigger the fill valve to refill the tank adequately, leading to a weak or incomplete flush.
To adjust the float, you may need to bend the float arm or adjust a screw or clip that connects the float to the fill valve. Follow the manufacturer’s instructions, if available, for your specific toilet model. Generally, bending the float arm downward will lower the water level, while bending it upward will raise the water level.
Make small adjustments and test the flush after each adjustment to determine if the running water problem has been resolved. The goal is to achieve a water level that is approximately 1 inch below the top of the overflow tube.
If bending the float arm doesn’t resolve the issue, you may need to replace the float altogether. Consult the manufacturer’s instructions or the guidance of a professional plumber for specific details on how to replace the float for your particular toilet model.
Once you have adjusted the float to the correct position or replaced it, turn on the water supply and allow the tank to refill. Test the flush to see if the running water problem has been resolved. If the toilet flushes properly and the tank refills without any continuous water flow, congratulations! You have successfully fixed the running toilet.
If the issue persists, it may be necessary to move on to the next step or consider calling a professional plumber for further assistance.
Check the flapper and the fill valve in the toilet tank. If the flapper is worn or the fill valve is faulty, it can cause the toilet to continuously run. Replace any damaged parts to fix the issue.
Step 6: Replace the Fill Valve
If adjusting the float did not resolve the running toilet issue, it may be necessary to replace the fill valve. The fill valve is responsible for refilling the toilet tank with water after each flush. If it is not functioning properly, it can result in a continuous flow of water, leading to a running toilet.
Before replacing the fill valve, turn off the water supply to the toilet. Locate the shut-off valve, usually located on the wall or floor near the base of the toilet, and turn it clockwise to shut off the water. Flush the toilet to drain the tank and remove any excess water.
Next, remove the old fill valve from the toilet tank. Start by disconnecting the water supply line from the fill valve. This can typically be done by unscrewing the nut or turning a lever. Once the water supply line is detached, locate the lock nut that secures the fill valve to the tank. Use pliers to loosen and remove the lock nut.
Once the lock nut is removed, you should be able to lift the old fill valve out of the tank. Discard the old fill valve and prepare to install the new one.
Before installing the new fill valve, thoroughly clean the area where the old fill valve was located. Remove any debris or residue that may have accumulated. Follow the manufacturer’s instructions for your specific fill valve model for precise installation steps.
Install the new fill valve by placing it into the toilet tank and aligning it properly. Secure it in place by tightening the lock nut. Make sure not to overtighten, as it can cause damage to the tank.
Reconnect the water supply line to the fill valve by screwing it back on or turning the lever. Turn on the water supply and allow the tank to refill.
Once the tank has refilled, observe the fill valve’s behavior. Ensure that it shuts off properly and does not continue to release water into the tank. Test the flush to see if the running water problem has been resolved. If the toilet no longer runs and the tank refills as it should, congratulations! You have successfully fixed the running toilet.
If the issue persists, it may be necessary to move on to the next step or seek the assistance of a professional plumber.
Step 7: Check the Overflow Tube
If you’re still experiencing a running toilet after previous steps, it’s time to check the overflow tube. The overflow tube is a vertical tube located near the center of the toilet tank. It prevents the tank from overflowing by directing excess water into the toilet bowl.
Start by removing the tank lid and examining the overflow tube. Look for any signs of damage or blockage, such as cracks, leaks, or debris buildup. If the overflow tube is cracked or leaking, it may not effectively redirect water into the toilet bowl, resulting in a continuously running toilet.
Additionally, check for any blockages in the overflow tube. Debris or mineral deposits can accumulate inside the tube over time, restricting the flow of water and causing the toilet to run. Use a small brush or flexible wire to gently clean out any obstructions.
If the overflow tube is damaged or blocked, it may need to be replaced. Consult the manufacturer’s instructions or consult with a professional plumber for guidance on how to replace the overflow tube for your specific toilet model. Ensure that the replacement tube is compatible with your toilet.
Once the overflow tube has been inspected and cleaned or replaced, turn on the water supply and allow the tank to refill. Test the flush to see if the running water problem has been resolved. If the toilet is no longer running and the tank refills properly, congratulations! You have successfully fixed the running toilet.
If the issue persists, proceed to the next step or consider seeking the assistance of a professional plumber to further diagnose and resolve the problem.
Step 8: Check the Water Level
If you’re still experiencing a running toilet, checking the water level in the tank can help identify the cause of the issue. The water level should be set properly to ensure the toilet functions correctly and does not continuously run.
Start by removing the tank lid and observing the water level in the tank. The water level should be approximately 1 inch below the top of the overflow tube. If the water level is too high, it can result in continuous water flow into the overflow tube and cause the toilet to run.
Adjusting the water level is typically done by adjusting the float or the float arm. If the water level is too high, bend the float arm downward slightly to lower the water level. On some newer toilets, there may be an adjustment screw or clip that allows for easy adjustment of the water level. Refer to the toilet’s manufacturer instructions for specific details on adjusting the water level for your particular model.
After making the adjustment, flush the toilet and observe the water level as the tank refills. The water level should reach the optimal height, around 1 inch below the top of the overflow tube, and then stop. If the water level is still too high or too low, continue making small adjustments until it reaches the desired level.
Once you’ve adjusted the water level, test the flush to see if the running water issue has been resolved. If the toilet no longer runs and the tank refills properly, congratulations! You have successfully fixed the running toilet.
If the issue persists, it may be necessary to move on to the next step or consider seeking the assistance of a professional plumber to further diagnose and resolve the problem.
Read more: How Much Water Does A Running Toilet Use
Step 9: Replace the Toilet Flush Handle
If you’ve gone through the previous steps and are still dealing with a running toilet, the problem might lie with a faulty flush handle. The flush handle is the lever that you press down to initiate a flush. Over time, it can become loose, rusted, or broken, preventing it from properly activating the flushing mechanism.
Start by locating the flush handle on the side of the toilet tank. Take note of the type of flush handle you have and its attachment mechanism. Common types include a lever-style handle or a push-button handle.
Next, determine if the flush handle is loose or damaged. Give it a gentle shake and see if it moves or wobbles. If it does, it may need to be tightened or replaced.
If the flush handle is loose, you can try tightening the mounting nut or screw that holds it in place. Use a wrench or screwdriver, as needed, to provide a secure fit. Test the flush handle to see if it now operates smoothly and without any excessive play.
If tightening the flush handle does not solve the issue, it is likely time to replace it. To do this, you’ll need to remove the old flush handle first. Look for a securing nut or screw on the inside of the toilet tank that holds the handle in place. Use a wrench or screwdriver to loosen and remove it.
Once the old flush handle is removed, take it with you to a hardware store or home improvement center to find an exact replacement. Ensure that the new handle matches the same attachment mechanism and style as the old one.
Install the new flush handle by following the manufacturer’s instructions. Attach it to the inside of the toilet tank using the securing nut or screw, and tighten it securely. Make sure the handle is aligned properly and moves smoothly when pressed.
After installing the new flush handle, test it by pressing it down to initiate a flush. Check if the running water problem has been resolved. If the toilet functions normally and the water stops running after flushing, congratulations! You have successfully fixed the running toilet.
If the running water problem persists, it may be necessary to proceed to the final step or consult a professional plumber for further assistance.
Step 10: Call a Professional Plumber if Necessary
If you’ve gone through all the previous steps and are still dealing with a running toilet, despite your best efforts, it may be time to enlist the help of a professional plumber. A professional plumber has the knowledge, experience, and specialized tools to diagnose and fix more complex issues that may be causing the running toilet.
Here are a few signs that it may be time to call a professional plumber:
- If you’ve tried all the DIY steps and the running toilet problem persists, it suggests that there may be an underlying issue that requires professional attention.
- If you don’t have the necessary tools or expertise to handle more advanced repairs, it’s best to let a trained plumber take care of the problem to avoid further damage or complications.
- If you are uncomfortable working with the toilet’s plumbing system or worry about causing more harm than good, it’s wise to leave the job to a professional who can safely and efficiently resolve the issue.
- If you notice any signs of a more serious problem, such as water leaks from the tank or toilet base, strange noises, or recurring clogs, it’s essential to contact a plumber as these issues may require professional repair.
When calling a professional plumber, make sure to provide them with a detailed description of the problem, the steps you’ve already taken to troubleshoot, and any additional information that may be helpful. This will enable the plumber to better assess the situation and come prepared with the appropriate tools and solutions.
While hiring a professional plumber may have associated costs, it often offers the peace of mind that comes with knowing the issue will be resolved correctly. Additionally, addressing the problem promptly can help prevent further damage and potential water waste, ultimately saving you money in the long run.
Remember, it’s always better to seek professional help if you’re unsure about handling the situation yourself. A professional plumber will have the expertise to diagnose and solve the problem efficiently, ensuring a properly functioning toilet.
By following these steps and knowing when to seek professional assistance, you’ll be well-equipped to tackle a running toilet and restore your bathroom’s functionality.
Conclusion
A running toilet can be a frustrating and wasteful problem, but with the right knowledge and steps, you can effectively fix the issue and restore your toilet’s proper functionality. By following the troubleshooting steps outlined in this article, you can identify and address common causes of a running toilet, such as a faulty flapper, flapper chain, fill valve, float, overflow tube, water level, or flush handle.
Start by identifying the cause of the running water and inspecting each component to determine if any adjustments, repairs, or replacements are needed. From adjusting the flapper and flapper chain to cleaning or replacing the fill valve, adjusting the float, checking the overflow tube, and verifying the water level, these steps cover a wide range of potential issues and solutions.
However, it’s essential to know your limits. If you’ve attempted all the DIY steps and the running toilet problem persists or if you’re unsure about handling more complex repairs, don’t hesitate to call a professional plumber. They have the expertise and specialized tools to diagnose and fix more intricate problems to ensure your toilet functions properly.
Remember to keep safety in mind when working with your toilet’s plumbing system. Turn off the water supply, follow manufacturer instructions, and use caution when handling tools or cleaning agents. If you’re uncertain or uncomfortable with any step, leave it to a professional to avoid causing further damage or injury.
By resolving a running toilet, you not only save water and reduce the risk of potential damage but also improve your overall bathroom experience. Plus, fixing a running toilet can lead to lower water bills, environmental conservation, and increased peace of mind.
With the knowledge and steps provided in this article, you are well-equipped to tackle a running toilet and restore its proper functioning. Remember, persistence and troubleshooting skills are key, and knowing when to seek professional help ensures that your toilet’s issues are properly resolved.
So, take control of your plumbing and say goodbye to the frustration of a running toilet. With a little know-how and determination, you can successfully fix a running toilet and maintain a smoothly functioning bathroom for years to come.
Frequently Asked Questions about How To Fix Toilet Running Water
Was this page helpful?
At Storables.com, we guarantee accurate and reliable information. Our content, validated by Expert Board Contributors, is crafted following stringent Editorial Policies. We're committed to providing you with well-researched, expert-backed insights for all your informational needs.

0 thoughts on “How To Fix Toilet Running Water”