Articles
How To Fix Wobbly Toilet
Modified: October 19, 2024
Learn how to fix a wobbly toilet with these helpful articles. Fix the wobbling problem in no time with our simple step-by-step guides.
(Many of the links in this article redirect to a specific reviewed product. Your purchase of these products through affiliate links helps to generate commission for Storables.com, at no extra cost. Learn more)
Introduction
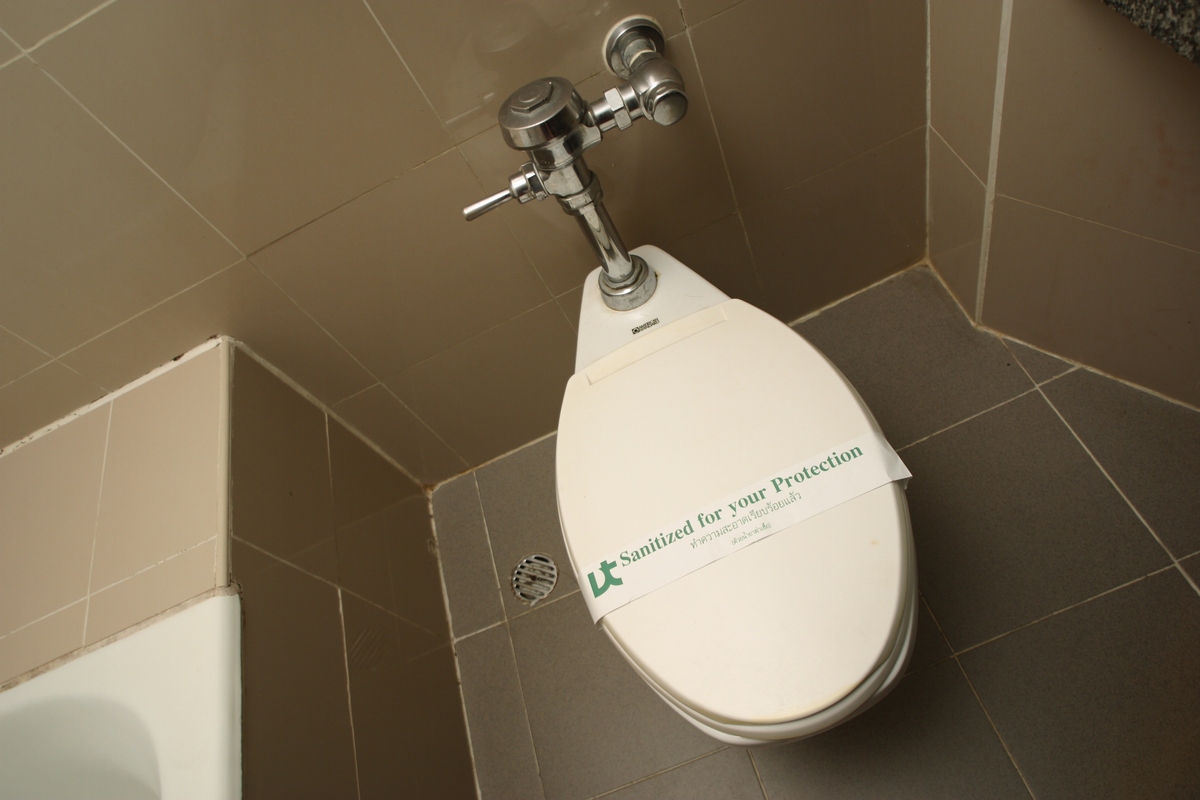
Having a wobbly toilet can be both annoying and potentially problematic. Not only is it an inconvenience when the toilet moves every time you sit down, but it can also lead to leaks and damage to the flooring if left unaddressed. Luckily, fixing a wobbly toilet is often a simple DIY project that can be tackled with just a few tools and some basic know-how.
In this article, we will explore the common causes of a wobbly toilet and provide you with a step-by-step guide on how to fix it. Whether you are a seasoned DIY enthusiast or a beginner looking to tackle your first home repair project, we’ve got you covered.
So, let’s dive in and get your toilet back to its stable and sturdy state!
Key Takeaways:
- Identifying the root cause of a wobbly toilet, such as loose bolts or worn wax rings, is crucial for implementing the right solution. With the right tools and step-by-step process, fixing a wobbly toilet can be a simple and satisfying DIY project.
- After diligently following the repair process, testing for stability is essential to ensure a secure and stable toilet, free from wobbling or movement. A stable toilet not only improves comfort but also helps safeguard the home from potential leaks or flooring damage.
Read more: How To Fix A Wobbly Dresser
Causes of a Wobbly Toilet
Before we delve into the steps to fix a wobbly toilet, let’s first understand some of the common causes behind this issue. Identifying the root cause is crucial in order to implement the right solution.
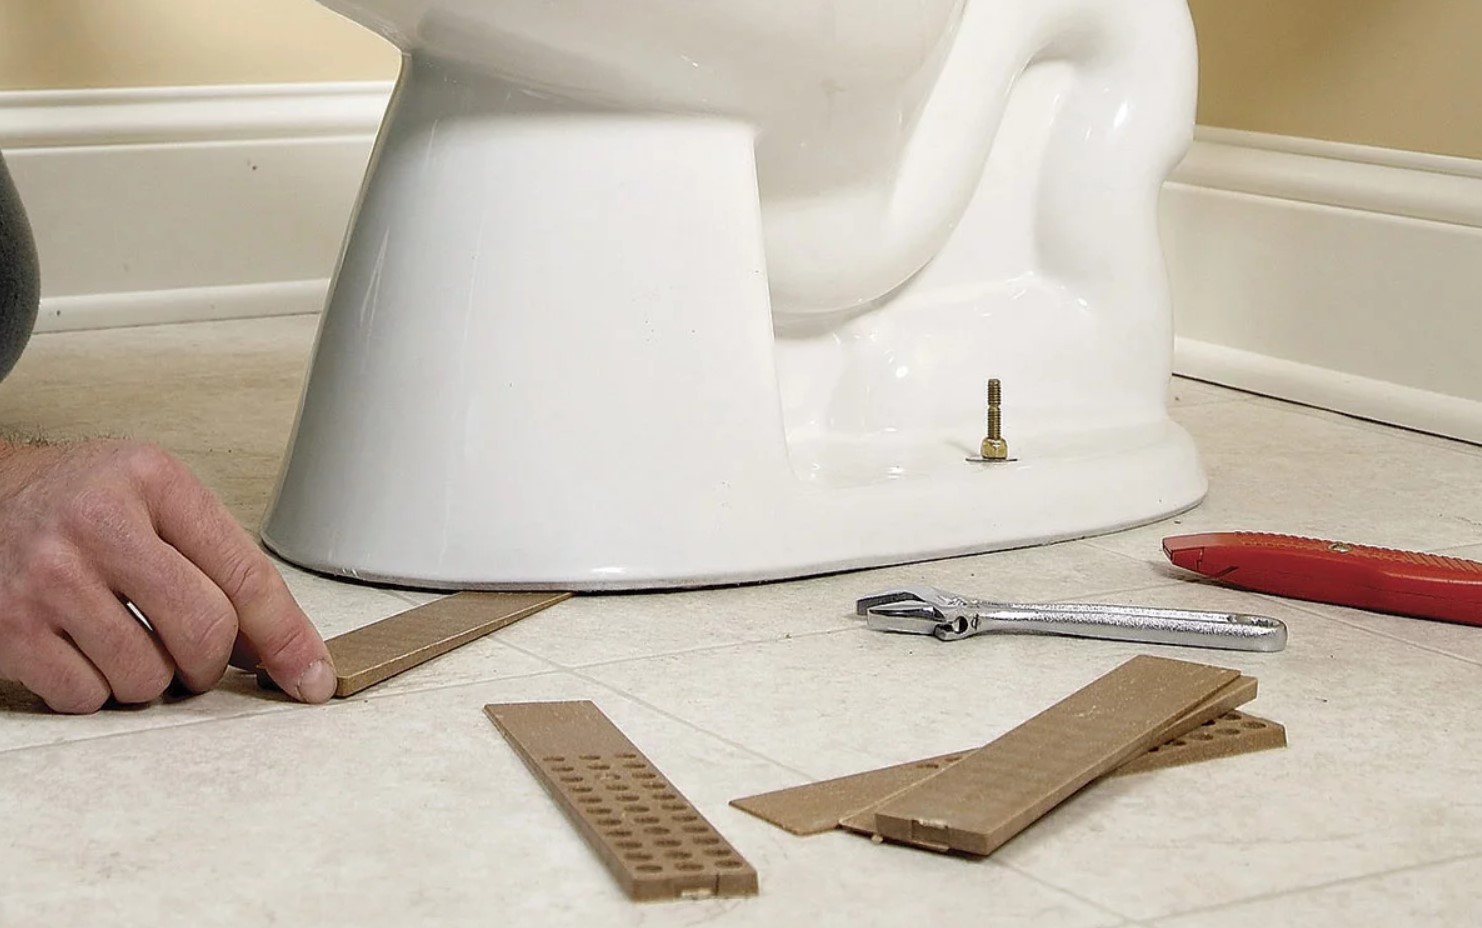
- Loose Toilet Bolts: One of the most common causes of a wobbly toilet is loose toilet bolts. These bolts secure the toilet to the floor, and over time, they can become loose due to normal usage or improper installation.
- Worn Wax Ring: The wax ring is a gasket that creates a watertight seal between the toilet flange and the toilet base. Over time, this ring can become worn out, causing the toilet to become unsteady.
- Damaged Flange: The flange is a ring-shaped piece that connects the toilet drainpipe to the floor. If the flange is cracked, corroded, or improperly installed, it can lead to a wobbly toilet.
- Uneven or Damaged Flooring: If the flooring beneath the toilet is uneven or damaged, it can cause the toilet to wobble. This can be due to factors such as an uneven subfloor, water damage, or weakened floorboards.
- Improper Toilet Installation: In some cases, a wobbly toilet can be attributed to improper installation. If the toilet was not installed correctly, it may not be securely anchored to the floor, leading to instability.
By identifying the specific cause of your wobbly toilet, you can take the necessary steps to address the issue and restore stability. Now that we have a better understanding of what can cause a toilet to become unsteady, let’s move onto the tools and materials you will need for the repair process.
Tools and Materials Needed
Before you begin the process of fixing your wobbly toilet, it’s important to gather all the necessary tools and materials. Having everything ready will make the task easier and more efficient. Here’s a list of the tools and materials you’ll need:
Tools:
- Adjustable wrench
- Socket wrench
- Screwdriver
- Putty knife
- Hacksaw
- Level
Materials:
- New wax ring
- Flange repair kit (if necessary)
- Toilet anchor bolts (if necessary)
- Toilet shims (if necessary)
- Plumber’s putty or silicone caulk
- Waterproof sealant
These tools and materials should cover most scenarios when it comes to fixing a wobbly toilet. However, depending on the specific cause of your toilet’s instability, you may need additional items. For example, if the flange is damaged, you may require a flange repair kit. Likewise, if the toilet bolts are loose or missing, you’ll need toilet anchor bolts.
It’s always a good idea to double-check the specific requirements for your repair project before you start. Now that you have your tools and materials ready, it’s time to move on to the step-by-step process of fixing your wobbly toilet. Let’s get started!
Read more: How To Fix A Wobbly Lamp Shade
Step 1: Remove the Toilet
Before you can fix a wobbly toilet, you’ll need to remove it from its current position. Removing the toilet will give you access to the underlying components that may be causing the instability. Follow these steps to remove the toilet:
- Turn off the water supply: Locate the shut-off valve behind the toilet and turn it clockwise to shut off the water supply.
- Flush and drain the toilet: Flush the toilet to empty the tank and remove as much water as possible. Use a plunger or sponge to remove any remaining water in the bowl and tank.
- Disconnect the water supply line: Use an adjustable wrench to loosen and disconnect the water supply line from the bottom of the toilet tank.
- Remove the bolts securing the toilet: Locate and remove the bolts at the base of the toilet. These bolts are typically covered by plastic caps or decorative covers. Use a screwdriver or pliers to pry off the caps and then use a wrench or socket wrench to loosen and remove the bolts.
- Lift and remove the toilet: Carefully lift the toilet off the flange and set it aside on a protective surface. It’s important to note that toilets can be heavy, so it’s recommended to have someone assist you with this step.
- Cap the drain pipe: To prevent any sewer gas from entering your home, place a rag or cap over the exposed drain pipe.
With the toilet removed, you can now move on to inspecting the wax ring and other components. In the next step, we will discuss how to inspect and replace the wax ring. Stay tuned!
Step 2: Inspect the Wax Ring
Once you have removed the toilet, it’s time to inspect the wax ring. The wax ring is a crucial component that forms a watertight seal between the toilet flange and the toilet base. Over time, the wax ring can become worn out or damaged, leading to a wobbly toilet.
Follow these steps to inspect the wax ring:
- Inspect the wax ring: Carefully examine the condition of the wax ring. Look for any signs of cracking, flattening, or deterioration. If the wax ring appears worn out or damaged, it will need to be replaced.
- Check the toilet flange: While inspecting the wax ring, also inspect the toilet flange. The flange is the ring-shaped piece that connects the toilet drainpipe to the floor. Ensure that the flange is not cracked or corroded. If it is, you may need to consider using a flange repair kit or replacing the flange.
- Note any abnormalities: Pay attention to any abnormalities you observe during the inspection, such as water stains or rotting around the flange or the surrounding flooring. These could indicate a leak or additional issues that need to be addressed.
If you notice any issues with the wax ring or the flange, it is highly recommended to replace the wax ring. A faulty or deteriorated wax ring is a common cause of a wobbly toilet, and replacing it will help restore stability.
In the next step, we will cover the process of replacing the wax ring to ensure a proper and secure seal between the toilet and the floor. Keep reading to learn more!
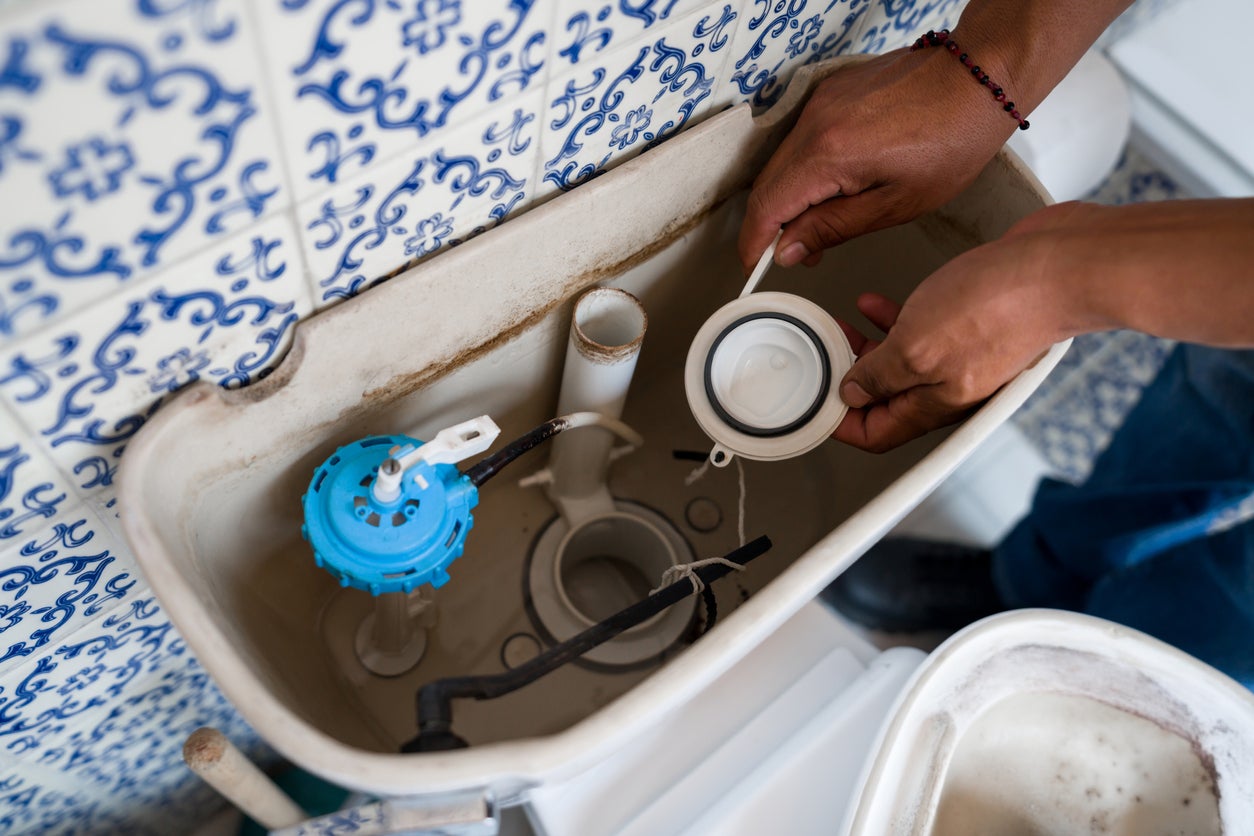
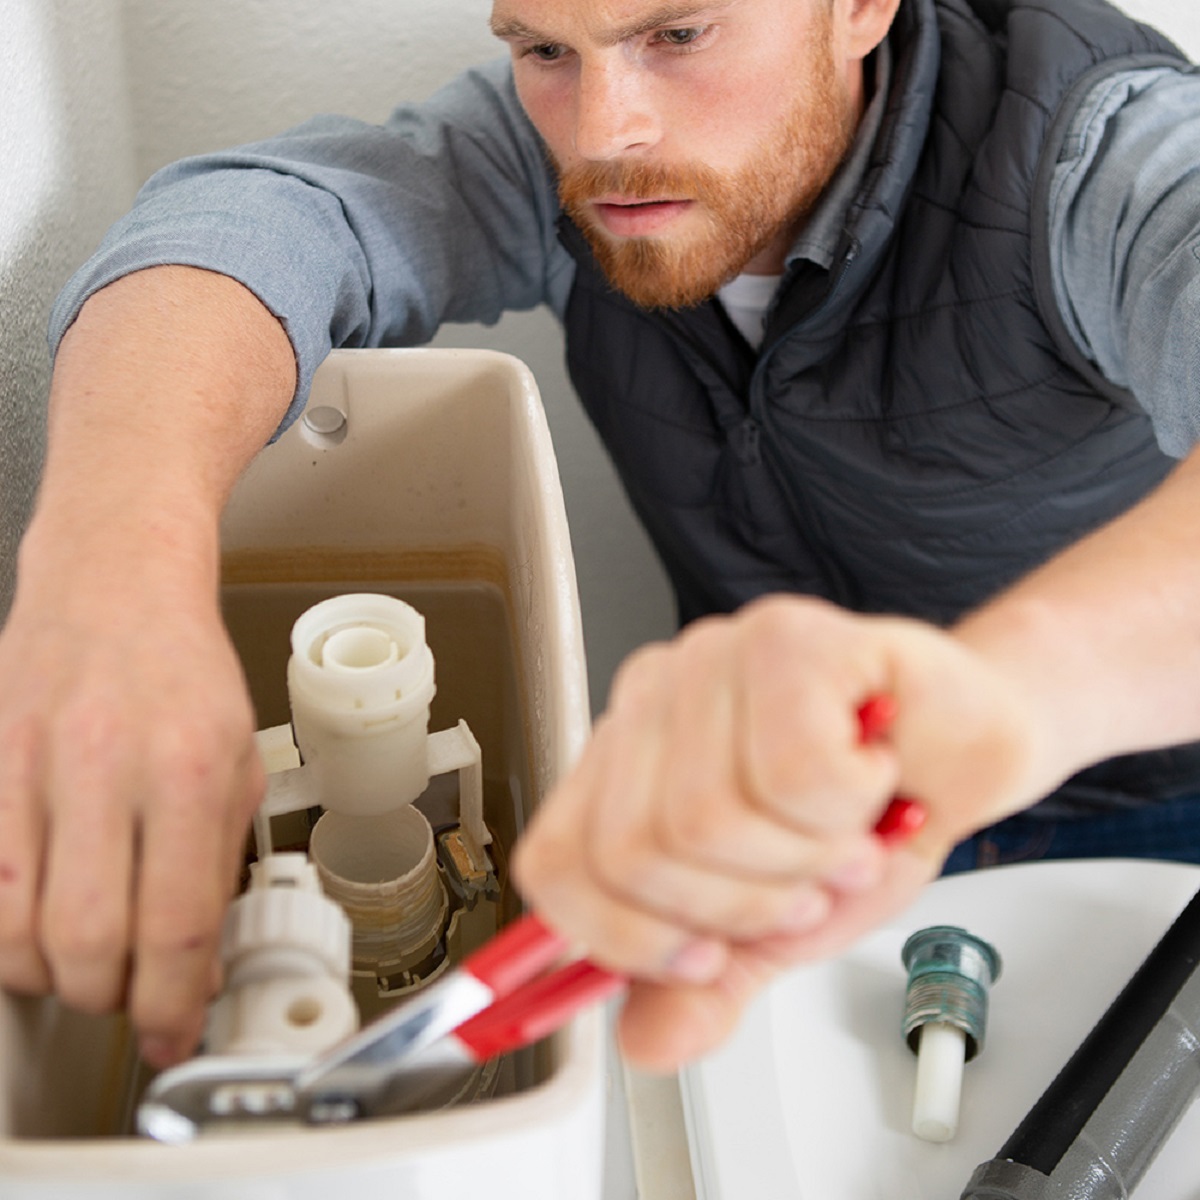
Step 3: Replace the Wax Ring
Replacing the wax ring is an essential step in fixing a wobbly toilet. The wax ring creates a watertight seal between the toilet flange and the toilet base, ensuring stability and preventing leaks. Follow these steps to replace the wax ring:
- Remove the old wax ring: Carefully scrape off the old wax ring using a putty knife or scraper. Make sure to remove any residue from both the toilet flange and the toilet base. Wipe away any excess wax or debris.
- Prepare the new wax ring: Take the new wax ring out of its packaging. Some wax rings come with a plastic or rubber funnel attached for easy installation. If yours does, make sure the funnel is facing up when you place it on the toilet flange.
- Position the wax ring: Carefully lower the wax ring onto the toilet flange, ensuring that it is centered. Gently press it down to create a secure seal between the flange and the toilet base. Apply even pressure to ensure a uniform seal.
- Align the toilet: Lift the toilet bowl and align it with the mounting bolts on the flange. Slowly lower the toilet onto the wax ring, making sure the bolts pass through the holes in the base of the toilet. Press down firmly to compress the wax ring and create a secure seal.
- Secure the toilet: Place a washer and nut on each mounting bolt and tighten them evenly using a wrench or socket wrench. It’s important not to overtighten, as it can damage the toilet or the flange. Follow the manufacturer’s instructions for the recommended torque.
- Check for proper alignment: Use a level to ensure that the toilet is level from side to side and front to back. Adjust the toilet as needed by tightening or loosening the nuts on the mounting bolts.
With the wax ring replaced, you have successfully addressed one of the common causes of a wobbly toilet. In the next step, we will focus on checking and tightening the flange bolts to further stabilize the toilet. Stay tuned!
Check the toilet bolts and tighten them if they are loose. If the problem persists, the wax ring may need to be replaced.
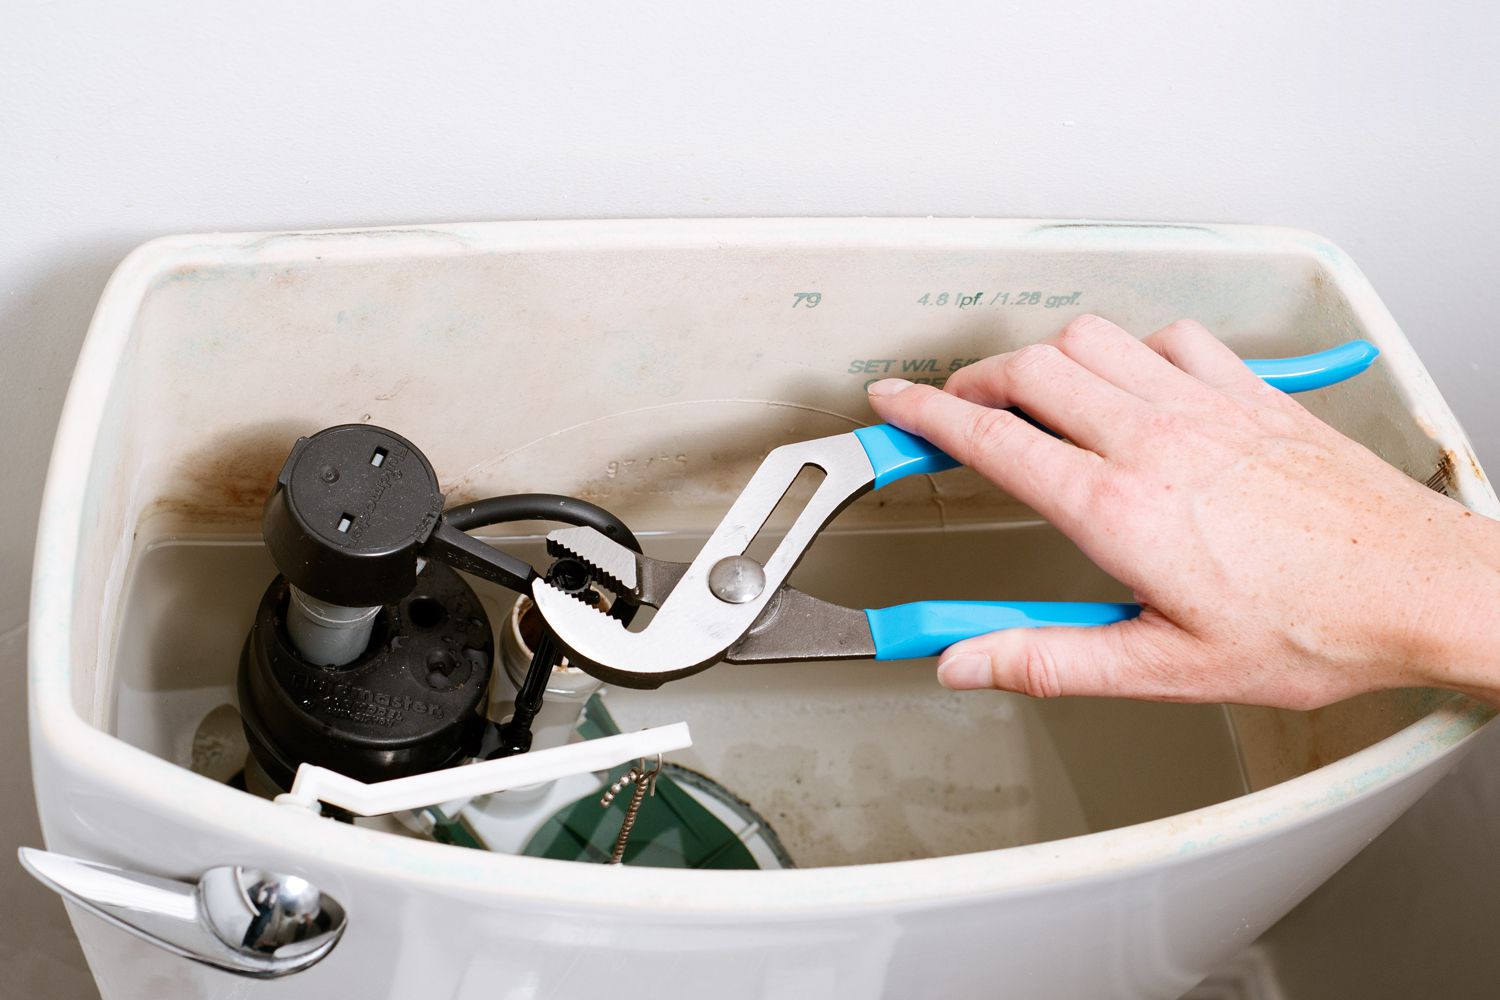
Step 4: Check and Tighten the Flange Bolts
After replacing the wax ring, the next step in fixing a wobbly toilet is to check and tighten the flange bolts. These bolts secure the toilet to the floor and play a crucial role in maintaining stability. Follow these steps to check and tighten the flange bolts:
- Inspect the flange bolts: Examine the condition of the flange bolts to ensure they are intact and in good condition. Look for any signs of rust, wear, or damage. If you notice any issues, consider replacing the bolts with new ones.
- Tighten the flange bolts: Using a wrench or socket wrench, tighten the flange bolts evenly. Start with a gentle tightening and gradually increase the pressure until the toilet feels secure and stable. Be careful not to overtighten, as it can crack the toilet or the flange.
- Test for stability: Gently rock the toilet back and forth to check for any remaining movement or wobbling. If you notice any instability, continue tightening the flange bolts until the toilet feels firm and doesn’t move.
It’s essential to ensure that the flange bolts are properly tightened to provide maximum stability to your toilet. Loose flange bolts can cause the toilet to wobble, even if the wax ring is in good condition.
After completing this step, proceed to the next step to learn how to reinstall the toilet and complete the repair process. Stay with us!
Read more: How To Fix A Wobbly Bed Frame
Step 5: Reinstall the Toilet
With the wax ring replaced and the flange bolts tightened, it’s time to reinstall the toilet. Follow these steps to ensure a proper and secure reinstallation:
- Position the toilet: Lift the toilet bowl and carefully align it with the flange bolts on the floor. Make sure that the toilet base is centered over the wax ring and the bolts pass through the holes in the base.
- Lower the toilet: Slowly lower the toilet onto the wax ring, ensuring that it is evenly placed. Press down firmly to compress the wax ring and create a tight seal. Use your body weight to provide even pressure.
- Secure the toilet: Place a washer and nut on each flange bolt, and tighten them evenly using a wrench or socket wrench. Alternate between the bolts, gradually increasing the tightness until the toilet feels secure. Be cautious not to overtighten, as it can crack the toilet or the flange.
- Trim the excess bolt length: If the flange bolts extend beyond the nut, use a hacksaw to trim the excess length. Ensure that the bolts are trimmed evenly and are not protruding too much.
- Reattach the water supply line: Reconnect the water supply line to the fill valve on the underside of the tank. Use an adjustable wrench to tighten it securely.
- Turn on the water supply: Slowly turn the shut-off valve counterclockwise to allow the water to flow back into the toilet tank. Check for any leaks around the water supply line and the base of the toilet.
Once you have completed these steps, you have successfully reinstalled the toilet. However, your job is not complete just yet. In the next step, we will test the stability of the toilet to ensure that it no longer wobbles. Keep reading!
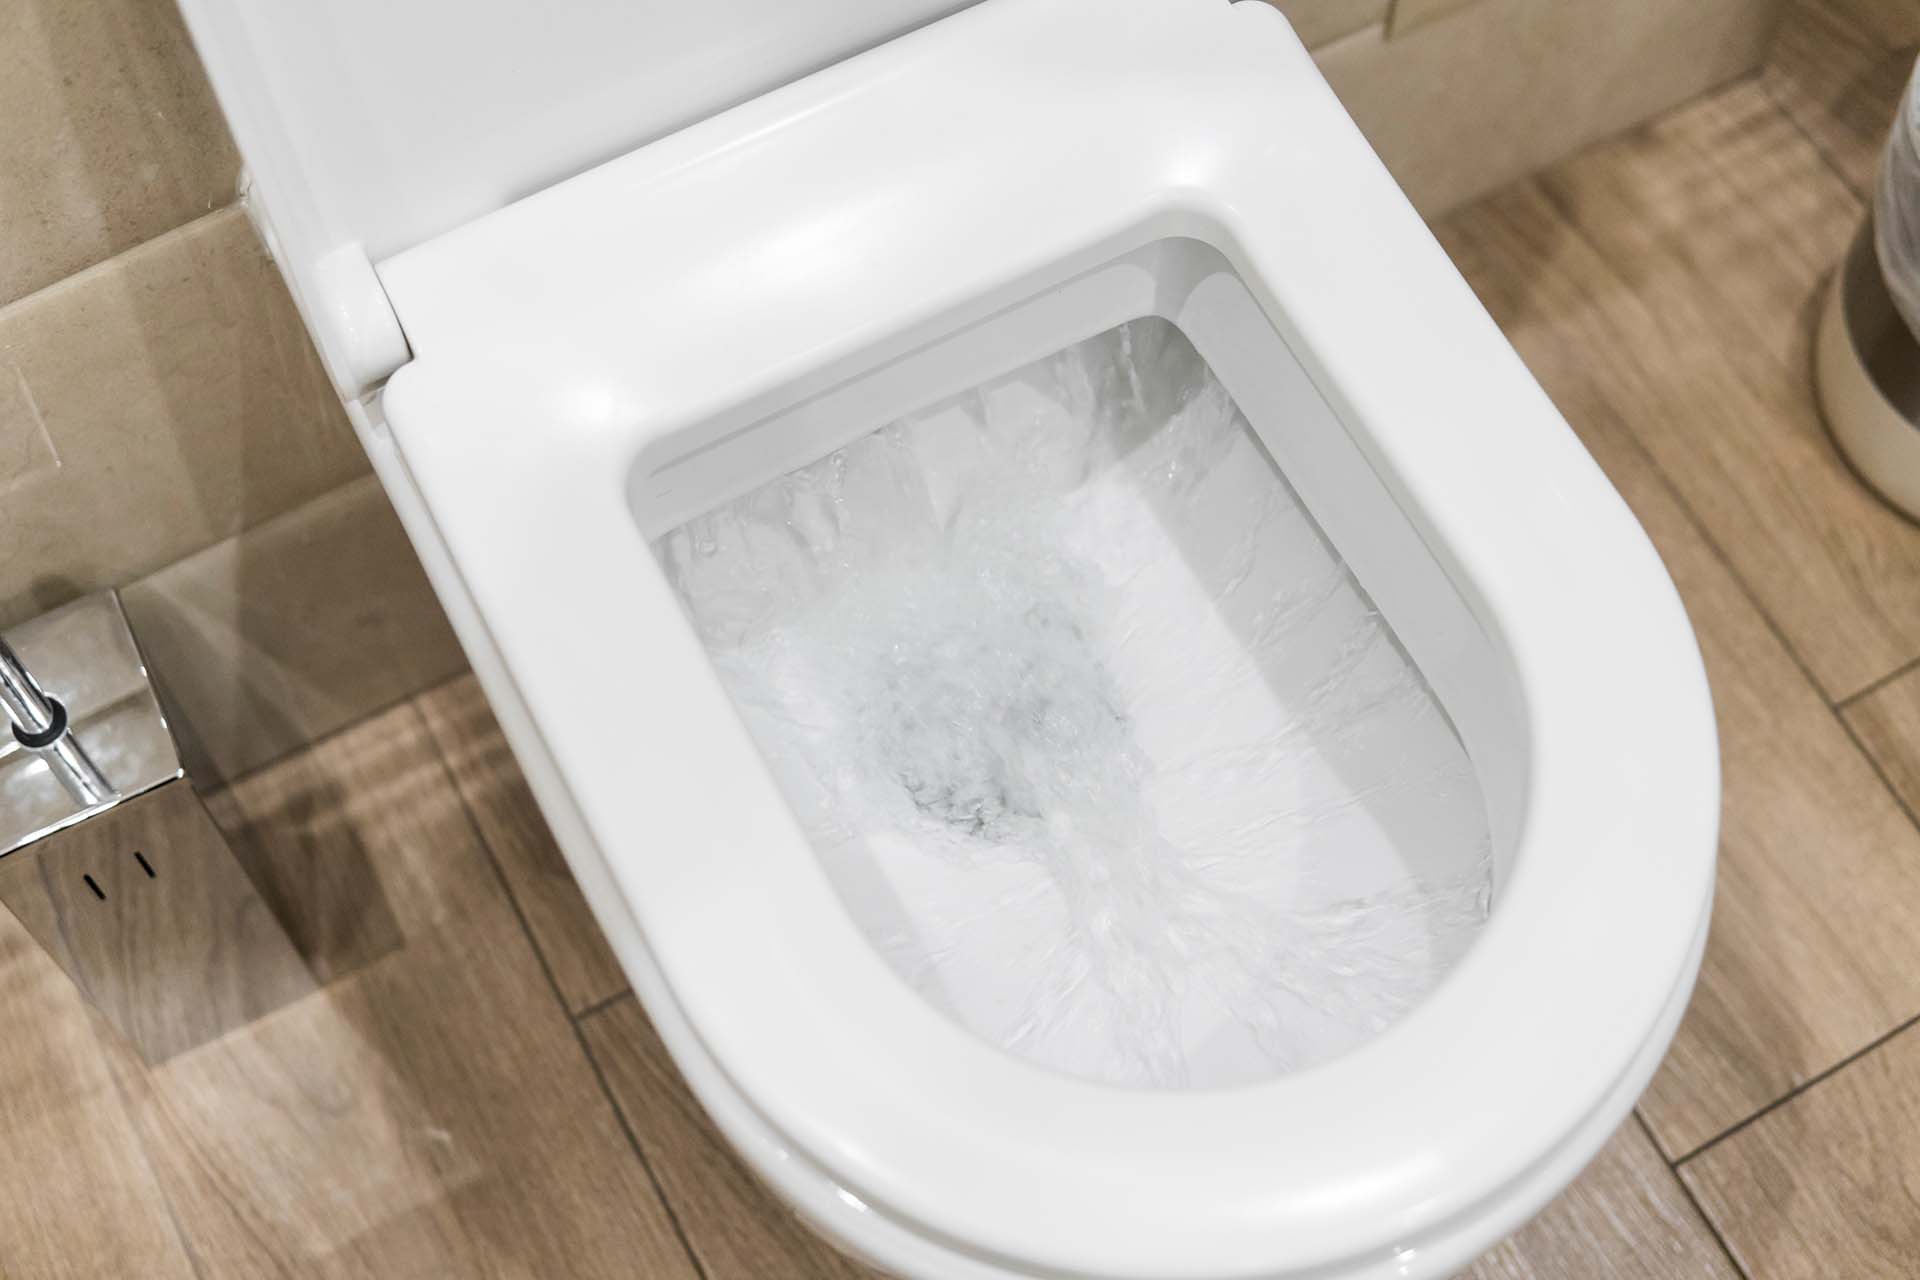
Step 6: Test for Stability
After going through the process of removing, inspecting, and reinstalling the toilet, it’s time to test for stability. This final step will help ensure that your efforts have successfully resolved the issue of a wobbly toilet. Follow these steps to test the stability of your toilet:
- Sit on the toilet: Carefully sit on the toilet and shift your weight from side to side. Pay attention to any movement or wobbling of the toilet bowl. If you feel any instability, it may indicate that further adjustments or tightening is required.
- Rock the toilet: Gently rock the toilet back and forth to check for any remaining movement. If you notice any wobbling or shifting, it indicates that the toilet is not securely anchored to the floor.
- Inspect the seal: Examine the area where the base of the toilet meets the floor. Look for any signs of water seepage or dampness. A secure and watertight seal is essential to prevent leaks and further damage.
- Make necessary adjustments: If you detect any instability or issues with the seal, you may need to make further adjustments. This could involve tightening the flange bolts, leveling the toilet, or using shims to stabilize any unevenness in the flooring.
- Recheck stability: After making any necessary adjustments, repeat the process of sitting, rocking, and inspecting the toilet to ensure that it is now stable and steady.
By conducting this thorough stability test, you can be confident that you have successfully fixed the issue of a wobbly toilet. If you still experience any instability or leaks, it may be necessary to seek professional assistance or consider more extensive repairs.
Congratulations! You have completed the steps to fix a wobbly toilet. With your toilet now stable and secure, you can enjoy a hassle-free bathroom experience. Remember to regularly check for any signs of loosening bolts or leaks to ensure the ongoing stability of your toilet.
Thank you for following this guide, and happy plumbing!
Conclusion
A wobbly toilet can be a frustrating issue, but it is one that can be easily fixed with some basic tools and a little bit of know-how. In this comprehensive guide, we have explored the various causes of a wobbly toilet and provided a step-by-step process to fix it.
We started by understanding the common causes such as loose toilet bolts, worn wax rings, damaged flanges, uneven flooring, and improper installation. Identifying the root cause is crucial in determining the appropriate solution.
We then discussed the important tools and materials needed for the repair, including adjustable wrenches, socket wrenches, screwdrivers, putty knives, and wax rings. Having all the necessary tools ready beforehand makes the process smoother and more efficient.
The step-by-step process walked you through removing the toilet, inspecting and replacing the wax ring, checking and tightening the flange bolts, reinstalling the toilet, and testing for stability. Following these steps diligently ensures a secure and stable toilet, free from wobbling or movement.
Throughout the repair process, it is important to stay diligent and thorough. Take your time to properly inspect the components, tighten the bolts evenly, and test for stability. This will ensure a long-lasting and reliable fix for your wobbly toilet.
Remember, if you encounter any difficulties or if the problem persists, it may be necessary to contact a professional plumber for assistance. They have the expertise and experience to handle more complex issues and provide you with the necessary solutions.
By following this guide, you have taken a proactive step in maintaining your bathroom’s functionality and preventing potential damage. A stable toilet not only improves your comfort but also helps safeguard your home from potential leaks or flooring damage.
Thank you for taking the time to understand the causes and solutions for a wobbly toilet. We hope this guide has been helpful in resolving your toilet stability issues. Here’s to a stable and well-functioning bathroom!
Frequently Asked Questions about How To Fix Wobbly Toilet
Was this page helpful?
At Storables.com, we guarantee accurate and reliable information. Our content, validated by Expert Board Contributors, is crafted following stringent Editorial Policies. We're committed to providing you with well-researched, expert-backed insights for all your informational needs.


0 thoughts on “How To Fix Wobbly Toilet”