Articles
How To Frame A Window Opening
Modified: January 19, 2024
Learn the step-by-step process of framing a window opening with our informative articles. Upgrade your woodworking skills and create beautiful window installations.
(Many of the links in this article redirect to a specific reviewed product. Your purchase of these products through affiliate links helps to generate commission for Storables.com, at no extra cost. Learn more)
Introduction
When it comes to home renovations and improvements, framing a window opening is a task that can add both functionality and visual appeal to your living space. Whether you’re looking to replace an old window or add a new one, properly framing the window opening is crucial for a seamless installation process.
In this article, we’ll guide you through the step-by-step process of framing a window opening. From measuring and marking to cutting and installing, we’ll cover everything you need to know to ensure a successful window framing project.
Before diving into the details, it’s important to note that framing a window opening requires some basic carpentry skills and tools. If you’re not comfortable with power tools or have limited experience with construction projects, it’s advisable to seek professional help. Safety should always be a top priority when working with tools and materials.
Now, let’s get started with the first step: measuring and marking.
Key Takeaways:
- Properly framing a window opening involves precise measurements, careful removal of existing trim, and meticulous installation of the window frame to ensure structural stability and energy efficiency.
- Attention to detail, safety, and adherence to local regulations are crucial when framing a window opening. Adding finishing touches like trim enhances the visual appeal and functionality of the window.
Read more: How To Frame A Skylight Opening
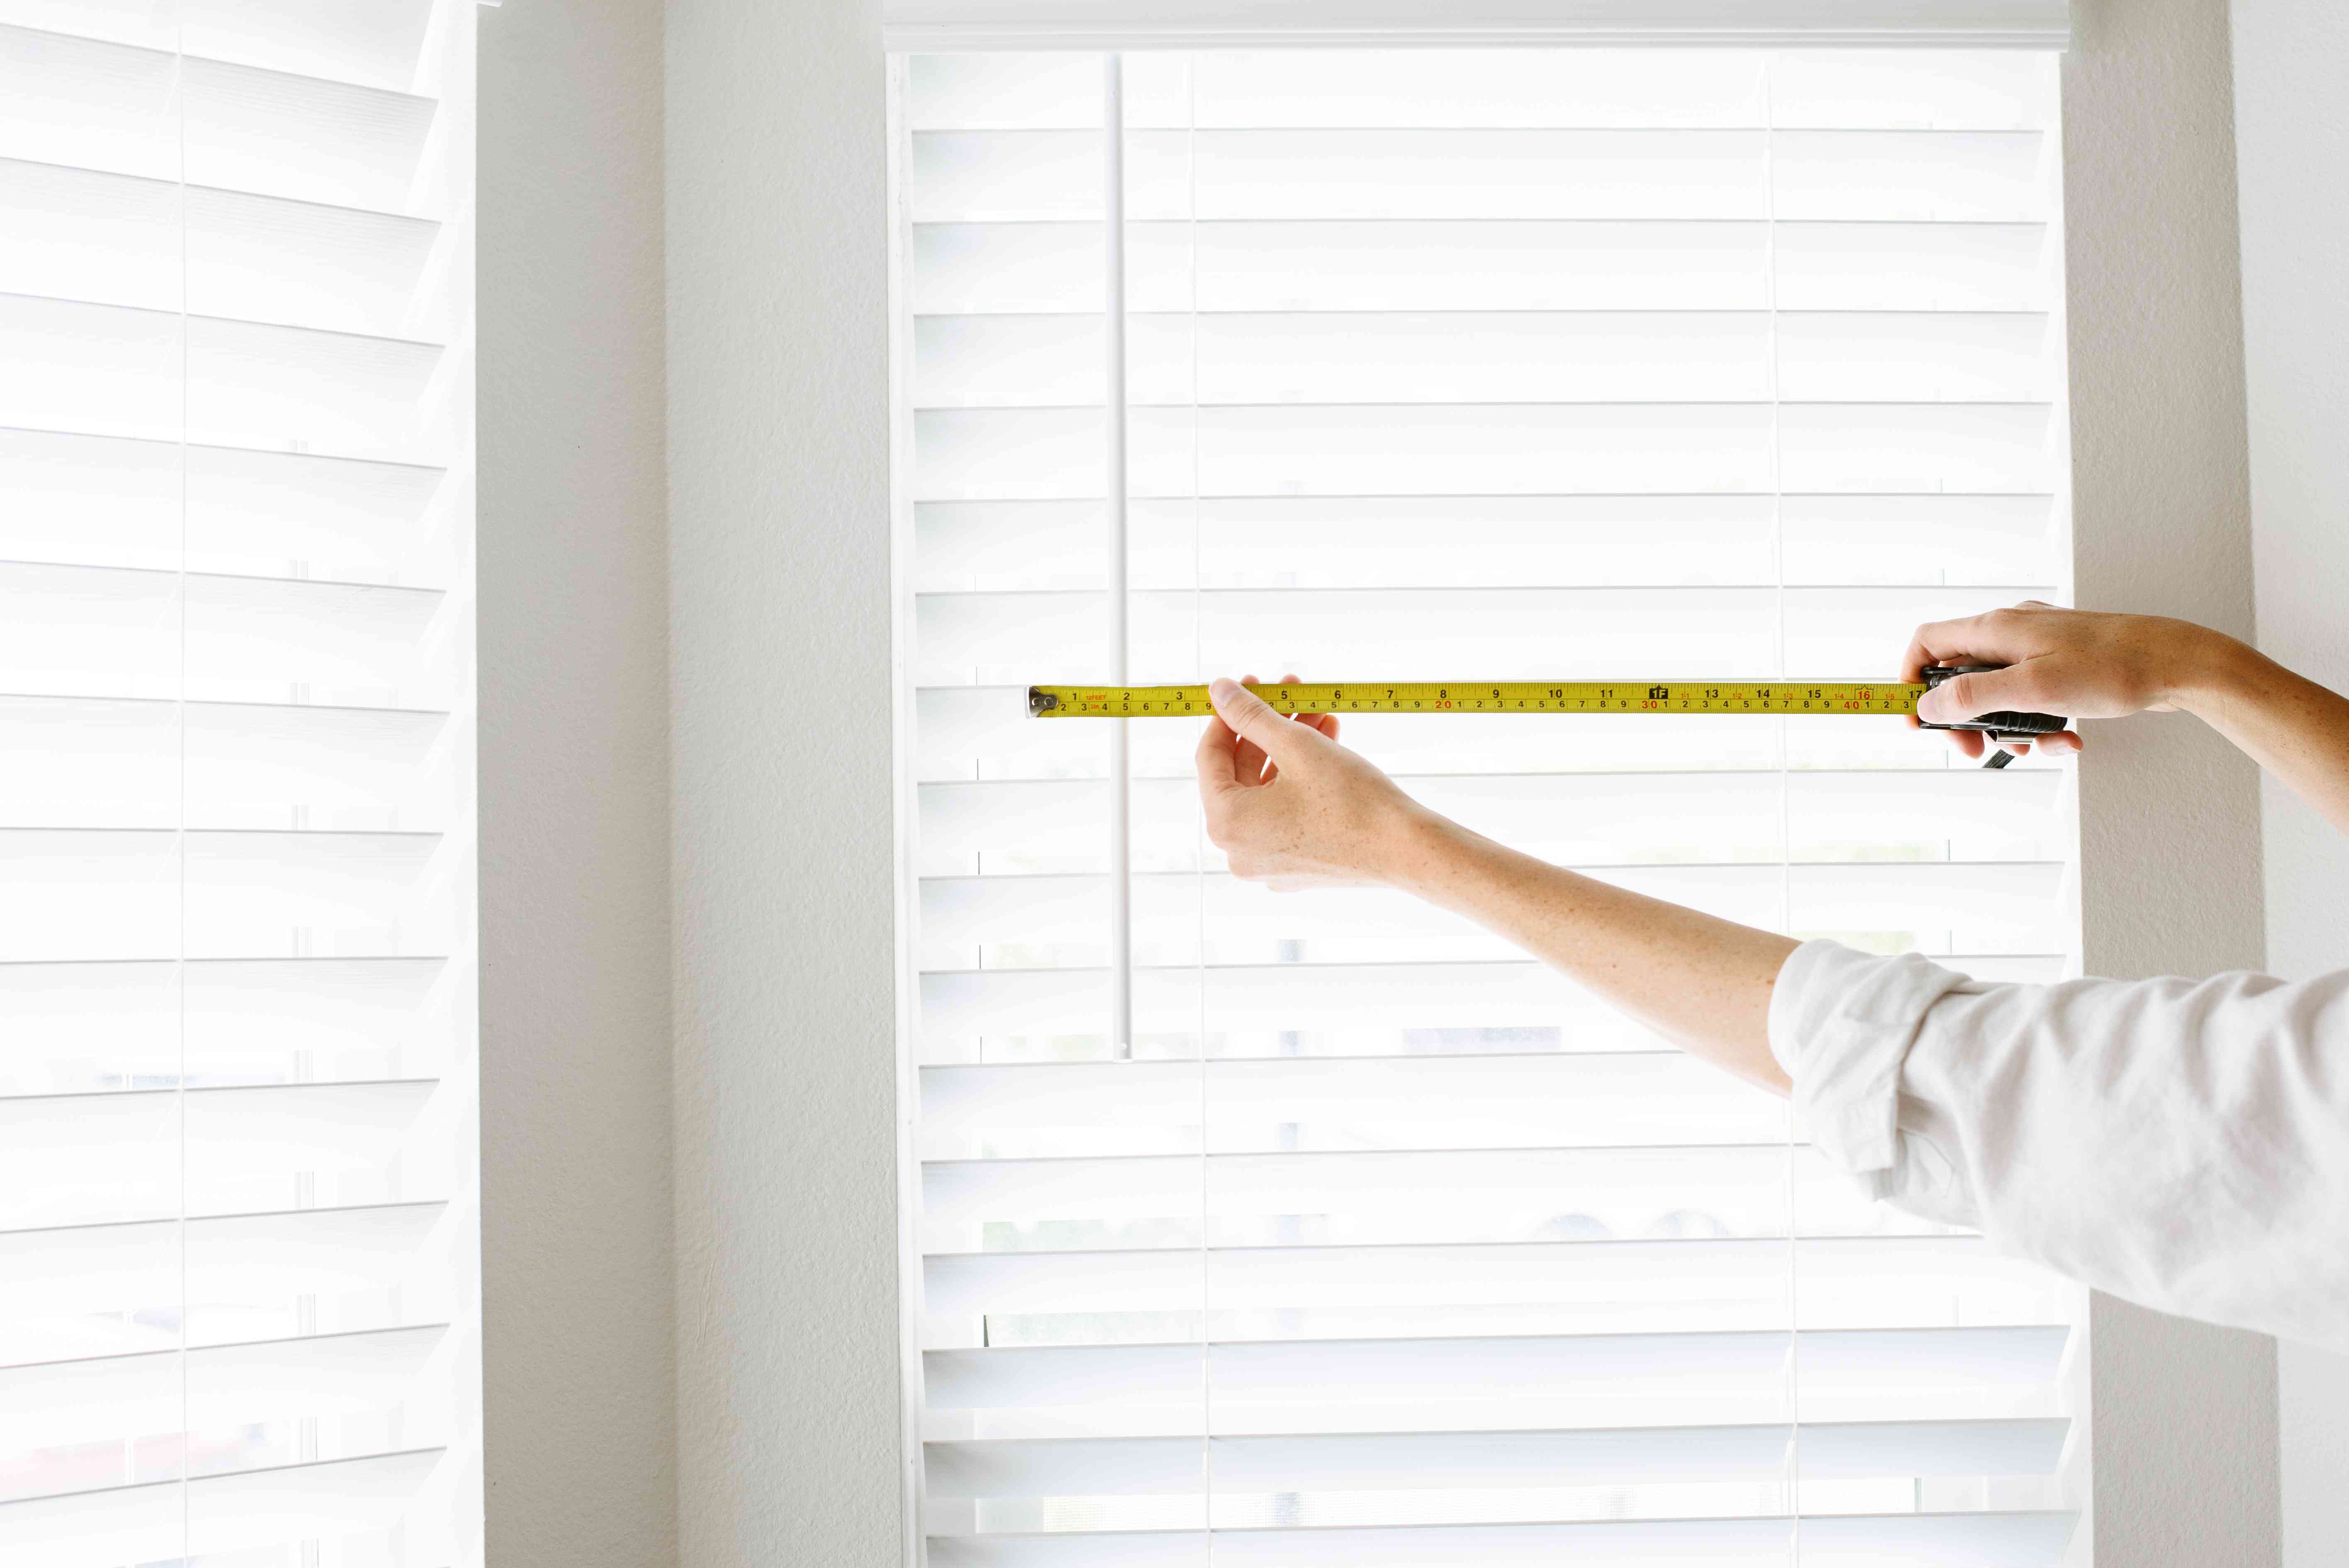
Step 1: Measuring and Marking
The first step in framing a window opening is to accurately measure and mark the dimensions for the new window. This is essential to ensure that the window framing is the correct size and properly aligned with the surrounding structure.
Start by measuring the width and height of the window opening. It’s important to measure from the inside of the existing window frame, as this will give you the correct dimensions for the new window.
Once you have the measurements, transfer them to the exterior wall using a pencil or chalk. Mark the top, bottom, and sides of the window opening on the wall. To ensure a level installation, use a spirit level to make sure the markings are straight and evenly aligned.
Next, you’ll need to determine the rough opening size. The rough opening refers to the space that will accommodate the window frame, including any additional space for insulation and framing materials. Typically, the rough opening is about 1 ½ inches larger in width and height compared to the actual window dimensions.
Using your measurements, calculate the rough opening size and mark it on the wall. This will serve as a guide for cutting and framing the window opening.
It’s also important to consider any building codes or regulations that may apply to your area. Check with your local authorities or consult a professional to ensure compliance with any specific requirements for window sizing and placement.
Once you have completed the measuring and marking process, you’re ready to move on to the next step: removing the existing window trim and sill.
Step 2: Removing Existing Window Trim and Sill
Before you can frame a new window opening, you’ll need to remove the existing window trim and sill. This allows for a clean and smooth transition when installing the new window.
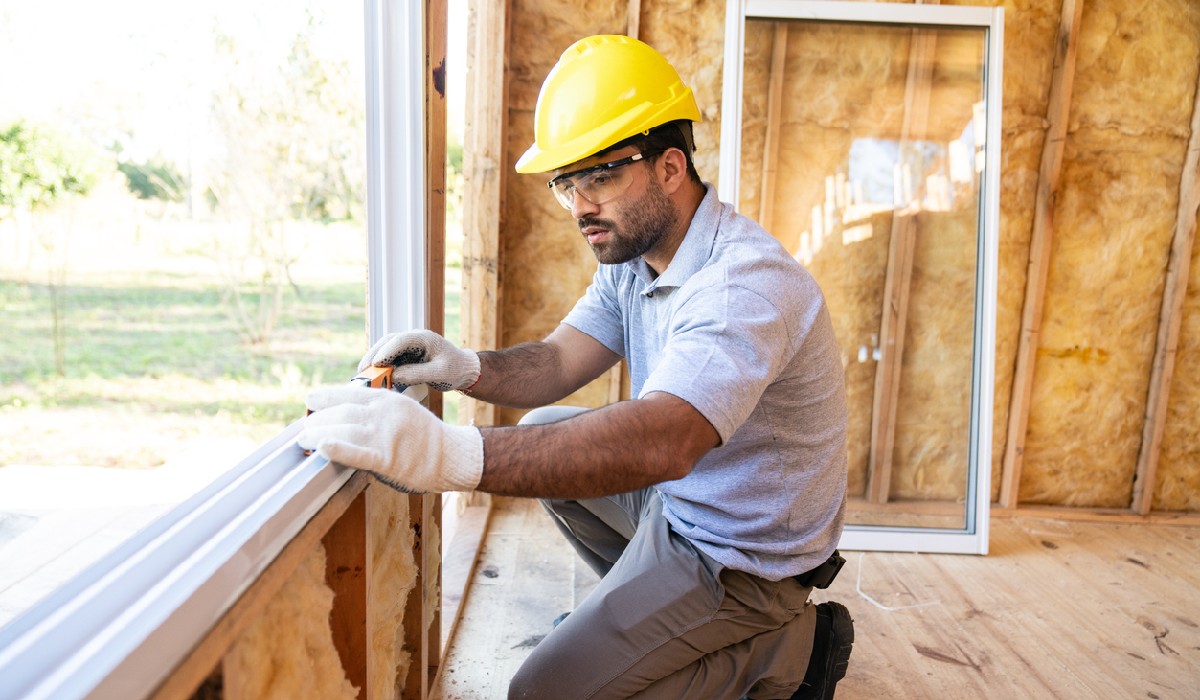
Start by using a utility knife to score along the edge of the existing window trim. This will help prevent any damage to the surrounding wall when removing the trim. Carefully pry off the trim using a pry bar or a small crowbar.
Next, remove any screws or nails that are securing the window sill in place. This can usually be done using a screwdriver or a pry bar. Once the fasteners are removed, gently pry up the window sill using a pry bar. Be cautious not to damage the surrounding wall or window frame during this process.
With the trim and sill removed, you’ll have a clear view of the window opening and the old window frame. Inspect the area for any signs of damage or rot. If necessary, repair or replace any compromised sections of the window frame before proceeding with the framing process.
Removing the existing window trim and sill may reveal additional framing components such as studs, headers, and cripples. Take note of their positions and make sure they’re in good condition. Depending on the design of your window, you may need to remove or modify some of these framing components to accommodate the new window.
Once you’ve completed the removal of the existing trim and sill, you’re ready to move on to the next step: marking the guidelines for the new window opening.
Step 3: Marking Guidelines for New Window Opening
With the existing window trim and sill removed, it’s time to mark the guidelines for the new window opening. This step is crucial for ensuring that the window is properly centered and aligned within the opening.
Start by measuring and marking the center point of the rough opening width. This can be done by measuring the width and dividing it in half. Use a level to draw a vertical line from the top to the bottom of the opening, passing through the center point.
Next, measure and mark the center point of the rough opening height. Again, divide the height measurement in half and use a level to draw a horizontal line across the opening, intersecting the vertical line from the previous step. This will create a cross-shaped guideline for the window opening.
Using a tape measure or a straight edge, extend the cross-shaped guideline to the edges of the rough opening. This will help you visualize the exact dimensions and location of the new window within the opening.
Additionally, make sure to mark the locations of any additional framing components needed for the installation. This includes marking the positions of the studs, headers, and cripples that will support the window and provide structural stability.
Double-check your measurements and markings to ensure accuracy. It’s crucial to have precise guidelines to follow during the framing process, as any inaccuracies can lead to a misaligned window and potential issues with installation.
Once you’ve completed marking the guidelines for the new window opening, you’re ready to move on to the next step: cutting the exterior siding to create the opening.
Step 4: Cutting Exterior Siding
Now that you have marked the guidelines for the new window opening, it’s time to cut the exterior siding to create the opening. This step requires precision and caution to prevent any damage to the surrounding siding and ensure a clean and accurate cut.
Start by using a utility knife to score along the guidelines you marked on the siding. This will create a clean and defined cutting line. Apply firm and steady pressure while scoring to ensure a deep enough cut.
Once the scoring is complete, use a reciprocating saw or a circular saw with a fine-toothed blade to make the actual cuts. Follow the scored line as closely as possible, ensuring that your cuts are straight and precise.
As you cut through the siding, be mindful of any electrical wires, plumbing, or other obstacles that may be hidden behind the siding. Take your time and work slowly to avoid any accidental damage or injury.
After making the initial cuts, check the alignment and dimensions of the opening to ensure that it matches the guidelines you marked earlier. Make any necessary adjustments by trimming the siding until you achieve the desired size and shape.
Once the exterior siding is cut, remove the excess pieces carefully. You can use a pry bar or a small crowbar to gently pry off the cut sections. Be cautious not to damage the remaining siding or any underlying layers of the wall.
Inspect the newly created opening to ensure that it is clean and free of any debris or obstructions. It’s important to have a clear and smooth surface for the next steps of the window framing process.
With the exterior siding cut and the opening prepared, you’re ready to move on to the next step: creating the header and stud supports for the window installation.
When framing a window opening, make sure to measure and mark the opening accurately before cutting any studs. Use a level to ensure the header and sill are perfectly horizontal for a professional finish.
Read more: How To Open An Awning Window
Step 5: Creating Header and Stud Supports
With the exterior siding cut and the window opening prepared, it’s time to create the header and stud supports. These components provide structural stability and support for the window frame.
Start by measuring the width of the window opening. Cut a piece of lumber to the length of the window width, plus an additional 3 inches on each side. This will be used as the header, which will span across the top of the opening.
Position the header on top of the window opening, aligning it with the guidelines you marked earlier. Use a level to ensure that the header is perfectly horizontal. Secure it in place by nailing or screwing it into the surrounding wall studs.
Next, measure the height of the window opening. Cut two pieces of lumber to the height measurement, minus the thickness of the header. These will be used as the vertical studs to support the sides of the window frame.
Position the vertical studs on each side of the window opening, aligning them with the marks you made earlier. Ensure that the studs are plumb by using a level. Secure them in place by nailing or screwing them into the header and the existing wall studs.
In addition to the header and vertical studs, you may need to install additional supporting components called cripples. Cripples are short pieces of lumber that fill the space between the header and the window sill. Measure the distance from the bottom of the header to the top of the window sill and cut the cripples to this length. Install them vertically between the header and the sill, securing them with nails or screws.
As you create the header and stud supports, make sure to double-check the alignment and stability of each component. They should be securely attached and level, providing a solid base for the window frame.
With the header and stud supports in place, you’re ready to move on to the next step: installing the window frame into the opening.
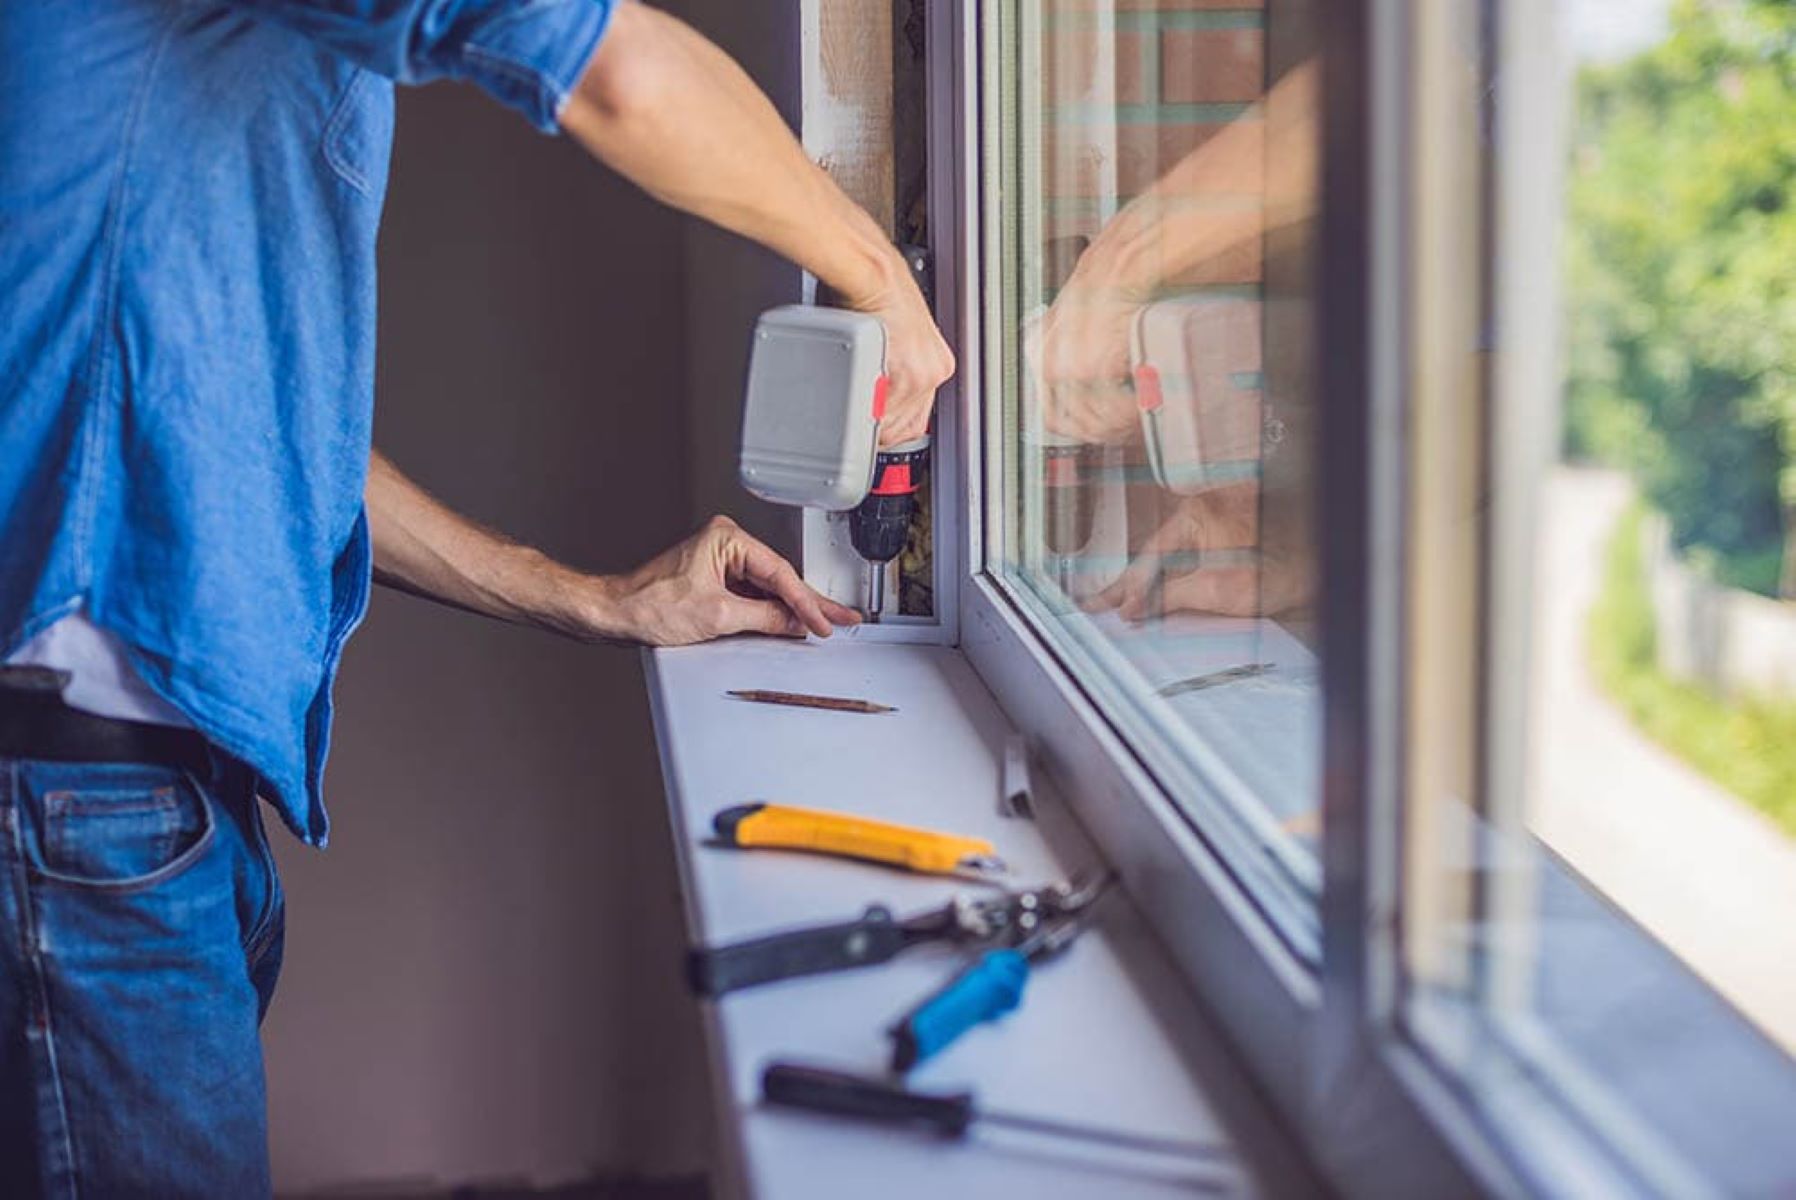
Step 6: Installing Window Frame
Now that you have created the header and stud supports, it’s time to install the window frame into the opening. Proper installation of the window frame ensures a secure fit and prevents any air or water leakage.
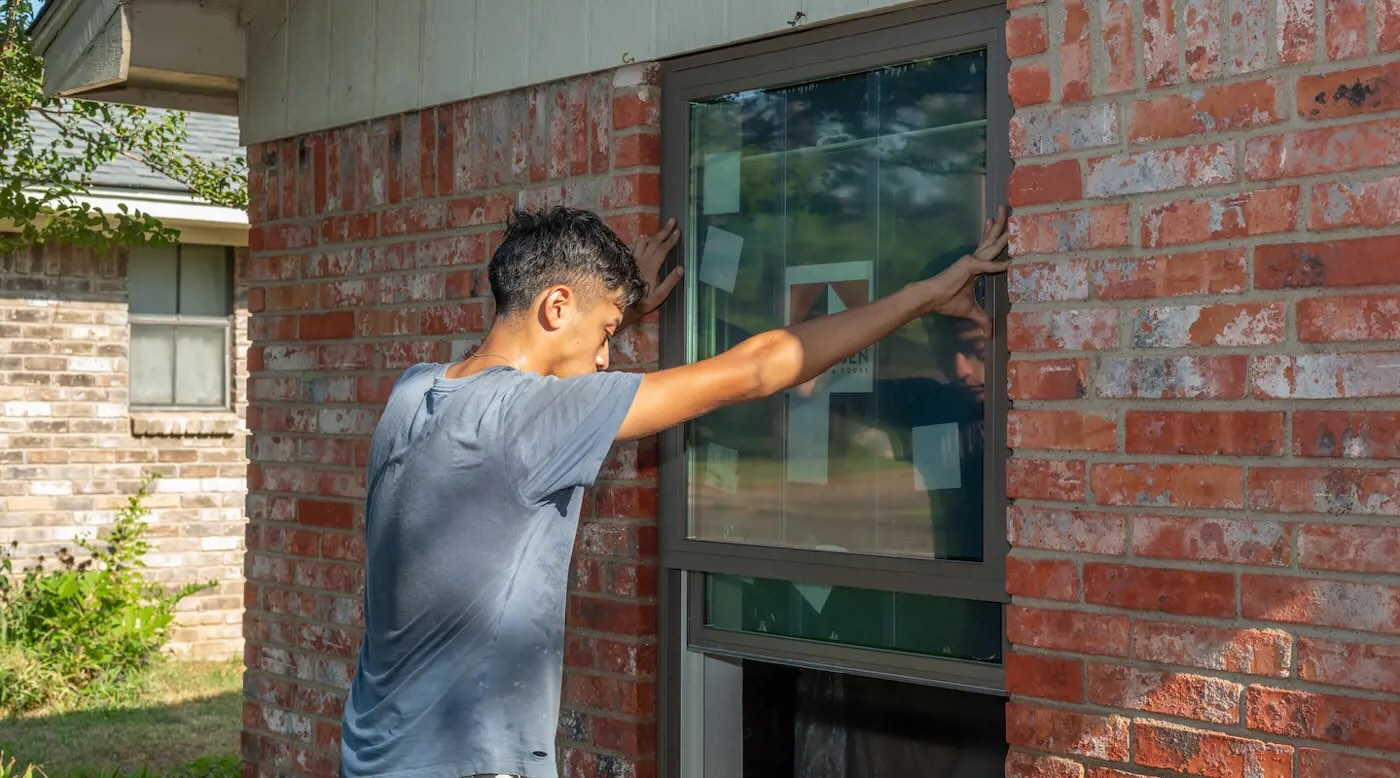
Begin by positioning the window frame into the opening, making sure it is centered and aligned with the guidelines you marked earlier. Place shims at the bottom of the frame to support its weight temporarily.
Using a level, check the vertical and horizontal alignment of the window frame. Adjust the shims as needed to ensure that the frame is plumb and level. This step is crucial to ensure that the window operates smoothly and functions correctly.
Once the window frame is properly aligned, secure it in place by driving screws or nails through the pre-drilled holes in the frame and into the studs or structural supports. Be mindful not to overtighten the fasteners, as this may distort the window frame.
Check the operability of the window by opening and closing it. Make any necessary adjustments to ensure smooth movement and proper alignment. Additionally, verify that the window is properly sealed and weather-resistant.
After the window frame is securely installed, remove the temporary shims that were supporting it. Insert insulation material between the frame and the rough opening to provide thermal efficiency and reduce air infiltration.
Finally, inspect the window frame for any gaps or openings. Seal any gaps with caulk or weatherstripping to prevent air and water leaks. This will enhance the energy efficiency of the window and improve indoor comfort.
With the window frame installed and properly sealed, you have completed a major milestone in framing the window opening. The next step is to move on to insulating and sealing the surrounding area.
Step 7: Insulating and Sealing
Once the window frame is installed, it’s important to properly insulate and seal the surrounding area to enhance energy efficiency and prevent air and moisture infiltration.
Start by applying a bead of caulk along the inner edges of the window frame, between the frame and the rough opening. This will create a tight seal and prevent air leaks. Use a caulk gun to apply a continuous and uniform bead of caulk.
Next, fill any gaps between the window frame and the rough opening with expanding foam insulation. Insert the nozzle of the foam insulation canister into the gaps and release the foam, allowing it to expand and fill the voids. Be careful not to overfill, as excessive foam can warp the window frame or hinder its operation.
To further improve insulation, consider installing insulation batts or foamboard insulation around the sides and top of the window frame. Cut the insulation material to fit snugly into the space between the frame and the wall, ensuring complete coverage.
Once the insulation is in place, seal the exterior of the window frame using a high-quality exterior caulk. Apply the caulk along the outer edges of the frame, sealing any gaps or cracks in the siding or trim. This will provide an extra layer of protection against moisture and drafts.
Check the interior of the window frame for any gaps or cracks. Use interior caulk to seal any openings, creating a tight seal that helps regulate temperature and prevent air infiltration into your living space.
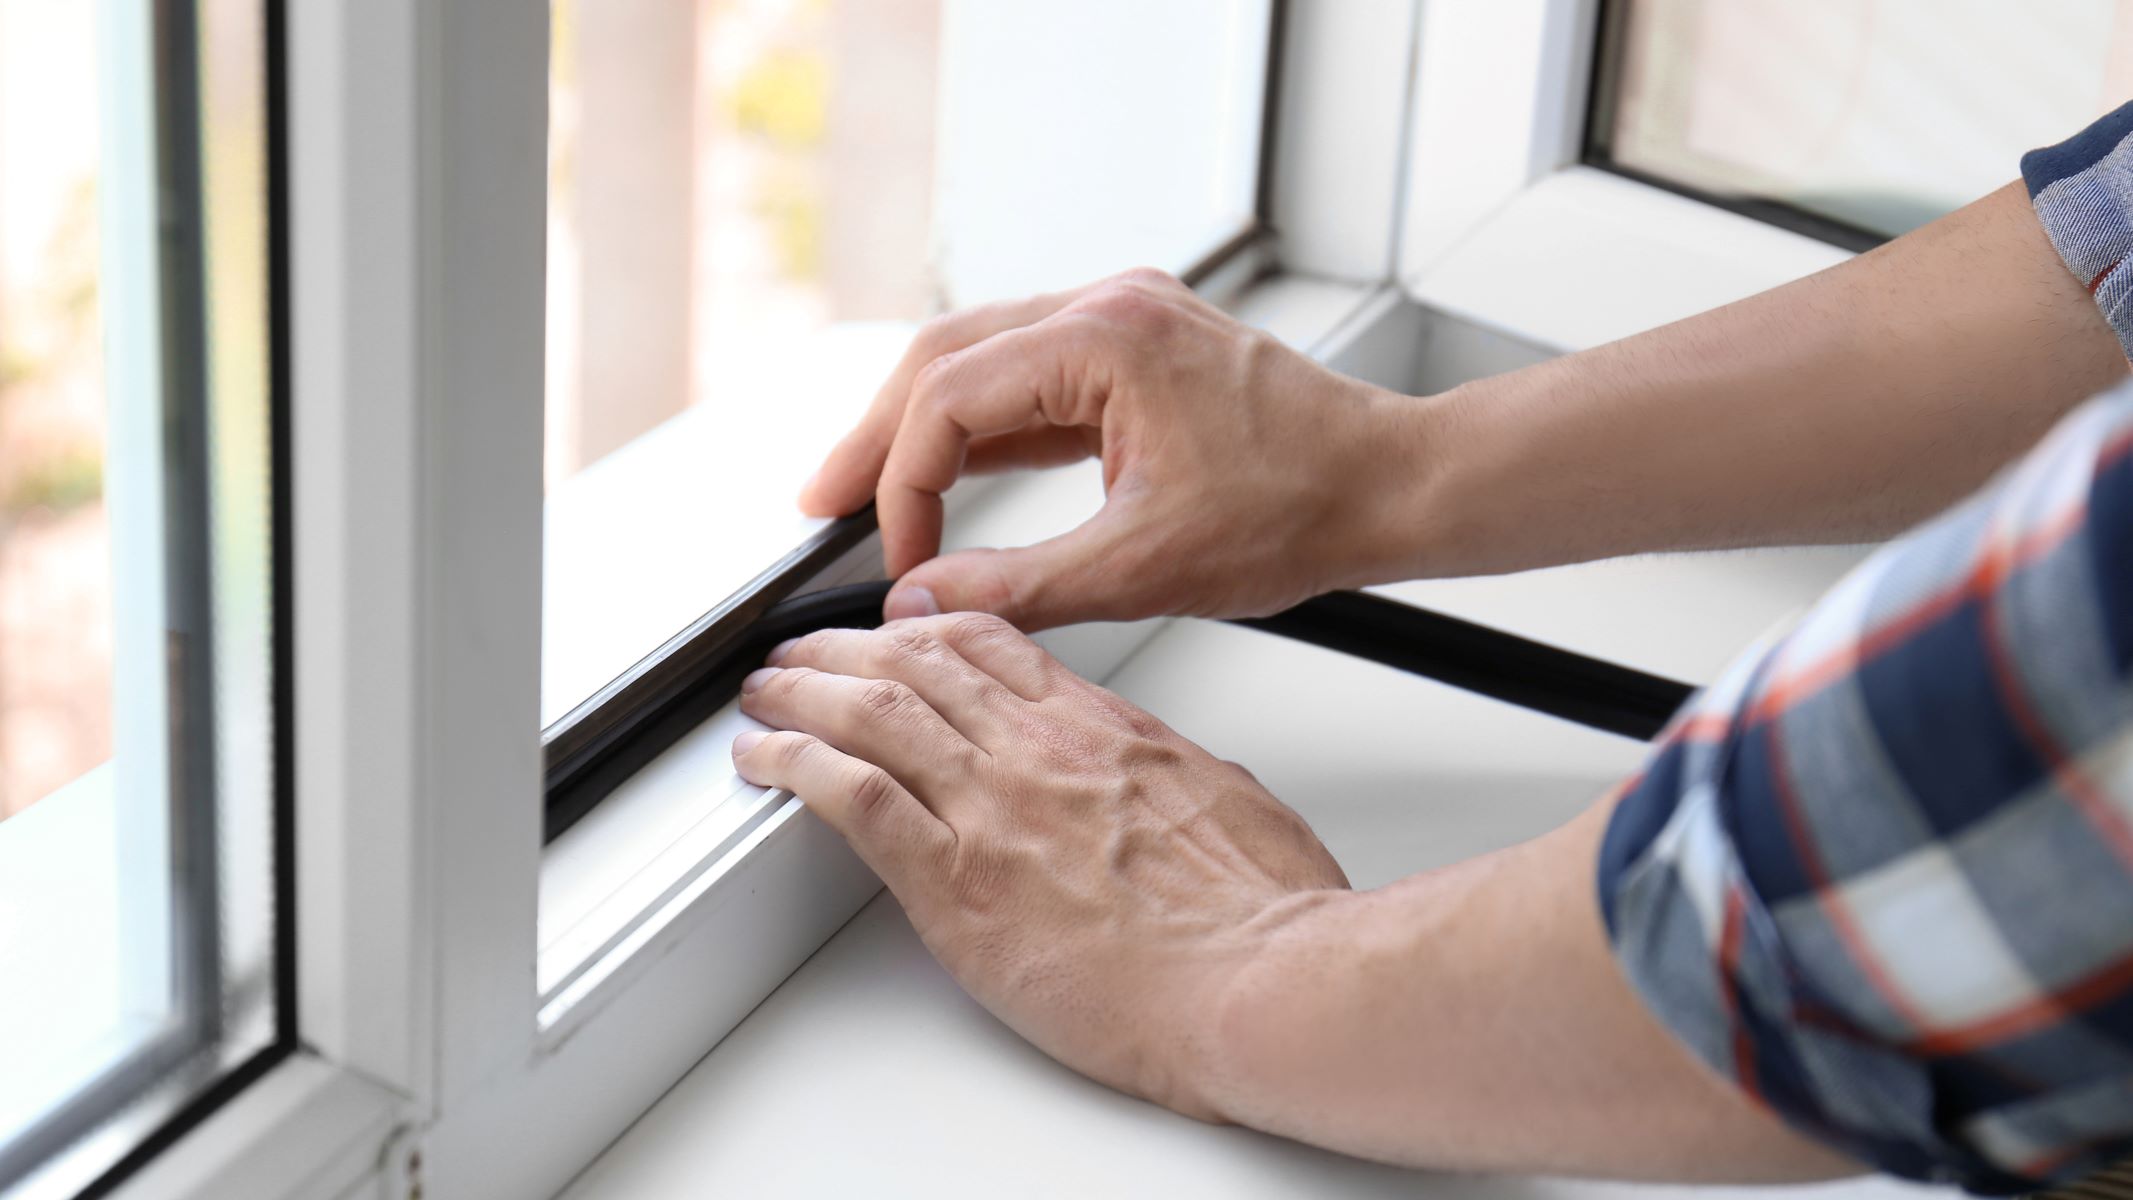
Additionally, consider installing weatherstripping around the operable parts of the window, such as the sash and the window sill. Weatherstripping helps create an airtight seal when the window is closed, reducing drafts and improving energy efficiency.
Proper insulation and sealing not only increase the energy efficiency of your windows but also contribute to the overall comfort and moisture control in your home.
With the insulation and sealing complete, you’re ready for the final step: adding the finishing touches to the window framing project.
Step 8: Finishing Touches
After completing the framing, installation, insulation, and sealing of the window, it’s time to add the finishing touches that will enhance the overall appearance and functionality of the window opening.
Start by installing interior trim around the window frame. Trim adds a decorative element and helps conceal any gaps or rough edges around the window. Measure and cut the trim pieces to fit around the frame, and secure them in place using finishing nails or screws. Make sure the trim is aligned and level for a professional finish.
Once the trim is in place, you can choose to paint or stain it to match your interior décor. Use a high-quality paint or stain that is suitable for the type of trim material you’re working with. Apply multiple coats if necessary, allowing each coat to dry thoroughly before applying the next.
Exterior trim, such as window casing or brick mould, can be installed around the outside of the window frame to provide a clean and finished look. Just like the interior trim, measure and cut the pieces to fit and secure them in place using appropriate fasteners.
After installing the exterior trim, seal any gaps between the trim and the window frame with exterior caulk. This helps prevent water infiltration and ensures a seamless and weather-resistant finish. Choose a caulk that is suitable for outdoor use and apply it evenly along the edges, smoothing it with a caulk tool or a wet finger.
Finally, make sure that the window operates smoothly and securely. Test the opening and closing mechanism, as well as the locking mechanism, to ensure proper functionality. Adjust as needed to ensure a snug fit and optimal performance.
Inspect the window from both inside and outside for any visible gaps or issues. Seal any remaining gaps or cracks with caulk or other suitable sealants to further enhance energy efficiency and weather resistance.
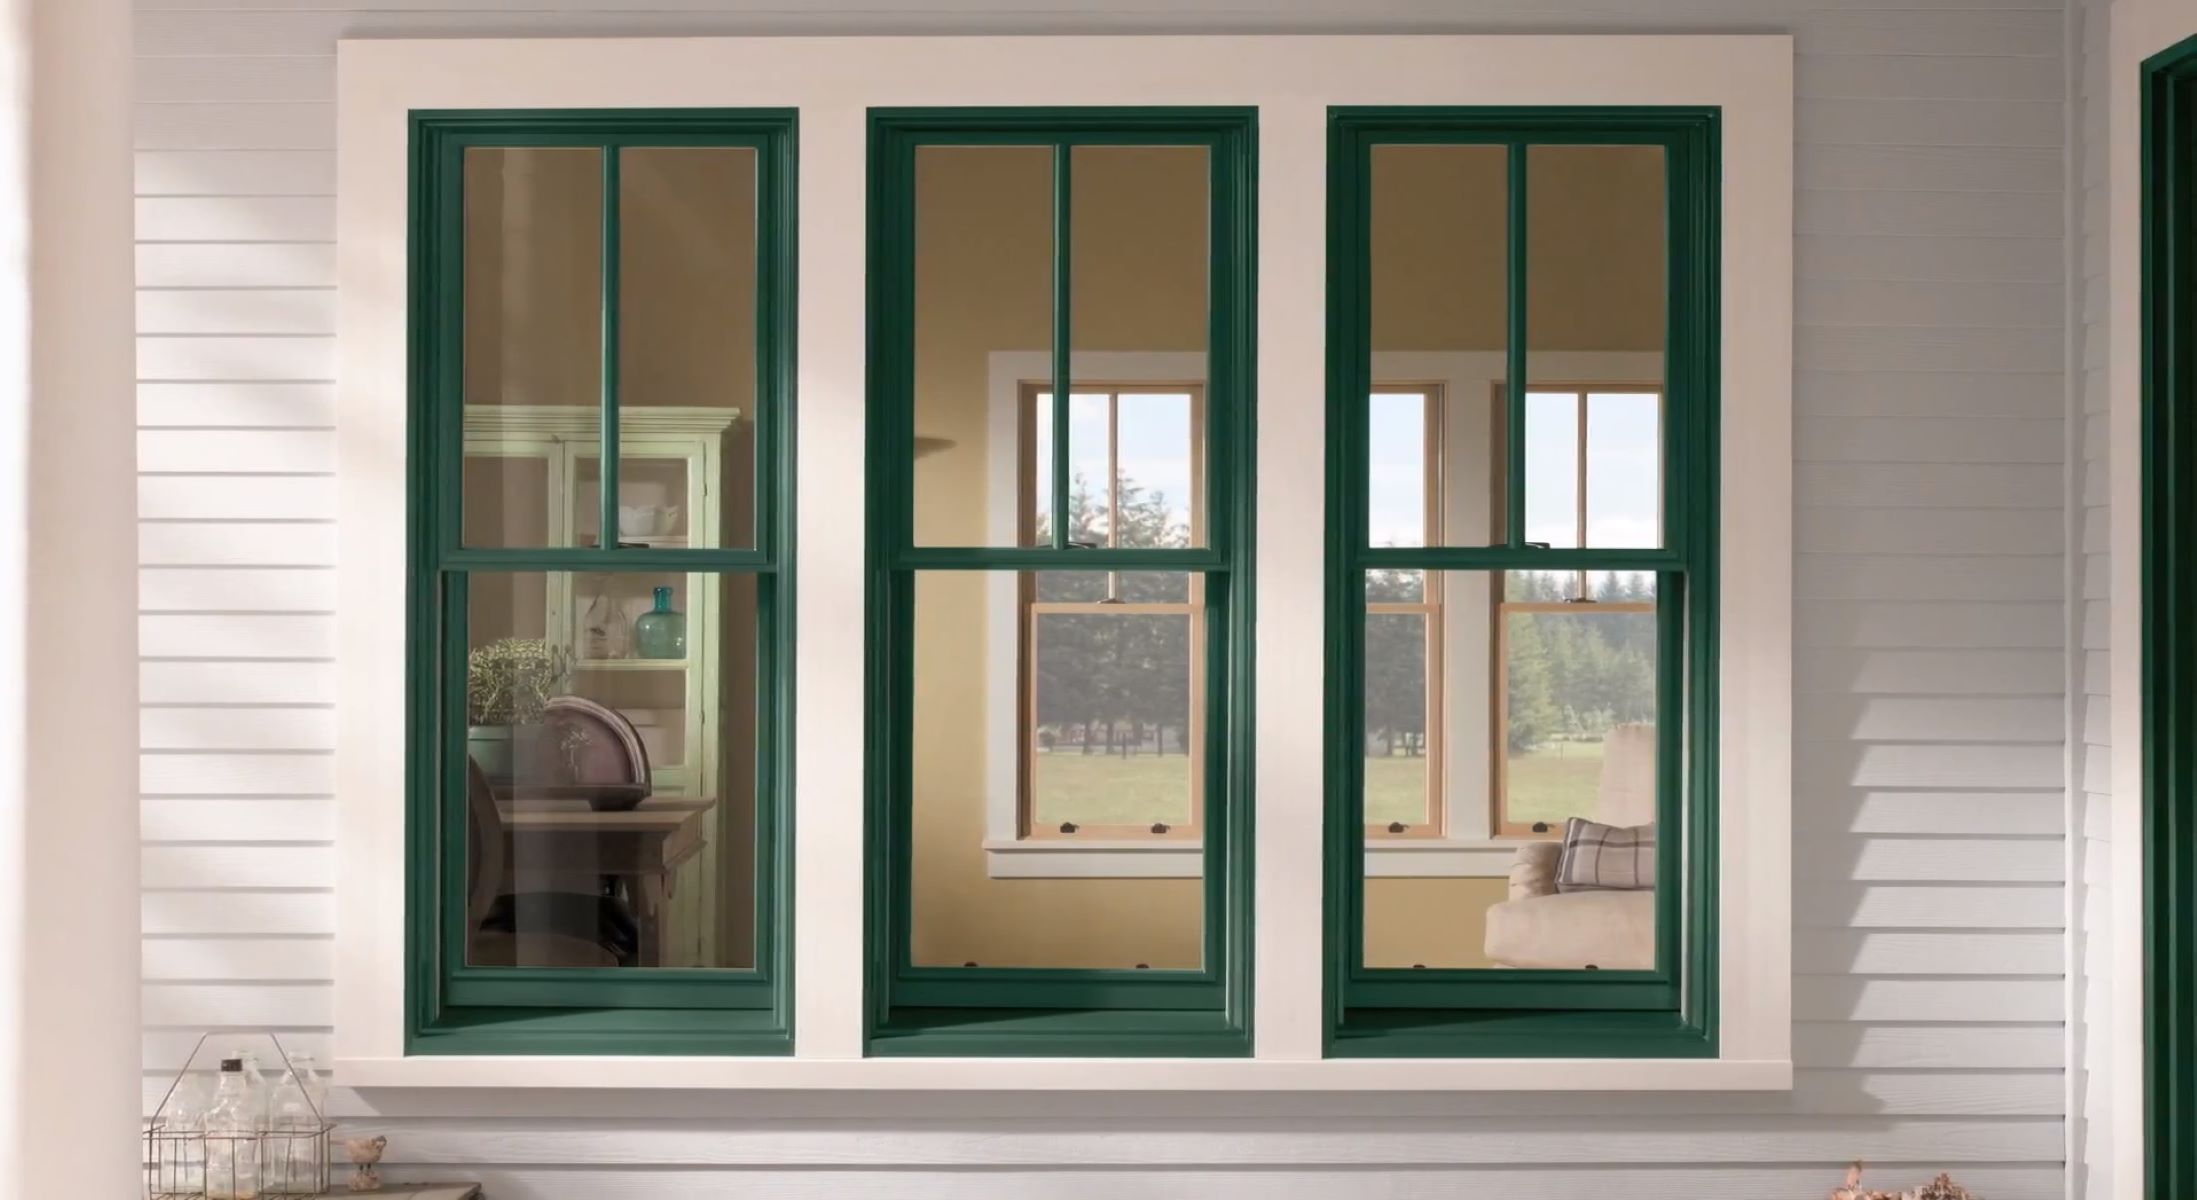
With the finishing touches complete, step back and admire your newly framed window opening. Not only does it enhance the aesthetic appeal of your home, but it also improves energy efficiency and functionality.
Congratulations! You’ve successfully completed the process of framing a window opening. By following these steps and taking care with each detail, you’ve ensured a professional and durable installation.
Remember, if you’re not comfortable or experienced with carpentry work, it’s always a good idea to consult a professional to ensure the best results. Safety should be a top priority when working with tools and materials.
Enjoy your beautifully framed window and the benefits it brings to your home!
Read more: How To Open A Stuck Window
Conclusion
Framing a window opening is a significant home improvement project that requires careful planning, precise measurements, and attention to detail. By following the step-by-step process outlined in this article, you can successfully frame a window opening and achieve a professional and visually appealing result.
From measuring and marking to removing existing trim and cutting the exterior siding, each step plays a crucial role in creating a well-framed and structurally sound window opening. The installation of the window frame, insulation, and sealing ensures energy efficiency and minimizes drafts and moisture infiltration.
Throughout the process, it’s important to prioritize safety and consider professional help if you are unsure or inexperienced with carpentry work. Working with power tools and handling building materials requires caution and skill.
Once the window frame is installed and sealed, adding the finishing touches, such as interior and exterior trim, not only enhances the appearance but also conceals any imperfections and adds a touch of refinement. Properly functioning windows improve the overall comfort and energy efficiency of your home.
Remember to comply with local building codes and regulations, as window sizing and placement may vary depending on the location. Consulting with professionals or local authorities can ensure compliance and prevent any issues down the line.
In conclusion, framing a window opening is a rewarding undertaking that transforms the aesthetics and functionality of your home. By following the steps outlined in this article, you can successfully complete the project and enjoy the benefits of a well-framed and beautifully installed window.
Frequently Asked Questions about How To Frame A Window Opening
Was this page helpful?
At Storables.com, we guarantee accurate and reliable information. Our content, validated by Expert Board Contributors, is crafted following stringent Editorial Policies. We're committed to providing you with well-researched, expert-backed insights for all your informational needs.


0 thoughts on “How To Frame A Window Opening”