Home>Gardening & Outdoor>Outdoor Structures>How To Open An Awning Window
Outdoor Structures
How To Open An Awning Window
Modified: April 1, 2024
Learn how to open an awning window for your outdoor structures. Follow our step-by-step guide for easy operation and maintenance.
(Many of the links in this article redirect to a specific reviewed product. Your purchase of these products through affiliate links helps to generate commission for Storables.com, at no extra cost. Learn more)
Introduction
Opening an awning window can significantly enhance the ventilation and ambiance of your living space, allowing fresh air and natural light to permeate the room. Whether you're welcoming a gentle breeze on a balmy day or simply seeking to brighten up the atmosphere, mastering the art of opening an awning window is a valuable skill for any homeowner or tenant. This comprehensive guide will walk you through the step-by-step process, ensuring that you can effortlessly enjoy the benefits of an open awning window.
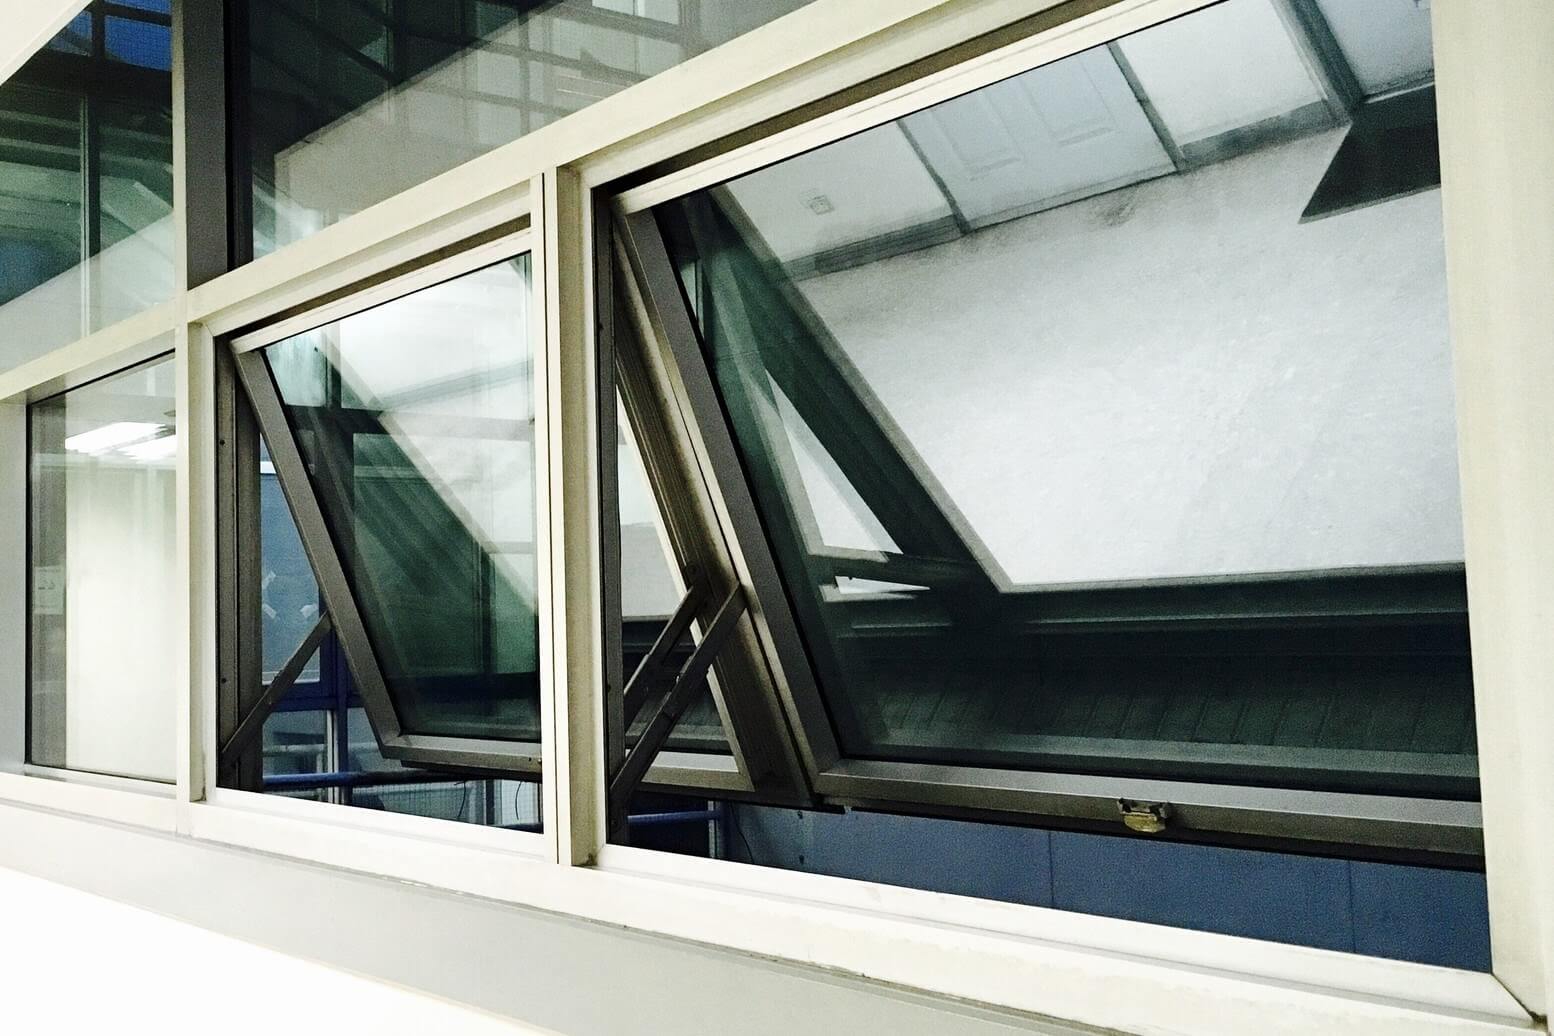
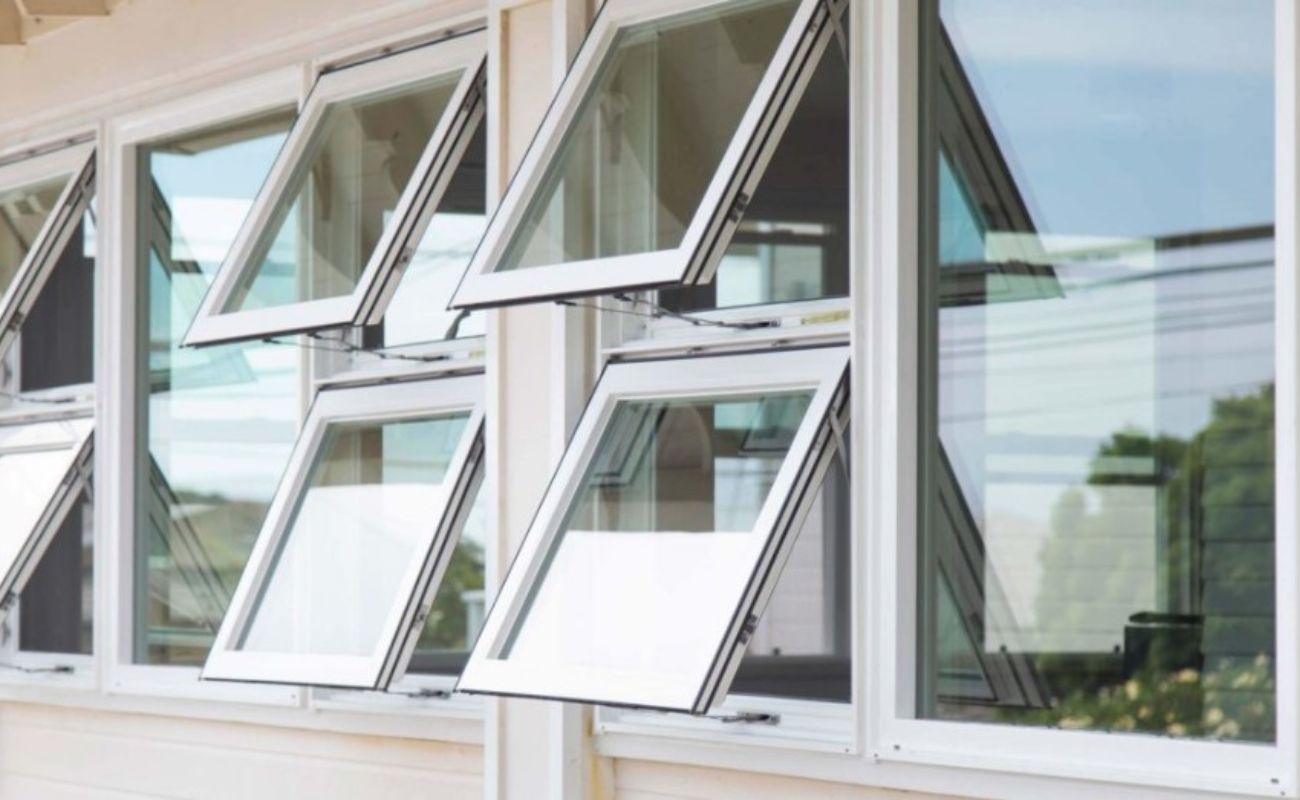
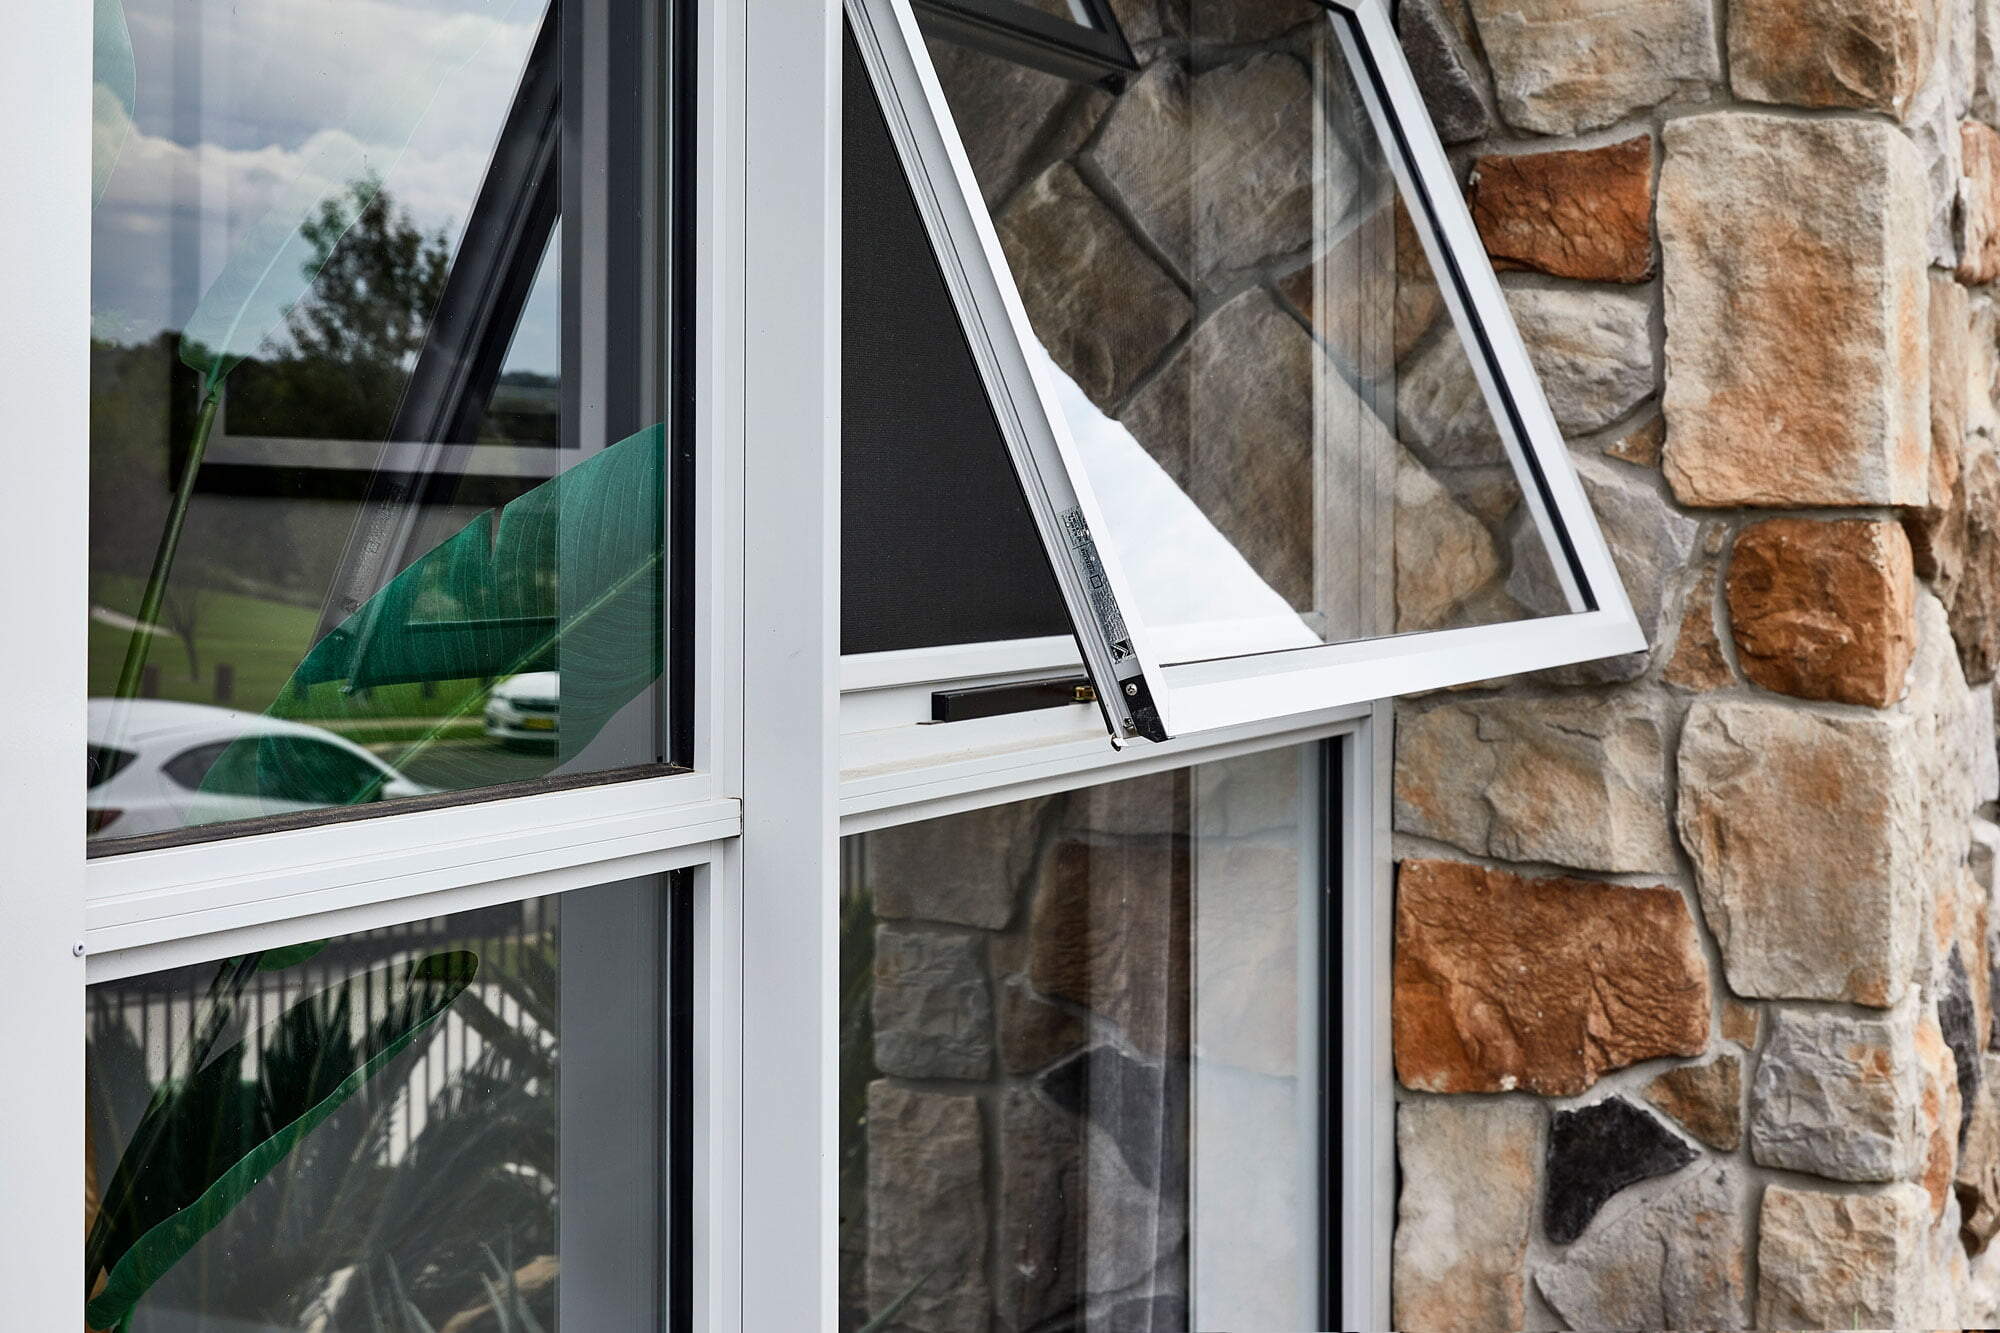
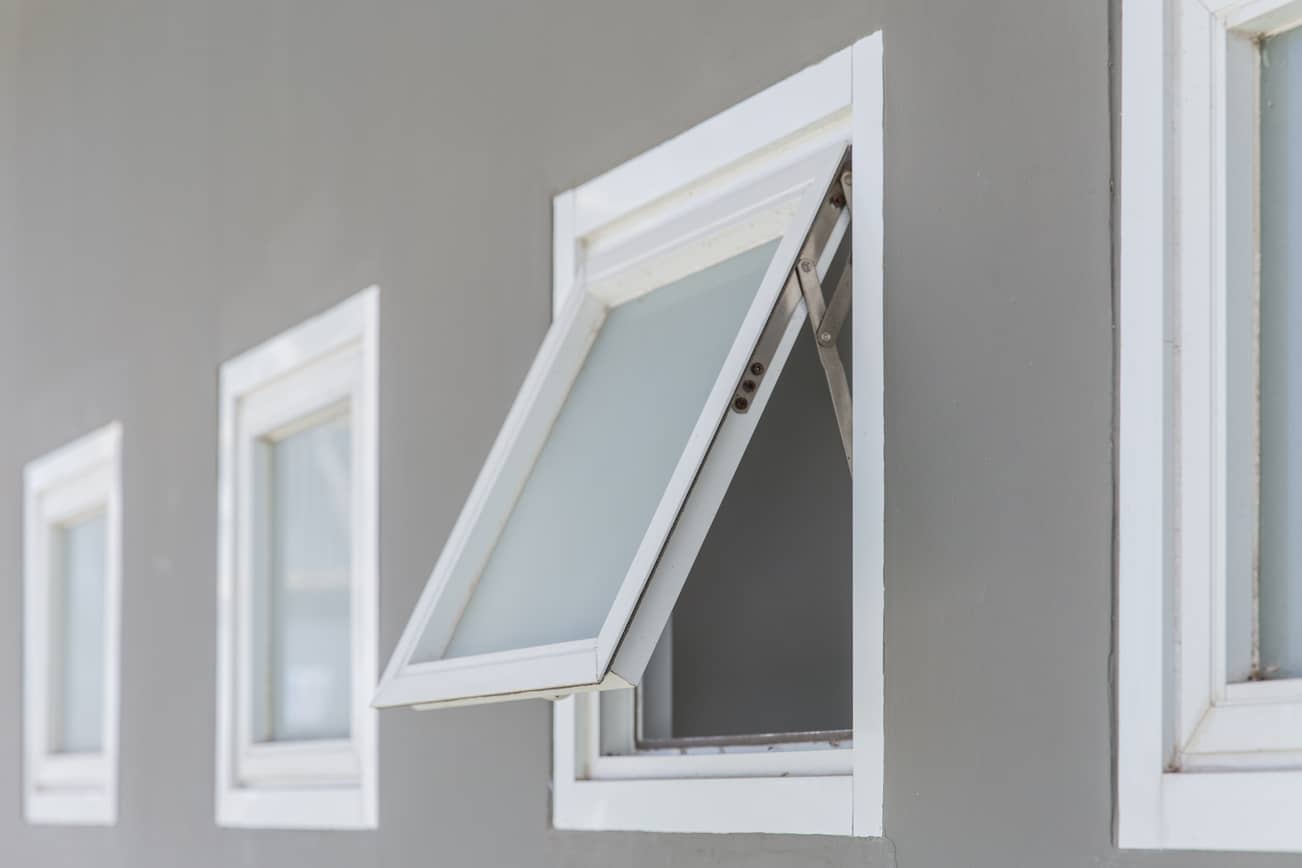
Understanding the mechanics of an awning window is the first step toward successfully operating it. Unlike traditional sliding or double-hung windows, awning windows are hinged at the top and open outward from the bottom, resembling the motion of an awning being unfurled. This unique design not only adds a touch of elegance to your home but also offers practical advantages, such as shielding the interior from rain while allowing for ventilation.
By following the instructions outlined in this guide, you'll gain the confidence and expertise needed to open and secure an awning window with ease. Whether you're a seasoned homeowner or a first-time awning window user, this step-by-step tutorial will equip you with the knowledge and skills to effortlessly harness the benefits of this versatile window style.
So, let's embark on this journey together and unlock the potential of your awning window, allowing the natural beauty of the outdoors to seamlessly merge with your indoor sanctuary. With the right tools and a clear understanding of the process, you'll soon find yourself savoring the gentle caress of a refreshing breeze as it flows through your open awning window.
Key Takeaways:
- Embrace the gentle art of opening an awning window to welcome fresh air and natural light into your home. With the right tools and care, you can effortlessly connect your indoor sanctuary to the outdoor world.
- Secure your awning window in the open position to enjoy enhanced ventilation and natural light. By following simple steps and utilizing support mechanisms, you can create a harmonious blend of indoor comfort and outdoor allure.
Read more: What Is An Awning Window
Step 1: Gather necessary tools and materials
Before embarking on the journey of opening an awning window, it's essential to gather the necessary tools and materials to ensure a smooth and efficient process. Here's a comprehensive list of items you'll need:
Tools:
- Screwdriver: To loosen any screws or fasteners that may be securing the window in the closed position.
- Lubricant: Such as silicone spray or a similar product to lubricate the hinges and ensure smooth operation.
- Cleaning cloth: For wiping away any dirt or debris that may be obstructing the window's movement.
Materials:
- Safety gloves: To protect your hands while handling the window and its components.
- Safety goggles: To shield your eyes from any dust or debris that may be dislodged during the process.
- Ladder or step stool: If the window is located at a height that requires additional elevation for safe access.
By ensuring that you have these tools and materials at your disposal, you'll be well-prepared to tackle the task of opening your awning window. With the right equipment on hand, you can proceed with confidence, knowing that you have everything you need to navigate the process smoothly and safely.
Step 2: Unlock the window
Unlocking an awning window is a crucial step in the process of opening it to allow fresh air and natural light into your living space. Before attempting to unlock the window, it's important to ensure that the surrounding area is clear of any obstructions, allowing for safe and unimpeded access to the window.
-
Identify the Locking Mechanism: Begin by locating the locking mechanism of the awning window. In most cases, awning windows are equipped with a simple yet effective locking system situated along the window frame. The locking mechanism may consist of a latch, lever, or handle, depending on the specific design of the window.
-
Inspect for Debris or Obstructions: Before attempting to unlock the window, take a moment to inspect the locking mechanism for any signs of debris or obstructions. Over time, dust, dirt, or grime may accumulate around the locking components, hindering their smooth operation. Use a cleaning cloth to gently remove any debris and ensure that the locking mechanism is clean and unobstructed.
-
Release the Locking Mechanism: Once the locking mechanism is clear of any obstructions, proceed to release the lock by turning the handle, pressing the latch, or operating the lever, depending on the specific type of locking mechanism present. Apply gentle yet firm pressure to disengage the lock, taking care to avoid excessive force that may cause damage to the window components.
-
Test the Movement: After unlocking the window, test the movement of the awning by gently pushing it outward from the bottom. The window should open smoothly and without resistance, allowing for easy operation. If you encounter any difficulty in opening the window, refrain from forcing it and recheck the locking mechanism for any overlooked obstructions.
-
Apply Lubricant (if necessary): If the window exhibits resistance or stiffness during the unlocking process, consider applying a small amount of lubricant to the hinges and moving parts. A silicone-based spray or similar lubricant can help to alleviate friction and ensure that the window operates smoothly.
By following these steps, you can successfully unlock your awning window, paving the way for the next phase of opening and securing it in the desired position. With the window now unlocked, you are ready to proceed to the subsequent steps, allowing the natural beauty of the outdoors to seamlessly merge with your indoor sanctuary.
Read more: How To Open A Camper Awning
Step 3: Open the window
With the awning window unlocked and the surrounding area cleared of any obstructions, you are now ready to proceed with the pivotal step of opening the window. This process involves carefully and methodically maneuvering the window to allow for optimal ventilation and natural light to permeate your living space. Follow these steps to seamlessly open the awning window:
-
Positioning and Support: Begin by positioning yourself in front of the awning window, ensuring that you have a firm and stable footing. If the window is situated at a height that requires additional elevation for safe access, utilize a ladder or step stool to provide the necessary support.
-
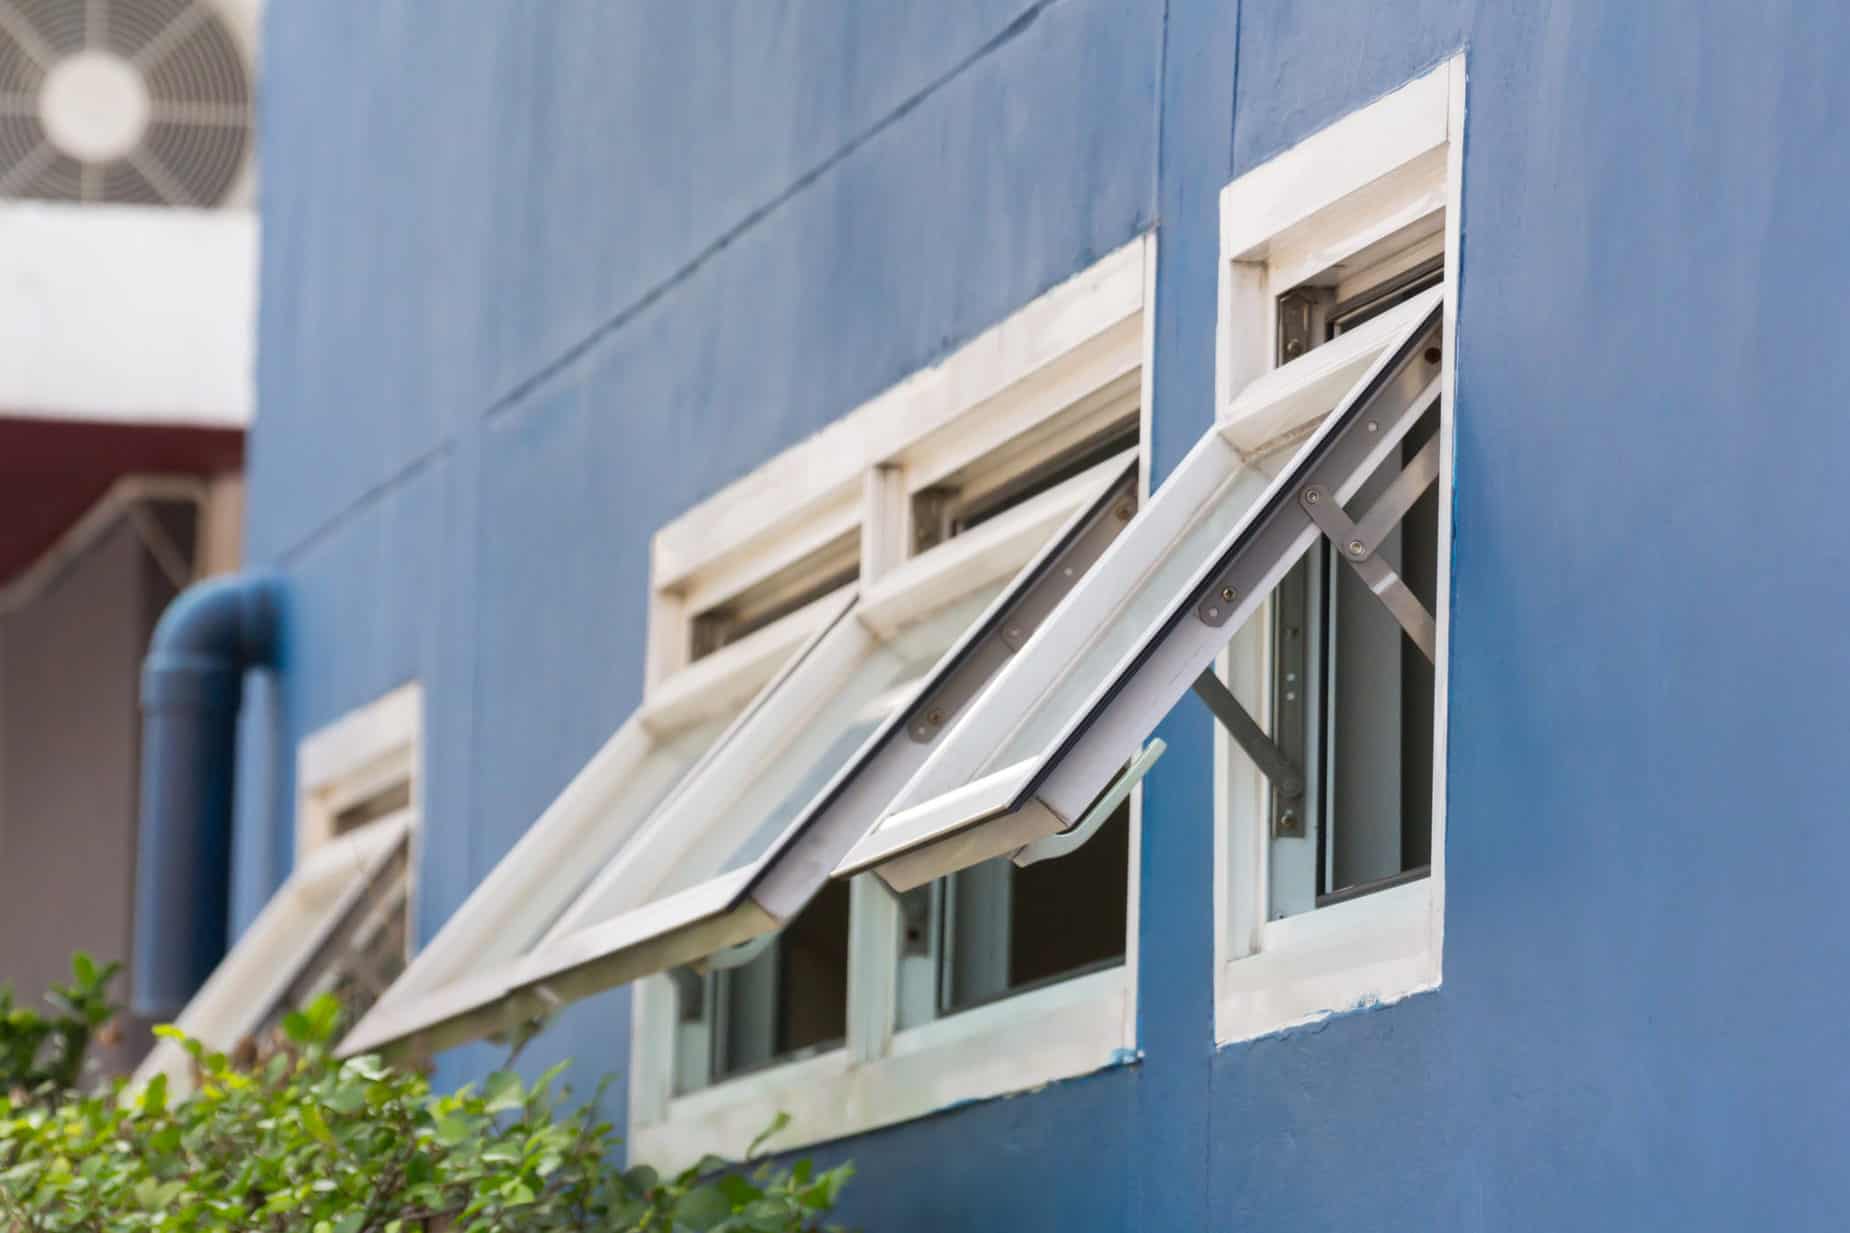
Gentle Outward Movement: With a firm yet gentle grip, apply even pressure to the bottom of the window and begin to push it outward. The unique hinged design of the awning window allows it to pivot from the top, opening outward and upward simultaneously. Exercise caution to maintain a steady and controlled motion, allowing the window to open smoothly without abrupt or jerky movements.
-
Observation and Adjustment: As the window begins to open, observe its movement and ensure that it operates without resistance or obstruction. If you encounter any difficulty or stiffness during the opening process, refrain from forcing the window and consider applying a small amount of lubricant to the hinges and moving parts to facilitate smoother operation.
-
Optimal Opening Angle: Continue to push the window outward until it reaches the desired angle of ventilation. The awning window can be opened to varying degrees, allowing you to customize the airflow and light intake according to your preferences. Once the window is positioned at the desired angle, ensure that it is securely held in place, ready to welcome the gentle caress of a refreshing breeze into your living space.
-
Safety and Stability: Throughout the opening process, prioritize safety and stability, ensuring that the window remains securely supported and that you maintain a firm grip to prevent any accidental slippage or mishandling. If necessary, enlist the assistance of a second person to provide additional support and guidance during the window opening process.
By following these steps, you can successfully open your awning window, harnessing the benefits of enhanced ventilation and natural light within your living space. With the window now open, you can revel in the seamless fusion of indoor comfort and outdoor allure, creating a harmonious ambiance that rejuvenates and uplifts the spirit.
Step 4: Secure the window in the open position
Securing the awning window in the open position is a critical step to ensure stability, safety, and optimal functionality. Once the window is opened to the desired angle, it's essential to implement measures that will effectively hold it in place, preventing unexpected closure or movement due to external factors such as wind or vibrations. By following these guidelines, you can confidently secure your awning window in the open position, allowing you to savor the benefits of enhanced ventilation and natural light without compromise.
Utilize the Integrated Stay or Support Mechanism
Many modern awning windows are equipped with an integrated stay or support mechanism designed to hold the window securely in the open position. This feature typically consists of a friction hinge or a similar mechanism that provides resistance against the weight of the window, preventing it from inadvertently closing. To engage the integrated stay, carefully position the window at the desired angle and allow the mechanism to hold it in place. Ensure that the stay is fully engaged and that the window exhibits minimal movement or sway, indicating a secure and stable position.
Install Additional Window Stays or Props
In situations where the integrated stay may not provide sufficient support, or for older awning windows that lack this feature, it may be necessary to install additional window stays or props to secure the window in the open position effectively. These auxiliary supports can be attached to the window frame and adjusted to provide the necessary resistance, preventing the window from closing due to external forces. When installing additional window stays, ensure that they are positioned strategically to distribute the weight of the window evenly and minimize the risk of imbalance or instability.
Read more: How To Clean Awning Windows
Consider External Winders or Locks
For awning windows located in areas exposed to strong winds or external vibrations, the use of external winders or locks can offer an added layer of security to maintain the window in the open position. External winders are designed to provide adjustable resistance, allowing you to fine-tune the level of support according to prevailing environmental conditions. By utilizing external winders or locks, you can enhance the stability of the awning window, ensuring that it remains open and steadfast even in the face of external forces.
Regular Maintenance and Inspection
To sustain the effectiveness of the window stays, props, or external winders, it's essential to perform regular maintenance and inspection to ensure that these components are in optimal condition. Periodically check the integrity of the integrated stay mechanism, tighten any fasteners or adjustments as needed, and lubricate moving parts to maintain smooth operation. Additionally, inspect the auxiliary window stays or props for signs of wear or damage, replacing any worn components to uphold the window's stability and security in the open position.
By implementing these measures, you can effectively secure your awning window in the open position, creating a harmonious blend of indoor comfort and outdoor allure. With the window steadfastly held open, you can relish the gentle breeze and natural light that infuse your living space, elevating the ambiance and revitalizing your connection to the surrounding environment.
Step 5: Close the window
As the day transitions or the weather changes, the time may come to close your awning window, restoring a sense of coziness and security to your living space. The process of closing an awning window is just as crucial as opening it, ensuring that the interior remains protected and insulated while maintaining a seamless visual connection to the outdoors. Follow these steps to effectively and safely close your awning window, preserving the comfort and tranquility of your indoor sanctuary.
-
Evaluate Surrounding Conditions: Before proceeding to close the awning window, take a moment to assess the external environment. Consider factors such as wind speed, precipitation, and temperature to gauge the optimal timing for closing the window. By aligning the window-closing process with favorable external conditions, you can minimize the impact of external elements on the interior environment.
-
Gentle Inward Movement: With a firm yet controlled grip, guide the awning window to pivot inward from its open position. The unique hinged design allows the window to close smoothly and securely, creating a snug seal that safeguards the interior from external influences. Exercise caution to maintain a steady and deliberate motion, ensuring that the window closes without abrupt or jarring movements.
-
Observation and Adjustment: As the window begins to close, observe its movement and ensure that it aligns with the frame evenly and securely. Check for any signs of resistance or misalignment, making adjustments as necessary to ensure a proper seal. If the window exhibits any difficulty in closing, refrain from forcing it and investigate the cause, such as debris obstructing the frame or hinges.
-
Engage the Locking Mechanism: Once the awning window is fully closed, engage the locking mechanism to secure it in place. Depending on the specific design of the window, this may involve turning a handle, pressing a latch, or operating a lever to activate the locking mechanism. Confirm that the window is securely locked, providing an additional layer of protection and stability.
-
Inspect the Seal: After closing and locking the awning window, inspect the seal along the frame to ensure that it is uniform and airtight. A proper seal is essential for maintaining insulation and preventing drafts, contributing to energy efficiency and indoor comfort. If any gaps or inconsistencies are observed, make the necessary adjustments to optimize the seal's effectiveness.
By following these steps, you can effectively close your awning window, preserving the comfort and security of your living space while maintaining a seamless connection to the outdoor environment. With the window securely closed, you can relish the tranquility and privacy of your indoor sanctuary, knowing that you have successfully navigated the process of opening and closing your awning window with confidence and expertise.
Conclusion
Mastering the art of opening and closing an awning window is not merely a practical skill; it's a gateway to a harmonious fusion of indoor comfort and outdoor allure. As you navigate the step-by-step process outlined in this guide, you gain more than the ability to manipulate a window; you unlock the potential to transform your living space into a sanctuary that seamlessly integrates with the natural world.
By gathering the necessary tools and materials, unlocking the window, opening it with care, securing it in the open position, and then closing it thoughtfully, you've embarked on a journey that transcends mere functionality. You've embraced the opportunity to invite the gentle caress of a refreshing breeze, the warm embrace of natural light, and the soothing sights and sounds of the outdoors into your home.
In the act of opening an awning window, you've welcomed a breath of fresh air that revitalizes the ambiance of your living space, infusing it with vitality and rejuvenation. The seamless transition from closed to open positions represents more than a physical change; it symbolizes a shift in perspective, inviting a renewed connection to the surrounding environment.
As you secure the window in the open position, you create a bridge between the interior and exterior, allowing the beauty of nature to permeate your living space without compromise. The process of closing the window, in turn, signifies a return to tranquility and security, preserving the comfort of your indoor sanctuary while maintaining a visual and sensory link to the world beyond.
In essence, the journey of opening and closing an awning window is a testament to the delicate balance between shelter and openness, insulation and ventilation, privacy and connection. It's a testament to your ability to harmonize the elements of your living environment, creating a space that nurtures and inspires.
So, as you conclude this journey, take a moment to appreciate the newfound sense of mastery and connection that accompanies the simple act of operating an awning window. Embrace the subtle yet profound impact that this process has on your daily life, enriching your surroundings and elevating your experience of home.
With each gentle pivot of the window, you've not only welcomed the outdoors into your living space; you've also invited a sense of harmony and balance that transcends the physical boundaries of your home. And in doing so, you've unlocked the true potential of your awning window, transforming it from a mere fixture into a gateway to a world of natural beauty and serenity.
Frequently Asked Questions about How To Open An Awning Window
Was this page helpful?
At Storables.com, we guarantee accurate and reliable information. Our content, validated by Expert Board Contributors, is crafted following stringent Editorial Policies. We're committed to providing you with well-researched, expert-backed insights for all your informational needs.


0 thoughts on “How To Open An Awning Window”