Articles
How To Take Off A Shower Faucet
Modified: December 7, 2023
Learn how to easily remove a shower faucet with our step-by-step articles. Discover expert tips and tricks for a hassle-free DIY project.
(Many of the links in this article redirect to a specific reviewed product. Your purchase of these products through affiliate links helps to generate commission for Storables.com, at no extra cost. Learn more)
Introduction
Welcome to our comprehensive guide on how to take off a shower faucet. If you’re experiencing issues with your shower faucet or simply want to replace it with a new one, this step-by-step article will walk you through the process. Taking off a shower faucet may seem daunting, but with the right tools and a little know-how, you can successfully complete the task.
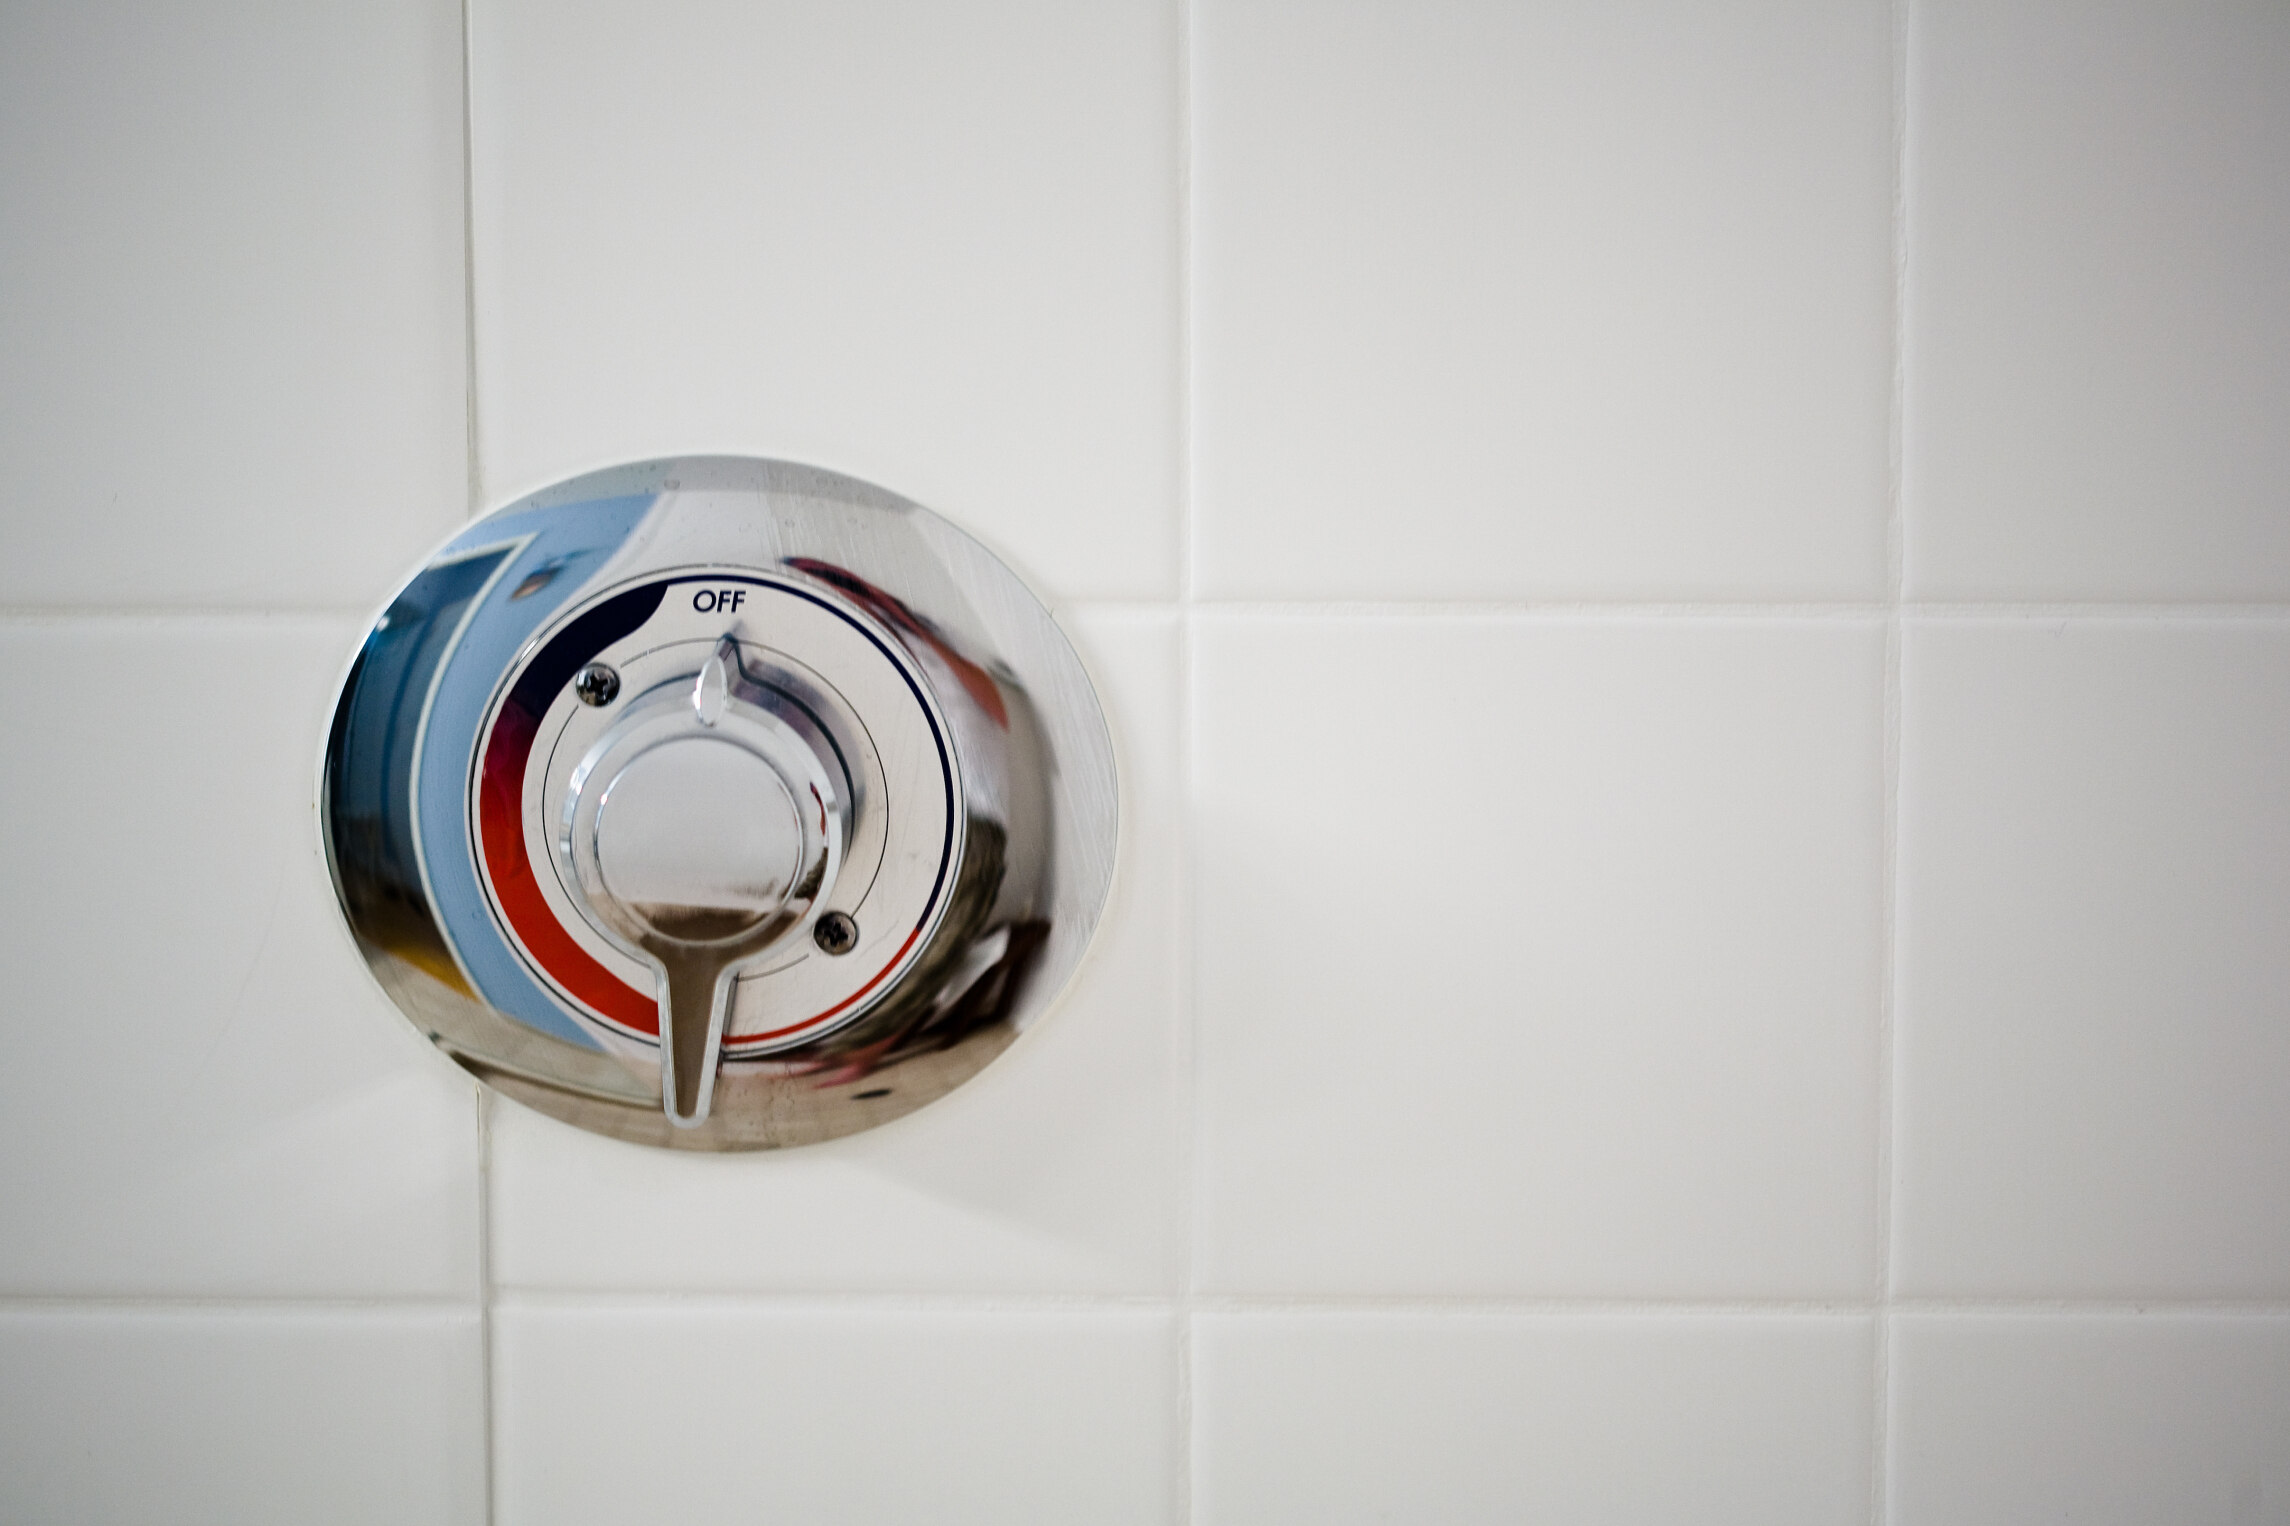
Before we dive into the steps, it’s essential to understand the different components of a shower faucet. A typical shower faucet consists of a handle, an escutcheon plate, and a cartridge. The handle allows you to control the water temperature and flow, while the escutcheon plate provides a decorative cover for the inner workings of the faucet. The cartridge is responsible for regulating the water flow.
Now that you have a basic understanding of the different parts, let’s get started on the process of taking off a shower faucet. Remember to gather all the necessary tools and materials before beginning to ensure a smooth and efficient removal process.
Key Takeaways:
- Proper preparation, the right tools, and careful attention to detail are essential for successfully taking off a shower faucet. By following the step-by-step guide, anyone can confidently maintain and upgrade their shower fixtures.
- Regular maintenance and periodic checks on your shower faucet can help prevent future problems. Testing the functionality of the newly installed shower faucet ensures a refreshing and reliable showering experience.
Read more: How To Take Off A Kitchen Faucet
Step 1: Gather the necessary tools and materials
Before you start taking off a shower faucet, it’s crucial to gather the right tools and materials. Having everything you need at hand will make the process easier and more efficient. Here’s a list of the items you’ll need:
- Adjustable wrench
- Screwdriver (flathead or Phillips, depending on the screws used)
- Allen wrench (if applicable)
- Plumber’s tape
- New cartridge (if you’re planning to replace the old one)
The adjustable wrench is essential for loosening and tightening the fittings, while the screwdriver is necessary for removing screws that hold the handle and escutcheon plate in place. Additionally, an Allen wrench may be required if your faucet has hexagonal screws. Plumber’s tape is used to create a watertight seal when reassembling the faucet.
If you’re planning to replace the cartridge, make sure to purchase the correct replacement cartridge for your specific shower faucet model. It’s always a good idea to consult the manufacturer’s instructions or check with a plumbing professional to ensure compatibility.
Once you have all the tools and materials ready, you’re well-prepared to proceed with the next steps in removing your shower faucet.
Step 2: Shut off the water supply
Before you begin working on your shower faucet, it’s important to shut off the water supply to prevent any leaks or accidental water flow. Locate the main water shut-off valve, which is typically located near the water meter or in a utility room.
Once you’ve located the shut-off valve, turn it clockwise to shut off the water supply. This will ensure that no water is flowing to the shower faucet while you’re removing it. It’s a good idea to test the water flow in the shower to confirm that the water has been successfully shut off.
Additionally, it’s recommended to release any remaining water pressure by turning on the faucet and allowing the water to run until it stops flowing completely. This step is crucial to prevent any residual water from spraying or leaking out when you remove the faucet components.
Remember, safety should always be a priority when working with plumbing. Shutting off the water supply is an essential step to avoid any potential accidents or damage while removing your shower faucet.
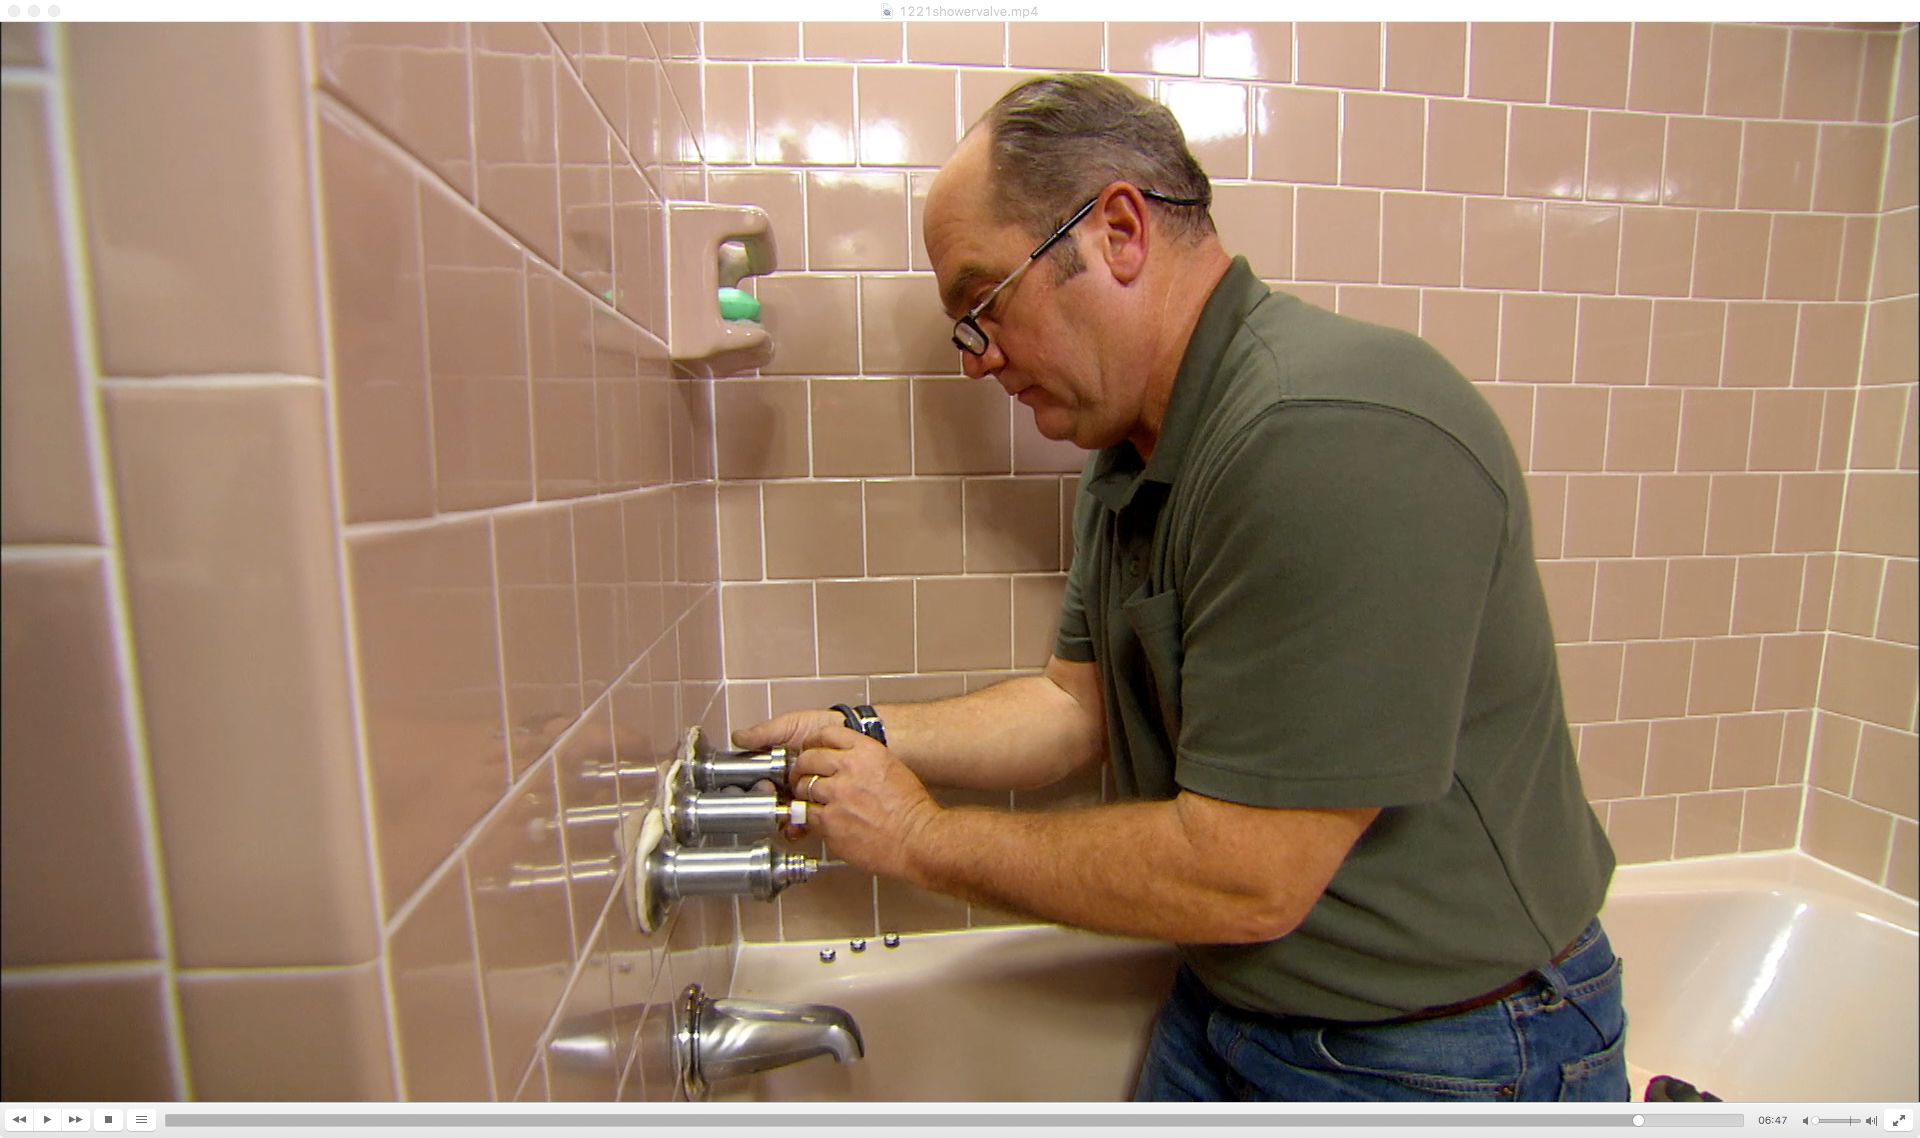
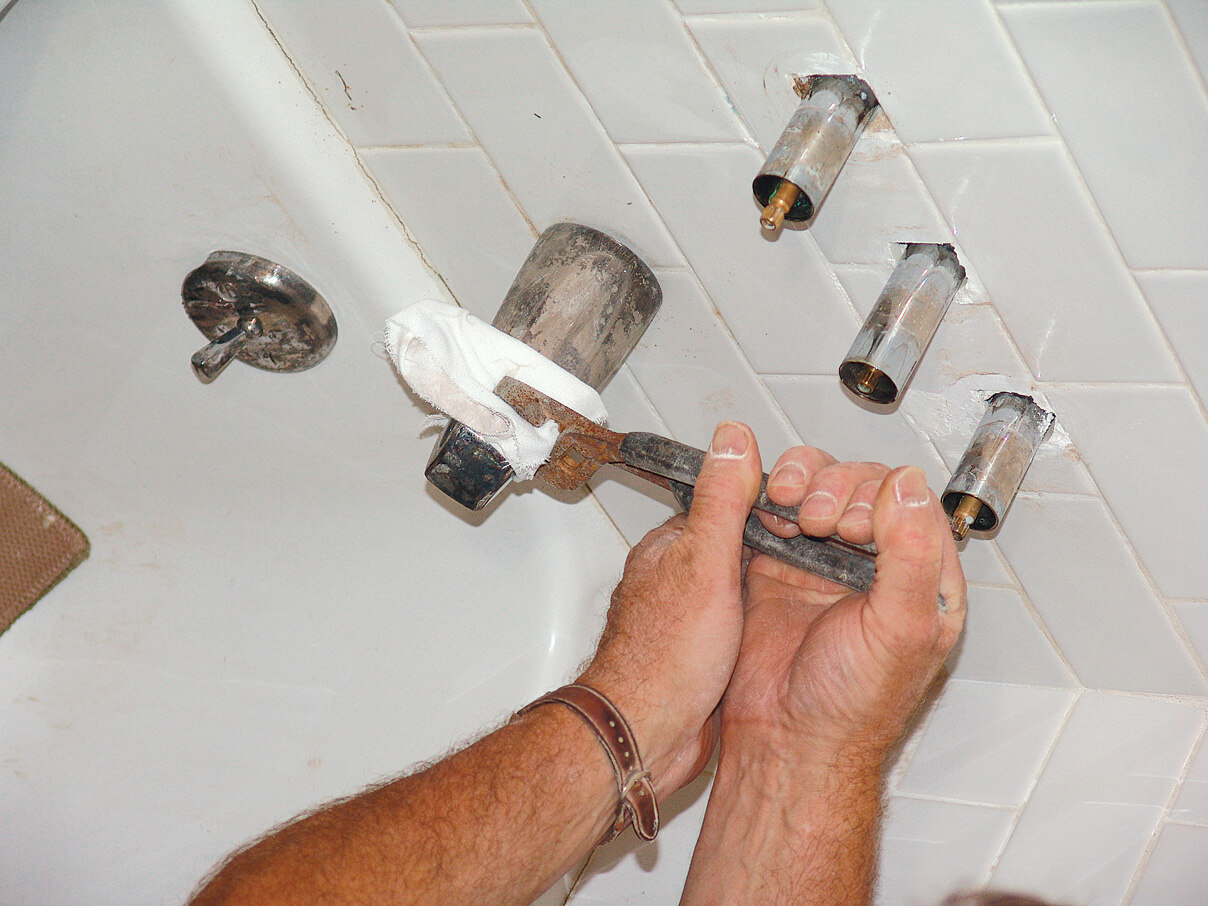
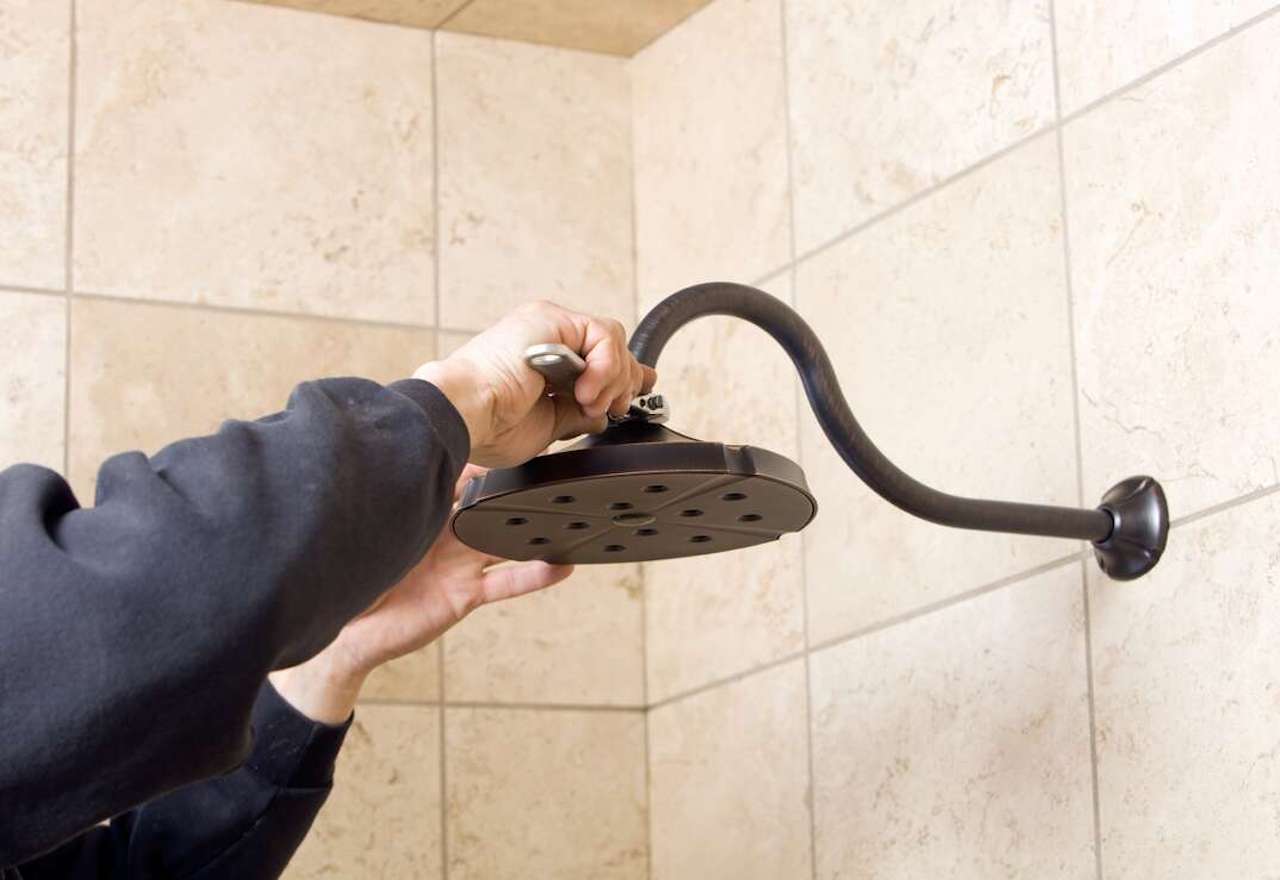
Step 3: Remove the shower handle
Now that the water supply is shut off, you can proceed to remove the shower handle. The handle is usually attached to the cartridge and is the part you use to control the water flow and temperature.
To remove the shower handle, follow these steps:
- Inspect the handle for any visible screws or caps. Some handles have visible screws holding them in place, while others may have decorative caps that need to be popped off to access the screws.
- Once you’ve located the screws or caps, use a screwdriver or a flathead screwdriver to remove them. Turn the screws counterclockwise until they are fully loosened.
- With the screws removed, gently pull the handle away from the wall. It may require a bit of force, but be careful not to use excessive pressure to avoid damaging the handle or the surrounding fixtures.
If the handle doesn’t come off easily, you may need to rotate it slightly while pulling to loosen it from the cartridge. If your shower handle has a set screw, you’ll need to use an Allen wrench to loosen and remove it before pulling off the handle.
Once the handle is removed, set it aside in a safe place. You have now successfully completed the third step in removing your shower faucet.
Continue to the next step to learn how to remove the escutcheon plate.
Step 4: Remove the escutcheon plate
After removing the shower handle, the next step in taking off a shower faucet is removing the escutcheon plate. The escutcheon plate is a decorative cover that surrounds the shower valve and provides a finished look to the faucet.
To remove the escutcheon plate, follow these steps:
- Inspect the escutcheon plate to locate any screws holding it in place. These screws are typically located around the edges of the plate.
- Using a screwdriver, loosen and remove the screws by turning them counterclockwise. Set the screws aside in a safe place.
- Gently pull the escutcheon plate away from the wall, being careful not to damage the surrounding tiles or plumbing fixtures.
If the escutcheon plate appears to be stuck, you can use a putty knife or a flathead screwdriver to carefully pry it away from the wall. Apply gentle pressure and work your way around the edges until the escutcheon plate is completely detached.
Once the escutcheon plate is removed, set it aside with the screws. You have now successfully completed the fourth step in removing your shower faucet.
Now, let’s move on to the next step to learn how to remove the cartridge.
Use a screwdriver to remove the faucet handle and expose the cartridge. Use pliers to grip and twist the cartridge counterclockwise to remove it from the valve.
Read more: How To Take Off Sink Faucet Head
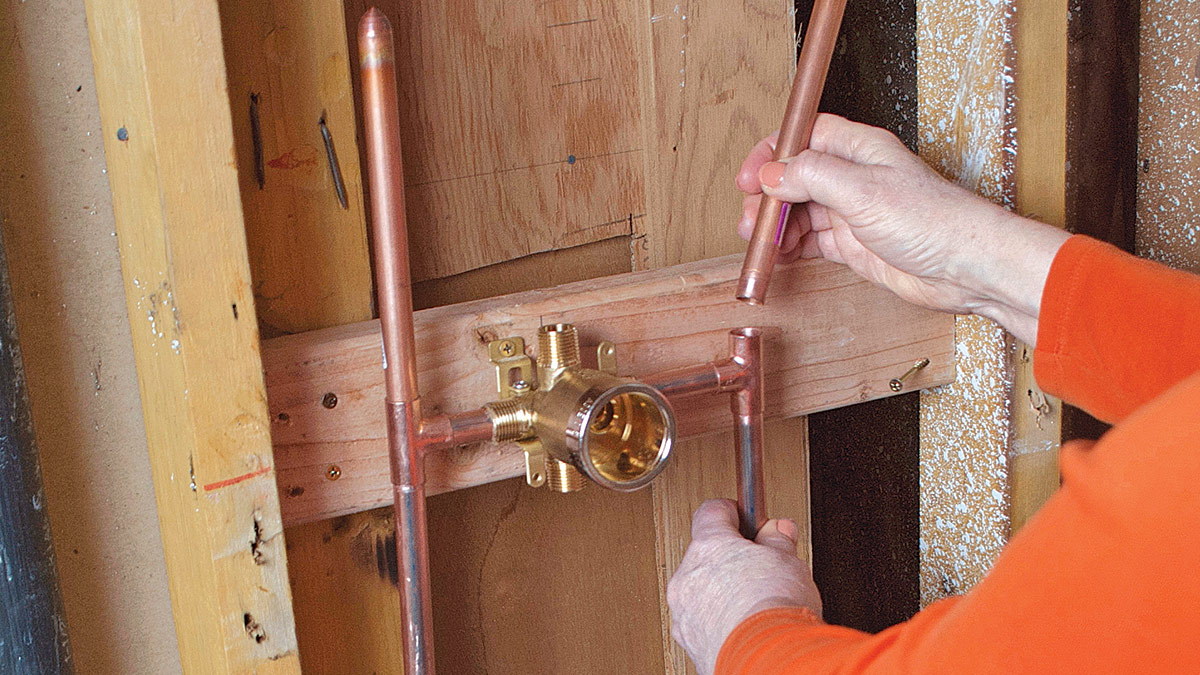
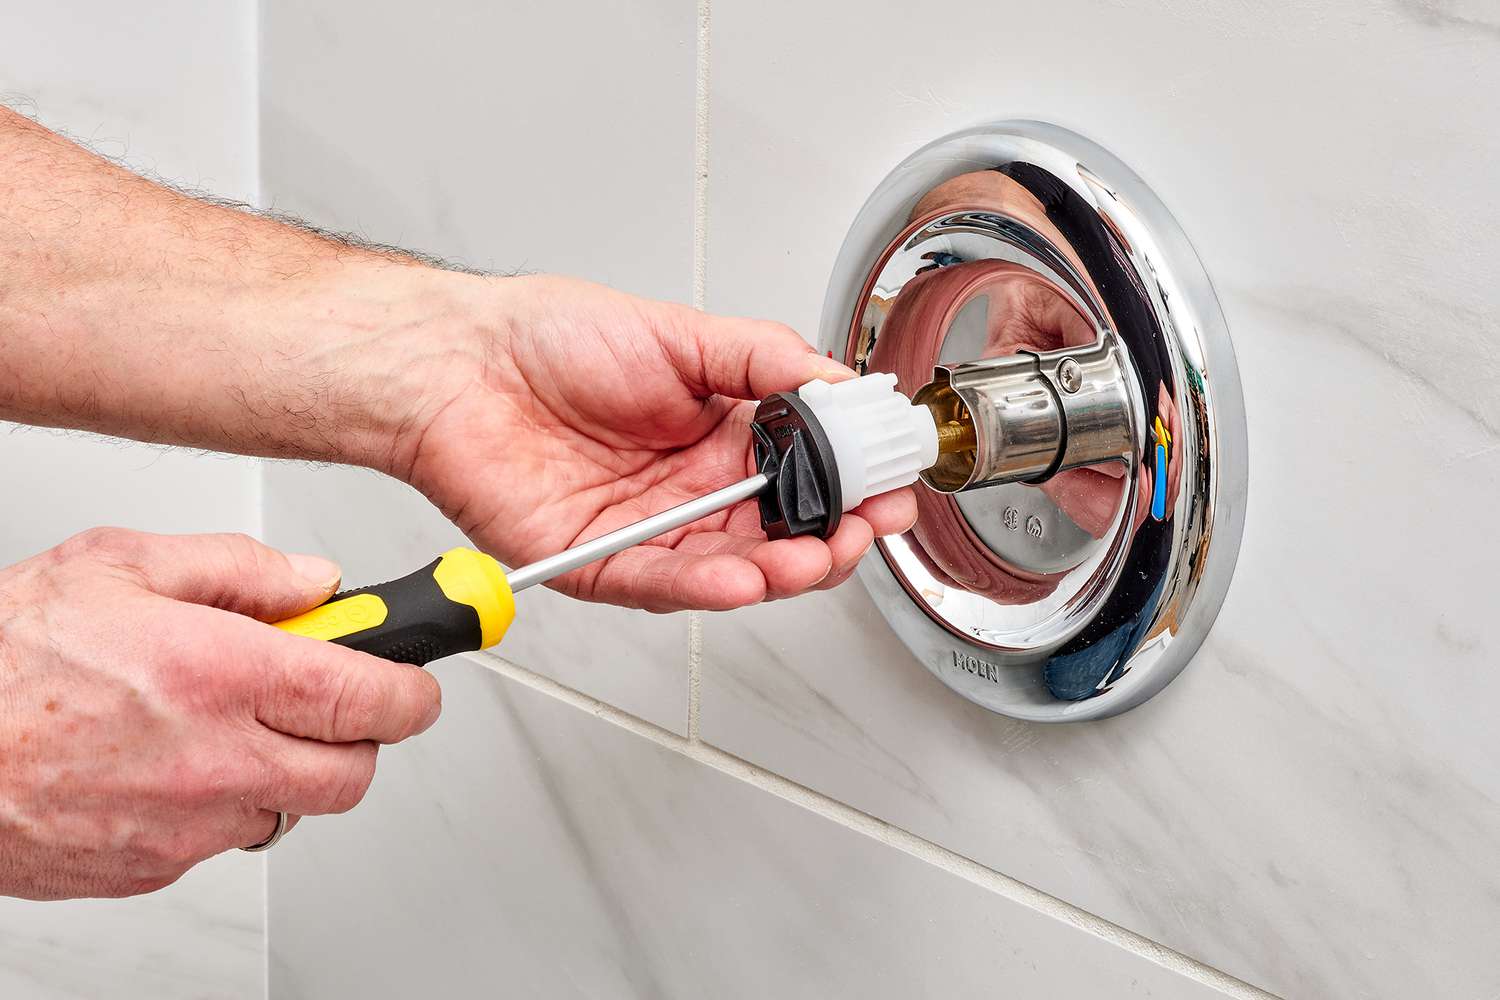
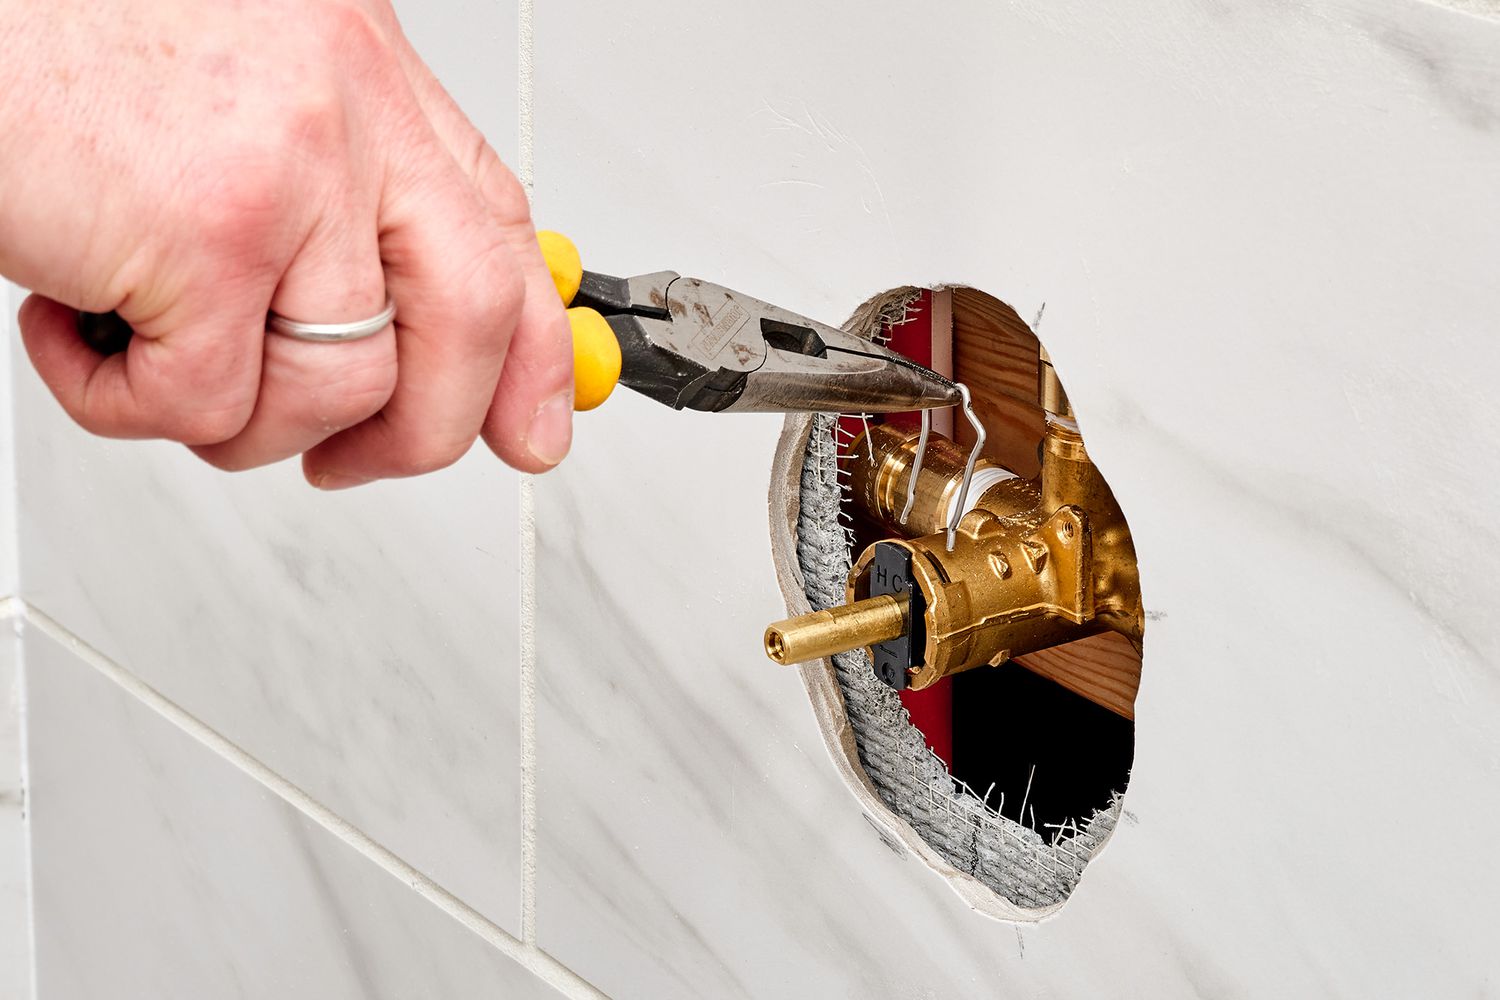
Step 5: Remove the cartridge
In this step, we will focus on removing the cartridge from the shower faucet. The cartridge is the component responsible for controlling the flow and temperature of the water.
To remove the cartridge, follow these steps:
- Inspect the area around the cartridge for any retaining clips or screws. These are often located on the sides or top of the cartridge.
- If there are retaining clips, use a pair of pliers or a small screwdriver to carefully remove them. Gently pry them off or unscrew them, depending on the design.
- If necessary, use pliers or an adjustable wrench to loosen and remove any fittings connected to the cartridge.
- Gently pull the cartridge straight out from the valve body. It may require some wiggling or twisting to loosen it.
It’s important to pay attention to the orientation of the cartridge as you remove it. Take note of how it is positioned so that you can install the new cartridge correctly later on.
Once the cartridge is removed, inspect it for any damage or signs of wear. If you’re replacing the old cartridge, now is the time to install the new one. Follow the manufacturer’s instructions on how to properly install the replacement cartridge.
With the cartridge removed or replaced, you have successfully completed the fifth step in removing your shower faucet.
Now, let’s move on to the next step to learn how to install the new cartridge.
Step 6: Install the new cartridge
With the old cartridge removed, it’s time to install the new cartridge. The new cartridge will ensure smooth water flow and proper temperature control in your shower faucet. Follow these steps to install the new cartridge:
- Before installing the new cartridge, make sure it is the correct replacement for your shower faucet model. Refer to the manufacturer’s instructions or consult a plumbing professional if you’re unsure.
- Inspect the inside of the valve body to ensure it is clean and free of debris. If necessary, use a small brush or cloth to remove any dirt or buildup.
- Align the new cartridge with the valve body, making sure it fits snugly and is oriented correctly. Refer to the marks or indicators on the cartridge and the valve body to ensure proper alignment.
- Push the new cartridge into the valve body, applying gentle pressure until it is fully seated. You may need to twist or wiggle the cartridge slightly to help it slide into place.
- If applicable, secure the cartridge with any retaining clips or screws that were removed during the removal process. Make sure they are properly tightened to hold the cartridge securely in place.
Once the new cartridge is installed, give it a quick test by turning on the water supply momentarily. Check for any leaks or unusual behavior in the water flow. If everything looks good, you’re ready to move on to the next step.
Now that you have successfully installed the new cartridge, let’s proceed to the next step to reassemble the faucet.
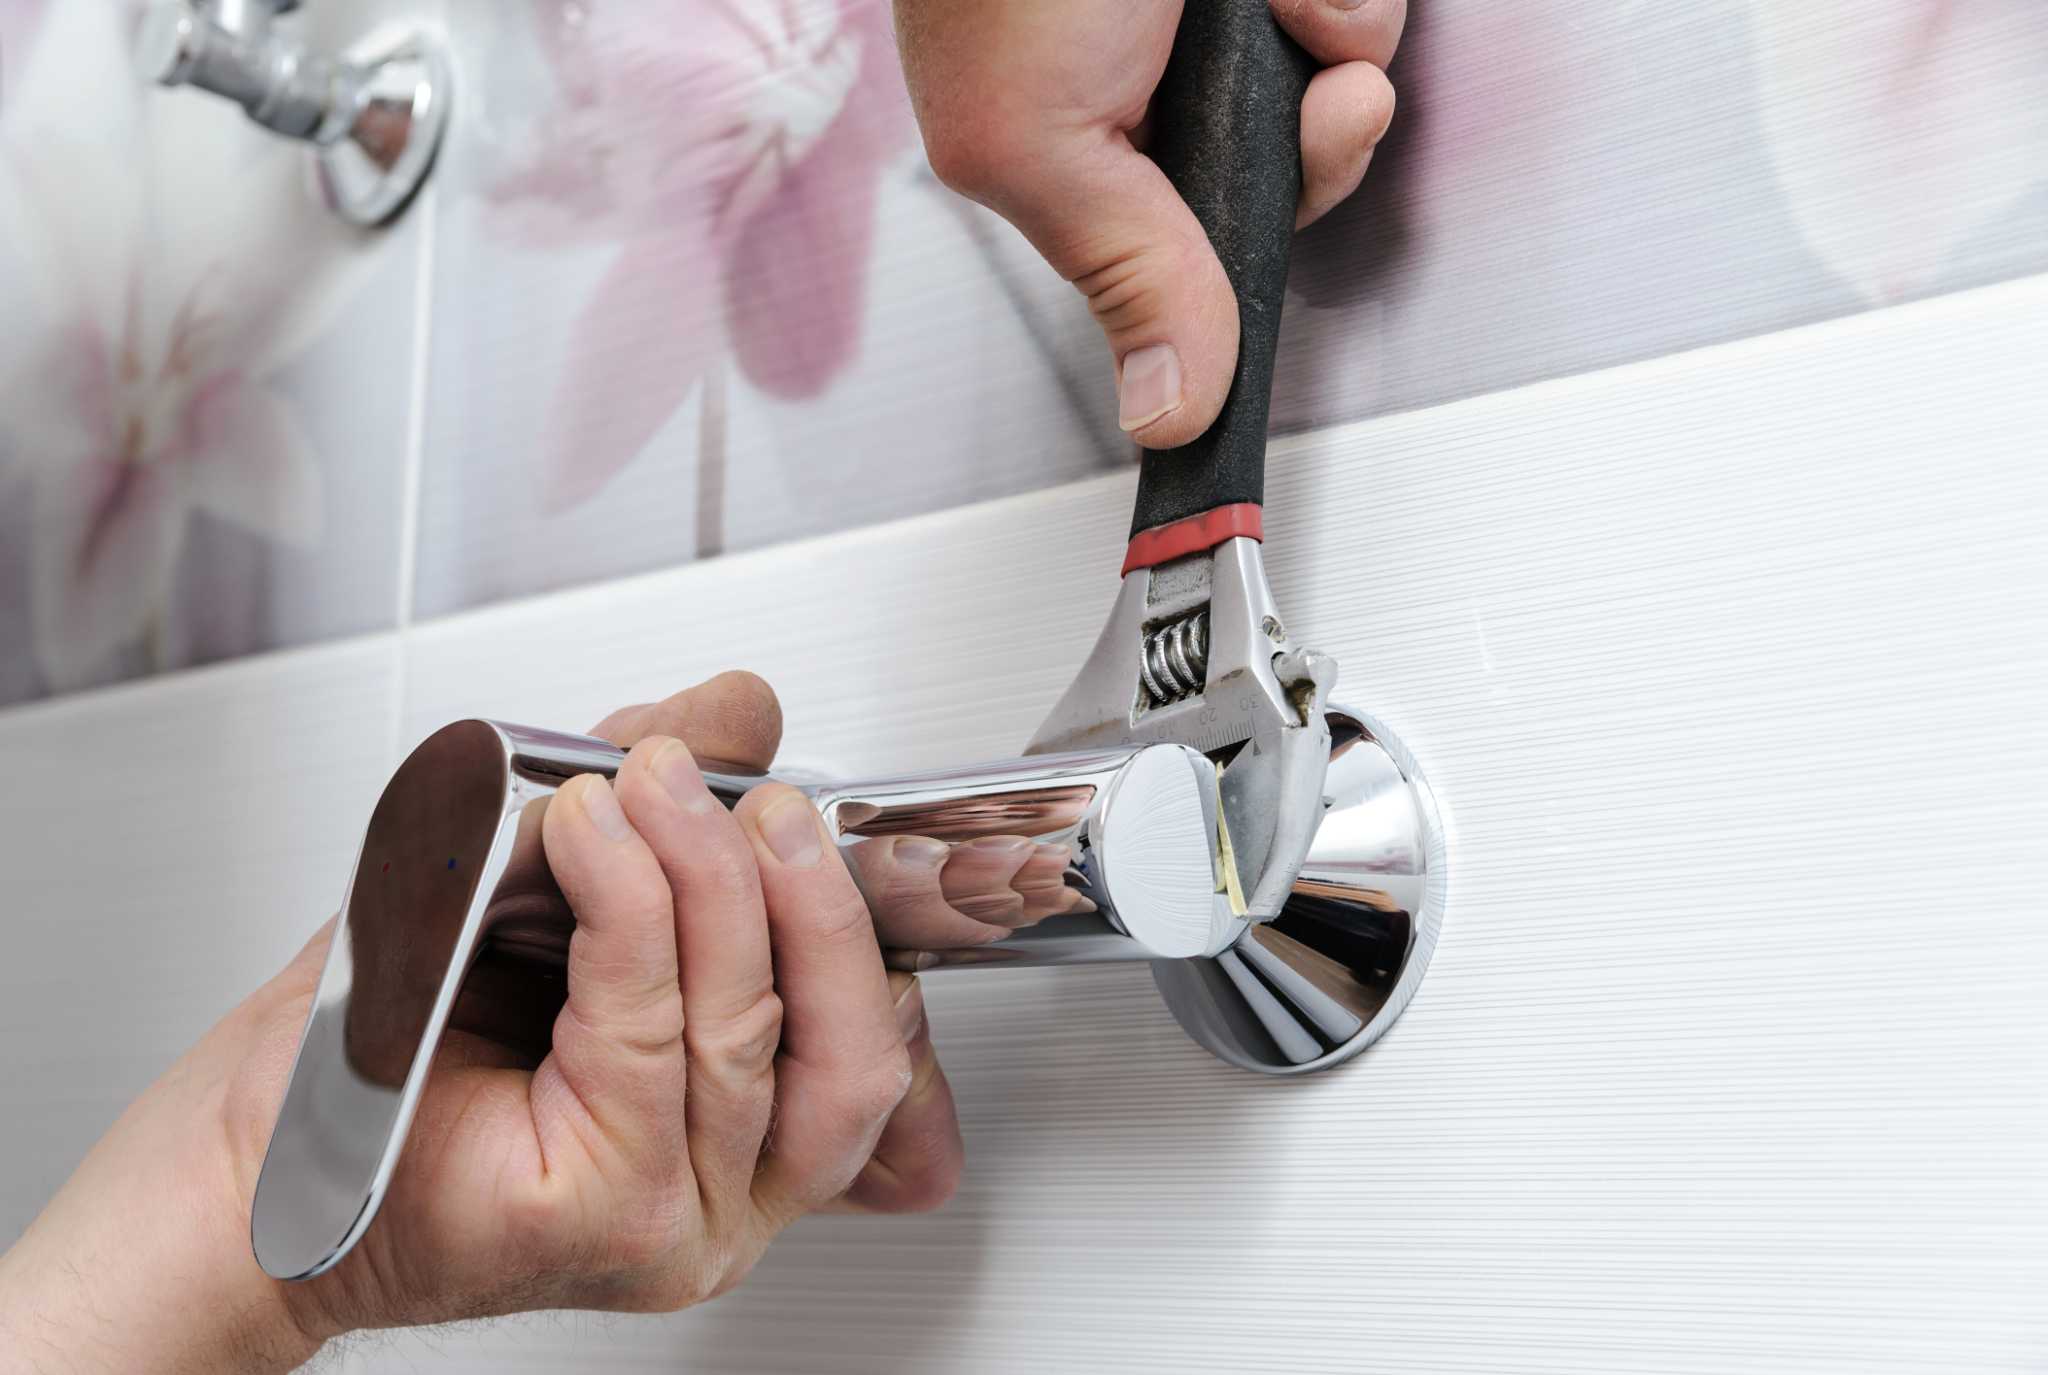
Step 7: Reassemble the faucet
Now that you have installed the new cartridge, it’s time to reassemble the faucet components. Follow these steps to put the shower faucet back together:
- Take the escutcheon plate and align it with the valve body. Make sure it fits properly and covers the opening completely.
- Insert and tighten the screws that hold the escutcheon plate in place. Use a screwdriver to turn the screws clockwise until they are securely attached to the wall.
- If your shower handle has a set screw, locate the hole on the handle and align it with the set screw hole on the cartridge stem. Insert the set screw and use an Allen wrench to tighten it securely.
- Align the shower handle with the cartridge stem and gently push it onto the stem. Ensure that the handle is positioned correctly, allowing for smooth operation of the faucet.
- If there are any decorative caps for the handle, place them over the screws and push them in until they snap into place.
- If necessary, use a wrench or pliers to reconnect any fittings that were disconnected during the removal process. Ensure they are tightened securely to prevent leaks.
- Wrap plumber’s tape around the threads of the fittings to create a watertight seal when connecting the water supply pipes. This will help prevent any water leaks.
Once all the components are reassembled and properly secured, you’re ready to move on to the final step.
Now that the faucet is reassembled, let’s proceed to the last step to test the faucet and ensure its functionality.
Step 8: Test the faucet
After reassembling the faucet, it’s crucial to test it to ensure that everything is working properly. Follow these steps to test the functionality of your newly installed shower faucet:
- Turn on the water supply by twisting the main water shut-off valve counterclockwise.
- Slowly turn on the shower handle to allow water to flow through the faucet.
- Check for any leaks around the handle, escutcheon plate, or any fittings you reconnected earlier. If you notice any leaks, turn off the water supply immediately and make necessary adjustments to the connections.
- Test the water temperature control by adjusting the handle. Ensure that you can easily switch between hot and cold water and achieve the desired temperature.
- Monitor the flow of water to ensure it is consistent and free of any unusual fluctuations.
- Listen for any unusual noises or vibrations that may indicate a problem with the faucet or cartridge.
If the faucet passes all of these tests and functions as expected, congratulations! You have successfully completed the process of taking off a shower faucet and installing a new one. Your shower is now ready for use.
However, if you encounter any issues such as leaks, inconsistent water flow, or difficulty in controlling the water temperature, it’s advisable to consult a plumbing professional for further assistance. They can diagnose the problem and provide the necessary solutions to ensure your shower faucet is working correctly.
Remember, regular maintenance and periodic checks on your shower faucet can help prevent any future problems. It’s always a good idea to address any issues promptly to avoid costly repairs or potential water damage in the future.
With the faucet successfully tested, you can enjoy a refreshing and reliable showering experience.
Thank you for following our step-by-step guide on how to take off a shower faucet!
Read more: Shower Faucet Leaking When Turned Off
Conclusion
Congratulations on successfully completing the process of taking off a shower faucet! By following the comprehensive steps outlined in this guide, you have gained the knowledge and skills necessary to remove and replace a shower faucet with ease.
Remember, the key to a successful faucet removal is proper preparation, using the right tools, and taking your time to ensure each step is completed correctly. By shutting off the water supply, removing the handle, escutcheon plate, and cartridge, installing a new cartridge, reassembling the faucet, and testing its functionality, you have taken the necessary steps to maintain and improve your shower experience.
While the process of taking off a shower faucet may initially seem daunting, with a little patience and attention to detail, anyone can successfully complete this task. However, if you encounter any difficulties or feel unsure about any step, it is always wise to consult a professional plumber for assistance and guidance.
Remember to perform regular maintenance on your shower faucet to ensure its longevity and optimal performance. Check for any leaks, unusual noises, or changes in water flow that may indicate a problem. Timely repairs and replacements can help prevent more significant issues down the line and save you from unnecessary expenses.
We hope this guide has provided you with valuable insight into how to take off a shower faucet. By following these steps, you can confidently maintain and upgrade your shower fixtures. Enjoy your refreshed and functional shower faucet!
Frequently Asked Questions about How To Take Off A Shower Faucet
Was this page helpful?
At Storables.com, we guarantee accurate and reliable information. Our content, validated by Expert Board Contributors, is crafted following stringent Editorial Policies. We're committed to providing you with well-researched, expert-backed insights for all your informational needs.


0 thoughts on “How To Take Off A Shower Faucet”