Articles
How To Frame And Finish Corners
Modified: August 30, 2024
Discover the best ways to frame and finish corners with our informative articles. Get expert tips and tricks for a flawless finish.
(Many of the links in this article redirect to a specific reviewed product. Your purchase of these products through affiliate links helps to generate commission for Storables.com, at no extra cost. Learn more)
Introduction
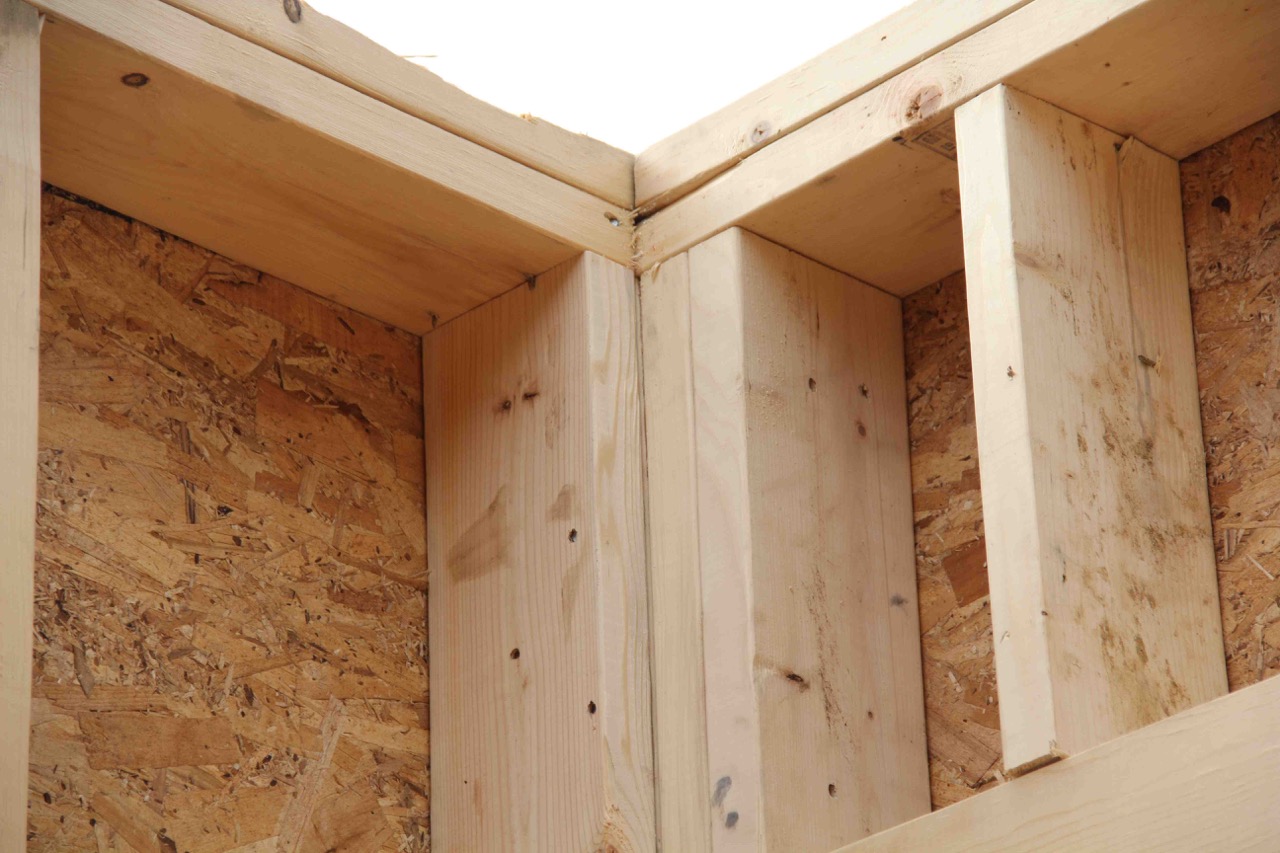
When it comes to framing and finishing corners, attention to detail is key. Corners are often a focal point of a room, and properly framing and finishing them can greatly enhance the overall aesthetic of your space. Whether you’re installing trim or adding a decorative touch, this article will guide you through the necessary steps to achieve a polished look.
Before diving into the process, it’s important to gather the right tools and materials. Having the proper equipment will make your job easier and more efficient. Let’s take a look at what you’ll need.
Key Takeaways:
- Attention to detail and proper preparation are crucial for framing and finishing corners. From measuring and cutting the trim to filling nail holes and applying paint, each step contributes to a polished and professional look.
- Framing and finishing corners is an opportunity to add a personal touch to your space. With the right tools and materials, patience, and attention to detail, you can transform corners into stunning focal points that enhance the overall aesthetic of your room.
Tools and Materials Needed
Before you begin framing and finishing corners, gather the following tools and materials:
- Miter saw or miter box
- Measuring tape
- Pencil or chalk
- Level
- Trim (baseboard, crown molding, chair rail, etc.)
- Nails
- Hammer or nail gun
- Wood filler
- Sandpaper (various grits)
- Paint or finish
- Paintbrush or roller
- Drop cloth or tarp
- Painter’s tape
- Caulk and caulk gun
- Putty knife or a 5-in-1 tool
- Clean cloth or sponge
Having these tools and materials ready will make the entire process smoother and more efficient, ensuring that you have everything you need at your fingertips.
Preparing the Corner
Before you can start framing and finishing a corner, it’s important to ensure that it’s clean, dry, and free of any existing trim or debris. Here’s how to properly prepare the corner:
- Remove any existing trim or molding from the corner using a pry bar or a hammer and chisel. Be careful not to damage the wall surface.
- Clean the corner thoroughly by wiping it down with a damp cloth or sponge. This will remove any dust or dirt that could interfere with the adhesion of the new trim.
- If necessary, repair any damaged areas of the wall or drywall by patching them with joint compound. Smooth out the compound and allow it to dry completely before proceeding.
- Inspect the corner for any unevenness or gaps. Use a putty knife or a 5-in-1 tool to fill in any gaps or cracks with caulk. Smooth out the caulk with your finger or a damp cloth, and allow it to dry according to the manufacturer’s instructions.
- Check the corner with a level to ensure it is straight and plumb. If adjustments are needed, use shims or additional caulk to align the corner properly.
By taking the time to properly prepare the corner, you’ll ensure a smooth and sturdy surface for framing and finishing.
Measuring and Cutting the Trim
Once the corner is prepared, it’s time to measure and cut the trim to fit the corner. Accuracy is crucial for a clean and professional-looking finish. Here’s how to measure and cut the trim:
- Start by measuring the length of the wall from one end of the corner to the other. Be sure to account for any existing trim that will overlap with the new trim.
- Transfer that measurement onto the trim material, marking it with a pencil or chalk. Make sure the marking is accurate and clearly visible.
- Using a miter saw or a miter box, cut the trim at a 45-degree angle. This will allow the pieces to fit together seamlessly at the corner.
- Repeat the process for the other side of the corner, making sure to cut the trim at the same measurement and angle as the first piece.
It’s important to double-check your measurements and angles before making any cuts. A small mistake can lead to an ill-fitting trim, so take your time and be precise.
Pro tip: If you’re working with intricate or curved corners, consider using a coping saw to create a more precise fit. Coping involves cutting the trim to follow the shape of the existing molding, resulting in a tighter and more seamless joint.
Once you’ve measured and cut the pieces of trim for the corner, it’s time to install them.
Installing the Trim
With your cut pieces of trim in hand, it’s time to install them on the corner. Here’s a step-by-step guide to help you through the process:
- Starting with one side of the corner, apply a thin bead of adhesive or construction adhesive to the back of the trim. This will help secure it to the wall.
- Position the trim on the corner, aligning it with the wall and making sure the mitered edges meet neatly at the corner.
- If necessary, use a level to ensure the trim is straight and plumb. Adjust as needed.
- Once the trim is in position, secure it to the wall using nails and a hammer or a nail gun. Drive the nails through the trim and into the wall at regular intervals, making sure they are flush with the surface of the trim.
- Repeat the process for the other side of the corner, aligning the trim and securing it with nails.
- Check both sides of the corner to ensure the trim is securely fastened and aligned.
- If you’re installing additional pieces of trim, such as baseboards or chair rail, follow the same process for each piece.
Take your time during the installation process to ensure that the trim is aligned properly and securely attached to the wall. This will result in a clean and polished finish for your corner.
Once the trim is installed, it’s time to fill any nail holes and prepare the trim for painting or finishing.
When framing and finishing corners, always use a square to ensure that the corners are perfectly 90 degrees. This will help prevent any gaps or uneven edges when finishing the corners.
Read more: How To Start A Corner To Corner Blanket
Filling Nail Holes
After installing the trim, it’s common to have visible nail holes that need to be filled for a seamless appearance. Here’s how to fill nail holes in your trim:
- Inspect the trim and identify any nail holes that need to be filled.
- Using a putty knife or a 5-in-1 tool, apply a small amount of wood filler to each nail hole, ensuring it is filled completely.
- Smooth out the filler using the edge of the putty knife to remove any excess and create a flush surface.
- Allow the wood filler to dry according to the manufacturer’s instructions.
- Once dry, lightly sand the filled nail holes using fine-grit sandpaper. This will help blend the filled areas with the rest of the trim.
- Wipe away any dust or debris with a clean cloth or sponge.
By filling and sanding the nail holes, you’ll achieve a smooth and seamless surface, ready for painting or finishing.
Pro tip: If you’re working with stained trim, you can find wood filler that matches the color of your trim. This will help to camouflage the filled nail holes even further.
Next, it’s time to sand and smooth the trim.
Sanding and Smoothing
Once the nail holes have been filled, it’s important to sand and smooth the trim to achieve a polished finish. Here’s how to sand and smooth the trim:
- Begin by selecting a sandpaper with a moderate grit, such as 120 or 150.
- Lightly sand the entire surface of the trim, including the filled nail holes. Use smooth, even strokes, and be careful not to press too hard, as this can damage the trim.
- Continue sanding until the surface of the trim feels smooth to the touch and any rough edges or imperfections have been smoothed out.
- After sanding with the coarse grit sandpaper, switch to a finer grit, such as 220 or 320, to further refine the finish. This will help to achieve a smoother surface.
- Sand the trim again, using the fine grit sandpaper, until you’re satisfied with the smoothness of the surface.
- Wipe away any dust or debris with a clean cloth or sponge.
Sanding the trim will not only create a smoother finish but also help the paint or finish adhere better. Take your time during this step to ensure that the trim is properly sanded and ready for the next stage.
Now it’s time to apply paint or finish to the trim.
Applying Paint or Finish
Applying paint or finish to the trim is the final step in framing and finishing corners. It’s important to choose the right paint or finish that aligns with your desired look and complements the overall aesthetic of the room. Here’s how to apply paint or finish to the trim:
- If you’re working with unfinished trim, it’s recommended to apply a primer coat first. This will help the paint or finish adhere better and create a more even finish.
- Using a paintbrush or roller, apply an even coat of paint or finish to the trim. Start from one end and work your way to the other, ensuring complete coverage.
- Pay attention to any intricate details or crevices in the trim, making sure the paint or finish reaches all areas.
- Allow the first coat to dry completely according to the manufacturer’s instructions.
- If necessary, apply a second coat of paint or finish for a more finished and polished look.
- Allow the final coat to dry completely before touching or handling the trim.
It’s important to follow proper painting techniques, such as using smooth and even strokes, to achieve a professional-looking finish. Take your time and be patient during this step for the best results.
Once the paint or finish has dried, it’s time to clean up and admire your beautifully framed and finished corners.
Cleaning Up
After completing the framing and finishing of corners, it’s important to clean up any mess and ensure that the surrounding area looks tidy. Here are some steps to follow for a thorough cleanup:
- Remove any painter’s tape or protective coverings from the walls or floor. Be careful not to damage the freshly painted or finished trim while doing so.
- Collect any debris, such as wood shavings or dust, and dispose of them properly.
- Clean your tools, such as paintbrushes or rollers, using soap and water or the appropriate cleaning solution recommended by the manufacturer.
- Wipe down any surfaces or furniture that may have accumulated dust or paint splatters during the framing and finishing process.
- Inspect the corners and trim for any touch-ups or areas that may need additional attention. Address these issues promptly to ensure a flawless end result.
By taking the time to clean up properly, you’ll not only achieve a neat and organized look but also maintain the longevity of your tools and materials for future projects.
With the cleanup complete, you can now step back and admire the beautifully framed and finished corners that add a touch of elegance and sophistication to your space.
Read more: How To Spackle Corners
Conclusion
Framing and finishing corners can greatly enhance the overall look and feel of a room. With attention to detail and the right tools and materials, you can achieve a polished and professional finish. Remember to prepare the corner properly by cleaning, repairing, and aligning it before measuring and cutting the trim. Install the trim carefully, ensuring it is straight, level, and securely attached. Fill any nail holes and sand the trim to create a smooth surface. Finally, apply paint or finish to complete the look.
Throughout the process, it’s important to take your time and pay attention to the details. By doing so, you’ll ensure a high-quality result that adds beauty and elegance to your space.
Don’t forget to clean up after the project is complete to maintain a neat and organized environment. Proper cleanup will also help protect your tools and keep them in good condition for future projects.
Remember, framing and finishing corners is more than just a technical task – it’s an opportunity to add a personal touch to your space and create a cohesive and visually appealing design. So, roll up your sleeves, gather your tools, and let your creativity shine as you transform your corners into stunning focal points.
Happy framing and finishing!
Frequently Asked Questions about How To Frame And Finish Corners
Was this page helpful?
At Storables.com, we guarantee accurate and reliable information. Our content, validated by Expert Board Contributors, is crafted following stringent Editorial Policies. We're committed to providing you with well-researched, expert-backed insights for all your informational needs.


0 thoughts on “How To Frame And Finish Corners”