Articles
How To Repair Scratches On Wood Floor
Modified: January 8, 2024
Learn effective techniques to repair scratches on wood floors with our informative articles. Protect and restore your floors easily with our expert tips.
(Many of the links in this article redirect to a specific reviewed product. Your purchase of these products through affiliate links helps to generate commission for Storables.com, at no extra cost. Learn more)
Introduction
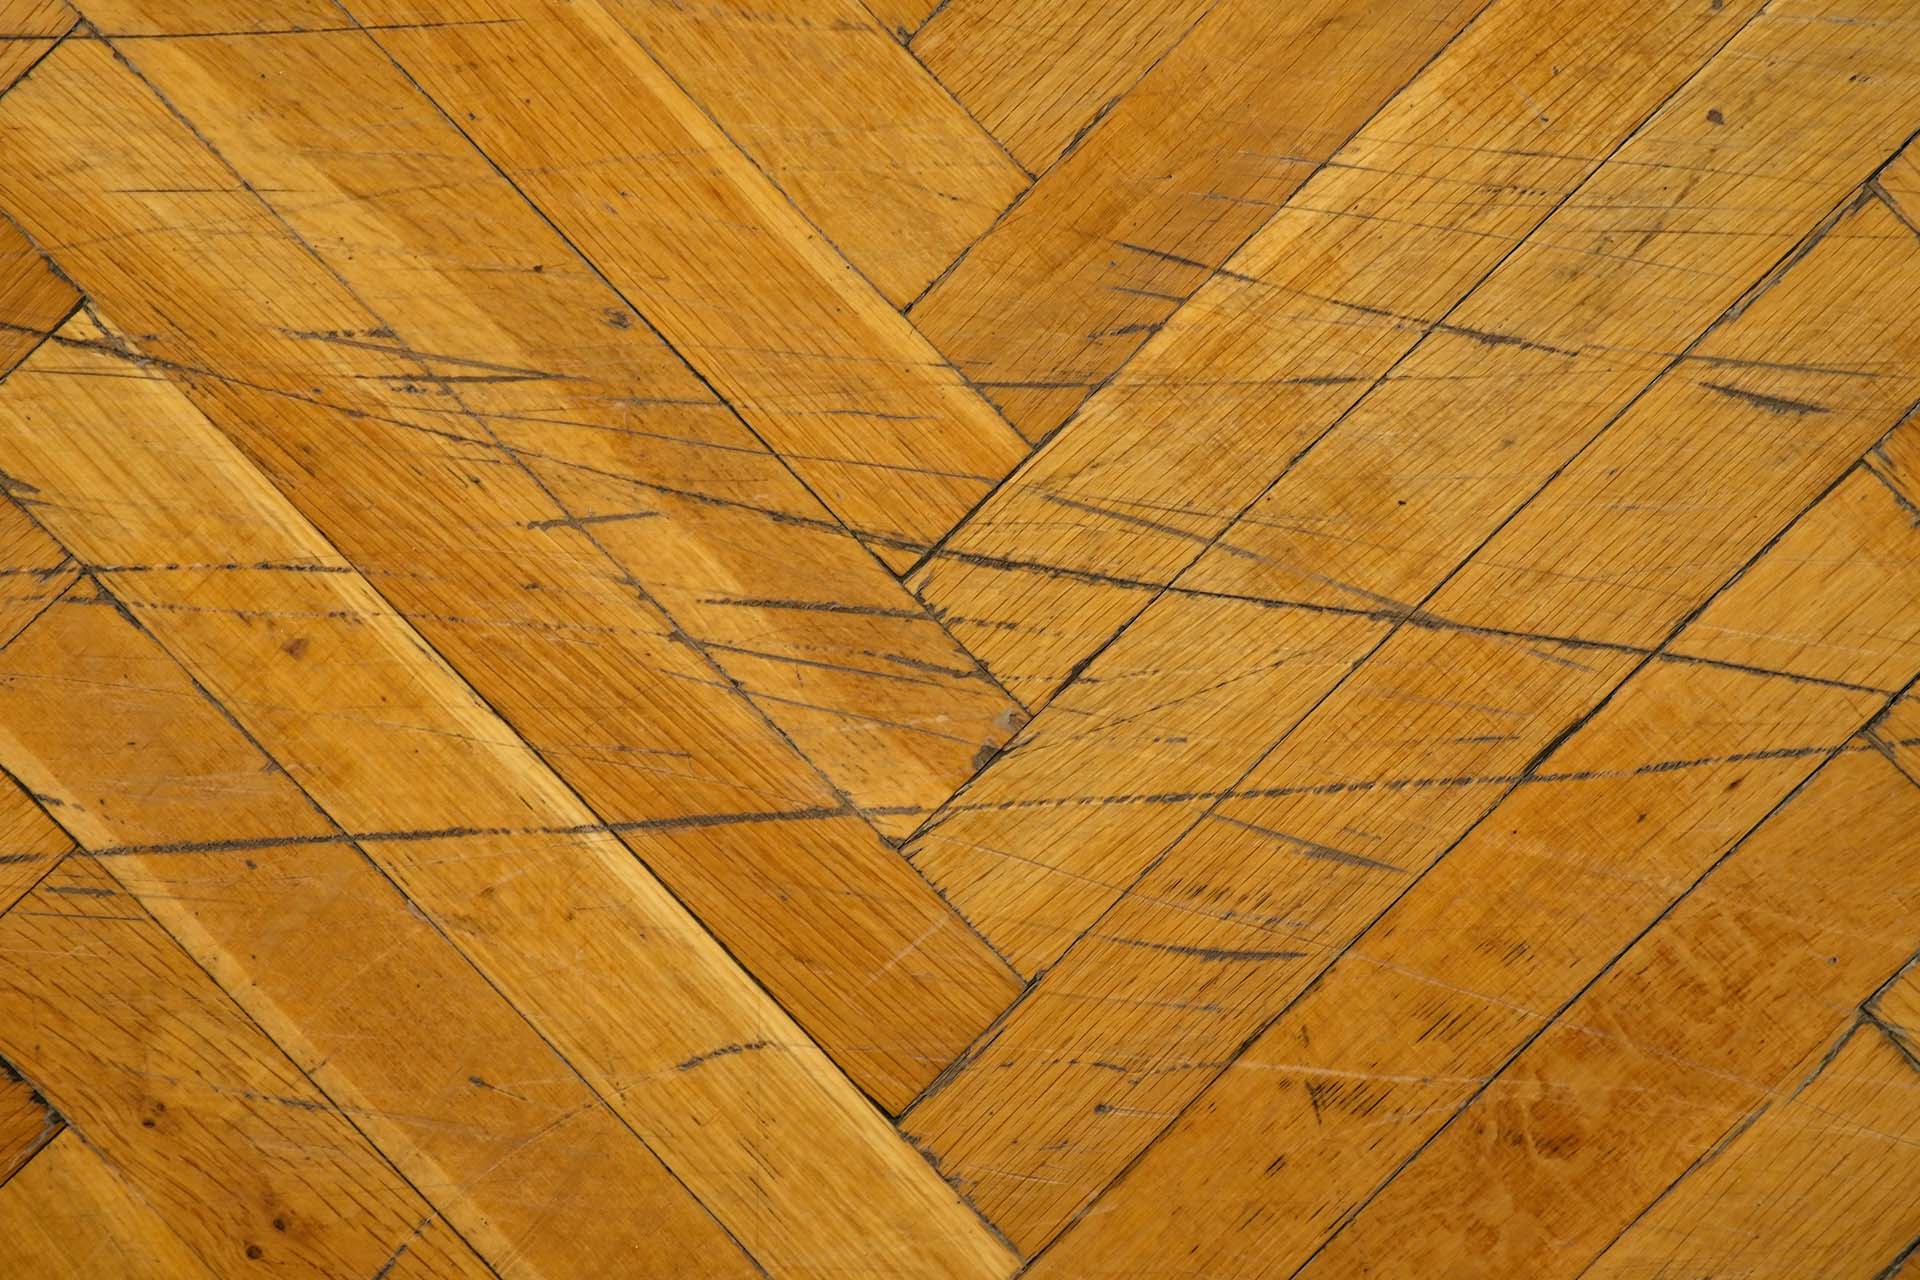
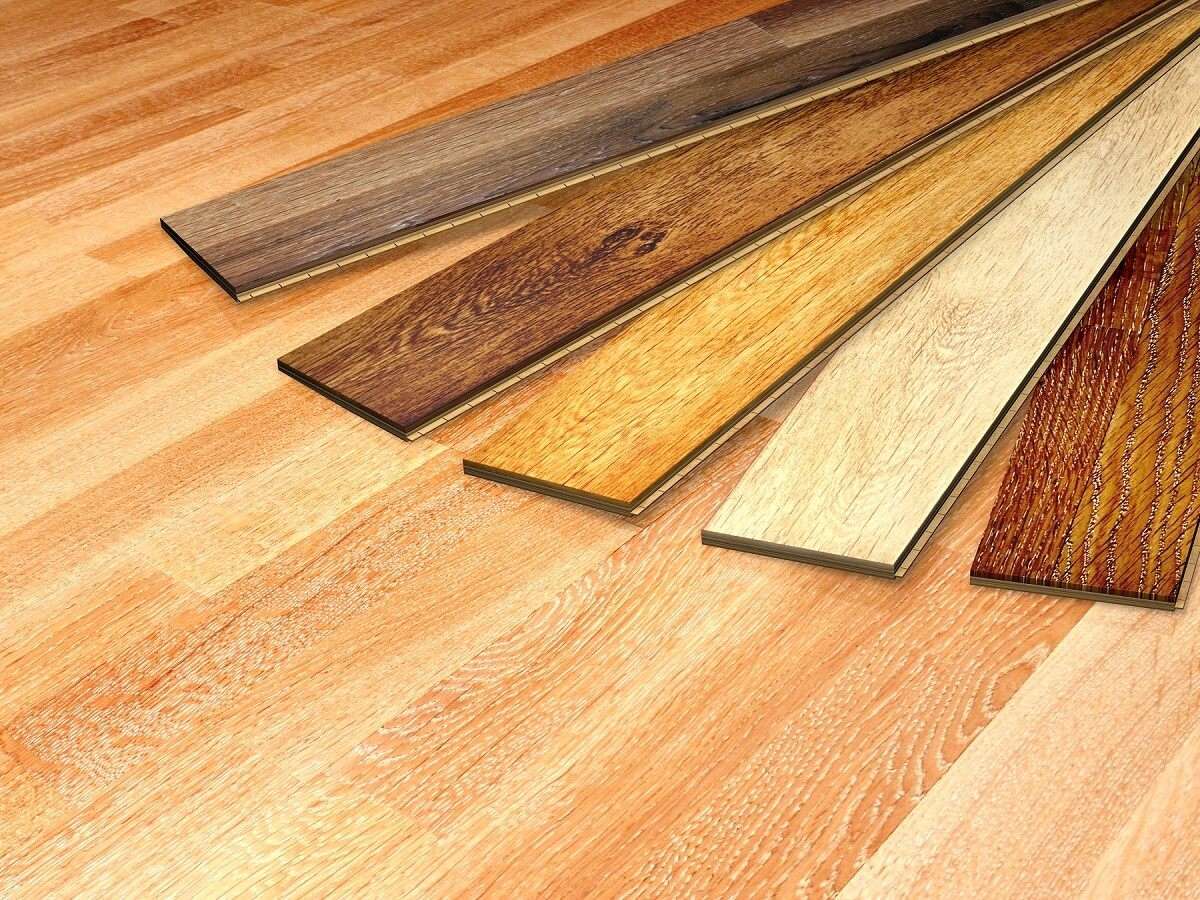
Welcome to our comprehensive guide on how to repair scratches on wood floors. Over time, even the most well-maintained hardwood floors can develop scratches and blemishes that diminish their natural beauty. These scratches can result from various factors, such as pets, furniture movement, high-heel shoes, or simply everyday wear and tear. While scratches are inevitable, the good news is that many of them can be effectively repaired.
Understanding the types of wood floor scratches is crucial for successful repairs. Surface scratches are shallow, cosmetic marks that only affect the protective finish layer. Deeper scratches, on the other hand, penetrate through the finish and into the wood, requiring more extensive repair. By assessing the severity of the scratches and gathering the necessary materials, you can restore your wood floors to their former glory.
In this article, we will guide you through the step-by-step process of repairing scratches on wood floors. We will cover everything from assessing the severity of the scratches to blending in the repaired area and applying the finish. By following these instructions, you will be able to give your wood floors a new lease on life and make them look as good as new.
Before we delve into the repair process, it’s essential to note that the methods described in this guide are suitable for small to moderate scratches. For deep gouges or extensive damage, it may be necessary to consult a professional for repair or even consider refinishing the entire floor.
So, without further ado, let’s begin the journey to restoring the beauty of your wood floors and bidding farewell to those unsightly scratches!
Key Takeaways:
- Understanding the types of wood floor scratches and assessing their severity is crucial for successful repairs. Proper preparation, effective repair techniques, and blending in the repaired area are essential for achieving a seamless and aesthetically pleasing outcome.
- By following the step-by-step process outlined in this guide and implementing recommended maintenance practices, you can effectively repair scratches on your wood floor and maintain its beauty and durability for years to come.
Read more: How To Move Fridge Without Scratching Floor
Understanding the Types of Wood Floor Scratches
Before you embark on repairing scratches on your wood floor, it’s important to understand the different types of scratches you may encounter. This knowledge will help you determine the appropriate repair method and ensure the best results.
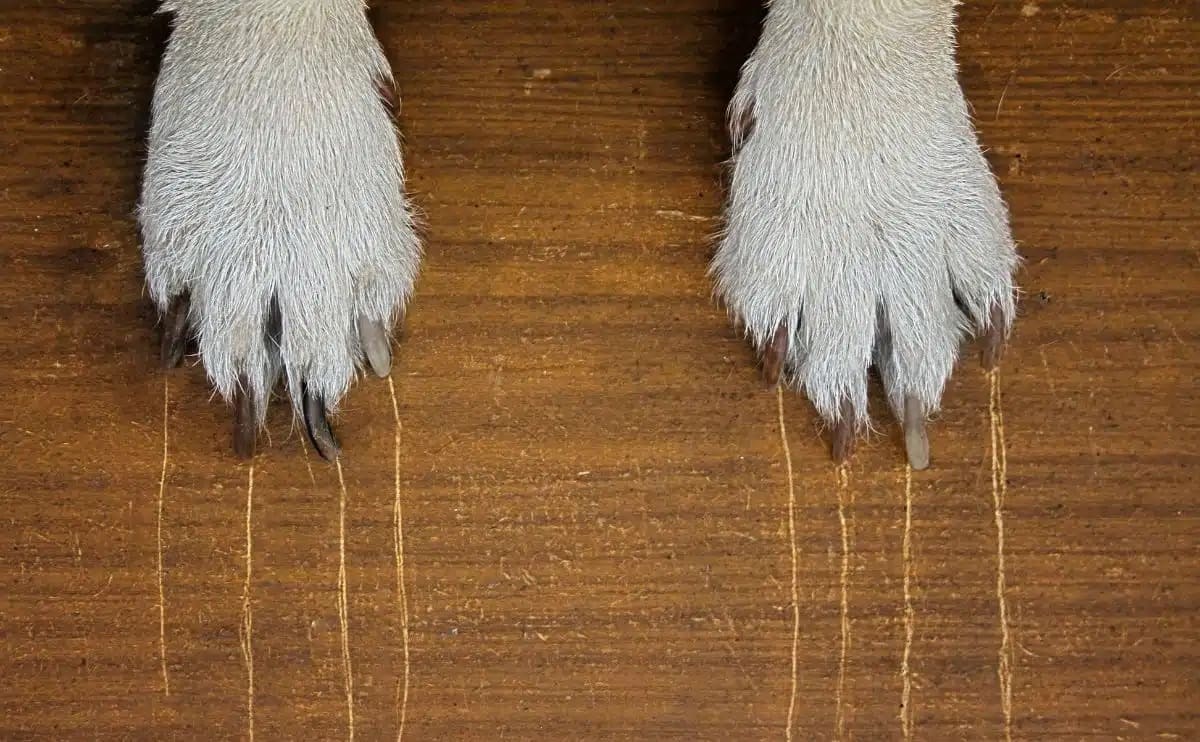
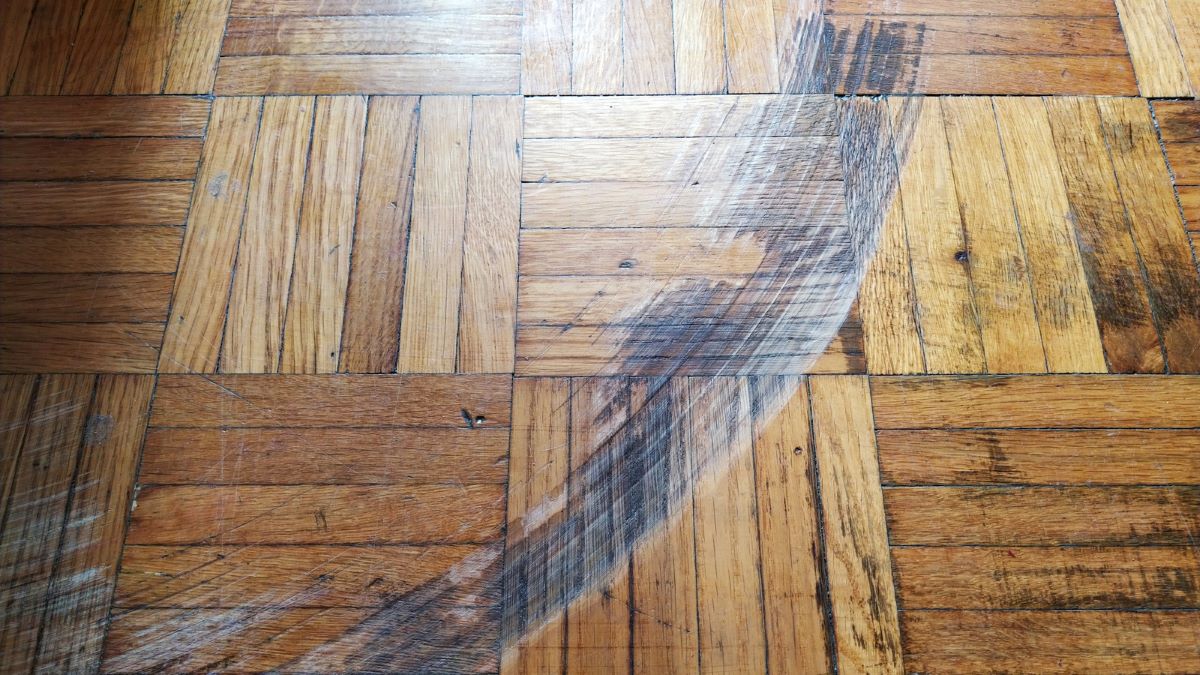
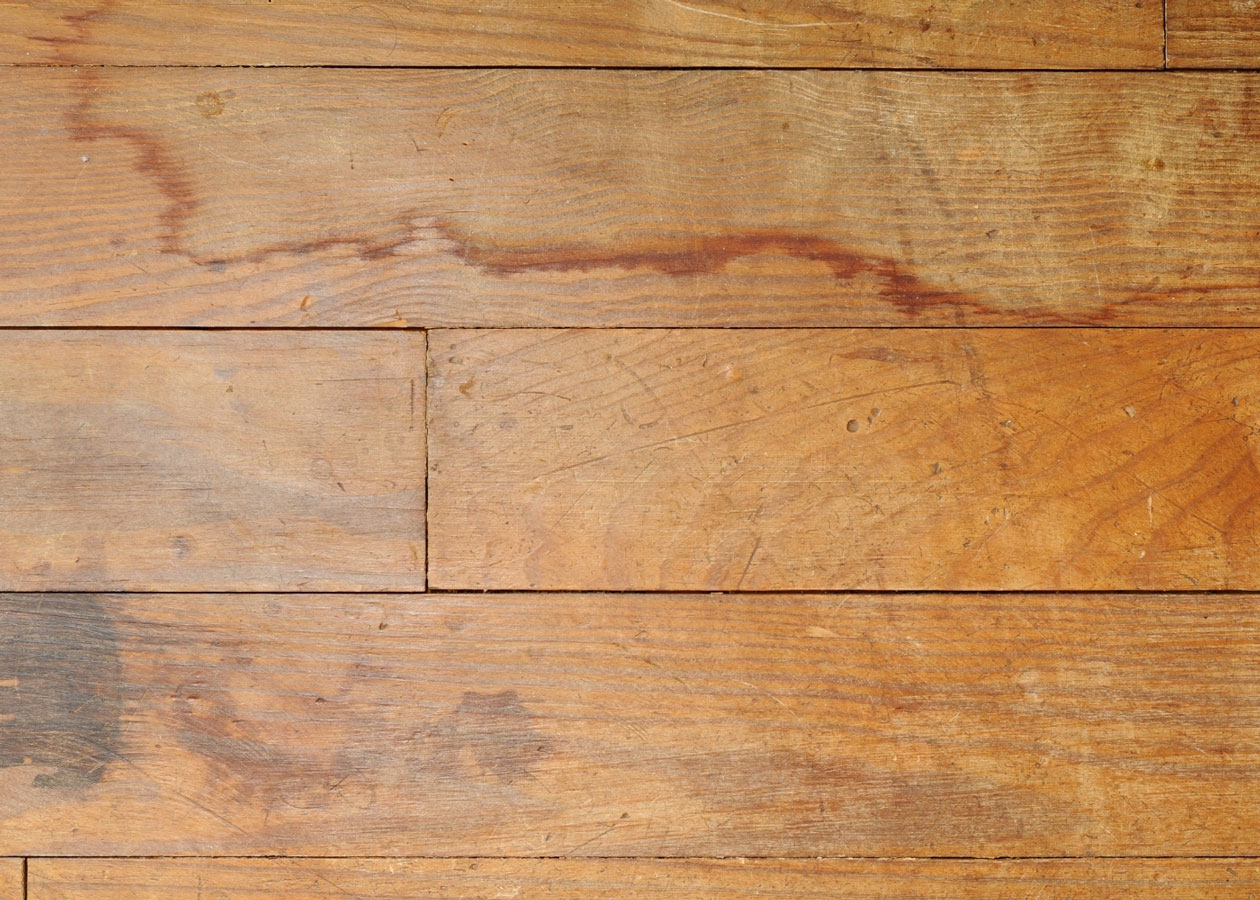
Surface Scratches: Surface scratches are the most common type of damage that wood floors experience. These scratches only affect the top protective layer of the floor, leaving the wood beneath unharmed. They are usually shallow and only impact the finish, making them easier to repair. Common causes of surface scratches include sliding furniture, rough footwear, or pet nails. Surface scratches are typically lighter in appearance and can be easily addressed with the right techniques.
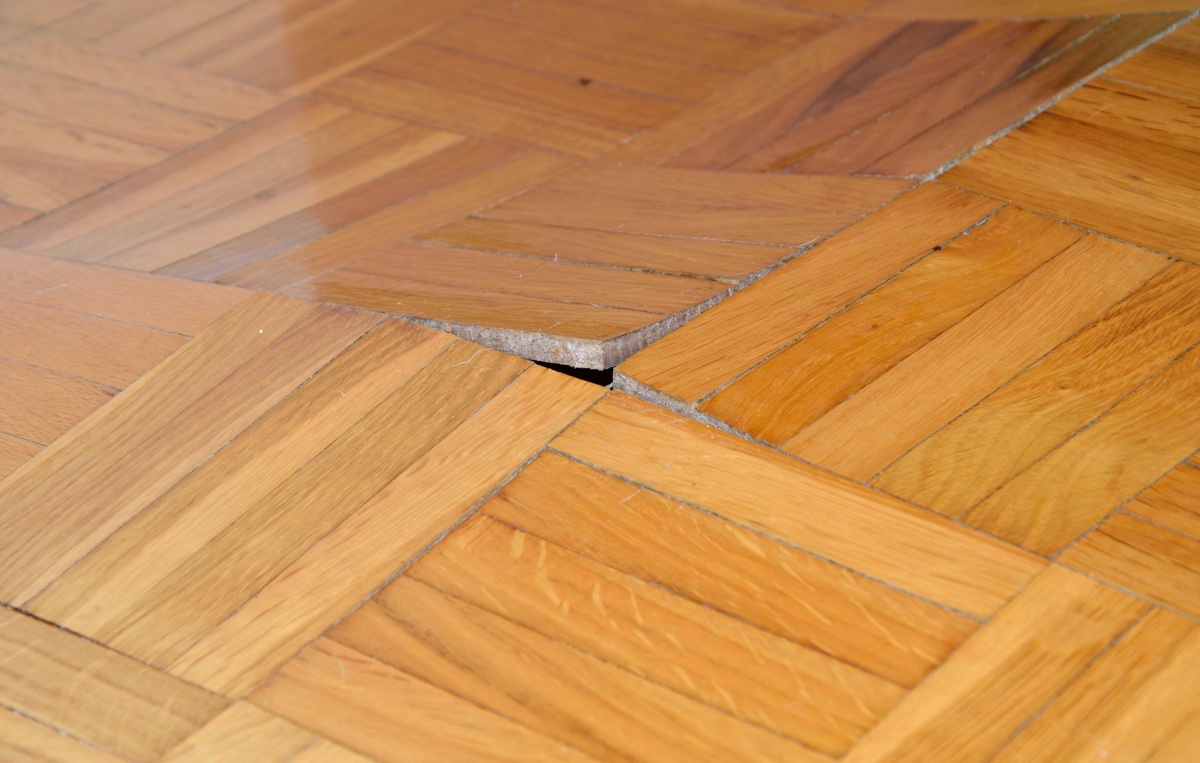
Deep Scratches: Unlike surface scratches, deep scratches penetrate through the protective finish layer and into the wood itself. They are more severe and require more extensive repair methods. Deep scratches can occur due to heavy objects being dragged across the floor, dropped objects, or sharp objects scratching the surface. These scratches are often more noticeable and can compromise the integrity of the wood. Repairing deep scratches may involve filling and sanding the affected area to restore its smoothness and aesthetics.
It’s important to differentiate between the two types of scratches because the repair techniques for surface scratches may not be sufficient for deep scratches. Attempting to repair a deep scratch with a surface scratch method may yield less than optimal results and could even exacerbate the damage. Assess the depth and severity of the scratch before proceeding with the appropriate repair method.
Now that you have a better understanding of the types of wood floor scratches, you can proceed to assess the severity of the scratches on your floor. This assessment will help determine the best course of action for repairing them effectively.
Assessing the Severity of the Scratches
Before diving into the process of repairing scratches on your wood floor, it is crucial to assess the severity of the scratches. This assessment will help you determine the appropriate repair method and set realistic expectations for the outcome.
Start by examining the scratches closely. Pay attention to their depth, length, and width. Surface scratches are typically shallow and affect only the protective finish layer, while deep scratches penetrate into the wood itself. Use a flashlight to shine light across the scratches, which will make them more visible and easier to evaluate.
Next, assess the coverage area. Are the scratches limited to a small localized area or spread out across a larger section of the floor? This will help you gauge the level of effort and materials required for the repair.
Consider the overall condition of your wood floor. Is it in good condition apart from the scratches, or does it have other signs of wear and tear, such as worn-out finish or discoloration? This evaluation will help you determine if additional steps, such as refinishing, might be necessary to achieve a seamless look after the repairs.
Another important factor to consider is the type of wood your floor is made of. Different wood species have varying hardness levels, which can affect the appearance of the scratches. Softer woods like pine or birch are more susceptible to scratches, while harder woods like oak or maple are more resistant.
Once you have assessed the severity of the scratches and considered these factors, you will have a better understanding of the repair process. Surface scratches can usually be addressed with simpler techniques like polishing or using a scratch repair pen, while deeper scratches might require more extensive repair methods, such as filling and sanding.
Keep in mind that repairs are not always perfect, especially for deep scratches. While the goal is to minimize the appearance of the scratches and restore the floor’s beauty, some level of visibility may remain, especially with deep gouges. It’s important to set realistic expectations and accept that complete invisibility of the repairs may not always be achievable.
With a thorough assessment of the scratches on your wood floor, you are now ready to move on to the next step: gathering the necessary materials for the repair process.
Gathering the Necessary Materials
Now that you’ve assessed the severity of the scratches on your wood floor, it’s time to gather the necessary materials for the repair process. Having the right tools and supplies on hand will ensure a smoother and more efficient repair job.
Here is a list of materials you will need:
- Wood floor cleaner: Choose a cleaner that is specifically formulated for wood floors. This will help prepare the surface for repair by removing dirt, grime, and any residue that may interfere with the repair materials.
- Soft cloths or microfiber pads: These will be used for cleaning the floor and applying the repair materials.
- Scratch repair kit: Look for a quality wood floor scratch repair kit that matches the color of your floor. The kit should include a filler or putty, a stain or marker, and a topcoat or finish. Make sure the products in the kit are suitable for your specific type of wood floor.
- Wood filler: If you have deep scratches that require filling, you will need a wood filler. Choose a filler that closely matches the color of your floor or one that can be stained to match.
- Sanding materials: For deep scratches that need sanding, you will need sandpaper or sanding pads with varying grits (start with a lower grit to remove the imperfections and gradually move to a higher grit for a smoother finish).
- Putty knife or scraper: This will be used for applying the filler or removing excess material during the repair process.
- Wood stain or marker: If the scratches have exposed the raw wood, you may need a wood stain or marker to blend the color and match it to the surrounding area.
- Protective finish: To seal and protect the repaired area, you will need a suitable protective finish. This can be a polyurethane or lacquer specifically designed for wood floors.
- Applicators: Depending on the products you choose, you may need brushes, foam applicators, or lint-free cloth to apply the finish.
Make sure to read the instructions and labels of each product carefully to ensure proper usage and compatibility with your specific wood floor. It’s also a good idea to have some spare cloth and gloves on hand to protect your hands and clothing during the repair process.
By gathering these materials before you start the repair process, you will have everything you need within reach, ensuring a smoother and more efficient repair job. With the necessary materials gathered, it’s time to move on to the next step: preparing the wood floor for repair.
Preparing the Wood Floor
Before you begin repairing the scratches on your wood floor, it is essential to properly prepare the surface. Preparing the wood floor will ensure better adhesion and a seamless repair job.
Here are the steps to follow for preparing the wood floor:
Step 1: Clear the Area – Remove all furniture, rugs, and debris from the area you will be working on. This will provide you with a clear workspace and prevent any accidental damage to surrounding objects.
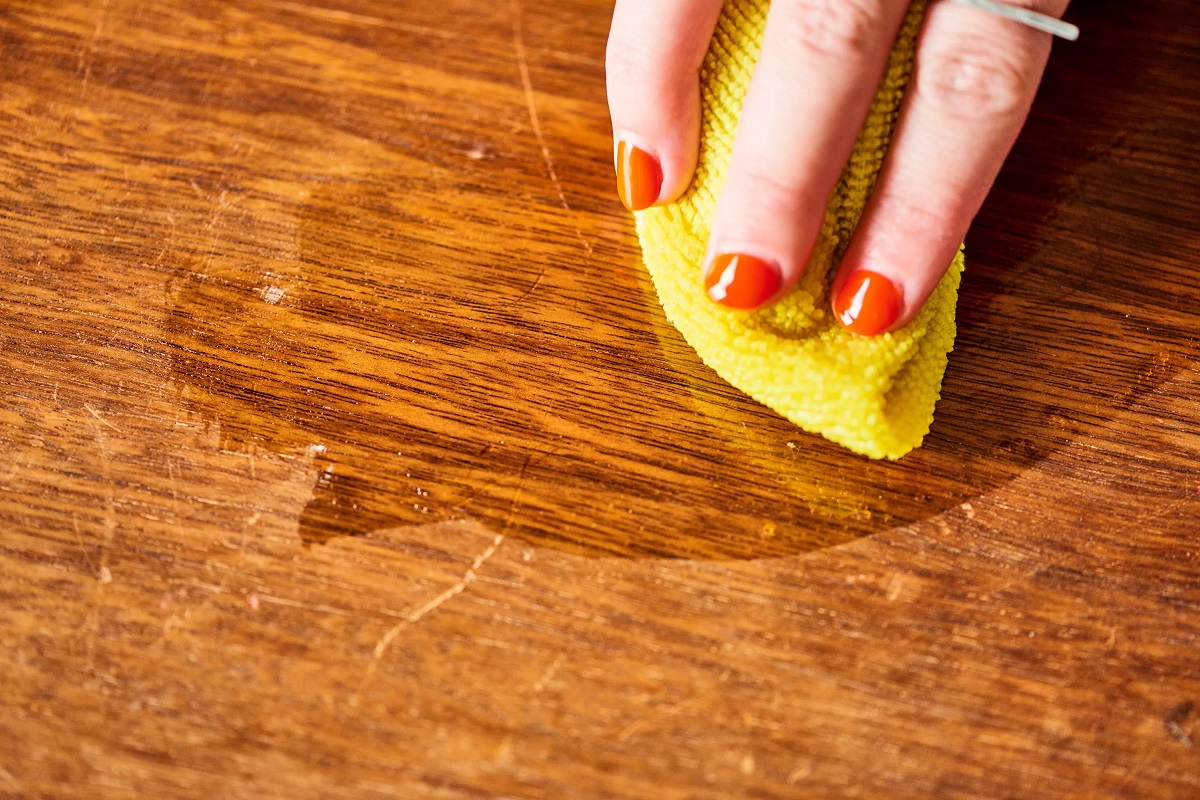
Step 2: Clean the Floor – Thoroughly clean the floor using a wood floor cleaner. Follow the instructions on the cleaner bottle and use a soft cloth or microfiber pad to wipe away any dirt, dust, or grime. This step will remove any contaminants that could interfere with the repair materials or application.
Step 3: Dry the Floor – Allow the floor to dry completely before proceeding with the repair. Moisture can affect the performance of the repair materials, so ensure that the surface is clean and dry.
Step 4: Test the Repair Materials – Before applying any repair materials to the floor, it’s advisable to test them in an inconspicuous area. This will allow you to check the color match and make any necessary adjustments before proceeding with the larger repair.
Step 5: Sand the Surface (if necessary) – If you have deep scratches that require filling, you may need to sand the surrounding area. Use sandpaper or sanding pads with a lower grit (such as 120 or 150) to gently sand the area around the scratch. This will create a smooth surface and help the filler adhere better. Be careful not to oversand or damage the surrounding floor.
Step 6: Clean Up – After sanding, clean the area again using a wood floor cleaner and a soft cloth or microfiber pad. This will remove any debris or dust created during the sanding process.
By thoroughly preparing the wood floor, you create an optimal surface for the repair materials to adhere to. Proper preparation ensures better results and increases the longevity of the repair. Once the floor is prepared, you are ready to move on to the actual repair process.
In the next sections, we will guide you through the steps for repairing different types of scratches, from shallow surface scratches to deeper gouges. By following these instructions and using the appropriate techniques and materials, you will be able to restore the beauty of your wood floor.
Read more: How To Fix Scratched Vinyl Floor
Repairing Shallow Scratches
Shallow surface scratches on wood floors can be effectively repaired with simple techniques. Here are the steps to follow for repairing shallow scratches:
Step 1: Clean the Scratched Area – Before beginning the repair, make sure the scratched area is clean and free from any dirt or debris. Use a wood floor cleaner and a soft cloth or microfiber pad to gently clean the surface. This will help ensure proper adhesion of the repair materials.
Step 2: Apply Scratch Repair Solution – Depending on the type of scratch repair kit you have, follow the instructions to apply the appropriate solution to the scratched area. Some kits may include a filler or putty that needs to be applied, while others may provide a specialized marker or crayon to color in the scratch. Follow the instructions carefully and apply the solution evenly over the scratch.
Step 3: Blend the Repair – After applying the scratch repair solution, use a clean cloth or your finger to gently blend the repaired area with the surrounding floor. This will help smooth out any excess filler or color and ensure a seamless appearance.
Step 4: Allow the Repair to Dry – Give the repaired area sufficient time to dry and set according to the instructions provided with the repair kit. This will ensure that the repair materials have cured properly and will be more resistant to wear and tear.
Step 5: Inspect and Repeat (if necessary) – Once the repair has dried, inspect the area and assess the results. In some cases, you may need to repeat the process for deeper scratches or areas where the repair is not satisfactory. Follow the instructions in the repair kit and repeat the steps as needed until you achieve the desired outcome.
Remember, while shallow scratches can be effectively repaired, it’s important to be realistic about the results. The repair may not completely erase the scratch, but it should significantly improve its appearance and blend it in with the surrounding floor.
Repairing shallow scratches is a relatively straightforward process that requires minimal materials and time. By following these steps, you can effectively address shallow surface scratches on your wood floor and restore its beauty.
Next, we will explore the process of fixing deeper scratches and gouges on your wood floor.
Use a wood filler or crayon that matches the color of your wood floor to fill in the scratches. Gently sand the area and apply a sealant to blend it in with the rest of the floor.
Fixing Deep Scratches
Deep scratches on wood floors require a more intensive repair process involving filling and sanding. Follow these steps to effectively fix deep scratches:
Step 1: Clean the Scratched Area – Ensure that the area around the deep scratch is clean and free from any dirt or debris. Use a wood floor cleaner and a soft cloth or microfiber pad to gently clean the surface. This will provide a clean canvas for the repair materials.
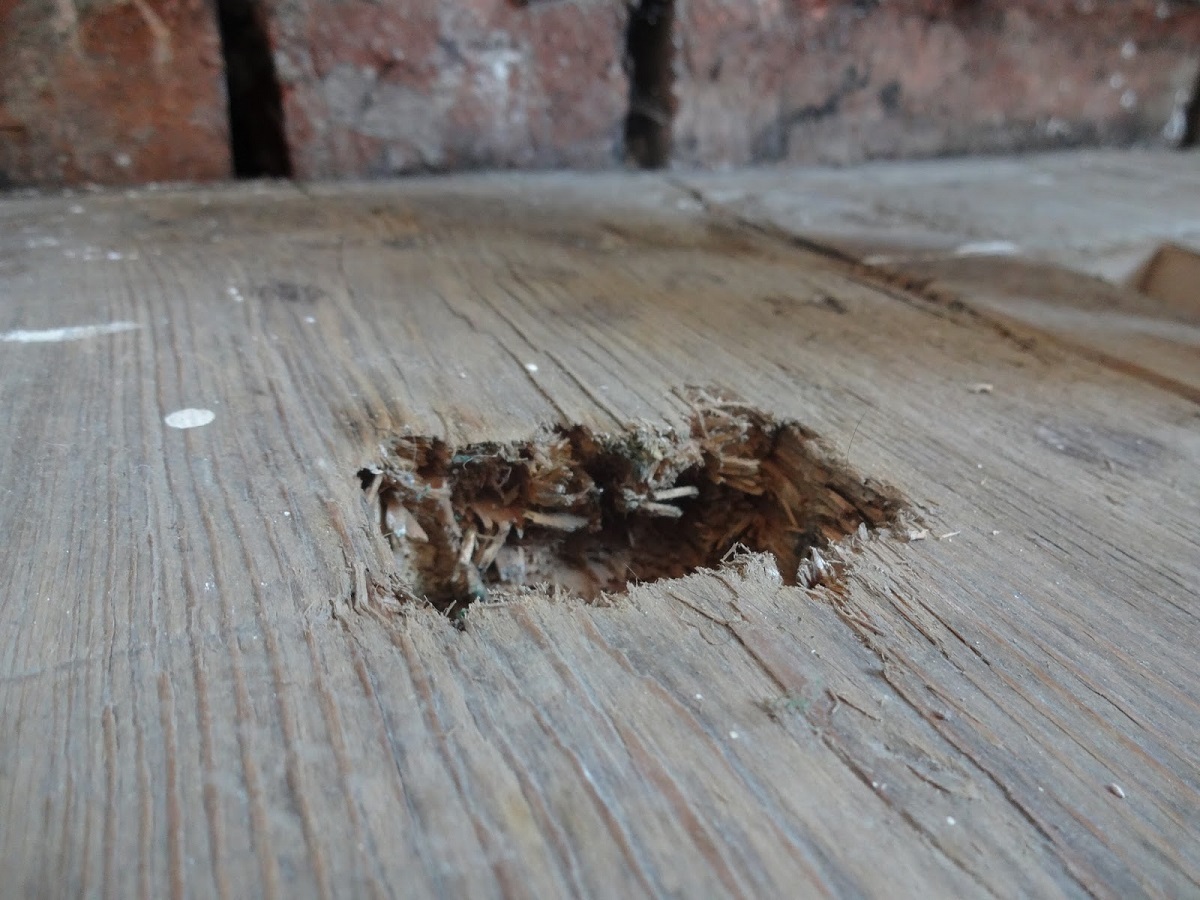
Step 2: Assess the Depth of the Scratch – Determine the depth of the scratch by running your finger gently across the affected area. If the scratch is still visible or your finger catches in the groove, it may be necessary to use wood filler to repair it.
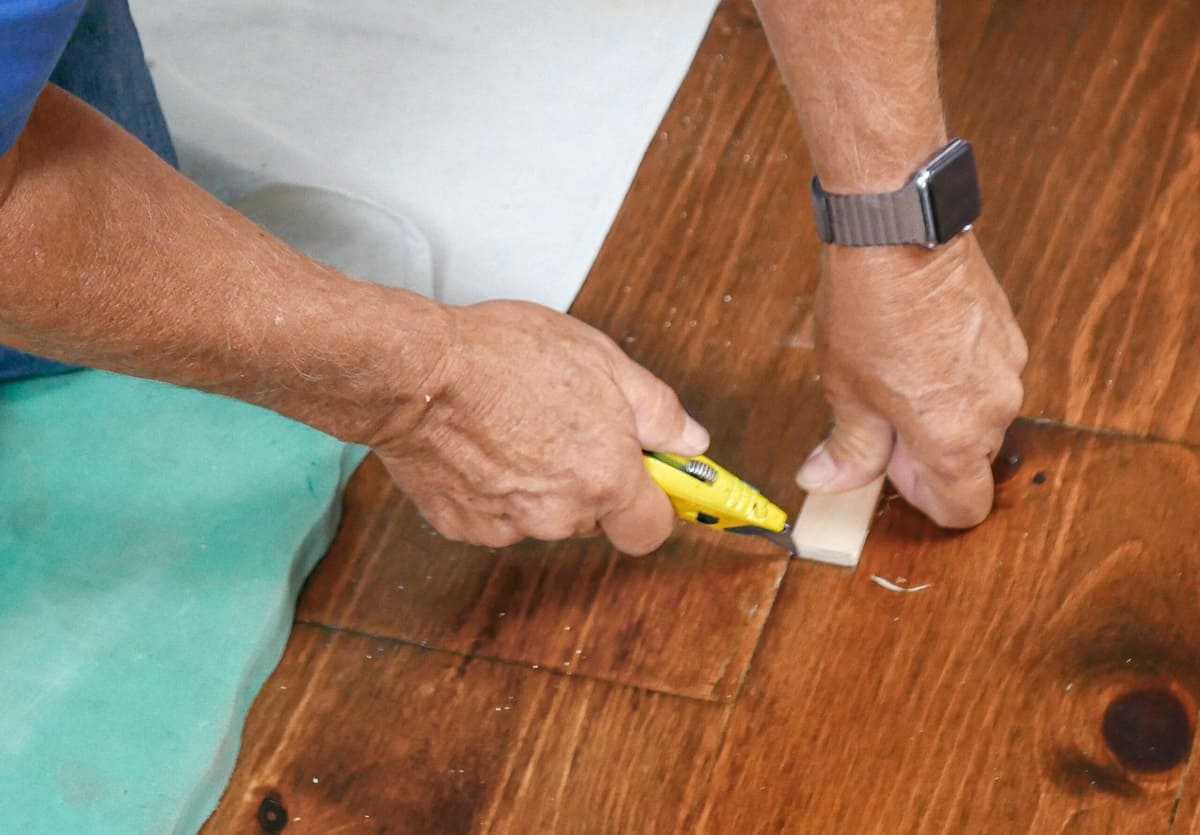
Step 3: Apply Wood Filler – Choose a wood filler that matches the color of your floor or one that can be easily stained to match. Apply the filler directly into the deep scratch using a putty knife or scraper, ensuring that it completely fills the groove and is slightly raised above the surface of the floor.
Step 4: Smooth and Level the Filler – Use the putty knife or scraper to smooth the excess filler and level it with the surface of the floor. Be careful not to remove too much filler or damage the surrounding area. Allow the filler to dry according to the manufacturer’s instructions.
Step 5: Sand the Filled Area – Once the filler has dried, lightly sand the filled area using sandpaper or sanding pads with a higher grit (such as 220) until it is smooth and level with the surrounding floor. This will help blend the repair and create a seamless appearance.
Step 6: Clean the Sanded Area – Clean the sanded area with a wood floor cleaner and a soft cloth or microfiber pad to remove any dust or residue. Ensure that the area is clean and dry before proceeding to the next step.
Step 7: Apply Wood Stain or Marker (if necessary) – If the deep scratch has exposed the raw wood and the color mismatch is noticeable, use a wood stain or marker that matches the floor to blend the color. Apply the stain or marker to the sanded area and use a clean cloth to wipe away any excess.
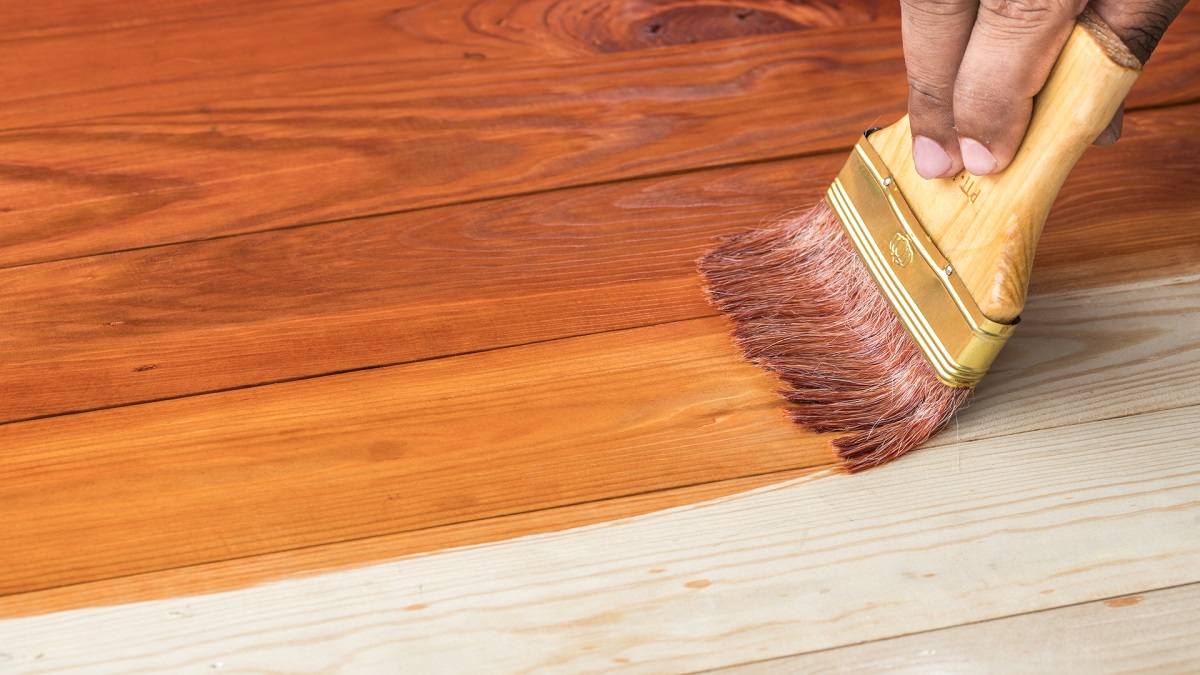
Step 8: Apply Protective Finish – Once the repaired area is dry and the color is blended, apply a protective finish over the entire floor or just the repaired section. Follow the manufacturer’s instructions and use the appropriate applicator (brush, foam applicator, or lint-free cloth) to apply an even coat of finish. Allow the finish to dry completely before using the floor.
When fixing deep scratches, it’s crucial to follow the instructions for the specific wood filler, sanding materials, and finish that you are using. This will ensure optimum results and a seamless repair that blends in with the surrounding floor.
With the deep scratches repaired, the next step is to blend the repaired area with the rest of the floor for a cohesive look.
Blending in the Repaired Area
After successfully repairing deep scratches on your wood floor, the next step is to blend the repaired area with the rest of the floor. The goal is to create a seamless transition that will make the repair virtually invisible. Follow these steps to blend in the repaired area:
Step 1: Assess the Color Match – Carefully examine the repaired area and compare it to the surrounding floor. Check if the color of the repair matches the nearby wood. If the color is slightly off, you can further adjust it using a wood stain or marker that matches the floor.
Step 2: Apply Wood Stain or Marker (if necessary) – If there is a noticeable color difference between the repaired area and the surrounding floor, apply a small amount of wood stain or marker to the repaired area. Use a clean cloth to gently blend the color, ensuring that it seamlessly matches the surrounding wood.
Step 3: Feather Out the Finish – To create a smooth transition between the repaired area and the rest of the floor, feather out the finish. Use a clean cloth or a foam applicator to lightly brush the finish over the repaired area, gradually extending it into the surrounding floor. Be careful not to apply too much pressure or leave behind visible brush strokes.
Step 4: Allow the Finish to Dry – After blending in the repaired area, allow the finish to dry completely according to the manufacturer’s instructions. This will ensure that the repair is properly sealed and protected.
Step 5: Inspect the Blending – Once the finish has dried, inspect the repaired area for any visible signs of the repair. Ensure that the color match and blending are satisfactory. If necessary, make any additional adjustments with a wood stain or marker to further blend in the repaired area.
With proper blending techniques, the repaired area should seamlessly blend in with the rest of the floor, making the repair virtually unnoticeable to the eye. Remember that achieving a perfect blend may not always be possible, especially with complex wood grain patterns or deep scratches. However, with careful attention to detail, you can create an aesthetically pleasing and cohesive look.
Now that you have successfully blended in the repaired area, the final step is to apply a protective finish to the floor to ensure its long-lasting durability and beauty.
Applying Finish to the Repaired Surface
Once you have repaired and blended the scratched area on your wood floor, it’s important to apply a protective finish to ensure the longevity and durability of the repair. The finish will not only enhance the appearance of the floor but also provide an added layer of protection against future scratches and wear. Follow these steps to apply finish to the repaired surface:
Step 1: Choose the Right Finish – Select a finish that is specifically designed for wood floors and matches the existing finish on your floor. Common options include polyurethane, oil-based, or water-based finishes. Read the manufacturer’s instructions and ensure compatibility with the repair materials and your specific floor type.
Step 2: Prepare the Surface – Ensure that the repaired area is clean and free from any dust or debris. Use a wood floor cleaner and a soft cloth or microfiber pad to gently clean the surface. Allow the area to dry completely before proceeding.
Step 3: Application Method – There are different methods for applying finish, including using a brush, foam applicator, or lint-free cloth. Choose the method that suits the type of finish you have selected and the size of the repaired area. Follow the manufacturer’s instructions for the recommended application technique.
Step 4: Apply the Finish – Start by applying a thin, even coat of finish to the repaired area, ensuring proper coverage. Work your way outward, feathering out the finish and blending it with the surrounding floor. Apply the finish in the direction of the wood grain for a smoother and more natural result.
Step 5: Allow the Finish to Dry – Give the first coat of finish sufficient time to dry according to the manufacturer’s instructions. This usually takes several hours or overnight. Avoid walking on the floor or placing any furniture on it during the drying process to prevent any imperfections or damage to the finish.
Step 6: Sand (Optional) – If desired, you can lightly sand the dried first coat of finish using fine-grit sandpaper or sanding pads to smoothen the surface. After sanding, remember to thoroughly clean the area to remove any dust or debris before applying subsequent coats of finish.
Step 7: Apply Additional Coats – Depending on the type of finish and the desired level of protection, you may need to apply multiple coats of finish. Follow the manufacturer’s instructions for the recommended number of coats. Allow each coat to dry completely before applying the next one.
Step 8: Final Inspection – After applying the final coat of finish, inspect the entire repaired area and the surrounding floor for any imperfections or unevenness. If necessary, touch up any areas that may require additional attention. Allow the final coat to cure fully before placing furniture back or subjecting the floor to regular use.
By applying finish to the repaired surface, you provide extra protection and rejuvenate the appearance of the wood floor. Proper application of the finish will not only preserve the repair but also ensure the longevity of your entire floor.
In the next section, we will provide some final tips and recommendations to help you maintain the beauty and health of your wood floors.
Read more: How To Fix Scratch On Laminate Floor
Final Tips and Recommendations
Now that you have successfully repaired and finished your wood floor, it’s important to maintain its beauty and prolong its lifespan. Here are some final tips and recommendations:
1. Regular Cleaning: Implement a regular cleaning routine to keep your wood floor in excellent condition. Sweep or vacuum the floor regularly to remove dirt and debris that can lead to scratches. Use a damp mop or microfiber cloth to clean spills and avoid using excessive water.
2. Protective Measures: Place felt pads or protective caps on the legs of furniture to prevent them from scratching the floor when moved. Use area rugs or mats in high-traffic areas to minimize wear and tear. Promptly clean up any spills to prevent staining and damage to the floor’s finish.
3. Avoid Harsh Chemicals: When cleaning your wood floor, use cleaners specifically formulated for wood floors. Avoid using harsh chemicals or abrasive cleaners that can strip away the finish and damage the wood.
4. Routine Maintenance: Periodically inspect your wood floor for any signs of scratches, wear, or damage. Address any minor scratches or imperfections promptly to prevent them from worsening over time. Apply a fresh coat of finish every few years to rejuvenate the appearance and maintain the floor’s protection.
5. Area Rugs: Consider using area rugs or doormats in entryways and high-traffic areas to protect the floor from heavy foot traffic and potential scratches. Ensure that the rugs have a non-skid backing to prevent them from sliding and causing accidents.
6. Avoid High Heels and Rough Footwear: Encourage housemates and guests to remove high heels or any shoes with rough soles before walking on the wood floor. These types of footwear can cause scratches and dents.
7. Professional Assistance: For extensive damage or deep scratches that cannot be repaired using DIY methods, consider seeking professional assistance. A professional can provide expert advice and recommend the best course of action, which may include refinishing the entire floor to achieve optimal results.
Remember, maintaining a well-cared-for wood floor will not only enhance the aesthetics of your space but also increase the value of your home. By following these tips and recommendations, you can enjoy the beauty and durability of your wood floors for years to come.
Congratulations! You have successfully completed the process of repairing scratches on your wood floor. By following the steps outlined in this guide, you have not only restored the appearance of your floor but also gained valuable knowledge in maintaining its long-term health.
Thank you for reading, and may your wood floors continue to shine for many years to come!
Conclusion
Repairing scratches on wood floors can seem like a daunting task, but with proper guidance and the right techniques, it is possible to restore the beauty of your floor and make those unsightly scratches a thing of the past. Whether you are dealing with shallow surface scratches or deep gouges, following the steps outlined in this comprehensive guide will help you achieve successful repairs.
Throughout this guide, we covered important aspects of repairing wood floor scratches, from understanding the types of scratches to assessing their severity. We discussed the necessary materials and provided guidelines for preparing the wood floor before starting the repair process. We then delved into step-by-step instructions for repairing shallow scratches and fixing deeper gouges with wood filler and sanding.
We emphasized the importance of blending the repaired area with the rest of the floor for a seamless look and provided recommendations for applying a protective finish to ensure the longevity of the repair. Finally, we concluded with essential tips and recommendations to help you maintain the beauty and health of your wood floors.
Remember, repairing scratches on wood floors is not just about aesthetics. It’s about protecting your investment and preserving the natural beauty of your floor. By taking the time to understand the types of scratches, assessing their severity, and following the proper repair techniques, you can ensure a successful outcome.
While repairing scratches on wood floors can be a DIY project, it’s important to recognize the limitations. For extensive damage or complicated repairs, it may be best to consult a professional who can provide expert advice and guidance.
We hope this guide has provided you with the knowledge and confidence to tackle the repair of scratches on your wood floor. By following the steps outlined and implementing the recommended maintenance practices, you can enjoy a beautiful, scratch-free floor that will be a source of pride for years to come.
Thank you for reading, and best of luck with your wood floor repair journey!
Frequently Asked Questions about How To Repair Scratches On Wood Floor
Was this page helpful?
At Storables.com, we guarantee accurate and reliable information. Our content, validated by Expert Board Contributors, is crafted following stringent Editorial Policies. We're committed to providing you with well-researched, expert-backed insights for all your informational needs.


0 thoughts on “How To Repair Scratches On Wood Floor”