Articles
How To Get The Sink Stopper Out
Modified: December 7, 2023
Learn how to easily remove the sink stopper with our helpful articles. Discover step-by-step instructions and tips for a hassle-free experience.
(Many of the links in this article redirect to a specific reviewed product. Your purchase of these products through affiliate links helps to generate commission for Storables.com, at no extra cost. Learn more)
Introduction
Having a functioning sink stopper is essential for preventing water from draining out of the sink and ensuring that you can efficiently perform your daily tasks, such as washing dishes or filling the sink. However, there may come a time when you need to remove the sink stopper for cleaning or replacement. While it may seem like a daunting task, with a few simple steps, you can easily get the sink stopper out.
In this article, we will guide you through the process of removing a sink stopper. Whether you have a pop-up stopper, a lift-and-turn stopper, or a push-and-pull stopper, we will provide you with the necessary steps to successfully remove it. So, if you’re ready to regain control of your sink and tackle this task, let’s dive in!
Key Takeaways:
- Easily remove and clean sink stoppers by following simple steps tailored to different types of stopper mechanisms. Maintain a clean and hygienic sink area for optimal functionality and prevent future issues.
- Reinstall or replace the sink stopper with confidence, ensuring a proper seal and effective water control. Regular maintenance and cleaning will extend the lifespan of the sink stopper and keep your sink functioning smoothly.
Read more: How To Take Out A Sink Stopper
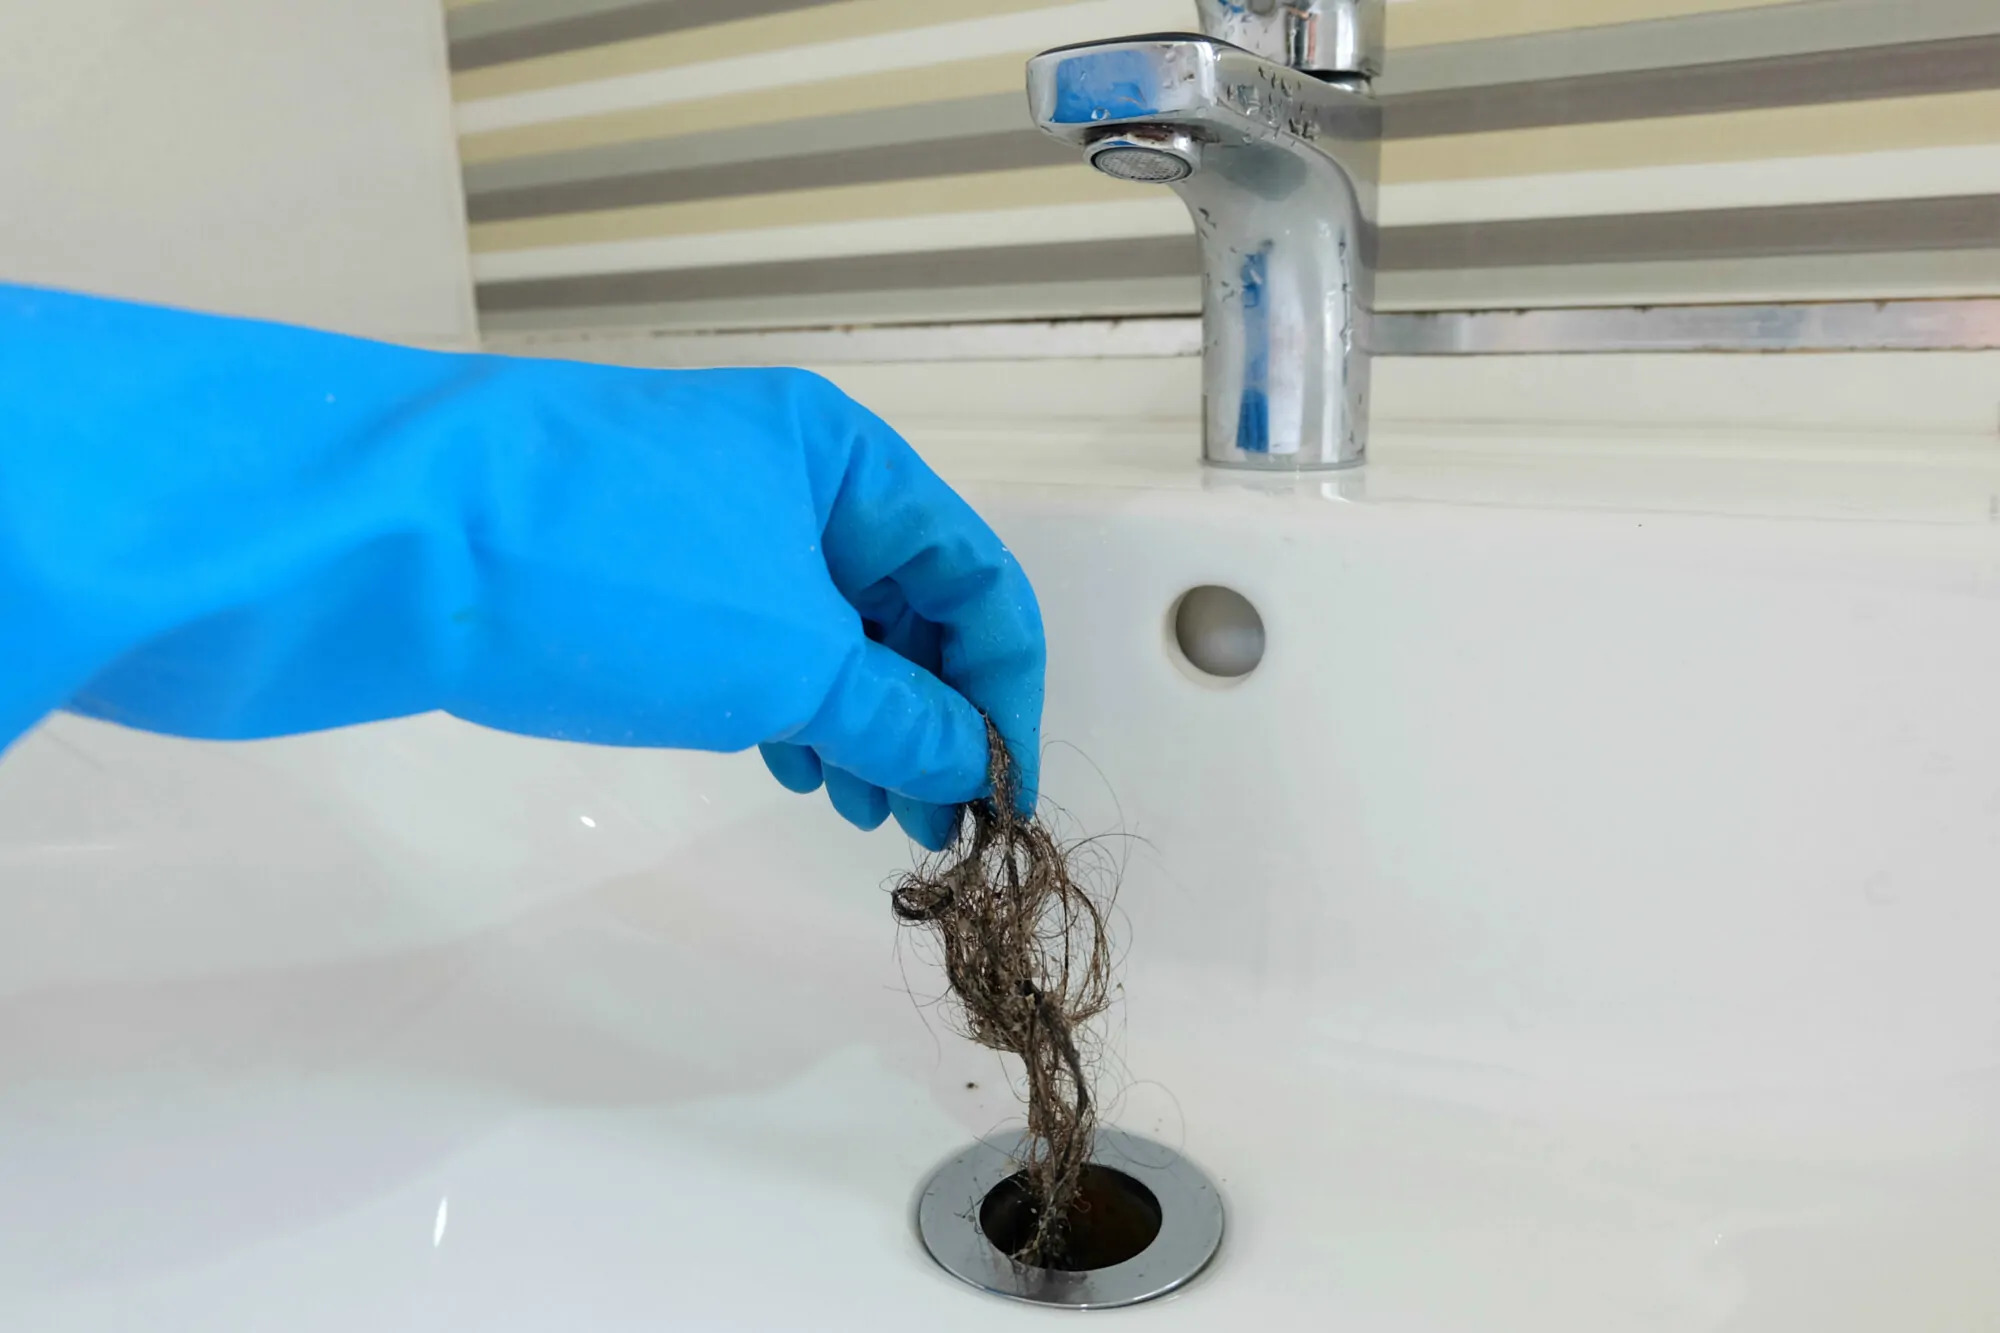
Step 1: Remove any surrounding debris
Before attempting to remove the sink stopper, it’s important to clear the area surrounding it from any debris or obstructions. This will ensure a smooth and hassle-free removal process. Here’s how you can do it:
- Start by gathering some basic cleaning supplies such as gloves, a small bucket, and a brush.
- Put on your gloves to protect your hands from any dirt or grime that may be present.
- Remove any items that are sitting on or around the sink area. This includes dishes, soap dispensers, or any other personal belongings.
- Take your brush and use it to gently scrub away any visible dirt or debris that may have accumulated on and around the sink stopper. Pay attention to the edges and crevices where buildup is common.
- If there is any standing water in the sink, use a bucket to carefully scoop it out and dispose of it in a nearby drain. This will prevent any spills or splashing during the removal process.
- After you have cleared the area and removed the debris, take a moment to inspect the drain for any clogs or blockages. If you notice any, consider using a plunger or a drain cleaner to clear them before continuing with the removal.
By taking the time to remove any surrounding debris, you’ll have a clean workspace and be better prepared for the next steps in the sink stopper removal process. Plus, it’s always a good idea to maintain a clean and hygienic sink area, ensuring optimal functionality and preventing any future issues.
Step 2: Locate the sink stopper mechanism
Once you have cleared the area of any debris, the next step is to locate the sink stopper mechanism. Depending on the type of sink stopper you have, the mechanism may vary. Here’s how you can locate it:
- Take a close look at the sink drain area. Look for a small knob, lever, or handle near the drain. This is usually the visible part of the sink stopper mechanism.
- If you have a pop-up stopper, it will typically have a small rod connected to it. This rod is attached to the back of the drain pipe beneath the sink.
- For a lift-and-turn stopper, you’ll notice a knob or cap at the top of the stopper. This knob can be twisted to release the stopper from the drain.
- In the case of a push-and-pull stopper, there is often a small button or lever on the top of the stopper. Pressing or pulling on this button will activate the stopper mechanism.
If you’re having trouble locating the sink stopper mechanism, refer to the manufacturer’s instructions or consult online resources specific to your sink model. It’s important to identify the mechanism correctly to ensure smooth removal without causing any damage to the sink or stopper.
Once you have located the sink stopper mechanism, you’re ready to proceed to the next step of the removal process. Stay tuned!
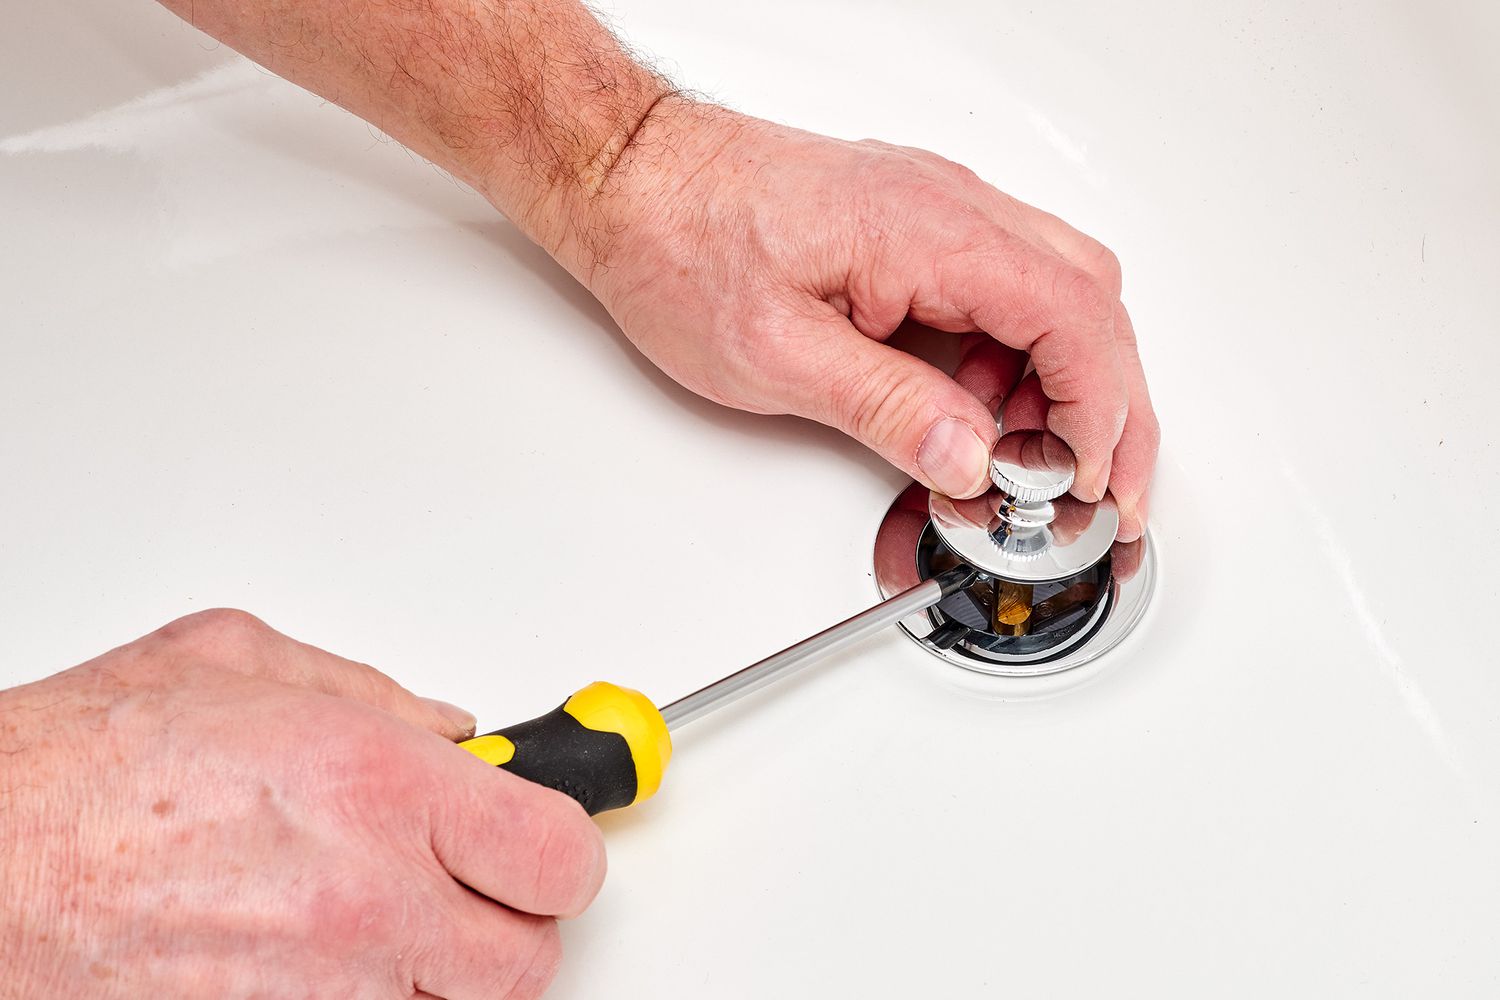
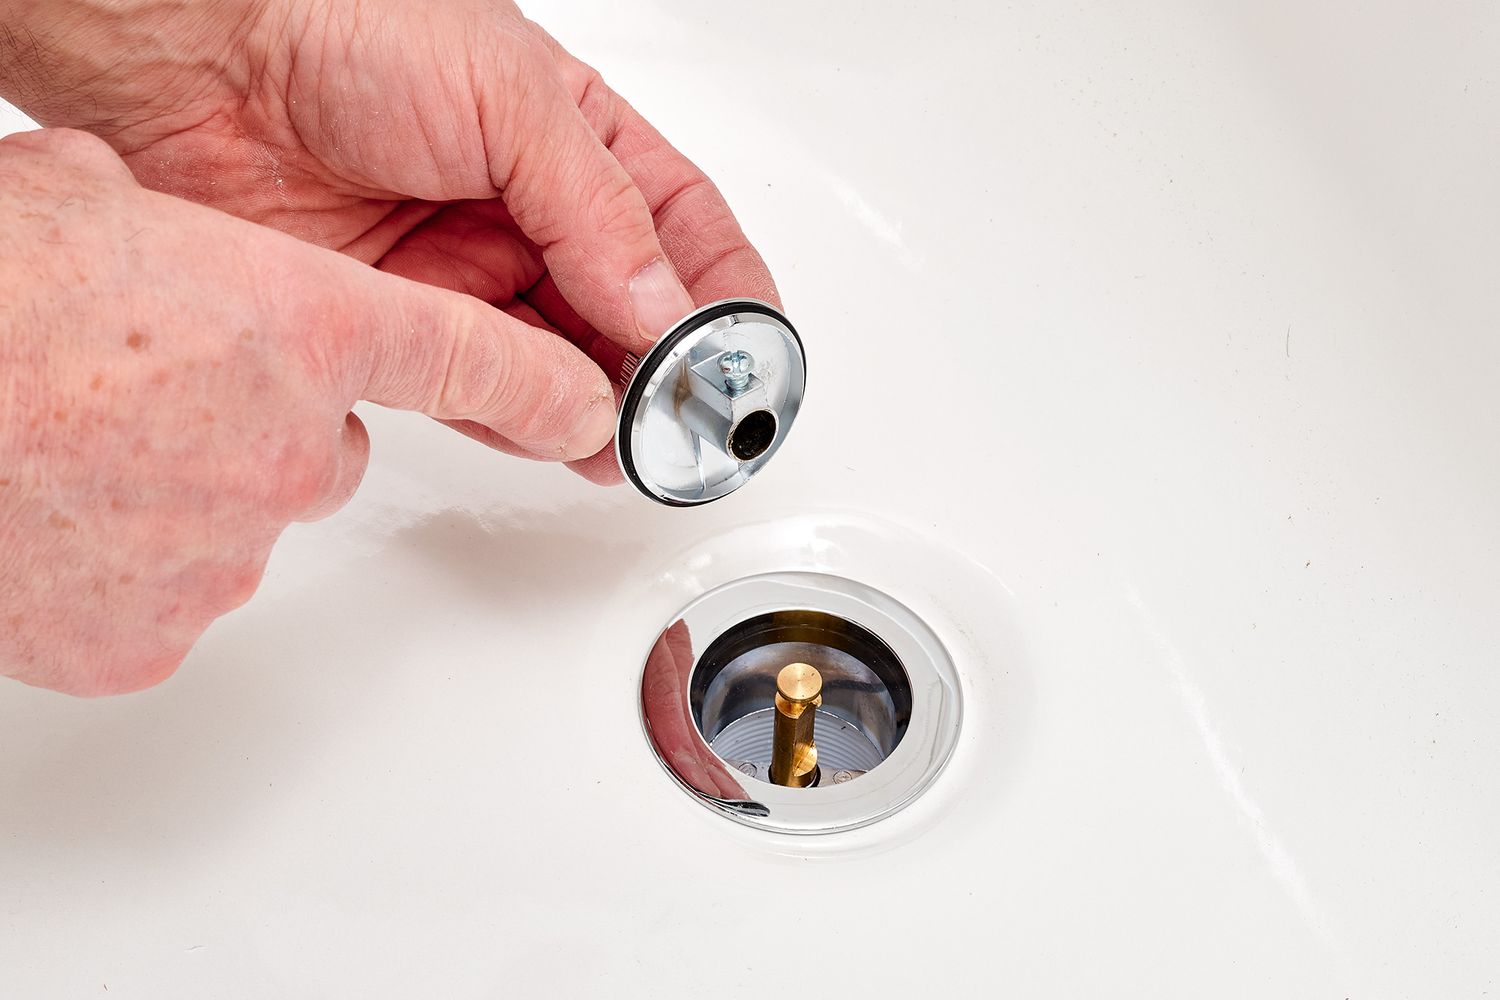
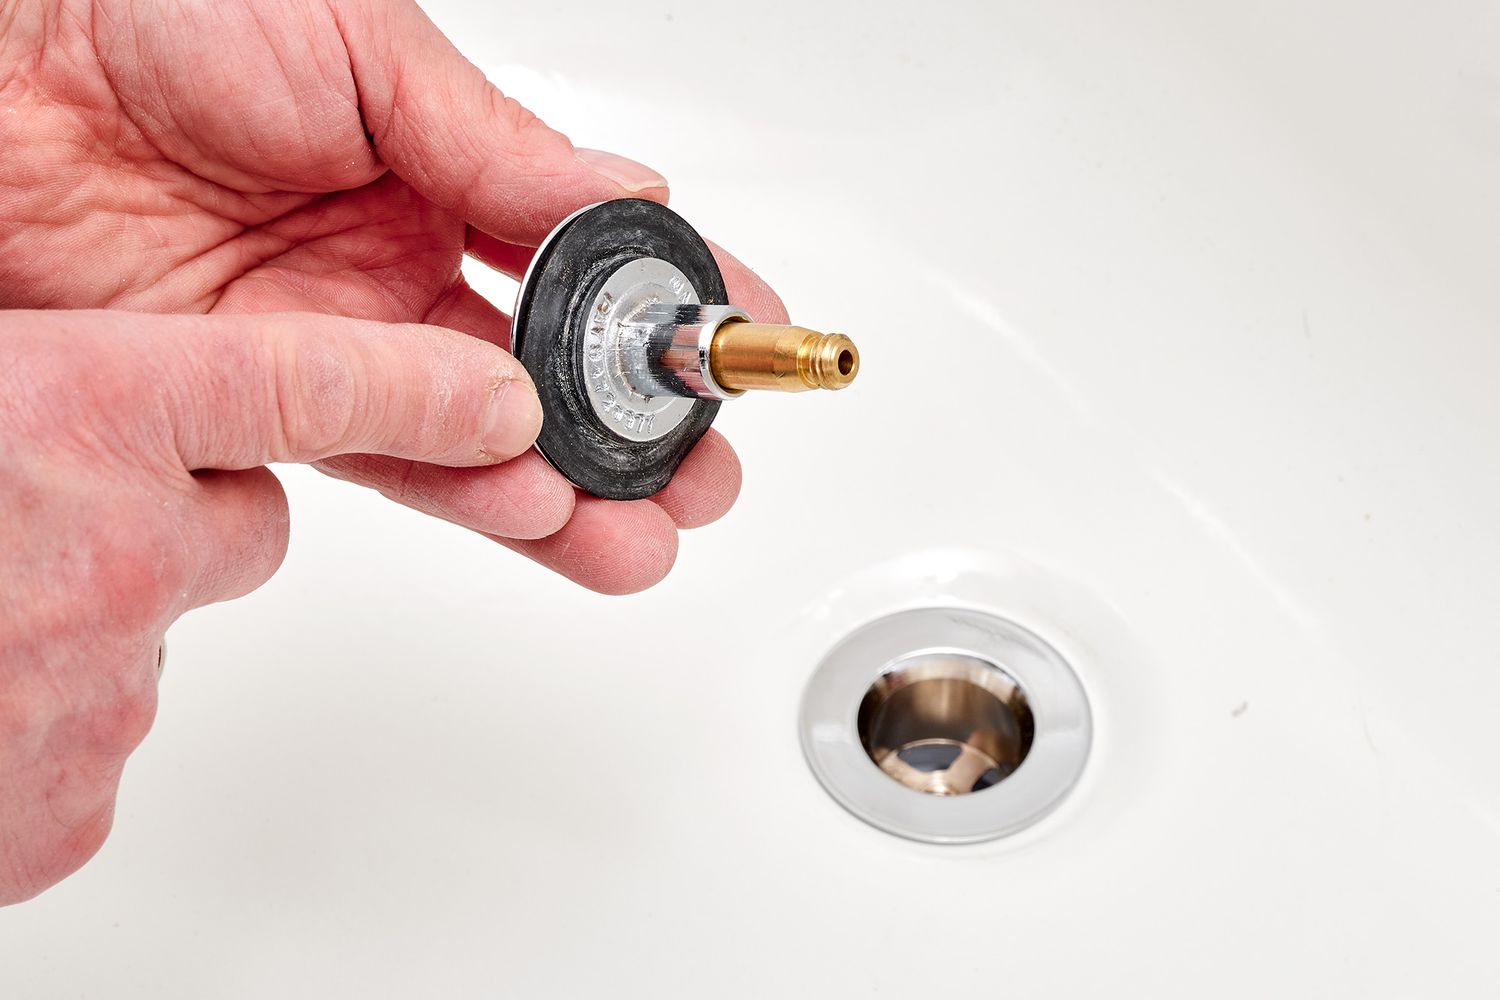
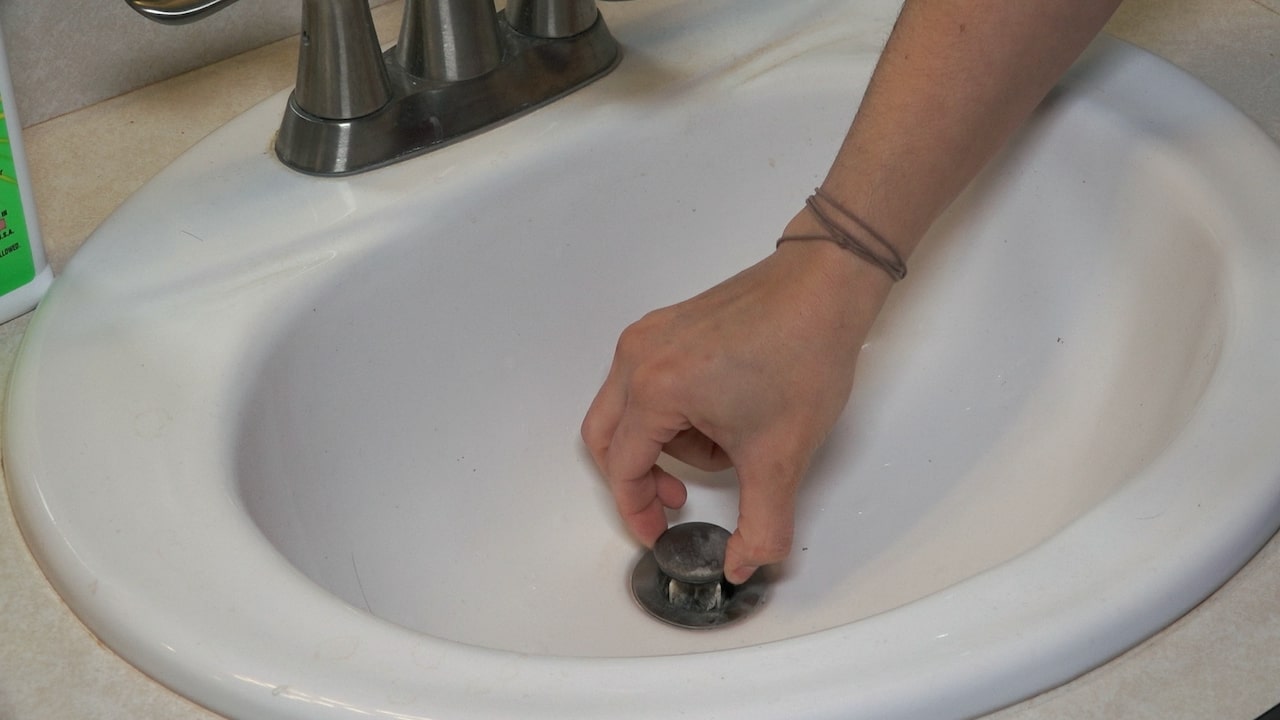
Step 3: Unscrew or lift out the sink stopper
Now that you have located the sink stopper mechanism, it’s time to proceed with removing the sink stopper itself. The method will depend on the type of stopper you have. Here are the steps for unscrewing or lifting out the sink stopper:
- Pop-up stopper: If you have a pop-up stopper, you’ll need to reach underneath the sink. Locate the rod connected to the back of the drain pipe and grasp it firmly. Unscrew the rod by turning it counterclockwise. As you unscrew, the pop-up stopper will be lifted out of the drain. Once the stopper is detached, carefully pull it upward to remove it completely.
- Lift-and-turn stopper: For a lift-and-turn stopper, you’ll find a knob or cap at the top of the stopper. Hold the base of the stopper with one hand and twist the knob or cap counterclockwise until it becomes loose. Once loose, lift the entire stopper out of the drain.
- Push-and-pull stopper: To remove a push-and-pull stopper, locate the small button or lever on the top of the stopper. Press or pull on it, depending on the design, to release the stopper mechanism. Once released, simply lift the stopper out of the drain.
It’s important to note that some sink stoppers may be secured with a retaining nut or other fasteners. If you encounter any additional connectors while attempting to remove the stopper, refer to the manufacturer’s instructions or seek professional assistance to avoid causing damage to the sink or stopper.
By following these steps, you’ll be able to unscrew or lift out the sink stopper successfully. Next, we’ll discuss how to clean the sink stopper and drain area before reinstalling or replacing the stopper. Stay with us!
Use a pair of needle-nose pliers to grip the top of the sink stopper and twist it counterclockwise to unscrew it from the drain. If it’s stuck, try using a lubricant like WD-40 to help loosen it.
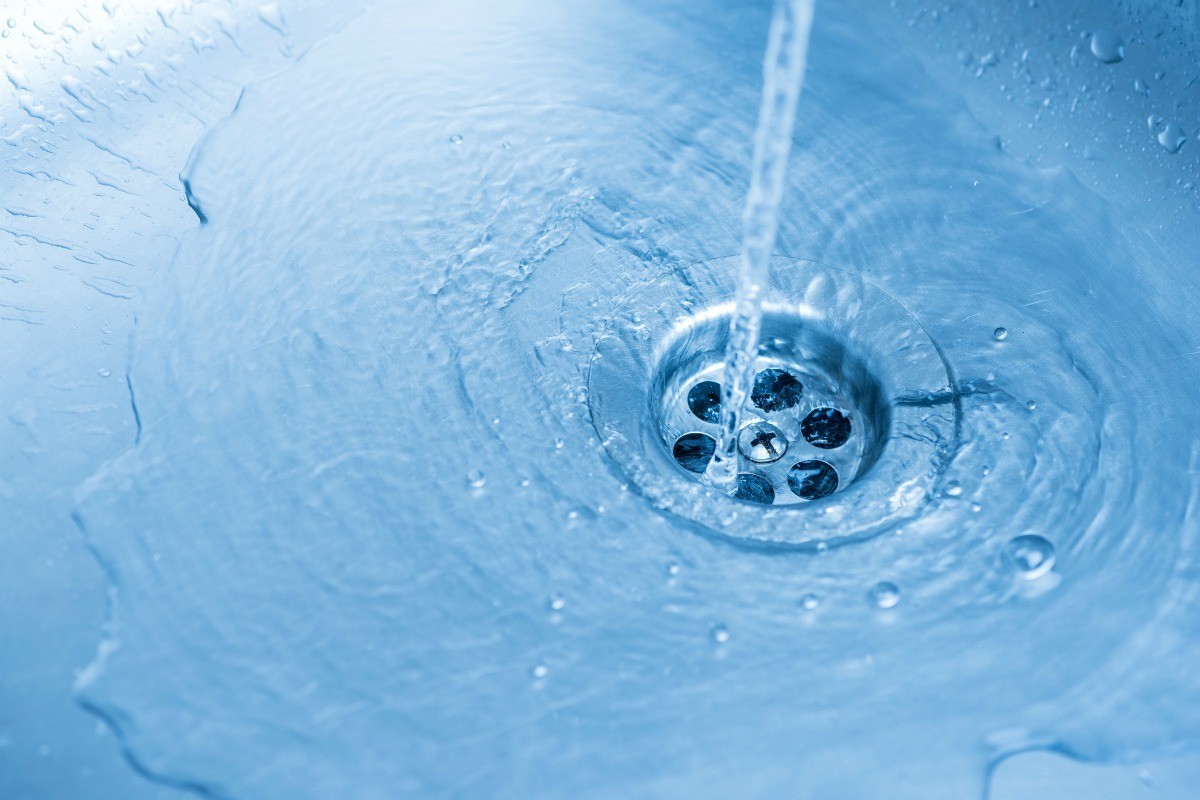
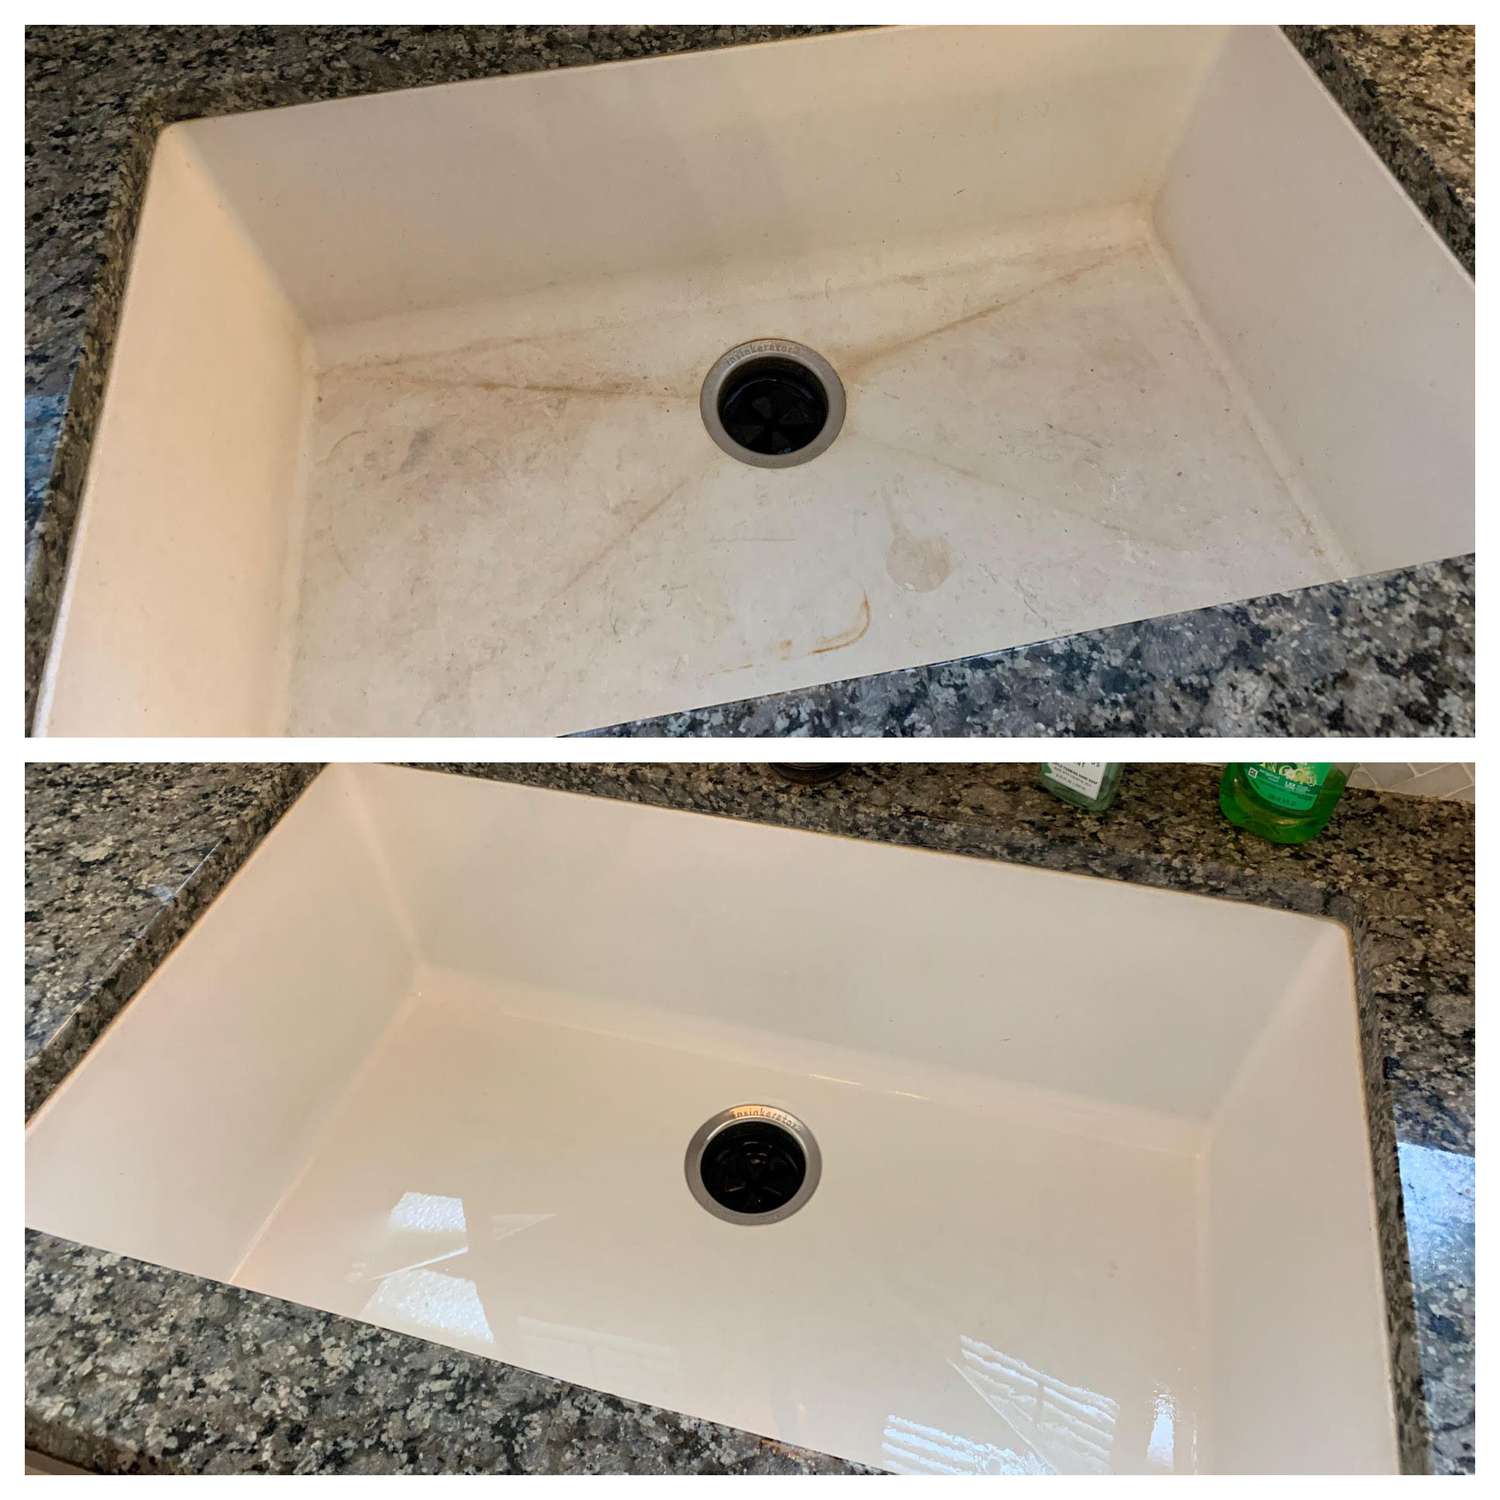
Step 4: Clean the sink stopper and drain area
After removing the sink stopper, it’s important to take the time to clean both the stopper itself and the drain area. This will help prevent any buildup of debris or residue and ensure optimal function. Here’s how you can clean the sink stopper and drain area:
- Clean the stopper: Start by inspecting the sink stopper for any visible dirt, grime, or hair. Use a brush or toothbrush to scrub away any buildup. For stubborn stains or residue, you can create a mixture of warm water and mild dish soap. Dip the brush into the soapy water and gently scrub the stopper until it is clean. Rinse the stopper thoroughly to remove any soap residue.
- Clean the drain area: To clean the drain area, you can use a mixture of baking soda and vinegar. Start by pouring about half a cup of baking soda down the drain. Follow it up with half a cup of vinegar. This will create a fizzy reaction that helps break down any debris or residue in the drain. Let the mixture sit for a few minutes. Then, flush the drain with hot water to remove any remaining residue.
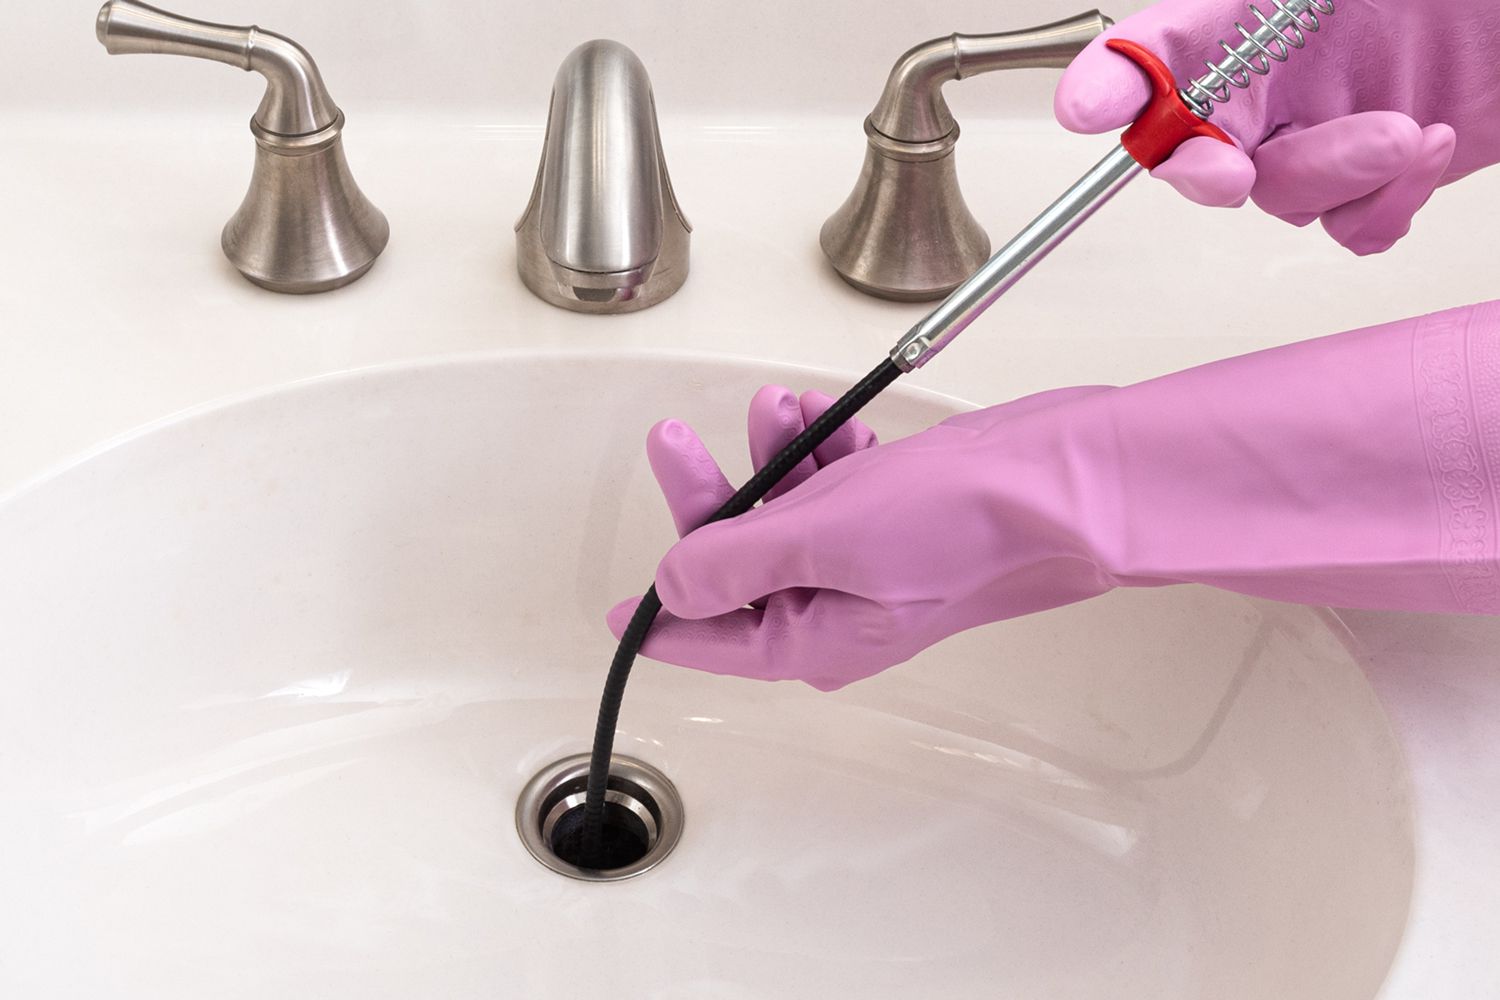
- Remove stubborn clogs: If you notice any stubborn clogs or blockages in the drain, you can try using a plunger or a plumbing snake to clear them. Follow the manufacturer’s instructions for the specific tool you are using and take caution to avoid damaging the sink or drain pipes.
By thoroughly cleaning the sink stopper and drain area, you will not only ensure better water flow but also prevent any unpleasant odors or buildup over time. Once you have completed the cleaning process, you’re ready to move on to the next step of reinstalling or replacing the sink stopper. Let’s continue!
Read more: How To Get Bathtub Stopper Out
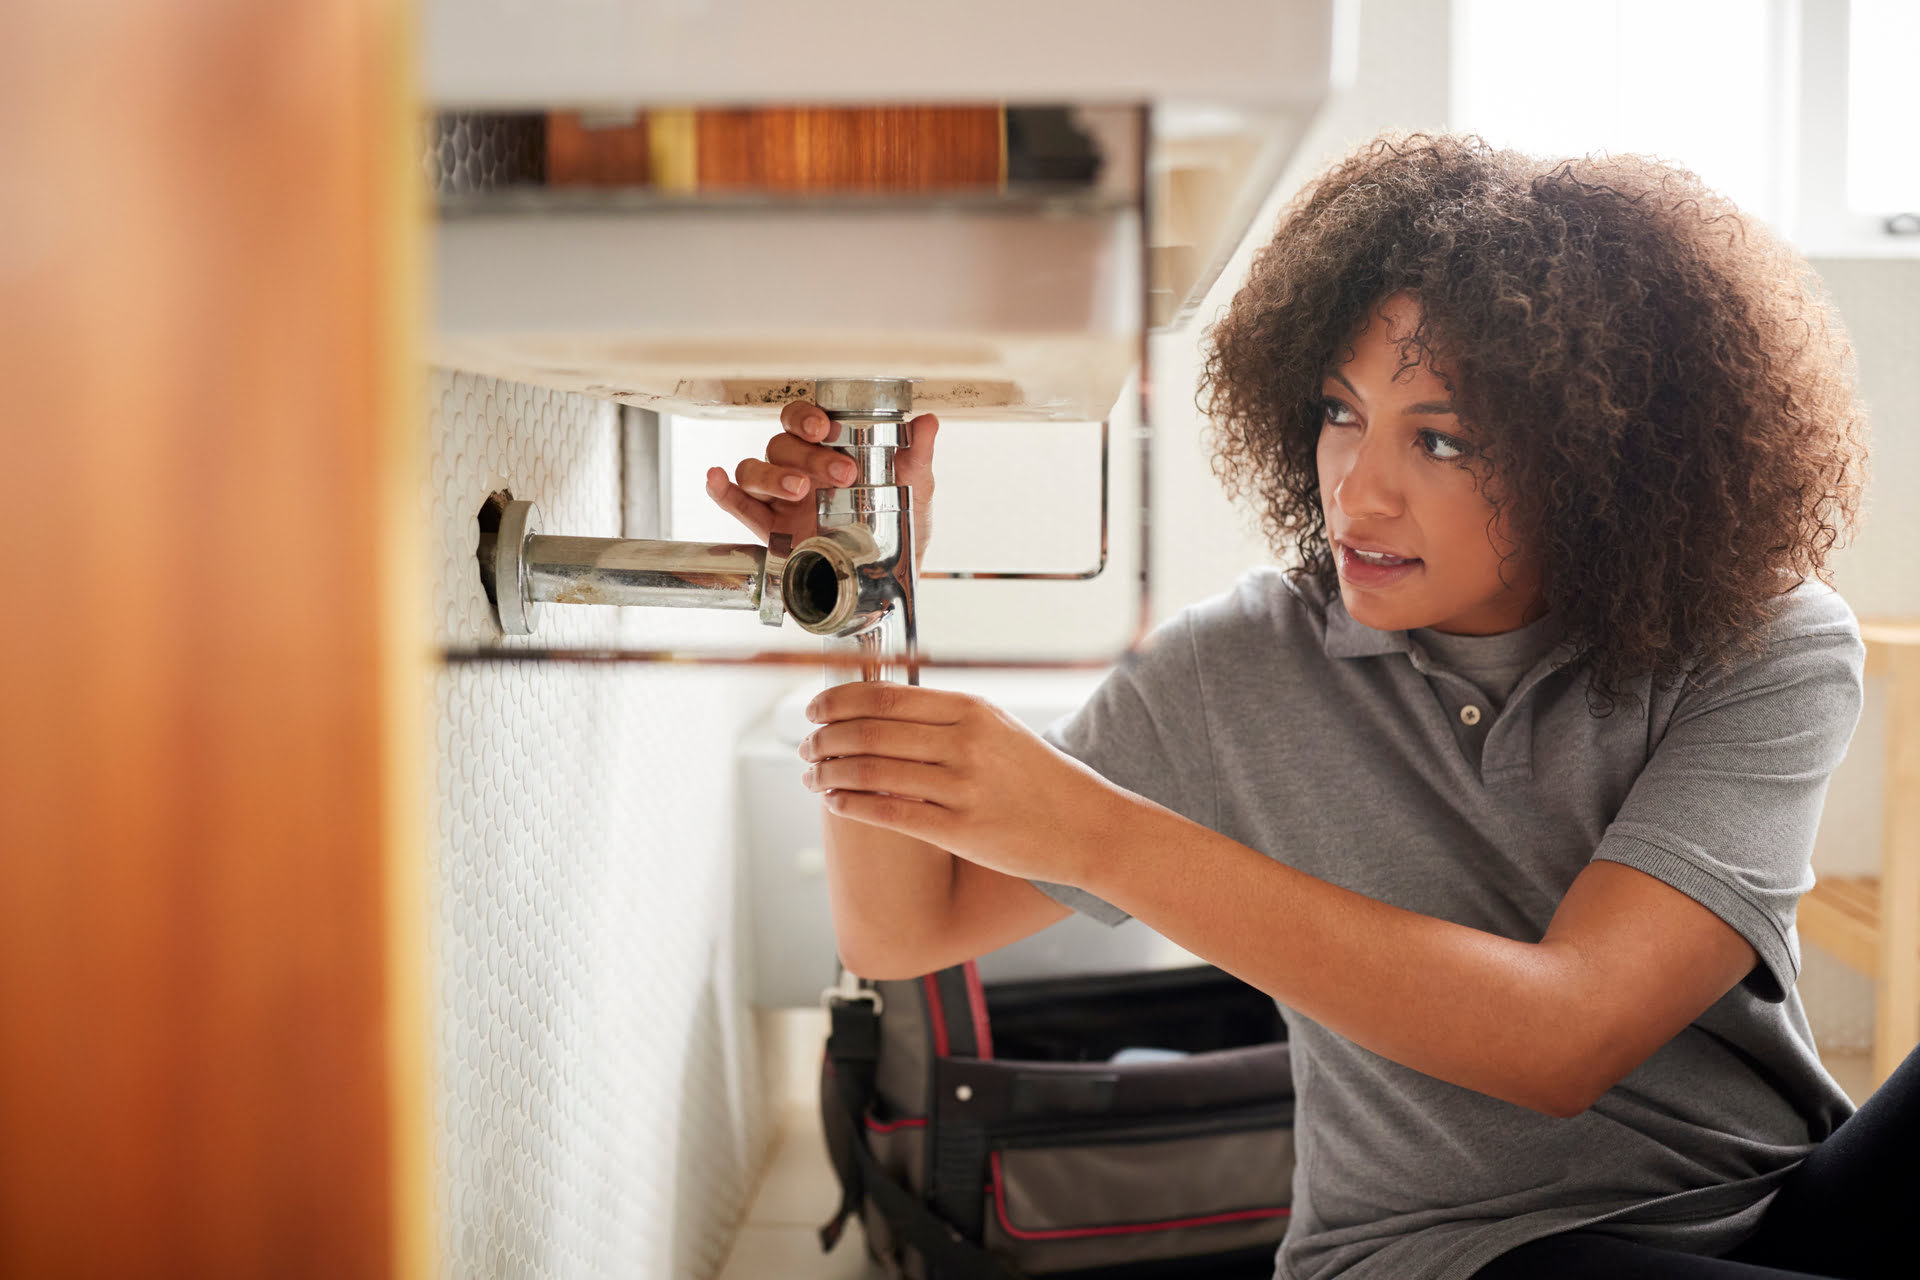
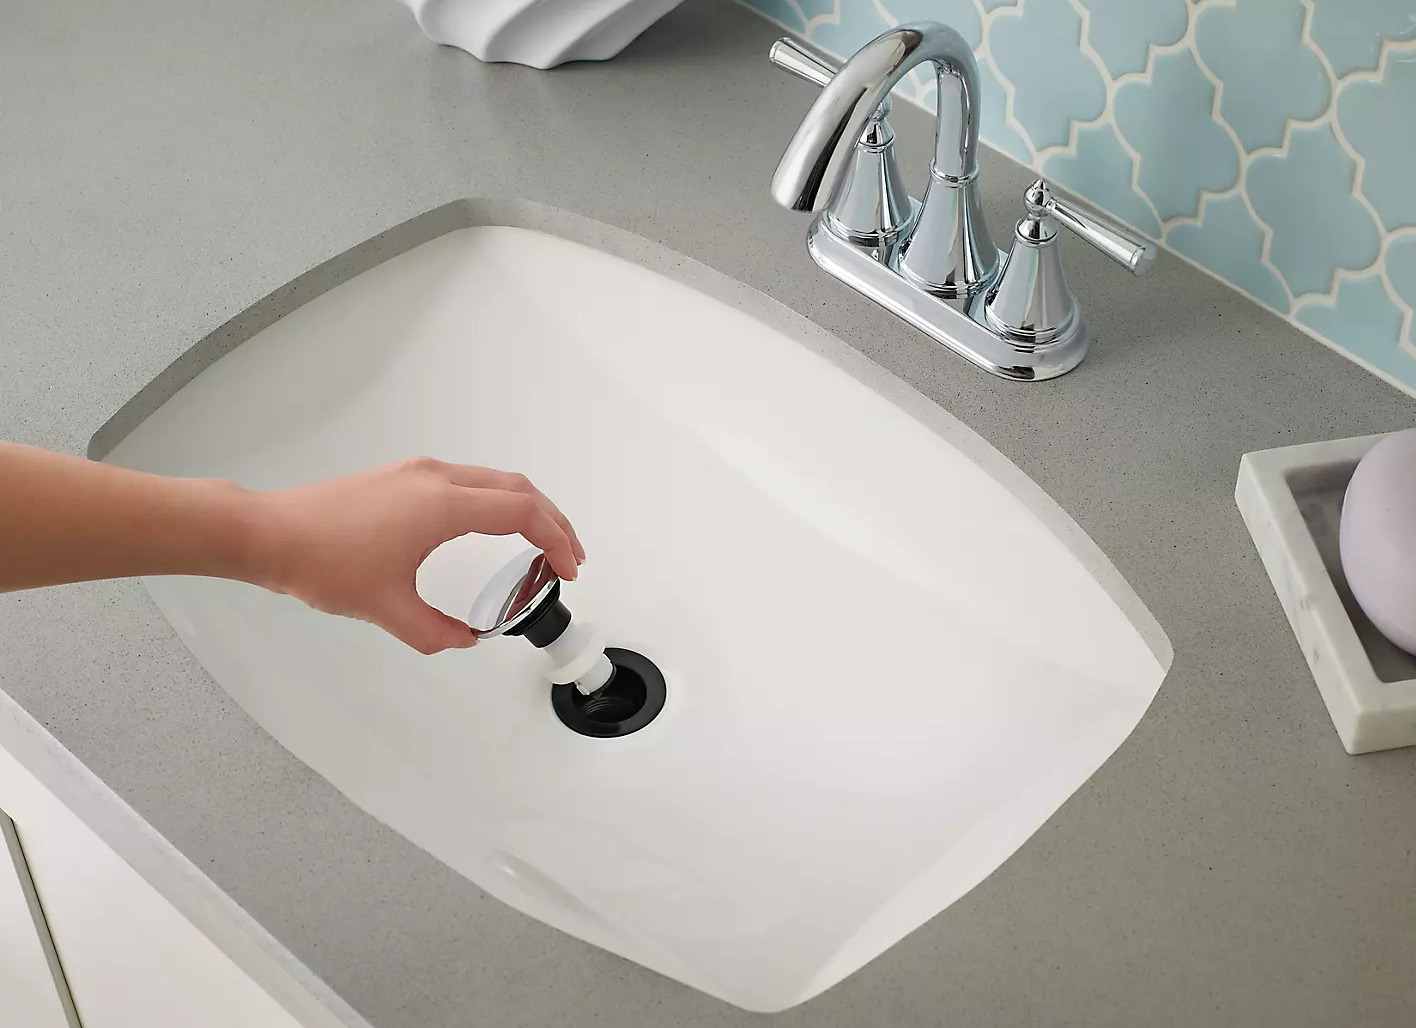
Step 5: Reinstall or replace the sink stopper
Now that you have cleaned the sink stopper and drain area, it’s time to reinstall or replace the sink stopper. Whether you’re reusing the existing stopper or installing a new one, here’s how you can proceed:
- Reinstall the existing stopper: If you are reusing the existing sink stopper, ensure that it is clean and free from any debris. Align the stopper with the drain hole and carefully lower it back into place. For pop-up or lift-and-turn stoppers, you may need to reconnect the rod or twist the knob or cap to secure the stopper in position.
- Replace the sink stopper: If you have purchased a new sink stopper, follow the manufacturer’s instructions for installation. This may involve attaching any necessary connectors or fasteners to secure the new stopper. Make sure to align the stopper correctly with the drain hole and ensure a tight fit.
- Test the sink stopper: Once the stopper is reinstalled or replaced, test it by filling the sink with water. Let the water flow and observe if the stopper seals properly and holds the water. If you notice any leaks or issues, carefully readjust or tighten the stopper until it functions correctly.
It’s important to note that the installation process may vary depending on the type of sink stopper you have and the specific model you are working with. Always refer to the manufacturer’s instructions for the most accurate and detailed guidance.
By successfully reinstalling or replacing the sink stopper, you can now enjoy a fully functional sink that allows you to control the water flow as needed. Congratulations on completing this task!
Remember, regular cleaning and maintenance of your sink stopper will help prolong its lifespan and prevent any future issues. Make it a habit to clean the stopper and the drain area regularly to ensure optimal performance.
With the sink stopper securely in place, you can now continue with your daily tasks without any worries. If you found this guide helpful, feel free to share it with others who may also benefit from this information. Happy sink stopper maintenance!
Conclusion
Removing the sink stopper may seem like a daunting task, but with the right steps and a little know-how, it can be a straightforward process. By following the steps outlined in this article, you can successfully get the sink stopper out, clean it, and reinstall it or replace it as needed.
Remember to start by removing any debris from the surrounding area and locating the sink stopper mechanism. Depending on the type of stopper you have, you will then unscrew or lift out the stopper. Once removed, take the time to clean both the sink stopper and the drain area to ensure optimal functionality and prevent any buildup or clogs.
Finally, you can reinstall the existing stopper or replace it with a new one, following the manufacturer’s instructions. Test the sink stopper to ensure it creates a proper seal and holds water effectively.
Regular maintenance and cleaning of your sink stopper will help extend its lifespan and keep your sink functioning smoothly. By incorporating these steps into your routine, you’ll have a sink stopper that works efficiently and keeps your sink area clean and hygienic.
We hope this article has provided you with the guidance you need to confidently remove and clean your sink stopper. Now, go ahead and enjoy the convenience of a properly working sink stopper!
Frequently Asked Questions about How To Get The Sink Stopper Out
Was this page helpful?
At Storables.com, we guarantee accurate and reliable information. Our content, validated by Expert Board Contributors, is crafted following stringent Editorial Policies. We're committed to providing you with well-researched, expert-backed insights for all your informational needs.


0 thoughts on “How To Get The Sink Stopper Out”