
Articles
How To Remove Sink Stopper In Bathroom
Modified: December 7, 2023
Learn how to easily remove the sink stopper in your bathroom with our informative articles. Get step-by-step instructions and expert tips for a hassle-free experience.
(Many of the links in this article redirect to a specific reviewed product. Your purchase of these products through affiliate links helps to generate commission for Storables.com, at no extra cost. Learn more)
Introduction
Having a functional and clean bathroom sink is essential for maintaining a hygienic and comfortable living space. However, over time, sink stoppers can become clogged with debris or stop working properly due to wear and tear. When this happens, it may be necessary to remove the sink stopper in order to clean it or replace it with a new one.
In this article, we will guide you through the step-by-step process of removing a sink stopper in your bathroom. Whether you need to clean the stopper, unclog a drain, or replace the stopper entirely, this guide will help you accomplish the task with ease.
Before we begin, it’s important to gather the necessary tools and materials to ensure a smooth removal process. Let’s take a look at what you’ll need:
Key Takeaways:
- Easily remove and clean your bathroom sink stopper using basic tools and materials like adjustable pliers, white vinegar, and a toothbrush. Regular maintenance ensures a hygienic and functional sink.
- Follow simple steps to reinstall the sink stopper and maintain a clean and efficient bathroom sink. Clear the area, locate the stopper, clean it thoroughly, and enjoy a hassle-free drainage system.
Read more: How To Get The Sink Stopper Out
Tools and Materials Needed
Before you start removing the sink stopper, it’s important to gather the following tools and materials:
- Adjustable pliers
- Bucket
- Old toothbrush or small brush
- White vinegar or mild cleaning solution
- Clean cloth or sponge
- Replacement sink stopper (if needed)
Having these tools and materials ready will make the process much easier and efficient.
Now that you have everything you need, let’s move on to the step-by-step process of removing the sink stopper.
Step 1: Clear the Area
Before you begin removing the sink stopper, it’s important to clear the area around the sink and create a clean and clutter-free workspace. Remove any items such as toothbrushes, soap dispensers, or clutter from around the sink to prevent them from getting in the way or falling into the drain.
Next, place a bucket or container beneath the sink to catch any water or debris that may come out during the removal process. This will help prevent any mess or damage to your bathroom floor or cabinets.
Once the area is clear and the bucket is in place, you’re ready to move on to the next step.
Step 2: Locate the Stopper
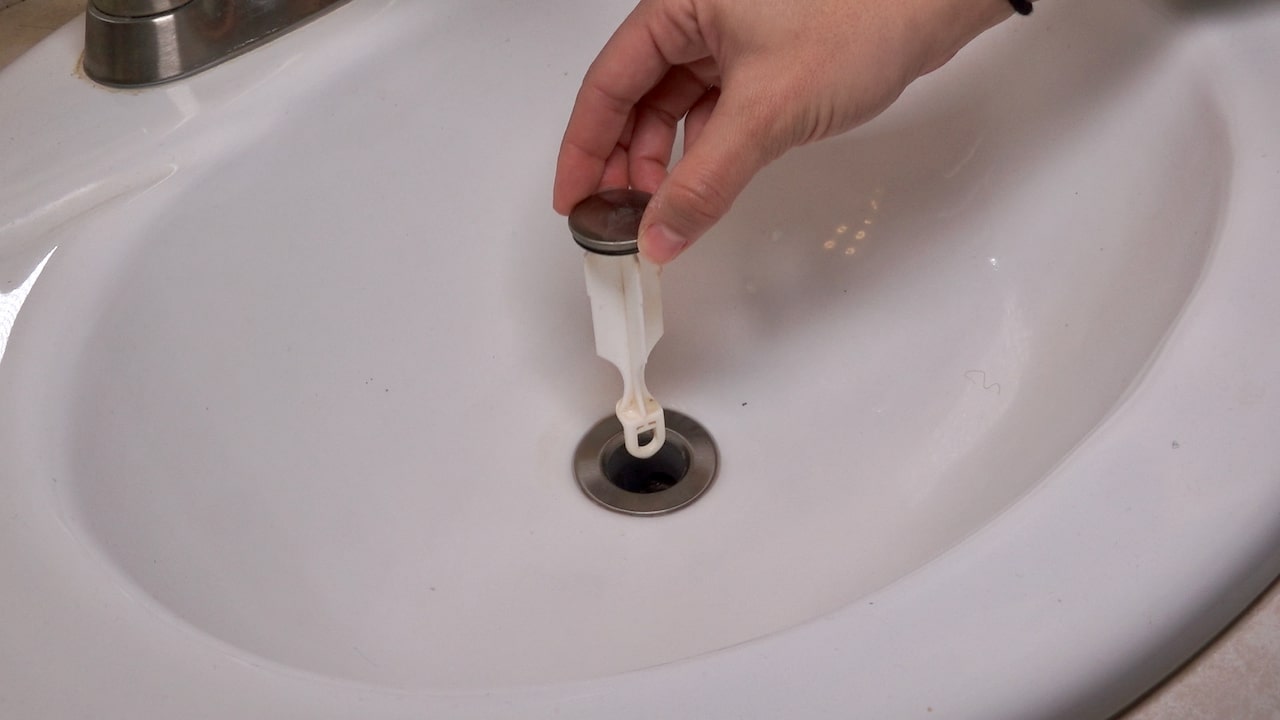
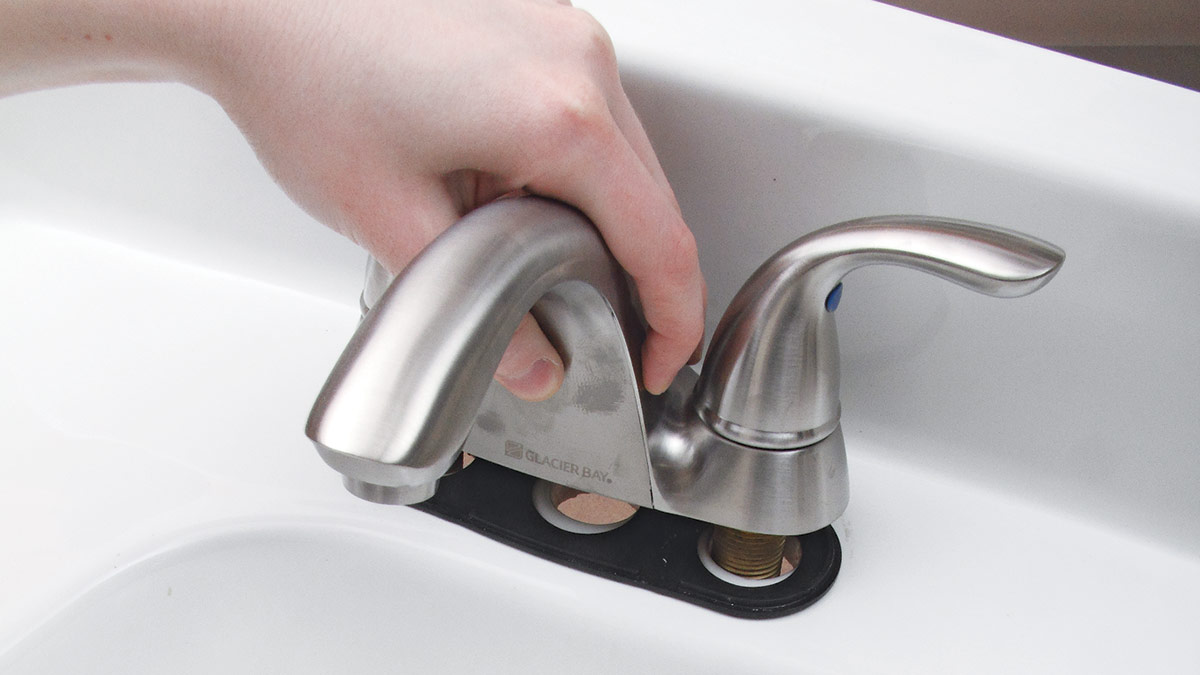
The next step in the process is to locate the sink stopper. Depending on the type of sink stopper you have, it may be visible or hidden beneath the sink.
If you have a visible stopper, it will typically be located at the back of the sink near the drain. Look for a lever or a rod connected to the stopper. This lever or rod is what you will manipulate to remove the stopper.
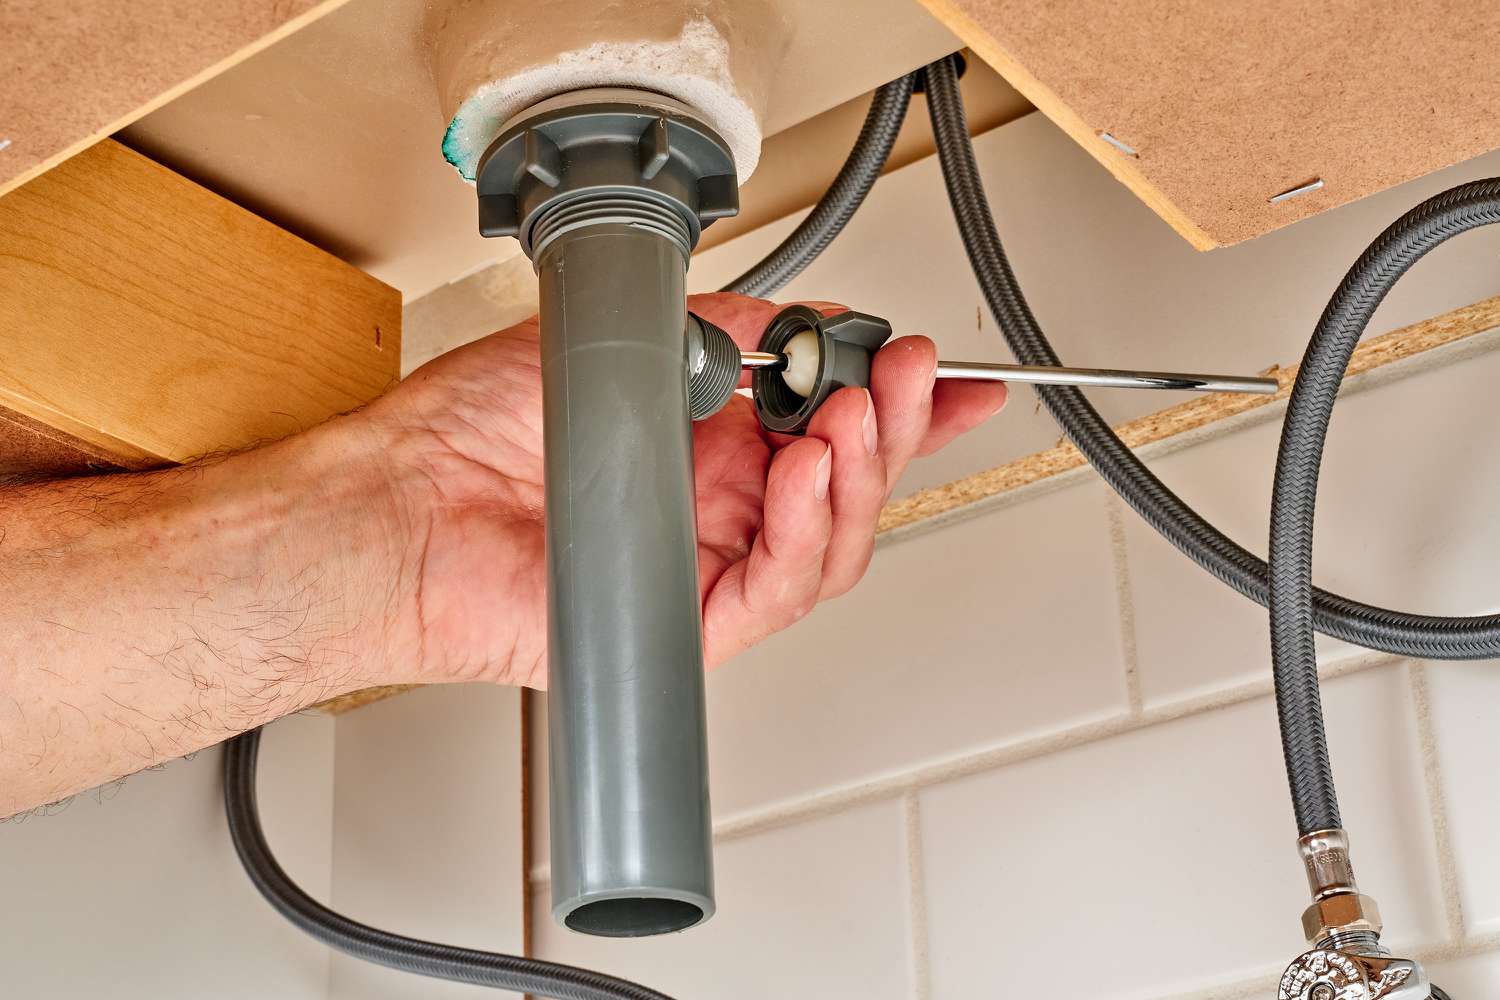
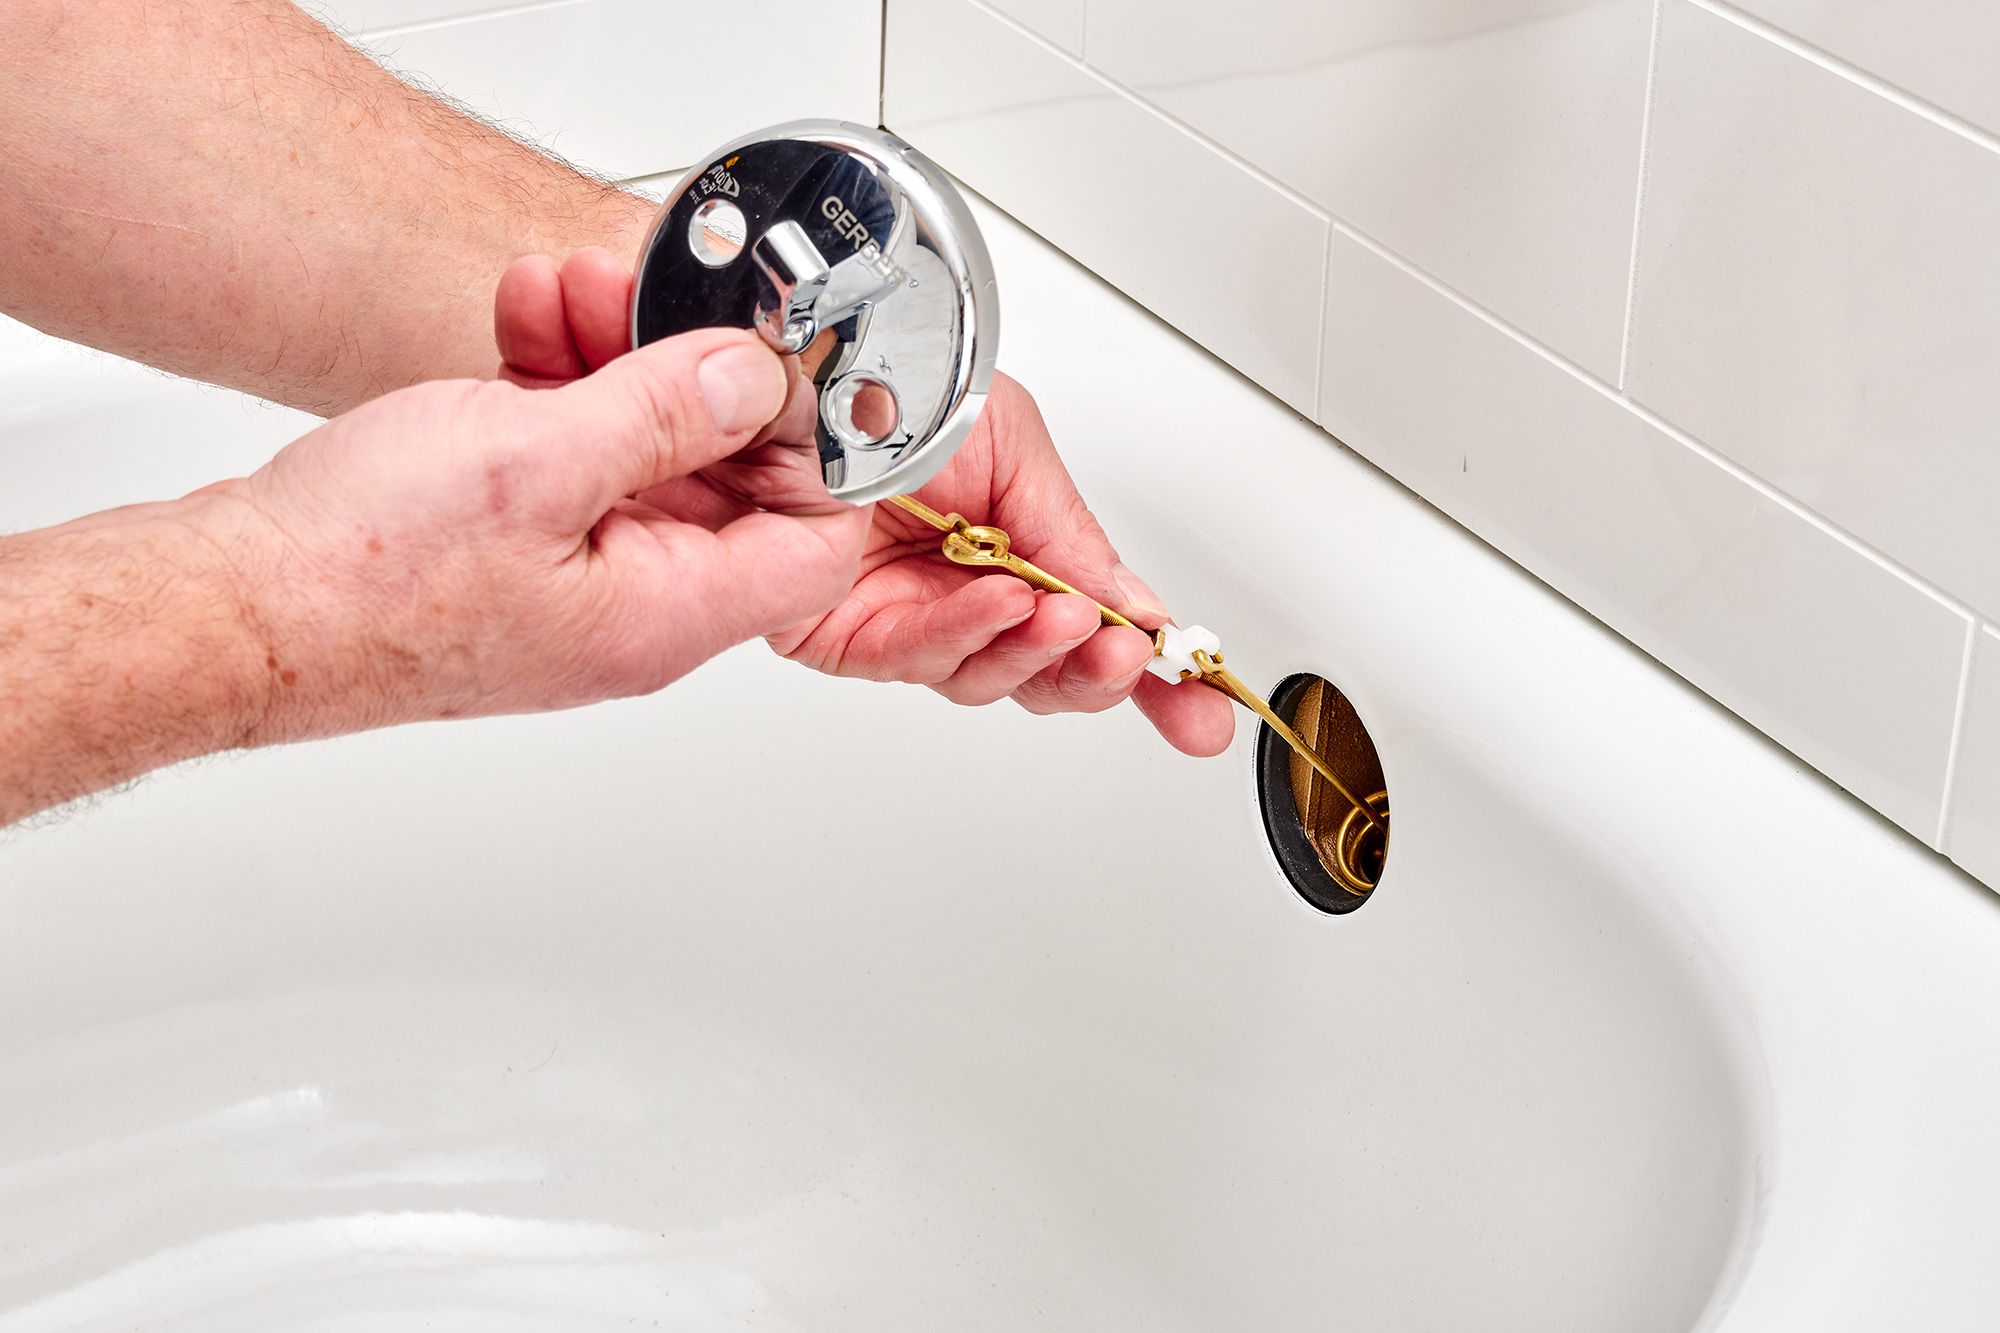
If your sink stopper is hidden, you will need to access it by going beneath the sink. Locate the horizontal or vertical rod that is connected to the stopper mechanism. This rod is usually connected to a clevis, which is a small adjustable rod that controls the stopper’s movement.
Once you have located the stopper and the connecting mechanism, you’re ready to move on to the next step.
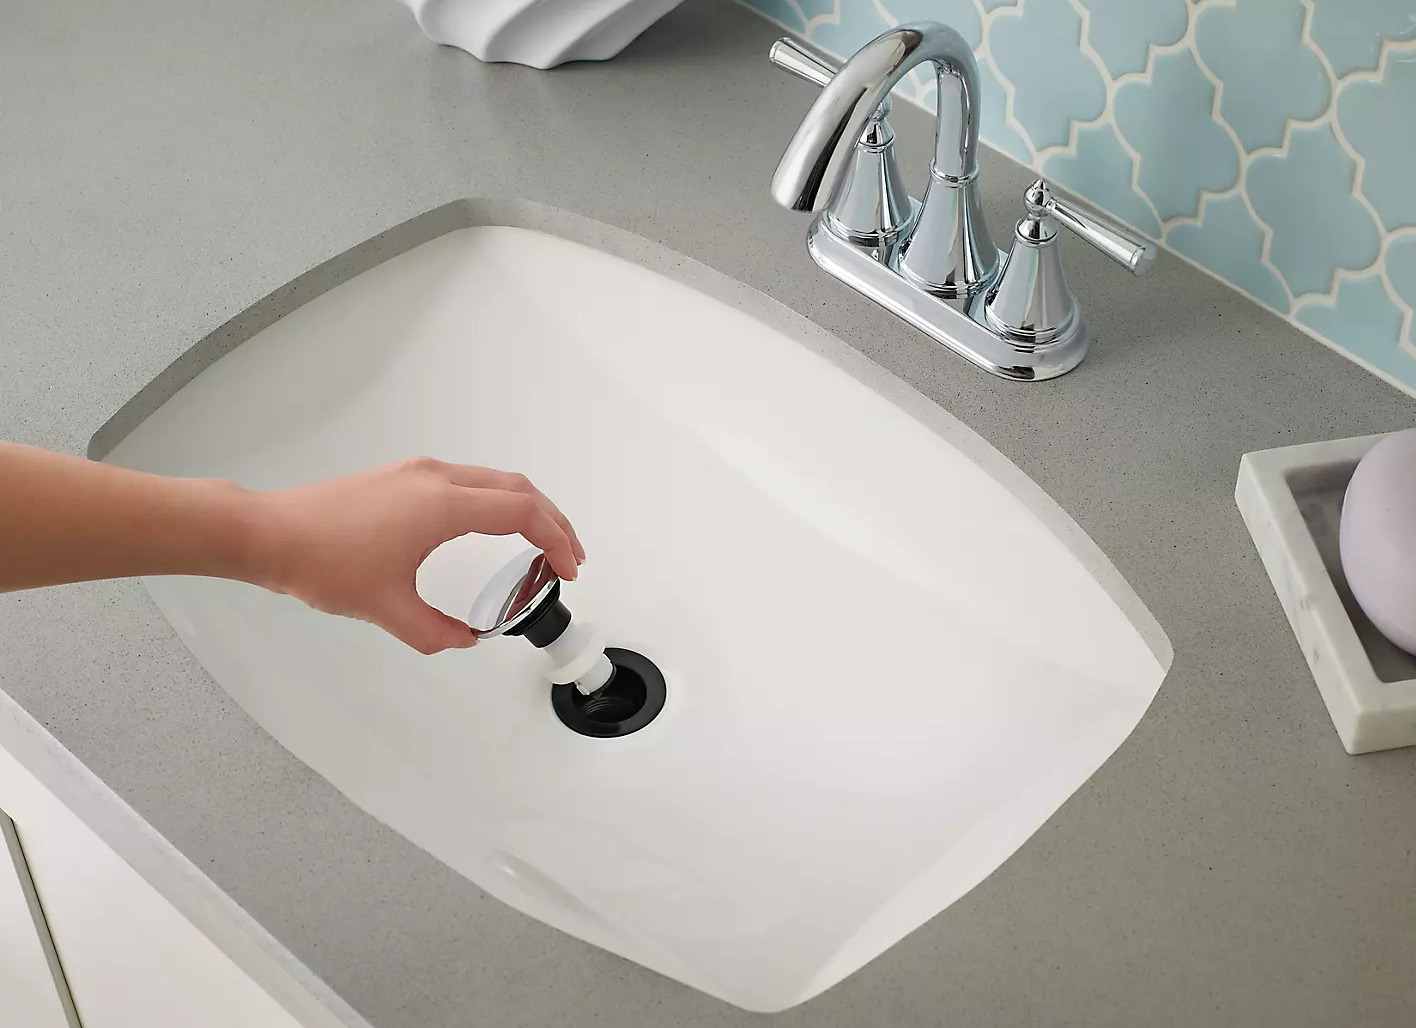
To remove a sink stopper in the bathroom, look under the sink for a horizontal rod connected to the stopper. Loosen the nut on the rod and pull it out to release the stopper.
Step 3: Remove the Stopper
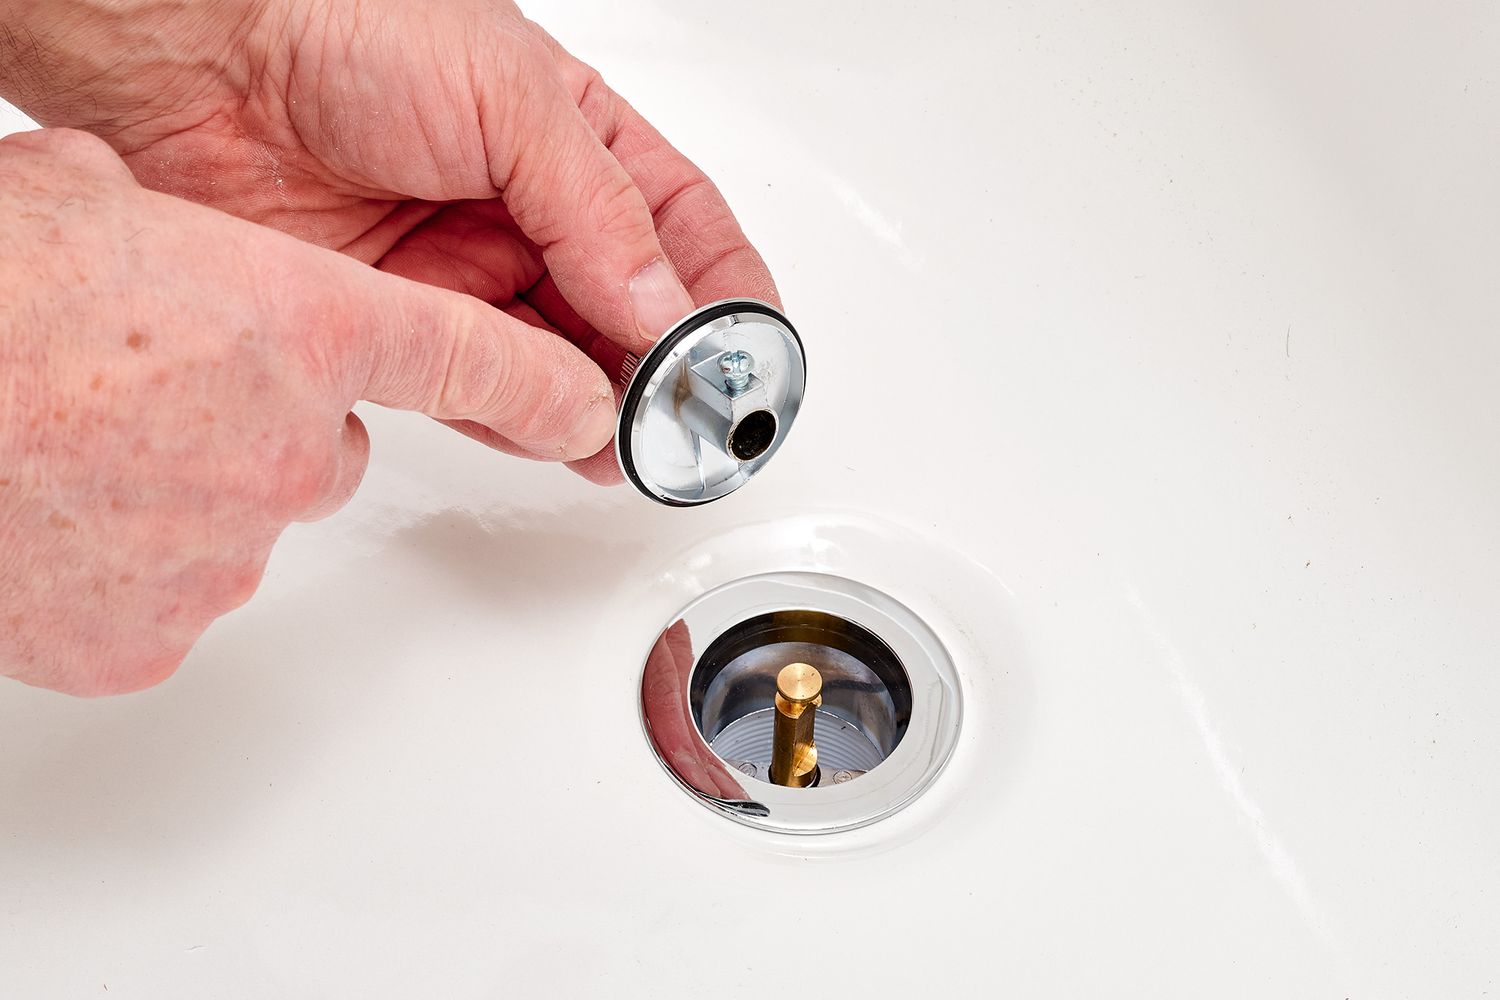
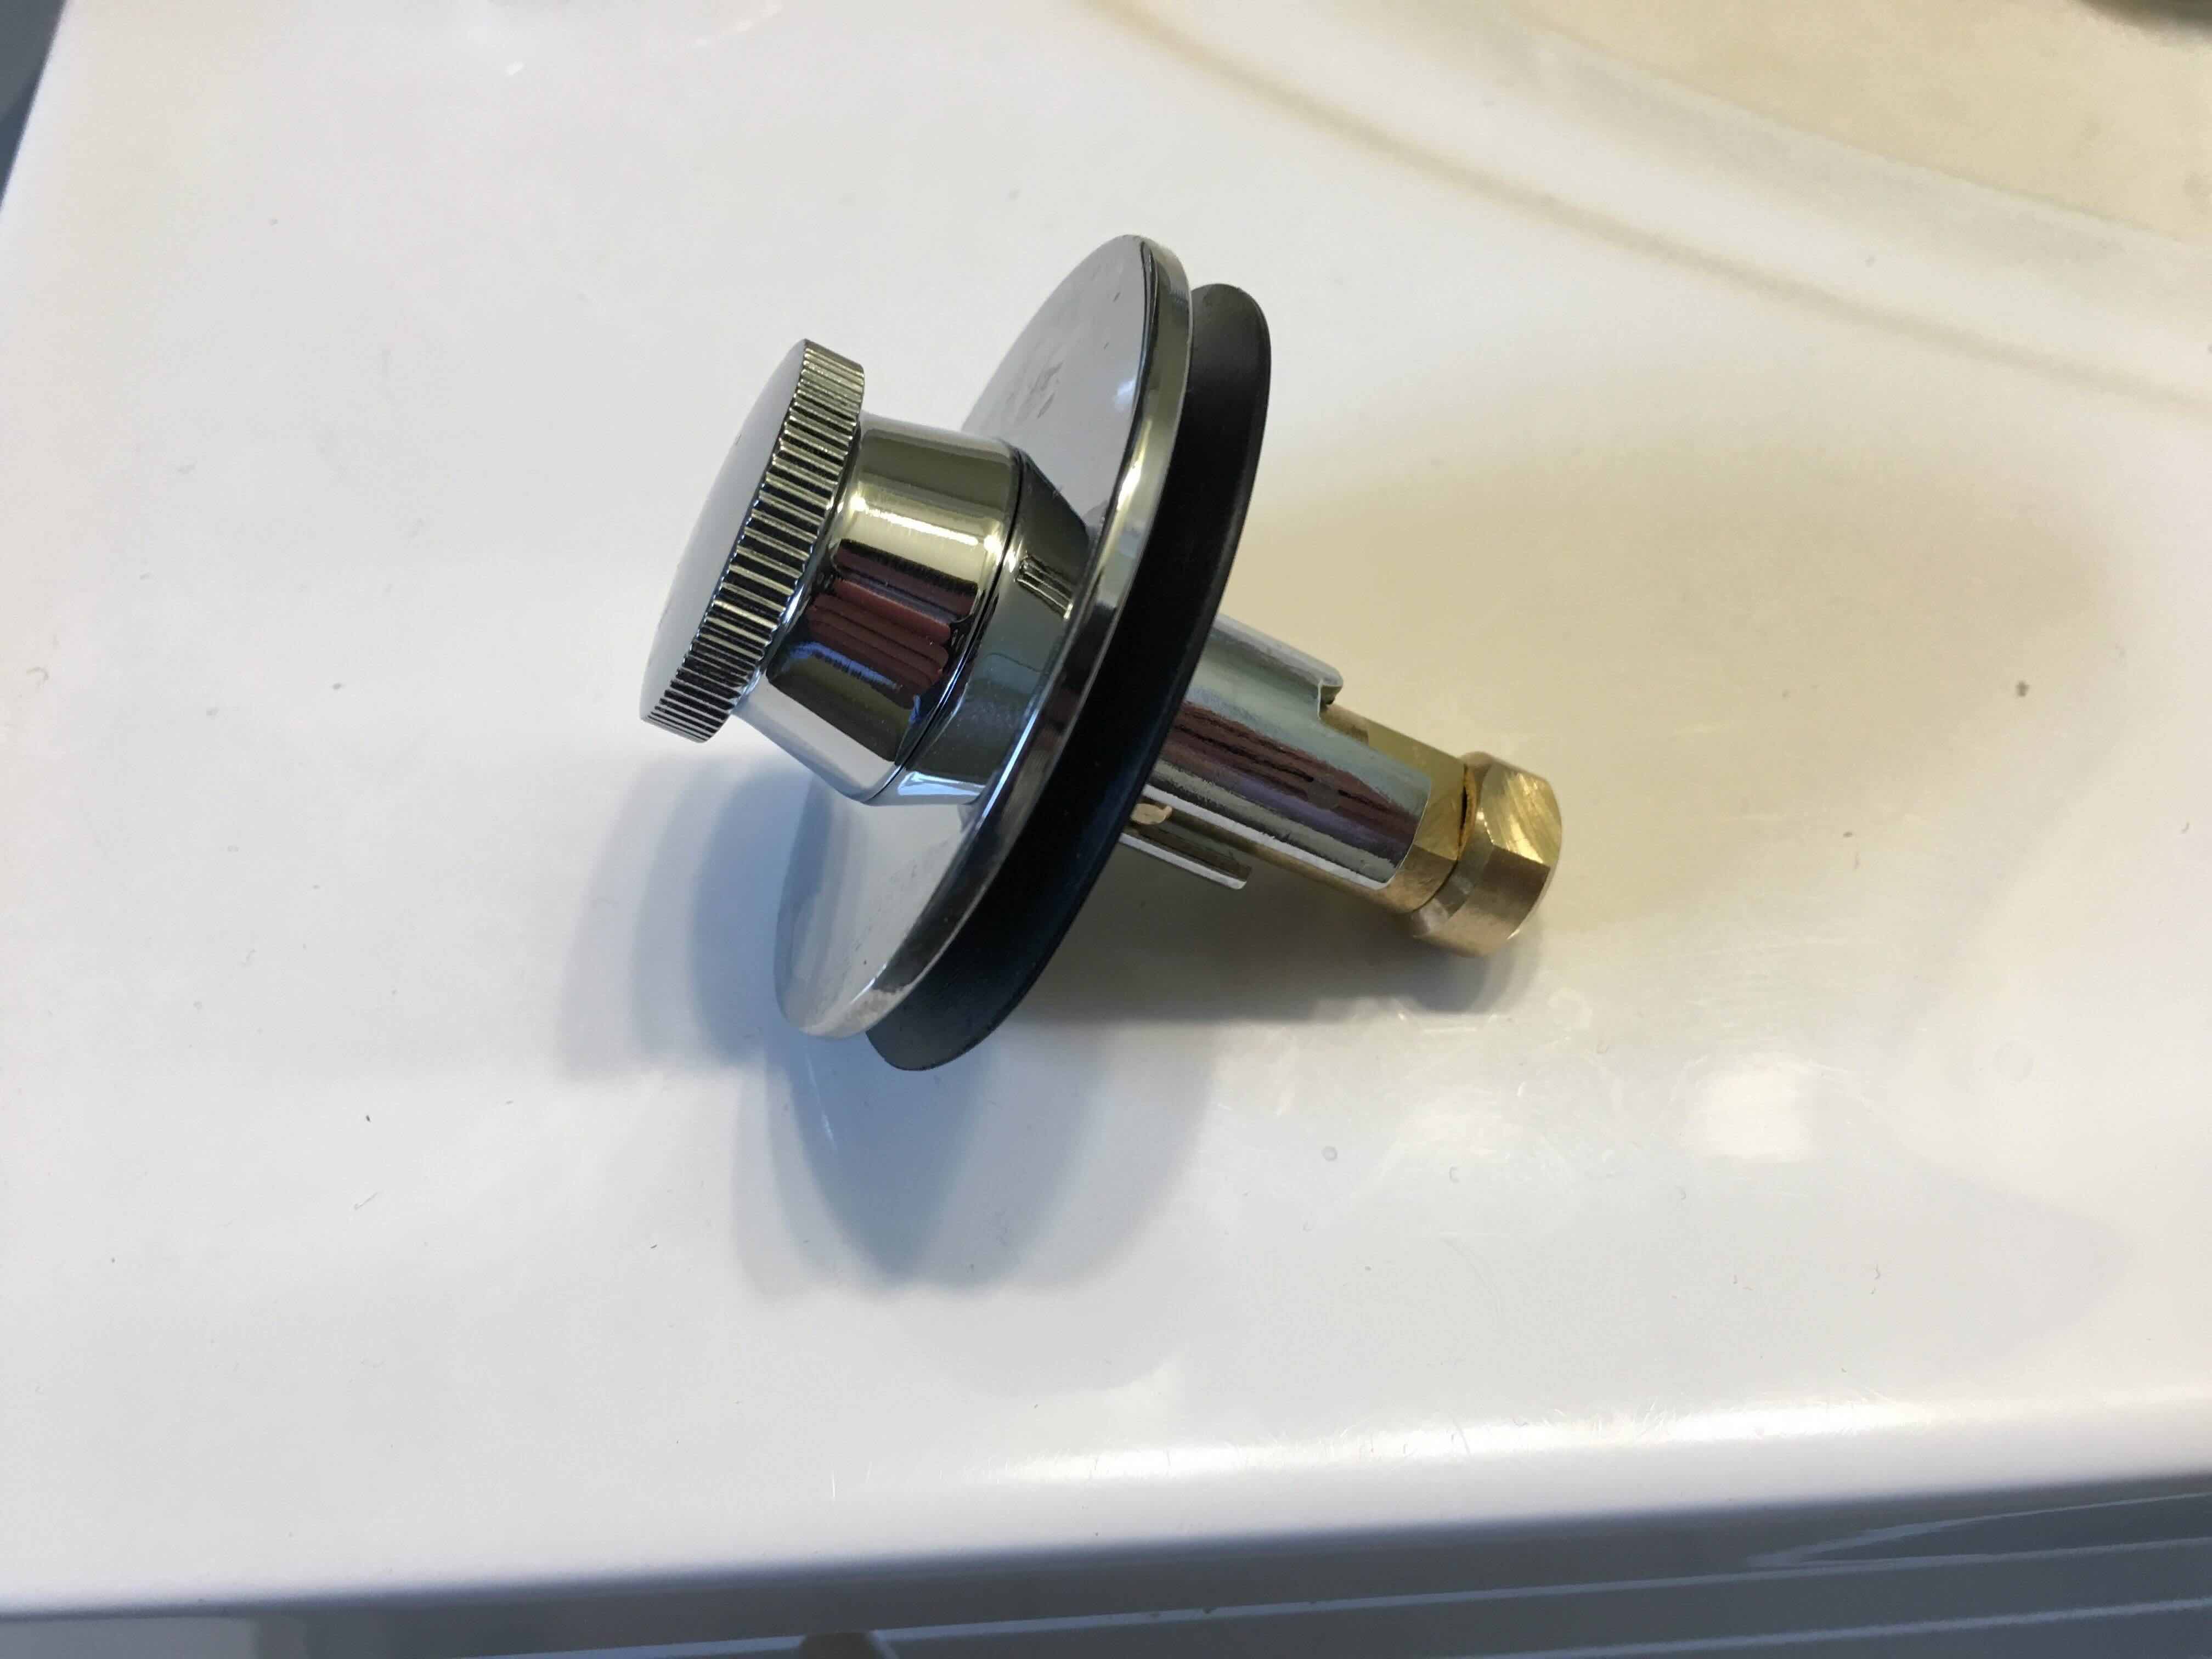
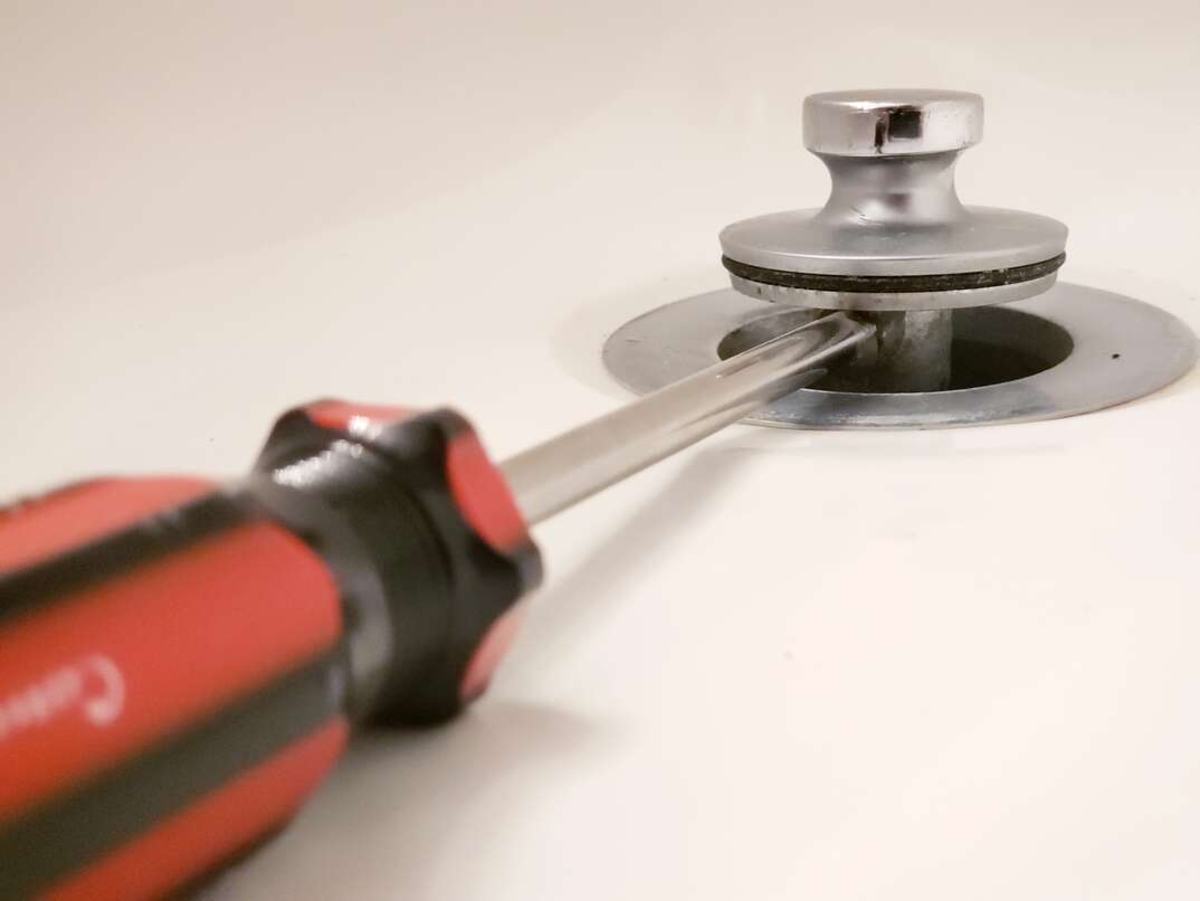
Now that you have located the sink stopper and its connecting mechanism, it’s time to remove the stopper itself. The method of removal will depend on the type of stopper you have.
If you have a visible stopper with a lever or rod, follow these steps:
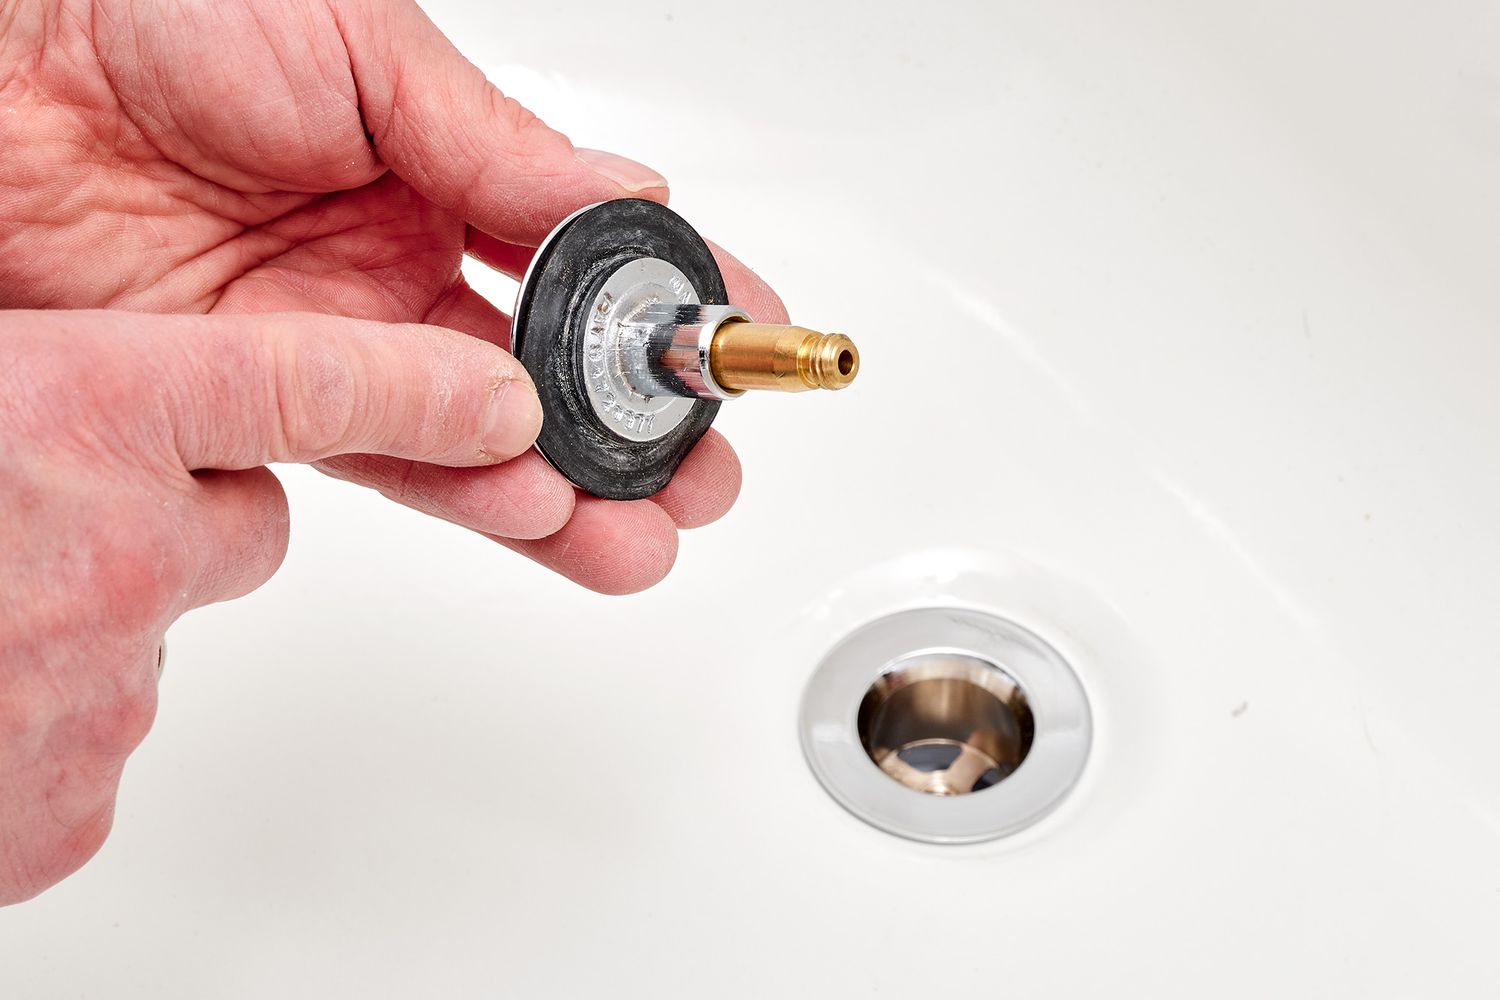
- Reach under the sink and locate the pivot rod connected to the lever or rod.
- Loosen the pivot rod’s retaining nut using adjustable pliers.
- Once the retaining nut is loose, pull out the pivot rod. This should release the stopper from the drain.
If your stopper is hidden and connected to a clevis, follow these steps:
- With adjustable pliers, loosen the clevis screw that secures the vertical rod to the clevis.
- Once the clevis screw is loose, remove the vertical rod from the clevis.
- The stopper should now be free and can be lifted out of the drain.
Once you have successfully removed the stopper, proceed to the next step to clean and maintain it.
Read more: How To Install A Sink Stopper
Step 4: Clean the Stopper
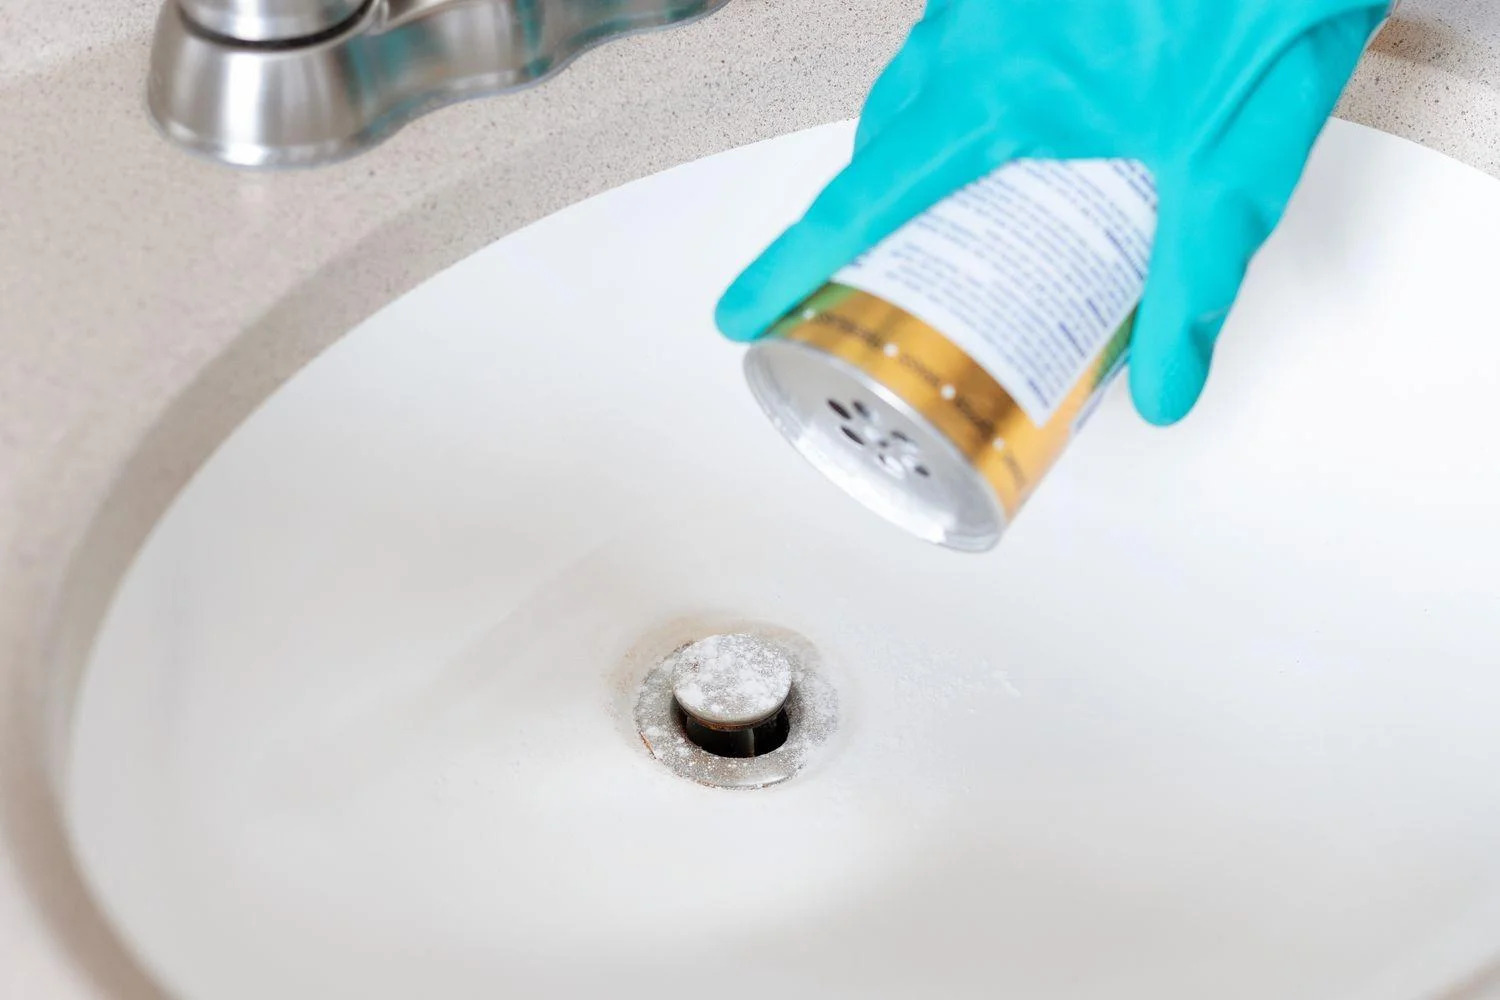
Now that you have successfully removed the sink stopper, it’s time to clean and maintain it. Over time, stoppers can accumulate debris, soap scum, and buildup that can hinder their functionality.
Here’s how you can clean the stopper:
- Inspect the stopper for any visible debris or gunk. Gently remove any hair, dirt, or other material that may be caught on the stopper using an old toothbrush or a small brush.
- Fill a bucket or basin with a mixture of white vinegar and warm water or a mild cleaning solution.
- Place the stopper in the bucket and let it soak for about 15-30 minutes. This will help dissolve any residue and disinfect the stopper.
- After soaking, use the toothbrush or brush to scrub the stopper, paying attention to any crevices or hard-to-reach areas. Rinse it thoroughly with clean water.
- Inspect the stopper to ensure it is clean and free from any debris. If necessary, repeat the cleaning process until the stopper is completely clean.
Once the stopper is clean and free from any buildup, proceed to the next step to reinstall it in your sink.
Step 5: Reinstall the Stopper
After cleaning the sink stopper, it’s time to reinsert it back into the drain and ensure it functions properly. The method of reinstallation will depend on the type of stopper you have.
If you have a visible stopper with a lever or rod, follow these steps:
- Insert the pivot rod back into the hole at the back of the sink.
- Tighten the retaining nut on the pivot rod using adjustable pliers, ensuring it is secure but not overly tight.
- Test the stopper by moving the lever or rod up and down. The stopper should open and close smoothly when manipulated.
If your stopper is hidden and connected to a clevis, follow these steps:
- Insert the vertical rod back into the clevis.
- Tighten the clevis screw to secure the vertical rod in place.
- Test the stopper by moving the clevis up and down. The stopper should open and close smoothly when manipulated.
Once you have reinstalled the sink stopper and ensured it functions properly, you can now enjoy a clean and well-functioning sink.
Remember to clean and maintain your sink stopper regularly to prevent debris buildup and maintain its functionality.
As always, if you encounter any difficulties or persistent issues with your sink stopper, it is recommended to seek professional assistance for further diagnosis and repair.
Conclusion
Removing a sink stopper in your bathroom may seem like a daunting task, but with the right tools and knowledge, it can be accomplished easily. Whether you need to clean a clogged stopper or replace it with a new one, following the step-by-step guide outlined in this article will help you complete the process successfully.
By clearing the area, locating the stopper, removing it, cleaning it thoroughly, and reinstalling it correctly, you can maintain a clean and well-functioning bathroom sink. Regular maintenance of your sink stopper is essential to prevent clogs and ensure efficient drainage.
Remember to gather the necessary tools and materials before you start, and be sure to create a clean and organized workspace to make the process smoother. Taking the time to properly clean and maintain your sink stopper will not only improve its functionality but also contribute to a pleasant and hygienic bathroom experience.
If you encounter any difficulties or are unsure about the process, it’s always best to consult a professional plumber who can provide expert guidance and assistance.
With these steps and tips in mind, you can confidently tackle the task of removing a sink stopper in your bathroom and enjoy a refreshed and efficient sink that will enhance your daily routine.
Frequently Asked Questions about How To Remove Sink Stopper In Bathroom
Was this page helpful?
At Storables.com, we guarantee accurate and reliable information. Our content, validated by Expert Board Contributors, is crafted following stringent Editorial Policies. We're committed to providing you with well-researched, expert-backed insights for all your informational needs.

0 thoughts on “How To Remove Sink Stopper In Bathroom”