Articles
How To Replace A Bathroom Sink Stopper
Modified: February 23, 2024
Learn how to easily replace a bathroom sink stopper with our step-by-step articles. Upgrade your bathroom with a new stopper today!
(Many of the links in this article redirect to a specific reviewed product. Your purchase of these products through affiliate links helps to generate commission for Storables.com, at no extra cost. Learn more)
Introduction
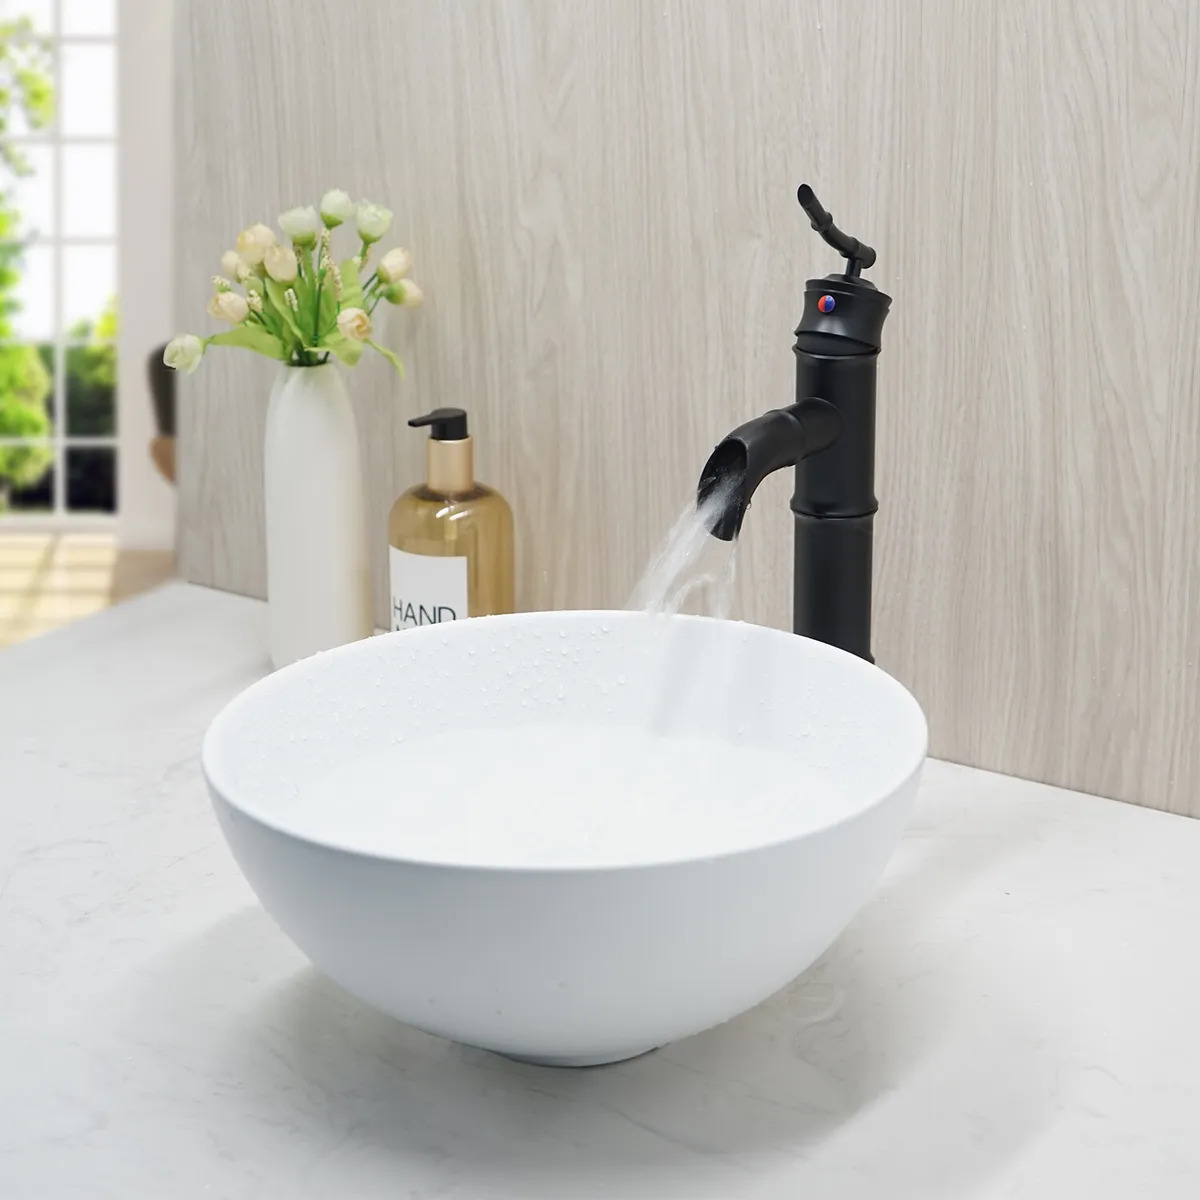
Replacing a bathroom sink stopper may seem like a daunting task, but with a little know-how and the right tools, you can easily accomplish it yourself. This simple DIY project can not only save you money on hiring a professional plumber but also give you the satisfaction of completing a home improvement task on your own.
In this article, we will guide you through the step-by-step process of replacing a bathroom sink stopper, from removing the old stopper to installing a new one. We will also provide you with a list of the tools and materials you will need for the job. So, gather your tools and let’s get started!
Key Takeaways:
- Save money and gain satisfaction by replacing your bathroom sink stopper yourself. Follow the step-by-step guide, clean the drain, and test the new stopper for improved functionality and aesthetics.
- With the right tools and attention to detail, you can easily replace your bathroom sink stopper. Enjoy the benefits of improved functionality and aesthetics while saving on professional plumber costs.
Read more: How To Get The Sink Stopper Out
Tools and Materials Needed
Before you begin replacing your bathroom sink stopper, make sure you have the following tools and materials at hand:
- Adjustable wrench
- Plunger or sink drain snake
- Bucket or basin to catch water
- Plumber’s putty or silicone sealant
- New sink stopper assembly
- Screwdriver
- Towel or cloth
- Old toothbrush or small brush
- Rubber gloves (optional)
Having these tools and materials ready will make the process much smoother and more convenient. Now that you have everything you need, let’s move on to the steps required to replace your bathroom sink stopper.
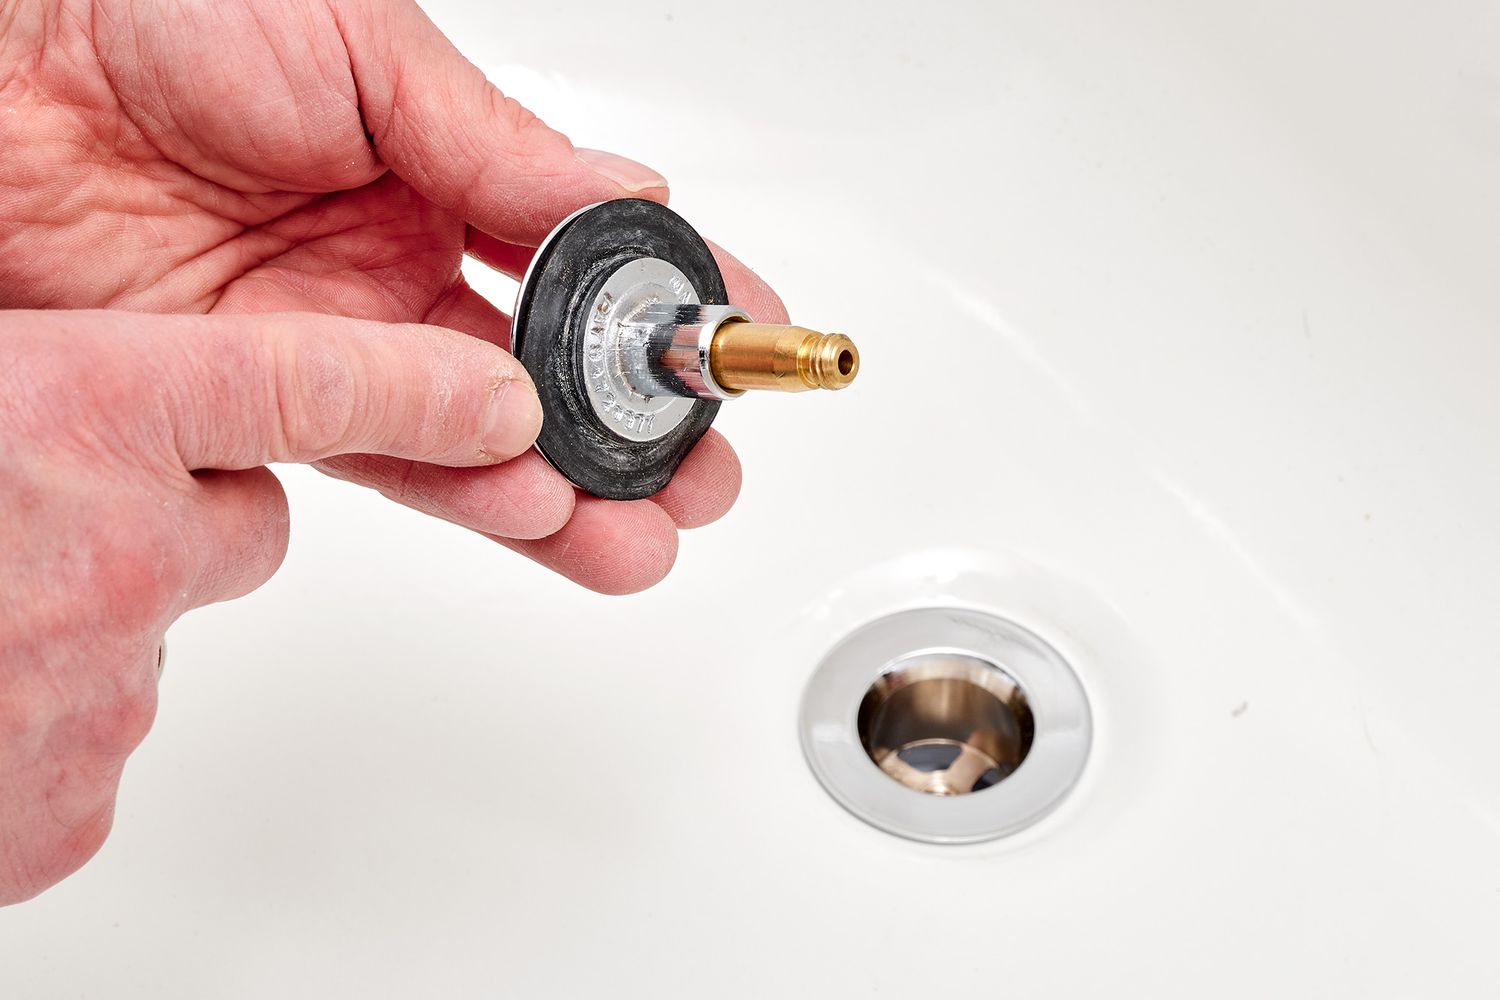
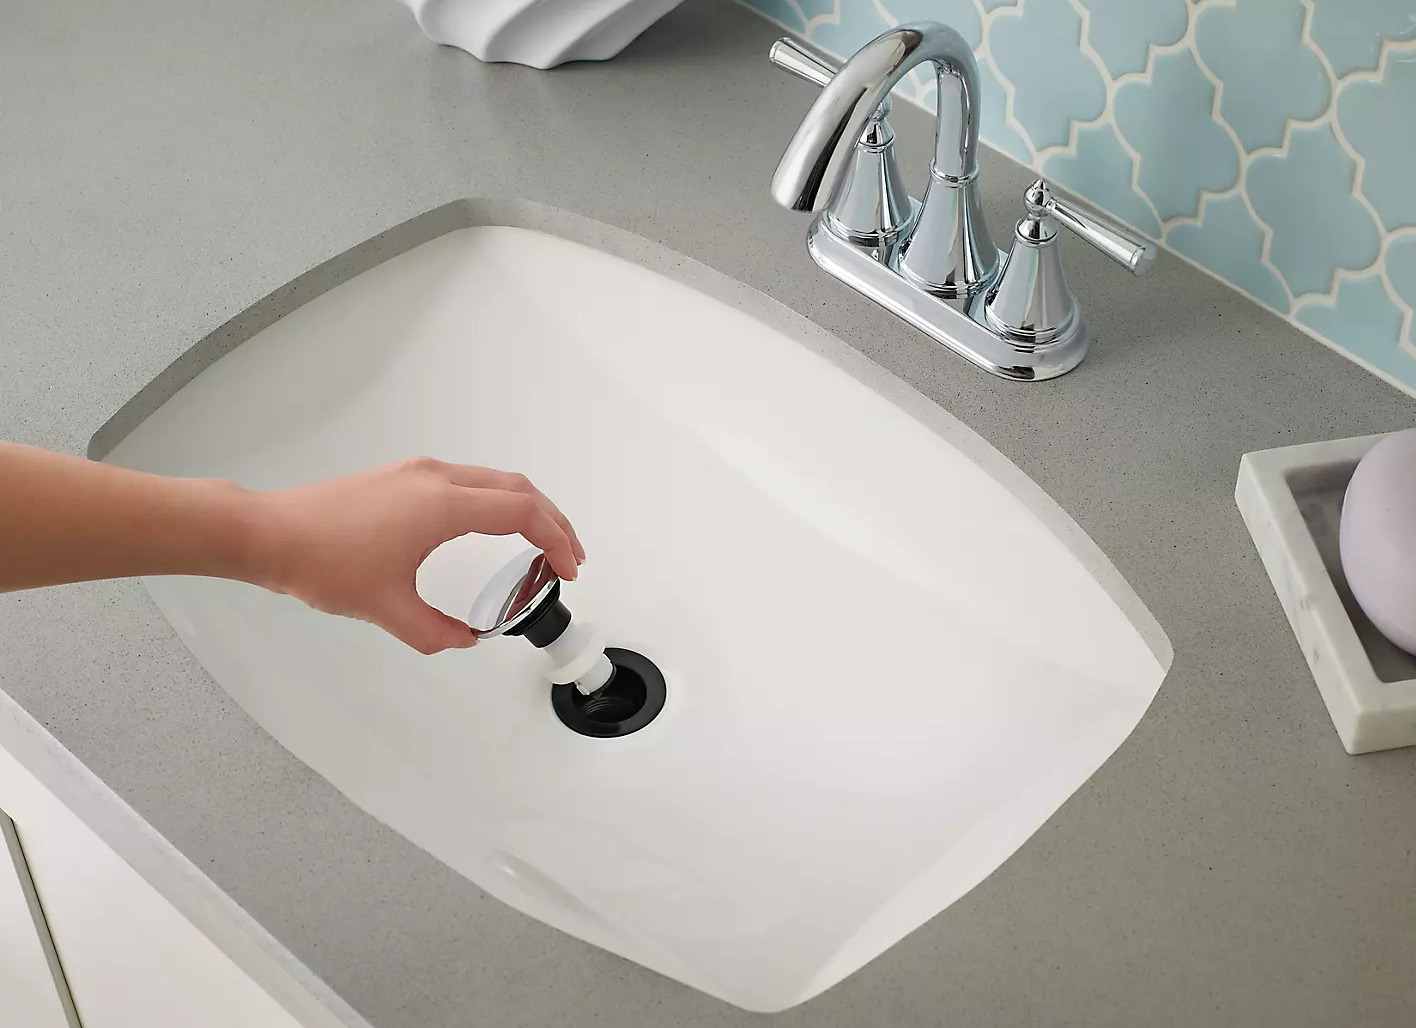
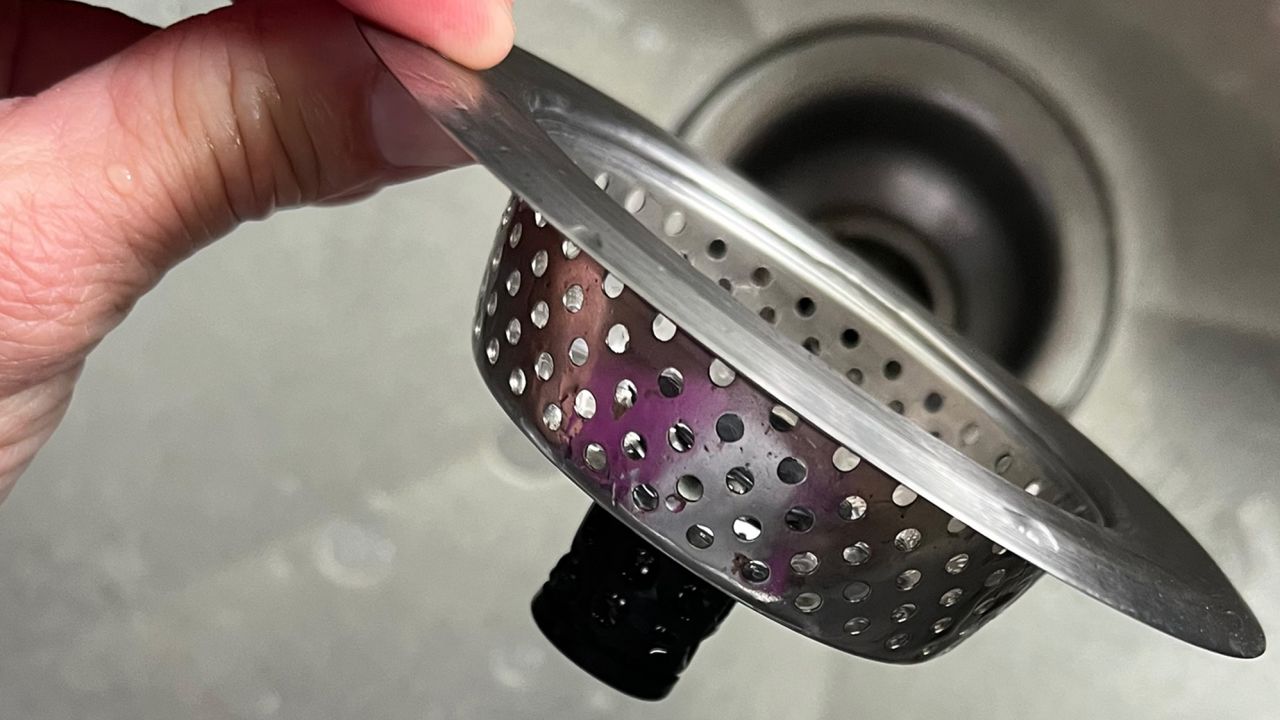
Step 1: Remove the Old Sink Stopper
The first step in replacing a bathroom sink stopper is to remove the old stopper from the sink drain. Follow these steps:
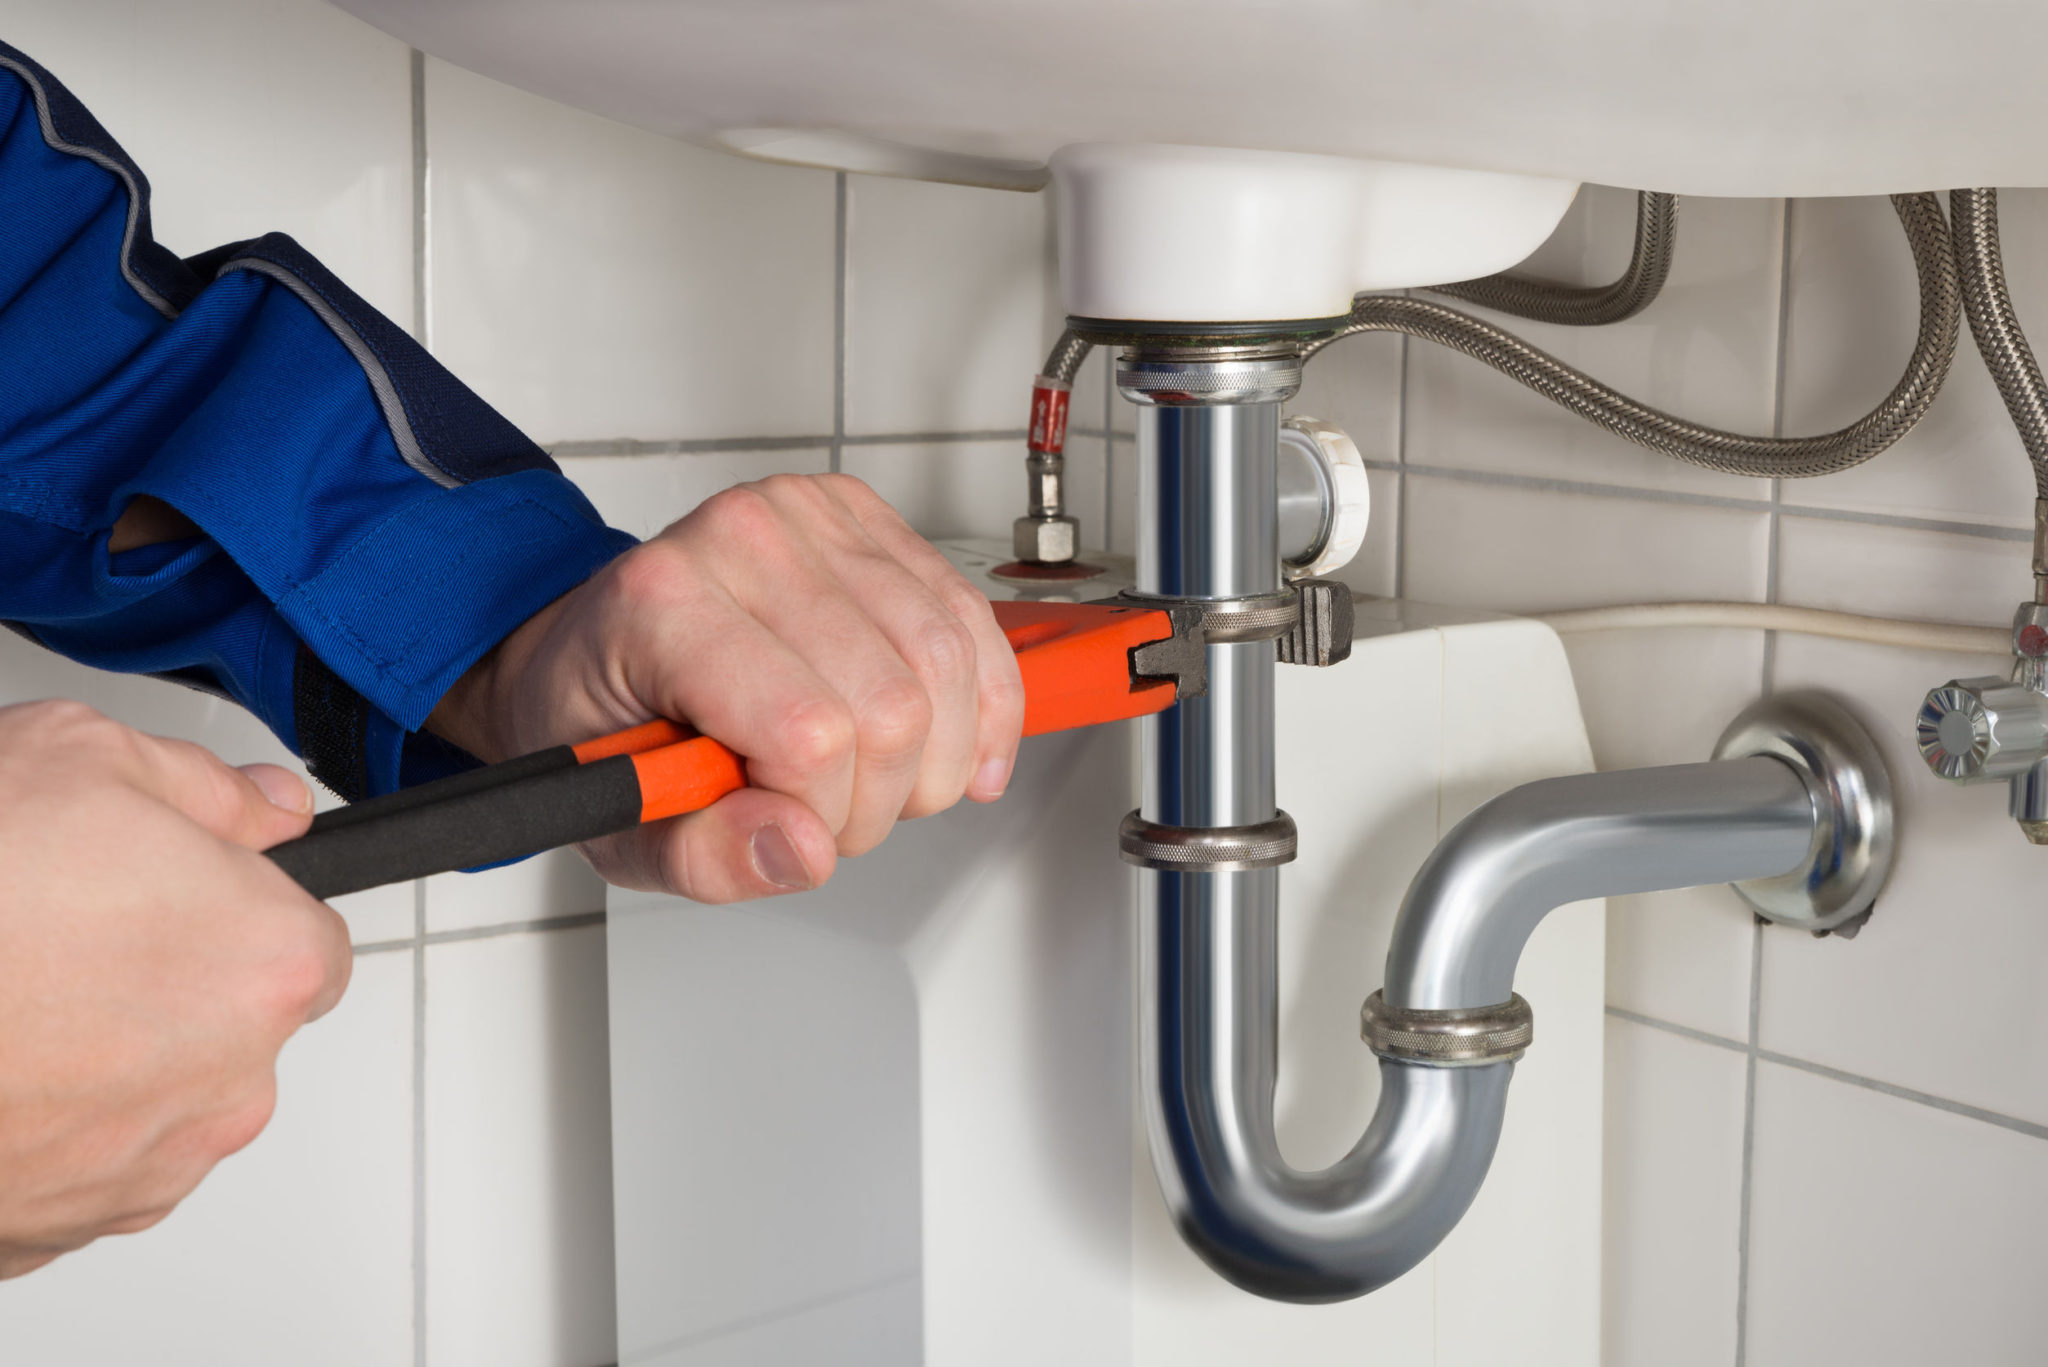
- Locate the pivot rod or lever at the back of the drain pipe beneath the sink.
- Using an adjustable wrench, loosen the nut that connects the pivot rod to the drain pipe.
- Once the nut is loosened, carefully remove the pivot rod from the drain pipe.
- Next, look for a large nut or ring around the drain opening. This is called the drain flange.
- Using an adjustable wrench, turn the drain flange counterclockwise to unscrew it from the sink.
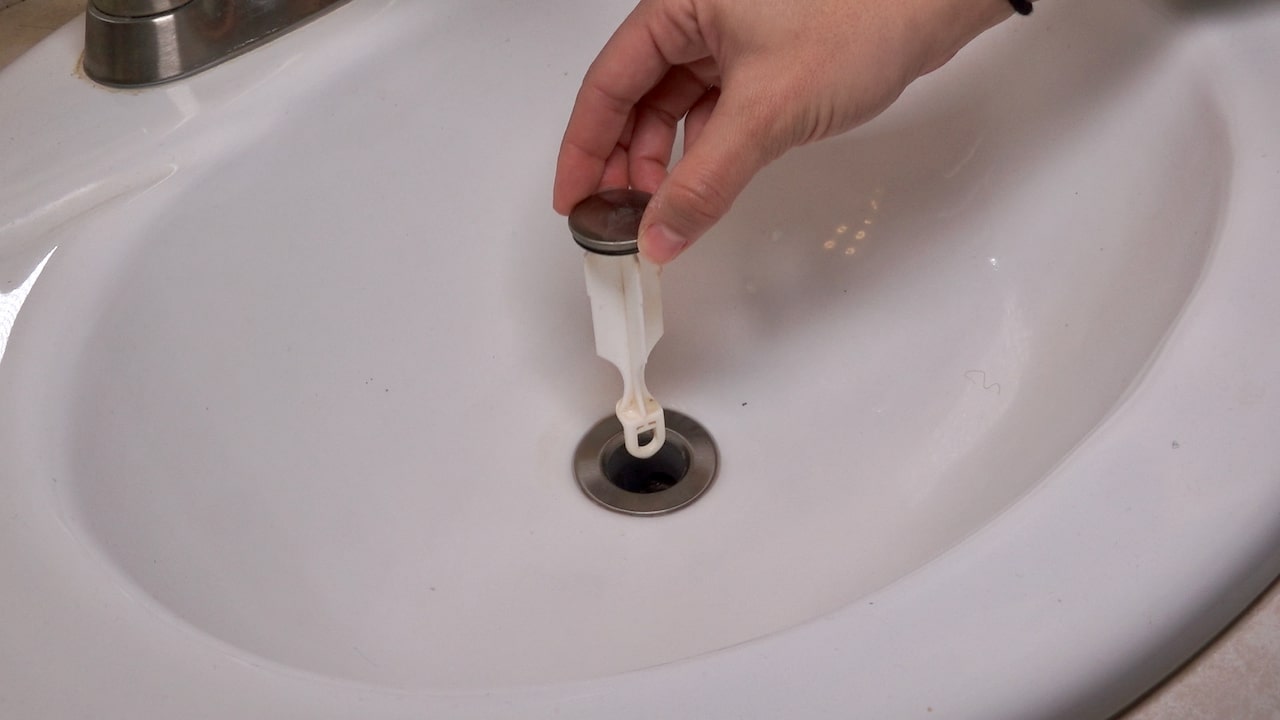
- Once the drain flange is removed, you should be able to see the old sink stopper. Pull the stopper out from the drain opening.
- Inspect the old stopper for any damage or signs of wear. If necessary, replace it with a new one.
Now that you have successfully removed the old sink stopper, it’s time to move on to the next step: cleaning the sink drain.
Step 2: Clean the Sink Drain
After removing the old sink stopper, it is important to clean the sink drain thoroughly before installing the new stopper. Follow these steps to ensure a clean and properly functioning drain:
- Begin by using a plunger or sink drain snake to remove any debris or clogs that may be present in the drain pipe.
- Place a bucket or basin beneath the sink to catch any water or debris that may come out during the cleaning process.
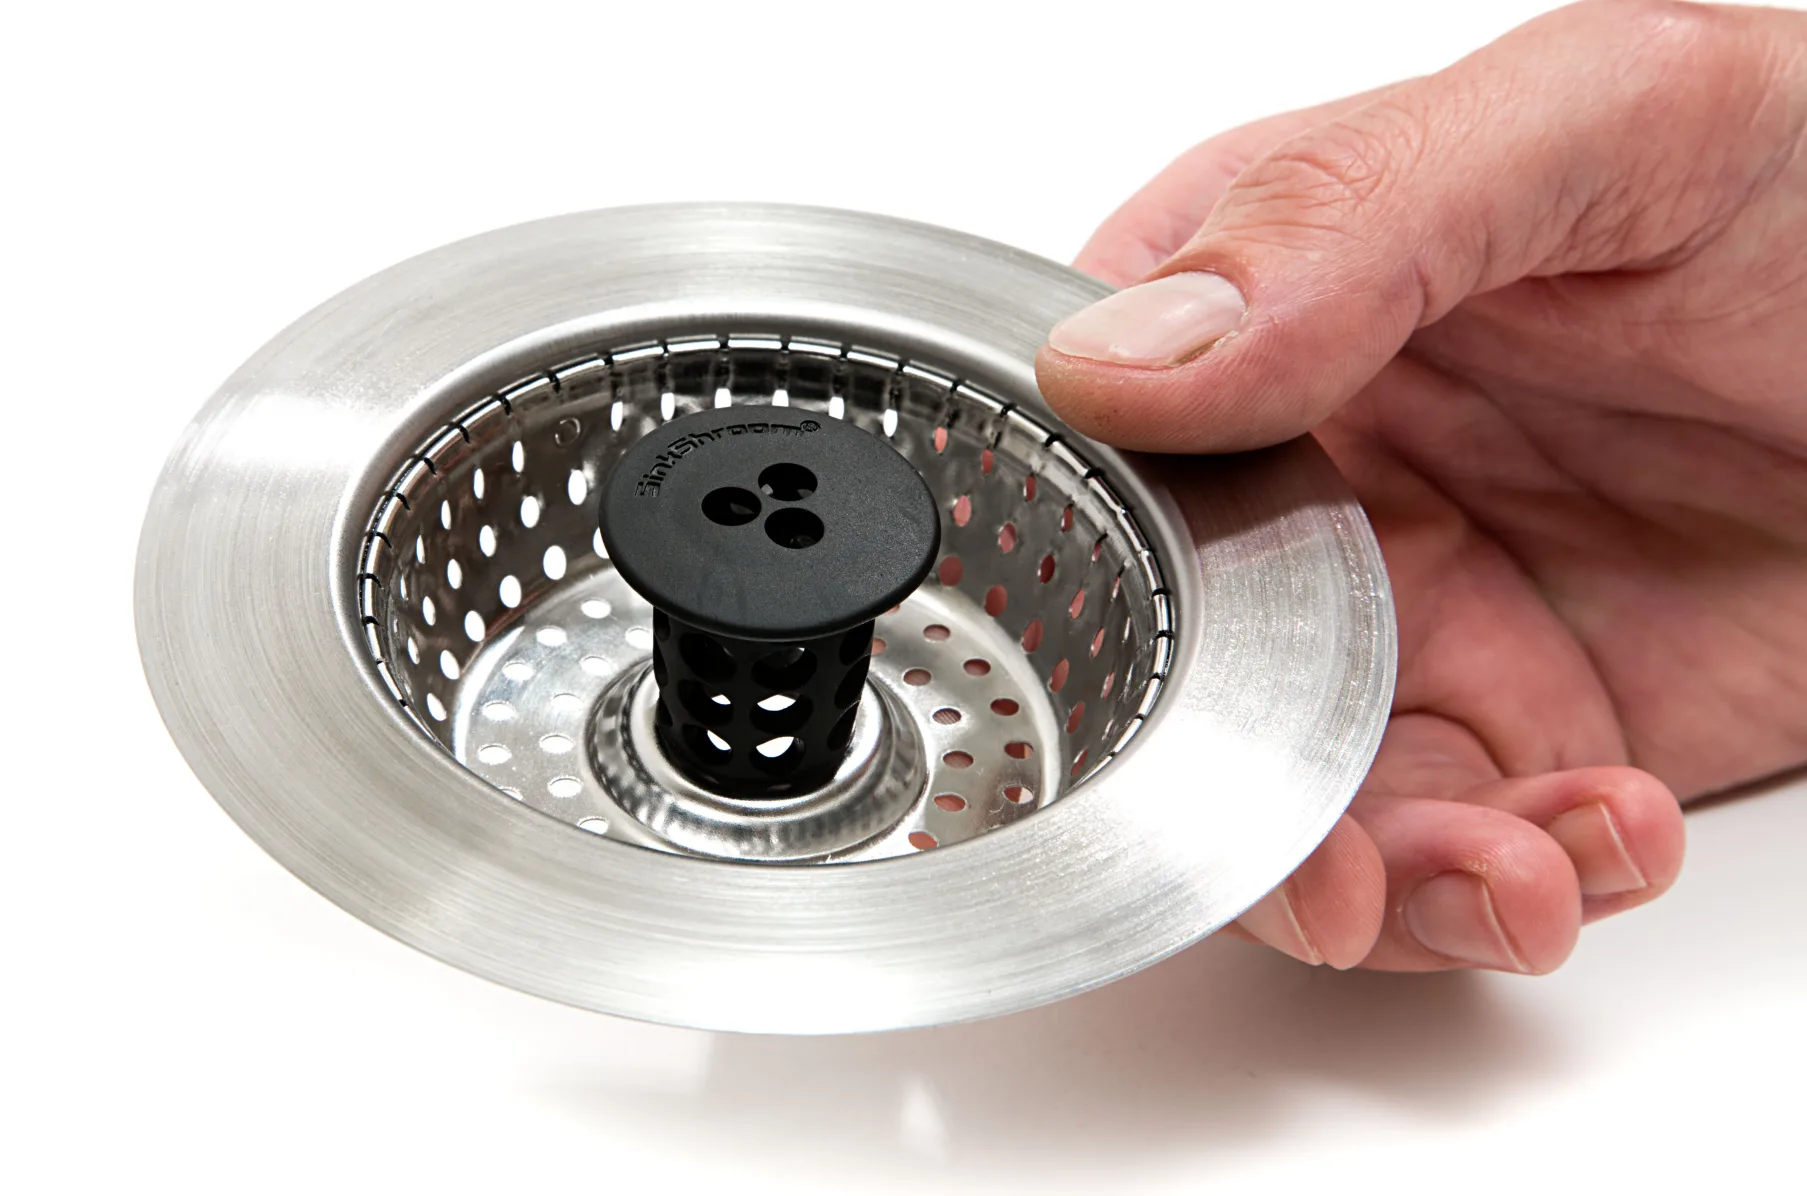
- With a screwdriver, remove the drain cover or strainer if applicable. This will allow you to access the inside of the drain more easily.
- Using an old toothbrush or a small brush, scrub the inside of the drain pipe to remove any buildup or residue.
- Rinse the drain pipe with warm water to flush away any remaining dirt or debris.
- Inspect the drain pipe for any cracks or damage. If you notice any issues, it may be necessary to replace the drain pipe before installing the new sink stopper.
- Once the drain pipe is clean and in good condition, use a towel or cloth to dry the area thoroughly.
By cleaning the sink drain, you are ensuring that the new sink stopper will function properly and help prevent future clogs or drainage issues. Now that the drain is clean and dry, it’s time to move on to the next step: installing the new sink stopper.
When replacing a bathroom sink stopper, make sure to turn off the water supply before starting the process. This will prevent any water from leaking out and making a mess.
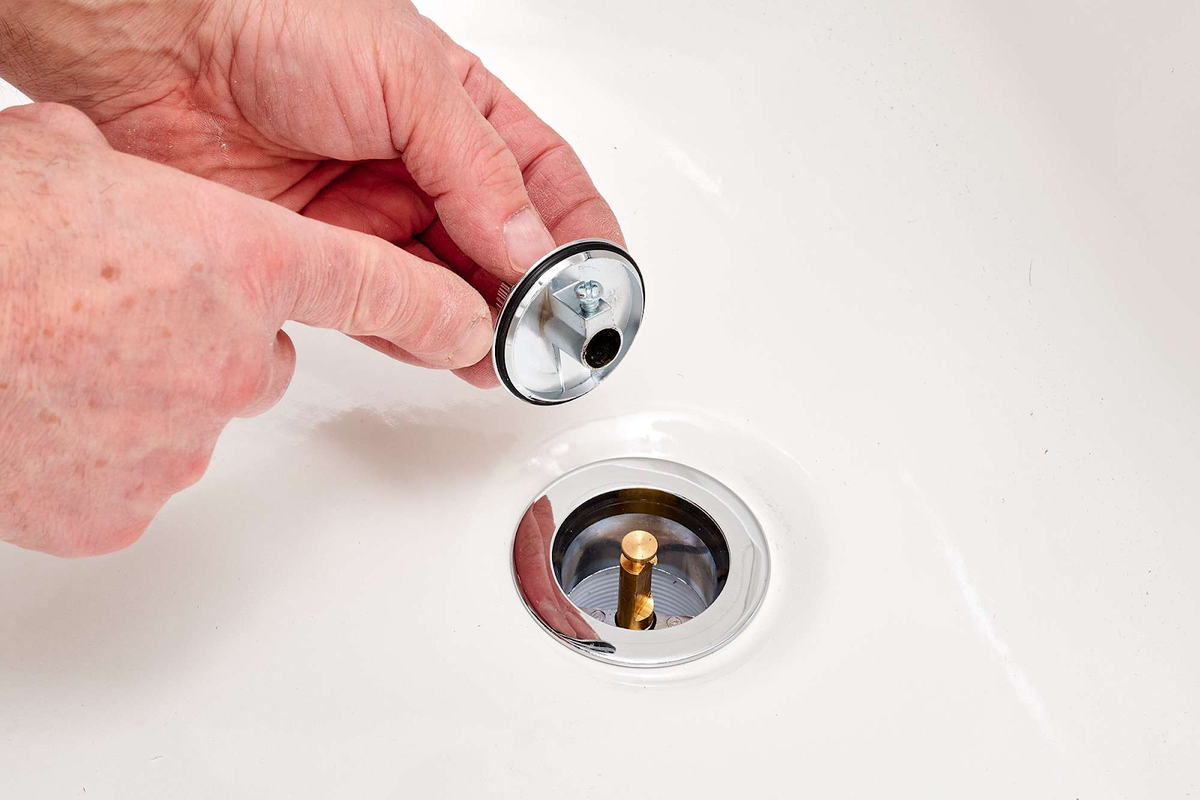
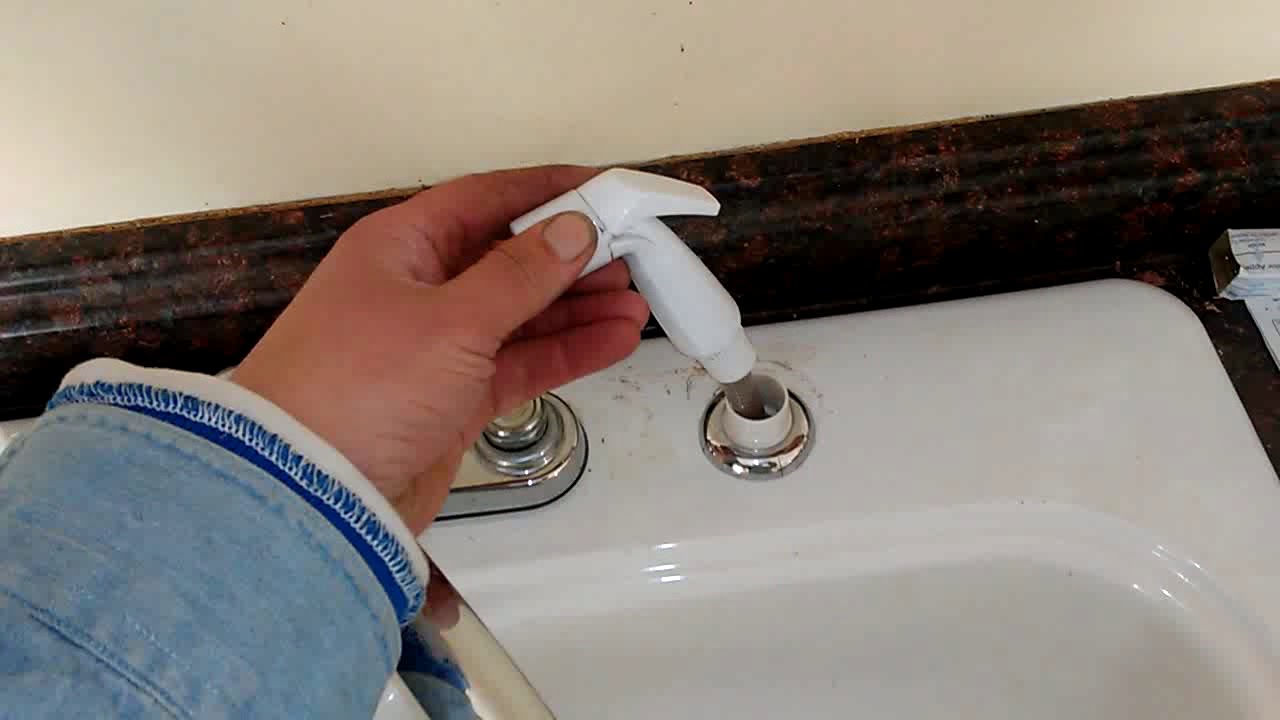
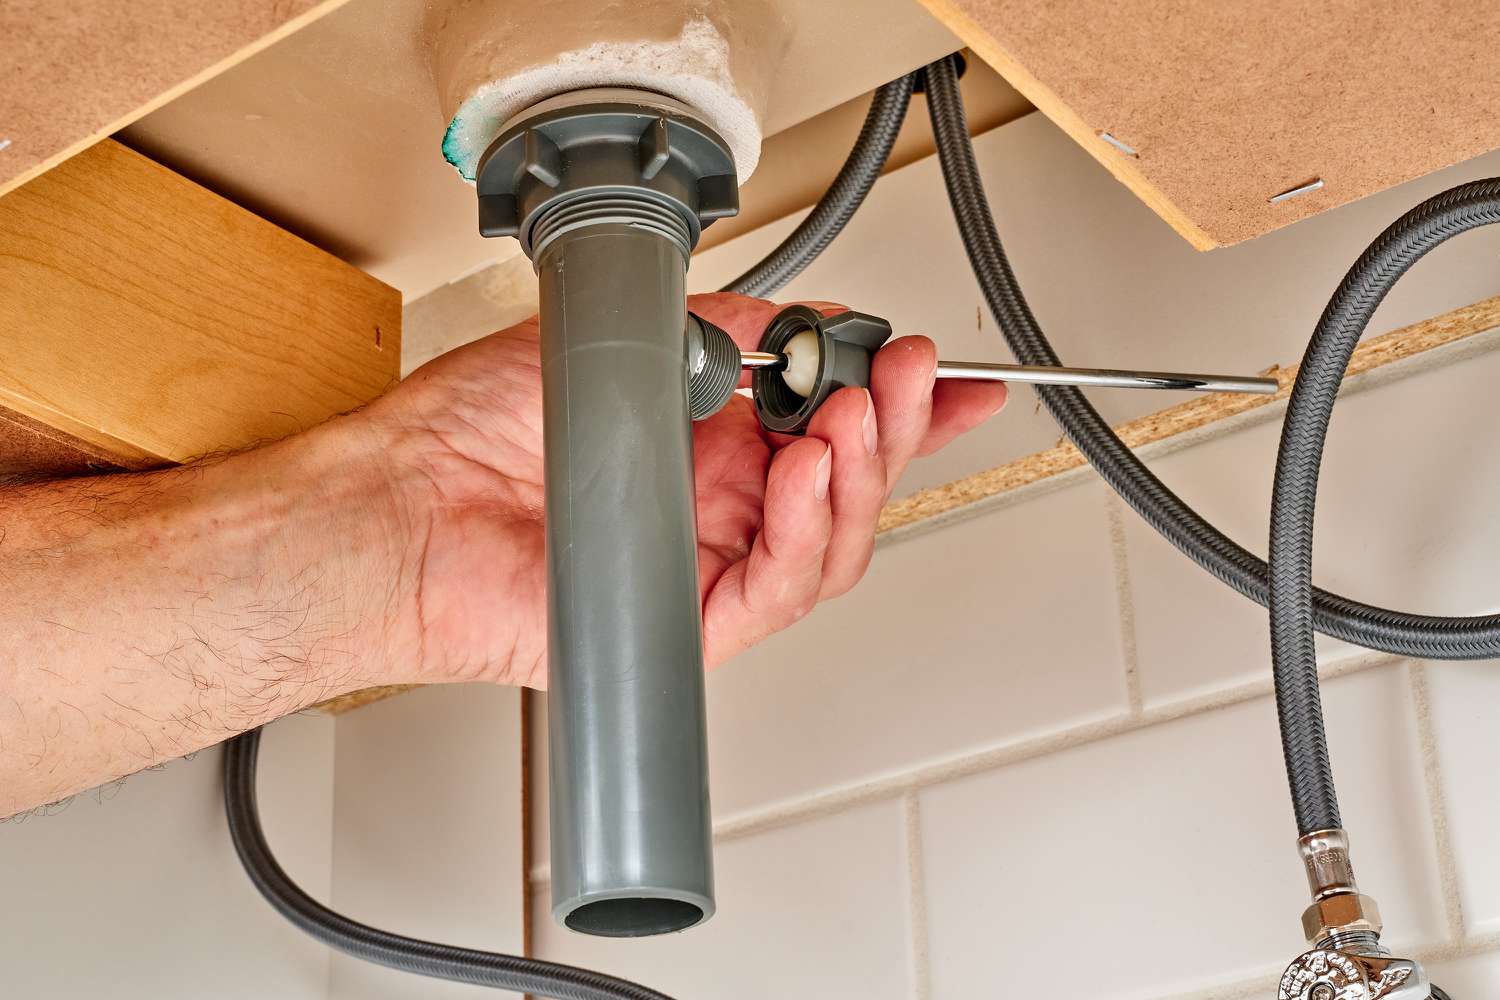
Step 3: Install the New Sink Stopper
Now that you have a clean and prepared sink drain, it’s time to install the new sink stopper. Follow these steps to ensure a proper installation:
- Apply a small amount of plumber’s putty or silicone sealant to the underside of the new sink stopper flange. This will help create a watertight seal.
- Insert the new sink stopper into the drain opening, making sure that the flange sits flush against the sink surface.
- With the sink stopper in place, screw the drain flange clockwise into the sink until it is snug. Use an adjustable wrench to tighten it further if needed.
- Insert the pivot rod or lever into the hole located at the back of the drain pipe under the sink.
- Secure the pivot rod in place by tightening the nut using an adjustable wrench.
- Test the functionality of the new sink stopper by pulling up on the lift rod or lever. The stopper should rise and seal the drain, preventing water from flowing through.
Make any necessary adjustments to the pivot rod or flange to ensure that the sink stopper operates smoothly and effectively. Once you are satisfied with the installation and functionality of the new sink stopper, it’s time to move on to the final step: testing the new sink stopper.
Read more: How To Replace Pedestal Sink With Vanity
Step 4: Test the New Sink Stopper
After installing the new sink stopper, it is essential to test its functionality to ensure that it operates correctly. Follow these steps to test the new sink stopper:
- Fill the sink with a few inches of water.
- Once the sink is filled, pull up on the lift rod or lever to engage the new sink stopper.
- Observe whether the sink stopper effectively seals the drain and prevents water from draining out.
- Release the lift rod or lever to lower the sink stopper back into the open position.
- Check that the sink drains properly when the stopper is not engaged.
If the newly installed sink stopper functions as expected, sealing the drain to hold water and opening to allow drainage, then congratulations! You have successfully replaced your bathroom sink stopper. If you encounter any issues or notice any leaks, it may be necessary to revisit the installation steps and make any necessary adjustments.
Remember, proper maintenance and regular cleaning of the sink stopper can help prolong its lifespan and ensure optimal functionality. If you have any further questions or concerns, don’t hesitate to consult a professional plumber for assistance.
With the completion of Step 4, you have now successfully tested the new sink stopper, and your bathroom sink is ready for use. Enjoy the improved functionality and aesthetics of your newly replaced sink stopper!
Conclusion
Replacing a bathroom sink stopper may seem like a daunting task, but with the right tools and a little guidance, it can be a manageable DIY project. By following the step-by-step instructions outlined in this article, you can successfully replace your bathroom sink stopper and enjoy the benefits of improved functionality and aesthetics in your bathroom.
Remember to gather all the necessary tools and materials before starting the project. Take the time to remove the old sink stopper carefully and clean the sink drain thoroughly to ensure optimal performance of the new stopper. Installing the new sink stopper requires attention to detail and properly securing the flange and pivot rod. Finally, test the functionality of the new stopper by filling the sink with water and checking for proper drainage, as well as a tight seal when the stopper is engaged.
If you encounter any difficulties or are unsure about any step of the process, don’t hesitate to seek professional assistance. A licensed plumber can help ensure a successful installation and provide further guidance on sink stopper maintenance.
By replacing your bathroom sink stopper, you not only improve the functionality of your sink but also enhance the overall appearance of your bathroom. So, roll up your sleeves, gather your tools, and get ready to tackle this DIY project. With a little effort and determination, you’ll have a new sink stopper installed in no time!
Frequently Asked Questions about How To Replace A Bathroom Sink Stopper
Was this page helpful?
At Storables.com, we guarantee accurate and reliable information. Our content, validated by Expert Board Contributors, is crafted following stringent Editorial Policies. We're committed to providing you with well-researched, expert-backed insights for all your informational needs.


0 thoughts on “How To Replace A Bathroom Sink Stopper”