
Articles
How To Install A Sink Stopper
Modified: September 1, 2024
Learn how to install a sink stopper with our step-by-step guide. Read our informative articles for tips and tricks on sink stopper installation.
(Many of the links in this article redirect to a specific reviewed product. Your purchase of these products through affiliate links helps to generate commission for Storables.com, at no extra cost. Learn more)
Introduction
Installing a sink stopper is a simple yet essential task when it comes to maintaining the functionality of your bathroom or kitchen sink. A sink stopper plays a crucial role in controlling the flow of water and allows you to fill up the sink for various purposes such as washing dishes or your face.
Over time, sink stoppers may wear out or become damaged, resulting in water leaks or an inability to hold water. In such cases, it becomes necessary to replace the old stopper with a new one. Fortunately, with the right tools and a little know-how, you can easily install a new sink stopper on your own.
In this step-by-step guide, we will walk you through the process of installing a sink stopper, ensuring that you have all the necessary information to successfully complete the task. From removing the old stopper to testing the new one, we will cover each step in detail, providing valuable insights along the way.
So, if you’re ready to take control of your sink’s functionality and bid farewell to any stopper-related issues, let’s dive into the materials needed and get started on installing a brand new sink stopper!
Key Takeaways:
- Installing a new sink stopper is a straightforward process that can greatly enhance the functionality of your sink. By following the step-by-step guide and testing the stopper’s functionality, you can ensure a seamless and effective replacement.
- Thoroughly cleaning the drain and preparing the new stopper are crucial steps in the installation process. Attention to detail and proper assembly will contribute to a successful and watertight installation.
Read also: 8 Amazing Kitchen Sink Stopper for 2025
Materials Needed
Before you begin installing a sink stopper, it’s important to gather all the necessary materials. Ensuring that you have the following items on hand will streamline the process and help you avoid any unnecessary trips to the store:
- A new sink stopper: Make sure you purchase a stopper that is compatible with your sink’s drain size and type. You can find a variety of stoppers at your local hardware store or online.
- Adjustable pliers: These will come in handy for loosening and tightening various components during the installation process.
- Screwdriver: Depending on the type of stopper you have, a screwdriver may be needed to remove or adjust certain parts.
- Plumber’s putty or silicone sealant: This is used to create a watertight seal between the sink and the stopper components.
- Cloth or sponge: Have a cloth or sponge nearby to clean any debris or residue from the sink drain.
- Bucket or bowl: To collect any water that may be trapped in the sink or drain during the installation process.
Having these materials readily available before you start the installation will make the process smooth and efficient, reducing any potential delays or frustration. Once you have gathered all the necessary materials, you can proceed to the next step of removing the old stopper.
Step 1: Removing the Old Stopper
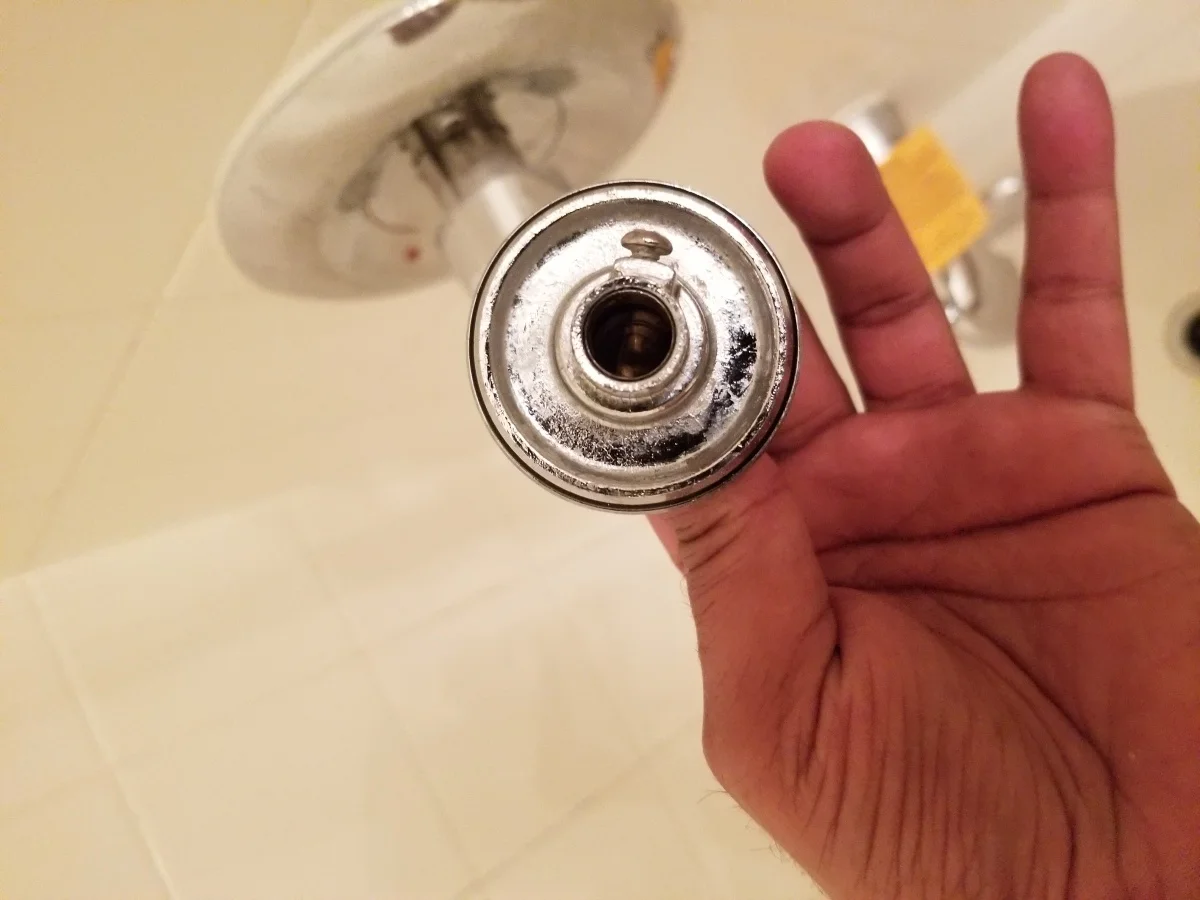
The first step in installing a new sink stopper is to remove the old one. This process may vary depending on the type of stopper you have, but here is a general guide to help you through the process:
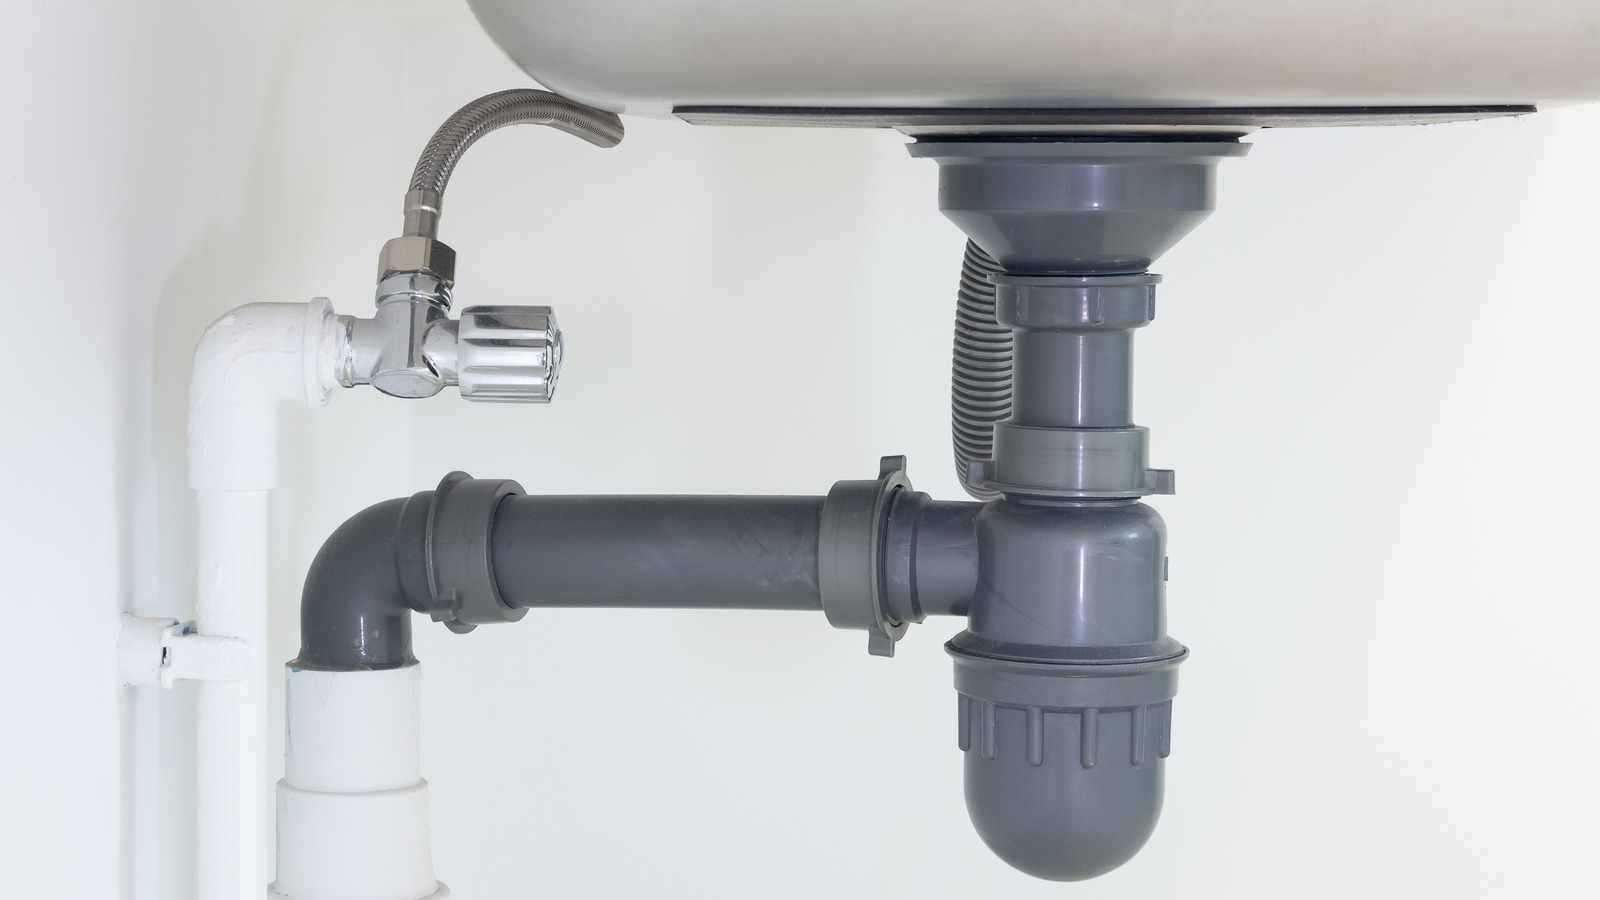
- Locate the stopper: Look inside the sink drain for the stopper. It is usually connected to a rod or mechanism underneath the sink.
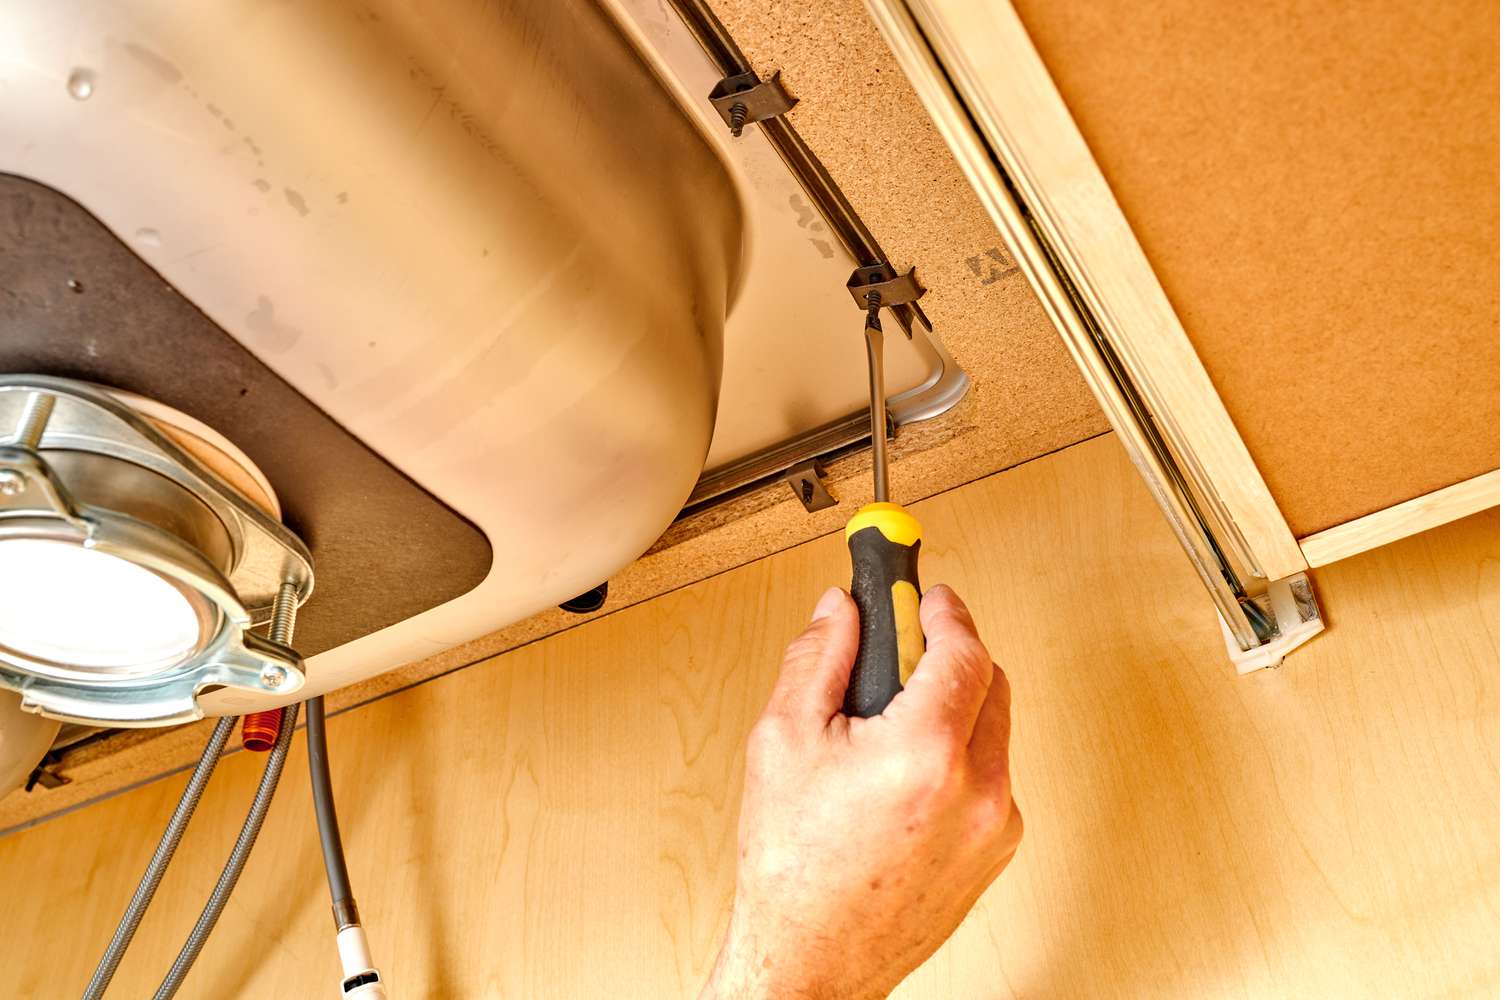
- Disconnect the rod: If your sink stopper is connected to a rod, find the point where the rod is connected to the drainpipe. Use pliers to loosen the nut holding the rod in place and disconnect it from the drainpipe.
- Remove the stopper: Once the rod is disconnected, you should be able to pull the stopper out of the drain. If the stopper is stuck, you may need to twist or wiggle it gently until it comes free.
After removing the old stopper, take a moment to inspect it for any signs of damage or wear. This will help you determine if a new stopper is necessary. If the old stopper is in good condition, you may be able to clean and reuse it. However, if it’s damaged or doesn’t function properly, it’s best to proceed with installing a new stopper.
With the old stopper removed, you’re now ready to move on to the next step: cleaning the drain to prepare for the installation of the new stopper.
Step 2: Cleaning the Drain
Before installing the new sink stopper, it’s essential to clean the drain thoroughly. Over time, debris, soap scum, and other particles can accumulate in the drain, hindering the proper functioning of the stopper. Follow these steps to ensure a clean and smooth installation:
- Remove any visible debris: Use a cloth or sponge to remove any visible debris from the sink drain. This can include hair, food particles, or any other buildup that may be present.
- Unclog the drain: If the drain is partially or completely clogged, use a plunger or a drain snake to unclog it. This will ensure that the stopper functions optimally once installed.
- Clean with a drain cleaner: If you notice any lingering odors or suspect a buildup of grime, consider using a drain cleaner specifically formulated for sink drains. Follow the manufacturer’s instructions carefully, as different cleaners may have specific application methods and safety precautions.
- Rinse with hot water: After using a drain cleaner, flush the drain with hot water to remove any residue. This will leave your drain clean and ready for the installation of the new stopper.
By cleaning the drain thoroughly, you’ll ensure that the new stopper operates smoothly and efficiently without any obstructions. Plus, a clean drain promotes better hygiene and prevents unpleasant odors in your bathroom or kitchen sink.
With the drain now clean, you’re ready to move on to the next step: preparing the new sink stopper for installation.
When installing a sink stopper, make sure to properly align the stopper with the pivot rod and secure it in place with the retaining nut to ensure a tight seal and smooth operation.
Step 3: Preparing the New Stopper
With the old stopper removed and the drain cleaned, it’s time to prepare the new sink stopper for installation. This step involves ensuring that the new stopper is properly assembled and ready to be installed in your sink. Follow these guidelines to prepare the new stopper:
- Inspect the new stopper: Before proceeding, carefully examine the new stopper to ensure that all the necessary components are included and in good condition. This may include the stopper itself, a pivot rod, a rubber gasket, and any other accompanying parts.
- Assemble the stopper: If the stopper requires assembly, follow the manufacturer’s instructions to put the different components together. This may involve attaching the rubber gasket to the stopper or connecting the stopper to the pivot rod.
- Apply plumber’s putty or silicone sealant (if required): Some types of sink stoppers may require the application of plumber’s putty or silicone sealant to create a watertight seal. Carefully read the instructions provided with your stopper to determine if this step is necessary.
- Ensure smooth movement: Move the stopper up and down to ensure that it moves smoothly without any resistance or sticking. If you notice any issues, adjust the components or consult the manufacturer for guidance.
By properly preparing the new stopper, you’ll ensure that it functions optimally once installed, preventing any future issues or leaks. Taking the time to inspect and assemble the stopper correctly will contribute to a successful installation process.
Now that the new stopper is prepared, it’s time to move on to the next step: installing the new stopper in your sink.
Read also: 13 Best Sink Stopper for 2025
Step 4: Installing the New Stopper
Now that you’ve prepared the new sink stopper, it’s time to install it in your sink. Follow these steps to ensure a proper and secure installation:
- Apply plumber’s putty or silicone sealant (if required): If your new stopper requires the application of plumber’s putty or silicone sealant, carefully follow the instructions provided with the stopper. Apply a thin, even layer of the sealant around the opening of the sink drain.
- Insert the stopper into the drain: Place the prepared stopper into the sink drain, making sure it fits snugly. Push it down firmly to create a seal with the plumber’s putty or silicone sealant.
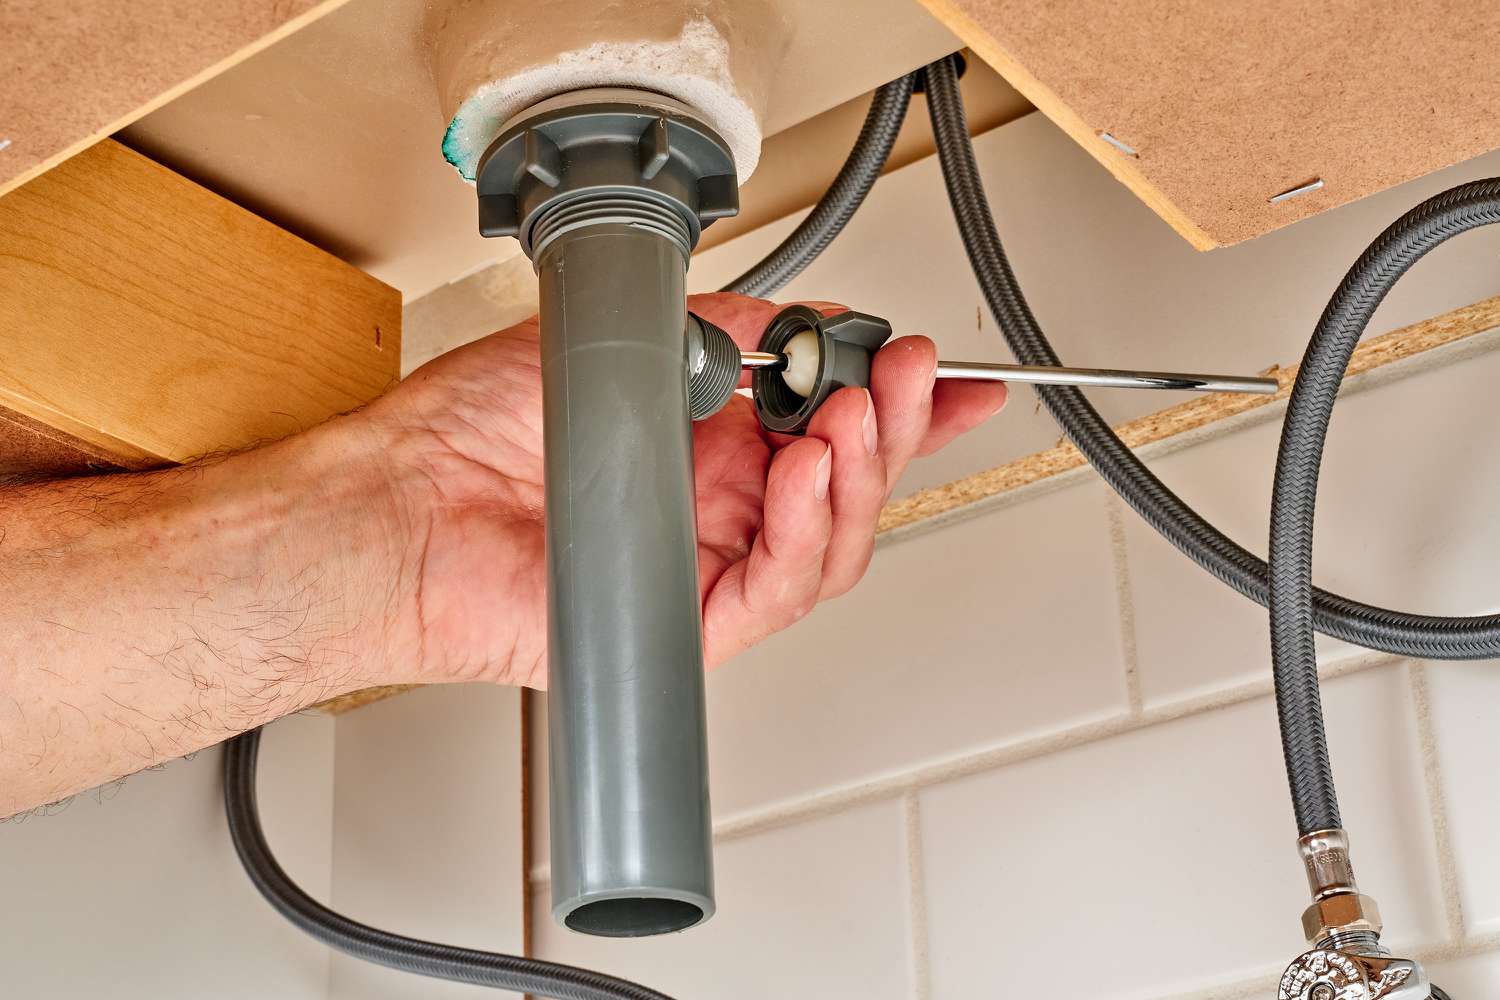
- Connect the pivot rod (if applicable): If your stopper is connected to a pivot rod, locate the hole in the back of the stopper and insert the pivot rod into it. Secure the connection by tightening the nut or clip provided with the stopper.
- Test the stopper: Once the stopper is in place, test its functionality by lifting and lowering it. The stopper should move freely and effectively hold water when lifted.
During the installation process, it’s important to be gentle and avoid over-tightening any components. Over-tightening can lead to damage or a malfunctioning stopper. Take the time to ensure that the stopper is securely in place, but don’t exert excessive force.
With the new stopper successfully installed, you’re ready to move on to the final step: testing the stopper to ensure it functions as intended.
Step 5: Testing the Stopper
After installing the new sink stopper, it’s crucial to test its functionality to ensure that it operates correctly and effectively. Follow these steps to perform a thorough test of the stopper:
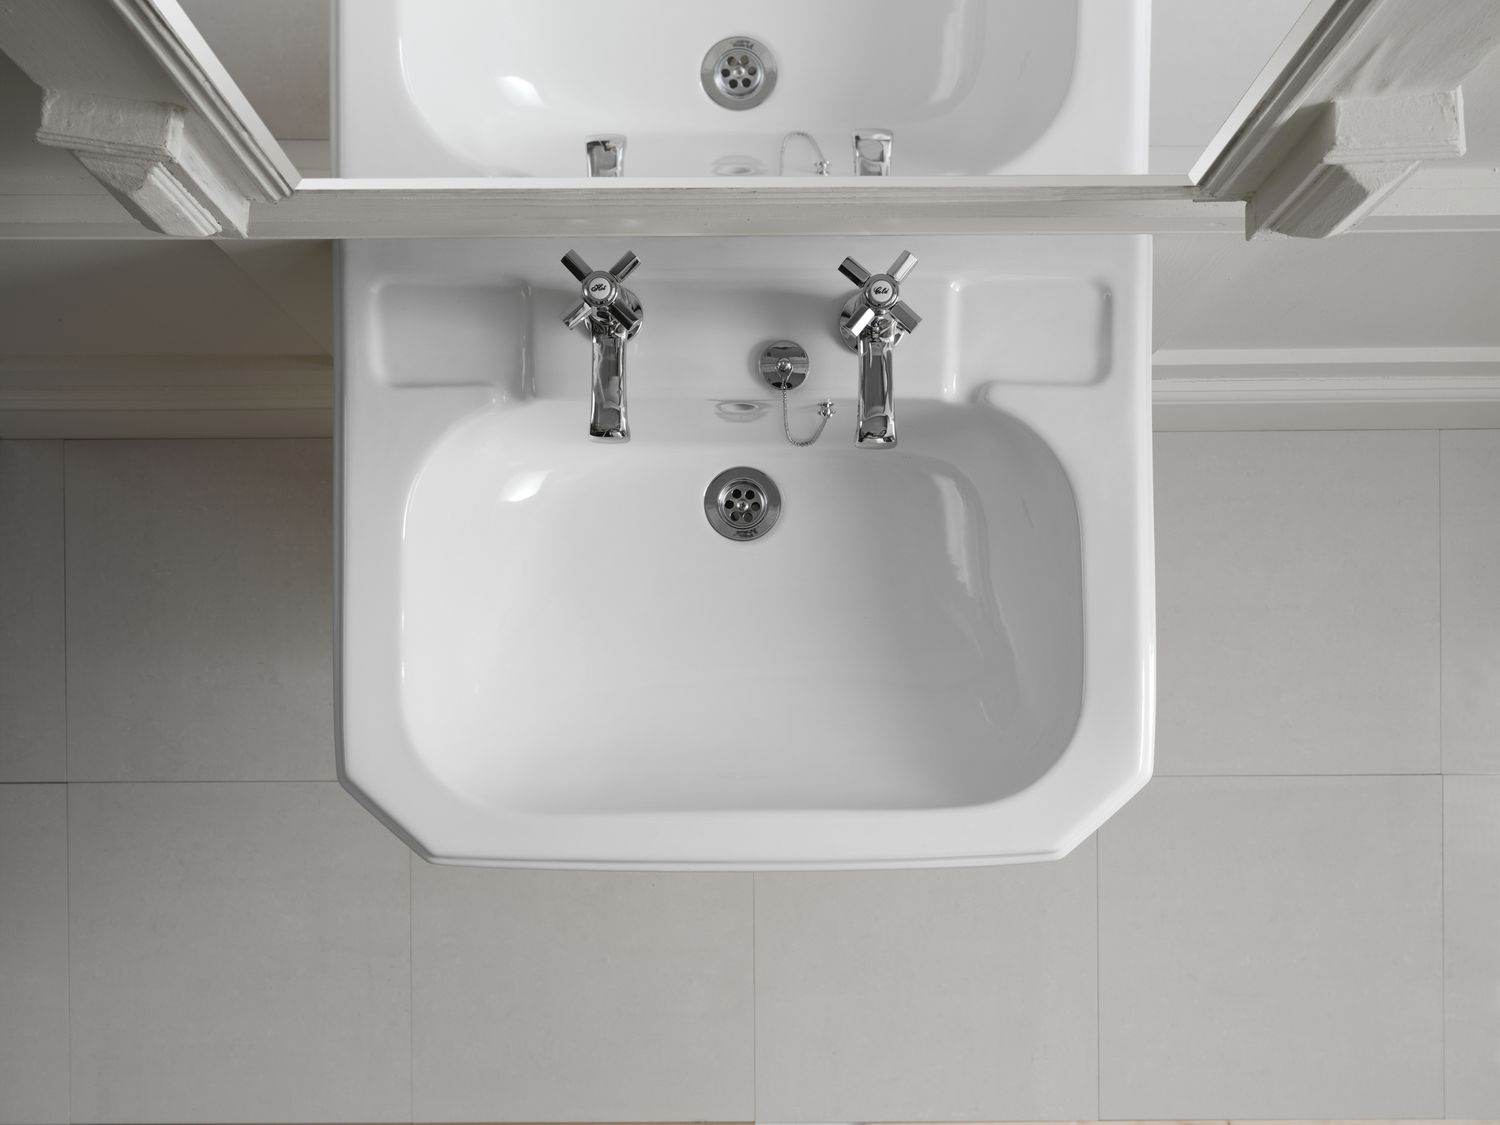
- Fill the sink with water: Start by filling the sink with a sufficient amount of water. Ensure that the water level covers the stopper once it’s in the closed position.
- Close the stopper: Lower the stopper into the drain, making sure it’s in the closed or sealed position. This should prevent any water from draining out of the sink.
- Check for leaks: Observe the sink and the area around the drain for any signs of leakage. If you notice any leaks, there may be a problem with the installation. Review the previous steps and make any necessary adjustments to ensure a proper seal.
- Test the stopper’s movement: Lift the stopper to the open position and verify that the water drains properly from the sink. Then, lower the stopper to the closed position again to check for any issues with the stopper’s movement or seal.
- Repeat the test: Perform this test multiple times to ensure consistent functionality. If any problems persist, review the installation steps and troubleshoot accordingly.
By thoroughly testing the new stopper, you can identify and address any issues before they become bigger problems. It’s important to have a fully functional and watertight stopper to prevent any water wastage or leaks in your sink.
Congratulations! You’ve successfully installed a new sink stopper, improving the functionality and efficiency of your sink. With a properly installed stopper, you can now enjoy a fully functional sink and avoid any water-related inconveniences.
Now that you’ve completed the installation process and tested the stopper, you’re ready to wrap up the project with some final thoughts and reminders.
Conclusion
Installing a sink stopper is a relatively simple task that can greatly improve the functionality and convenience of your bathroom or kitchen sink. By following the step-by-step guide outlined in this article and gathering the necessary materials, you can replace an old, faulty stopper with a brand new one.
Throughout the installation process, it’s important to pay attention to detail and ensure that each step is completed correctly. By removing the old stopper, cleaning the drain, preparing the new stopper, and installing it properly, you can ensure a seamless and effective stopper replacement.
Additionally, testing the functionality of the new stopper is crucial to identify any problems or leaks that may have occurred during the installation. By taking the time to perform a thorough test, you can address any issues and enjoy a fully functional sink stopper.
Remember, if you encounter any difficulties or have questions during the installation process, don’t hesitate to consult the manufacturer’s instructions or seek assistance from a professional plumber. They can provide expert guidance and ensure that the installation is done correctly.
By completing the installation of a new sink stopper, you can prevent water wastage, maintain a clean sink environment, and enhance the overall functionality of your sink. Now that you have the knowledge and steps to install a sink stopper, you can confidently tackle this project and enjoy the benefits of a well-operating sink.
So, roll up your sleeves, gather your materials, and get ready to give your sink a new lease on life with a freshly installed sink stopper!
Frequently Asked Questions about How To Install A Sink Stopper
Was this page helpful?
At Storables.com, we guarantee accurate and reliable information. Our content, validated by Expert Board Contributors, is crafted following stringent Editorial Policies. We're committed to providing you with well-researched, expert-backed insights for all your informational needs.


0 thoughts on “How To Install A Sink Stopper”