Articles
How To Grade A Driveway By Hand
Modified: December 7, 2023
Learn how to grade a driveway by hand with our in-depth articles. Find step-by-step instructions and expert tips for a smooth and even driveway surface.
(Many of the links in this article redirect to a specific reviewed product. Your purchase of these products through affiliate links helps to generate commission for Storables.com, at no extra cost. Learn more)
Introduction
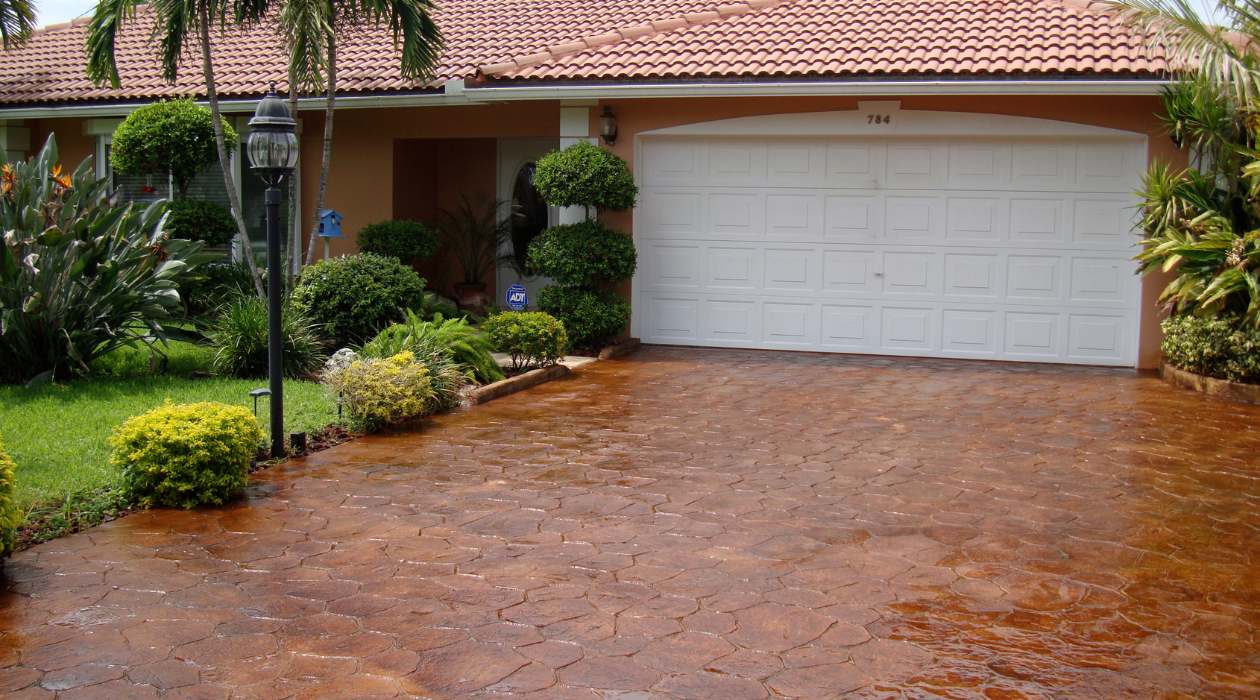
Grading a driveway by hand may seem like a daunting task, but with the right equipment and a step-by-step plan, it can be completed with ease. Whether you are looking to improve the drainage, fix uneven areas, or enhance the overall appearance of your driveway, grading is a crucial step in the process.
In this article, we will guide you through the process of grading a driveway by hand, providing you with the knowledge and techniques to achieve a smooth and properly sloped surface. By following these steps, you can ensure a durable and functional driveway that will stand the test of time.
Read more: What Is Grading In Landscaping
Equipment and Materials Needed
Before you begin grading your driveway, gather the necessary equipment and materials:
- Shovel
- Rake
- Measuring tape
- Level
- Wheelbarrow
- Stakes
- Mason’s line
- String level
- Compactor or tamper
- Gravel or sand (optional)
With these tools at hand, you’re ready to start the grading process.
Key Takeaways:
- Grading a driveway by hand requires proper preparation, precise slope determination, and meticulous attention to detail to achieve a smooth, durable, and visually appealing surface.
- Adding a layer of gravel or sand to the graded driveway can enhance stability, improve drainage, and provide a professional finishing touch, contributing to the longevity and functionality of the surface.
Equipment and Materials Needed
Before you begin grading your driveway, it’s essential to gather the necessary equipment and materials. Having the right tools will make the grading process much easier and more efficient. Here is a list of the equipment and materials you will need:
- Shovel: A sturdy shovel is essential for moving and digging soil, especially when you need to remove or add material to create the desired slope.
- Rake: A rake will help you spread and level the soil, ensuring a smooth surface for your driveway.
- Measuring tape: Use a measuring tape to determine the length, width, and slope requirements for your driveway.
- Level: A level is crucial for ensuring that the surface of the driveway is even and properly sloped.
- Wheelbarrow: A wheelbarrow will come in handy for transporting soil, gravel, or other materials needed for grading.
- Stakes: Stakes will be used to mark the boundaries of the driveway and help establish the desired slope.
- Mason’s line: This strong, durable string is used to create a guide for the proper grade and contour of the driveway.
- String level: A string level is necessary to ensure that the mason’s line is accurately leveled, providing a straight reference point.
- Compactor or tamper: A compactor or tamper will be used to compact the soil, ensuring stability and preventing future settlement.
- Gravel or sand (optional): If desired, you can add a layer of gravel or sand to the graded driveway surface to further enhance stability and drainage.
Having these tools and materials ready will set you up for success as you tackle the driveway grading process. Before moving on to the next step, ensure that you have acquired everything on the list.
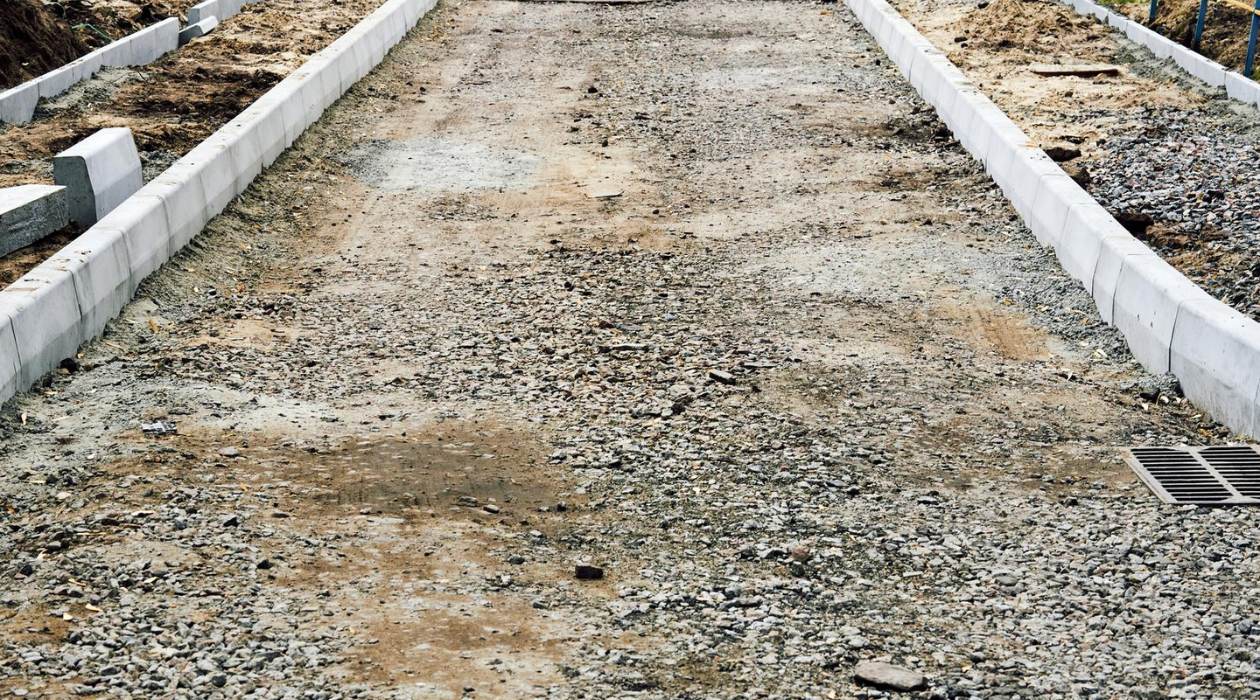
Step 1: Prepare the Driveway
Before you can begin grading your driveway, it’s important to prepare the area properly. This involves removing any obstacles and vegetation that may interfere with the grading process.
Here are the steps to prepare your driveway for grading:
- Clear the driveway: Remove any vehicles, objects, or debris from the driveway to ensure a clear work area.
- Trim vegetation: Trim back any overhanging branches or vegetation that may obstruct the grading process. This includes cutting back grass, weeds, and other plants that are growing in or near the driveway.
- Mark the boundaries: Use stakes and mason’s line to mark the boundaries of the driveway. This will help you visualize the desired width and shape of the driveway.
- Remove topsoil: If necessary, remove the top layer of soil to expose the underlying subsoil. This will allow for better compaction and stability of the driveway.
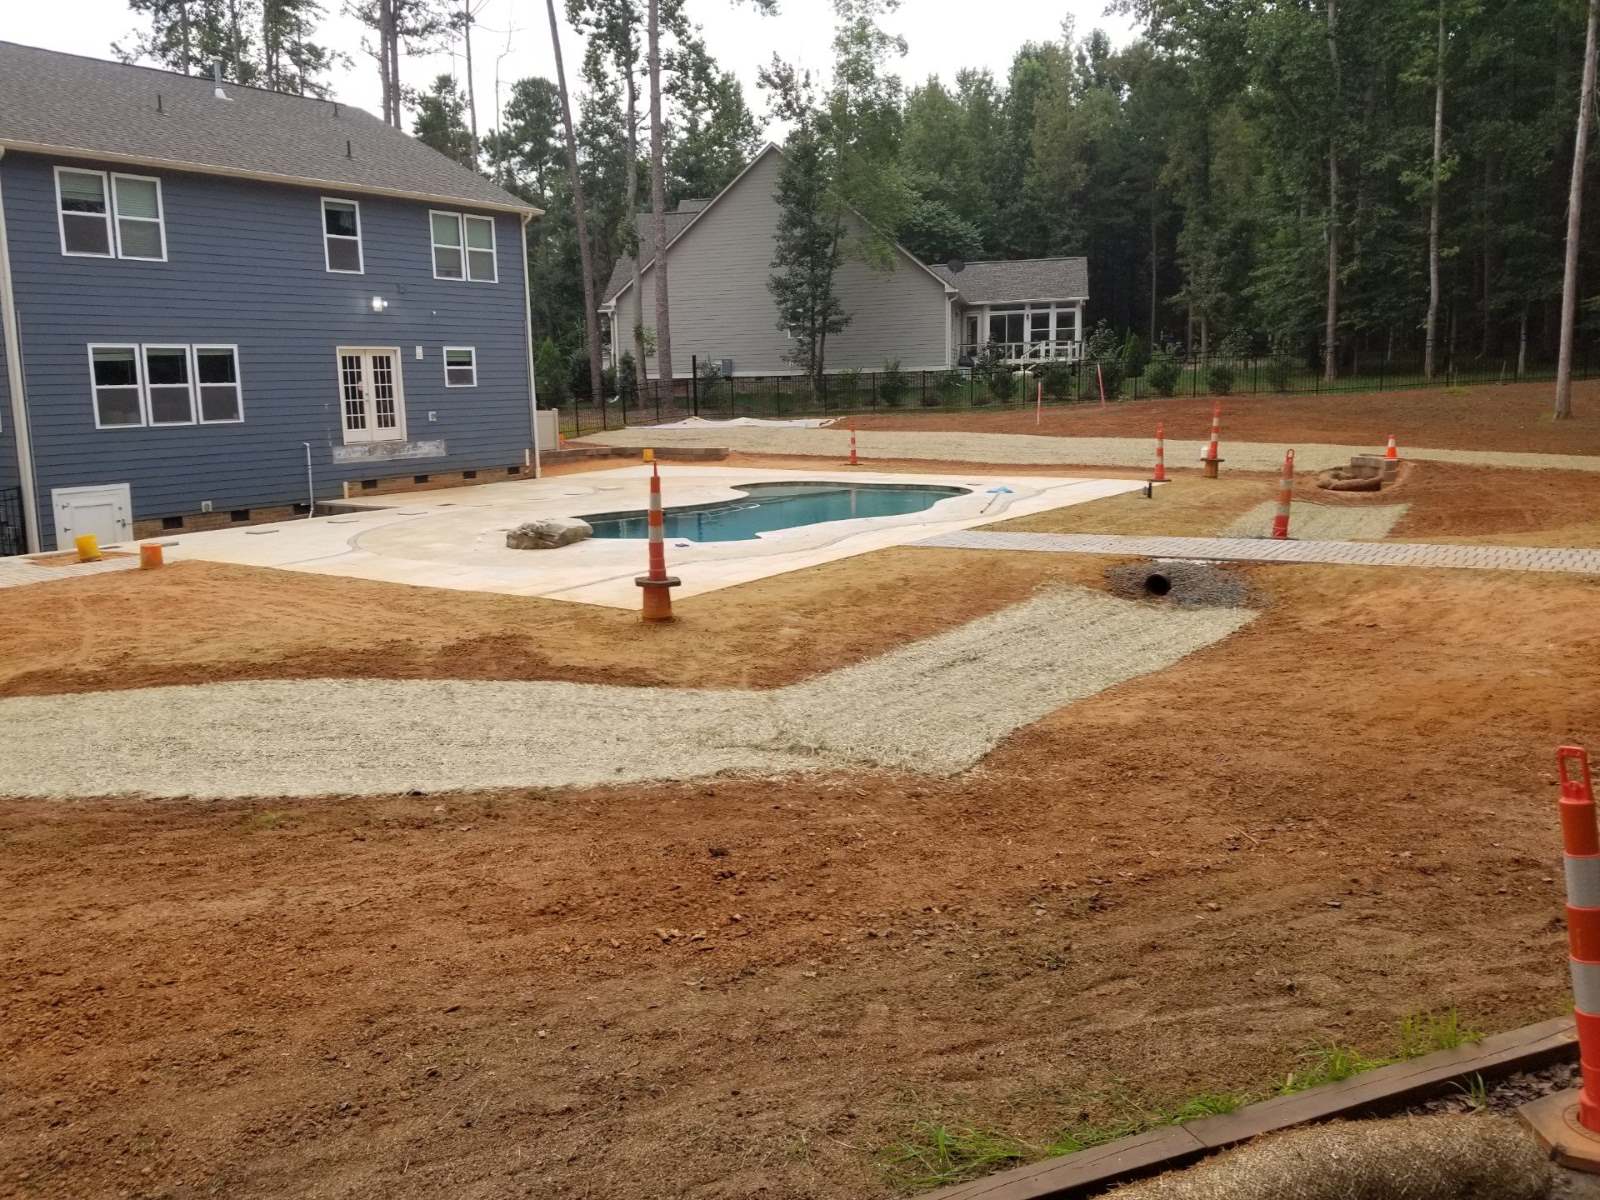
- Ensure proper drainage: Take a look at the current drainage patterns of the area. If there are any low spots or areas prone to pooling water, you may need to address these issues during the grading process.
By properly preparing your driveway, you’ll have a clean and clear canvas to work with when it’s time to start grading. This will make the process smoother and more efficient, ensuring a well-executed grade for your driveway.
Step 2: Remove Debris
Once the driveway is prepared, the next step is to remove any debris that may be present on the surface. This includes rocks, sticks, leaves, and any other loose material that could interfere with the grading process.
Here’s how to effectively remove debris from your driveway:
- Inspect the driveway: Take a thorough look at the entire surface of the driveway, paying attention to any areas that may be hidden or difficult to reach.
- Remove larger debris: Start by picking up larger rocks, branches, or any other sizable items that may be scattered across the driveway. Use a shovel or your hands, depending on the size and weight of the debris.
- Rake the surface: Use a garden rake to gather smaller debris such as leaves, twigs, and loose dirt. Rake in straight lines, working from one end of the driveway to the other, until the surface is relatively clear.
- Dispose of debris: Collect all the debris in a wheelbarrow or bags and properly dispose of it according to your local regulations. If possible, consider composting organic material or recycling appropriate items.
- Inspect again: After removing the debris, carefully inspect the driveway once more to ensure that it is entirely free from obstructions. This will ensure a clean and smooth surface for the grading process.
By removing debris from your driveway, you create an optimal working environment for the grading process. It allows for better accuracy in achieving the desired slope and helps prevent any potential damage to equipment or interference during the grading process.
Read more: What Is Grading In Construction
Step 3: Determine the Desired Slope
Before you can begin the actual grading process, it’s crucial to determine the desired slope of your driveway. The slope ensures proper drainage and prevents water from pooling on the surface.
Here’s how to determine the desired slope for your driveway:
- Measure the length of the driveway: Use a measuring tape to determine the length of your driveway in feet. This measurement will be important for calculating the slope.
- Decide on the slope grade: The slope of a driveway typically ranges from 2% to 5%, depending on your preferences and local regulations. A 2% slope means that the driveway will rise 2 feet for every 100 feet of length. Determine the slope grade that best suits your needs.
- Calculate the slope: Multiply the length of your driveway (in feet) by the desired slope percentage. For example, if your driveway is 50 feet long and you want a 2% slope, the calculation would be: 50 (length) x 0.02 (slope percentage) = 1 foot of rise.
- Mark the high and low points: Use stakes or markers to indicate the high and low points of the driveway. This will help guide the grading process and ensure a consistent slope.
- Set up a string line: Attach a mason’s line to the stakes at the high and low points of the driveway. Use a string level to ensure that the line is level between the two points. This string line will serve as a guide for the desired slope.
By determining the desired slope of your driveway, you can ensure proper drainage and a surface that is both functional and visually appealing. Taking the time to calculate and establish the slope will greatly contribute to the success of your grading project.
Step 4: Start Grading
With the driveway prepared and the desired slope determined, it’s time to start the grading process. This step involves reshaping the surface of the driveway to achieve the desired slope and contour.
Follow these steps to effectively grade your driveway:
- Begin at the lowest point: Start grading from the lowest point of the driveway, working your way towards the highest point. This ensures that any excess material is pushed uphill and creates a smooth surface.
- Adjust the grade: Use a shovel or rake to slowly adjust the grade of the driveway. Push the soil in the desired direction to create the slope. Be mindful of the string line set up in the previous step to ensure you are maintaining the correct elevation.
- Maintain a uniform thickness: As you grade the driveway, strive to maintain a uniform thickness of the soil. This will help create a consistent surface free from high or low spots.
- Work in small sections: Divide the driveway into manageable sections and work on one section at a time. This allows you to focus on achieving the correct slope and contour without becoming overwhelmed.
- Frequently check the slope: Regularly use the level to check the slope of the driveway. This will ensure that you are grading the surface to the desired elevation and slope percentage.
- Take breaks: Grading can be physically demanding, so take breaks when needed to avoid exhaustion and maintain a high level of accuracy throughout the process.
By following these steps, you can effectively grade your driveway, ensuring that it has the proper slope and contour for optimal functionality and drainage. Remember to take your time and work diligently to achieve the desired results.
When grading a driveway by hand, start by removing any debris and vegetation, then use a shovel or rake to create a slight slope away from the house to ensure proper drainage. Compact the soil and add a layer of gravel for stability.
Step 5: Fill Low Spots
After grading the surface of your driveway, it’s time to address any low spots that may still be present. These low spots can lead to water pooling and create uneven surfaces, so it’s important to fill them in to achieve a smooth and properly sloped driveway.
Follow these steps to effectively fill low spots in your driveway:
- Identify low spots: Walk along the graded driveway and visually identify any areas that appear lower than the desired grade. These low spots may be noticeable by depressions or unevenness in the surface.
- Remove excess material: If there are any mounds of excess soil nearby, carefully shovel and remove them. This excess material can be used to fill the low spots, ensuring a consistent appearance and minimizing waste.
- Add soil: If the low spots are more significant, you may need to add additional soil or fill material to bring them up to the desired grade. Use a shovel or rake to distribute the soil evenly over the low area.
- Compact the soil: Use a compactor or tamper to firmly compact the soil in the filled low spots. This helps ensure stability and prevents settling over time. Pay attention to compacting the soil at the edges of the low spots, as well.
- Check the surface: Once the low spots have been filled and compacted, visually inspect the surface of the driveway again. Ensure that it is level and free from any noticeable depressions or irregularities.
- Make adjustments if needed: If you notice any areas that still appear lower than desired, repeat the process of adding soil, compacting, and leveling until the surface is uniform.
By filling in the low spots of your driveway, you create a more even and functional surface. This not only improves the appearance of the driveway but also helps to prevent potential water pooling and damage that can occur in uneven areas.
Step 6: Compact the Surface
Once you have filled in any low spots in your driveway, it’s important to properly compact the surface. Compacting helps to ensure stability and durability by reducing the chances of settling and creating a more solid foundation for your driveway.
Follow these steps to effectively compact the surface of your driveway:
- Use a compactor or tamper: Depending on the size of your driveway, you can use either a hand-held compactor or a larger plate compactor. Both options are effective in compacting the surface.
- Start at the edges: Begin compacting the outer edges of the driveway first. Work your way toward the center, overlapping each pass to ensure full coverage.
- Apply firm pressure: When using the compactor, apply firm and even pressure as you move it across the surface. This helps to compact the soil effectively and minimizes the risk of creating uneven areas.
- Pay attention to high spots: While compacting, pay extra attention to any high spots that may have formed during the grading process. Press down on these areas to reduce their elevation and create a more level surface.
- Repeat as necessary: Depending on the condition and composition of the soil, you may need to make multiple passes with the compactor to achieve optimal compaction. Take your time and ensure that the entire surface is compacted evenly.
- Check for uneven areas: After compacting, visually inspect the surface of the driveway for any remaining uneven areas. If you spot any irregularities, use a rake or shovel to level them out before continuing to the next step.
By properly compacting the surface of your driveway, you create a more stable and durable base. This helps to prevent future settling and ensures that your driveway can withstand the weight of vehicles and other loads without compromising its integrity.
Read more: How To Use Laser Level For Grading
Step 7: Finish Grading
After compacting the surface of your driveway, it’s important to perform a final grading to ensure that the surface is smooth, even, and properly sloped. This step helps to create a polished and professional-looking result.
Follow these steps to effectively finish the grading of your driveway:
- Inspect the surface: Walk along the entire length of the driveway and carefully inspect the surface. Look for any areas that may still appear uneven or require further attention.
- Use a rake or shovel: If you notice any small bumps or depressions, use a rake or shovel to carefully level out these areas. Smooth the soil to produce a uniform and aesthetically pleasing surface.
- Ensure proper slope: Check the slope of the driveway using a level or measuring tool. Ensure that the desired slope is maintained consistently throughout the entire length of the driveway.
- Make final adjustments: If necessary, make any final adjustments to the slope or contour of the driveway. Pay close attention to any areas that may impact water drainage or present potential tripping hazards.
- Repeat compacting if needed: If the grading process has resulted in any significant changes, consider repeating the compaction step to ensure that the surface remains compacted and stable.
- Review the overall appearance: Stand back and assess the overall appearance of your graded driveway. Ensure that it meets your expectations in terms of slope, contour, and visual appeal.
By following these steps, you can achieve a well-finished and professional-grade for your driveway. Taking the time to carefully inspect and make necessary adjustments will result in a surface that is not only functional but also visually pleasing.
Step 8: Add Gravel or Sand (Optional)
In some cases, you may choose to enhance the stability and drainage of your graded driveway by adding a layer of gravel or sand. This step is optional but can provide additional benefits to your driveway’s overall performance.
Follow these steps to effectively add gravel or sand to your driveway:
- Determine the need: Assess the condition of your driveway and consider factors such as soil composition and drainage. If your driveway is prone to excessive moisture or soft soil, adding gravel or sand may be beneficial.
- Prepare the surface: Ensure that the graded surface of your driveway is clean and free from any debris or loose soil. Rake or shovel the surface to create an even and smooth base for the gravel or sand layer.
- Calculate the needed amount: Determine the amount of gravel or sand required for your driveway, taking into account the dimensions and desired thickness of the layer. Use a calculator or consult with a local supplier to estimate the quantity needed.
- Spread the material: Using a shovel or rake, evenly spread the gravel or sand across the surface of your driveway. Aim for a consistent thickness throughout the area, typically around 2 to 4 inches depending on your specific needs.
- Compact the layer: After spreading the material, use a compactor or tamper to compact the gravel or sand layer. This helps to create a stable and firm surface that aids in proper drainage and prevents shifting of the material over time.
- Check for evenness: Once the layer is compacted, visually inspect the surface to ensure an even distribution of the gravel or sand. Make any necessary adjustments by raking or spreading additional material as needed.
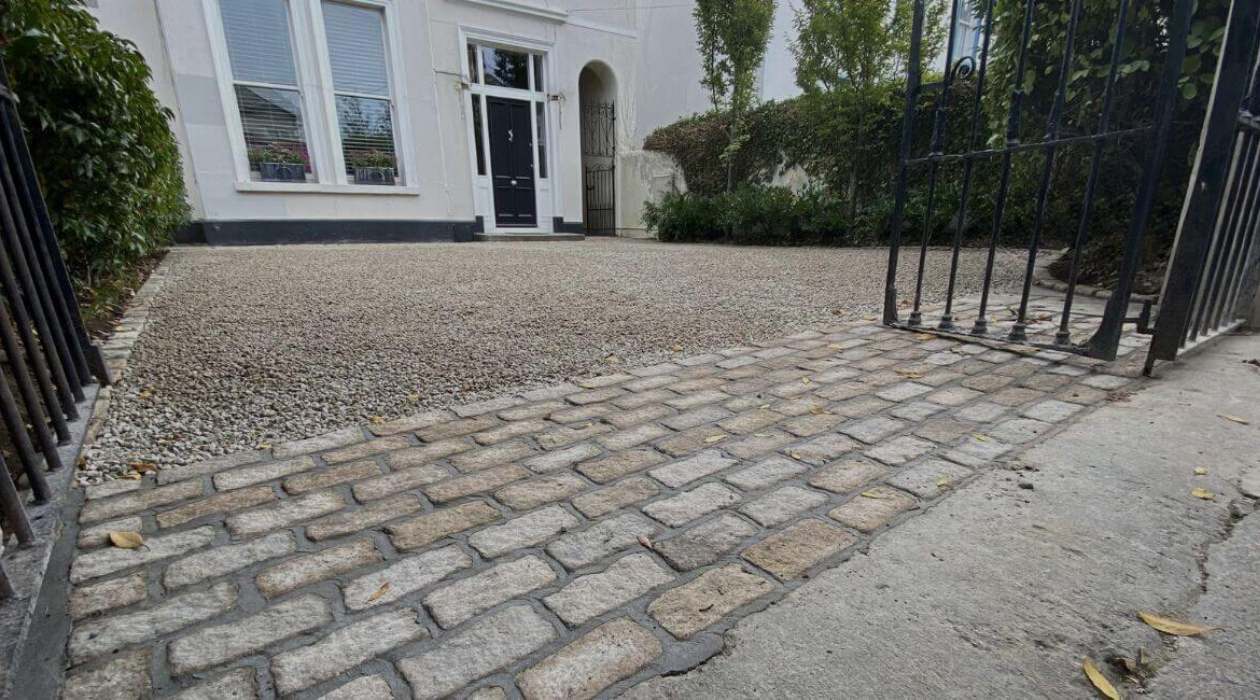
Adding gravel or sand to your graded driveway can enhance its stability, improve drainage, and provide a visually appealing finishing touch. While optional, this step can offer added benefits in areas where moisture or soil conditions require additional support.
Remember to monitor the condition of the gravel or sand layer over time and make any necessary adjustments to maintain the functionality and appearance of your driveway.
Conclusion
Grading a driveway by hand is a rewarding and valuable undertaking that can improve the functionality and appearance of your property. By following the step-by-step process outlined in this article, you can achieve a properly sloped and well-graded driveway that will stand the test of time.
From preparing the driveway and removing debris to determining the desired slope and filling low spots, each step plays a crucial role in creating a smooth and even surface. It is important to take the time to carefully grade your driveway, making necessary adjustments along the way to ensure optimal drainage and stability.
Using the right equipment and materials, such as shovels, rakes, levels, and compactors, will help you achieve professional-grade results. Pay attention to detail, regularly inspecting the surface and making any necessary modifications to ensure the desired slope and overall appearance.
While the addition of gravel or sand is optional, it can provide added stability and improve drainage depending on your specific needs. Consider the condition and composition of your driveway before deciding whether to include this step in your grading process.
By completing the grading process and, if applicable, adding the finishing touch of gravel or sand, you will have a well-graded driveway that enhances the functionality, aesthetics, and longevity of your property.
Remember to regularly maintain and monitor your graded driveway to address any settling or erosion that may occur over time. Perform routine inspections, make necessary repairs, and ensure proper drainage to prolong the lifespan of your driveway.
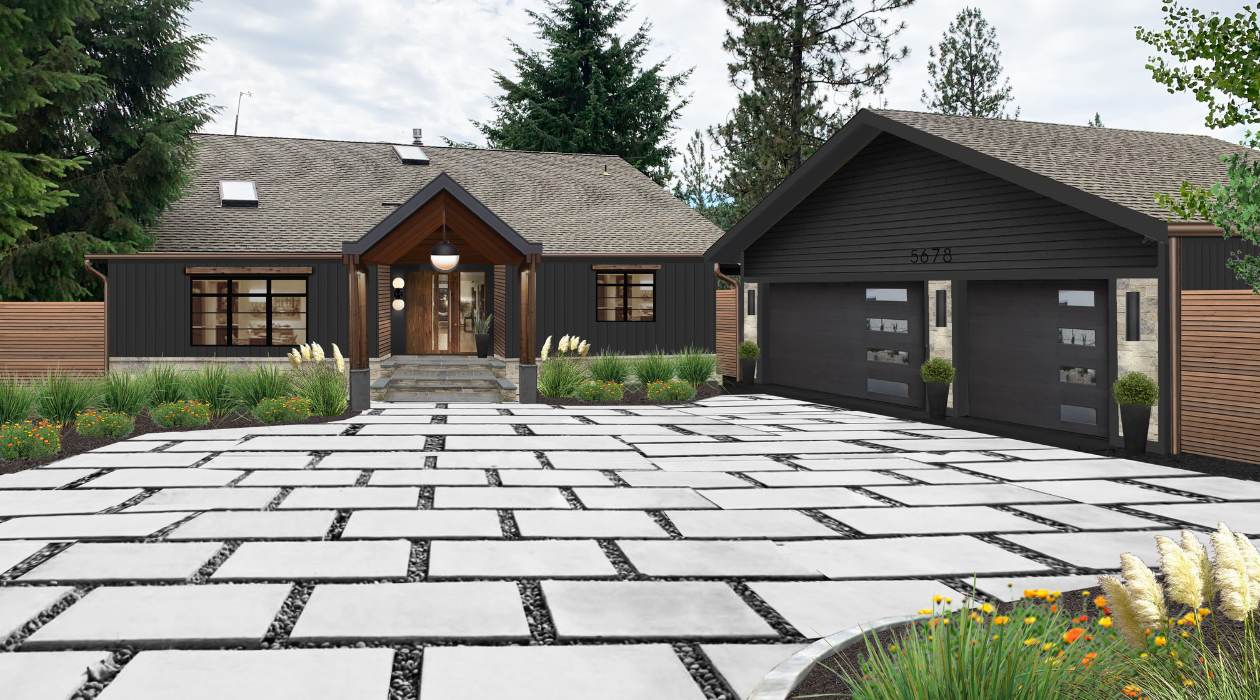
By following these guidelines, you can transform your driveway into a smooth and visually appealing surface that not only enhances the curb appeal of your property but also provides a functional and durable space for vehicles and foot traffic.
Frequently Asked Questions about How To Grade A Driveway By Hand
Was this page helpful?
At Storables.com, we guarantee accurate and reliable information. Our content, validated by Expert Board Contributors, is crafted following stringent Editorial Policies. We're committed to providing you with well-researched, expert-backed insights for all your informational needs.


0 thoughts on “How To Grade A Driveway By Hand”