Articles
How To Redo A Driveway
Modified: November 1, 2024
Learn how to redo your driveway with our informative articles. Get expert tips and advice for a successful driveway renovation project.
(Many of the links in this article redirect to a specific reviewed product. Your purchase of these products through affiliate links helps to generate commission for Storables.com, at no extra cost. Learn more)
Introduction
When it comes to the exterior of your home, the driveway plays a crucial role in both functionality and aesthetics. Over time, driveways can become worn, cracked, or faded, detracting from the overall curb appeal of your property. If your driveway is in need of a makeover, you may be wondering how to go about redoing it.
Redoing a driveway is a project that requires careful planning and execution to ensure a successful outcome. Whether you have an asphalt or concrete driveway, the process of redoing it involves several steps, from assessing the current condition to applying a fresh topcoat. By following the right techniques and using the proper tools and materials, you can transform your worn-out driveway into a smooth and attractive surface.
In this article, we will guide you through the process of redoing a driveway, providing you with valuable tips and steps to achieve the desired result. Whether you choose to tackle the project yourself or hire a professional, this guide will equip you with the knowledge you need to make informed decisions and transform your driveway into a stunning focal point for your home.
So, if you’re ready to give your driveway a fresh new look, let’s dive into the steps involved in redoing a driveway.
Key Takeaways:
- Redoing a driveway involves assessing the current condition, planning the process, gathering tools and materials, clearing the driveway, repairing cracks and potholes, leveling the surface, applying a base layer, adding a topcoat, sealing the driveway, and allowing for proper curing and drying.
- Proper planning, attention to detail, and patience are essential for successfully redoing a driveway. Whether tackling the project yourself or hiring professional help, investing time and effort will yield impressive results, adding value and aesthetic appeal to your home.
Read more: How To Redo Fireplace
Assessing the Current Driveway
Before diving into the process of redoing your driveway, it’s essential to assess the current condition of the surface. This step is crucial as it helps determine the necessary repairs, materials needed, and the appropriate approach to achieve the desired results.
Begin by examining the driveway for any visible cracks, potholes, or signs of wear. Walk along the length of the driveway and carefully inspect the surface, paying close attention to any areas that seem uneven or damaged. Take note of the size and severity of cracks, as well as any areas where the surface has sunken in or developed potholes.
If you have an asphalt driveway, keep an eye out for signs of oxidation, such as a faded or gray appearance. Additionally, note any areas where the asphalt has eroded or worn away, revealing the gravel or base layer beneath. For concrete driveways, look for cracks, spalling (crumbling or chipping), or discoloration.
Once you have thoroughly assessed the current condition of your driveway, you can determine the scope of work needed. For minor cracks or surface imperfections, simple repairs and resurfacing may be sufficient. However, if the cracks are extensive, the surface is severely damaged, or the base layer is compromised, a more extensive overhaul may be required.
Assessing the current driveway condition allows you to plan the redo process effectively and ensure that you have the necessary tools, materials, and skills to accomplish the task at hand. It also helps in estimating the time and budget required for the project.
After evaluating the condition of your driveway, it’s time to move on to the next step – planning the redo process.
Planning the Redo
Once you have assessed the current condition of your driveway, the next step is to plan the redo process. Proper planning is essential to ensure that your driveway redo is successful and meets your desired outcome. Here are some important points to consider during the planning phase:
1. Budget: Determine your budget for the project. Factor in the cost of materials, tools, and any professional help you may need. This will help you make informed decisions about the scope of work and the materials you can afford.
2. DIY vs. Professional Help: Assess your skills and decide whether you want to undertake the project yourself or hire a professional contractor. Redoing a driveway can be a labor-intensive task, so it’s important to be realistic about your abilities and the time you can invest.
3. Permits and Regulations: Check with your local municipality or homeowner’s association to see if any permits or approvals are required for redoing your driveway. Familiarize yourself with any regulations or restrictions regarding materials, design, or construction methods.
4. Material Selection: Research different materials available for driveway surfaces, such as asphalt, concrete, pavers, or gravel. Consider factors like durability, cost, maintenance requirements, and aesthetics to determine the best material for your needs.
5. Design Considerations: Think about the layout and design of your driveway. Consider any changes you want to make, such as widening the driveway, adding curves, or incorporating decorative elements. Keep in mind the functionality and visual appeal of the finished driveway.
6. Timeframe: Determine how long the project will take and plan accordingly. Consider any weather or seasonal factors that may affect the redo process and allow for extra time if needed.
7. Gather Resources: Make a list of the tools, materials, and equipment you’ll need for the project. This may include items like shovels, a wheelbarrow, a compacting machine, and the chosen surface material.
By carefully planning the redo process, you can anticipate potential challenges, make informed decisions, and set realistic expectations for the project. Planning helps ensure that the entire process runs smoothly and achieves the desired results, transforming your driveway into a beautiful and functional space.
Gathering the Necessary Tools and Materials
Before you can begin redoing your driveway, it’s essential to gather all the necessary tools and materials. Having the right equipment on hand will make the project more efficient and ensure that you have everything you need to complete each step successfully. Here are some of the key tools and materials you may need:
1. Safety Equipment: Start by prioritizing your safety. This includes protective gear such as safety glasses, work gloves, and a dust mask to protect yourself from flying debris and dust particles during the process.
2. Shovels: A sturdy shovel will be required to remove any debris, vegetation, or loose material from the existing driveway before starting the redo process. Depending on the size of the project, you may need a combination of shovels, including a square-mouthed shovel for digging and a round-mouthed shovel for moving dirt and materials.
3. Wheelbarrow: A wheelbarrow is essential for transporting and moving heavy materials, such as gravel or concrete mix.
4. Compaction Machine: Depending on the type of driveway surface you’re installing, you may need a compaction machine to compact the base layer or the new surface material. This will ensure a stable and durable driveway.
5. Asphalt or Concrete Mix: If you’re redoing an asphalt or concrete driveway, you’ll need the appropriate mix to resurface or lay a new layer. Consult with a professional or a local supplier to determine the correct type and quantity of mix needed for your specific project.
6. Crack Sealant: If there are cracks in the existing driveway, you’ll need crack sealant to repair and fill them. There are various types of sealants available for different types of surfaces, so be sure to choose the right one for your specific project.
7. Leveling Equipment: You may need leveling equipment such as a rake or a screed board to ensure a smooth and even surface for your driveway.
8. Edge Restraints: For certain driveway materials, such as pavers or gravel, you may need to install edge restraints to keep the surface in place and prevent shifting or spreading.
9. Sealer and Sealant Applicators: After completing the redo process, you’ll want to apply a sealer or sealant to protect and prolong the life of your driveway. Depending on the type of sealer you choose, you may need a sprayer or roller to apply it evenly.
10. Miscellaneous Tools: Don’t forget to gather other tools like a tape measure, a string line or level for accurate measurements, a broom for cleaning the surface, and a hose for water supply during the process.
Ensure that you have all the necessary tools and materials before starting the project. Having everything prepared will save you time and allow for a smoother workflow, ensuring that you’re well-equipped to redo your driveway effectively.
Clearing the Driveway
Before you can begin the process of redoing your driveway, it’s crucial to clear the existing driveway of any debris, vegetation, or loose materials. This step ensures a clean and stable surface to work with. Here are the steps to clear your driveway:
1. Remove any objects: Start by removing any objects such as cars, planters, or furniture from the driveway. Clearing the area will provide you with ample space to work and prevent any potential damage to your belongings during the process.
2. Trim vegetation: Trim any overhanging branches, bushes, or grass that may encroach on the driveway. This will prevent interference during construction and allow for a clean edge when applying the new surface material.
3. Sweep and clean: Use a broom or a leaf blower to remove any loose debris, leaves, and dirt from the surface of the driveway. Cleaning the surface thoroughly will help ensure proper adhesion of the new materials and enhance the overall finish.
4. Power wash (if necessary): Depending on the conditions of your driveway, you may need to power wash the surface to remove stubborn stains, oil spills, or grime. A power washer will help in lifting and clearing any deeply embedded dirt or contaminants, creating a clean and pristine canvas for the redo process.
5. Evaluate drainage: Take a moment to assess the drainage system of your driveway. Check for any clogged or broken drains, as proper drainage is essential to prevent water pooling or damage to the new surface. Consider addressing any drainage issues before proceeding with the redo process.
By thoroughly clearing the driveway, you create a clean and stable foundation for the upcoming steps. This helps ensure a smooth and successful redo process, enhancing the longevity and durability of your newly renovated driveway.
Read more: How To Redo Basement
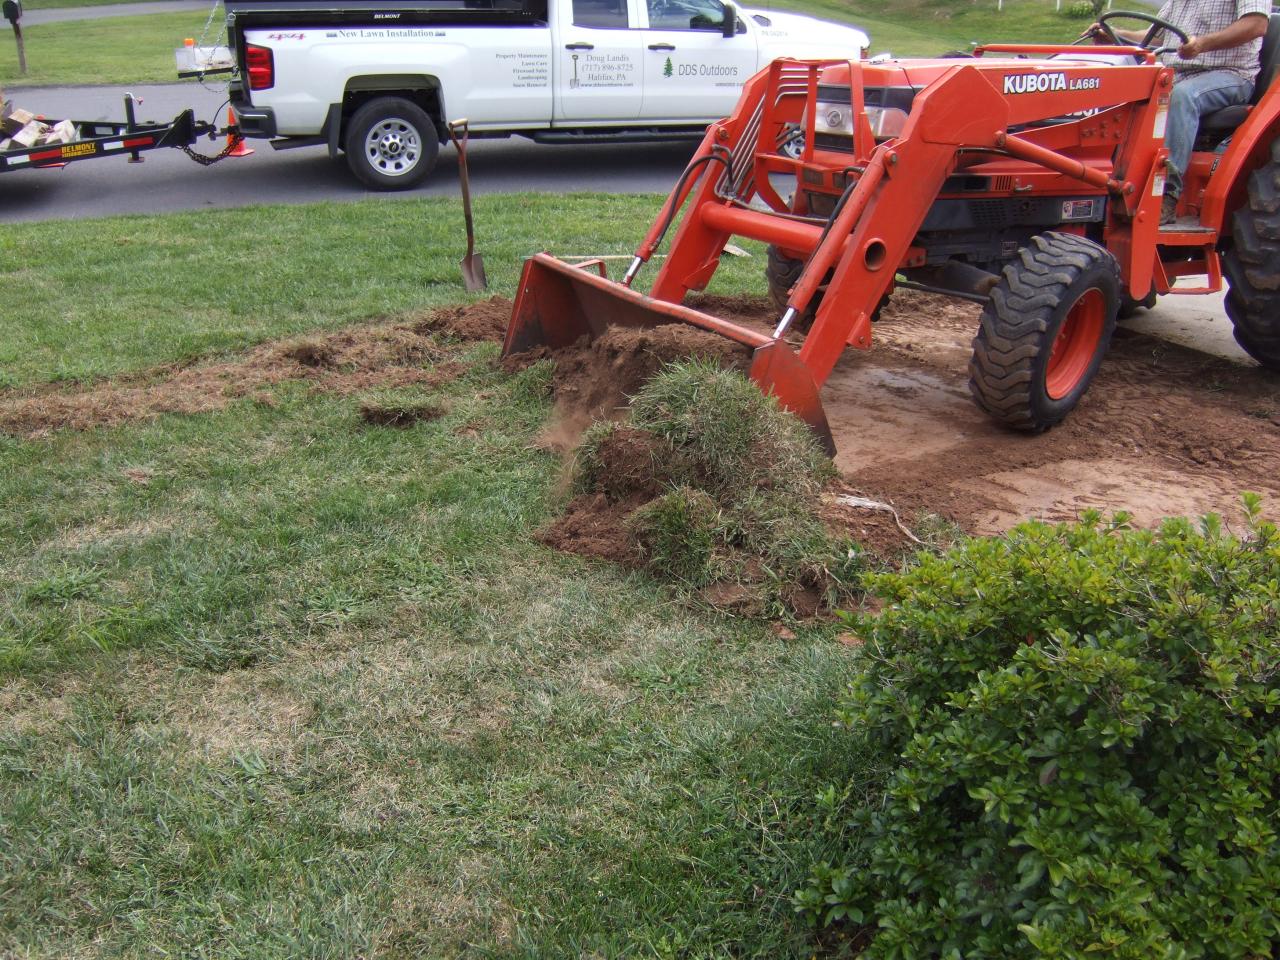
Removing Old Asphalt or Concrete
If your existing driveway is made of asphalt or concrete and is in poor condition, you may need to remove the old surface before proceeding with the redo process. Removing the old material provides a fresh start and allows for a more effective and long-lasting result. Here are the steps to remove old asphalt or concrete:
1. Safety first: Before you begin the removal process, ensure you are wearing appropriate safety gear, including safety glasses, work gloves, and a dust mask. This will protect you from any flying debris or dust particles that may be generated during the removal process.
2. Break up the surface: Start by using a jackhammer or a sledgehammer to break up the existing asphalt or concrete surface. Work in small sections, using forceful downward movements to crack the surface. Be consistent and methodical in your approach, breaking the material into manageable pieces.
3. Remove the broken pieces: Once the surface is sufficiently broken up, remove the broken pieces of asphalt or concrete using a shovel or a pry bar. Place the debris into a wheelbarrow or a dumpster for proper disposal. Alternatively, you can hire a waste disposal service to handle the removal and disposal of the broken material.
4. Repeat the process: If there are multiple layers of asphalt or concrete, repeat the breaking and removal process until you have reached the desired depth. This may involve breaking through the top layer to expose the base layer, depending on the condition of the driveway.
5. Clean the area: Once all the old material has been removed, sweep or use a leaf blower to clear away any remaining debris from the surface. This will give you a clean and clear area to work on for the next steps of the redo process.
It’s important to note that removing old asphalt or concrete can be a physically demanding and time-consuming task. If you’re not comfortable or equipped to handle this step on your own, consider hiring a professional contractor who specializes in driveway removal.
By removing the old surface, you pave the way for a fresh start and a successful redo process. With a clean slate, you can now focus on repairing any cracks or potholes and preparing the base for the new driveway surface.
Repairing Cracks and Potholes
Before proceeding with the rest of the driveway redo process, it’s important to address any cracks and potholes that may be present on the surface. Repairing these imperfections ensures a smooth and even foundation for the new driveway material. Here’s how to tackle cracks and potholes:
1. Clean the cracks and potholes: Use a wire brush or a high-pressure air nozzle to clean out any debris, loose material, and vegetation from the cracks and potholes. This step ensures proper adhesion of the repair material and helps prevent further damage or shifting.
2. Evaluate the severity of cracks and potholes: Assess the size and depth of the cracks and potholes to determine the appropriate repair method. Small surface cracks or shallow potholes may only require filling, while more extensive damage may require additional steps.
3. Fill the cracks: For small cracks, use a crack sealant or a specialized crack filler to fill the gaps. Apply the sealant or filler with a caulk gun, ensuring a smooth and even application. Once filled, use a putty knife or a trowel to level off the surface and remove any excess material.
4. Patch the potholes: For deeper potholes, use a pothole patching material or a cold patch asphalt mix. Fill the pothole with the patching material, pressing it firmly into place with a tamper or the flat side of a shovel. Smooth the surface to create an even and level finish.
5. Compact the repaired areas: To ensure the longevity of the repairs, use a compaction machine or the back of a shovel to compact the filled cracks and potholes. This helps to eliminate air pockets and create a solid and stable surface.
6. Allow for proper curing: Follow the manufacturer’s instructions to allow the crack sealant or patching material to cure completely. This usually involves giving it sufficient time to harden and set, ensuring a durable and long-lasting repair.
Addressing cracks and potholes is a critical step in the driveway redo process. By repairing these imperfections, you create a strong and reliable base for the new surface material. It also helps prevent further deterioration and extends the lifespan of your driveway.
Once the cracks and potholes have been repaired, you’re ready to move on to the next step: leveling the surface of the driveway.
Before redoing a driveway, make sure to thoroughly clean the surface and repair any cracks or damage. Proper preparation is key to a successful and long-lasting driveway renovation.
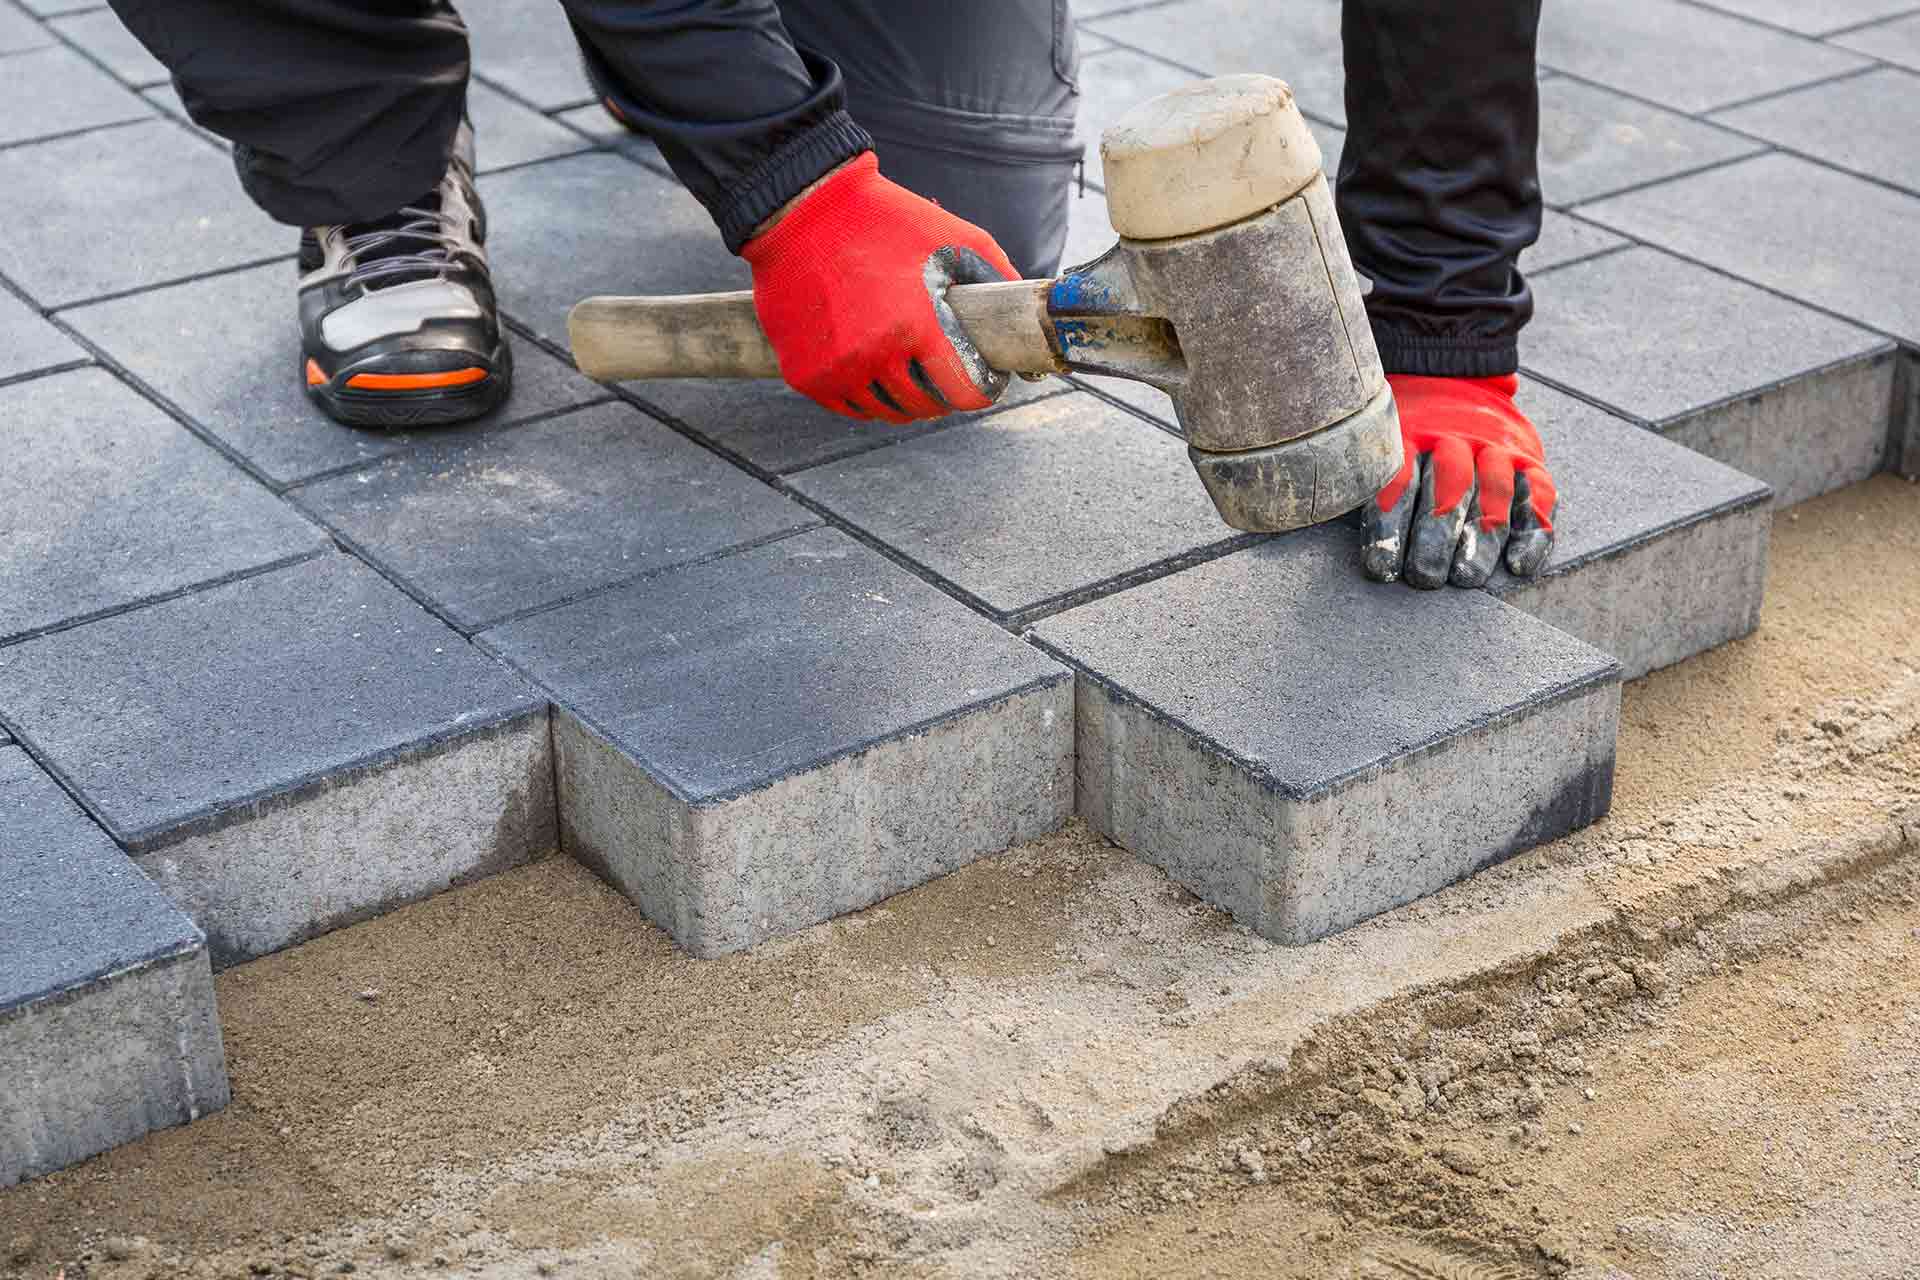
Leveling the Surface
After addressing any cracks and potholes, the next step in the driveway redo process is to ensure that the surface is level and even. Leveling the surface is crucial for a visually appealing and functional driveway. Here’s how to level the surface:
1. Assess the existing surface: Use a level or a straight board to check for any areas that are uneven or have dips. Identify any high spots and low spots that need to be adjusted during the leveling process.
2. Add or remove material: Depending on the specific requirements of your driveway, you may need to add or remove material to achieve a level surface. For low spots or depressions, add gravel, sand, or a leveling compound to raise the surface. For high spots, use a shovel or a rake to remove excess material until the surface is level.
3. Compact the surface: Once you have added or removed material to achieve a level surface, use a compaction machine or the back of a shovel to compact the area. This helps to ensure a stable and durable surface that can withstand the weight of vehicles.
4. Check for levelness: Use a level or a straight board to check the levelness of the surface throughout the entire driveway. Pay attention to any areas that may still require adjustments and make the necessary changes to achieve an even and smooth surface.
5. Recheck the drainage: As you level the surface, reassess the drainage of the driveway. Ensure that the slope allows for proper water runoff to prevent pooling or puddling. Adjust the leveling as needed to maintain efficient drainage.
Leveling the surface of your driveway is crucial for both the functionality and aesthetics of the final result. An adequately leveled surface ensures proper water drainage and a smooth driving experience. It also provides a solid foundation for the subsequent steps of the redo process.
Once the surface is level, it’s time to move on to the next step: applying a base layer for your new driveway surface.
Applying a Base Layer
After leveling the surface of your driveway, the next step in the redo process is to apply a base layer. The base layer provides stability, strength, and proper drainage for your new driveway surface. Here’s how to apply a base layer:
1. Prepare the area: Ensure that the surface is clean and free from any debris or loose material. Remove any vegetation or obstacles that may interfere with the application of the base layer.
2. Choose the base material: Depending on your specific needs and preferences, select a suitable base material such as crushed stone, gravel, or a sand and gravel mixture. Consider factors such as durability, compaction ability, and suitability for your specific climate.
3. Calculate the quantity: Determine the amount of base material required based on the dimensions and depth of your driveway. Consult with a professional or a local supplier to calculate the appropriate quantity needed for your specific project.
4. Spread the base material: Start by spreading a layer of the base material onto the prepared surface. Use a shovel or a rake to evenly distribute the material. Aim for a uniform thickness of around 4 to 6 inches for optimal stability and strength.
5. Compact the base layer: Use a plate compactor or a hand tamper to compact the base material firmly. This process helps to remove air gaps, increase stability, and achieve proper compaction density. Repeat this step multiple times, going over the entire surface to ensure even compaction.
6. Maintain a slight slope: While compacting the base layer, ensure that the surface maintains a slight slope for proper water drainage. Typically, a slope of about 1/4 inch per foot is recommended. This slope allows water to flow away from the driveway surface, preventing water-related issues and prolonging the lifespan of your driveway.
By applying a base layer, you create a solid foundation that supports the final layer of your driveway surface. The base layer provides stability, helps prevent settling, and contributes to the durability of your driveway.
Once the base layer is complete, you’re ready for the next step in the redo process: adding the topcoat to your driveway.
Read more: How To Redo A Front Porch
Adding a Topcoat
After applying the base layer to your driveway, it’s time to add the topcoat. The topcoat is the final layer of your new driveway surface and is responsible for its appearance and smoothness. Here’s how to add a topcoat:
1. Choose the appropriate topcoat material: Depending on your preference and budget, select the suitable topcoat material for your driveway. Common options include asphalt, concrete, gravel, or pavers. Consider factors such as durability, maintenance requirements, and aesthetic appeal.
2. Prepare the topcoat material: If you’re using asphalt or concrete, mix the material according to the manufacturer’s instructions. Ensure that the mixture is properly blended and achieves the desired consistency for easy application.
3. Start at the highest point: Begin applying the topcoat material at the highest point of your driveway and work your way down. This ensures that any excess material flows downhill and helps maintain a consistent thickness throughout the surface.
4. Spread the topcoat material: Use a shovel or a rake to evenly spread the topcoat material across the surface of your driveway. Aim for a uniform thickness, typically around 2 to 3 inches, for an aesthetically pleasing and durable finish.
5. Smooth and level the topcoat: Use a trowel or a leveling tool to smooth and level the applied topcoat material. Work in small sections, ensuring consistent thickness and a seamless transition between neighboring sections.
6. Consider decorative or finishing touches: If desired, you can add decorative elements to enhance the appearance of your driveway. This may include stamping patterns in concrete, incorporating colored aggregates, or adding decorative borders or edging.
7. Allow for proper curing: Follow the manufacturer’s instructions for the specific topcoat material you’ve chosen. Typically, the topcoat will require a curing period to harden and achieve its full strength. Avoid driving or placing heavy objects on the newly applied topcoat until it has fully cured.
By adding a topcoat, you transform the base layer into a visually appealing and functional driveway surface. The topcoat provides a smooth and even finish, enhancing the overall aesthetics and durability of your driveway.
Once the topcoat has cured, the next step is to seal the driveway to protect it from the elements and prolong its lifespan.
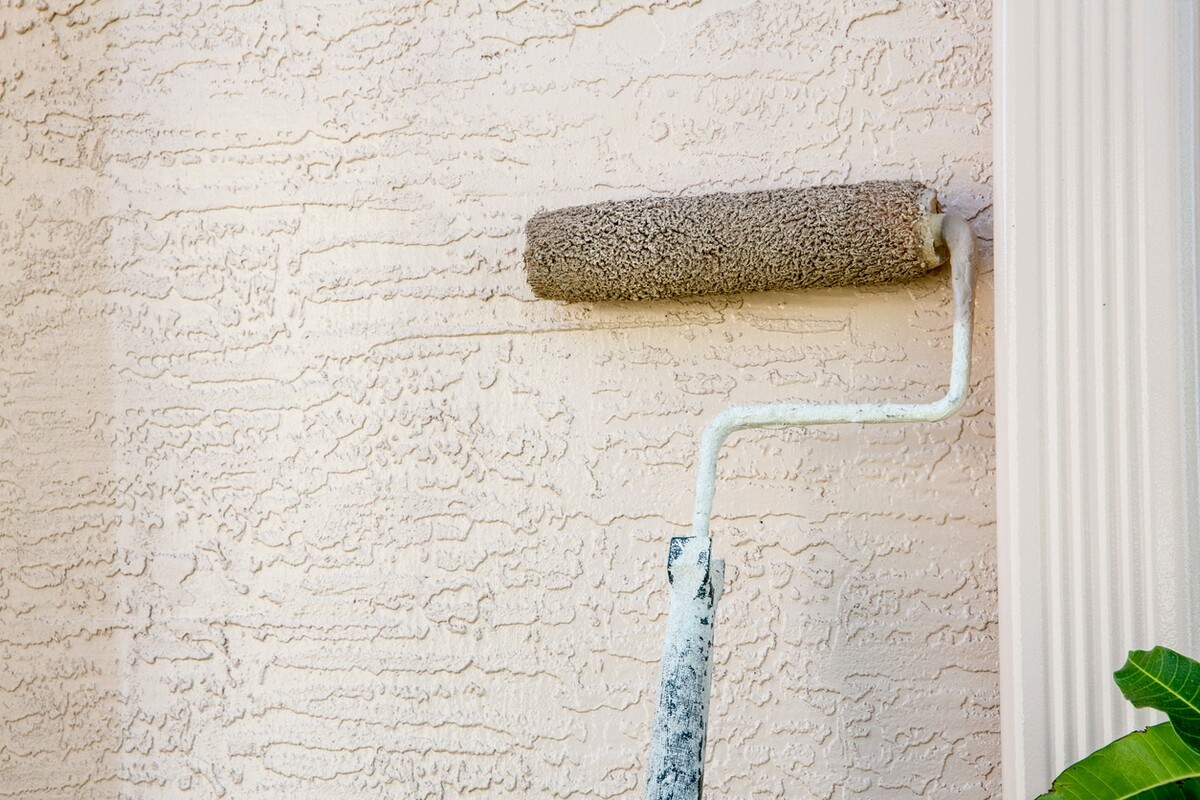
Sealing the Driveway
After completing the topcoat layer of your driveway, the final step in the redo process is to seal the surface. Sealing the driveway is crucial for its long-term durability and protection against the elements. Here’s how to seal your driveway:
1. Prepare the driveway: Clean the surface of your driveway thoroughly to remove any debris, dirt, or stains. Use a broom or a leaf blower, followed by a power washer if necessary, to ensure a clean surface for the sealing process. Allow the driveway to dry completely before proceeding.
2. Choose the appropriate sealer: Select a sealer that is suitable for the specific surface material of your driveway, such as asphalt, concrete, or pavers. Consider factors like weather conditions, UV protection, and slip resistance when choosing the sealer. Consult with a professional or a local supplier if you’re unsure about the best option for your driveway.
3. Apply the sealer: Start by pouring the sealer into a roller tray or a sprayer, depending on the type of sealer and your preference. Apply the sealer in thin, even coats, working from one end of the driveway to the other. Use a long-handled roller or a sprayer to ensure smooth and consistent coverage.
4. Work in sections: Divide your driveway into manageable sections and work on one section at a time. Apply the sealer in overlapping strokes, ensuring complete coverage of the surface. Avoid applying the sealer too thickly, as this can lead to pooling or an uneven finish.
5. Pay attention to edges and corners: Use a brush or a smaller tool to carefully seal the edges and corners of the driveway, where a roller or sprayer may have difficulty reaching. Pay special attention to these areas to ensure full protection and a uniform appearance.
6. Allow for proper drying and curing: Follow the manufacturer’s instructions regarding drying and curing times for the sealer. Typically, the driveway will need at least 24 hours to dry, and several days to a week to fully cure. Avoid walking or driving on the driveway until the sealer has completely dried and cured.
By sealing your driveway, you provide an additional layer of protection against elements like UV rays, water damage, oil spills, and stains. The sealer helps to prolong the life of your driveway and maintain its appearance for years to come.
Once the sealer has fully cured and dried, you can enjoy your newly redone and protected driveway. Regular maintenance, such as periodic resealing and cleaning, will further extend the lifespan and enhance the beauty of your driveway.
Allowing for Proper Curing and Drying
After completing the driveway redo process, it’s crucial to allow for proper curing and drying to ensure optimal results. The curing and drying period is essential for the materials used to settle, harden, and achieve their full strength. Here’s what you need to know:
1. Follow manufacturer’s instructions: Different materials and products used in the redo process may have specific curing and drying times recommended by their respective manufacturers. It’s important to carefully read and follow these instructions to ensure proper curing and drying.
2. Temperature and weather conditions: Take into account the ambient temperature and weather conditions during the curing and drying period. Extreme temperatures, high humidity, or rain can all affect the process and may require additional time for the materials to properly set and dry.
3. Restrict access: During the curing and drying period, it’s important to restrict access to the driveway to prevent premature damage or alteration to the newly redone surface. Keep vehicles, heavy objects, and foot traffic off the driveway until it has fully cured and dried.
4. Avoid water contact: For certain materials, such as concrete or freshly applied sealers, it’s essential to avoid any water contact during the curing and drying period. This means refraining from washing the driveway or allowing rainwater to accumulate on the surface.
5. Patience is key: While it may be tempting to start using the driveway soon after the redo process, it’s important to exercise patience and allow the necessary time for proper curing and drying. Rushing this stage can compromise the quality and longevity of the project.
By allowing for proper curing and drying, you ensure that the materials used in the driveway redo process can settle and harden as intended. This results in a stronger, more durable, and longer-lasting driveway surface.
Once the materials have fully cured and dried, you can finally enjoy your beautifully redone driveway. Regular maintenance and periodic inspections will help to preserve the condition and extend the lifespan of your driveway.
Conclusion
Redoing a driveway is a rewarding and transformative project that can greatly enhance the functionality and curb appeal of your home. By following the proper steps and techniques, you can successfully rejuvenate your worn-out driveway and create a beautiful, durable, and long-lasting surface. Here’s a recap of the key steps involved in redoing a driveway:
- Assess the current condition of your driveway to determine the scope of work needed.
- Plan the redo process by setting a budget, deciding on DIY or professional help, and familiarizing yourself with any permits or regulations.
- Gather the necessary tools and materials required for the project.
- Clear the driveway of any debris, vegetation, or loose materials.
- Remove old asphalt or concrete if necessary.
- Repair any cracks and potholes to ensure a smooth and level surface.
- Level the surface to create a stable foundation.
- Apply a base layer to provide strength and proper drainage.
- Add the topcoat material to achieve the desired appearance and texture.
- Seal the driveway to protect it from the elements and extend its lifespan.
- Allow for proper curing and drying of the materials used.
Remember, patience, attention to detail, and following the manufacturer’s instructions are crucial throughout the entire process. Whether you choose to tackle the project yourself or hire professional help, investing the time and effort into redoing your driveway will yield impressive results.
Ultimately, a newly redone driveway not only adds value and aesthetic appeal to your home but also provides a smooth and functional surface for your vehicles and guests. With regular maintenance and proper care, your revamped driveway will stand the test of time and enhance the overall beauty of your property.
So, if you’re ready to give your driveway a fresh start, follow the steps outlined in this guide and embark on your driveway redo journey. Enjoy the satisfaction of transforming your driveway into a stunning focal point that complements your home and impresses all who visit.
Frequently Asked Questions about How To Redo A Driveway
Was this page helpful?
At Storables.com, we guarantee accurate and reliable information. Our content, validated by Expert Board Contributors, is crafted following stringent Editorial Policies. We're committed to providing you with well-researched, expert-backed insights for all your informational needs.


0 thoughts on “How To Redo A Driveway”