
Articles
How To Hang Curtains On Concrete Wall
Modified: October 19, 2024
Learn how to hang curtains on a concrete wall with our helpful articles. Find step-by-step guides and tips to ensure a secure and stylish installation.
(Many of the links in this article redirect to a specific reviewed product. Your purchase of these products through affiliate links helps to generate commission for Storables.com, at no extra cost. Learn more)
Introduction
Hanging curtains on a concrete wall may seem like a daunting task, but with the right tools and techniques, it can be accomplished easily. Whether you’re looking to add some privacy, block out sunlight, or simply enhance the aesthetic appeal of a room, curtains can play a significant role in transforming the space. In this article, we will guide you through the step-by-step process of hanging curtains on a concrete wall, ensuring a sturdy and seamless installation.
Key Takeaways:
- Transform your space with ease by following our step-by-step guide to hanging curtains on a concrete wall. Achieve a sturdy and visually pleasing installation for a cozy and inviting atmosphere.
- Don’t be intimidated by the challenge of hanging curtains on a concrete wall. With the right tools and techniques, you can achieve a beautiful and functional curtain installation that elevates the style and comfort of your space.
Read more: How To Hang Curtains In Plaster Walls
Step 1: Gather the necessary tools and materials
Before you begin the process of hanging curtains on a concrete wall, it’s essential to gather all the necessary tools and materials. Here’s a list of what you’ll need:
1. Curtain rod: Select a curtain rod that is suitable for the size and weight of your curtains. Make sure it is long enough to span the width of the window or desired area.
2. Curtain rod brackets: These brackets will hold the curtain rod in place. Choose brackets that are designed for concrete walls and can support the weight of the curtains.
3. Wall anchors: Concrete walls require the use of wall anchors to provide stability and support for the curtain rod brackets. Look for wall anchors that are specifically designed for concrete surfaces.
4. Drill with masonry bit: To create holes in the concrete wall, you will need a power drill equipped with a masonry bit. The size of the masonry bit should match the size of the wall anchors you’re using.
5. Pencil or marker: You’ll need a pencil or marker to mark the placement of the curtain rod brackets on the concrete wall.
6. Level: A level is necessary to ensure that the curtain rod and brackets are installed straight and level.
7. Measuring tape: A measuring tape will help you accurately measure the placement of the curtain rod brackets.
8. Screwdriver or screw gun: Depending on the type of screws provided with the curtain rod brackets, you will need either a screwdriver or a screw gun to securely attach the brackets to the wall anchors.
9. Curtains and curtain rings: Finally, don’t forget to have the curtains and curtain rings ready. Choose curtains that complement your room’s décor and ensure that the curtain rings are compatible with the curtain rod.
Step 2: Measure and mark the placement of the curtain rod brackets
Once you have gathered all the necessary tools and materials, the next step is to measure and mark the placement of the curtain rod brackets on the concrete wall. Follow these steps:
1. Begin by determining the height at which you want to hang your curtains. Consider factors such as the length of your curtains, the height of the window, and the desired look for your space.
2. Use a measuring tape to measure the distance from the floor or window sill to the desired height for the curtain rod. Make sure to measure this distance on both ends of the window or area where the curtains will be hung, as it’s common for the measurements to vary slightly.
3. Take the measurement of the curtain rod and determine the placement of the brackets. Typically, the brackets should be positioned a few inches away from the edge of the window frame or the outer corners of the area where the curtains will be hung.
4. Use a pencil or marker to mark the positions of the brackets on the concrete wall. Make sure to double-check your measurements and ensure that the marks are straight and level.
5. If you’re hanging multiple curtain panels, repeat the measuring and marking process for each panel, ensuring that the brackets are evenly spaced.
6. Stand back and visually inspect the marked positions of the brackets. Ensure they align with your desired curtain placement and adjust the markings if needed.
Remember to consider any obstructions such as light fixtures, air vents, or electrical outlets when determining the placement of the brackets. It’s essential to provide enough clearance for the curtains to hang freely without any hindrances.
Step 3: Drill holes into the concrete wall
Once you have marked the placement of the curtain rod brackets, it’s time to drill holes into the concrete wall. Follow these steps to ensure a proper and secure installation:
1. Put on safety goggles and gloves to protect yourself during the drilling process.
2. Attach a masonry bit to your drill. The size of the bit should match the size of the wall anchors you are using. Consult the instructions provided with the wall anchors to determine the appropriate drill bit size.
3. Position the drill bit on one of the marked positions for the bracket and hold it perpendicular to the wall.
4. Apply steady pressure and begin drilling into the concrete wall. Use a slow and controlled motion, allowing the drill bit to do the work. It may take some time to drill through the concrete, so be patient and avoid applying excessive force.
5. Once the drill bit penetrates the concrete, continue drilling until the hole is deep enough to accommodate the length of the wall anchor. The depth of the hole will vary depending on the specific wall anchors you are using.
6. Repeat the drilling process for the remaining marked positions, ensuring that each hole is drilled to the appropriate depth.
7. After drilling all the holes, remove any dust or debris from the holes. You can use a blow bulb or a vacuum cleaner to clean out the holes thoroughly.
Drilling into concrete can be challenging, so it’s important to take your time and use the proper technique. Remember to consult the instructions provided with your drill and follow any safety precautions recommended by the manufacturer.
Step 4: Insert wall anchors into the drilled holes
After drilling the holes into the concrete wall, the next step is to insert wall anchors. Wall anchors provide support and stability for the curtain rod brackets. Follow these steps to insert the wall anchors:
1. Take the wall anchors that are designed for concrete surfaces. These anchors are typically made of plastic or metal and have ribbed or threaded sides.
2. Insert one wall anchor into each drilled hole. Make sure the anchor fits snugly into the hole and is flush with the surface of the wall.
3. Use a hammer to gently tap the wall anchors into place if needed. Be careful not to apply excessive force, as it may damage the anchor or the wall.
4. Repeat this process for all the drilled holes, ensuring that each hole has a wall anchor securely inserted.
5. Once all the wall anchors are in place, give them a firm push or twist to ensure they are properly seated and won’t come loose when pressure is applied.
Wall anchors provide extra support and prevent the curtain rod brackets from pulling out of the concrete wall. They distribute the weight of the curtains evenly, ensuring a secure and long-lasting installation.
If you encounter any difficulty inserting the wall anchors or find that they are not fitting properly, it may be necessary to re-drill the hole or use a different size of wall anchor. Remember to refer to the instructions provided with the wall anchors for specific guidance and recommendations.
Use a masonry drill bit to create pilot holes in the concrete wall. Insert wall anchors and then attach curtain rod brackets with screws. Use a level to ensure the brackets are straight.
Step 5: Attach the curtain rod brackets to the wall anchors
With the wall anchors securely in place, it’s time to attach the curtain rod brackets to the concrete wall. Follow these steps for a sturdy installation:
1. Take one curtain rod bracket and align it with one of the wall anchors. The bracket should be positioned so that the screw holes align with the wall anchor.
2. Insert a screw into one of the screw holes on the bracket and start screwing it into the wall anchor. Use a screwdriver or a screw gun to tighten the screw, but be careful not to overtighten and damage the wall anchor or the bracket.
3. Repeat this process for the remaining screw holes on the bracket, ensuring that all screws are securely fastened to the wall anchors.
4. Once the first bracket is attached, move on to the next bracket and repeat the process.
5. After attaching all the curtain rod brackets, give them a gentle tug to make sure they are securely mounted on the wall. If any brackets feel loose, tighten the screws further.
6. Double-check the alignment of the brackets and adjust if necessary. Use a level to ensure that the brackets are straight and level.
The curtain rod brackets provide the support for the curtain rod and should be tightly secured to the wall anchors. It’s important to ensure that the brackets are evenly spaced and properly aligned to maintain the stability of the installation.
If you’re using adjustable curtain rod brackets, take the time to adjust them to the desired distance and height before attaching them to the wall anchors. This will ensure that the curtains hang at the desired height and have enough clearance from the window frame or other obstructions.
Step 6: Hang the curtains onto the curtain rod
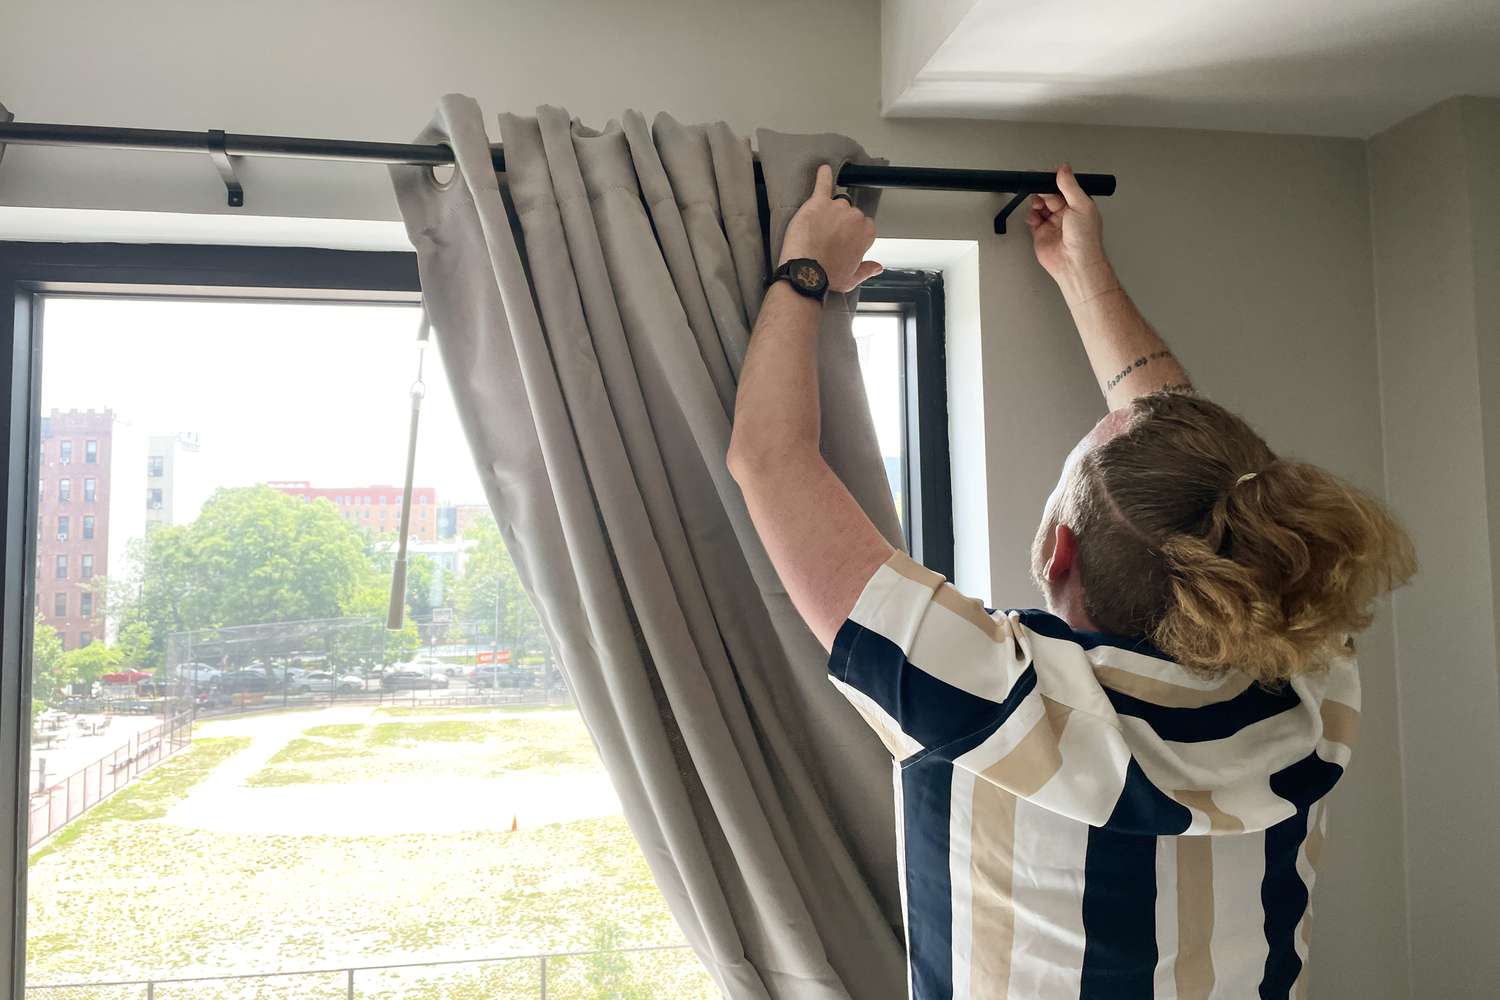
After attaching the curtain rod brackets to the wall anchors, it’s time to hang the curtains onto the curtain rod. Follow these steps to complete the installation:
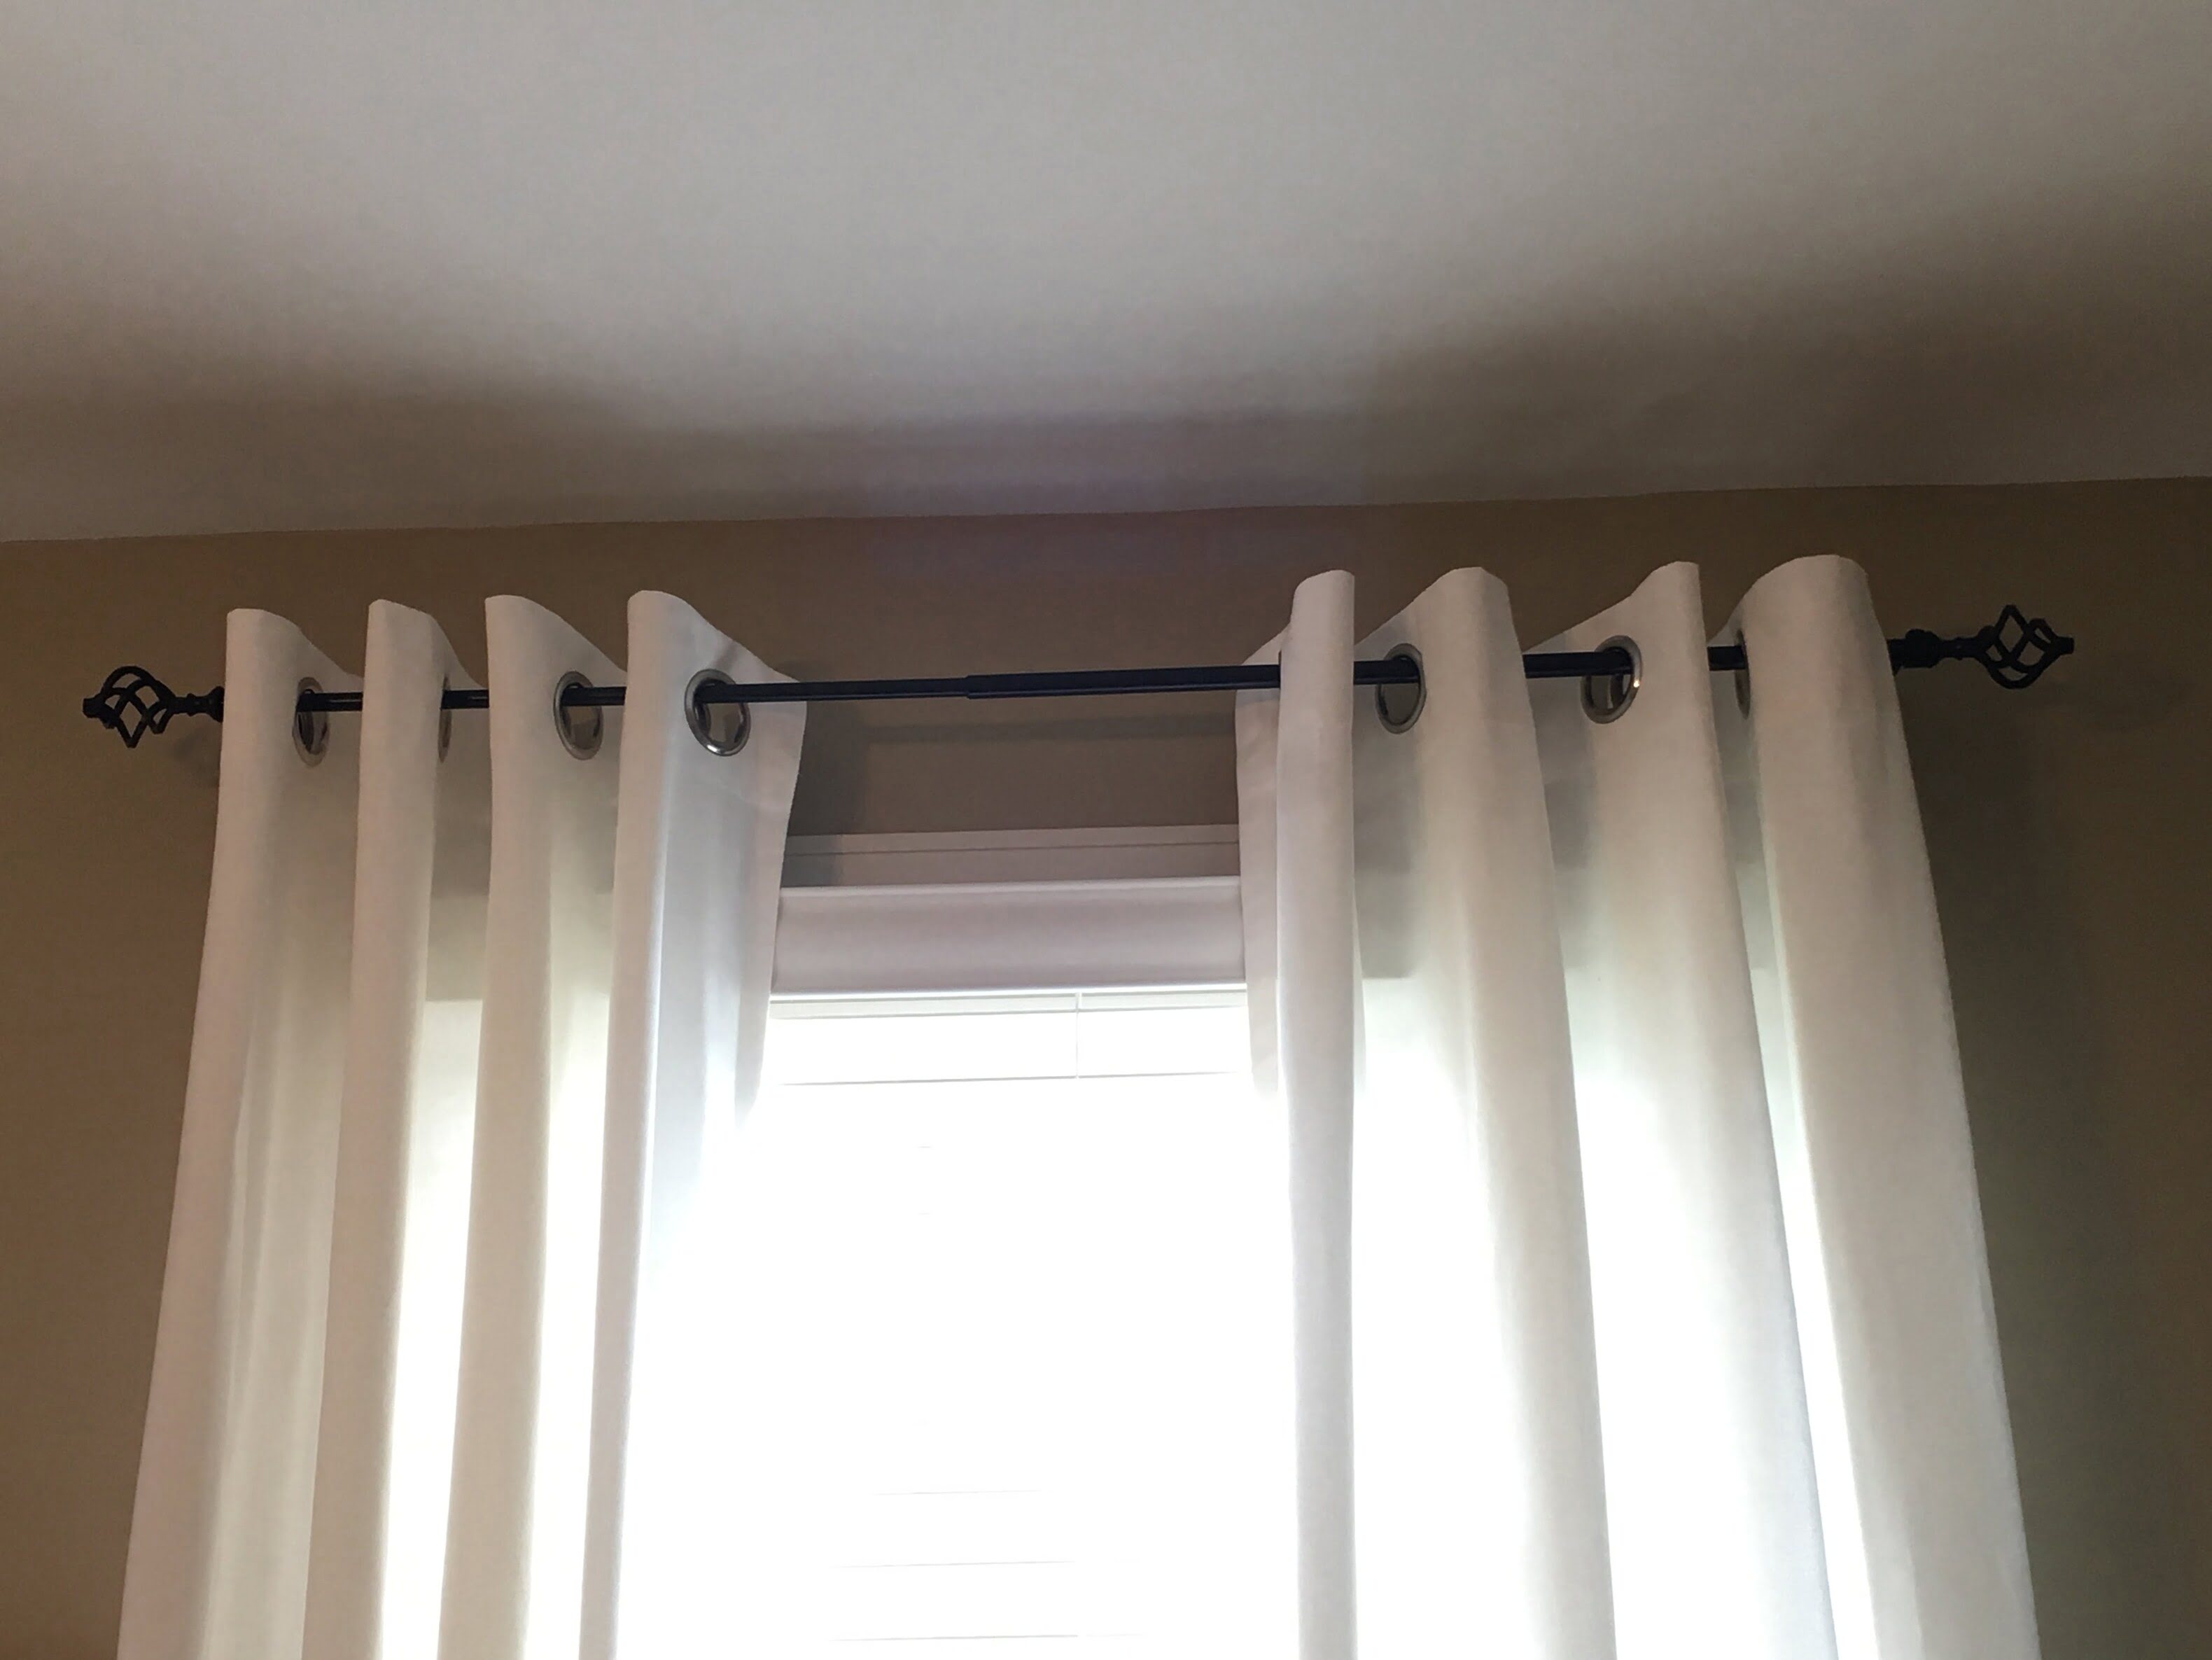
1. Take the curtain rod and place it onto the brackets. Ensure that the rod is properly seated and stable on the brackets.
2. If your curtain rod has finials or decorative end caps, make sure they are in place on both ends of the rod.
3. If your curtains have curtain rings or hooks, attach them to the rod. Ensure that the rings are evenly spaced and distributed along the length of the rod.
4. Carefully lift the curtains and thread the curtain rings or hooks through the rod. Slide them along the rod until the curtains are evenly distributed.
5. Once all the curtain rings or hooks are in place, double-check to ensure that the curtains are hanging straight and evenly. Make any necessary adjustments to straighten them out before moving on to the next step.
It’s important to handle the curtains with care during this step to prevent any damage or tangling. If your curtains have a lining or backing, make sure it is facing the desired direction and is properly aligned on the rod.
6. Stand back and visually inspect the curtains to ensure they are hanging at the desired height and are evenly distributed on the rod. Make any final adjustments as needed.
7. If your curtains have tiebacks or holdbacks, you can now position them to hold the curtains open or create a decorative effect.
With the curtains properly hung onto the curtain rod, you can now step back and appreciate the finished look. Ensure that the curtains are hanging straight, with an even and pleasing drape. If needed, you can adjust the curtain rings or hooks to achieve your desired curtain arrangement.
With everything in place, you can now enjoy the privacy, light control, and aesthetic beauty that curtains provide to your space.
Step 7: Adjust and level the curtains
Once you have hung the curtains onto the curtain rod, the final step is to adjust and level them for a polished and cohesive look. Follow these steps to ensure that your curtains are perfectly aligned:
1. Stand back and observe the curtains from a distance. Check if they are hanging evenly and aligning properly with the window or desired area. Look for any areas where the curtains may be bunched up or unevenly distributed.
2. Adjust the placement of the curtain rings or hooks along the rod to ensure that the curtains are evenly spaced and hanging straight. Slide them along the rod as needed to create a balanced appearance.
3. If the curtains are too long and touching the floor, you may need to adjust the rod height or hem the curtains to desired length. Conversely, if the curtains are too short, you may need to adjust the rod height or replace the curtains with longer ones.
4. Use a level to check if the curtain rod is straight and level. If not, adjust the brackets as necessary to align the rod with the level.
5. Ensure that the curtains are hanging at the desired height. They should provide adequate coverage and privacy while allowing enough natural light to filter through.
6. Stand back and observe the overall appearance of the curtains. Make any final adjustments to ensure that they are aligned, level, and hanging just the way you envisioned.
Taking the time to adjust and level the curtains will greatly enhance their visual impact and contribute to the overall aesthetic of the space. Straight and level curtains lend a sense of neatness and sophistication to any room.
By following these steps, you can achieve a professional and seamless installation for your curtains on a concrete wall.
Conclusion
Hanging curtains on a concrete wall may seem like a challenging task, but with the right tools, techniques, and a little bit of patience, it can be done successfully. By following the step-by-step process outlined in this article, you can ensure a sturdy and visually pleasing installation of curtains that will transform your space.
From gathering the necessary tools and materials to drilling holes and inserting wall anchors, each step plays a vital role in creating a secure foundation for your curtain rod brackets. By carefully measuring and marking the placement of the brackets and using the appropriate wall anchors, you can ensure a strong and stable support system.
With the brackets securely attached to the wall anchors, the curtains can be effortlessly hung onto the curtain rod. By adjusting and leveling the curtains, you can create a visually appealing and polished look, adding charm and style to your room.
It’s important to keep in mind that proper installation and care are essential for your curtains to maintain their appearance and functionality. Regularly check the brackets and wall anchors to ensure they are secure. If any adjustments or repairs are needed, address them promptly to avoid any potential damage.
Hanging curtains on a concrete wall is a rewarding project that allows you to personalize your space and create a cozy and inviting atmosphere. Whether you’re looking to add privacy, control sunlight, or enhance the aesthetic appeal of a room, curtains play a significant role in transforming the ambiance.
So, don’t be intimidated by the challenge of hanging curtains on a concrete wall. With the comprehensive guide provided in this article and a can-do attitude, you’ll be able to achieve a beautiful and functional curtain installation that will elevate the style and comfort of your space. Happy decorating!
Now that you've mastered hanging curtains on a concrete wall, why not tackle more home projects? If you're itching to spruce up your space without breaking the bank, our guide on DIY home improvement offers practical advice and creative solutions. From simple repairs to transformative renovations, you'll find plenty of ways to enhance your home's appeal and functionality. Don't miss out on these savvy home improvement tips that can turn any novice into a skilled DIY enthusiast!
Frequently Asked Questions about How To Hang Curtains On Concrete Wall
Was this page helpful?
At Storables.com, we guarantee accurate and reliable information. Our content, validated by Expert Board Contributors, is crafted following stringent Editorial Policies. We're committed to providing you with well-researched, expert-backed insights for all your informational needs.







0 thoughts on “How To Hang Curtains On Concrete Wall”