Articles
How To Hang Curtains With Ring Clips
Modified: May 6, 2024
Learn how to hang curtains with ring clips in this informative article. Get step-by-step instructions to easily transform your windows with this simple DIY method.
(Many of the links in this article redirect to a specific reviewed product. Your purchase of these products through affiliate links helps to generate commission for Storables.com, at no extra cost. Learn more)
Introduction
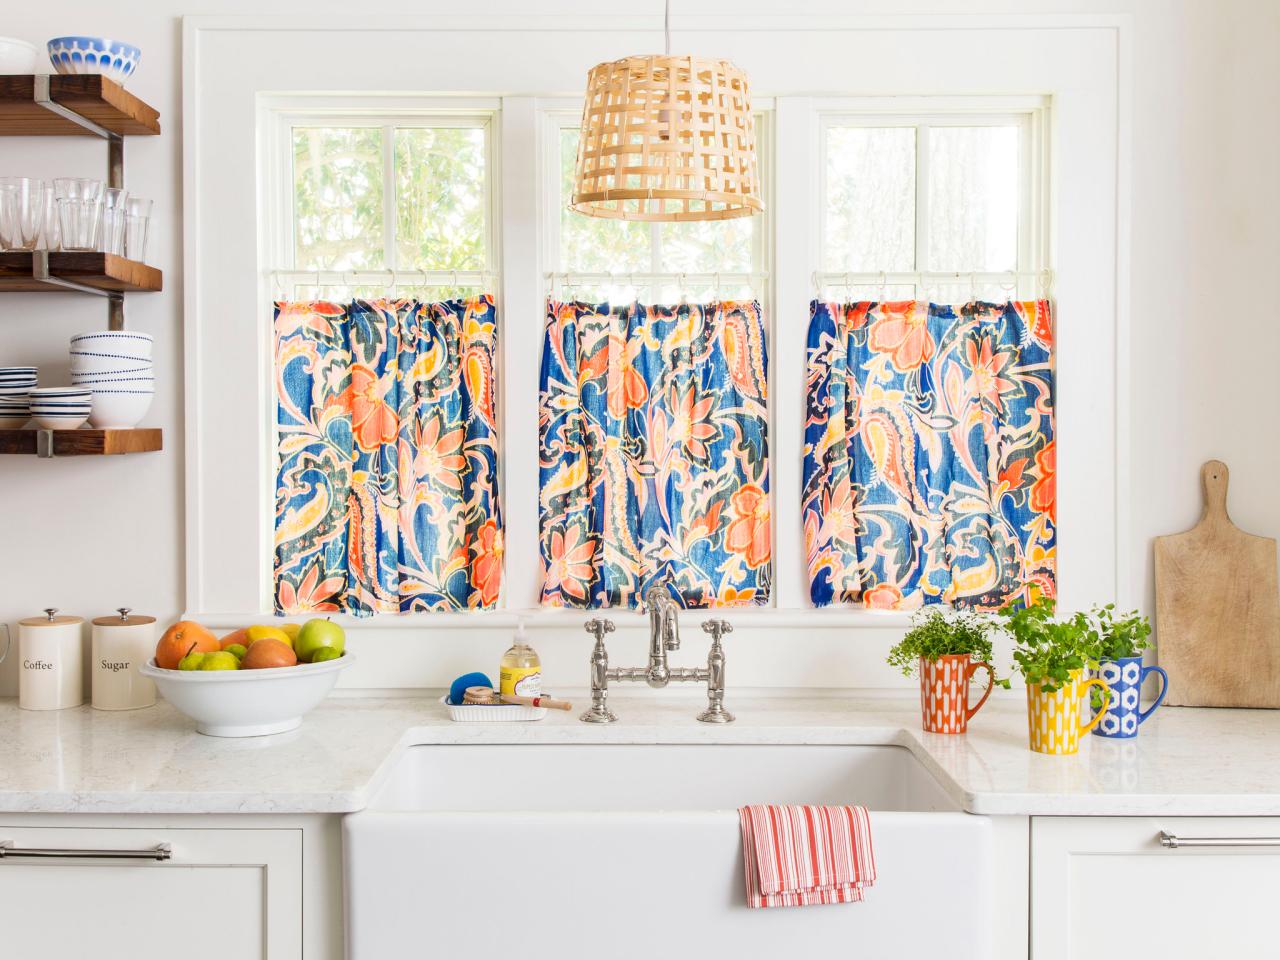
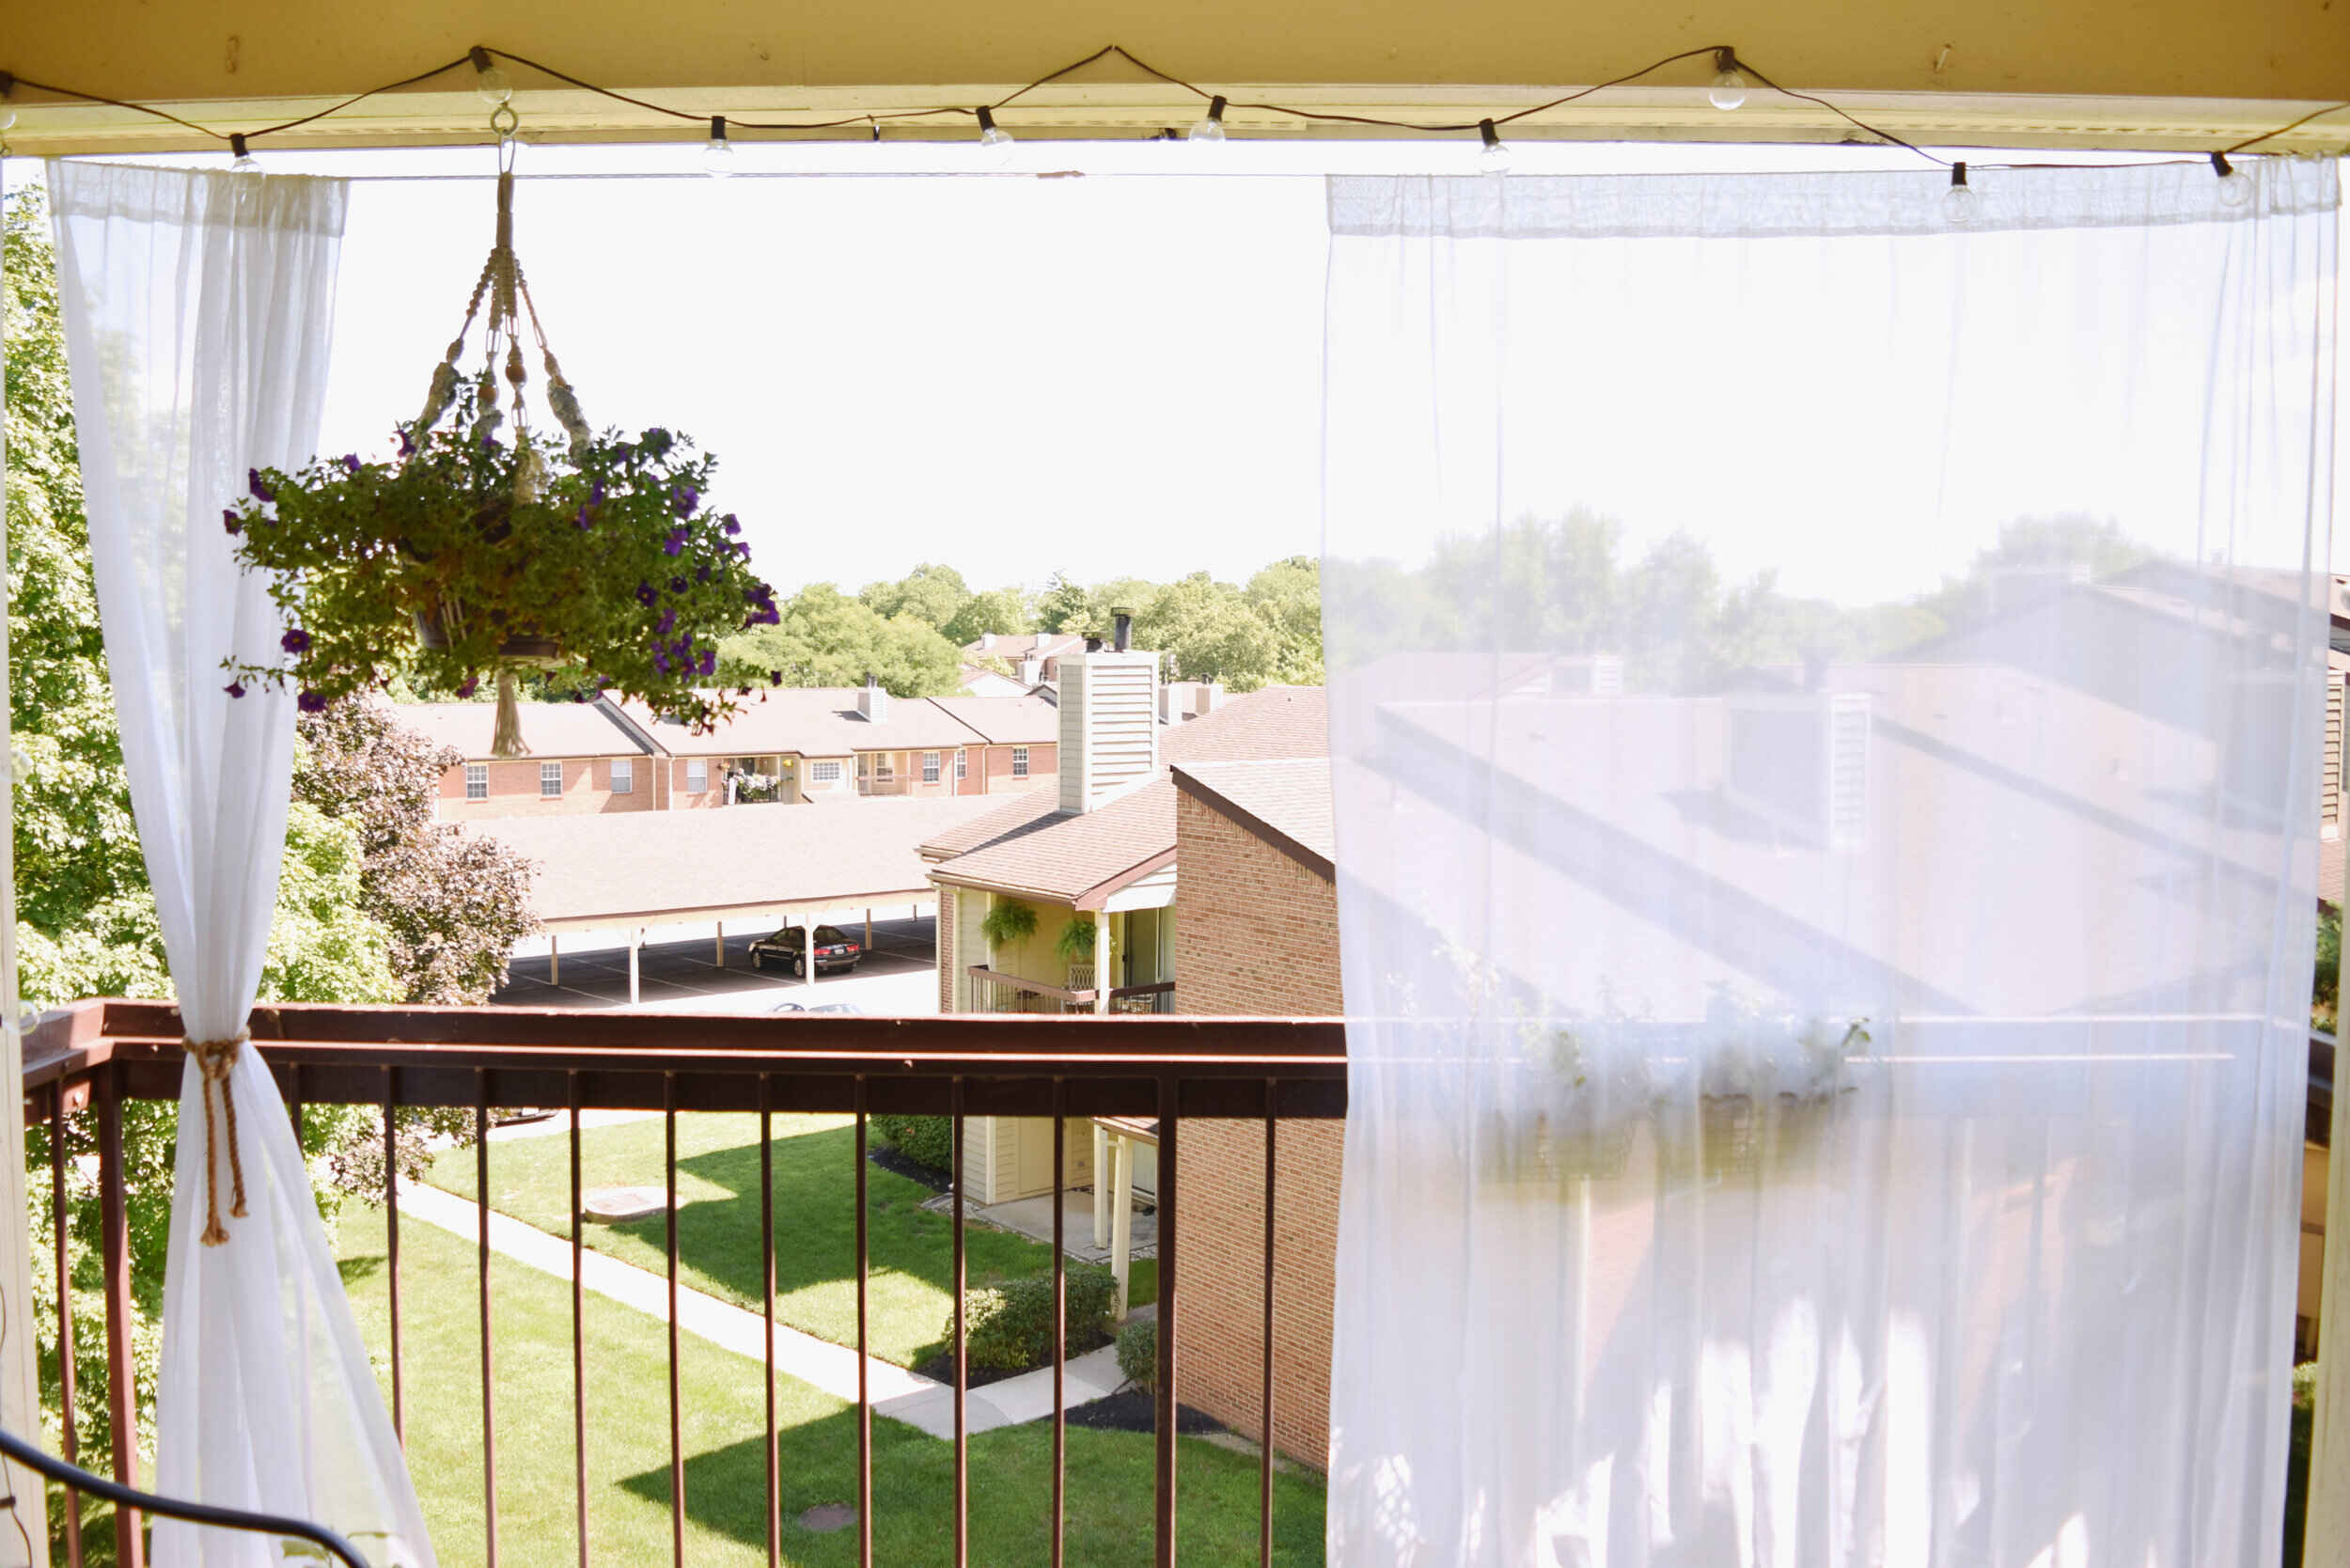
Hanging curtains with ring clips is a simple and versatile way to add style and functionality to any window in your home. Whether you’re looking to enhance privacy, block out light, or simply decorate your space, curtains can instantly transform the look and feel of a room.
In this article, we’ll guide you through the step-by-step process of hanging curtains with ring clips, making it easy for you to achieve a professional and polished look. With just a few materials and some basic measurements, you’ll have your curtains up and ready to go in no time.
Before we dive into the steps, let’s take a quick look at the advantages of using ring clips. These small metal or plastic clips attach to the top of your curtain panels and slide onto a curtain rod, allowing for easy installation and removal. Ring clips also offer flexibility in terms of curtain pleating and spacing, giving you the freedom to create different looks with minimal effort.
So, if you’re ready to add some flair to your windows, let’s get started on hanging curtains with ring clips!
Key Takeaways:
- Easily achieve a professional and polished look by hanging curtains with ring clips. Enjoy the flexibility to create different looks with minimal effort, enhancing privacy and adding elegance to your space.
- Transform your windows into stylish focal points with the practical and versatile solution of hanging curtains with ring clips. Enjoy the beauty and functionality of your newly adorned windows, and have fun experimenting with different fabrics and styles.
Read more: How Do You Hang Curtains With Rings
Step 1: Gather the necessary materials
Before you begin the curtain hanging process, it’s essential to gather all the necessary materials. Having everything on hand will make the installation process smoother and more efficient. Here are the materials you’ll need:
- Curtain panels: Choose curtains that suit your style and the size of your windows. Make sure you have enough panels to cover the desired width of your window.
- Ring clips: These are the key components that will hold your curtains in place. Select ring clips that are compatible with your curtain rod and are sturdy enough to support the weight of your curtains.
- Curtain rod: Select a curtain rod that complements your decor and is the appropriate length for your window. Make sure the curtain rod has enough clearance to accommodate the curtain panels and the ring clips.
- Measuring tape: Accurate measurements are essential for achieving a proper fit. Use a measuring tape to determine the height and width of your windows.
- Pencil: A pencil will come in handy for marking the placement of the curtain rod and determining the desired height of your curtains.
- Screwdriver: Depending on the type of curtain rod you choose, you may need a screwdriver for installation. Ensure you have the appropriate screwdriver size for the job.
- Level: To ensure a straight and even installation, use a level to check the alignment of the curtain rod.
- Step stool or ladder: If your windows are high or out of reach, having a step stool or ladder will make it easier to access and install the curtains.
Once you have gathered all the necessary materials, you’ll be fully prepared to move on to the next step: measuring and marking the curtain placement.
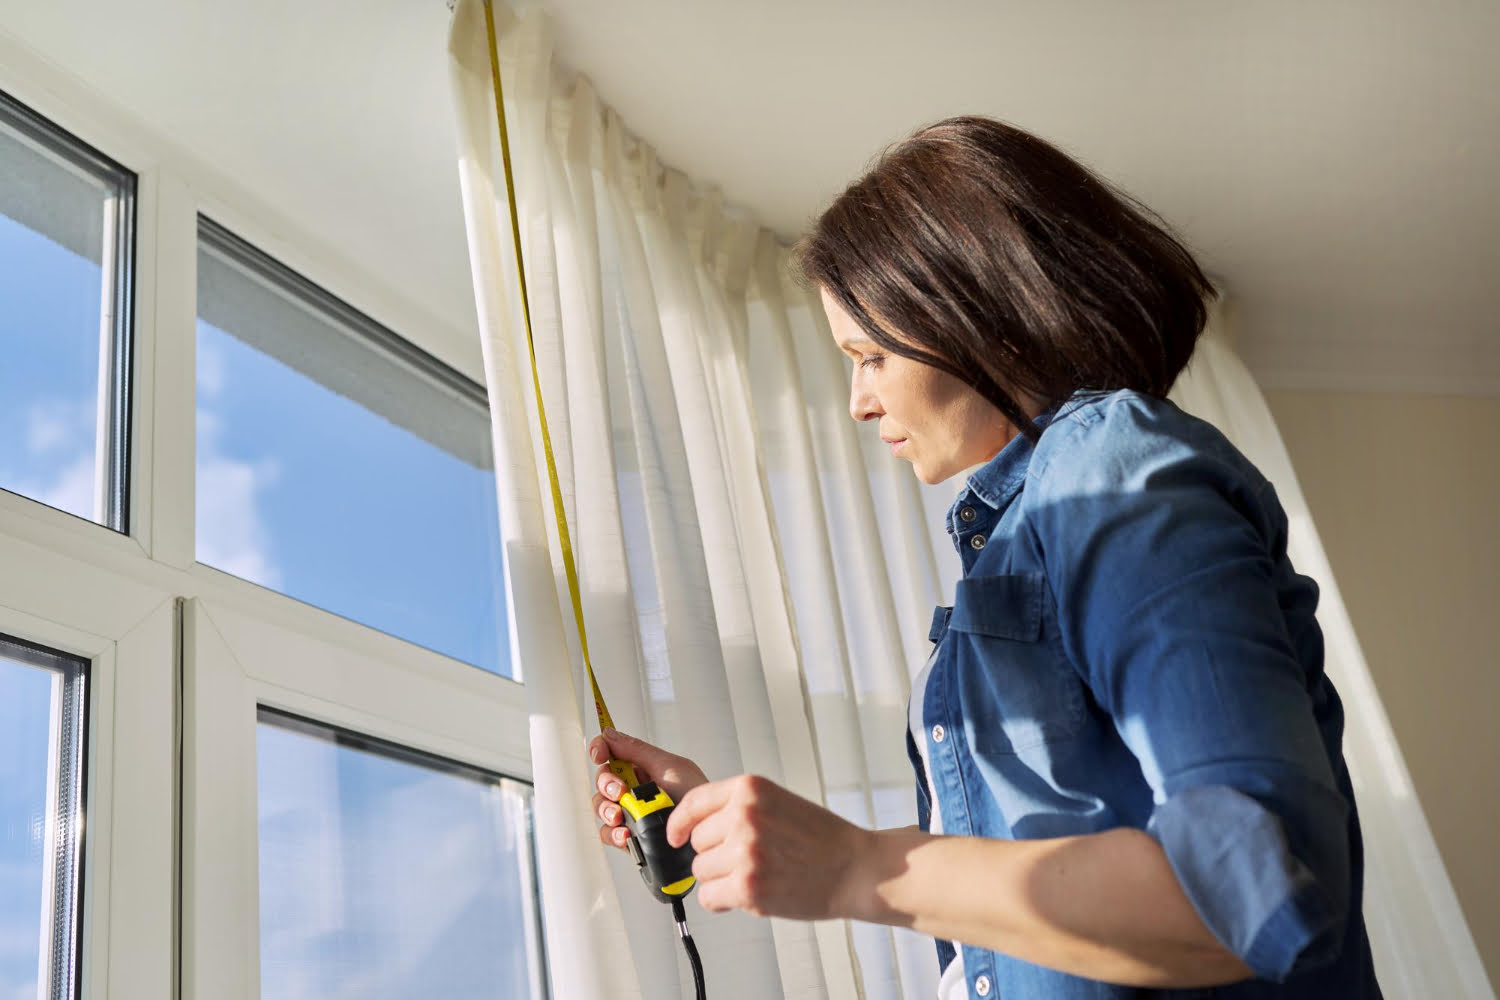
Step 2: Measure and mark the curtain placement
Accurate measurements are crucial to ensure that your curtains hang properly and provide the desired coverage for your windows. Before you begin installation, take the time to measure and mark the curtain placement. Here’s how:
- Start by determining the desired height of your curtains. Measure from the floor or window sill, depending on your preference, and mark this measurement with a pencil on both sides of the window. This will serve as your guide for hanging the curtain rod at the correct height.
- Next, measure the width of your window. Decide how much coverage you want on each side of the window, whether it’s a few inches or full coverage. Add this measurement to the width of the window to calculate the total width of the curtain rod.
- Using a measuring tape, mark the desired placement of the curtain rod brackets. Measure and mark the distance from the floor or window sill to the top of the bracket on both sides of the window. Ensure that the marks are level and aligned.
- If there are multiple windows or doors in the same room, repeat the measuring and marking process for each one.
Remember to account for any obstructions near the windows, such as furniture or wall-mounted fixtures. You want to make sure that the curtains have enough clearance for smooth operation. Once you have completed the measuring and marking process, it’s time to move on to the next step: installing the curtain rod.
Step 3: Install the curtain rod
With the curtain placement marked and the measurements in hand, it’s time to install the curtain rod. Follow these steps to ensure a secure and level installation:
- Start by positioning the curtain rod brackets at the marked locations on either side of the window. Use a level to ensure that the brackets are straight and level.
- Once you have determined the appropriate height for the curtain rod, mark the placement of the screw holes on the wall.
- Using a screwdriver, attach the brackets to the wall by securely screwing them into place. Make sure the screws are tight enough to support the weight of the curtain rod and curtains.
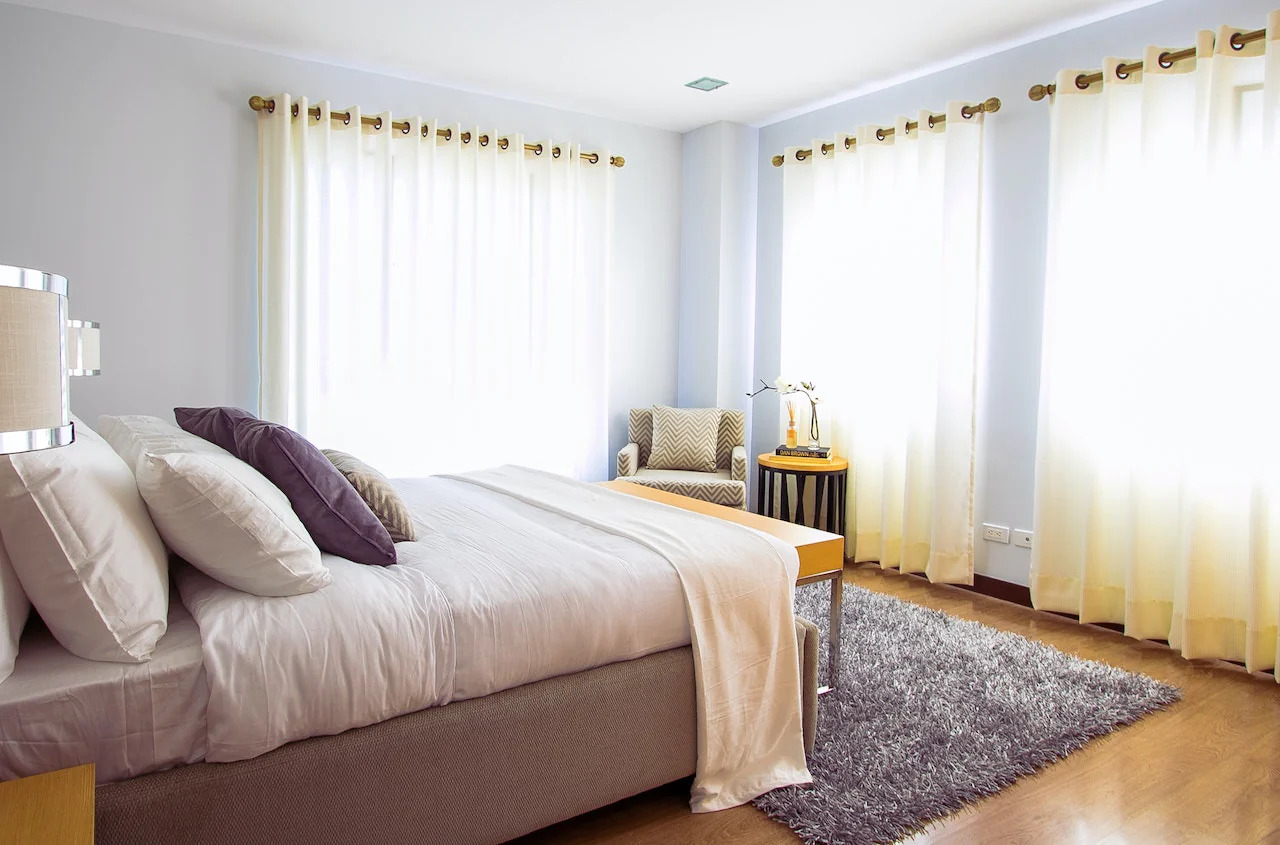
- If your curtain rod includes center supports, install them according to the manufacturer’s instructions. Center supports are essential for preventing the rod from sagging in the middle, especially for longer curtain rods.
- After installing the curtain rod brackets, double-check their alignment and ensure that the rod is level. Adjust as necessary.
Once the curtain rod is securely installed, you’re ready to move on to the next step: attaching the ring clips to your curtains.
When hanging curtains with ring clips, make sure to evenly space the clips along the top of the curtain panel to ensure a balanced and professional look.
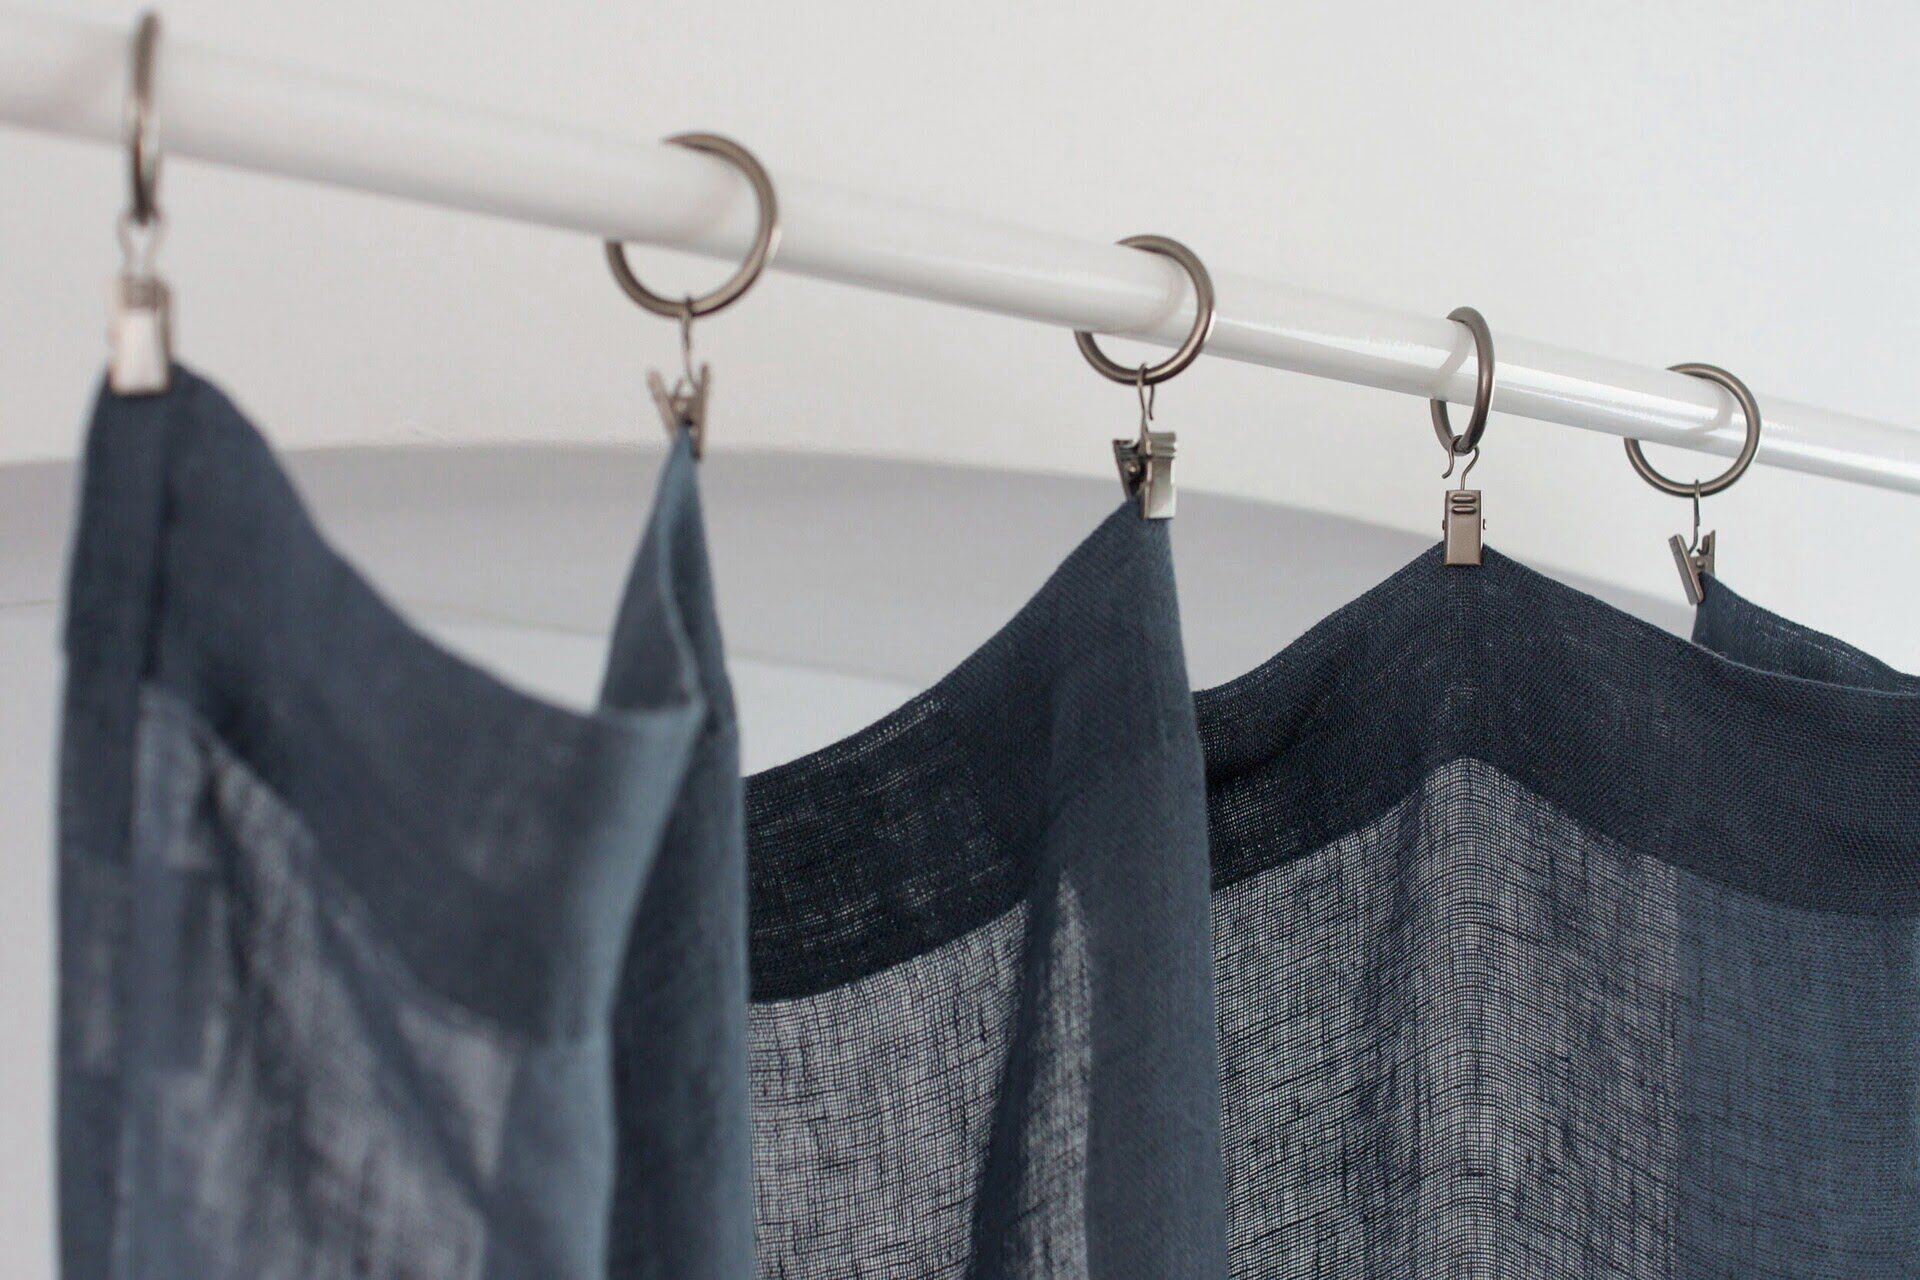
Step 4: Attach the ring clips to the curtains
Now that your curtain rod is installed, it’s time to attach the ring clips to your curtains. This step will allow you to easily hang your curtains and adjust their pleating and spacing. Follow these steps for a seamless attachment process:
- Spread out your curtain panels on a flat surface, such as a table or the floor.
- Take one of the ring clips and open it by pressing the clip together or sliding the metal or plastic rings apart.
- Slide the open ring clip onto the top edge of the curtain panel, positioning it evenly across the width of the panel. Repeat this step for the remaining ring clips, spacing them according to your desired curtain pleating.
- Ensure that the fabric of the curtain is securely gripped by the ring clip. Gently tug on the curtain to test the attachment.
- Continue attaching ring clips to the remaining curtain panels, following the same steps.
As you attach the ring clips, make sure that the curtains are evenly distributed and hanging straight. Adjust the positioning of the ring clips as needed to achieve the desired appearance.
Once all the ring clips are attached to the curtains, you’re ready for the exciting part: hanging the curtains on the rod.
Read more: How To Hang Drapes With Clips
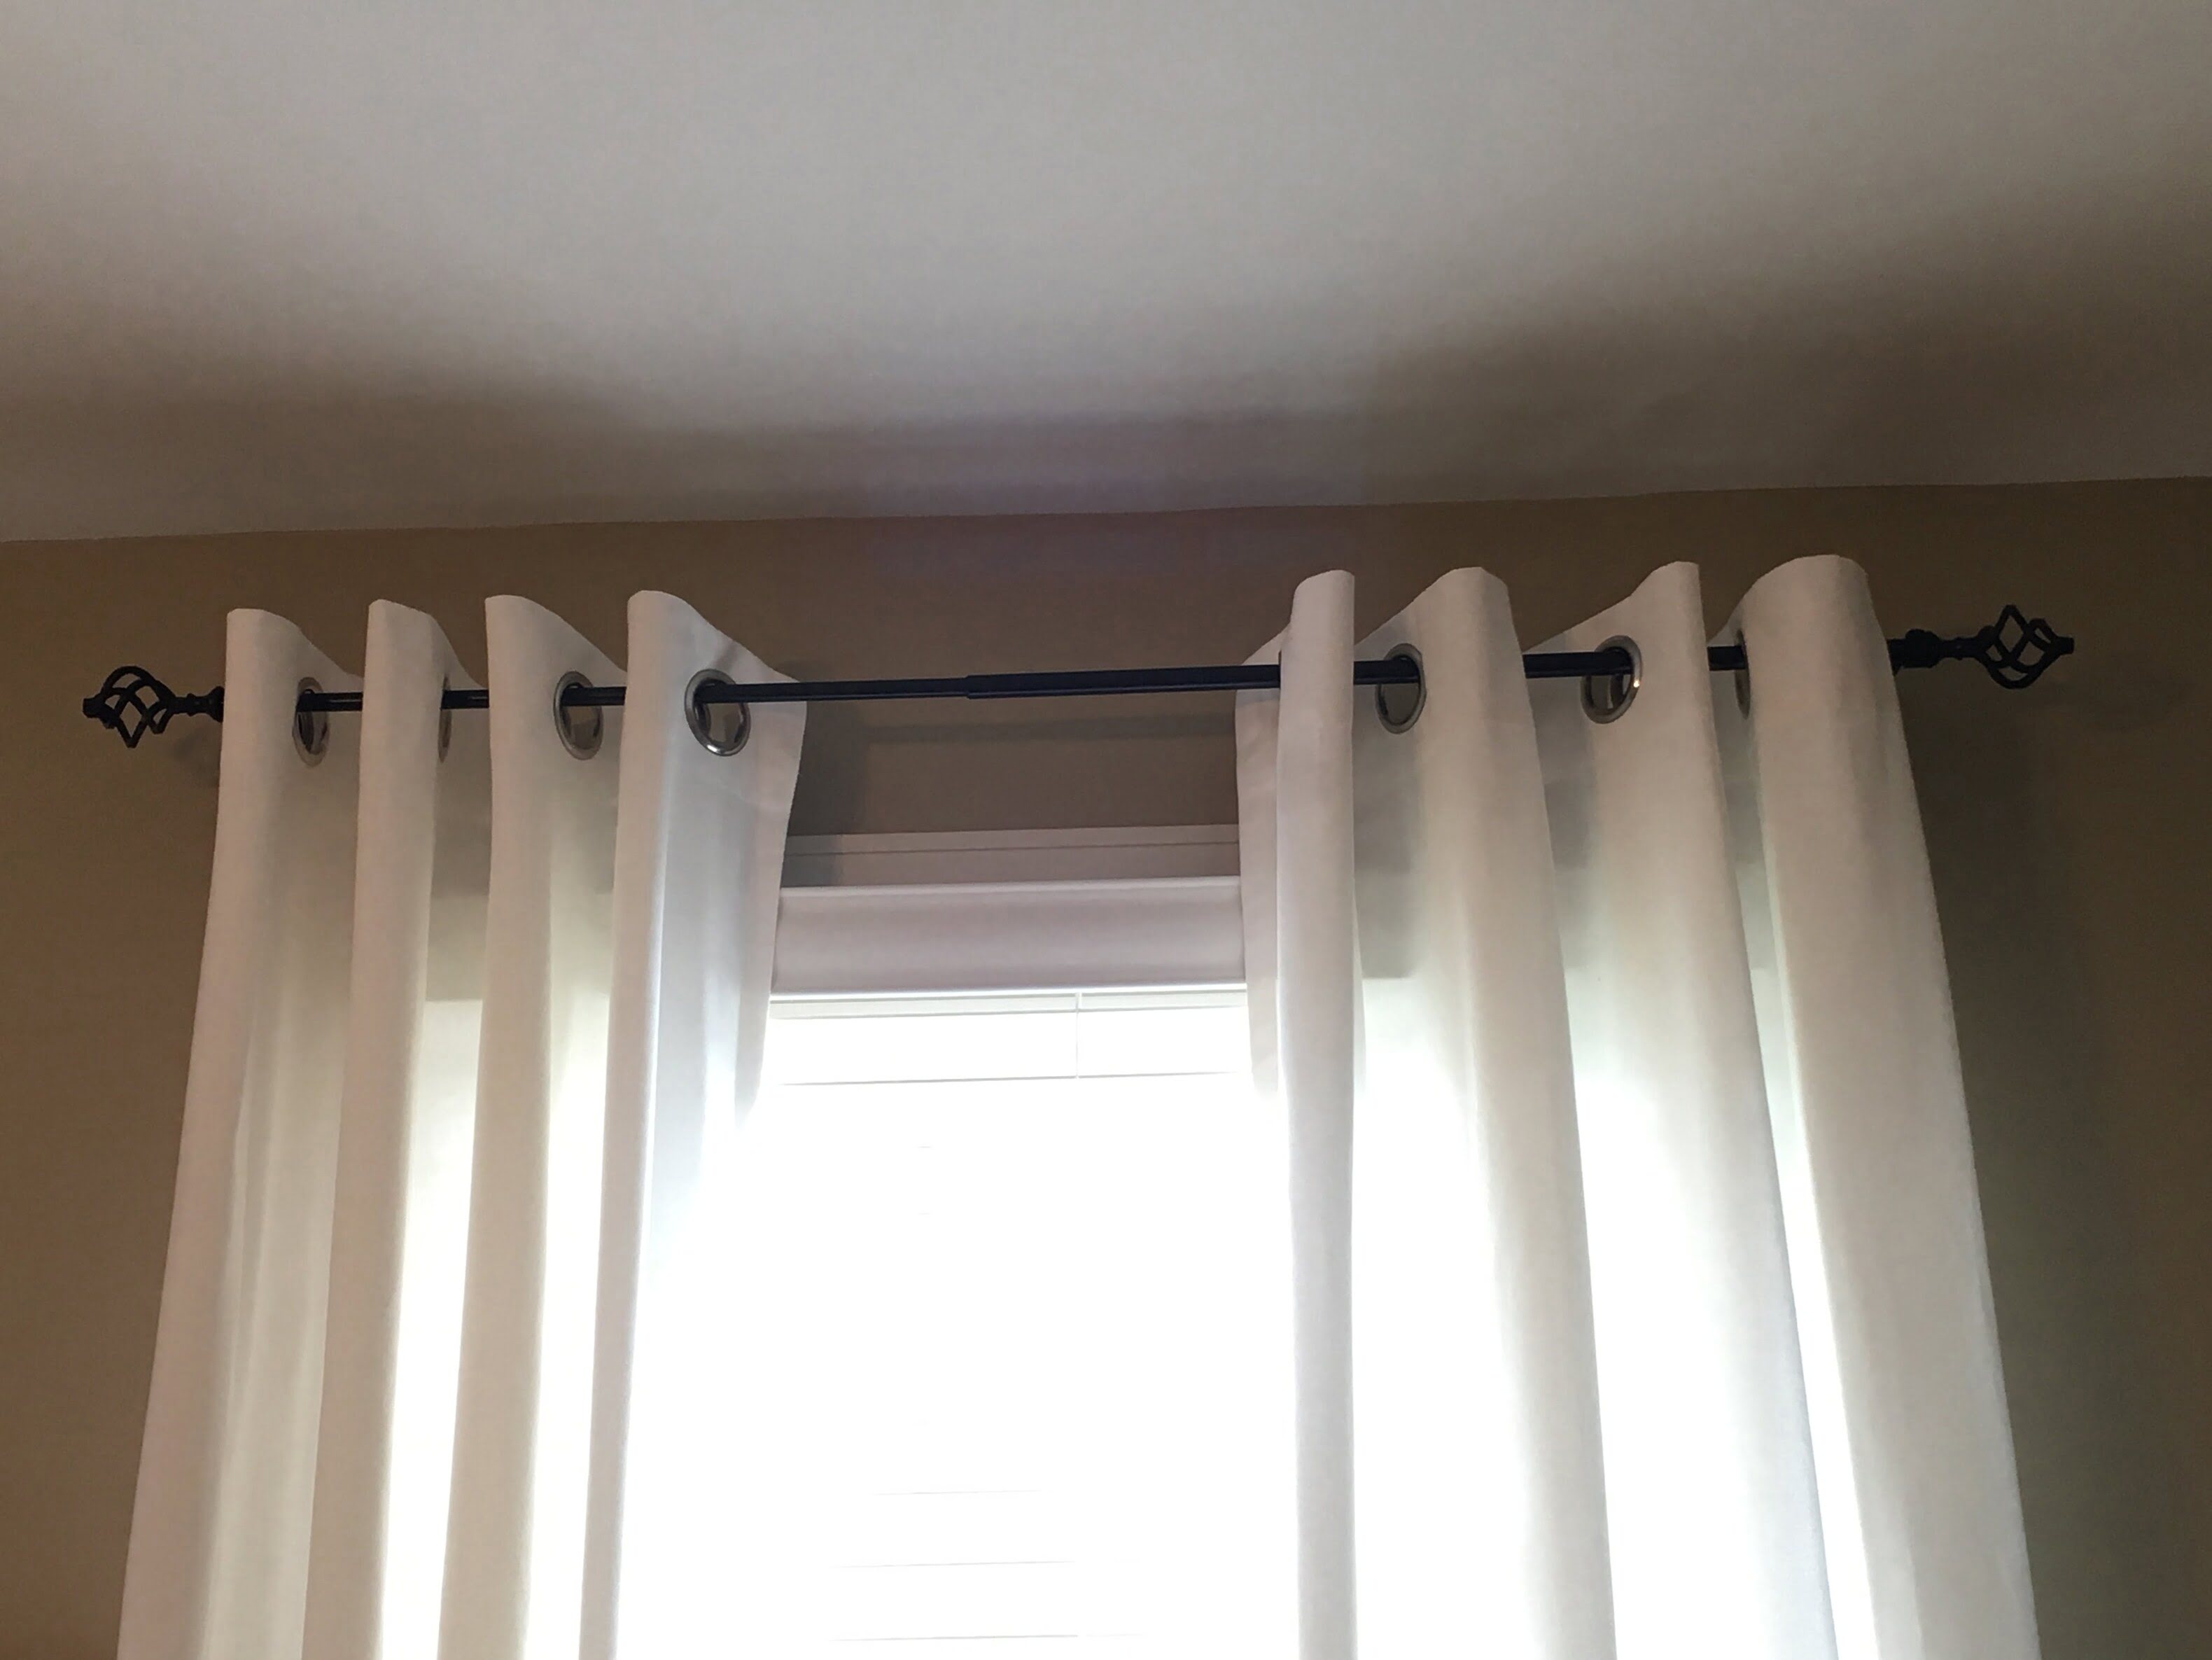
Step 5: Hang the curtains on the rod
With the ring clips attached to your curtains, it’s time to hang them on the curtain rod. This step brings your curtains to life and completes the overall look of your window treatment. Follow these steps for a smooth curtain hanging process:
- Start by opening the ring clips on the first curtain panel. Slide the open ring clips onto the curtain rod, one at a time.
- Once the first curtain panel is fully attached to the rod, move on to the second panel. Slide the open ring clips onto the rod, making sure that the panels align seamlessly.
- Continue attaching the remaining curtain panels to the rod using the ring clips.
- Once all the panels are hanging on the rod, adjust the spacing and pleating of the curtains to achieve your desired look. Gently bunch or spread out the fabric to create the desired fullness.
As you hang the curtains, step back and evaluate the overall appearance. Make any necessary adjustments to the rod placement or curtain positioning to ensure that everything looks balanced and symmetrical.
With the curtains now hanging on the rod, you’re almost done! All that’s left to do is to adjust and style the curtains for the final touches.
Step 6: Adjust and style the curtains
Now that your curtains are hanging beautifully, it’s time to put the finishing touches on your window treatment. Step back and take a moment to assess the overall look and make any necessary adjustments. Follow these steps to ensure your curtains are styled to perfection:
- Length adjustment: If your curtains are too long and touching the floor, you may want to consider hemming them to the desired length. Use fabric tape or pins to temporarily hold the hem in place, and then remove the curtains from the rod to complete the hemming process.
- Fullness adjustment: If your curtains appear too flat or sparse, you can enhance their fullness by adding additional panels or attaching curtain clips closer together for a more gathered look.
- Pleating adjustment: If you prefer a more tailored look, you can create pleats or folds in the curtains. Pinch the fabric at regular intervals and secure with a curtain ring or clip to create neat pleats.
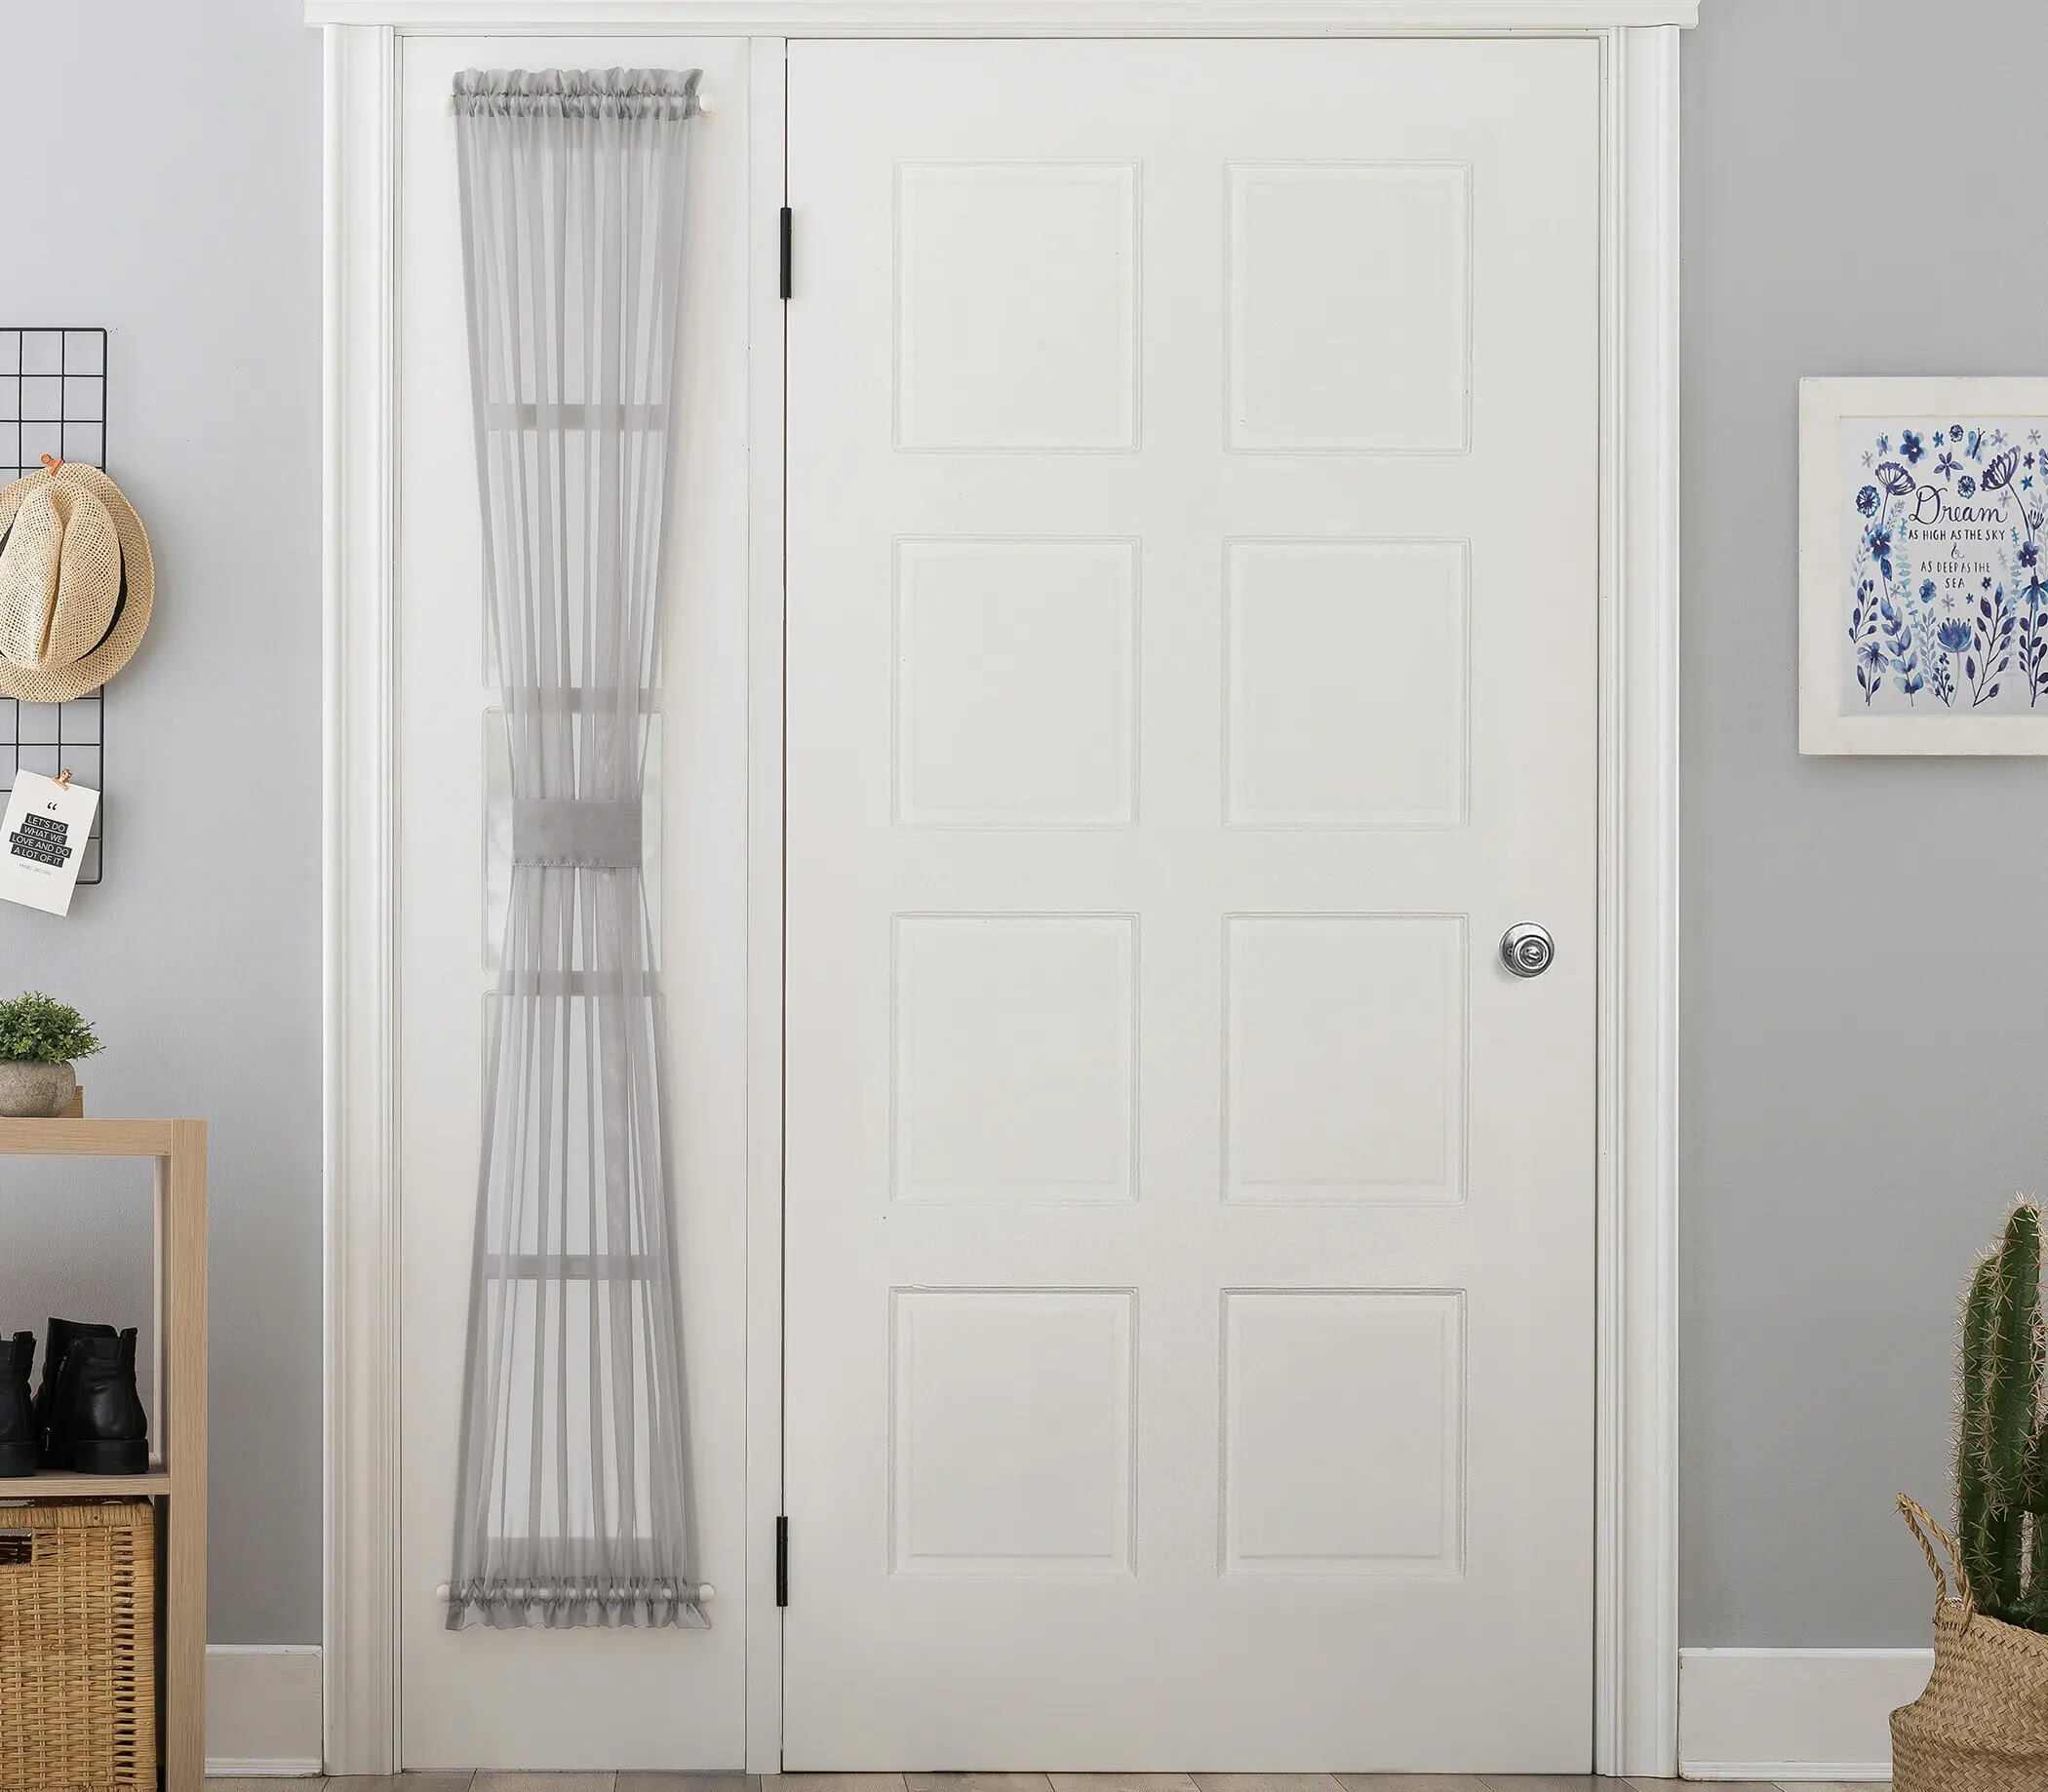
- Curtain tiebacks: Consider adding curtain tiebacks to hold the curtains open and allow more light into the room. This can add an elegant touch and create a sense of symmetry.
- Final positioning: Take a step back to assess the overall appearance of the curtains. Ensure that they are evenly hung and properly aligned. Straighten any crooked panels or adjust the ring clips for equal spacing.
Once you are satisfied with the adjustments and styling, your curtains are ready to make a statement in your space. Step back and admire the transformation you have achieved!
Congratulations! You have successfully hung your curtains with ring clips and completed the process from start to finish. Enjoy the enhanced privacy, light control, and stylish appeal that your curtains bring to your room.
Remember, if you ever decide to change the curtains or want to update the look, the beauty of using ring clips is that you can easily remove and replace the panels with minimal effort. So have fun experimenting with different fabrics and styles to keep your windows fresh and inviting.
Now sit back, relax, and enjoy the beauty and functionality of your newly hung curtains!
Conclusion
Hanging curtains with ring clips is a practical and versatile solution for adding style and functionality to your windows. By following the step-by-step process outlined in this article, you can achieve a professional and polished look with minimal effort. From gathering the necessary materials to adjusting and styling the curtains, each step plays a crucial role in creating a beautiful and functional window treatment.
Using ring clips allows for easy installation, removal, and adjustment of the curtains. You have the flexibility to create different looks by adjusting the pleating, spacing, and length of the curtains. Whether you’re looking to enhance privacy, block out light, or simply add a touch of elegance to your space, curtains with ring clips offer endless possibilities.
Remember to carefully measure and mark the curtain placement, ensuring that the curtain rod is installed securely and level. Attaching the ring clips to the curtains is a straightforward process, allowing you to effortlessly hang the curtains on the rod. Once the curtains are hanging, take the time to adjust and style them to achieve the desired look, considering factors such as length, fullness, pleating, and the addition of tiebacks.
By following these steps, you can create a stunning and customized window treatment that complements your decor and adds an element of sophistication to any room. Your curtains will not only enhance the visual appeal of your space but also provide privacy and control over natural light.
Now that you have the knowledge and confidence to hang curtains with ring clips, it’s time to get started. Gather your materials, measure your windows, and let your creativity shine through as you transform your windows into stylish focal points. Enjoy the process and revel in the beauty of your newly adorned windows!
Now that you've mastered hanging curtains with ring clips, why stop there? Perfecting their height can transform a room, so don't miss our guide on curtain hanging. If you're itching for more creative projects, our DIY home decor article offers unique ideas that personalize any space affordably. And for those sprucing up a rental, find invaluable decorating tips that make a temporary place feel like home. Dive into these reads to ensure your living space is as stylish as it is welcoming.
Frequently Asked Questions about How To Hang Curtains With Ring Clips
Was this page helpful?
At Storables.com, we guarantee accurate and reliable information. Our content, validated by Expert Board Contributors, is crafted following stringent Editorial Policies. We're committed to providing you with well-researched, expert-backed insights for all your informational needs.


0 thoughts on “How To Hang Curtains With Ring Clips”