Articles
How To Hang Lights Around Garage Door
Modified: December 7, 2023
Learn the step-by-step process of hanging lights around your garage door in this informative article. Discover useful tips and techniques to create a stunning and festive display.
(Many of the links in this article redirect to a specific reviewed product. Your purchase of these products through affiliate links helps to generate commission for Storables.com, at no extra cost. Learn more)
Introduction
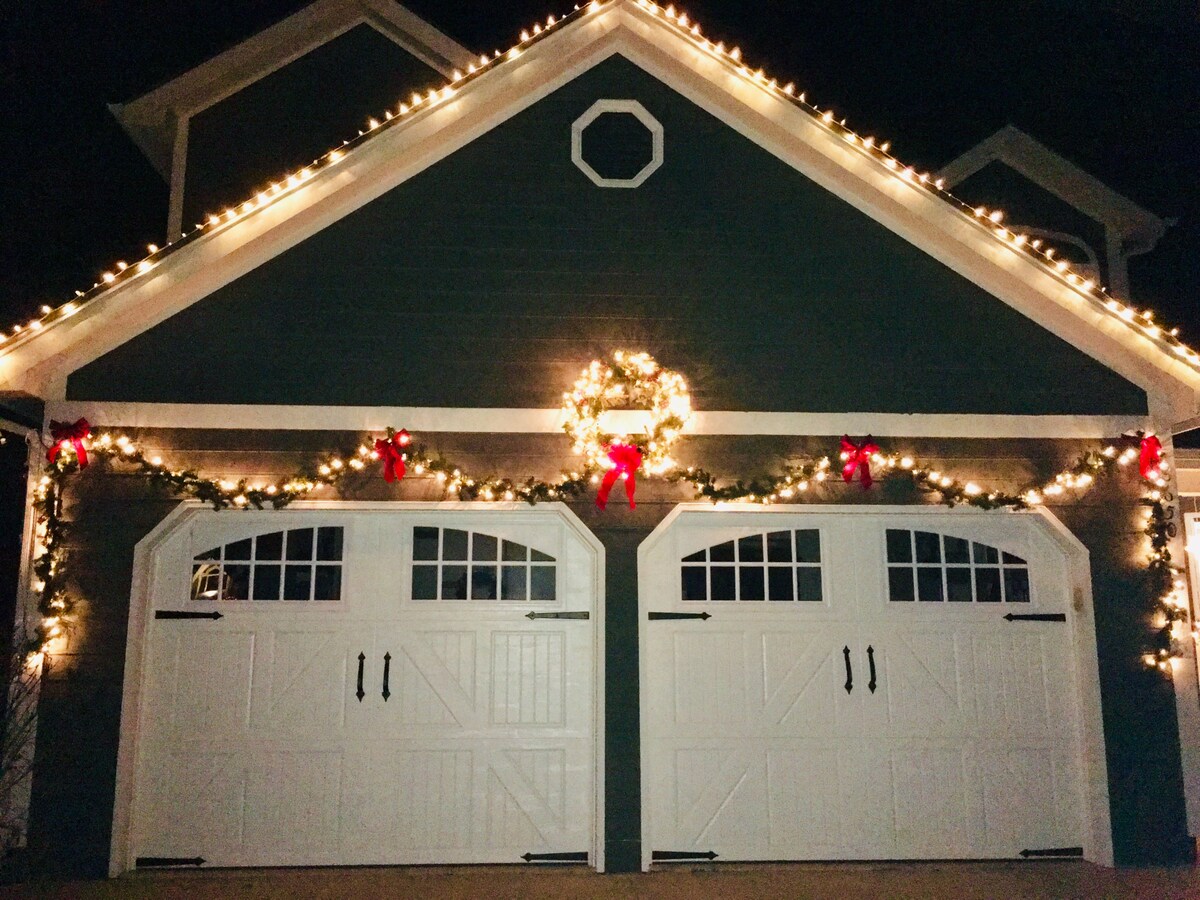
Adding lights around your garage door is a fantastic way to enhance the curb appeal of your home and create a warm and inviting atmosphere. Whether you want to showcase your festive spirit during the holiday season or simply want to add some extra charm to your exterior all year round, hanging lights around your garage door can make a big difference.
In this article, we will guide you through the process of hanging lights around your garage door step by step. We will cover everything from measuring and planning to choosing the type of lights, attaching hooks or clips, and securing the wires. By following this guide, you’ll have beautifully lit surroundings in no time.
To accomplish this project, you’ll need a few tools and materials. Don’t worry, they are readily available at most hardware stores or online retailers:
- Lights: Purchase the appropriate length and type of lights for your project.
- Measuring tape: You’ll need this to measure the length of the garage door and determine the placement of the lights.
- Outdoor clips or hooks: These will be used to attach the lights to the garage door or surrounding areas.
- Extension cords: If needed, you may require extension cords to reach the power source.
- Zip ties or adhesive clips: These will help secure the wires and prevent them from dangling or becoming tangled.
- Ladder: A sturdy ladder will be necessary to reach the top of the garage door and securely hang the lights.
- Power source: Ensure you have access to an outdoor power outlet or an alternative power supply, such as a generator.
Now that you have your tools and materials ready, let’s dive into the step-by-step process of hanging lights around your garage door!
Key Takeaways:
- Enhance your home’s curb appeal and create a warm atmosphere by hanging lights around your garage door. Follow our step-by-step guide for a smooth and visually appealing installation.
- Choose the right type of lights, secure the wires, and make necessary adjustments to achieve a polished and inviting look. Enjoy the festive or welcoming ambiance you’ve created!
Tools and Materials Needed
Hanging lights around your garage door requires a few essential tools and materials. Before you begin, make sure you have the following items on hand:
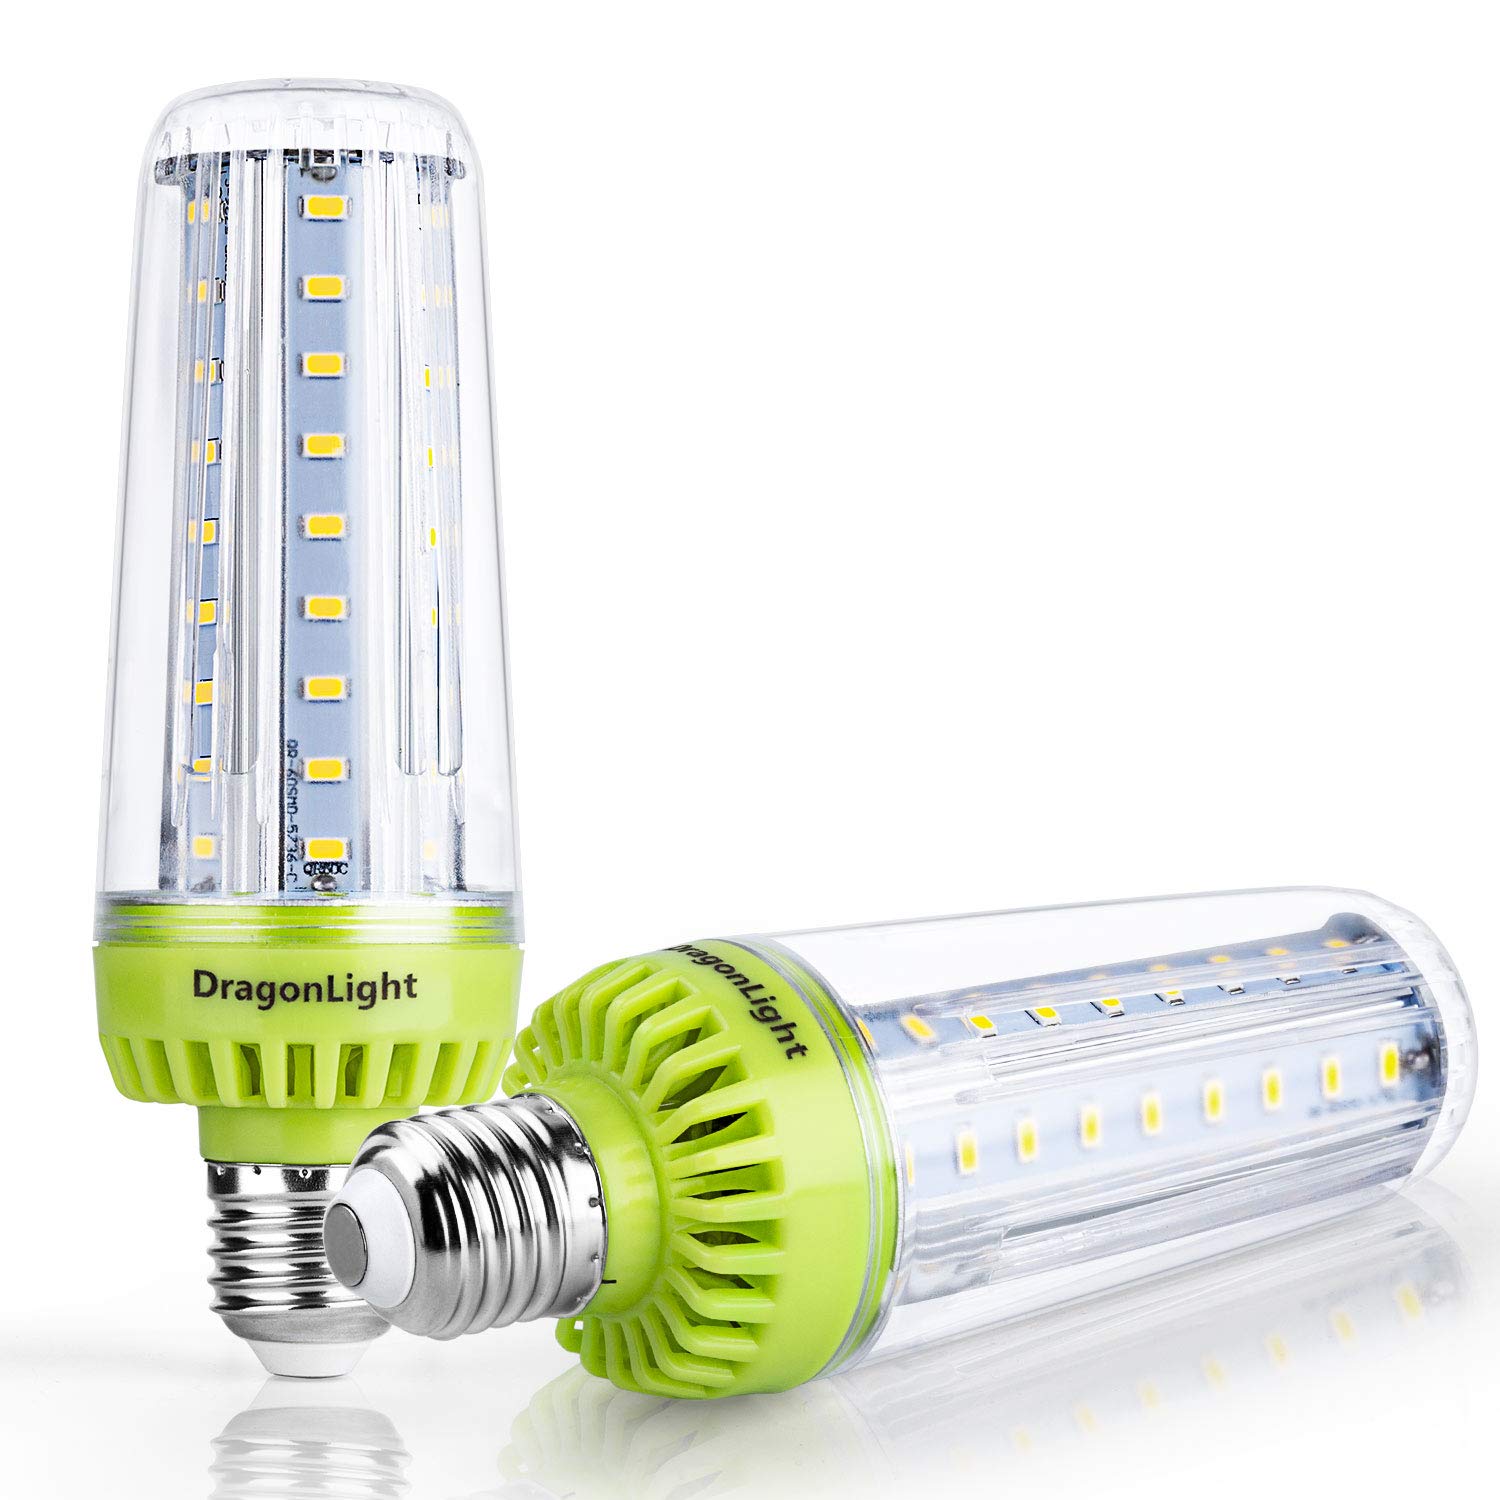
- Lights: Choose the type of lights that best fit your desired aesthetic. This can include string lights, fairy lights, or LED rope lights.
- Measuring tape: Measure the length of your garage door to determine how many lights you will need and where to place them.
- Outdoor clips or hooks: These will be used to attach the lights to the garage door or surrounding areas. Make sure they are sturdy and weather-resistant.
- Extension cords: If necessary, you may need extension cords to connect the lights to a power source.
- Zip ties or adhesive clips: These will help secure the wires and prevent them from dangling or becoming tangled.
- Ladder: Use a sturdy ladder to safely reach the top of your garage door and hang the lights. Make sure the ladder is secure and stable.
- Power source: Ensure you have access to an outdoor power outlet or consider using an alternative power supply, such as a generator, if an outlet is not available.
Having these tools and materials ready before you start will make the installation process much smoother and more efficient. It is important to ensure that all the items you choose are suitable for outdoor use and can withstand various weather conditions.
Once you have gathered all the necessary tools and materials, you’re ready to move on to the next step: measuring and planning.
Step 1: Measure and Plan
Before you start hanging lights around your garage door, it’s important to measure and plan where you want to place them. Follow these steps to ensure a precise and well-executed installation:
- Measure the length of your garage door: Use a measuring tape to determine the width and height of your garage door. This will help you determine the quantity and length of lights needed.
- Decide on the placement: Consider where you want the lights to start and end on your garage door. You can choose to wrap them around the entire door frame or focus on specific areas. It’s also important to decide if you want the lights to reach the ground or stop higher up.
- Determine the power source: Identify the nearest outdoor power outlet or come up with an alternative power solution, such as a generator or solar-powered lights, if an outlet is not conveniently located.
- Create a lighting design: Sketch out a basic layout of how you want the lights to be arranged. This will give you a visual reference and help you stay organized during the installation process.
When planning your lighting design, consider the overall aesthetic you want to achieve. You can choose to have a single strand of lights along the top of the garage door or get creative and create patterns or shapes. Keep in mind the length and style of the lights you have selected.
By measuring and planning before you start hanging the lights, you’ll have a clear idea of how to proceed and ensure a visually appealing end result. Once you’re ready, move on to the next step: choosing the type of lights.
Step 2: Choose the Type of Lights
Choosing the right type of lights is crucial to achieving the desired look for your garage door. There are various options available, each with its own unique features and benefits. Consider the following factors when selecting your lights:
- String lights: String lights are a classic choice and come in various bulb sizes, colors, and lengths. They are great for creating a cozy and festive ambiance.
- Fairy lights: Fairy lights, also known as twinkle lights, are smaller and more delicate. They add a magical and whimsical touch to any outdoor space.
- LED rope lights: LED rope lights are flexible tubes of lights that provide a consistent glow. They are durable, energy-efficient, and can be cut to a specific length.
- Color options: Decide on the color scheme you want to incorporate. Traditional warm white lights are versatile and work well with any style, while colored lights can add a playful and vibrant touch.
- Outdoor durability: Ensure that the lights you choose are specifically designed for outdoor use and can withstand varying weather conditions.
Consider the overall aesthetic of your home and personal preference when selecting the type of lights. You can also mix and match different types for a unique and customized look.
Additionally, keep in mind the length of the lights and how many strands you’ll need to cover the desired area. It’s always better to have a few extra feet of lights than to fall short.
Once you have chosen the perfect lights for your garage door, you’re ready to move on to the next step: attaching hooks or clips.
Step 3: Attach Hooks or Clips
Attaching hooks or clips to your garage door will provide the necessary support for hanging the lights. Follow these steps to securely attach the hooks or clips:
- Clean the surface: Before attaching anything to your garage door, make sure the surface is clean and free of any dirt, debris, or moisture. This will ensure a strong and lasting bond.
- Choose the appropriate hooks or clips: Select hooks or clips that are designed for outdoor use and can securely hold the weight of the lights. Make sure they are suitable for the type of garage door material you have (e.g., metal, wood, or vinyl).
- Attach the hooks or clips: Position the hooks or clips along the garage door according to your planned lighting design. For string lights or fairy lights, attach the hooks or clips at regular intervals to provide support along the entire length. For LED rope lights, ensure the hooks or clips are spaced evenly to maintain a neat and uniform look.
- Press firmly and test the stability: Once the hooks or clips are in place, press firmly to ensure they are securely attached. Give them a gentle tug to test their stability and make any necessary adjustments.
It’s important to follow the manufacturer’s instructions when attaching the hooks or clips. Some may require adhesive backing, while others may need to be screwed into place.
Remember, the goal is to have a sturdy and reliable attachment to support the weight of the lights and withstand wind or other weather conditions.
After securely attaching the hooks or clips, you’re ready to move on to the next step: hanging the lights.
When hanging lights around a garage door, make sure to use outdoor-rated lights and secure them with clips or hooks to prevent damage to the door or the lights. Be sure to follow the manufacturer’s instructions for safe installation.
Step 4: Hang the Lights
Now that you have your hooks or clips in place, it’s time to start hanging the lights around your garage door. Follow these steps for a smooth installation:
- Start at one end: Begin at one end of the garage door and work your way across. This will help ensure even spacing and prevent tangling of the lights.
- Secure the lights to the hooks or clips: For string lights or fairy lights, wrap them around the hooks or clips, making sure they are snugly secured. For LED rope lights, simply slide the lights into the hooks or clips, ensuring they are securely in place.
- Keep the lights taut: To maintain a clean and professional look, try to keep the lights taut as you go along. Avoid any sagging or drooping by adjusting the tension as needed.
- Follow your planned design: Refer to your lighting design sketch and ensure you are following the intended pattern or layout. This will help you stay organized and maintain consistency throughout the installation.
- Continue until you reach the other end: Continue hanging the lights, following the same technique, until you reach the other end of the garage door.
Take your time when hanging the lights, making sure they are evenly spaced and neatly arranged. Step back periodically to inspect your progress and make any necessary adjustments.
Remember to take caution when working at heights, especially when using a ladder. Ensure the ladder is stable and secure before climbing up.
Once you have successfully hung the lights, it’s time to move on to the next step: securing the wires.
Step 5: Secure the Wires
After hanging the lights around your garage door, it’s important to secure the wires to prevent them from dangling or becoming tangled. Follow these steps to ensure a neat and organized appearance:
- Use zip ties or adhesive clips: Depending on the surface and materials available, you can use zip ties or adhesive clips to secure the wires along the hooks or clips. This will keep the wires in place and minimize any potential hazards.
- Arrange the wires neatly: As you secure the wires, arrange them in a neat and orderly manner, following the outline of your lighting design. This will create a clean and professional look.
- Avoid twisting or knotting the wires: Be careful not to twist or knot the wires when securing them. This can cause damage to the lights and create an untidy appearance.
- Ensure the wires are hidden: Whenever possible, route the wires along the edges of the garage door to minimize their visibility. Tuck them behind structures or use existing features, such as gutters or downspouts, to conceal the wires for a seamless look.
- Check for any loose or exposed wires: Once you have secured the wires, inspect them to ensure there are no loose or exposed areas. Loose wires can pose a safety risk and should be addressed immediately.
By securing the wires properly, you can ensure the longevity and safety of your lighting installation. It’s also important to note that securing the wires will make it easier to remove or adjust the lights in the future.
Now that the wires are secured, you’re ready to move on to the next step: testing the lights.
Step 6: Test the Lights
Before you finalize the installation of the lights around your garage door, it’s essential to test them to ensure they are working properly. Follow these steps to conduct a thorough test:
- Plug in the lights: Connect the lights to the power source, ensuring they are securely plugged in. If you are using extension cords, make sure they are properly connected as well.
- Switch on the lights: Use the switch or timer function to turn on the lights. Check for any flickering, dimming, or malfunctioning bulbs.
- Inspect the entire length: Walk around the perimeter of your garage door and inspect the entire length of the lights. Look for any sections that are not lighting up or any loose connections.
- Make any necessary adjustments: If you notice any issues or gaps in the lighting, make the necessary adjustments. This may involve tightening connections, replacing bulbs or sections of lights, or repositioning the hooks or clips.
- Test different lighting modes (if applicable): If your lights have different lighting modes, such as steady, flashing, or twinkle, test each mode to ensure they are functioning correctly and providing the desired effect.
Testing the lights will give you an opportunity to address any issues or make any needed changes before finalizing the installation. It’s important to ensure that the lights are working properly and providing the desired lighting effect.
Once you are satisfied with the performance of the lights, it’s time for the final step: making any adjustments and finalizing the installation.
Step 7: Make Adjustments and Finalize
The last step in hanging lights around your garage door is to make any adjustments and finalize the installation. Follow these steps to ensure a polished and finished look:
- Check the overall appearance: Step back and assess the overall appearance of the lights. Look for any areas that may need additional lights or adjustments to create a balanced and symmetrical look.
- Make any necessary adjustments: If you notice any areas that need improvement, make the necessary adjustments. This may involve repositioning lights, tightening hooks or clips, or adding or removing lights as needed.
- Secure any loose connections: Double-check all connections to ensure they are secured and not at risk of coming loose. This will help prevent any interruptions in the lighting display.
- Tidy up the wires: Take a moment to tidy up any visible wires, ensuring they are neatly arranged and hidden as much as possible. Use adhesive clips or other methods to secure them along the path you have established.
- Step back and admire your work: Once you are satisfied with the placement and appearance of the lights, step back and take a moment to admire your beautifully lit garage door. Enjoy the festive or welcoming atmosphere you have created.
By making any necessary adjustments and finalizing the installation, you can ensure that your lights are securely in place and providing the desired effect. Take the time to step back and assess the overall aesthetics to ensure a visually pleasing result.
Now that you have completed the installation process, sit back, relax, and enjoy the charming and inviting ambiance created by the lights around your garage door.
Frequently Asked Questions about How To Hang Lights Around Garage Door
Was this page helpful?
At Storables.com, we guarantee accurate and reliable information. Our content, validated by Expert Board Contributors, is crafted following stringent Editorial Policies. We're committed to providing you with well-researched, expert-backed insights for all your informational needs.


0 thoughts on “How To Hang Lights Around Garage Door”