Home>Garden Essentials>How To Make Mailbox Greenery

Garden Essentials
How To Make Mailbox Greenery
Modified: March 7, 2024
Learn how to add a touch of greenery to your mailbox with our step-by-step gardening guide. Transform your mailbox into a stunning garden focal point.
(Many of the links in this article redirect to a specific reviewed product. Your purchase of these products through affiliate links helps to generate commission for Storables.com, at no extra cost. Learn more)
Introduction
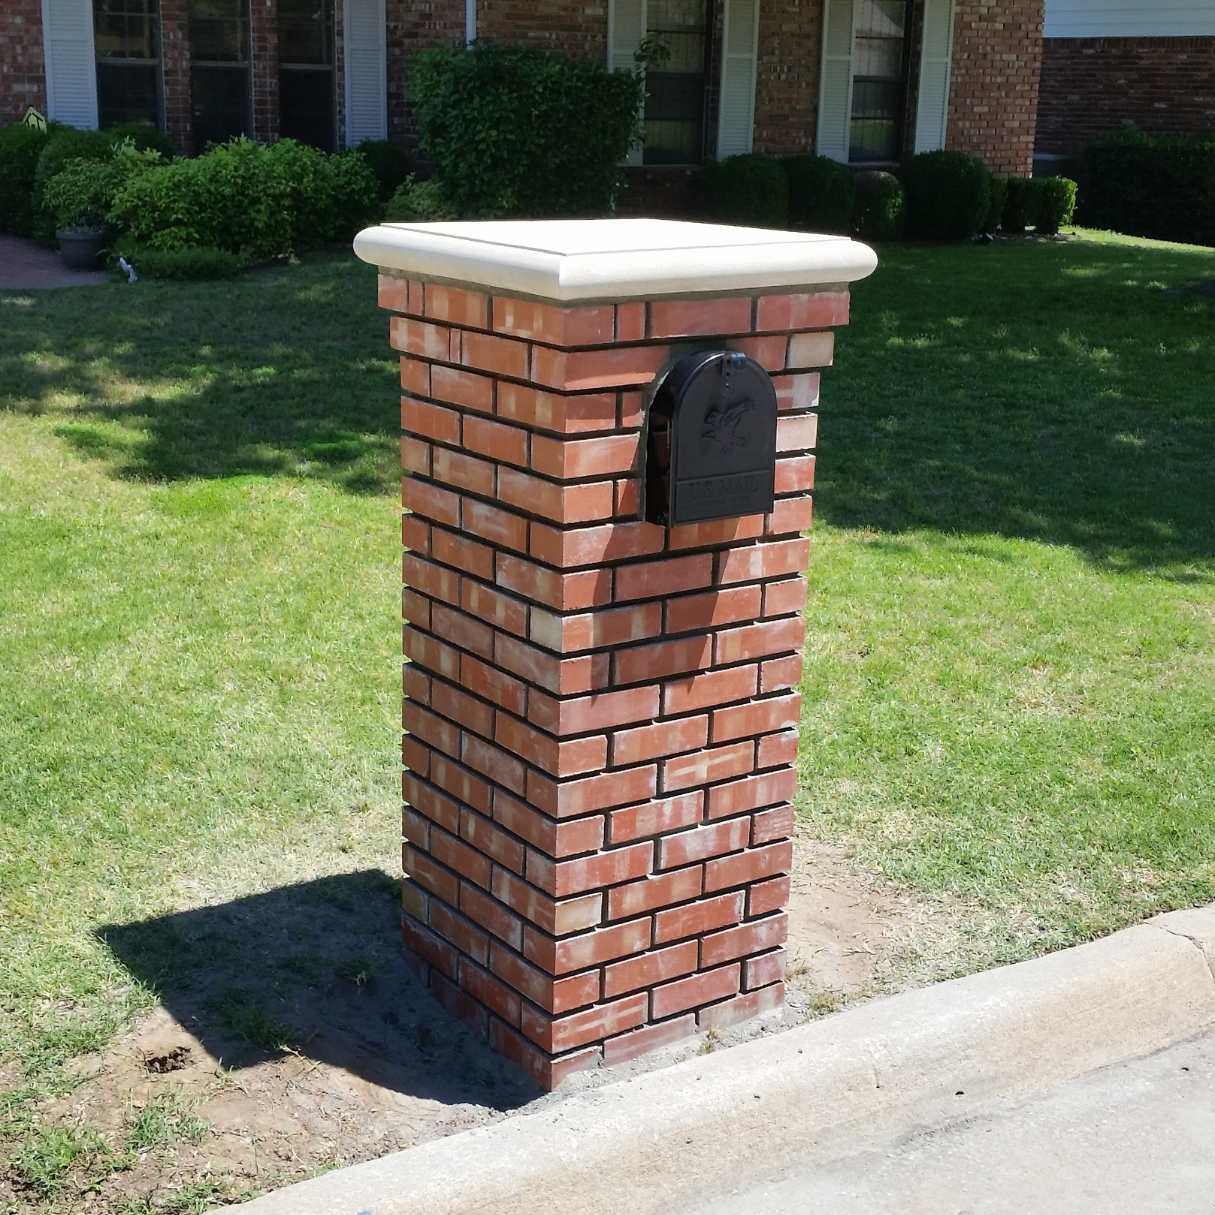
Welcome to our guide on how to make mailbox greenery! Adding greenery to your mailbox can enhance your curb appeal and create a warm and inviting atmosphere. Whether you have a traditional mailbox on a post or a wall-mounted box, incorporating plants and foliage can bring life and beauty to this functional part of your home’s exterior.
In this article, we will provide you with step-by-step instructions on choosing the right greenery, preparing your mailbox, attaching the greenery, and tips for watering and maintenance. By following these guidelines, you’ll be able to create a stunning mailbox display that will make your neighbors green with envy!
Before we dive into the details, let’s discuss why adding greenery to your mailbox is such a great idea. First and foremost, it adds a touch of nature to your property. Greenery has a calming and soothing effect, creating a welcoming environment for both visitors and residents. Additionally, colorful flowers and foliage can add a pop of color, giving your home a vibrant and cheerful look.
Another benefit of mailbox greenery is the added privacy it can provide. If your mailbox is located near a busy street or sidewalk, strategically placed plants can act as a natural barrier, giving you a sense of seclusion and shielding your mailbox from prying eyes.
Moreover, decorating your mailbox with greenery allows you to showcase your creativity and personal style. You can choose plants that reflect your preferences, whether you love rustic charm, modern simplicity, or something more whimsical. Your mailbox will become a unique and eye-catching feature that sets your home apart from the rest.
Now that we’ve established why mailbox greenery is such a fantastic idea, let’s move on to the next section: choosing the right greenery.
Key Takeaways:
- Transform your mailbox into a vibrant oasis by adding greenery! Choose plants that suit your climate and sunlight, and ensure proper maintenance for a stunning display.
- Enhance your home’s curb appeal with mailbox greenery. From choosing the right plants to attaching and maintaining them, create a unique and inviting display that reflects your personal style.
Read more: How To Make A Stucco Mailbox
Choosing the Right Greenery
When it comes to selecting greenery for your mailbox, there are a few key factors to consider. These include the climate in your area, the amount of sunlight your mailbox receives, and the size and style of your mailbox.
First, consider the climate. Different plants thrive in different environments, so it’s important to choose greenery that is suitable for your local climate. If you live in a hot and sunny region, opt for drought-tolerant plants like succulents or cacti. On the other hand, if you live in a cooler climate, choose plants that are hardy and able to withstand cold temperatures.
Next, assess the amount of sunlight your mailbox receives. Some mailboxes are shaded by trees or structures, while others are exposed to full sun throughout the day. This will determine the type of plants that will thrive in the given conditions. If your mailbox receives a lot of direct sunlight, select sun-loving plants like petunias, marigolds, or geraniums. For shaded mailboxes, opt for shade-loving plants such as impatiens or ferns.
The size and style of your mailbox also play a role in choosing the right greenery. If you have a small mailbox, consider using trailing plants like ivy or creeping thyme to create a cascading effect. For larger mailboxes, you have more flexibility in terms of plant selection. You can choose a combination of tall and short plants to add depth and dimension to your mailbox display.
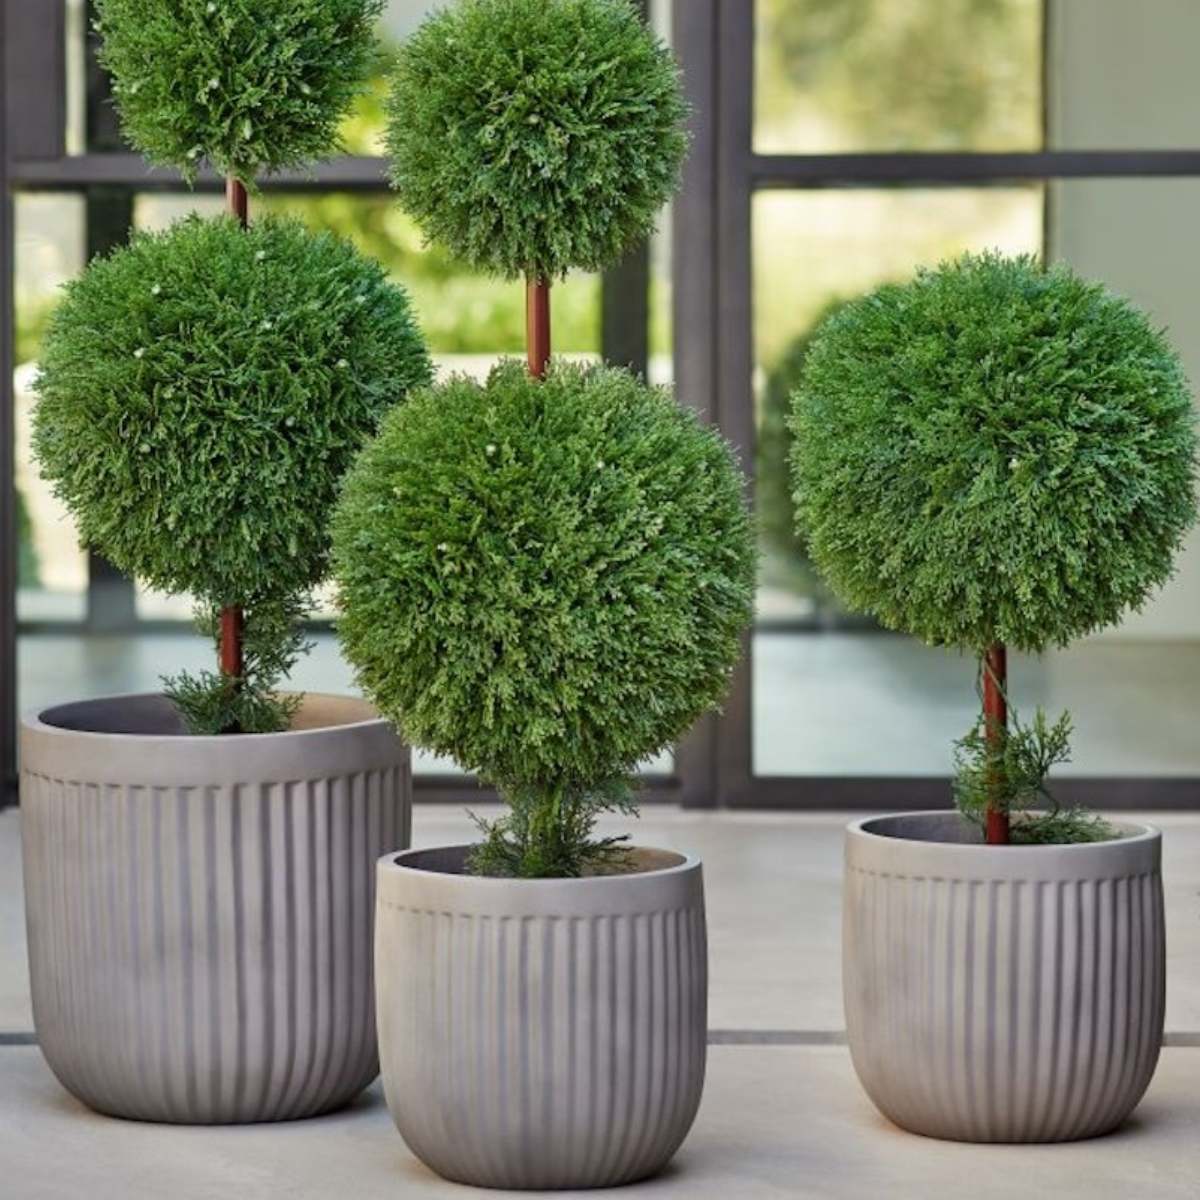
Lastly, think about the overall aesthetic you want to achieve. Do you prefer a classic and elegant look? In that case, you might want to choose plants with simple and clean lines, such as boxwood or lavender. If you’re going for a more whimsical and playful feel, consider using colorful flowers like zinnias or daisies.
It’s important to note that when choosing greenery for your mailbox, opt for plants that are low-maintenance and require minimal watering. Since mailboxes are typically exposed to the elements and may not have a water source nearby, it’s best to select plants that can withstand periods of drought.
Once you’ve considered these factors, you’re ready to move on to the next step: preparing your mailbox.
Preparing Your Mailbox
Before you can start adding greenery to your mailbox, it’s important to properly prepare the surface and ensure that it’s clean and ready for the installation.
The first step is to clean your mailbox thoroughly. Remove any dirt, debris, or old paint using a scrub brush and mild soap or detergent. Rinse it off with water and let it dry completely.
If your mailbox is made of metal, you may want to consider applying a coat of rust-resistant primer and paint to protect it from the elements. This will help extend the life of your mailbox and keep it looking fresh and new.
Next, assess the condition of your mailbox post or mounting surface. Ensure that it’s sturdy and secure. If necessary, repair or replace any damaged parts to ensure a stable foundation for your greenery.
If you have a traditional mailbox on a post, you might want to clean and freshen up the post as well. Scrub it clean, remove any peeling paint, and apply a fresh coat of paint or stain to keep it looking neat and attractive.
For wall-mounted mailboxes, make sure the surface is clean and free from any peeling paint or cracks. Repair any damages and touch up the paint, if needed, to create a smooth and uniform base.
Once your mailbox and mounting surface are clean and in good condition, you’re ready to move on to the next step: attaching the greenery.
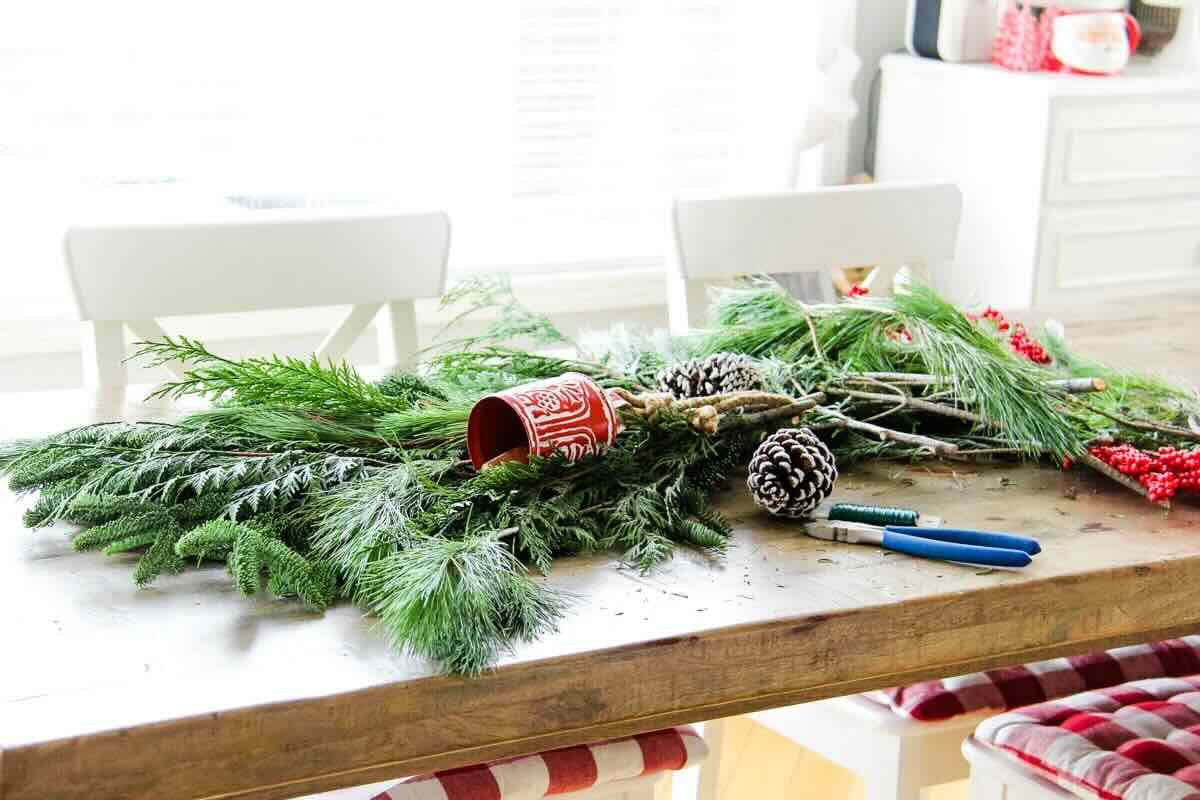
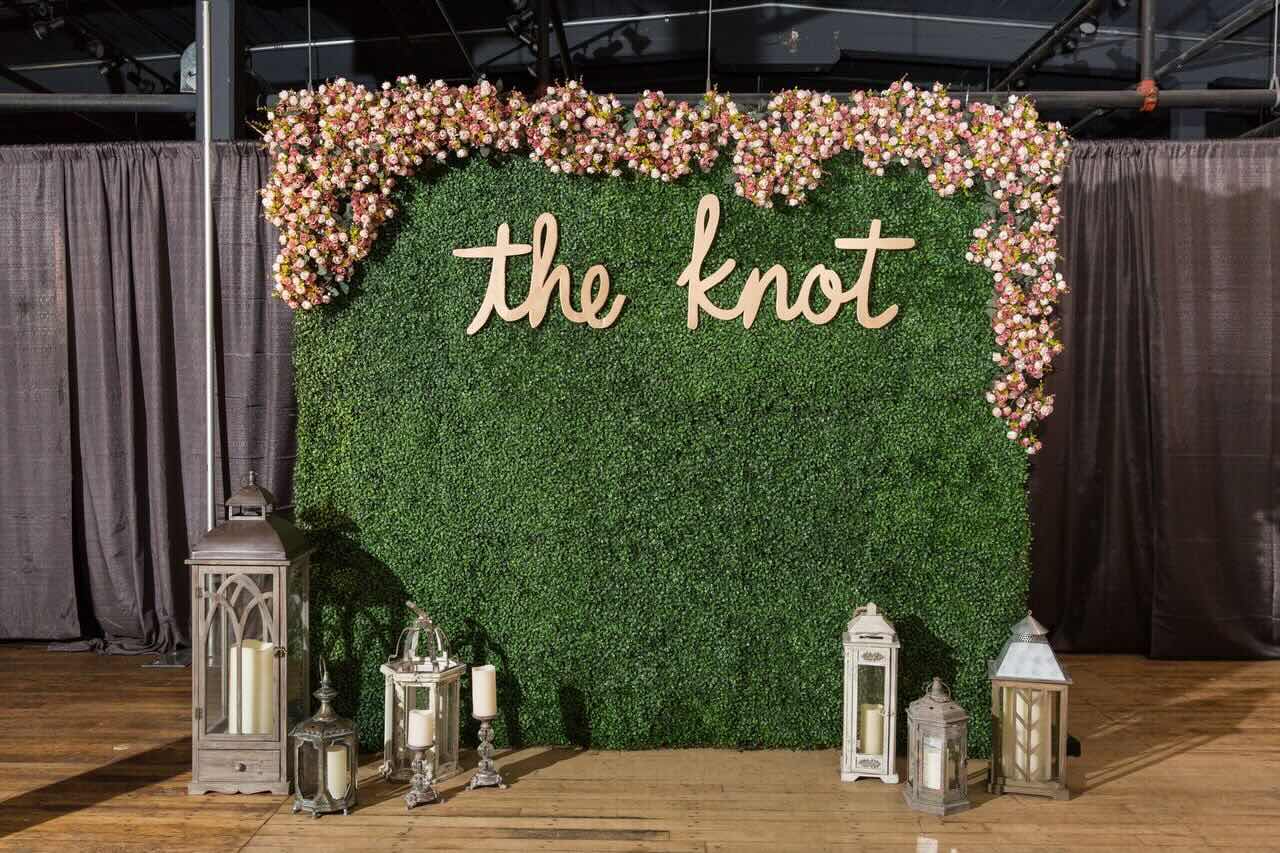
Consider using a mix of evergreen branches, such as pine, cedar, and holly, to create a lush and varied look for your mailbox greenery. This will provide texture and visual interest to your arrangement.
Attaching the Greenery
When it comes to attaching greenery to your mailbox, you have a few options depending on the type of mailbox and the look you want to achieve. Here are a few methods you can consider:
- Flower Vines: If you have a mailbox with a post, you can use flower vines to add a vertical element to your mailbox. Choose vines that are long and flexible, such as morning glories or sweet peas. Secure the base of the vines to the ground near the base of the post and train them to climb up the post by gently wrapping them around it. Use twist ties or garden twine to secure the vines as they grow.
- Planter Boxes: Another great option is to attach planter boxes directly to your mailbox post or the wall around your mailbox. You can find ready-made planter boxes that are designed to fit mailboxes, or you can create your own with wood or metal. Attach the planter box securely to the mailbox and fill it with soil and your chosen plants. Make sure the planter is firmly attached and won’t obstruct the mailbox access.
- Hanging Baskets: For wall-mounted mailboxes, hanging baskets are an excellent choice. Choose baskets that are the right size for your mailbox and hang them above or to the sides of the mailbox using hooks or brackets. Fill the baskets with soil and your preferred plants, making sure to choose flowers that will cascade down and create a beautiful display.
Whichever method you choose, it’s important to ensure that the greenery does not obstruct the mailbox or interfere with mail delivery. Make sure there is enough space for the mail carrier to access the mailbox easily.
When attaching the greenery, be gentle and avoid damaging the plants. Use soft ties, such as garden twine or elastic bands, to secure the plants to the mailbox or the support structure. Make sure not to tie them too tightly, as this can restrict their growth and cause damage.
Additionally, be mindful of the weight of the greenery. Avoid overloading your mailbox with heavy plants or excessive soil, as this can put unnecessary stress on the structure and potentially cause damage.
Once you’ve successfully attached the greenery to your mailbox, it’s time to move on to the next step: watering and maintenance.
Watering and Maintenance
Proper watering and maintenance are essential to keep your mailbox greenery looking vibrant and healthy. Follow these guidelines to ensure your plants thrive:
Watering: Provide adequate water to your plants based on their specific needs. Check the moisture level of the soil regularly and water when the top inch feels dry. Be careful not to overwater, as this can lead to root rot and other issues. Adjust your watering schedule according to the weather conditions, taking into account rainfall and temperature.
Fertilizing: Depending on the type of plants you’ve chosen, you may need to fertilize them periodically to provide them with essential nutrients. Follow the instructions on the fertilizer packaging and apply it at the recommended frequency. Be careful not to over-fertilize, as this can harm the plants. Organic fertilizers are a great option as they release nutrients slowly and are environmentally friendly.
Weeding: Regularly remove any weeds or unwanted plants that may sprout around your mailbox greenery. Weeds compete for nutrients and moisture and can hinder the growth of your plants. Pull them out by hand or use a small gardening tool to remove them carefully.
Pruning: Trim and prune your plants as needed to control their size and shape. Remove any dead or damaged foliage to promote healthy growth. Regular pruning also helps to encourage the plants to branch out and produce more flowers. Use clean and sharp gardening tools to make clean cuts, minimizing the risk of disease or infection.
Pest Control: Keep an eye out for any pests or insects that may attack your mailbox greenery. Identify the pests and use appropriate methods to control them, such as organic insecticides or natural remedies. Regularly inspect your plants for any signs of infestation, like chewed leaves or discolored patches.
Seasonal Care: Be mindful of seasonal changes and adjust your maintenance routine accordingly. Some plants may require protection from frost or extreme temperatures. Take precautions during the winter months to ensure the survival of your plants, such as covering them with frost blankets or moving potted plants indoors.
By following these watering and maintenance guidelines, you’ll be able to enjoy your beautiful mailbox greenery for seasons to come!
Now that we’ve covered all the necessary steps for watering and maintenance let’s move on to the concluding section of our guide.
Read more: How To Make Greenery Tomte With Greenery
Conclusion
Congratulations! You have now learned how to make mailbox greenery and create a stunning display that will enhance the appearance of your home. By choosing the right greenery, preparing your mailbox, attaching the plants, and properly maintaining them, you can create a beautiful and inviting mailbox that will be the envy of your neighbors.
Adding greenery to your mailbox not only improves your curb appeal but also brings the beauty of nature right to your doorstep. The selection of plants, whether colorful flowers or trailing vines, allows you to showcase your personal style and create a unique and eye-catching display.
Remember to choose plants that are suitable for your climate and the amount of sunlight your mailbox receives. Ensure that your mailbox and mounting surface are clean and in good condition before attaching the greenery. Be mindful of the weight and placement of the plants, making sure they don’t obstruct access to the mailbox.
Proper watering, fertilizing, pruning, and pest control will ensure that your plants stay healthy and vibrant throughout the seasons. Regular maintenance and seasonal care will help them thrive and stand out as a focal point of your landscape.
Now it’s time to put what you’ve learned into action! Gather the necessary materials and get started on transforming your mailbox into a green oasis. Enjoy the process of selecting plants, arranging them creatively, and stepping back to admire the beauty you’ve created.
Remember, with a little bit of effort and maintenance, your mailbox greenery will continue to delight you and passersby for years to come. So go ahead and make your mailbox the highlight of your front yard!
If you have any questions or need further assistance, feel free to reach out to us. Happy gardening!
Frequently Asked Questions about How To Make Mailbox Greenery
Was this page helpful?
At Storables.com, we guarantee accurate and reliable information. Our content, validated by Expert Board Contributors, is crafted following stringent Editorial Policies. We're committed to providing you with well-researched, expert-backed insights for all your informational needs.


0 thoughts on “How To Make Mailbox Greenery”