Articles
How To Make Lined Pinch Pleated Drapes
Modified: February 24, 2024
Learn how to make lined pinch pleated drapes with our step-by-step articles. Discover expert tips and techniques for creating beautiful window treatments.
(Many of the links in this article redirect to a specific reviewed product. Your purchase of these products through affiliate links helps to generate commission for Storables.com, at no extra cost. Learn more)
Introduction
Welcome to the world of lined pinch pleated drapes! If you’re looking to add a touch of elegance and sophistication to your space, then learning how to make lined pinch pleated drapes is the perfect DIY project for you. Lined pinch pleated drapes not only provide privacy and light control but also add an extra layer of insulation to your windows. Whether you’re a seasoned sewer or a beginner, this step-by-step guide will walk you through the process of creating beautiful, custom drapes that will transform any room.
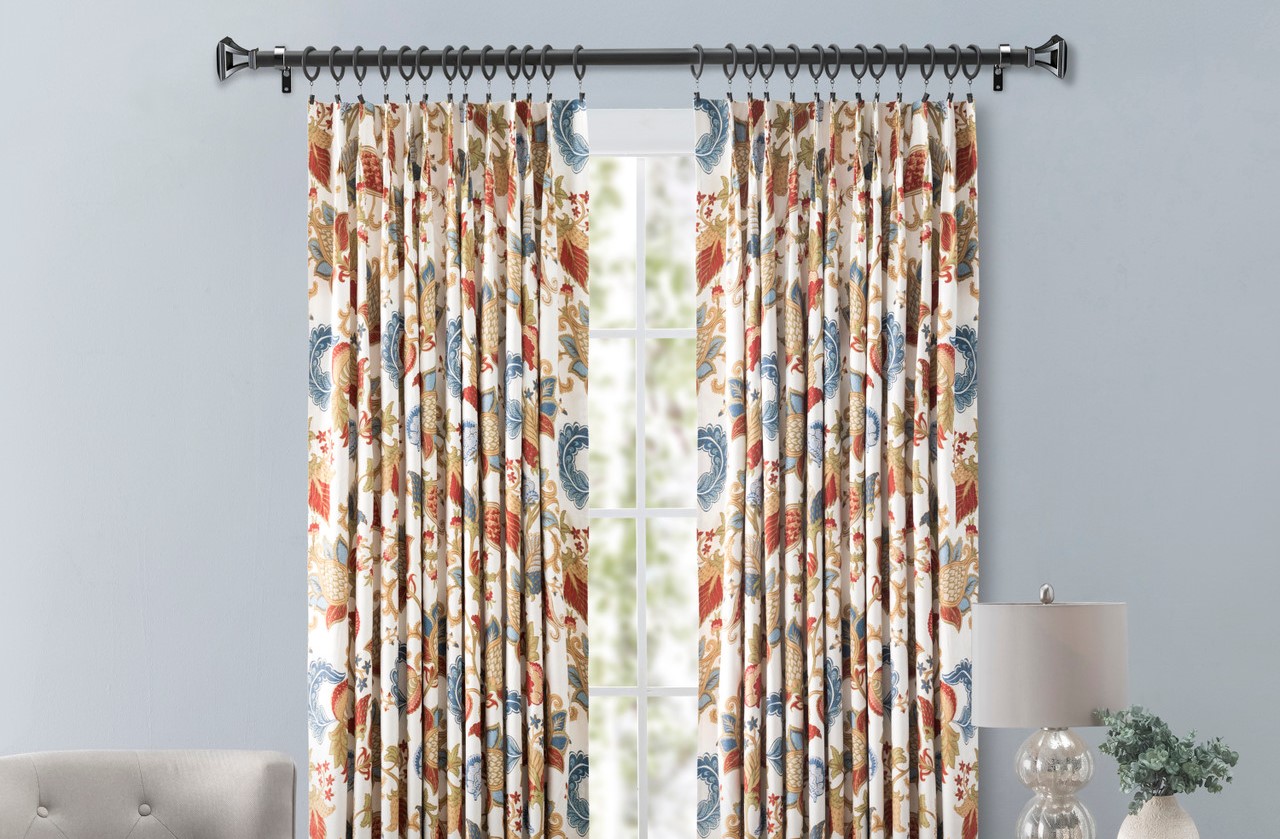
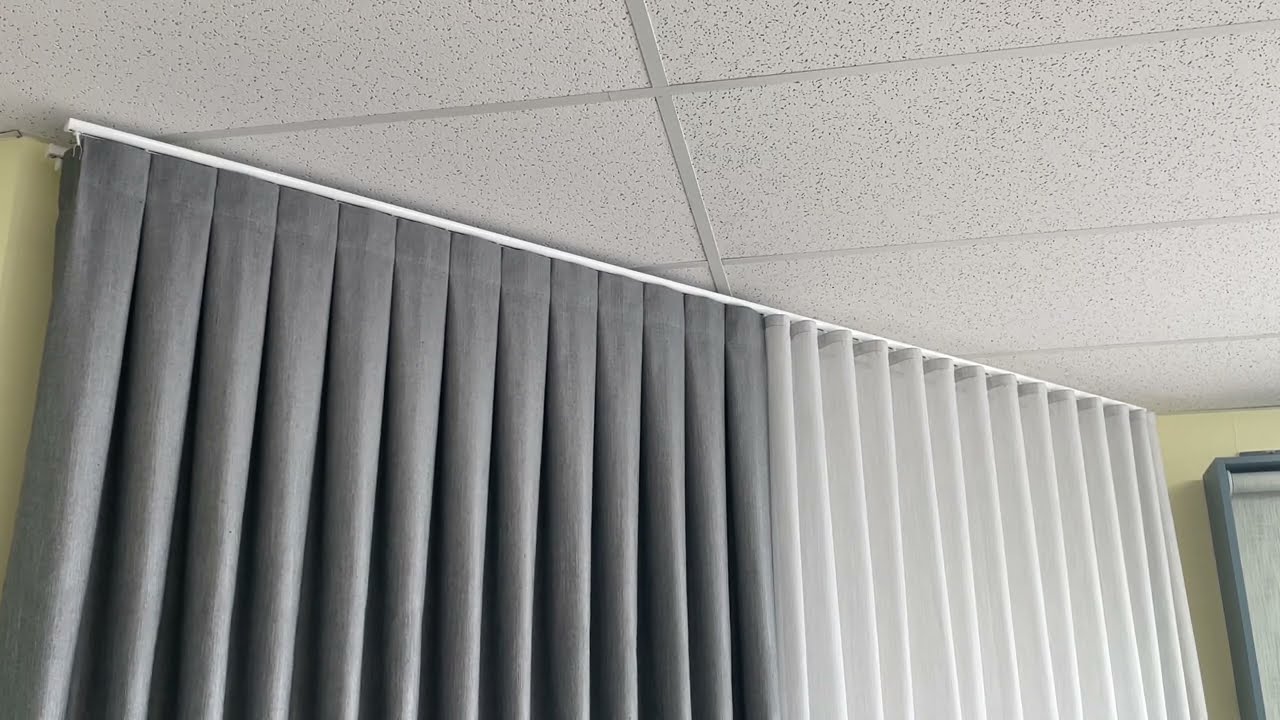
Before we dive into the process, let’s go over what pinch pleats are and why they are a popular choice for window treatments. Pinch pleats are folds in the fabric that create a tailored, structured look. They are formed by pinching the fabric at regular intervals and sewing it together, resulting in evenly spaced pleats. These pleats give drapes a classic and sophisticated appearance, making them suitable for traditional and formal spaces.
Now that you have a basic understanding of pinch pleats, let’s gather the materials needed for this project.
Key Takeaways:
- Elevate your space with elegance and sophistication by creating custom lined pinch pleated drapes. Enjoy privacy, light control, and insulation while adding a touch of timeless style to any room.
- Unleash your creativity and transform simple fabric into stunning window treatments. Learn the art of measuring, cutting, sewing, and hanging to craft professional, polished, and personalized lined pinch pleated drapes.
Read more: How To Make Pinch Pleats In Drapes
Materials Needed
Before we get started, make sure you have the following materials on hand:
- Fabric: Choose a fabric that suits your style and desired level of light control. Heavyweight fabrics such as velvet and brocade work well for creating pinch pleated drapes.
- Lining fabric: Opt for a lining fabric that complements your main fabric and provides additional insulation and light control.
- Thread: Select a thread color that matches your fabric for a seamless look.
- Rod: You’ll need a curtain rod or track to hang your drapes.
- Drapery hooks: These will be used to attach the pinch pleats to the curtain rod.
- Pins: Have a good supply of straight pins to hold the fabric in place during sewing.
- Measuring tape: This will be essential for accurately measuring the dimensions of your windows and fabric.
- Scissors: A sharp pair of fabric scissors is necessary for cutting the fabric and lining.
- Sewing machine: While it is possible to sew pinch pleated drapes by hand, a sewing machine will make the process faster and more efficient.
- Iron: An iron is needed for pressing the fabric and creating crisp pleats.
Now that you have all the necessary materials, let’s move on to the step-by-step process of making lined pinch pleated drapes.
Step 1: Measuring and Calculating Fabric
The first step in making lined pinch pleated drapes is to accurately measure your windows and calculate the amount of fabric needed. This will ensure that your drapes fit perfectly and have the desired fullness. Here’s how to do it:
- Measure the width of your window: Use a measuring tape to measure the width of your window from edge to edge. Be sure to include any trim or molding that you want your drapes to cover.
- Decide on the fullness: Determine the amount of fullness you want for your drapes. Typically, you’ll want your drapes to be 1.5 to 2 times the width of your window for a full and luxurious look.
- Calculate the fabric width: Multiply the width of your window by the desired fullness factor. This will give you the total width of fabric needed for each drape panel.
- Measure the length of your window: Measure the length from the top of the curtain rod to the desired length of your drapes. Remember to account for any additional length you want for puddling or pooling at the bottom.
- Add allowances: Add allowances for hemming and pleating. Typically, a 4-inch allowance for the bottom hem and a 2-inch allowance for the side hems are sufficient. For pleating, calculate the width of each pleat and add that to the total fabric length.
- Calculate the fabric length: Add the length of your window, allowances for hemming, and allowances for pleating to get the total fabric length needed for each panel.
- Repeat for additional panels: If you have multiple windows or want multiple panels for each window, repeat these measurements and calculations for each panel.
Once you have determined the measurements and calculated the fabric needed, you’re ready to move on to the next step – cutting the fabric.
Step 2: Cutting the Fabric
Now that you have calculated the amount of fabric needed, it’s time to cut the fabric to the appropriate dimensions for your lined pinch pleated drapes. Follow these steps:
- Prepare your work area: Clear a large, flat surface, such as a cutting table or floor, to lay out your fabric.
- Transfer your measurements: Using a measuring tape, mark the calculated width and length of each drape panel on the fabric. Use straight pins to hold the fabric in place while you measure and mark.
- Cut the fabric: Using sharp fabric scissors, carefully cut along the marked lines to create the individual drape panels. Take your time and make clean, straight cuts to ensure accurate pieces.
- Repeat for additional panels: If you have multiple panels to cut, repeat the measuring and cutting process for each panel.
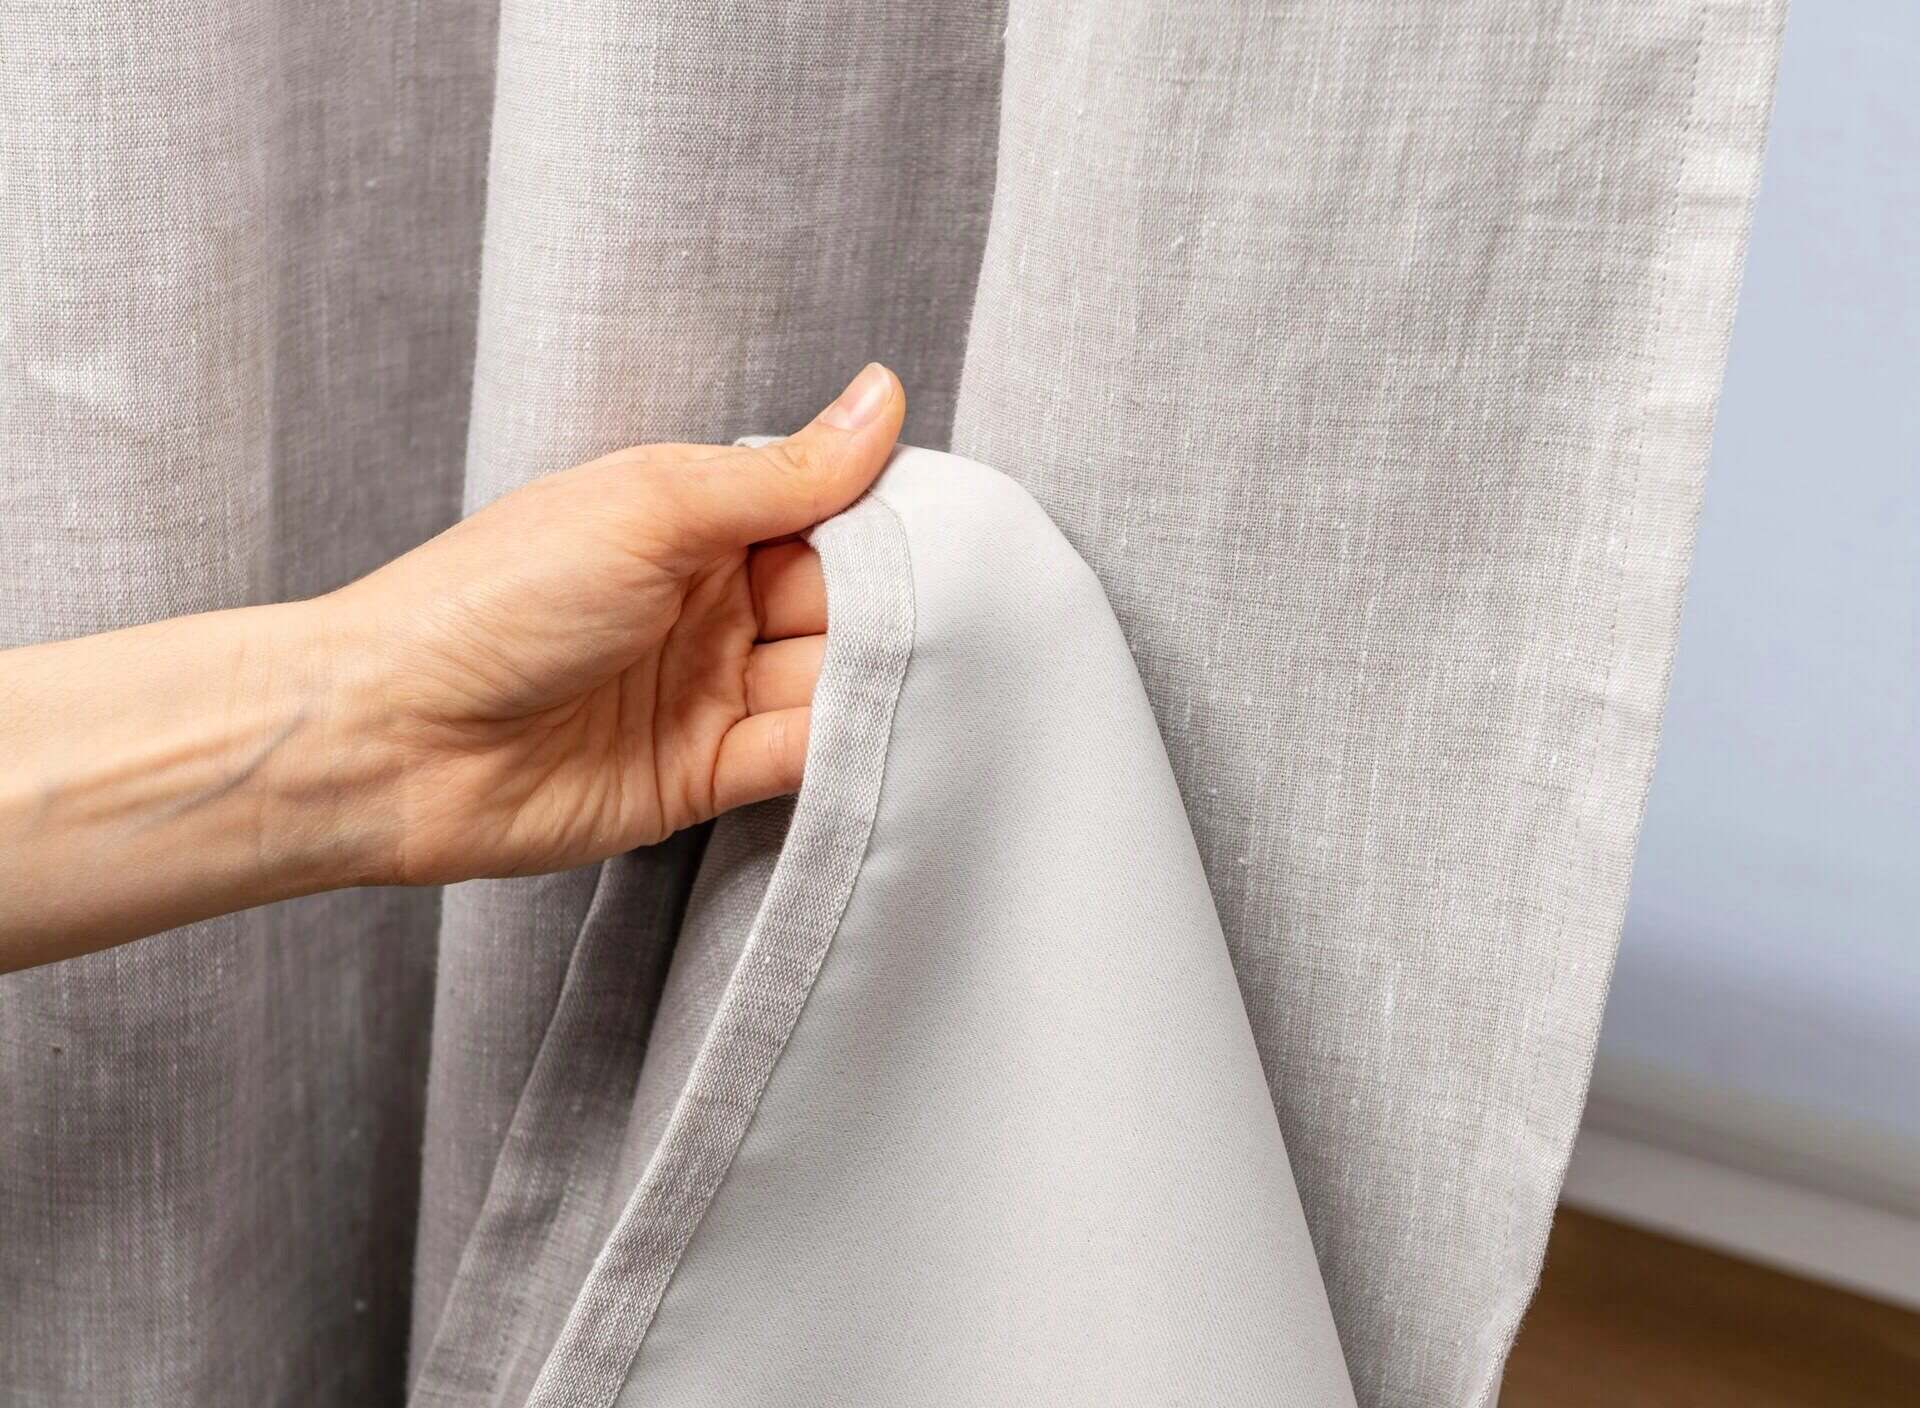
- Cut the lining fabric: Follow the same steps to cut the lining fabric, ensuring that it matches the dimensions of the main fabric panels.
With the fabric and lining cut to size, you’re ready to move on to the next step – sewing the side seams of the drape panels.
Step 3: Sewing the Side Seams
With the fabric panels cut to size, it’s time to sew the side seams of your lined pinch pleated drapes. Follow these steps to create neat and sturdy seams:
- Prepare your sewing machine: Set up your sewing machine with a matching thread color and a straight stitch setting. Make sure your machine is in good working condition.
- Line up the fabric panels: Take one main fabric panel and one lining fabric panel. Place them right sides together, matching the side edges. Pin the fabric panels together along the sides, making sure to align the top and bottom edges as well.
- Sew the side seams: Starting at the top edge, sew a straight stitch along the pinned side edges, using a ½-inch seam allowance. Backstitch at the beginning and end of each seam for added strength.
- Finish the raw edges: After sewing the side seams, finish the raw edges of the fabric to prevent fraying. You can use a serger, pinking shears, or a zigzag stitch on your sewing machine.
- Press the seams: Use an iron to press the side seams open, ensuring a crisp and professional finish.
- Repeat for remaining panels: Repeat the sewing process for each set of fabric panels, creating neat and sturdy side seams for all the drapes.
With the side seams sewn, the next step is to hem the bottom and sides of your lined pinch pleated drapes.
Read more: How To Measure For Pinch Pleat Drapes
Step 4: Hemming the Bottom and Sides
Now that the side seams are sewn, it’s time to hem the bottom and sides of your lined pinch pleated drapes. Follow these steps to achieve clean and polished edges:
- Prepare your sewing machine: Set up your sewing machine with a matching thread color and a straight stitch or blind hem stitch setting.
- Measure and mark the hem allowance: Measure the desired hem length from the bottom edge of each panel and mark it with a fabric pencil or pins. Typically, a 4-inch hem is appropriate for drapes.
- Fold and press the hem: Fold the bottom edge of each panel up to the marked hem allowance and press it with an iron to create a crisp fold.
- Sew the hem: Starting at one corner, sew a straight stitch or blind hem stitch along the folded edge of the hem, securing it in place. Continue sewing along the entire width of the panel, backstitching at the beginning and end of the seam.
- Repeat for the side hems: Measure and mark the desired side hem allowance, typically 2 inches, from each side edge of the panel. Fold and press the side edges to create a crisp fold. Sew the side hems in the same manner as the bottom hem, using a straight stitch or blind hem stitch.
- Press the hems: After sewing, use an iron to press the hems flat, ensuring a polished and professional finish.
With the bottom and side hems complete, it’s time to move on to the next step – creating the pinch pleats.
When making lined pinch pleated drapes, be sure to measure and mark your pleats carefully to ensure they are evenly spaced and consistent in size for a professional finish.
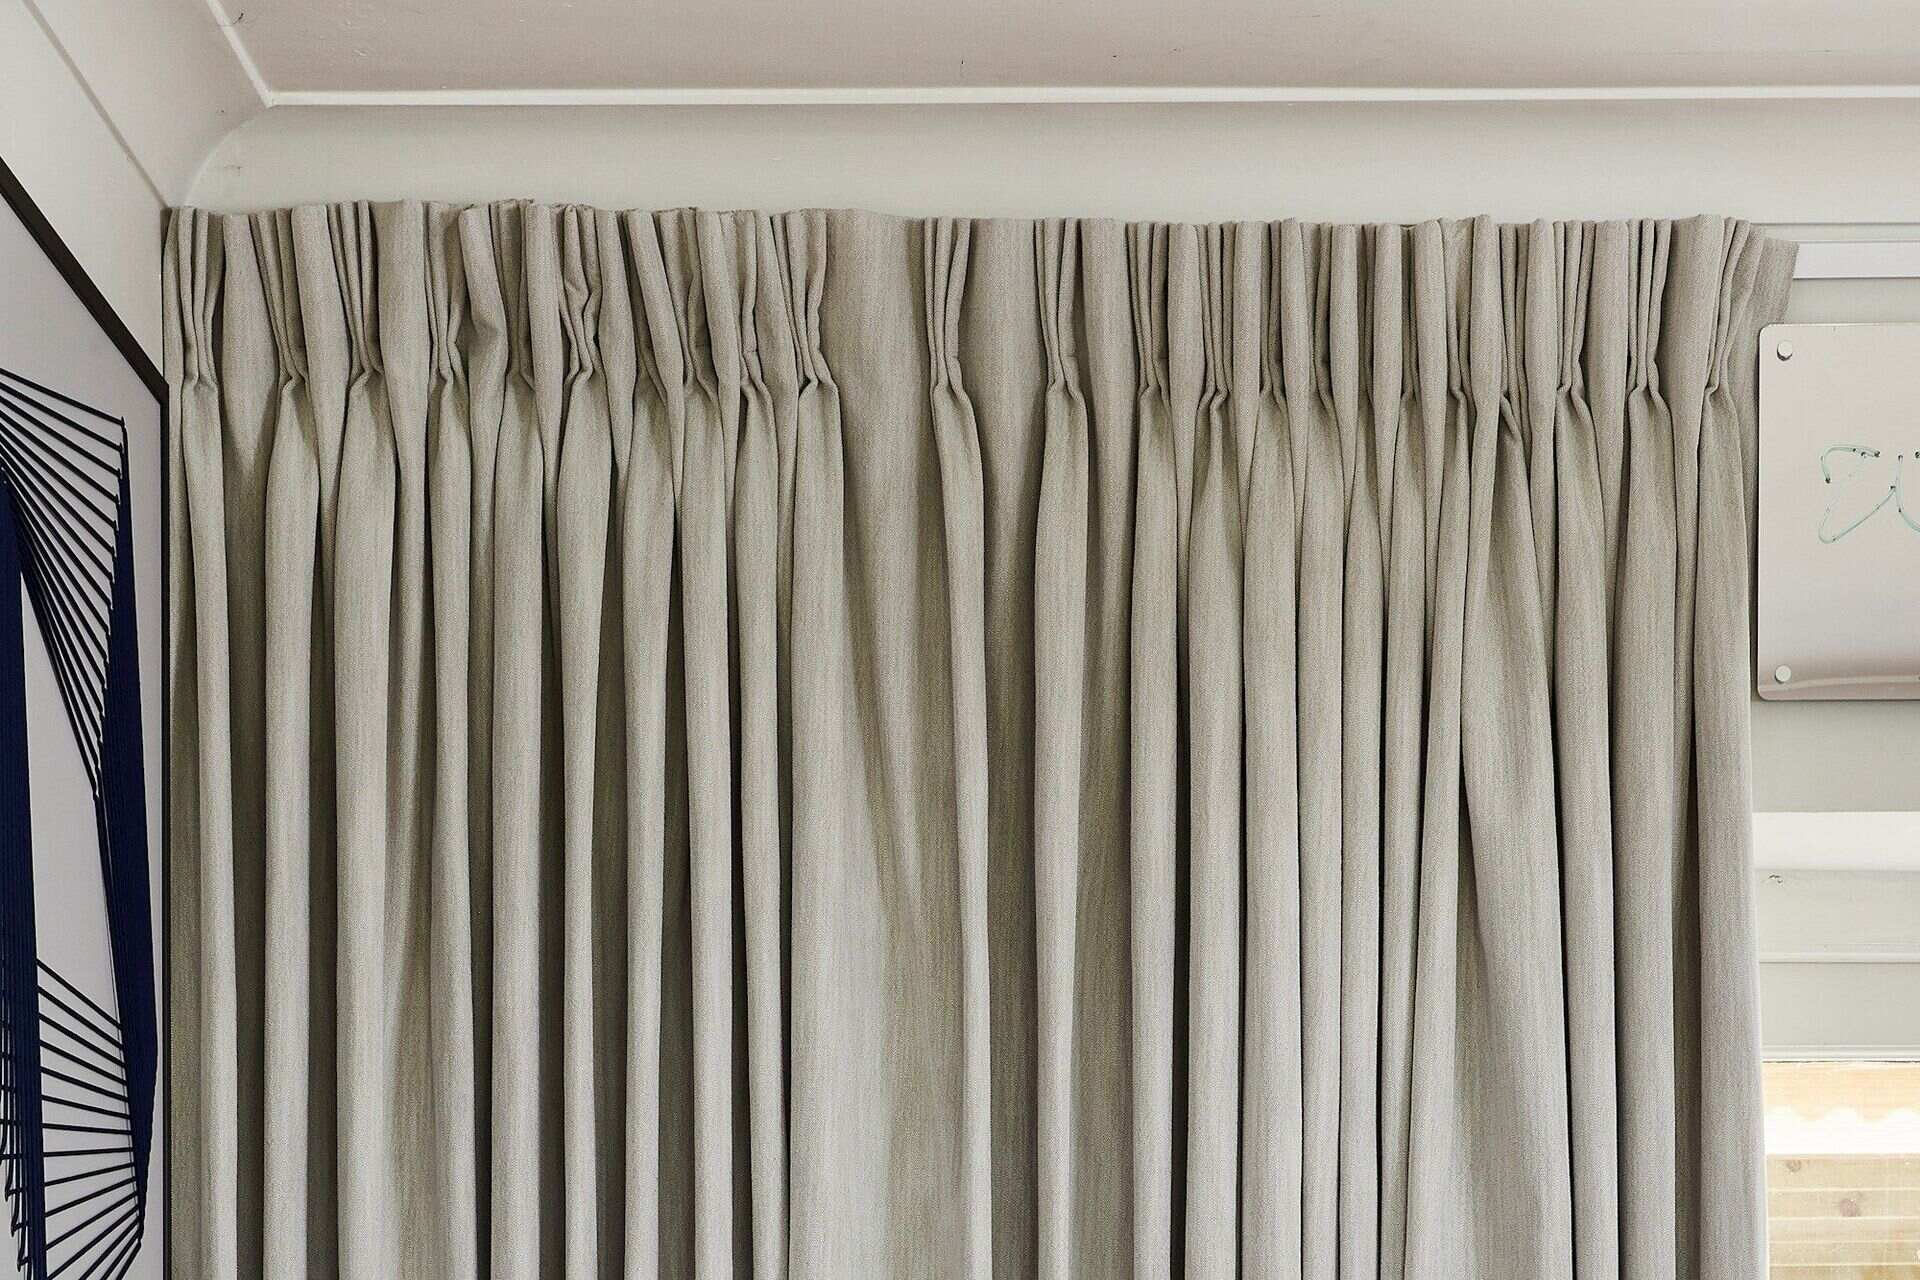
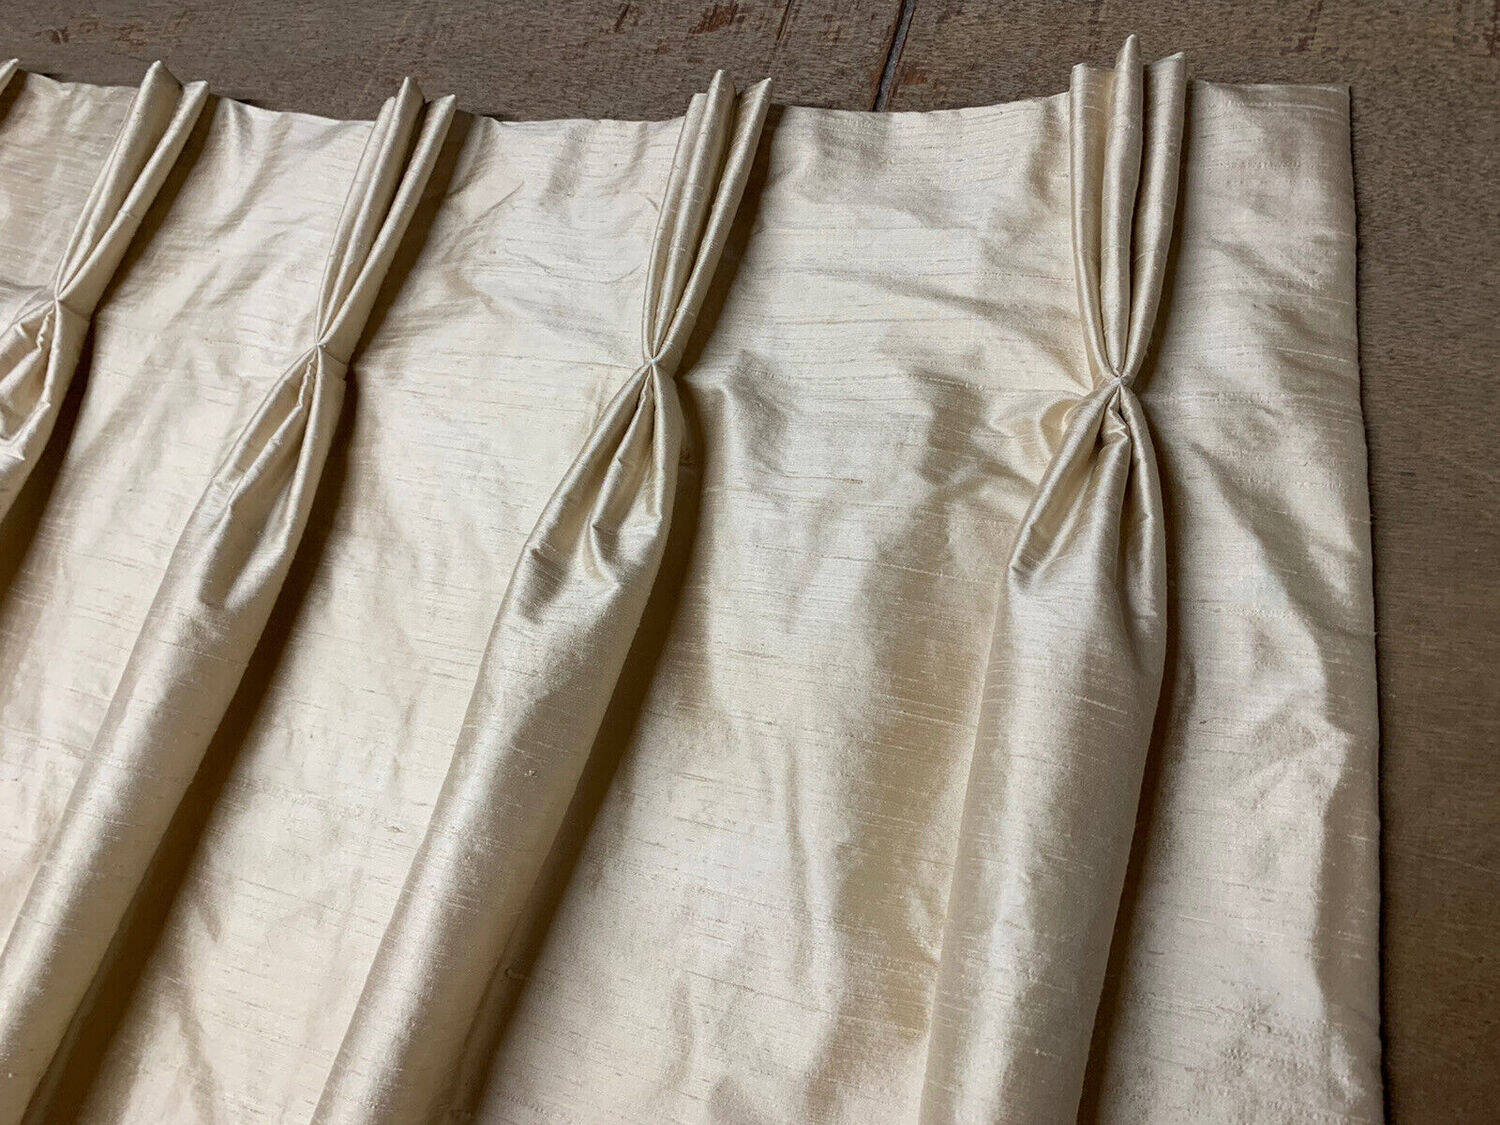
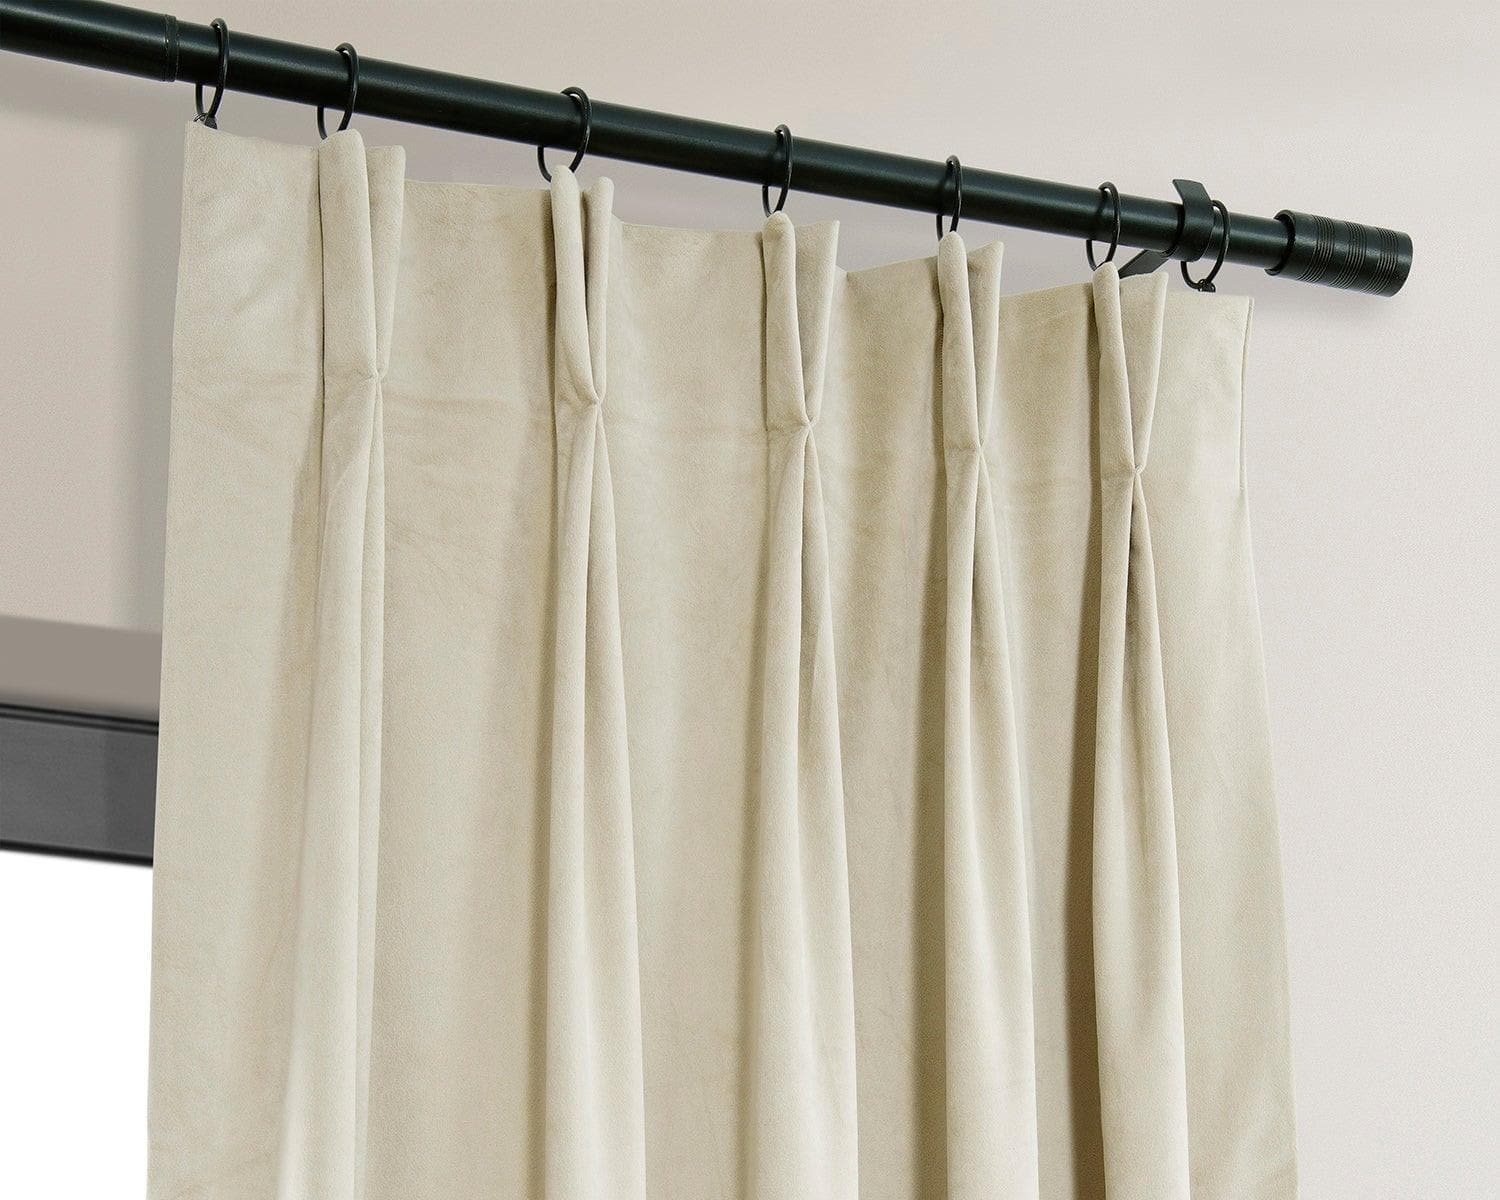
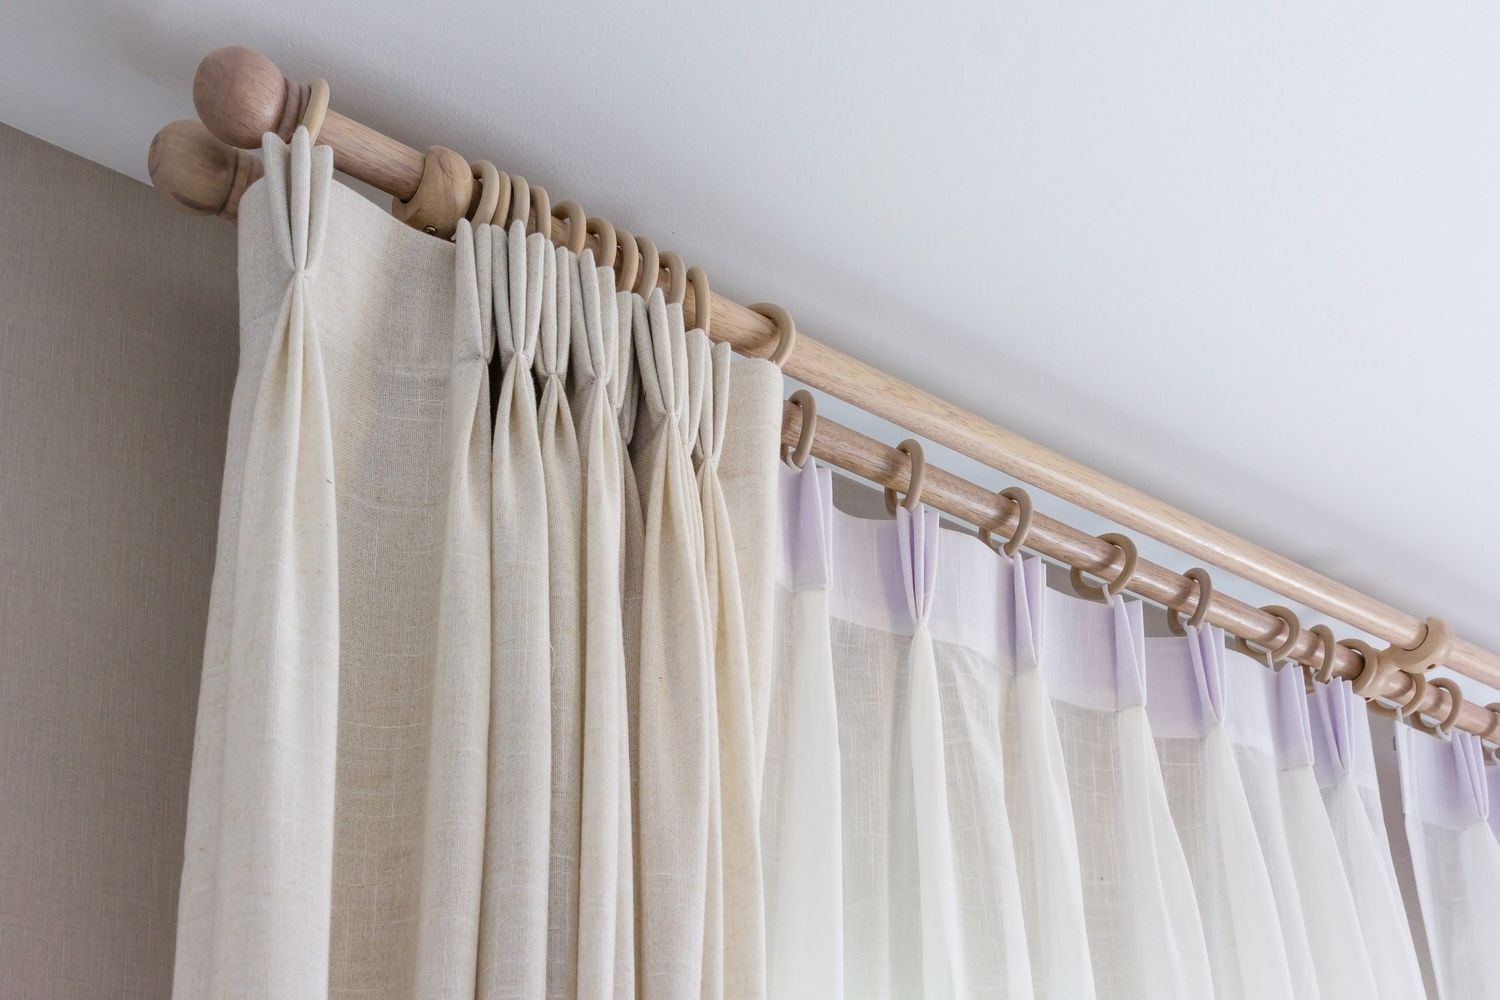
Step 5: Creating the Pinch Pleats
The next step in making lined pinch pleated drapes is to create the alluring pinch pleats that give them their elegant and structured look. Follow these steps to create perfectly spaced and uniform pinch pleats:
- Decide on the number of pleats: Determine the desired number of pinch pleats for each panel. The number of pleats will depend on the width of the panel and your personal preference. The general rule of thumb is to have one pleat every 12-14 inches.
- Measure and mark the pleat placement: Starting from one side edge of the panel, measure the width of the panel and divide it by the number of pleats. This will give you the distance between each pleat. Mark the placements evenly along the top edge of the panel.
- Create the pleats: To create a pinch pleat, pinch the fabric together at each marked point, folding it inward. The pleat should have a width of about 3 inches. Secure each pleat with straight pins to hold it in place temporarily.
- Adjust and refine the pleats: Once all the pleats are pinned, step back and assess the overall appearance. Make any adjustments necessary to ensure that the pleats are evenly spaced and that the fabric remains smooth and unwrinkled.
- Baste the pleats: Remove the straight pins and baste stitch along the top edge of the pleats to secure them permanently. This will prevent the pleats from shifting during the next steps.
- Press the pleats: Use an iron to gently press the pleats, smoothing out any wrinkles and creating sharp creases. Be careful not to flatten the pleats completely.
With the pinch pleats created, it’s time to move on to the next step – attaching the pinch pleats to the drapes.
Step 6: Attaching the Pinch Pleats to the Drapes
With the pinch pleats prepared, it’s time to attach them to the drapes. This step will bring your lined pinch pleated drapes to life and give them the classic and tailored look you desire. Follow these steps to attach the pinch pleats:
- Prepare your sewing machine: Set up your sewing machine with a matching thread color and a straight stitch or decorative stitch setting.
- Align the pleats: Start with one panel at a time. Align the top edge of the panel with the top edge of the pinch pleats, ensuring that the pleats are evenly spaced and aligned with the markings.
- Pin the pleats: Place straight pins vertically through each pleat and the fabric, securing them together. Make sure the pins go through all layers of fabric.
- Stitch the pleats: Starting at one end of the panel, stitch across the top of the pleats, securing them to the fabric. Use a backstitch at the beginning and end of the seam for added durability.
- Remove the basting stitches: Once all the pleats are stitched, remove the basting stitches that were used to temporarily hold the pleats in place.
- Press the pleats: Use an iron to press the pleats again, making sure they are crisp and well-defined.
With the pinch pleats securely attached to the drapes, you are almost done! The next step is to install the drapery hooks.
Step 7: Installing the Drapery Hooks
Installing drapery hooks is essential for hanging your lined pinch pleated drapes securely and evenly. These hooks will ensure that your drapes are properly supported by the curtain rod and maintain their elegant appearance. Follow these steps to install the drapery hooks:
- Prepare your drapes: Lay your lined pinch pleated drapes flat on a clean surface, with the backside facing up.
- Attach the drapery hooks: Beginning at one end of the panel, insert the pointed end of each drapery hook into the top edge of the pleats. Make sure the hook is securely inserted and that the fabric is evenly distributed along the hooks.
- Continue attaching the hooks: Work your way across the width of the panel, inserting a drapery hook into each pleat, ensuring they are evenly spaced. Repeat this process for each lined pinch pleated panel.
- Hang the drapes: Once all the drapery hooks are installed, hang the drapes on the curtain rod or track. Make sure the hooks are securely attached and evenly distributed along the rod.
- Adjust the pleats: Stand back and assess the drapes to ensure that the pleats are evenly spaced and the fabric hangs smoothly. Make any necessary adjustments to achieve the desired appearance.
With the drapery hooks installed and the drapes hung, you’re almost finished! The final step is to hang the lined pinch pleated drapes in your desired location.
Read more: How To Make Pinch Pleat Curtains
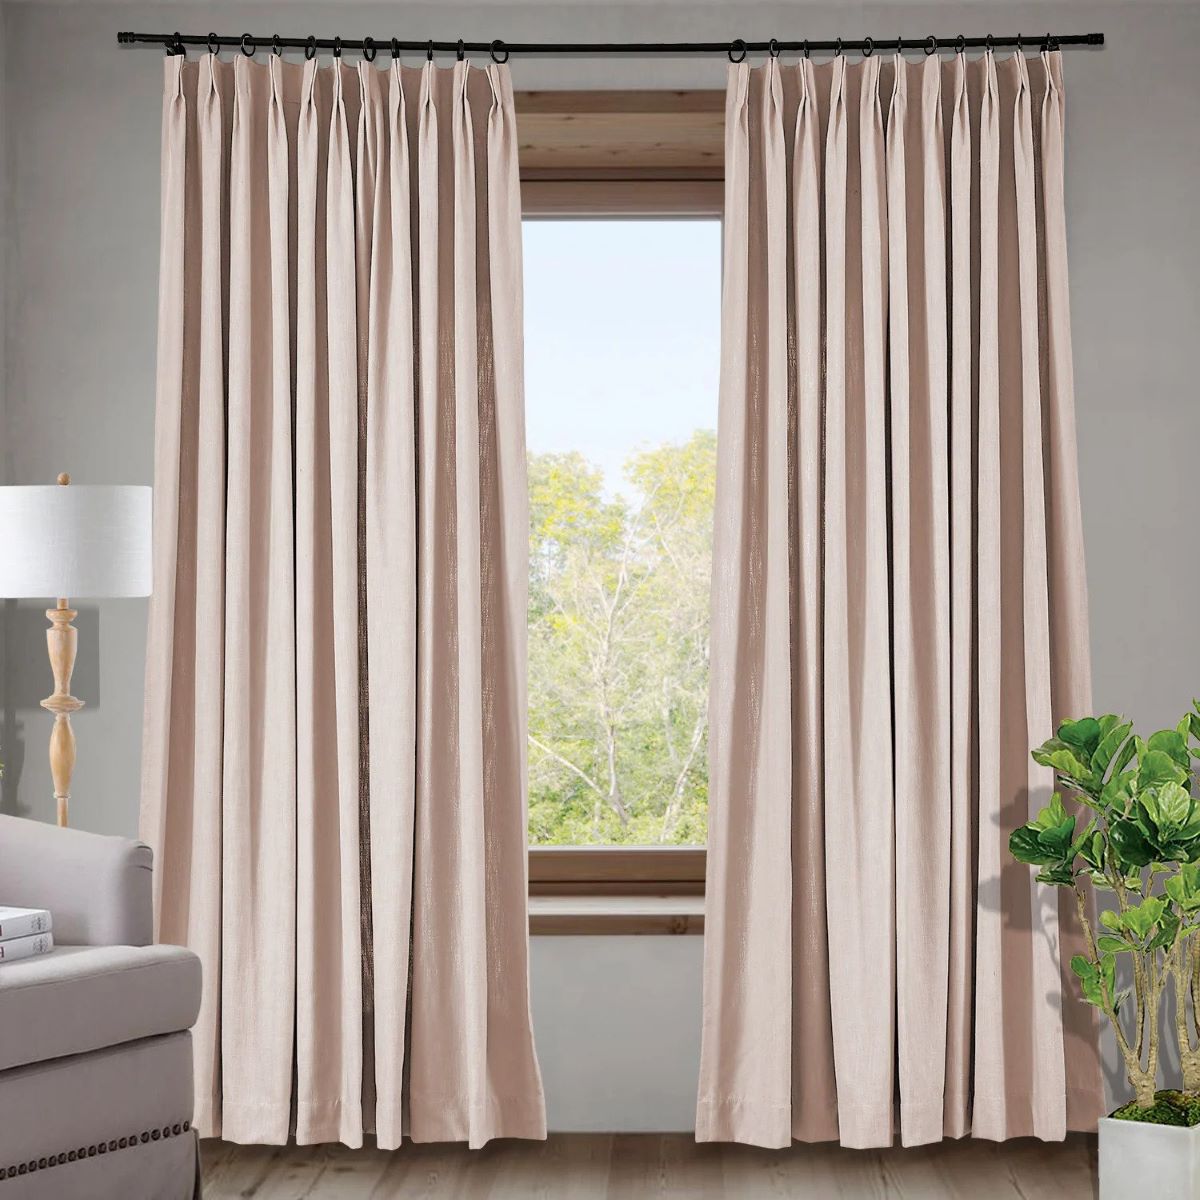
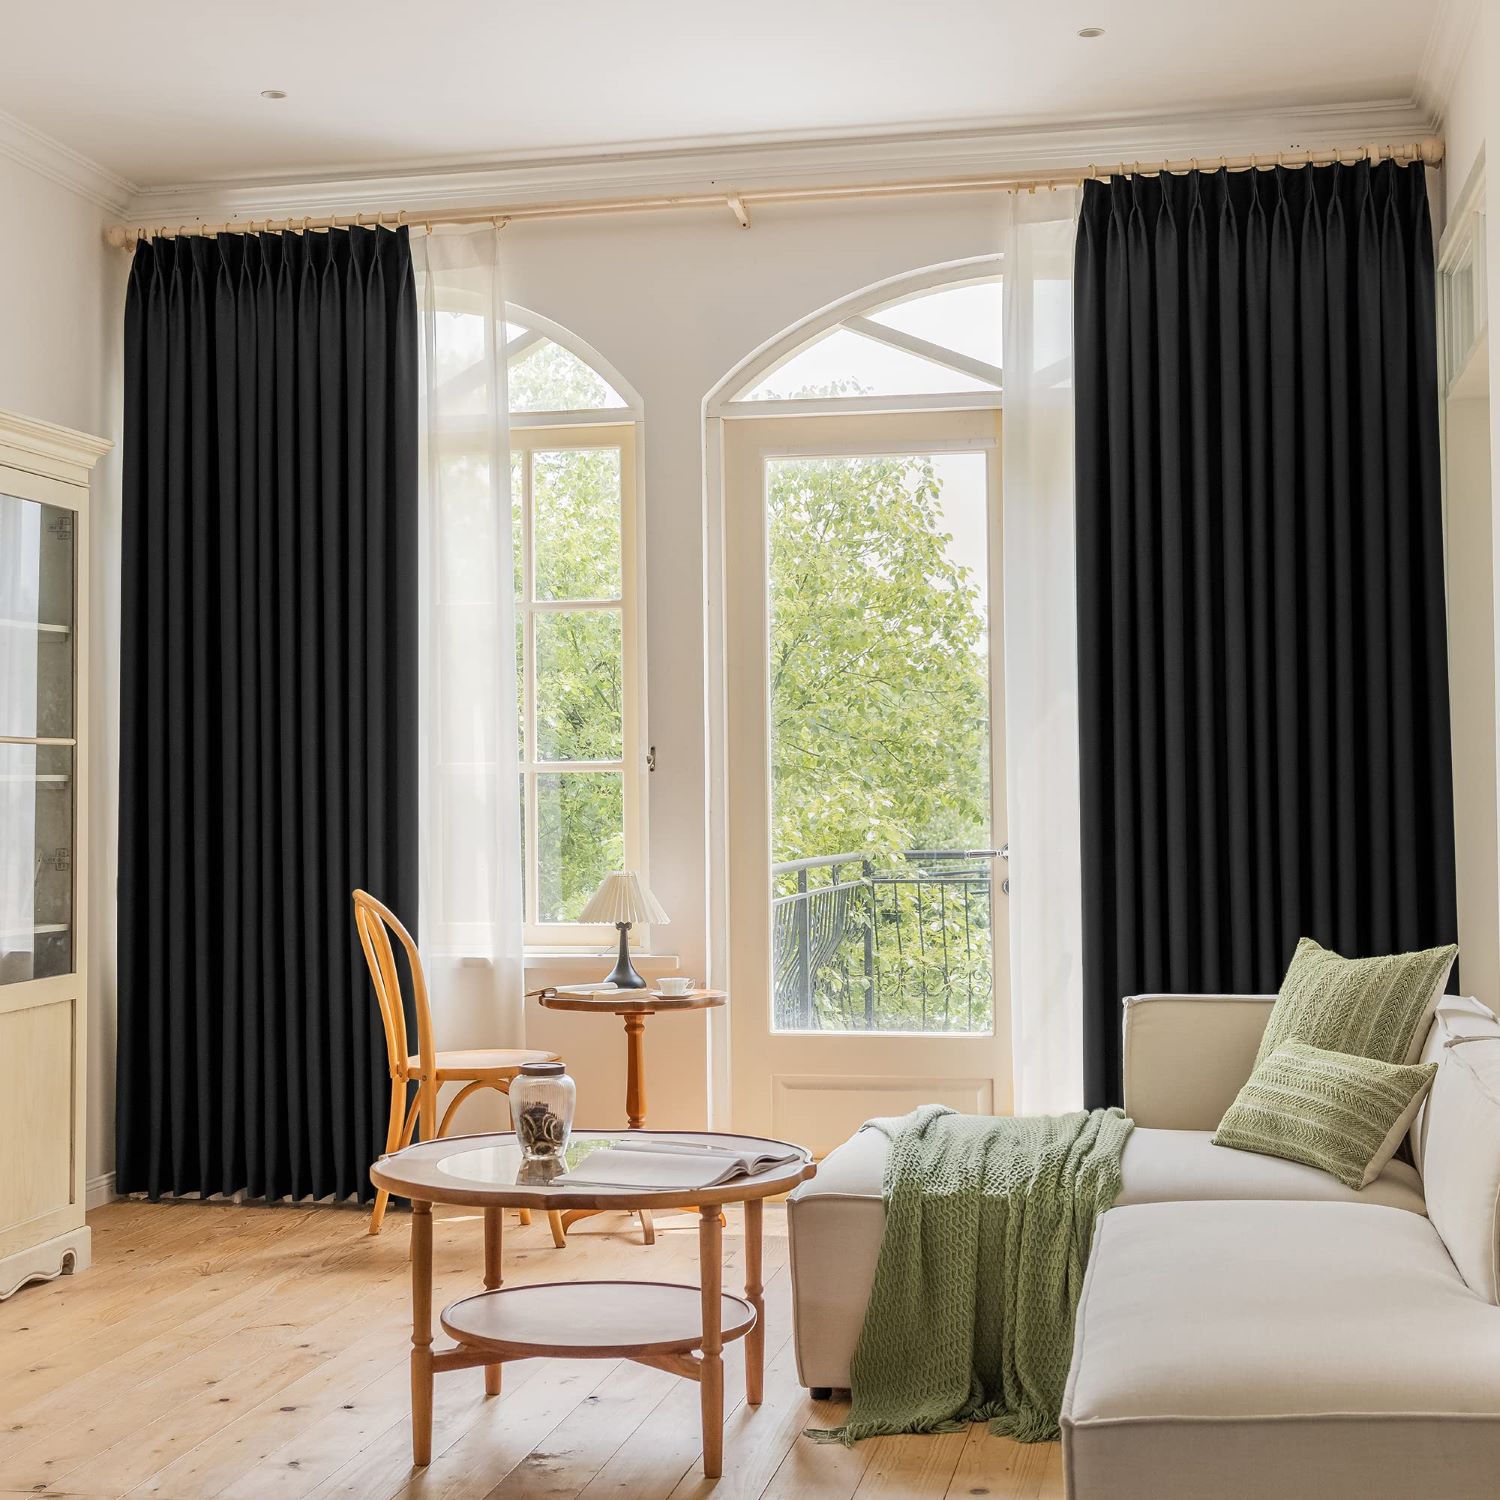
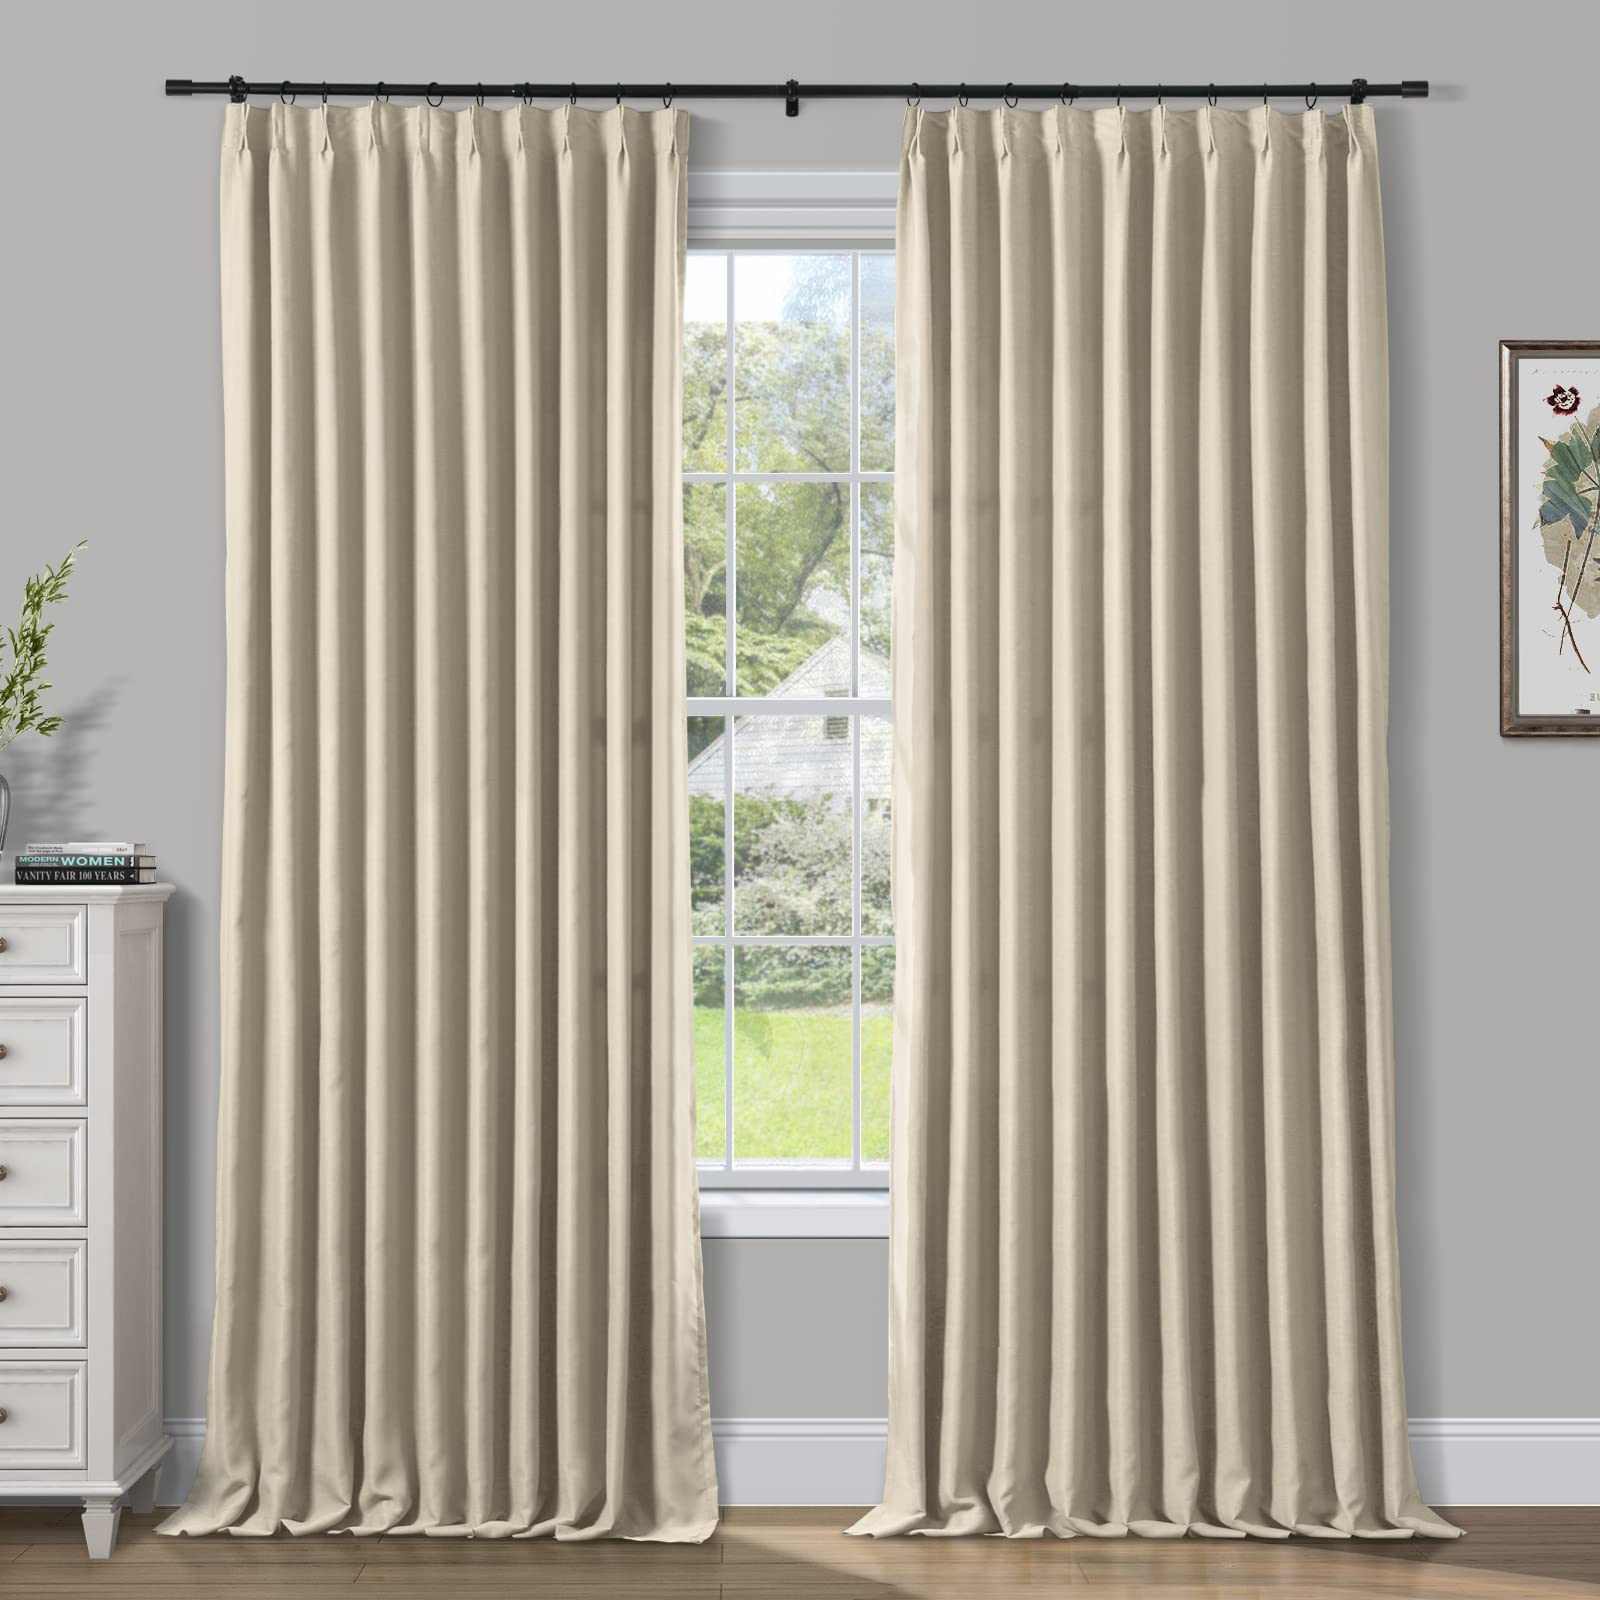
Step 8: Hanging the Lined Pinch Pleated Drapes
After all the hard work of creating your lined pinch pleated drapes, it’s time to hang them up and enjoy the beautiful transformation they bring to your space. Follow these steps to properly hang your drapes:
- Prepare your curtain rod: Ensure that your curtain rod is securely mounted or installed according to the manufacturer’s instructions. Make sure it is level and properly aligned with your window.
- Slide the drapes onto the rod: Starting at one end, slide the drapery hooks into the openings or rings on your curtain rod. Take your time to ensure that each hook is securely fastened onto the rod.
- Distribute the fabric evenly: Once the drapes are hanging, distribute the fabric evenly along the rod, making sure that the pleats are evenly spaced and aligned.
- Adjust the length: If necessary, adjust the length of your drapes by folding or raising the bottom hem. This will ensure that the drapes are the desired length and do not drag on the floor.
- Step back and admire: Stand back and admire your beautifully hung lined pinch pleated drapes. Take a moment to appreciate how they enhance the aesthetics and ambiance of your space.
With your lined pinch pleated drapes securely hung, you can now enjoy the privacy, light control, and elegant style they provide. Sit back, relax, and bask in the beauty of your DIY masterpiece!
Congratulations on completing all the steps in making your own lined pinch pleated drapes. We hope this guide has been helpful in bringing your vision to life and creating a stunning window treatment. Enjoy the fruits of your labor and revel in the cozy and sophisticated atmosphere that your drapes bring to your home!
Conclusion
Congratulations! You have successfully learned how to make lined pinch pleated drapes. By following the step-by-step guide, you have transformed simple fabric into elegant window treatments that add a touch of sophistication to any space. These drapes not only provide privacy and light control but also enhance the overall aesthetic appeal of your room.
Throughout this DIY project, you learned how to measure and calculate fabric, cut the fabric to the appropriate size, sew the side seams, hem the bottom and sides, create beautiful pinch pleats, attach the pleats to the drapes, install drapery hooks, and finally, hang the drapes with precision. Each step is vital in creating a professional and polished finished product.
As you continue to explore the world of drapery-making, you can now unleash your creativity and experiment with different fabrics, colors, and patterns to suit your personal style and home décor. With this newfound knowledge and skill, you have the ability to customize your window treatments to perfectly complement your space.
Remember, making lined pinch pleated drapes is a labor of love. Take your time, pay attention to detail, and enjoy the process. The end result will be well worth it when you see how your handmade drapes transform your room.
Now that you have completed this project, feel free to share your newfound expertise with friends or family who may be interested in creating their own lined pinch pleated drapes. Inspire others to embark on their own DIY journey and help them bring their window treatment visions to life.
Thank you for joining us on this creative and rewarding journey. We wish you all the best in your future drapery-making endeavors!
Frequently Asked Questions about How To Make Lined Pinch Pleated Drapes
Was this page helpful?
At Storables.com, we guarantee accurate and reliable information. Our content, validated by Expert Board Contributors, is crafted following stringent Editorial Policies. We're committed to providing you with well-researched, expert-backed insights for all your informational needs.

0 thoughts on “How To Make Lined Pinch Pleated Drapes”