Articles
How To Make Pinch Pleats In Drapes
Modified: February 24, 2024
Learn the step-by-step process of creating stylish pinch pleats in drapes with our informative articles. Enhance the look of your windows effortlessly!
(Many of the links in this article redirect to a specific reviewed product. Your purchase of these products through affiliate links helps to generate commission for Storables.com, at no extra cost. Learn more)
Introduction
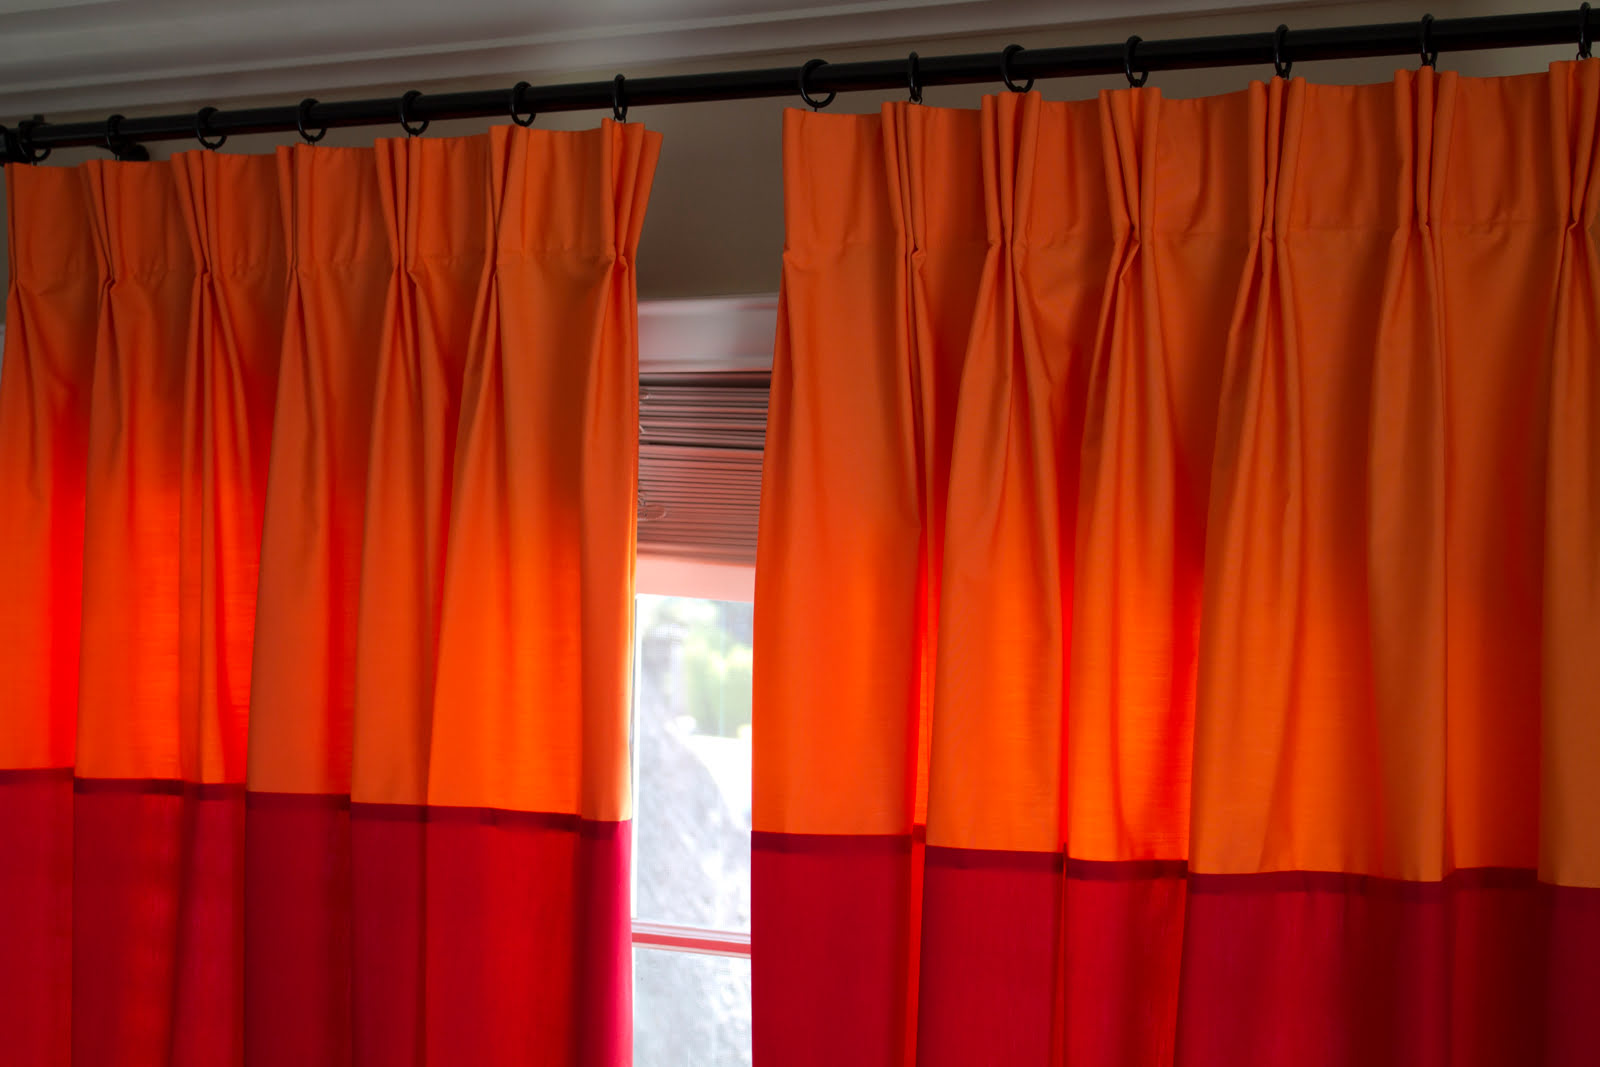
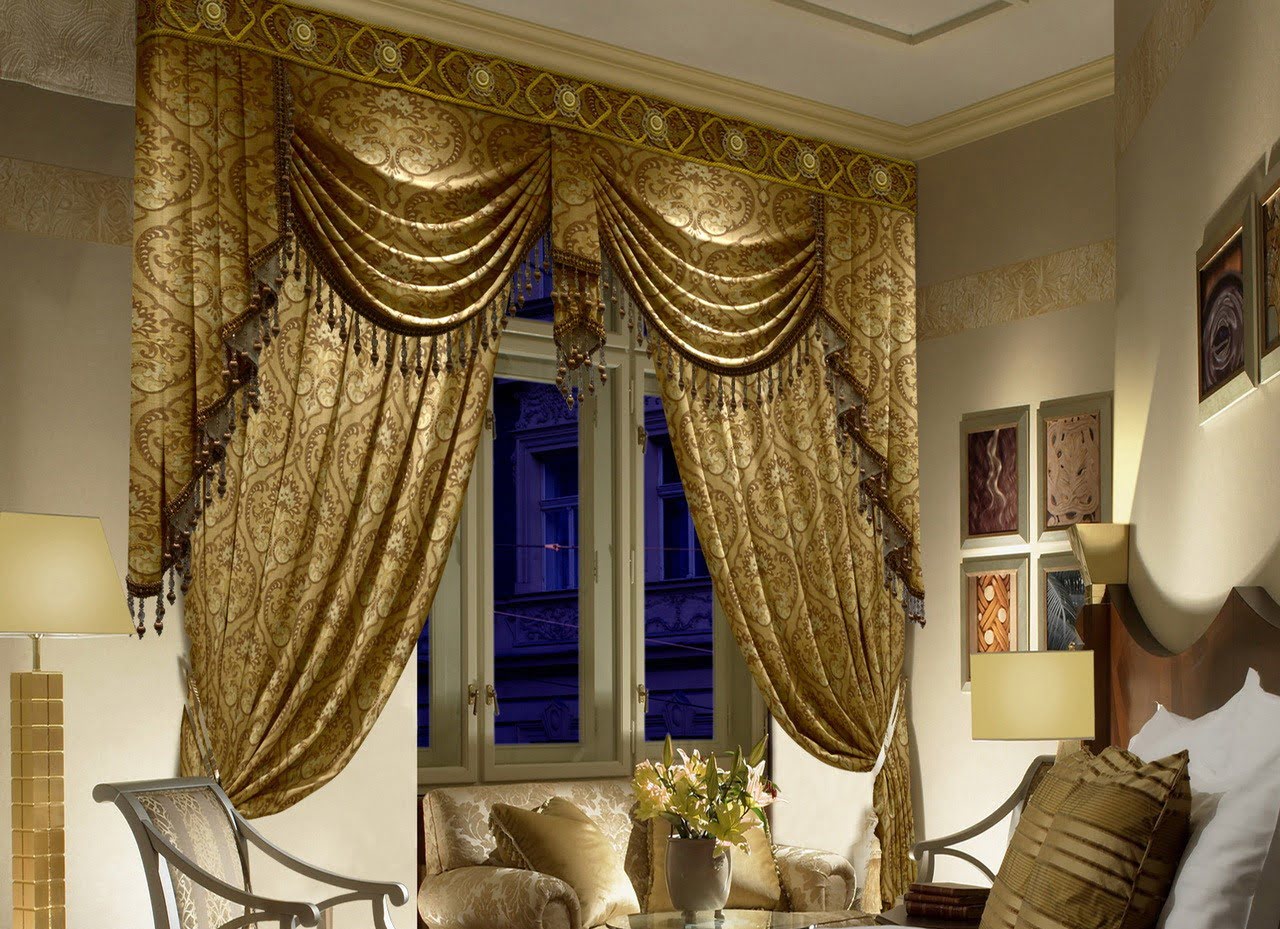
Pinch pleats are a classic and elegant style of drapes that add a touch of sophistication to any room. They create beautiful folds and give a structured, tailored appearance to curtains or drapery panels. Whether you’re looking to upgrade your existing drapes or want to create custom pinch pleated drapes from scratch, this article will guide you through the process.
Pinch pleats are formed by gathering the fabric at regular intervals and securing it with stitches. This creates evenly spaced pleats that flow down the length of the drapes. The pleats are pinched together at the top, hence the name “pinch pleats.” These pleats not only add a decorative element to your drapes but also provide functionality by allowing easy adjustment of the fullness and the amount of light entering the room.
In this article, we will walk you through the steps required to make pinch pleats in drapes. We’ll also provide you with a list of tools and materials you’ll need to get started. So gather your supplies and let’s dive into the world of pinch pleats!
Key Takeaways:
- Elevate your space with sophisticated pinch pleated drapes, adding timeless elegance and functionality to any room. Master the art of creating custom drapes with tailored pinch pleats for a polished, professional look.
- Achieve perfect pinch pleats by taking accurate measurements, calculating pleat placement, and securing pleats with precision. Enjoy the beauty and functionality of custom pinch pleated drapes, enhancing your space for years to come.
Read more: How To Make Lined Pinch Pleated Drapes
Tools and Materials Needed
Before you begin making pinch pleats in your drapes, it’s important to gather all the necessary tools and materials. Having everything prepared beforehand will make the process smoother and more efficient. Here’s a list of what you’ll need:
- Fabric: Choose a fabric of your choice that complements your decor style. Make sure to measure and purchase enough fabric to cover the desired window size.
- Measuring tape: This will be used to accurately measure the dimensions of your window and calculate the pleat placement.
- Scissors: High-quality fabric scissors are essential for cutting the fabric to the required sizes and shapes.
- Sewing machine: A sewing machine will make the stitching process faster and more precise. Choose a machine that can handle heavyweight fabrics if needed.
- Pins: Use straight pins to hold the fabric layers together before sewing. These will help keep your pleats in place as you work.
- Thread: Choose a thread color that matches or complements your fabric. A strong thread will ensure secure and durable stitches.
- Needles: You’ll need hand-sewing needles for any final touches or for sewing by hand if necessary.
- Ruler or straight edge: This will help you mark accurate and straight lines during the fabric cutting and pleat placement process.
- Fabric marking tool: Use a washable or disappearing fabric marking tool to make temporary marks on the fabric for pleat placement.
- Drapery hooks or rings: Depending on your preference, you’ll need drapery hooks or rings to hang your pinch pleated drapes. Choose hooks or rings that will securely hold the weight of the drapes.
Make sure you have all these tools and materials ready before you start making the pinch pleats in your drapes. Having them within reach will make the process more efficient and enjoyable.
Step 1: Measure and Calculate Pleat Placement
The first step in making pinch pleats in your drapes is to accurately measure your window and calculate the pleat placement. This will ensure that your drapes fit properly and look symmetrical when finished. Here’s how to do it:
- Measure the width of your window: Use a measuring tape to measure the width of your window from one side to the other. Add a few inches to account for any desired fullness or overlap. Note down the measurement.
- Decide on the number of pleats: The number of pleats you want will depend on the width of your fabric and the desired fullness. A general rule of thumb is to have one pleat every 10-12 inches. Divide the width of your window by the desired number of pleats to determine the approximate spacing between each pleat.
- Calculate the pleat placement: Starting from the outer edges of the drapes, mark the placement of each pleat according to the spacing calculated in the previous step. Use a ruler or straight edge to ensure straight lines. Make sure to account for any excess fabric at the top that will be used for creating the pleats.
- Add extra fabric for the top pleats: Depending on the desired fullness and style, you may need to add extra fabric at the top of the drapes to create the pinch pleats. This additional fabric should be evenly distributed across the width of the drape.
Taking accurate measurements and calculating the pleat placement is crucial for achieving well-balanced and visually appealing pinch pleats. Take your time with this step to ensure that everything is precise and symmetrical.
Step 2: Marking the Pleat Placement
Once you have calculated the pleat placement, it’s time to mark the fabric to guide you during the sewing process. Marking the pleat placement will help you ensure that the pleats are evenly spaced and symmetrical. Follow these steps to mark the pleat placement:
- Spread out your fabric: Lay your fabric flat on a clean, spacious surface. Smooth out any wrinkles or folds to get an accurate placement.
- Measure and mark the top of the fabric: Measure the amount of additional fabric you added at the top for the pleats. Starting from the top edge of the fabric, make small marks at regular intervals according to your calculated pleat spacing
- Mark the pleat folds: Measure and mark the center of each pleat by folding the fabric in half at each marked spot. This will create a visible fold line down the length of the fabric.
- Continue marking: Repeat the process to mark the pleat folds until you reach the opposite side of the fabric. Make sure the marks are straight and evenly spaced.
- Connect the marks: Once you have marked the pleat folds, use a ruler or straight edge to connect the marks with light, temporary lines. These lines will guide you during the sewing process.
Marking the pleat placement is an essential step in ensuring that your pinch pleats are uniform and visually appealing. Take your time with this step and double-check your marks for accuracy before proceeding to the next step.
When making pinch pleats in drapes, be sure to measure and mark the fabric carefully to ensure even spacing between the pleats. Use a sturdy fabric and consider using pleater tape for a professional finish.
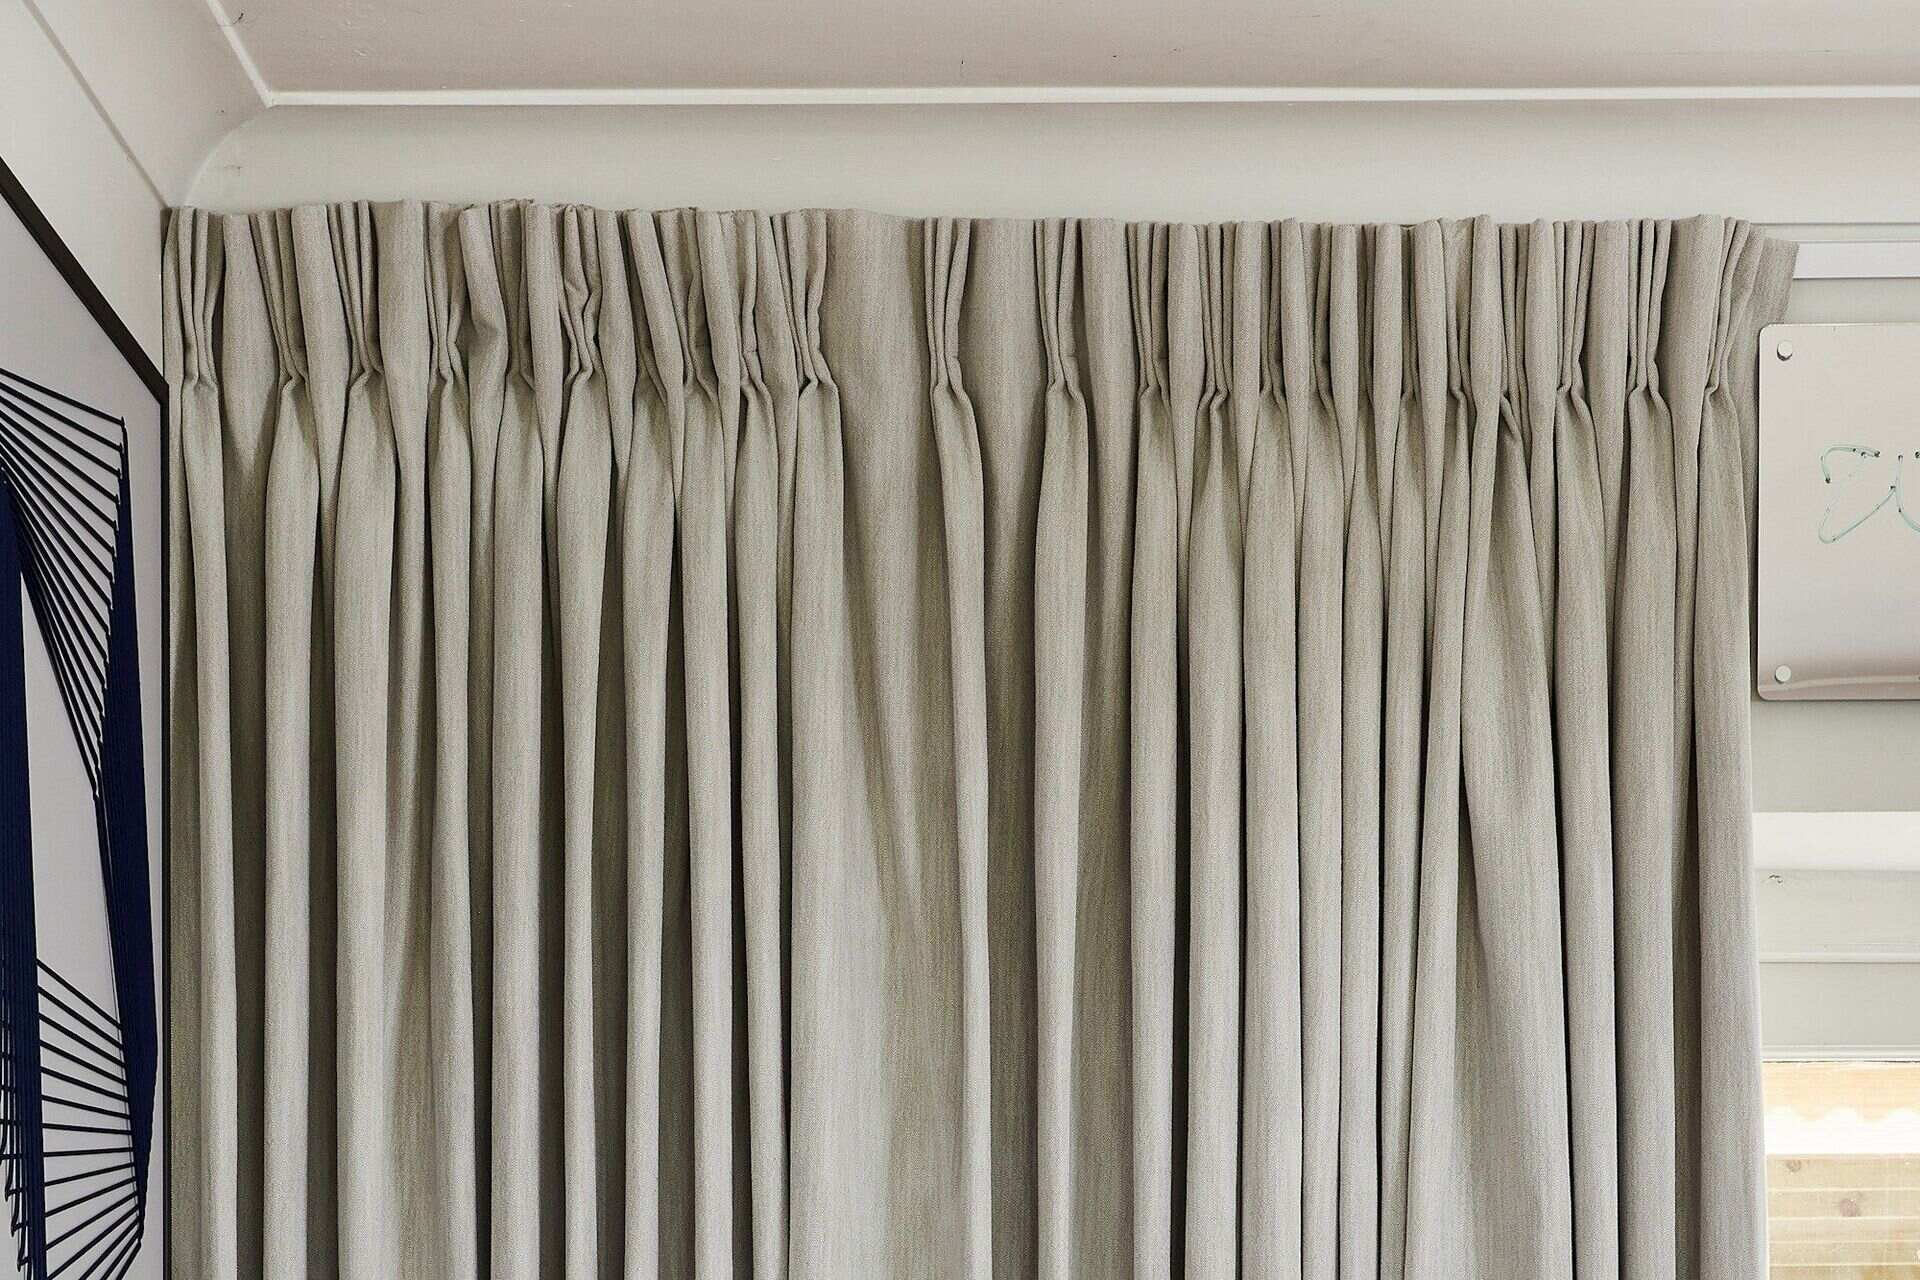
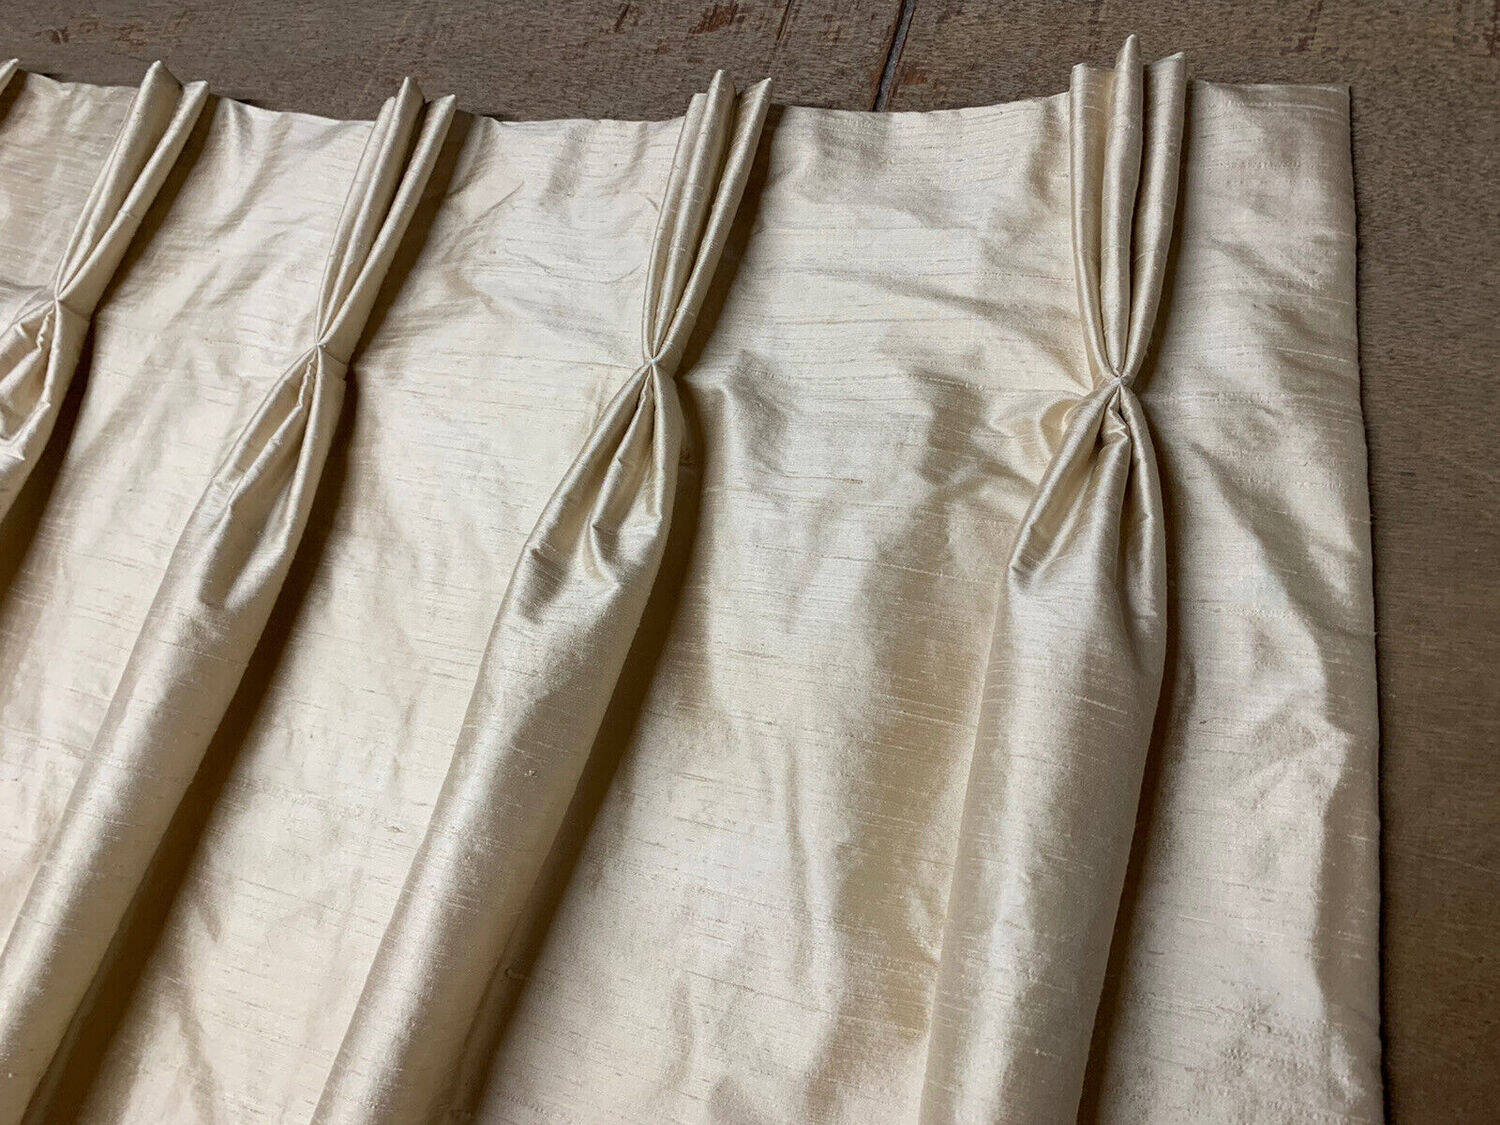
Step 3: Creating the Pinch Pleats
Now that you have marked the pleat placement on your fabric, it’s time to create the pinch pleats. This step involves folding and securing the fabric at the marked pleat lines to give your drapes the desired pleated look. Follow these steps to create the pinch pleats:
- Start with the first pleat: Fold the fabric at the first marked pleat line, bringing the mark towards the back of the fabric. Hold the fabric firmly at the fold, creating a pleat.
- Pinch and secure the pleat: Pinch the fabric together at the top of the pleat, ensuring that the fold is secure. Use a straight pin or clip to hold the pleat in place.
- Move on to the next pleat: Repeat the folding and pinching process for each marked pleat line, working your way across the fabric. Make sure that each pleat is the same size and evenly spaced.
- Check and adjust: Once you have created all the pinch pleats, step back and check that they are uniform in size and appearance. Make any necessary adjustments by carefully reshaping the pleats.
Creating the pinch pleats requires precision and attention to detail. Take your time with each fold and ensure that the pleats are evenly spaced and secured. The pinch pleats will give your drapes a tailored and sophisticated look.
Read more: How To Measure For Pinch Pleat Drapes
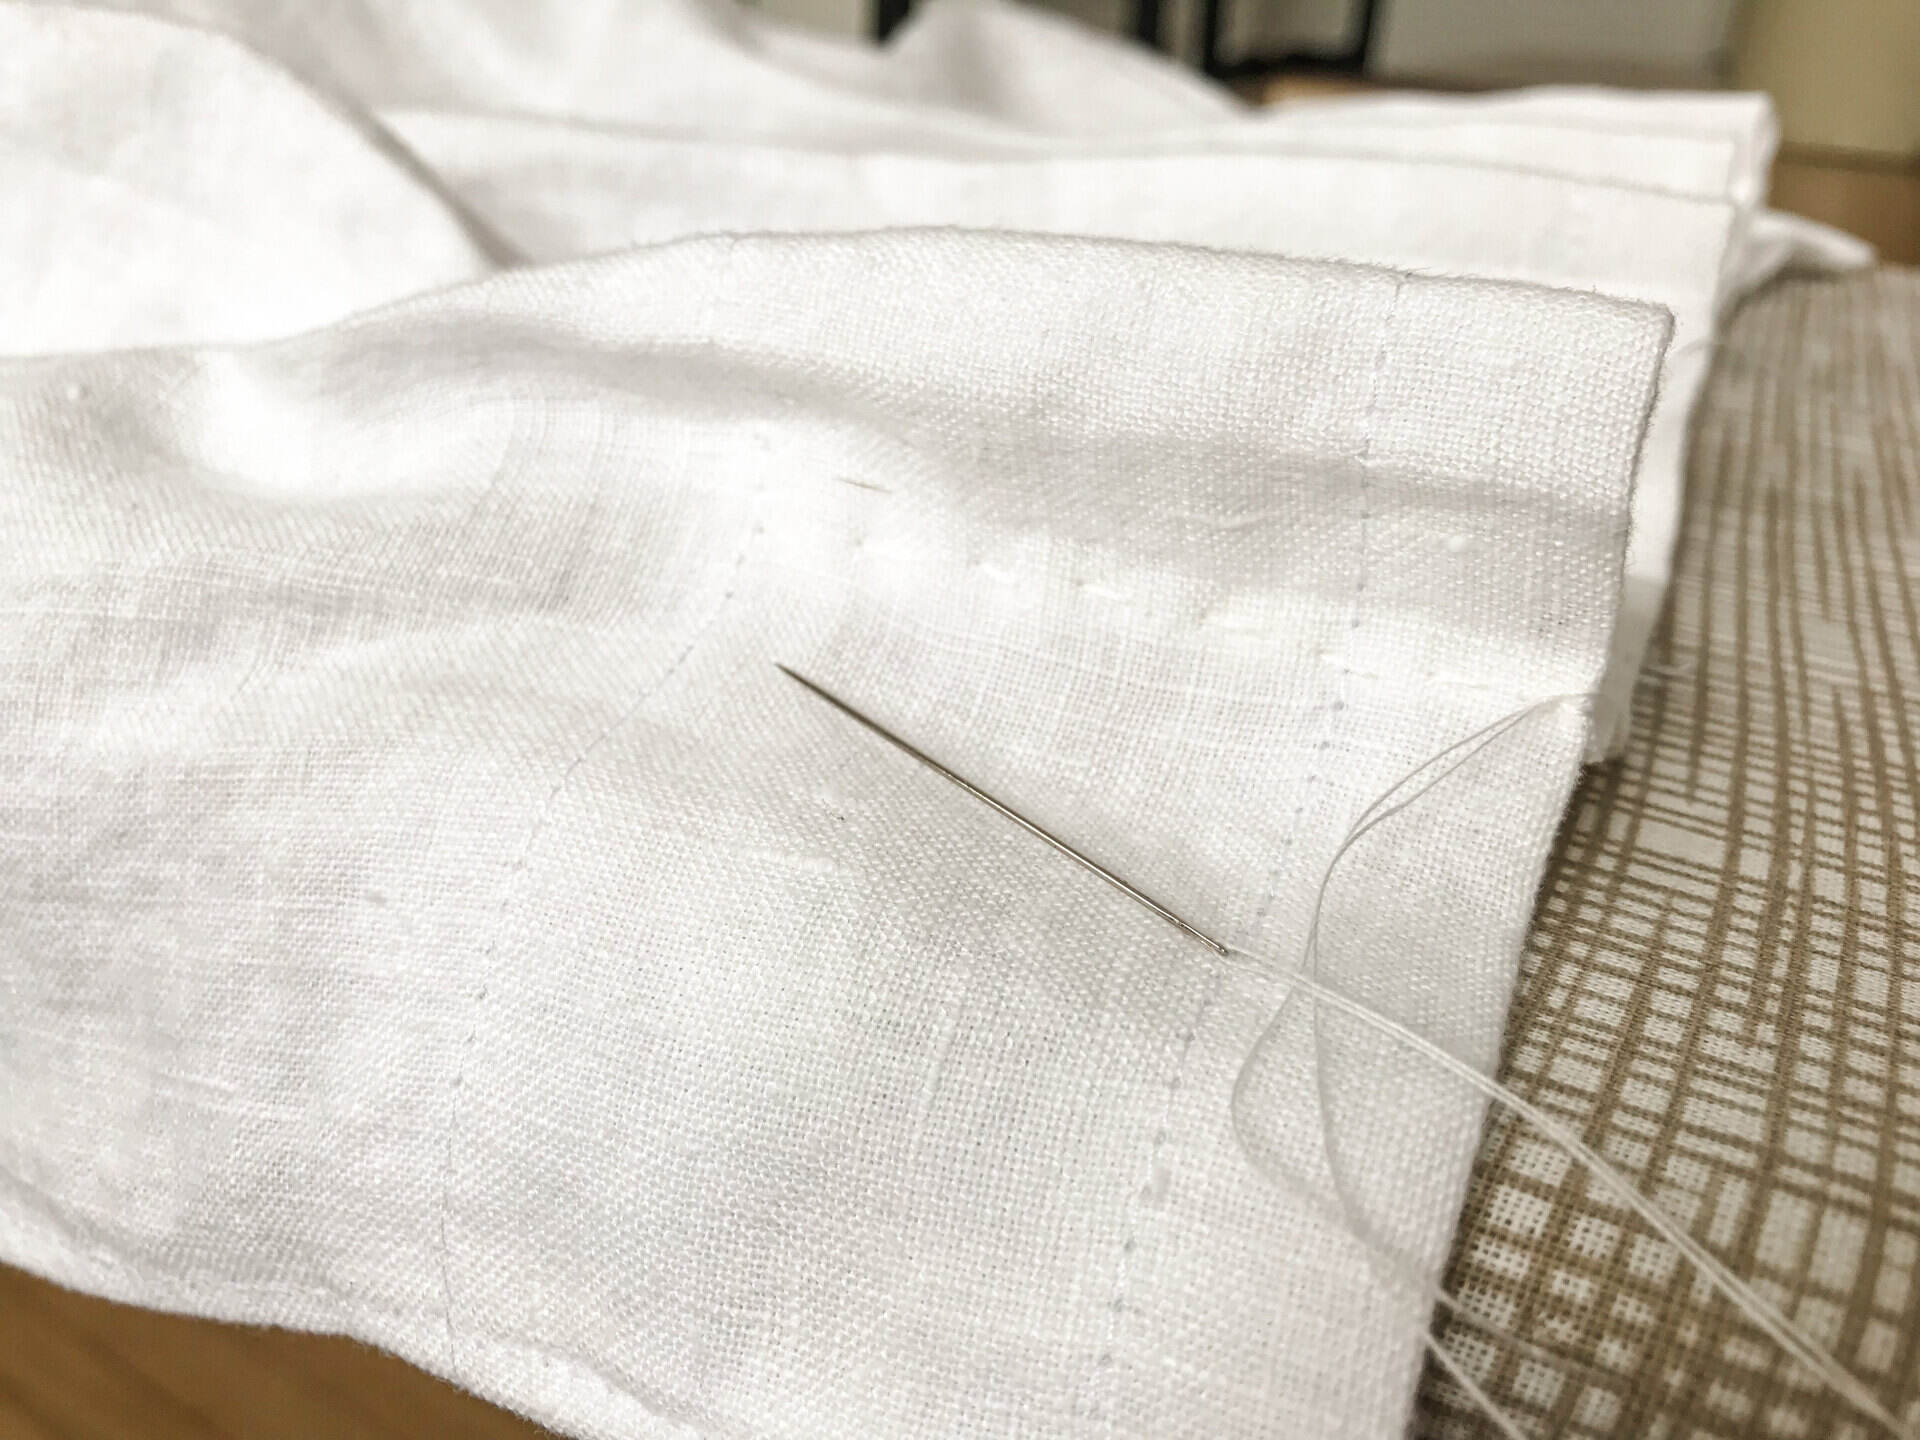
Step 4: Securing the Pleats
Once you have created the pinch pleats in your drapes, it’s important to secure them properly to ensure they stay in place and maintain their elegant look over time. Follow these steps to securely secure the pleats:
- Remove the straight pins or clips: Carefully remove the pins or clips that were used to hold the pleats in place during the folding process. Set them aside for later use.
- Thread your sewing machine: Choose a thread color that matches or complements your fabric. Thread your sewing machine and make sure it is ready for stitching.
- Stitch the pleats: Starting from the top of the drapes, sew a straight stitch across each pleat, securing the fold. Ensure that the stitch is close to the top and bottom edges of the pleat, but be careful not to sew through all layers of the fabric.
- Backstitch for reinforcement: As you finish stitching each pleat, backstitch a few stitches to reinforce the seam and prevent it from unraveling. Trim any excess thread.
- Repeat for all pleats: Continue stitching across each pleat until you have secured all of them. Take your time and maintain even stitching throughout.
Securing the pleats with stitches will ensure that they stay in place and maintain their elegant appearance. The stitching provides reinforcement and durability to the pleats, allowing them to hold their shape over time.
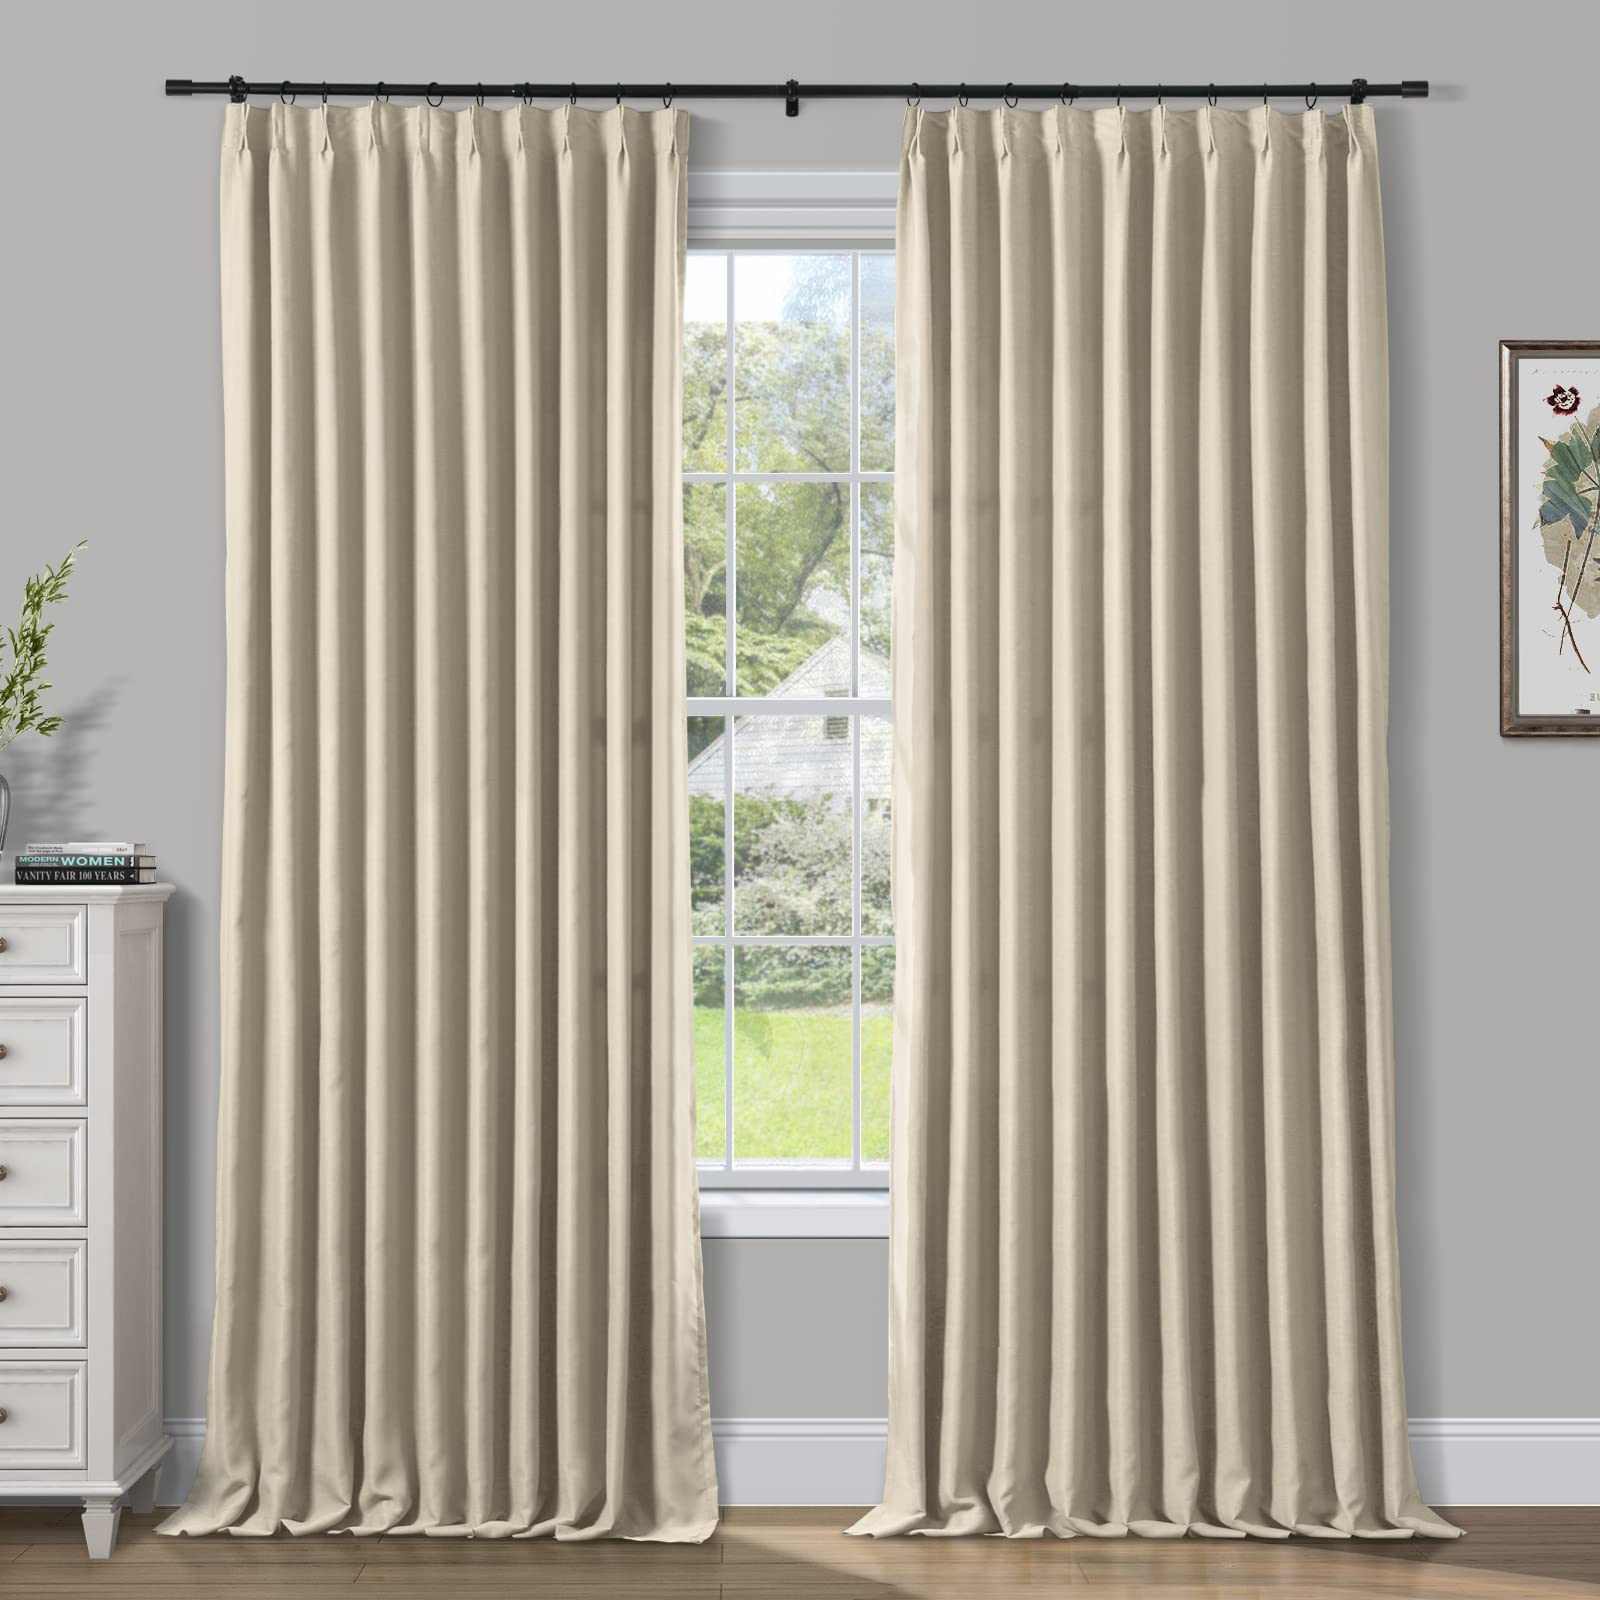
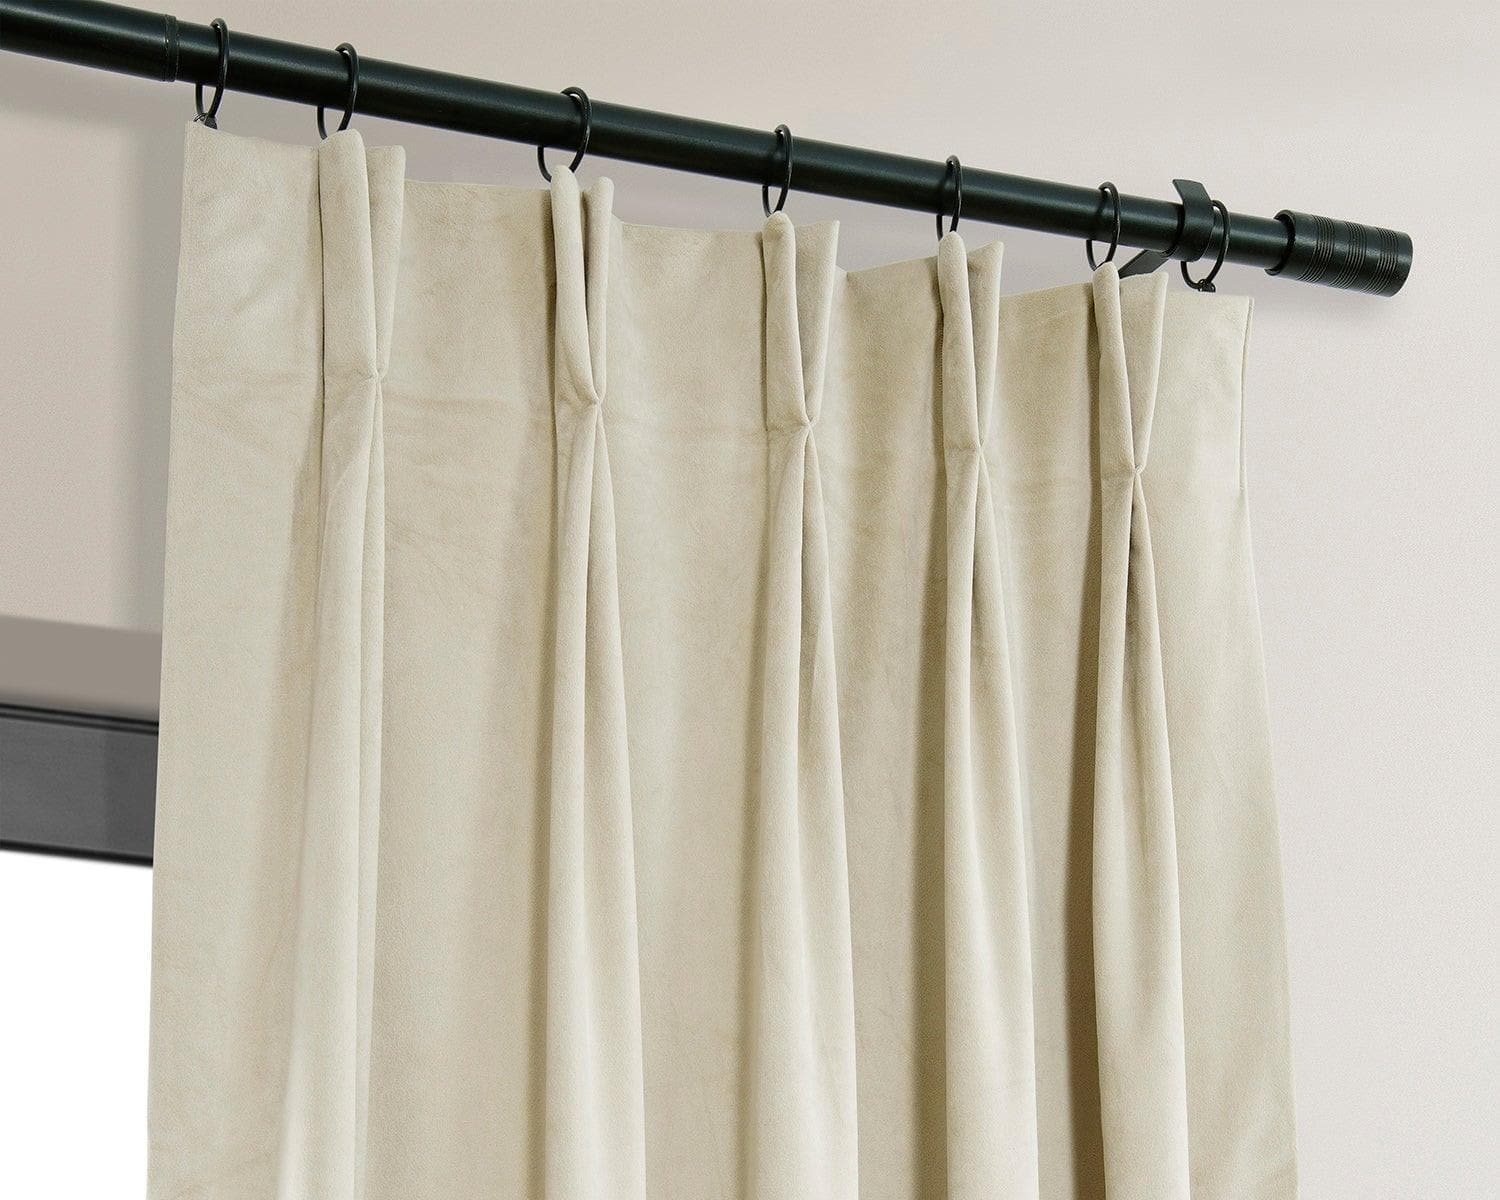
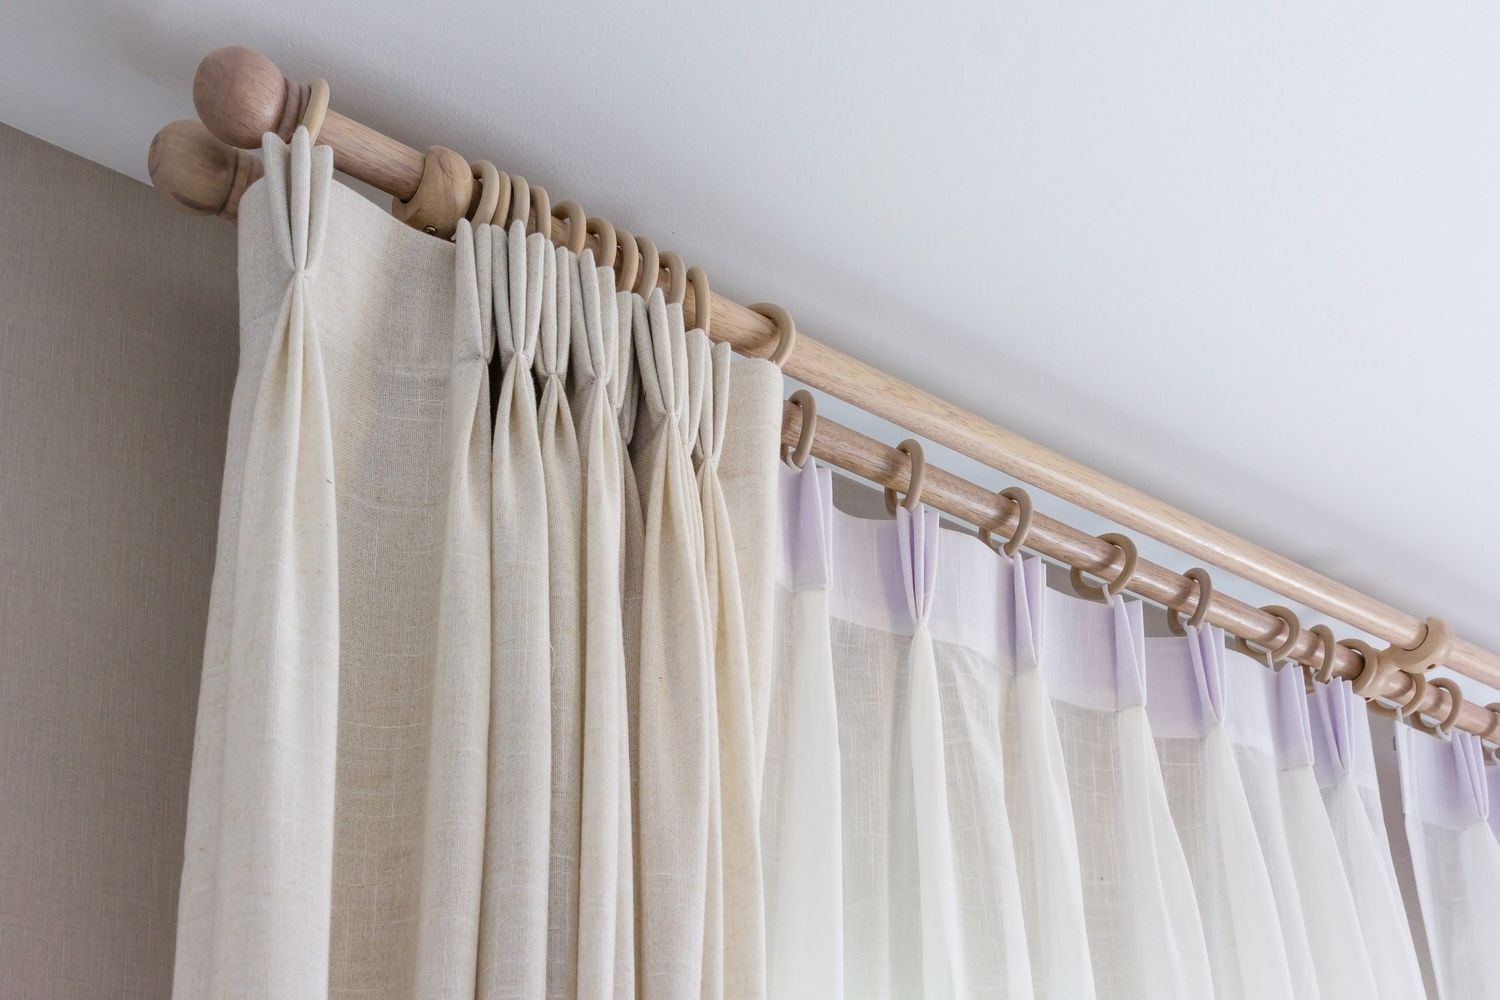
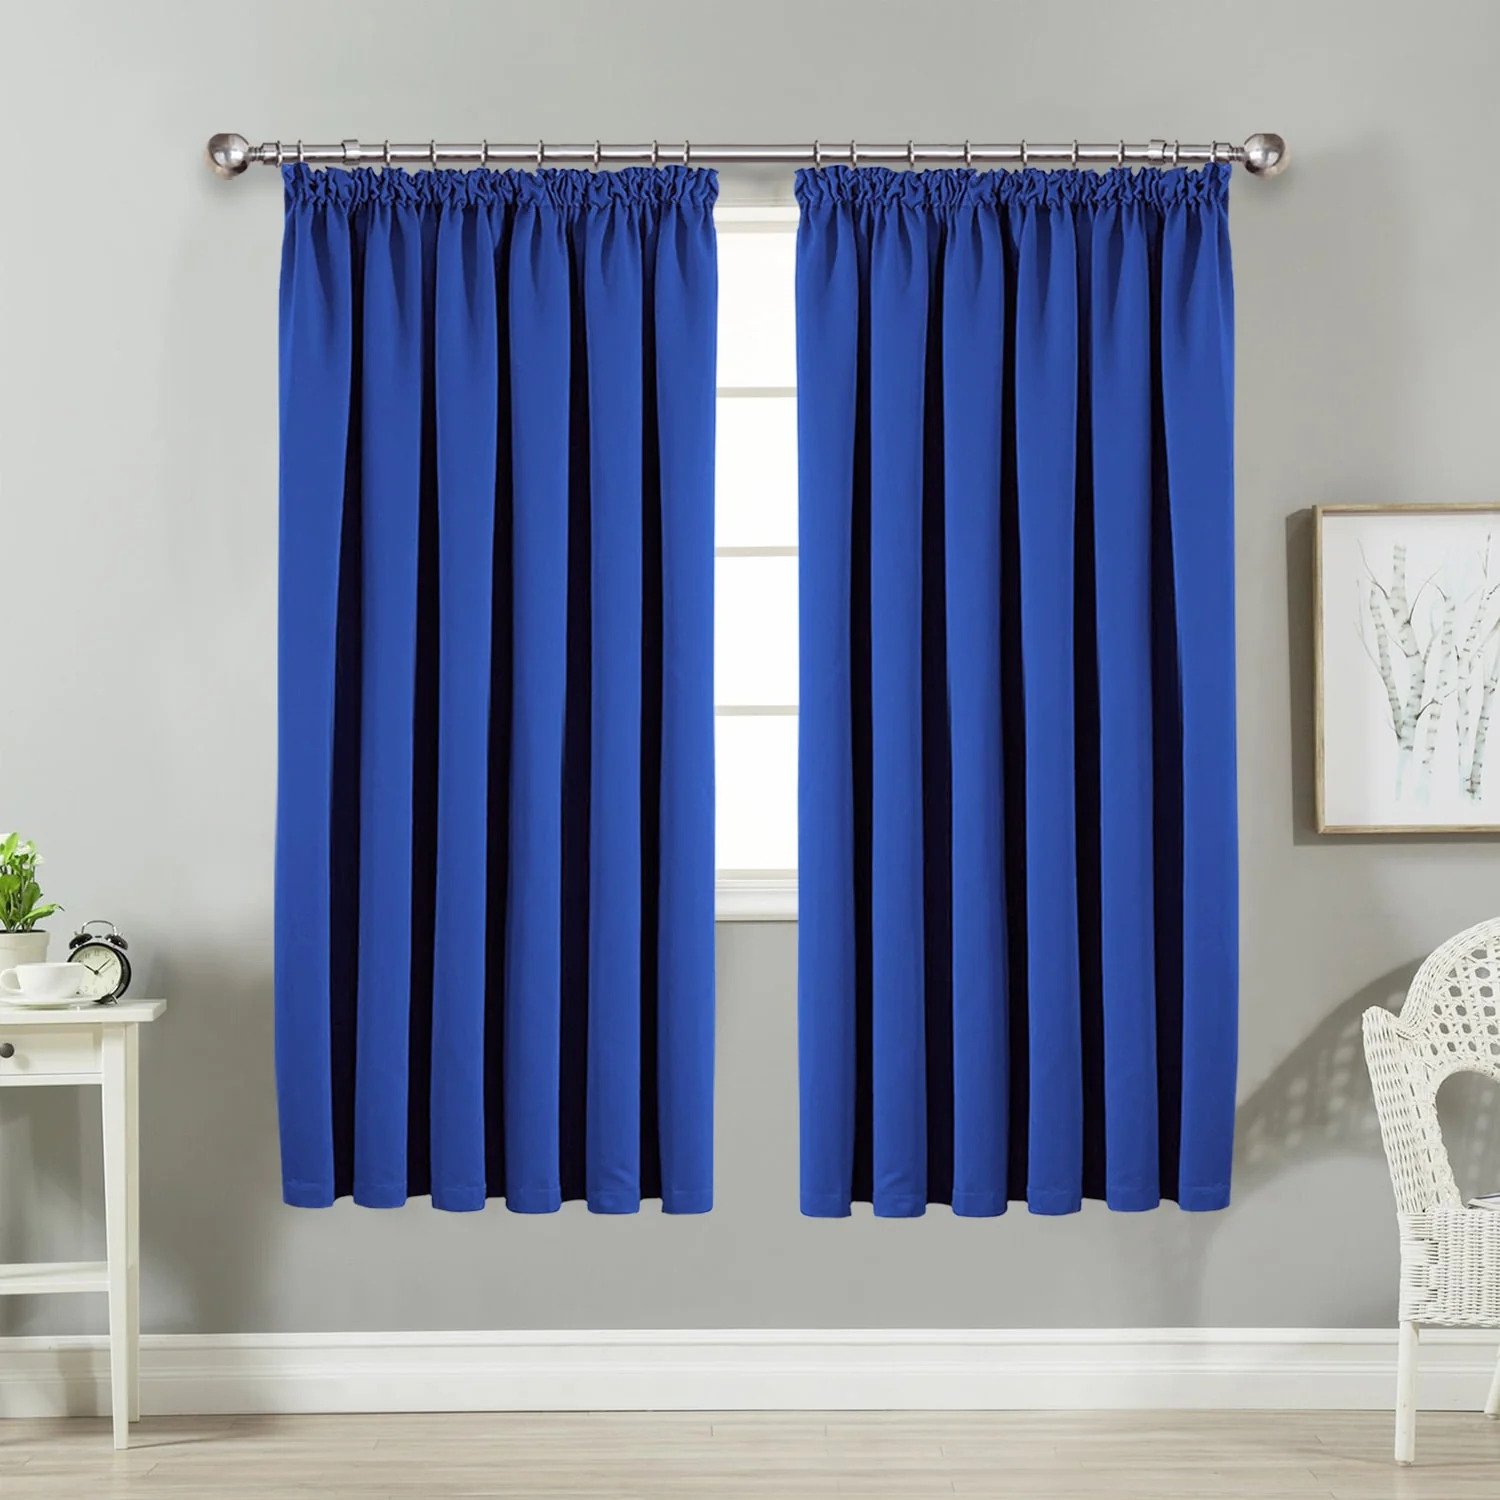
Step 5: Hanging the Pinch Pleated Drapes
After creating and securing the pinch pleats, the final step is to hang the drapes and admire your beautifully crafted window treatments. Follow these steps to hang your pinch pleated drapes:
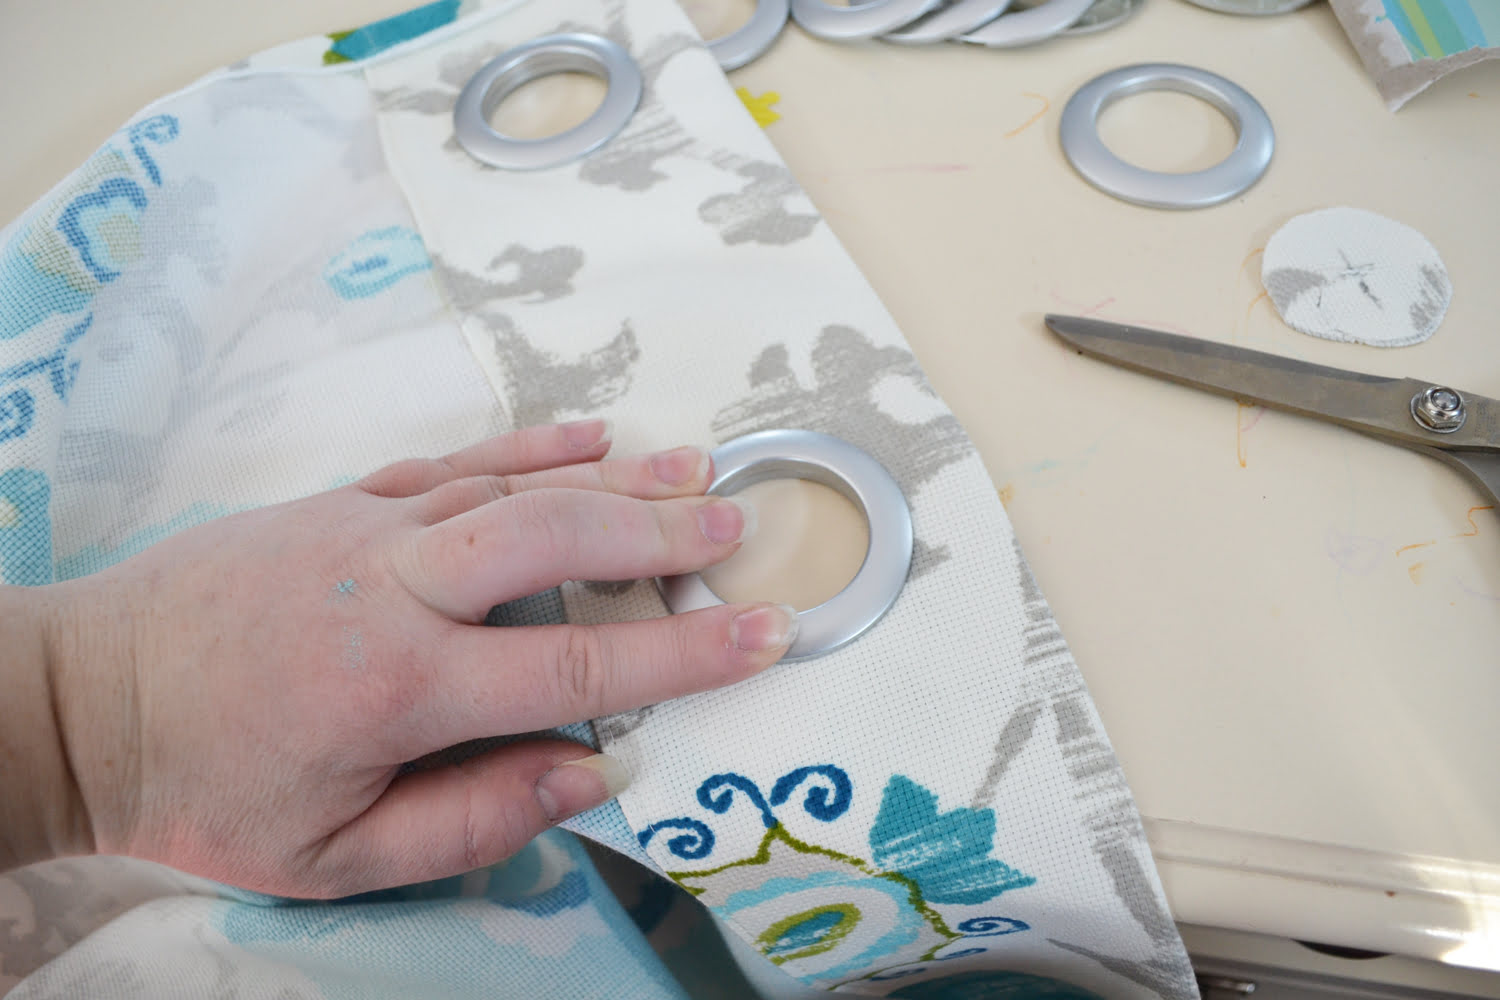
- Prepare the drapery hooks or rings: If you’re using drapery hooks, attach them to the back of the pleats, ensuring that they are evenly spaced. If you’re using rings, insert them into the pleats according to your desired spacing. Make sure the hooks or rings are secure and can support the weight of the drapes.
- Prepare the curtain rod: Install the curtain rod above your window according to the manufacturer’s instructions. Make sure it is level and properly secured.
- Hang the drapes: Start by inserting the hooks or attaching the rings onto the curtain rod, one by one. Slide them along the rod until the drapes are evenly distributed across the window width. Adjust the pleats as necessary for a uniform and balanced appearance.
- Adjust the length: If your drapes are longer than desired, you may need to hem them to the appropriate length. Use a sewing machine or hand stitching to create a clean and even hem.
- Final adjustments: Step back and review the overall look of your pinch pleated drapes. Make any final adjustments to ensure that the pleats are evenly spaced and hanging gracefully.
Once you have hung your pinch pleated drapes, take a moment to admire how the pleats add a touch of refinement and elegance to your windows. The final result showcases your craftsmanship and attention to detail.
Conclusion
Congratulations on successfully making pinch pleats in your drapes! By following the steps outlined in this article, you’ve created beautiful window treatments that add a touch of sophistication and style to your space.
Pinch pleats are a classic and timeless choice for drapes, offering both visual appeal and functionality. The evenly spaced pleats create elegant folds that add dimension and structure to your curtains. Additionally, the ability to adjust the fullness of the pleats gives you control over the amount of light and privacy in your room.
Remember, the key to achieving perfect pinch pleats is taking accurate measurements, calculating the pleat placement, and securing the pleats properly. By using the right tools and materials, and paying attention to detail, you can create pinch pleats that look professional and polished.
With your newly-created pinch pleated drapes hung in place, take a moment to appreciate the transformation they bring to your space. The tailored look and sophisticated elegance of the pleats will enhance the overall aesthetics of your room.
Now that you have mastered the art of making pinch pleats, you can confidently personalize and create custom drapes to adorn your windows throughout your home. Enjoy the beauty and functionality of your pinch pleated drapes for years to come!
Frequently Asked Questions about How To Make Pinch Pleats In Drapes
Was this page helpful?
At Storables.com, we guarantee accurate and reliable information. Our content, validated by Expert Board Contributors, is crafted following stringent Editorial Policies. We're committed to providing you with well-researched, expert-backed insights for all your informational needs.

0 thoughts on “How To Make Pinch Pleats In Drapes”