
Articles
How To Hang Window Boxes On Vinyl Siding
Modified: August 26, 2024
Discover the best articles on how to hang window boxes on vinyl siding. Get expert tips and step-by-step instructions for a seamless installation.
(Many of the links in this article redirect to a specific reviewed product. Your purchase of these products through affiliate links helps to generate commission for Storables.com, at no extra cost. Learn more)
Introduction
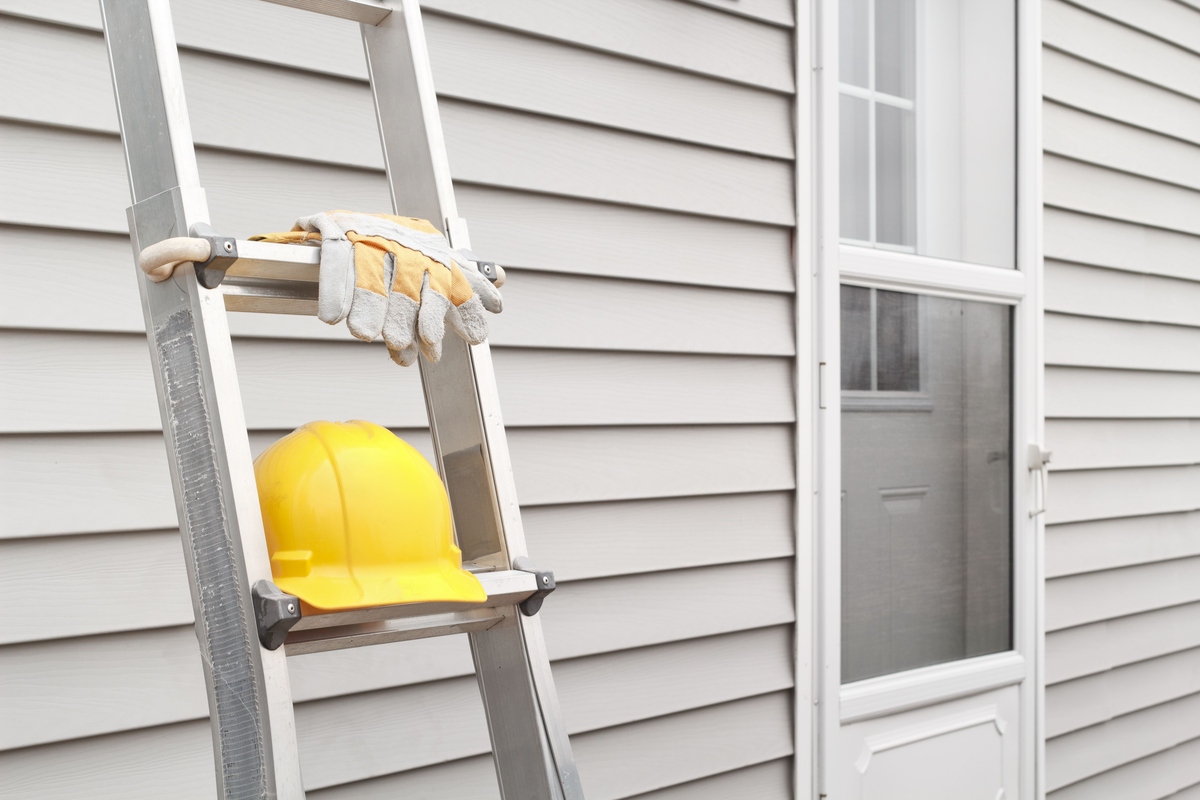
When it comes to adding a touch of charm and beauty to your home’s exterior, hanging window boxes can make a dramatic difference. Window boxes filled with colorful flowers or lush green plants can instantly elevate the curb appeal of any house. However, if you have vinyl siding, you may be unsure how to securely hang window boxes without damaging the siding.
Fortunately, with the right tools and techniques, you can easily hang window boxes on vinyl siding. In this article, we will guide you through the step-by-step process of installing window boxes on vinyl siding, ensuring that they are securely attached and properly leveled.
Before we begin, it is important to note that the methods described here are specifically for hanging lightweight window boxes on vinyl siding. If you plan to hang heavy window boxes or have a different type of siding material, it is recommended to consult with a professional to ensure proper installation.
Now, let’s dive into the materials and steps necessary to hang window boxes on vinyl siding.
Key Takeaways:
- Elevate your home’s exterior with charming window boxes on vinyl siding. Follow our step-by-step guide to securely hang lightweight window boxes, adding vibrant curb appeal to your house.
- Choose the right window box, determine ideal placement, and carefully install it for a visually pleasing and functional display. Add plants and decorations to create a stunning transformation, enhancing the beauty of your home’s exterior.
Read more: How To Hang Something On Vinyl Siding
Required Materials
Before you begin the process of hanging window boxes on vinyl siding, gather the following materials:
- Window box: Choose a lightweight window box made of materials such as plastic, fiberglass, or lightweight metal.
- Mounting brackets: Look for brackets specifically designed for vinyl siding, as they will provide the necessary support without damaging the siding.
- Measuring tape: Use a measuring tape to determine the exact dimensions of your window and ensure proper placement of the window box.
- Pencil: Marking the precise locations for the brackets and mounting holes will help you install the window box correctly.
- Screwdriver or drill: Depending on the type of mounting brackets you have, you may need a screwdriver or a drill to attach them securely.
- Level: A level will ensure that your window box is straight and properly aligned.
- Plants and potting soil: Once you’ve hung the window box, you’ll need plants and potting soil to fill it with vibrant flowers or greenery.
- Optional: Decorative accents such as moss, rocks, or ornaments can add a personalized touch to your window box display.
Having these materials on hand will streamline the installation process and make it easier to hang window boxes on your vinyl siding. With the necessary tools at your disposal, you’ll be well-prepared to take on the next steps.
Step 1: Choose the Right Window Box
Choosing the right window box is crucial for a successful installation on vinyl siding. Since vinyl siding is not as sturdy as other materials, it is important to opt for a lightweight window box that won’t put too much stress on the siding.
Consider the following factors when selecting a window box:
- Material: Look for window boxes made of lightweight materials such as plastic, fiberglass, or lightweight metal. These materials will prevent excessive pressure on the vinyl siding.
- Size: Measure the width and height of your window to ensure that the window box will fit properly. It should be proportionate to the window and not obstruct any view or interfere with window operations.
- Drainage: Choose a window box that has proper drainage holes to allow water to flow out. This will prevent excess moisture and potential damage to the vinyl siding.
- Design: Consider the aesthetic appeal of the window box and how well it complements the style of your home. From traditional to modern designs, there are plenty of options available to suit your taste and exterior decor.
By selecting the right window box, you’ll ensure a secure and visually pleasing installation on your vinyl siding. Take your time to explore different options and find the perfect fit for your home.
Step 2: Determine the Placement
Once you have chosen the right window box, the next step is to determine the placement on your vinyl siding. Proper placement ensures that the window box is visually appealing and functional.
Consider the following factors when determining the placement of your window box:
- Sunlight: Most plants require a certain amount of sunlight to thrive. Observe the amount of sunlight your desired location receives throughout the day. Choose a spot that provides the appropriate amount of sunlight for the plants you plan to grow in the window box.
- Height and Accessibility: Ensure that the window box is at a comfortable height, making it easy to water, maintain, and change the display. Consider the height of any furniture or structures near the window, such as railings or window ledges.
- Proximity to Water Source: If possible, choose a location that is close to a water source, such as a hose or outdoor faucet. This will make watering your window box more convenient and efficient.
- Aesthetics: Consider the overall look of your home when determining the placement. Visualize how the window box will enhance the curb appeal and harmonize with the architectural style of the house.
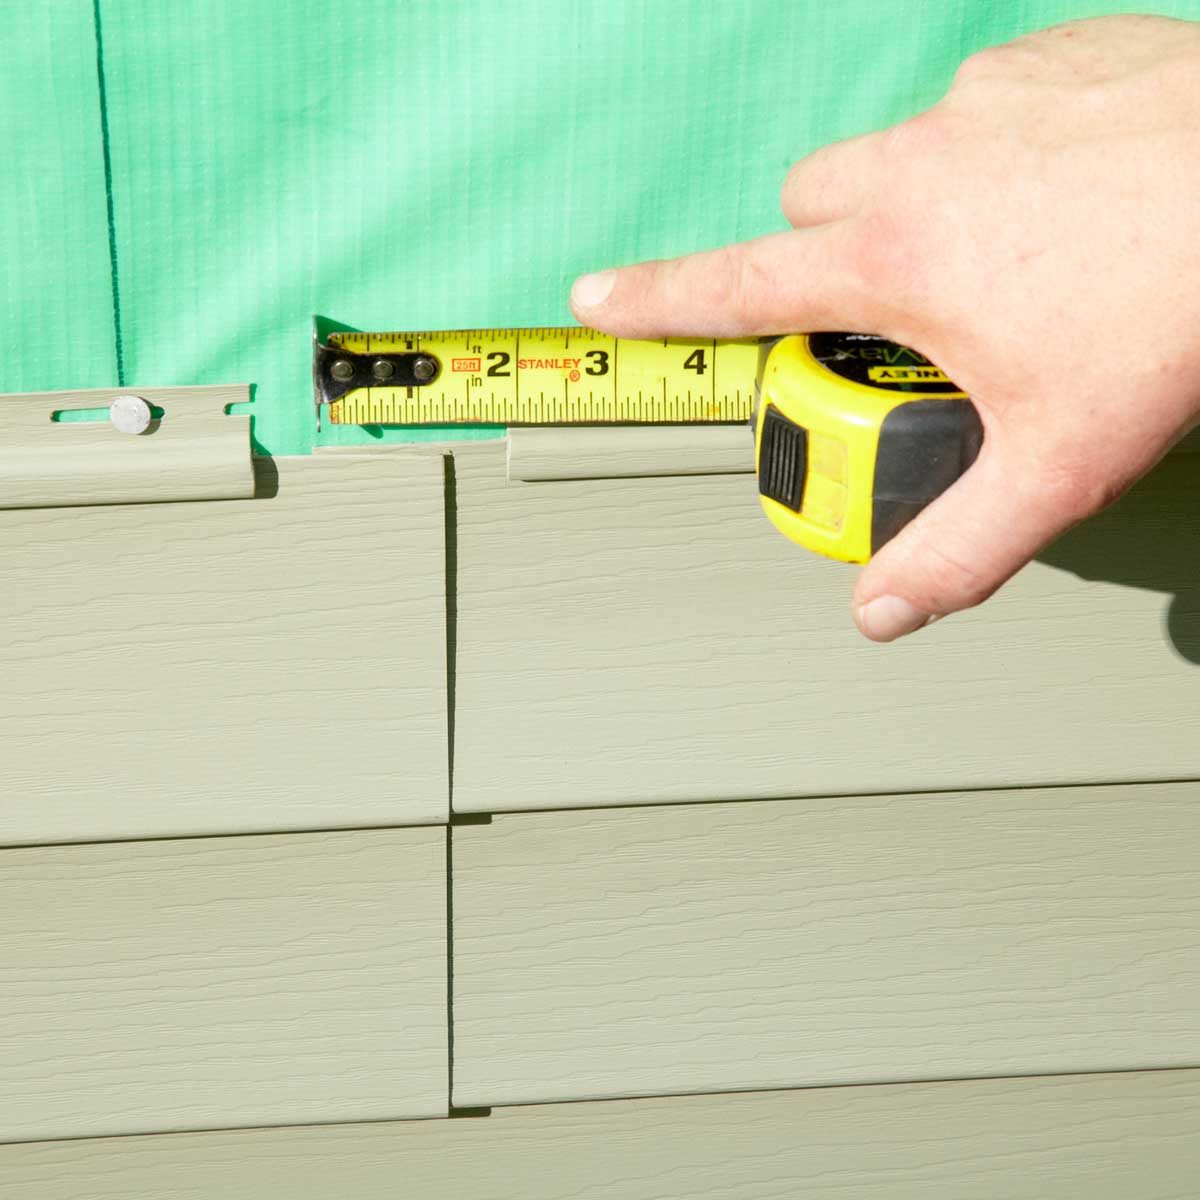
Once you have determined the ideal placement for your window box, use a measuring tape and pencil to mark the exact location on the vinyl siding. Take measurements to ensure that the window box will be centered and level. These markings will serve as a guide during the installation process.
By carefully considering these factors and choosing the right placement, you’ll create a visually pleasing and functional window box display on your vinyl siding.
Step 3: Gather the Tools
Before you begin installing the window box on your vinyl siding, it’s essential to gather all the necessary tools. Having the right tools on hand will make the installation process smoother and more efficient.
Here are the tools you will need:
- Screwdriver or drill: Depending on the type of mounting brackets you have, you may need either a screwdriver or a drill. Make sure it is suitable for the screws or bolts provided.
- Measuring tape: This will help you ensure precise measurements when marking the location of the mounting brackets on the vinyl siding.
- Pencil: You’ll need a pencil for marking the placement of the mounting brackets on the vinyl siding.
- Level: Use a level to ensure that the window box is perfectly straight and level during installation.
- Masking tape: This can be helpful for holding the mounting brackets in place temporarily while you secure them.
- Optional: If you are using a drill, have extra drill bits on hand in case you need to make adjustments or additional holes.
Gathering these tools beforehand will save you time and frustration during the installation process. Double-check that you have everything before you start, so you can work smoothly and efficiently.
Remember, safety should always be a priority. If you are using a drill, wear protective eyewear and follow the manufacturer’s safety guidelines.
With the tools at your disposal, you’re ready to move on to the next step: preparing the vinyl siding for installation.
Read more: How To Hang Outdoor Tv On Vinyl Siding
Step 4: Prepare the Vinyl Siding
Before you can install the window box on your vinyl siding, it is crucial to properly prepare the siding to ensure a secure and long-lasting installation.
Follow these steps to prepare the vinyl siding:
- Clean the surface: Use a mild detergent, warm water, and a soft cloth or sponge to clean the area where you plan to install the window box. Remove any dirt, debris, or algae that may be on the siding. This will ensure better adhesion and prevent any discoloration or damage.
- Mind the studs: While vinyl siding is not attached directly to the house studs, it is important to be aware of their location. To ensure a secure installation, try to position the mounting brackets over the studs. This will provide extra stability and support.
- Protect the siding: To prevent any potential damage to the siding, place a small piece of masking tape or painter’s tape on the surface where the mounting brackets will be attached. This will help protect the siding from scratches and ensure a clean installation.
- Mark the mounting hole locations: Using a measuring tape and pencil, mark the precise locations for the mounting holes on the tape or directly on the siding. Double-check your measurements and make sure they align with the center of the studs, if possible.
By properly preparing the vinyl siding, you ensure a clean and secure base for installing the window box. Taking the time to clean the surface and protect the siding will help maintain its integrity and appearance over time.
With the vinyl siding prepared, you’re now ready to move on to the next step: attaching the mounting brackets.
When hanging window boxes on vinyl siding, use vinyl siding hooks or brackets designed specifically for this purpose. Make sure to follow the manufacturer’s instructions for proper installation to avoid damaging the siding.
Step 5: Attach the Mounting Brackets
Once the vinyl siding is prepared, it’s time to attach the mounting brackets for the window box. These brackets serve as the support system for the window box and ensure its stability on the siding.
Follow these steps to attach the mounting brackets:
- Align the brackets: Place the first mounting bracket against the prepared vinyl siding, aligning it with the marked mounting hole locations. Ensure that it is level and positioned properly.
- Secure the bracket: Using a screwdriver or drill, insert the appropriate screws or bolts through the holes in the mounting bracket and into the vinyl siding. Apply even pressure to tighten the screws, but avoid overtightening, as it may damage the siding.
- Repeat for the remaining brackets: If your window box requires more than one bracket for support, repeat the same process for the additional brackets. Ensure proper alignment and spacing between the brackets for stability and visual appeal.
As you attach the brackets, periodically check their alignment and levelness using a level. Adjust as necessary to maintain a straight and even installation.
It is important to note that the specific installation process may vary depending on the type of mounting brackets you have chosen. Refer to the manufacturer’s instructions for any additional steps or requirements.
Once all the mounting brackets are securely attached to the vinyl siding, you’re ready to move on to the next step: installing the window box.
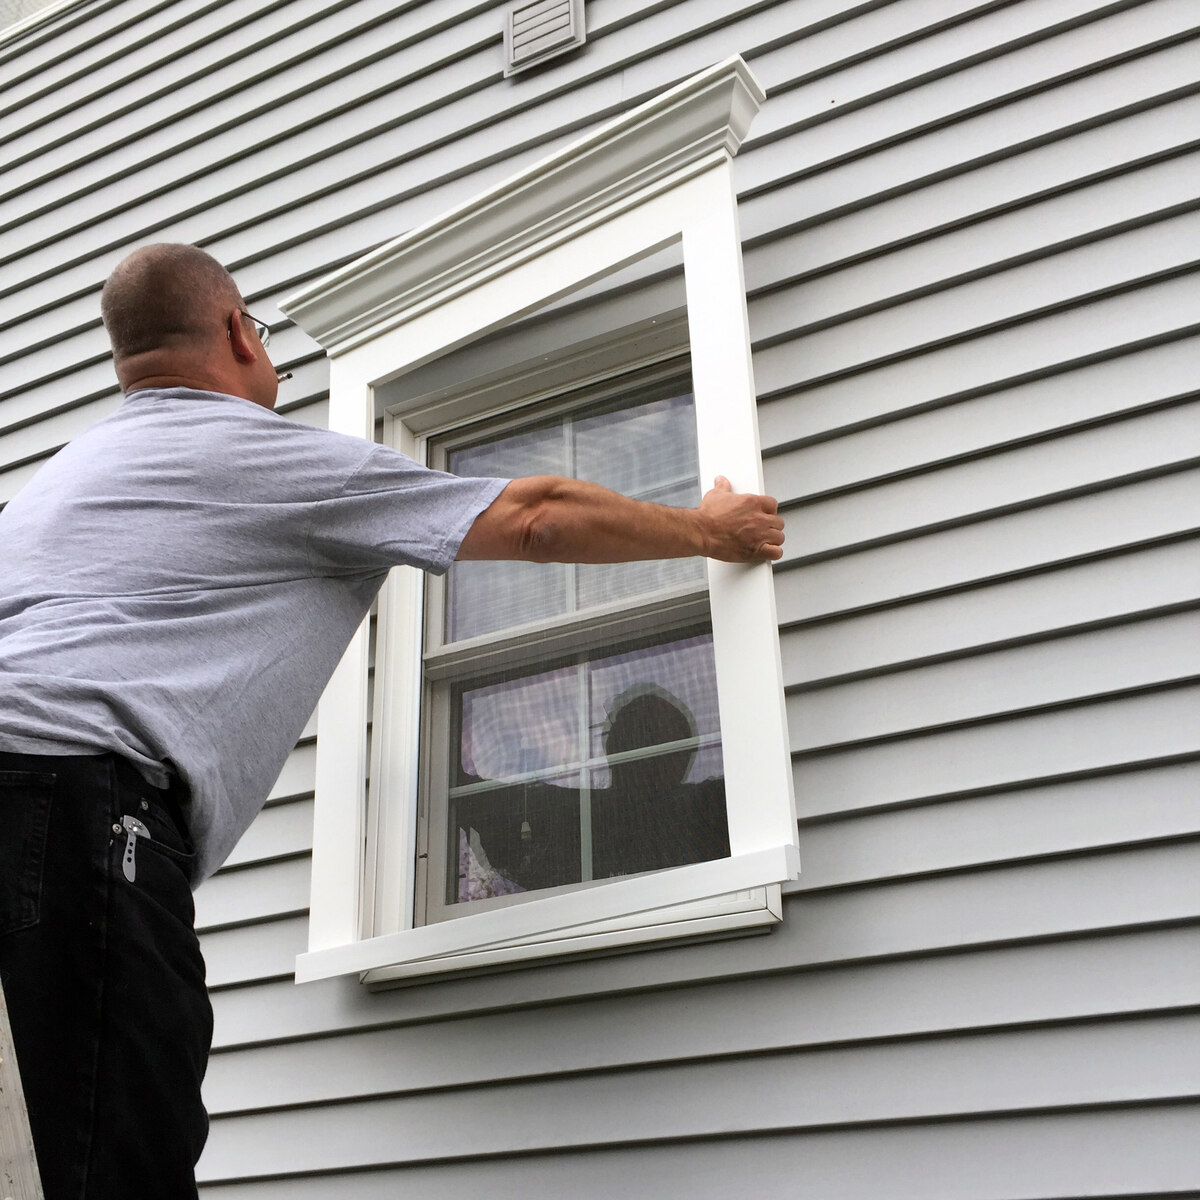
Step 6: Install the Window Box
With the mounting brackets securely attached to the vinyl siding, it’s time to install the window box. This step involves carefully positioning the window box onto the brackets and ensuring a secure fit.
Follow these steps to install the window box:
- Position the window box: Lift the window box and align it with the installed mounting brackets. Carefully slide it onto the brackets, ensuring that the brackets fit snugly into the designated slots or openings.
- Double-check alignment: Take a moment to ensure that the window box is centered and level on the mounting brackets. Adjust if needed to achieve a balanced and visually appealing installation.
- Secure the window box: Depending on the design of your window box, there may be additional securing mechanisms, such as screws or latches, to keep the box firmly in place on the brackets. Follow the manufacturer’s instructions for securing the window box.
During this step, take extra care not to force the window box onto the brackets. It should fit smoothly and securely without any excessive pressure or strain on the siding or brackets.
Once the window box is properly installed and securely fastened to the mounting brackets, you’re ready to move on to the next step: ensuring the window box is level and secure.
Step 7: Secure and Level the Window Box
After installing the window box on the mounting brackets, it is essential to ensure that it is secure and level. This step will help maintain the stability and visual appeal of the window box display.
Follow these steps to secure and level the window box:
- Check for stability: Gently shake the window box to ensure that it is firmly attached to the mounting brackets. If you notice any wobbling or instability, double-check the installation and make any necessary adjustments.
- Use a level: Place a level on top of the window box and adjust its position until it is perfectly level. This will ensure that water drains properly and prevent any soil or water from accumulating in one area.
- Make fine adjustments: If the window box needs slight adjustments to achieve a level position, carefully maneuver it until it is straight and aligned. Take your time to achieve the desired result.
- Recheck stability: Once the window box is level, shake it again to confirm that it is securely attached to the mounting brackets. Ensure that there is no excess movement or wobbling.
By ensuring that the window box is secure and level, you enhance its functionality and visual appeal. A secure installation will help prevent any potential damage to the vinyl siding and maintain the overall integrity of the window box display.
With the window box now properly secured and leveled, you’re ready to move on to the final step: adding plants and decorations.
Read more: How Many Pieces Of Vinyl Siding Is In A Box
Step 8: Add Plants and Decorations
With the window box installed and properly leveled, it’s time to add plants and decorations to create a stunning display. Choosing the right plants and incorporating decorative elements will add charm and personality to your window box.
Follow these steps to add plants and decorations:
- Select suitable plants: Choose plants that are suitable for the lighting conditions of your window box location. Consider the size of the window box and the growth habits of the plants. Opt for a mix of trailing, upright, and filler plants for a visually appealing arrangement.
- Prepare the window box: Fill the window box with high-quality potting soil, leaving enough space to accommodate the root systems of the plants. Ensure the soil is evenly moist but not overly saturated.
- Arrange the plants: Place the plants in the window box, starting with the tallest ones at the back or center and cascading or shorter plants towards the front. Leave enough space between the plants for them to grow and spread.
- Add decorative elements: Enhance the visual appeal of your window box by adding decorative elements such as moss, rocks, or ornaments. These elements can complement the plants and add texture and interest to the overall display.
Consider the color palette of the plants and decorations, and aim for a harmonious blend of colors and textures. Experiment with different combinations until you achieve a visually pleasing arrangement that suits your personal style.
Remember to water your window box regularly, ensuring that the plants receive the appropriate amount of moisture. Monitor the growth of the plants and trim or prune them as needed to maintain their shape and appearance.
With plants and decorations arranged in your window box, step back and admire the beautiful transformation it brings to your home’s exterior.
By following these steps, you have successfully hung window boxes on your vinyl siding, creating a stunning display that enhances the curb appeal of your home.
Additional Tips and Considerations
As you hang window boxes on vinyl siding, consider the following additional tips and considerations to ensure a successful and long-lasting installation:
- Choose lightweight window boxes: Opt for window boxes made of lightweight materials to avoid putting excessive stress on the vinyl siding. This will help prevent any potential damage or warping.
- Regularly inspect the window box and brackets: Periodically check the window box and mounting brackets for any signs of damage or wear. Replace any worn-out or rusted components to maintain the structural integrity of the installation.
- Securely fasten the window box: Ensure that all screws or bolts are tightly secured to prevent any movement or instability of the window box. This will help prevent accidents or damage caused by a loose window box.
- Consider weather conditions: Take into account the weather conditions of your location when selecting plants for the window box. Choose plants that are suitable for your region’s climate and ensure proper watering and protection from extreme temperatures or harsh weather conditions.
- Regular maintenance: Keep the window box clean by removing any dead leaves, flowers, or debris. Regularly water the plants and fertilize them as needed to promote healthy growth and vibrant blooms.
- Consult professionals if needed: If you are unsure about any aspect of installing window boxes on vinyl siding or if you have a unique situation, it is always wise to consult with professionals who can provide guidance tailored to your specific needs.
Following these tips and considerations will help ensure that your window boxes on vinyl siding maintain their beauty and functionality for years to come.
Remember, proper installation and maintenance are key to enjoying the benefits of a charming and visually appealing window box display. With a little care and attention, your window boxes will become a focal point of admiration in your home’s exterior.
Conclusion
Hanging window boxes on vinyl siding is a wonderful way to enhance the beauty and curb appeal of your home’s exterior. By following the steps outlined in this guide and considering the additional tips and considerations, you can successfully install window boxes that are secure, level, and aesthetically pleasing.
From choosing the right window box and determining the placement to properly preparing the vinyl siding and attaching the mounting brackets, each step plays a crucial role in the overall installation process. Taking the time to gather the necessary tools and materials, ensuring the window box is secure and level, and adding plants and decorations that suit your style will result in a stunning window box display.
Remember to regularly inspect and maintain your window boxes, checking for any signs of damage or wear. Properly caring for your window boxes will allow them to thrive and continue to enhance the beauty of your home for years to come.
Whether you’re a gardening enthusiast or simply want to add a touch of charm to your home, hanging window boxes on vinyl siding is a rewarding and enjoyable project. The vibrant colors, delightful scents, and unique designs of your window box display will bring joy to your own life and captivate the attention of passersby.
So go ahead, select the perfect window boxes, gather your tools, and embark on this creative journey. Transform the exterior of your home into a picture-perfect haven with the beauty and allure of window boxes on vinyl siding.
Happy gardening and enjoy the beauty that your new window boxes bring!
Frequently Asked Questions about How To Hang Window Boxes On Vinyl Siding
Was this page helpful?
At Storables.com, we guarantee accurate and reliable information. Our content, validated by Expert Board Contributors, is crafted following stringent Editorial Policies. We're committed to providing you with well-researched, expert-backed insights for all your informational needs.


0 thoughts on “How To Hang Window Boxes On Vinyl Siding”