Articles
How To Make Window Box Valances
Modified: February 24, 2024
Learn how to make beautiful window box valances with our step-by-step articles. Find tips, designs, and inspiration for creating your own unique window treatments.
(Many of the links in this article redirect to a specific reviewed product. Your purchase of these products through affiliate links helps to generate commission for Storables.com, at no extra cost. Learn more)
Introduction
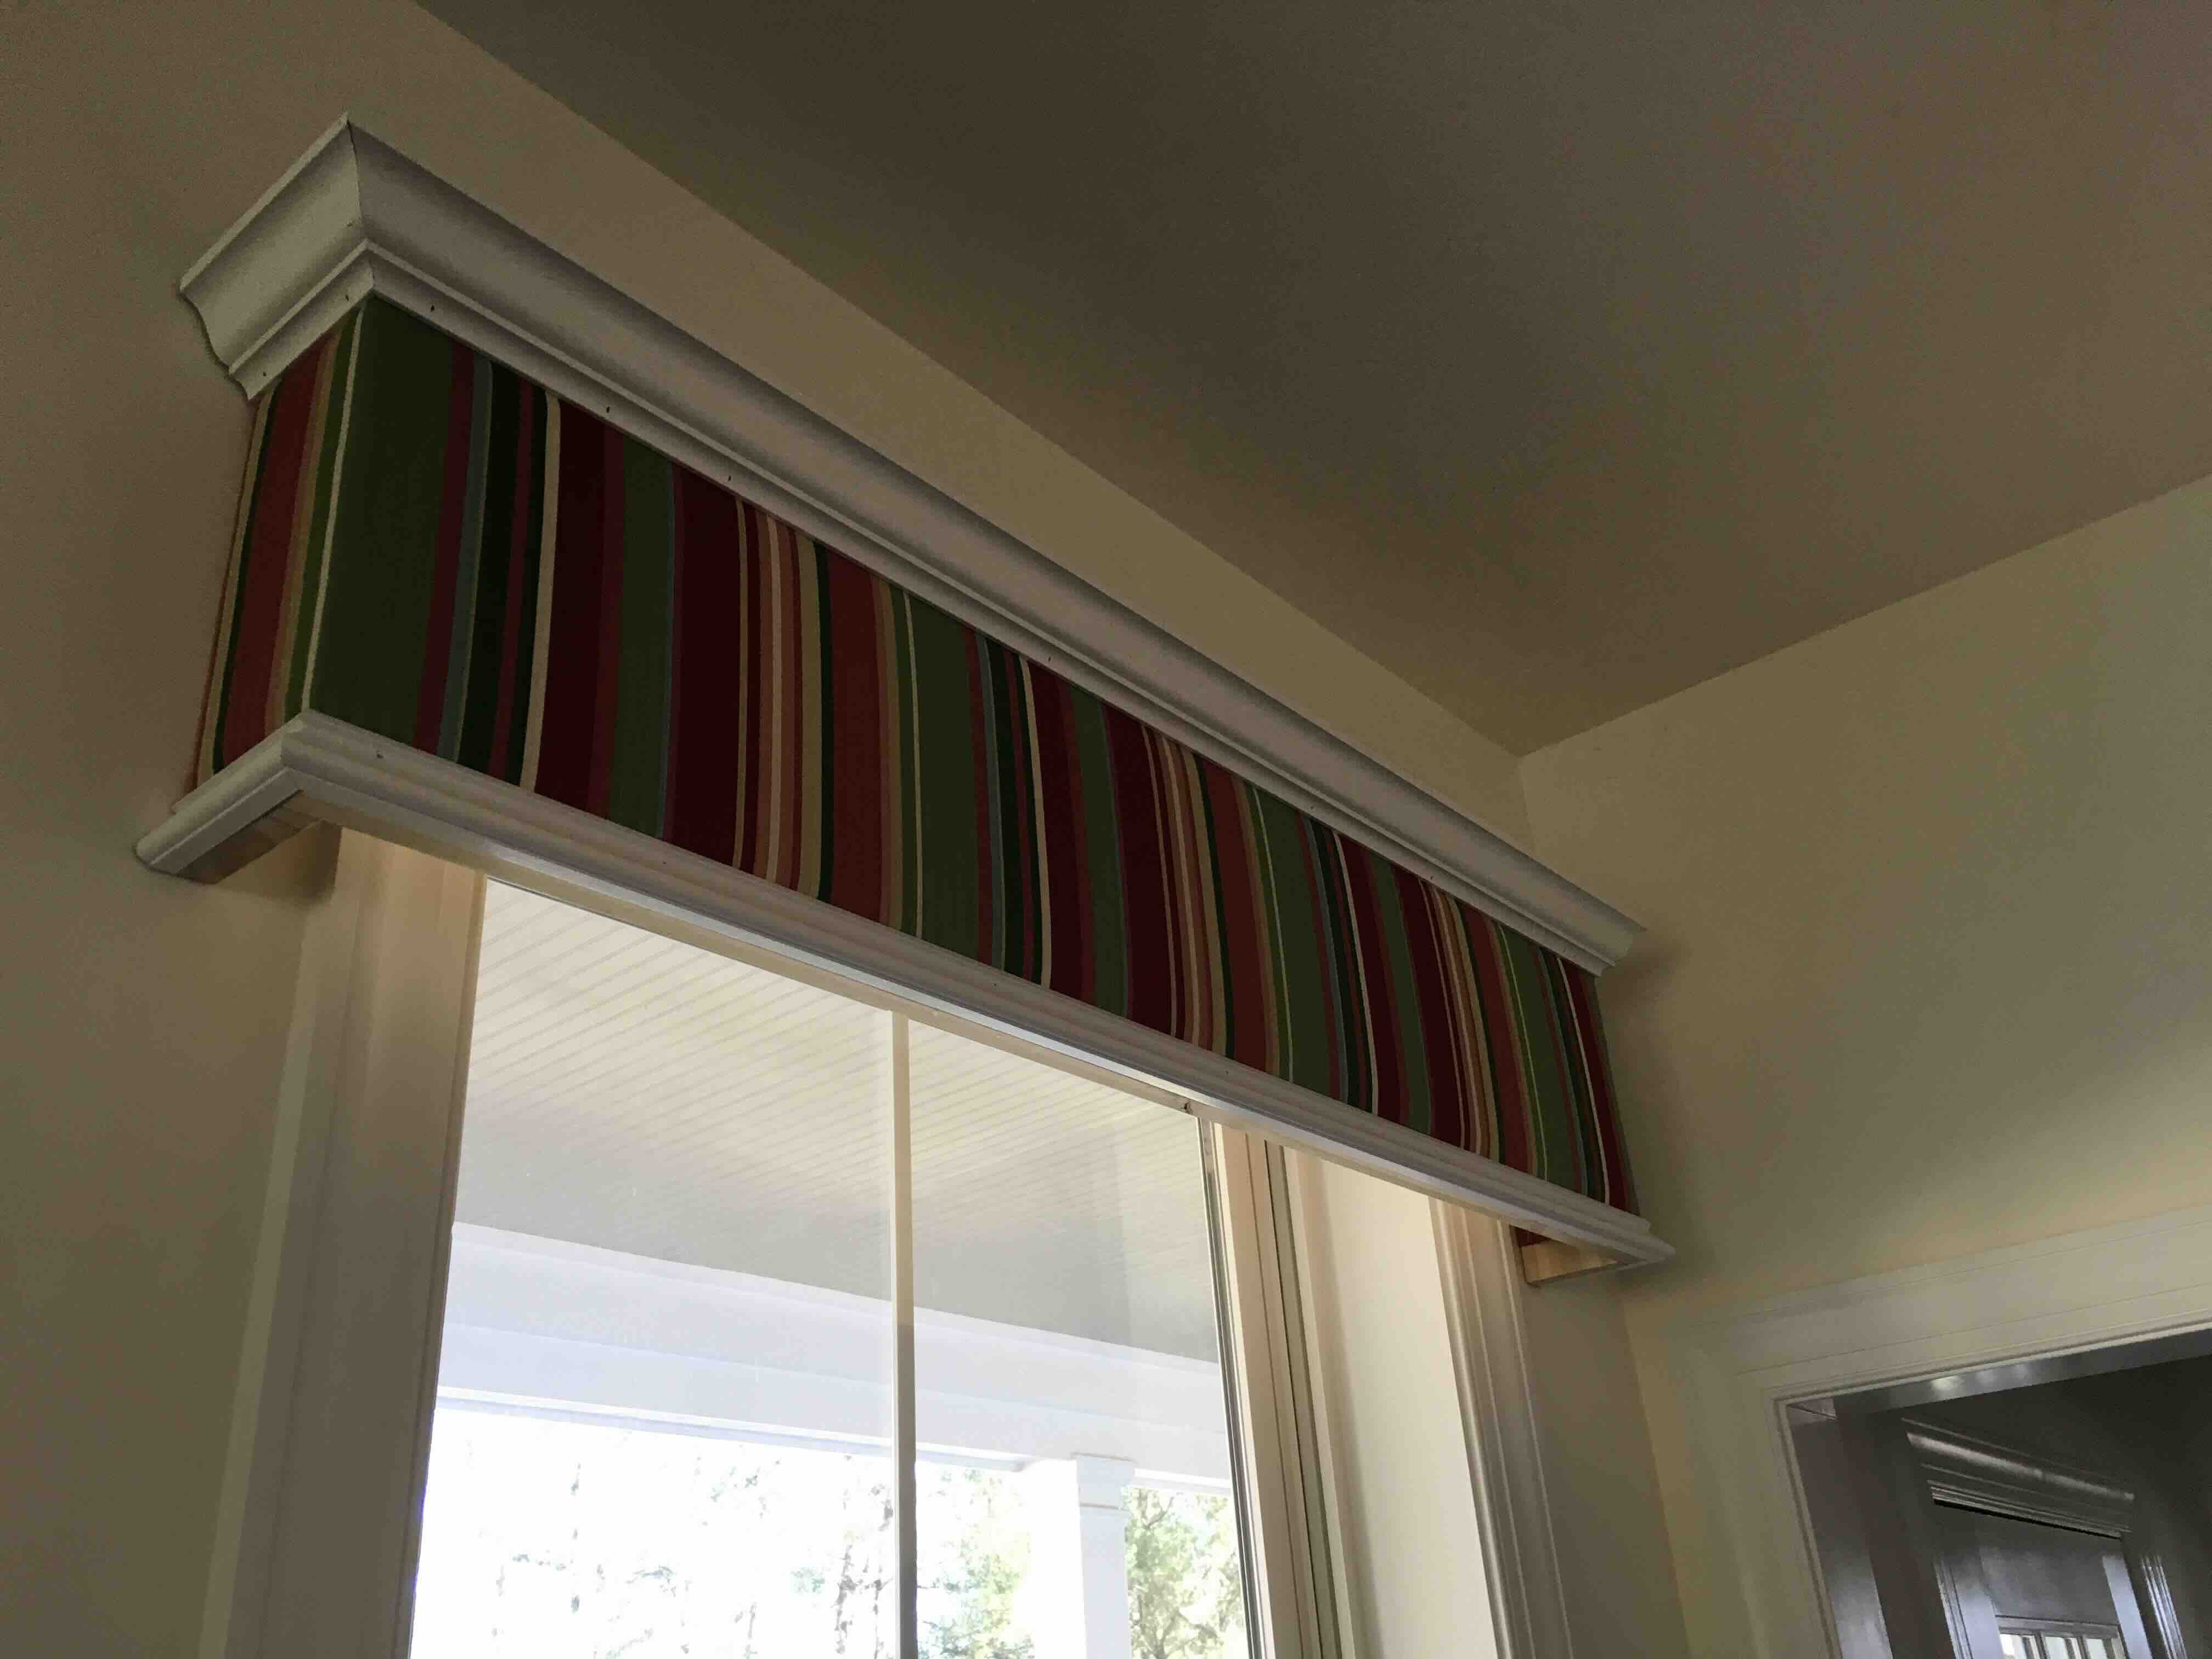
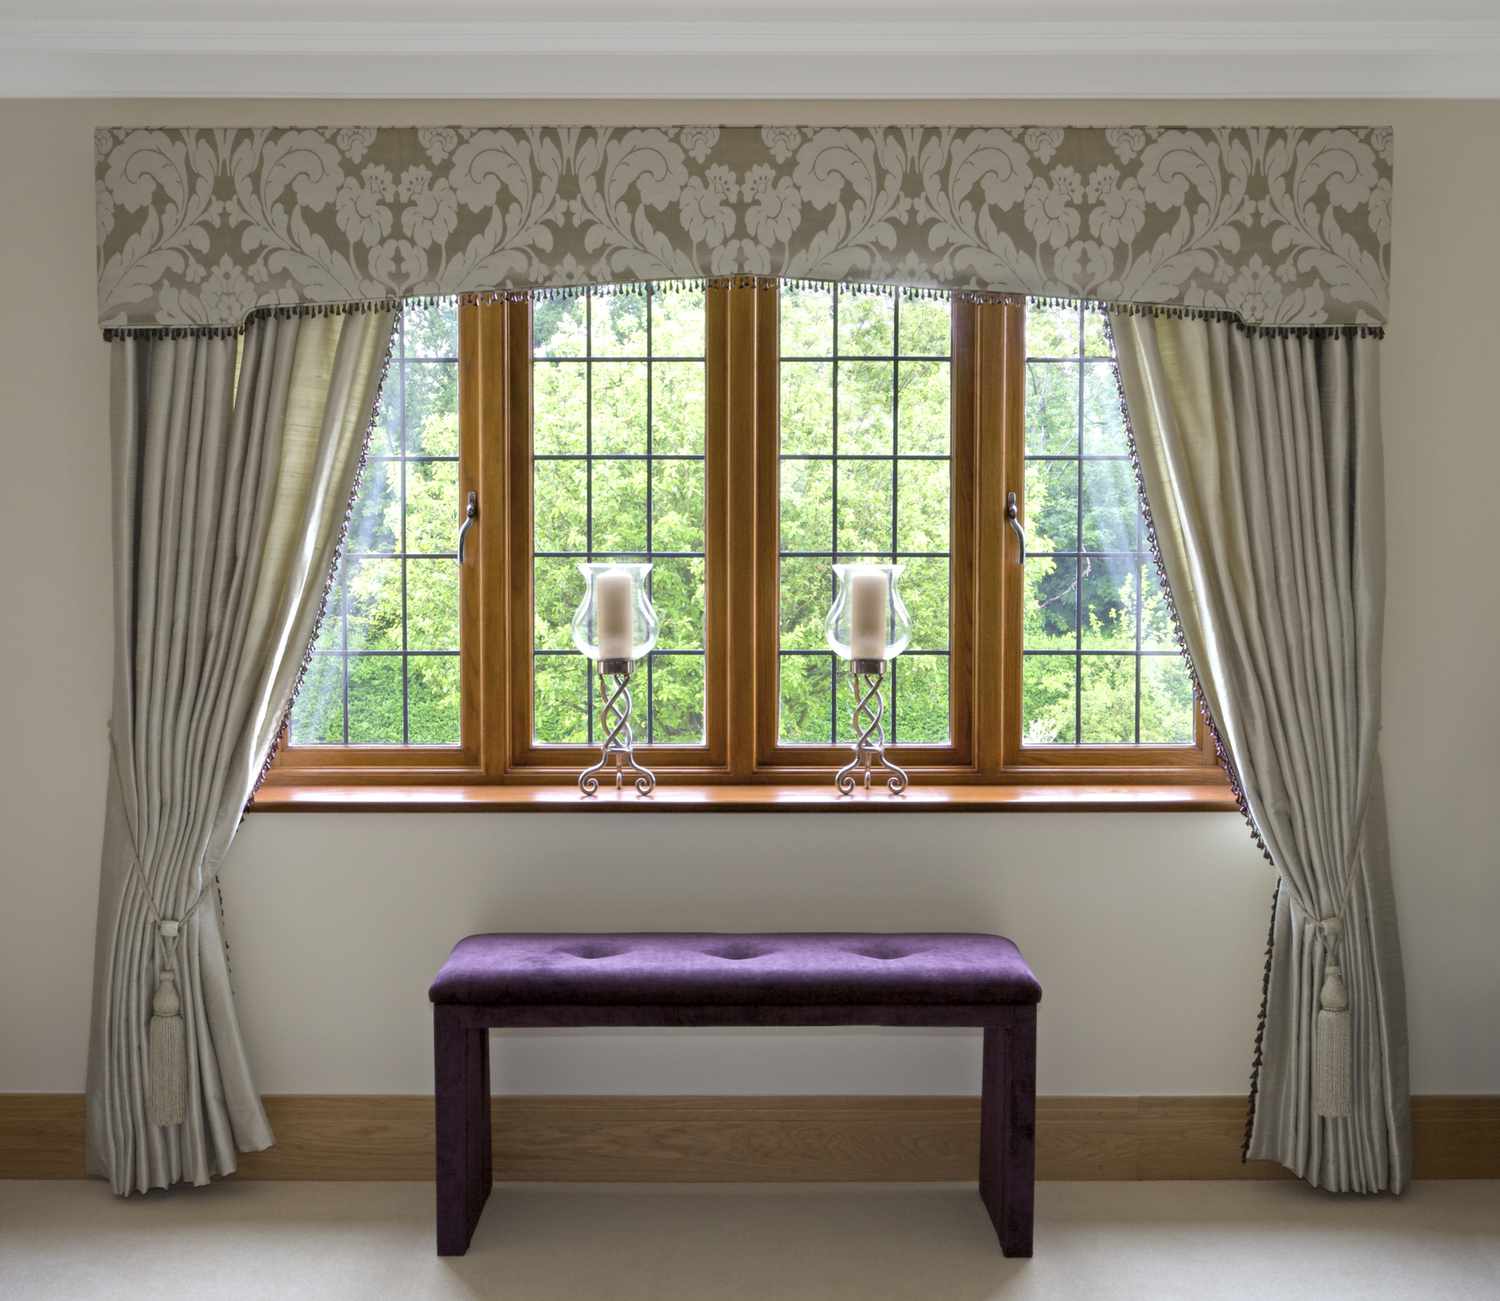
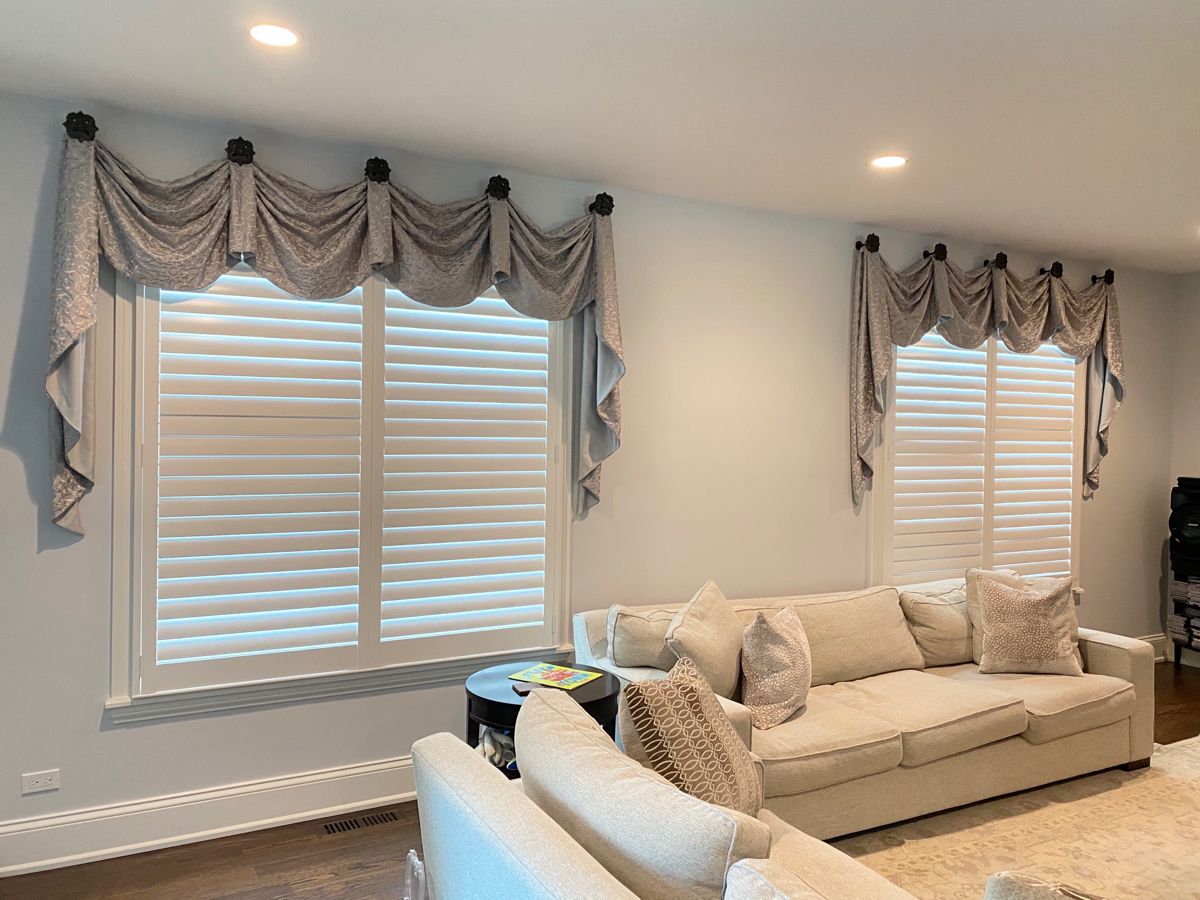
Welcome to the world of window box valances! If you’re looking to add a touch of elegance and style to your windows, window box valances are the perfect solution. These decorative top treatments can completely transform the look of any window, adding charm, personality, and a custom-made feel to your space.
In this article, we will guide you through the process of making your own window box valances. Whether you have a flair for DIY projects or simply want to save some money by creating your own window treatments, you’ve come to the right place.
Making window box valances is a fun and creative endeavor that allows you to customize your window decor to match your personal style and interior design. With just a few materials, some basic sewing skills, and a little patience, you can create beautiful valances that will enhance the aesthetic appeal of your home.
In the following sections, we will walk you through the step-by-step process of making window box valances. From gathering materials and taking accurate measurements to choosing the perfect fabric and sewing the valance panels, we will cover every aspect of this exciting project. So, let’s dive in and create stunning window box valances together!
Key Takeaways:
- Transform your windows into stylish focal points and add a personal touch to your home’s decor by creating custom window box valances. Enjoy the fun and rewarding journey of expressing your creativity through DIY projects.
- Elevate the aesthetic appeal of your space with window box valances that offer privacy, light control, and a sense of personality and style. Unleash your imagination, experiment with different fabrics, patterns, and embellishments, and enjoy the satisfaction of creating beautiful and functional pieces for your home.
Read more: How To Make Window Valances
Gathering Materials
Before you begin making your window box valances, it’s important to gather all the necessary materials. Having everything on hand will ensure a smooth and uninterrupted creative process. Here’s a list of items you’ll need:
- Fabric: Choose a high-quality fabric that suits your taste and complements your home’s decor. Consider the color, pattern, and texture of the fabric to create a visually appealing valance.
- Measuring tape: This essential tool will help you accurately measure your windows and ensure the proper fit of your valances.
- Scissors: Invest in a good pair of fabric scissors to cut the fabric cleanly and precisely.
- Sewing machine: If you have basic sewing skills, a sewing machine will make the process much quicker and easier. However, if you prefer hand sewing, you can use a needle and thread instead.
- Thread: Choose a thread color that matches or complements your fabric to create seamless and invisible seams.
- Pins: Use pins to secure the fabric in place and ensure that everything stays aligned during the sewing process.
- Iron and ironing board: Pressing the fabric is crucial for achieving crisp edges and professional-looking valances.
- Decorative trim: If you want to add an extra touch of elegance to your valances, consider using decorative trims, such as ribbon, lace, or fringe. These trims can be sewn onto the edges or bottom of the valance for a stylish finish.
- Mounting hardware: Depending on the style and design of your valances, you may need mounting hardware such as brackets, hooks, or rods to hang them securely.
Once you have all the materials ready, you can proceed to the next step: measuring your windows. But before that, make sure you have enough space to work comfortably and gather any additional tools or supplies specific to your project.
Measuring the Window
Accurate measurements are the key to creating perfectly fitting window box valances. Before you start cutting your fabric, take the time to measure your window carefully. Here’s a step-by-step guide:
- Start by measuring the width of your window frame. Use a measuring tape and take the measurement from one side of the frame to the other. If you want your valance to extend beyond the frame, add a few inches to the width measurement to achieve the desired look.
- Next, measure the height of your window. Measure from the top of the window frame to the desired length of your valance. Keep in mind that valances typically range from a few inches to a foot or more in height. The height you choose will depend on your personal preference and the overall style of your window treatment.
- If you plan to mount your valance outside the window frame, add a couple of inches to both the width and height measurements to ensure adequate coverage.
- Consider any hardware, such as curtain rods or blinds, that may affect the positioning of your valance. Ensure that your measurements take these factors into account to ensure a seamless and cohesive look.
It’s always a good idea to double-check your measurements to avoid any errors. Remember, it’s better to be precise from the beginning than to end up with a valance that’s too small or too large for your window.
Once you have your measurements, note them down and keep them handy as you move on to the next steps of the window box valance making process. These measurements will be the foundation for cutting and sewing your fabric into the perfect valance panels.
Now that you’ve measured your window, it’s time to move on to the exciting step of choosing the fabric for your valances. Let your creativity soar as we explore the world of fabric options in the next section!
Choosing the Fabric
Choosing the right fabric is essential to create window box valances that not only look beautiful but also serve their purpose well. Here are some factors to consider when selecting the fabric for your valances:
Color and Pattern:
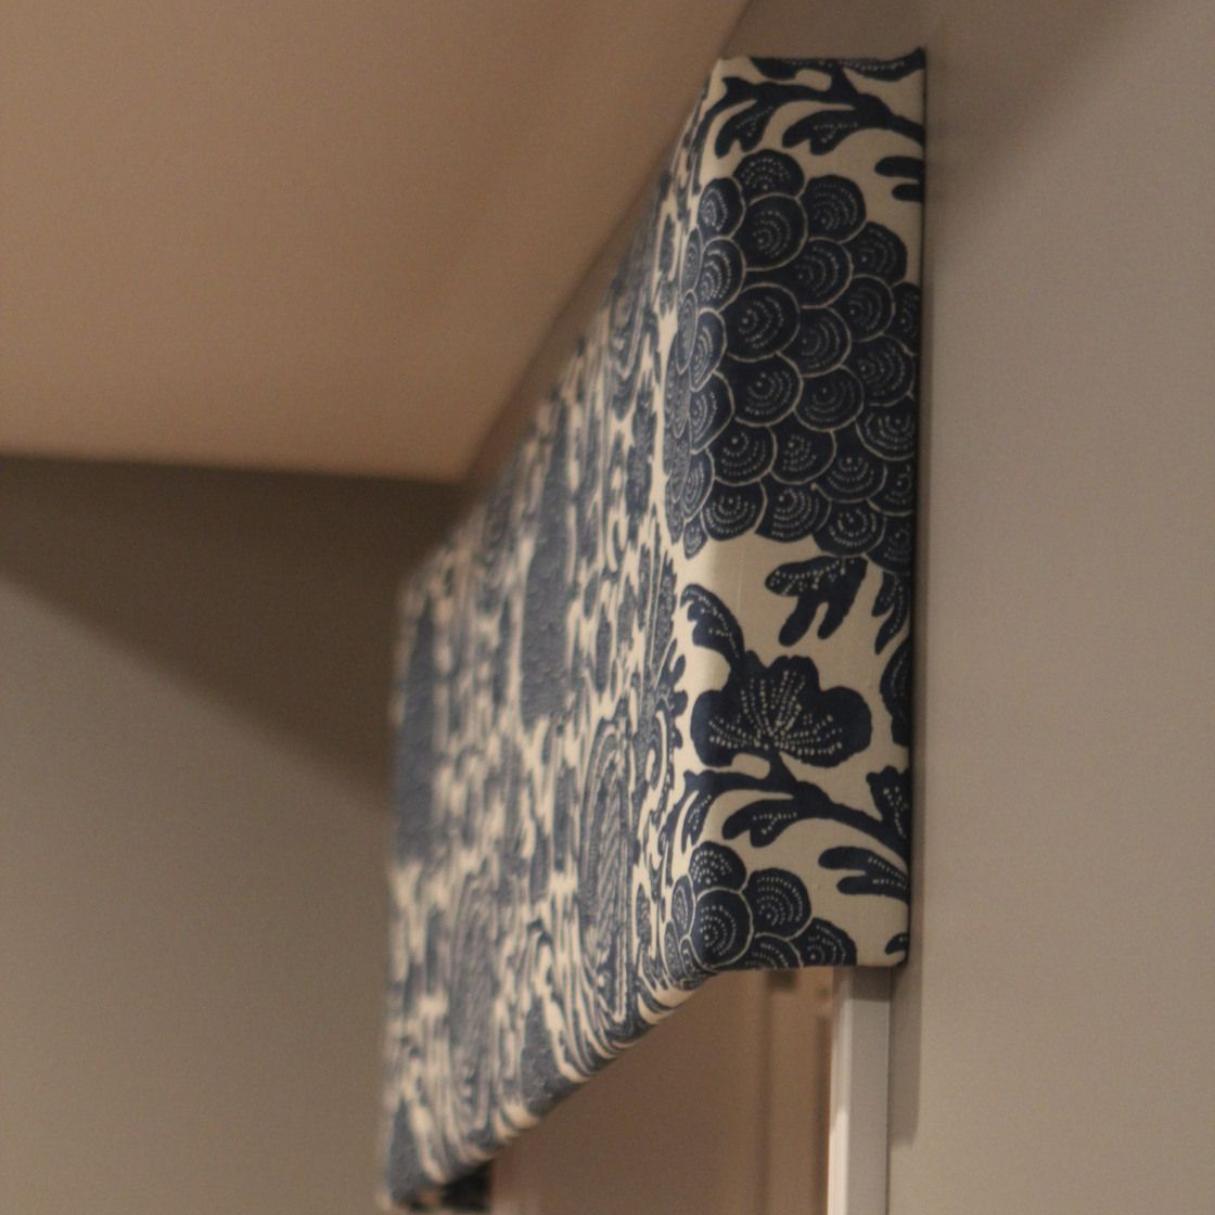
The color and pattern of the fabric should harmonize with your room’s decor and personal style. Consider the color palette of your space and choose a fabric that complements or contrasts with it. Patterns like stripes, florals, or geometric designs can add visual interest and enhance the overall look of your valances.
Read more: How To Make Window Flower Boxes
Texture:
The texture of the fabric can greatly impact the aesthetic appeal of your valances. Depending on the style you want to achieve, you can choose from a variety of textures such as silk, linen, cotton, or velvet. Consider the texture of the other elements in the room, such as furniture or curtains, to create a cohesive look.
Light Control:
If you want your valances to offer privacy or light control, consider using thicker fabrics or adding a lining. You can opt for blackout lining to block out light or sheer lining to create a softer, diffused glow. Keep in mind the functionality of the valances along with their visual appeal.
Maintenance:
Consider the maintenance requirements of the fabric. Some fabrics may require dry cleaning, while others can be machine-washed or easily spot-cleaned. Choose a fabric that fits your lifestyle and the level of care you are willing to provide.
Budget:
Set a budget for your fabric and stick to it. Remember that high-quality fabrics may come at a higher price, but they often offer better durability and longevity. If you’re on a tight budget, consider sales or clearance fabrics, or mix and match different fabrics to create a unique look.
Take your time in choosing the fabric for your window box valances. It sets the tone and style for your entire project and can greatly impact the overall aesthetic of your space. Once you’ve found the perfect fabric, it’s time to move on to the next step: cutting and sewing the valance panels.
Cutting and Sewing the Valance Panels
Now that you have the fabric and measurements ready, it’s time to cut and sew the valance panels. Follow these steps for a successful sewing process:
Cutting the Fabric:
Start by laying the fabric on a flat surface. Use your measurements to determine the width and height of each valance panel. With a fabric pencil or tailor’s chalk, mark the measurements on the fabric.
Using sharp fabric scissors, carefully cut along the marked lines to create the individual valance panels. Double-check your measurements as you cut to ensure accuracy.
Creating the Hem:
To give the valance panels a finished look, it’s important to create a hem. Fold over each side of the fabric by about half an inch and press it with an iron. Then, fold it over again by the same width and press it again. This will create a clean and secure hem.
Pin the folded fabric in place to keep it secure while you sew. Repeat this process for all sides of each valance panel.
Sewing the Hem:
Using a sewing machine or needle and thread, stitch along the folded edge of the hem to secure it in place. Choose a thread color that matches or complements the fabric for a seamless finish.
If you’re using a sewing machine, set it to a straight stitch or a stretch stitch, depending on the fabric type. Backstitch at the beginning and end of each seam to reinforce the stitches and prevent unraveling.
If you’re hand sewing, use a slip stitch or a backstitch to secure the hem. Take your time and sew with even and consistent stitches for a professional-looking result.
Read more: How To Remove RV Window Valances
Repeat for All Panels:
Repeat the cutting and sewing process for each valance panel, ensuring that each one has a clean and finished hem.
With the valance panels sewn and hemmed, you’re one step closer to completing your window box valances. The next step is to attach the valance panels to your window. Keep reading to learn how to do it seamlessly!
Attaching the Valance Panels
Attaching the valance panels to your window is the next exciting step in creating your window box valances. Follow these steps to securely hang your valances:
Preparing the Mounting Hardware:
If you haven’t already, gather the necessary mounting hardware such as brackets, hooks, or rods. Ensure that they are suitable for the weight and style of your valances.
Read the instructions provided with the hardware to understand how to install them properly. Measure and mark the appropriate positions for the mounting hardware on the wall or window frame.
Hanging the Valance Panels:
Start by placing the first valance panel on the window, ensuring that it is centered and level. Depending on the type of mounting hardware, you may need to attach the valance directly to the wall or hang it on a rod.
If using brackets or hooks, carefully follow the instructions to secure the valance in place. Double-check that it is level and properly aligned.
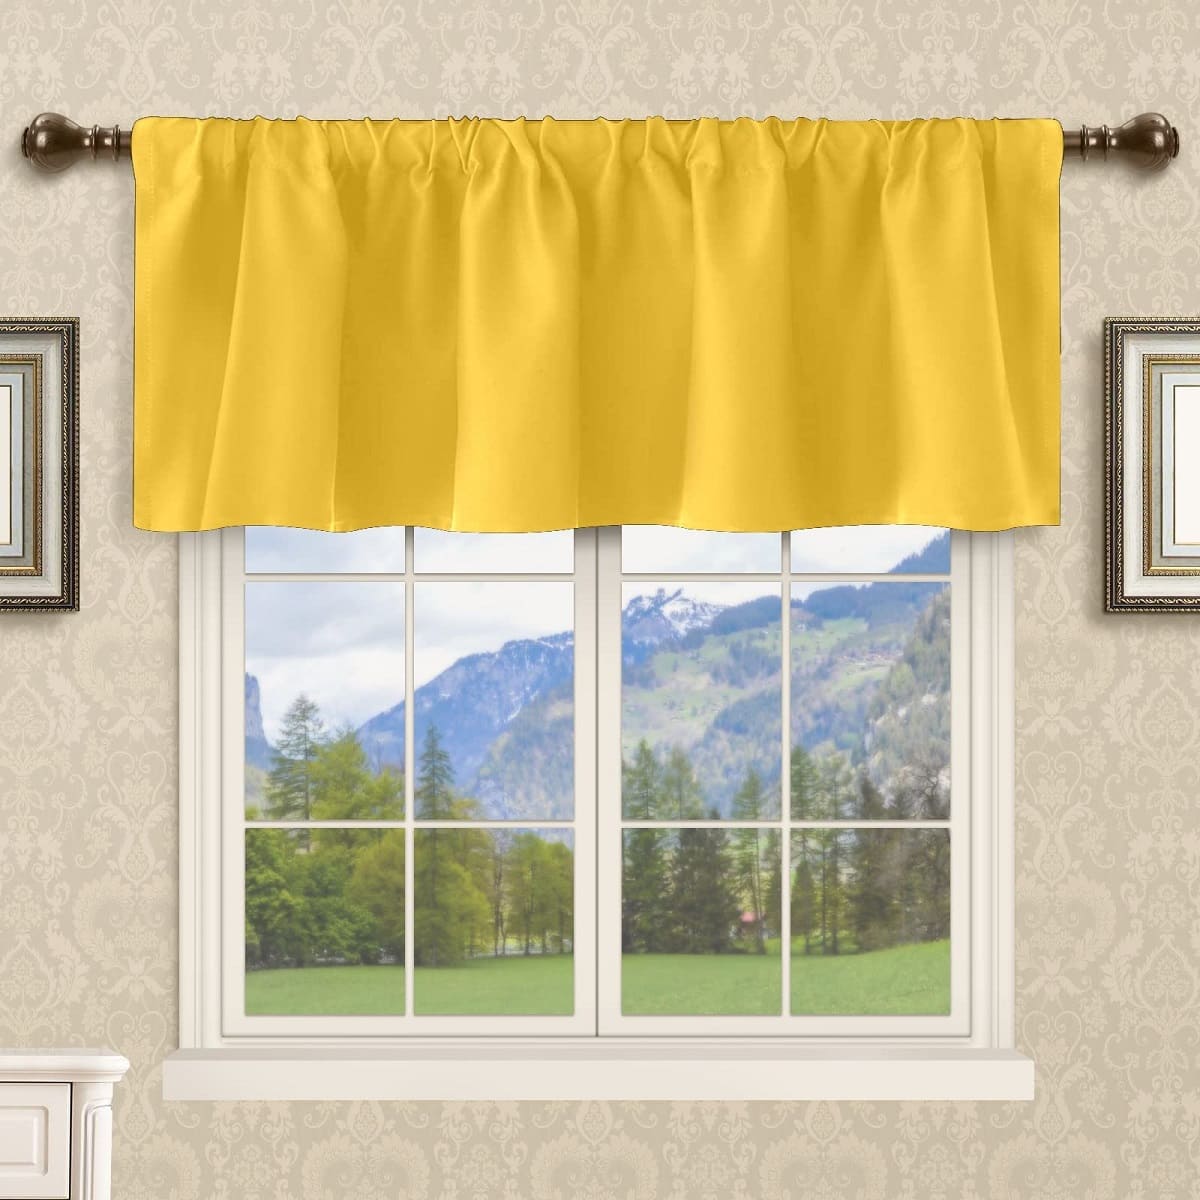
If using a rod, thread the rod through the rod pocket or the tabs on the top of the valance. Slide the rod onto the brackets or hooks and adjust the valance to achieve the desired look.
Read more: How To Make Tab Valances
Repeat for Remaining Panels:
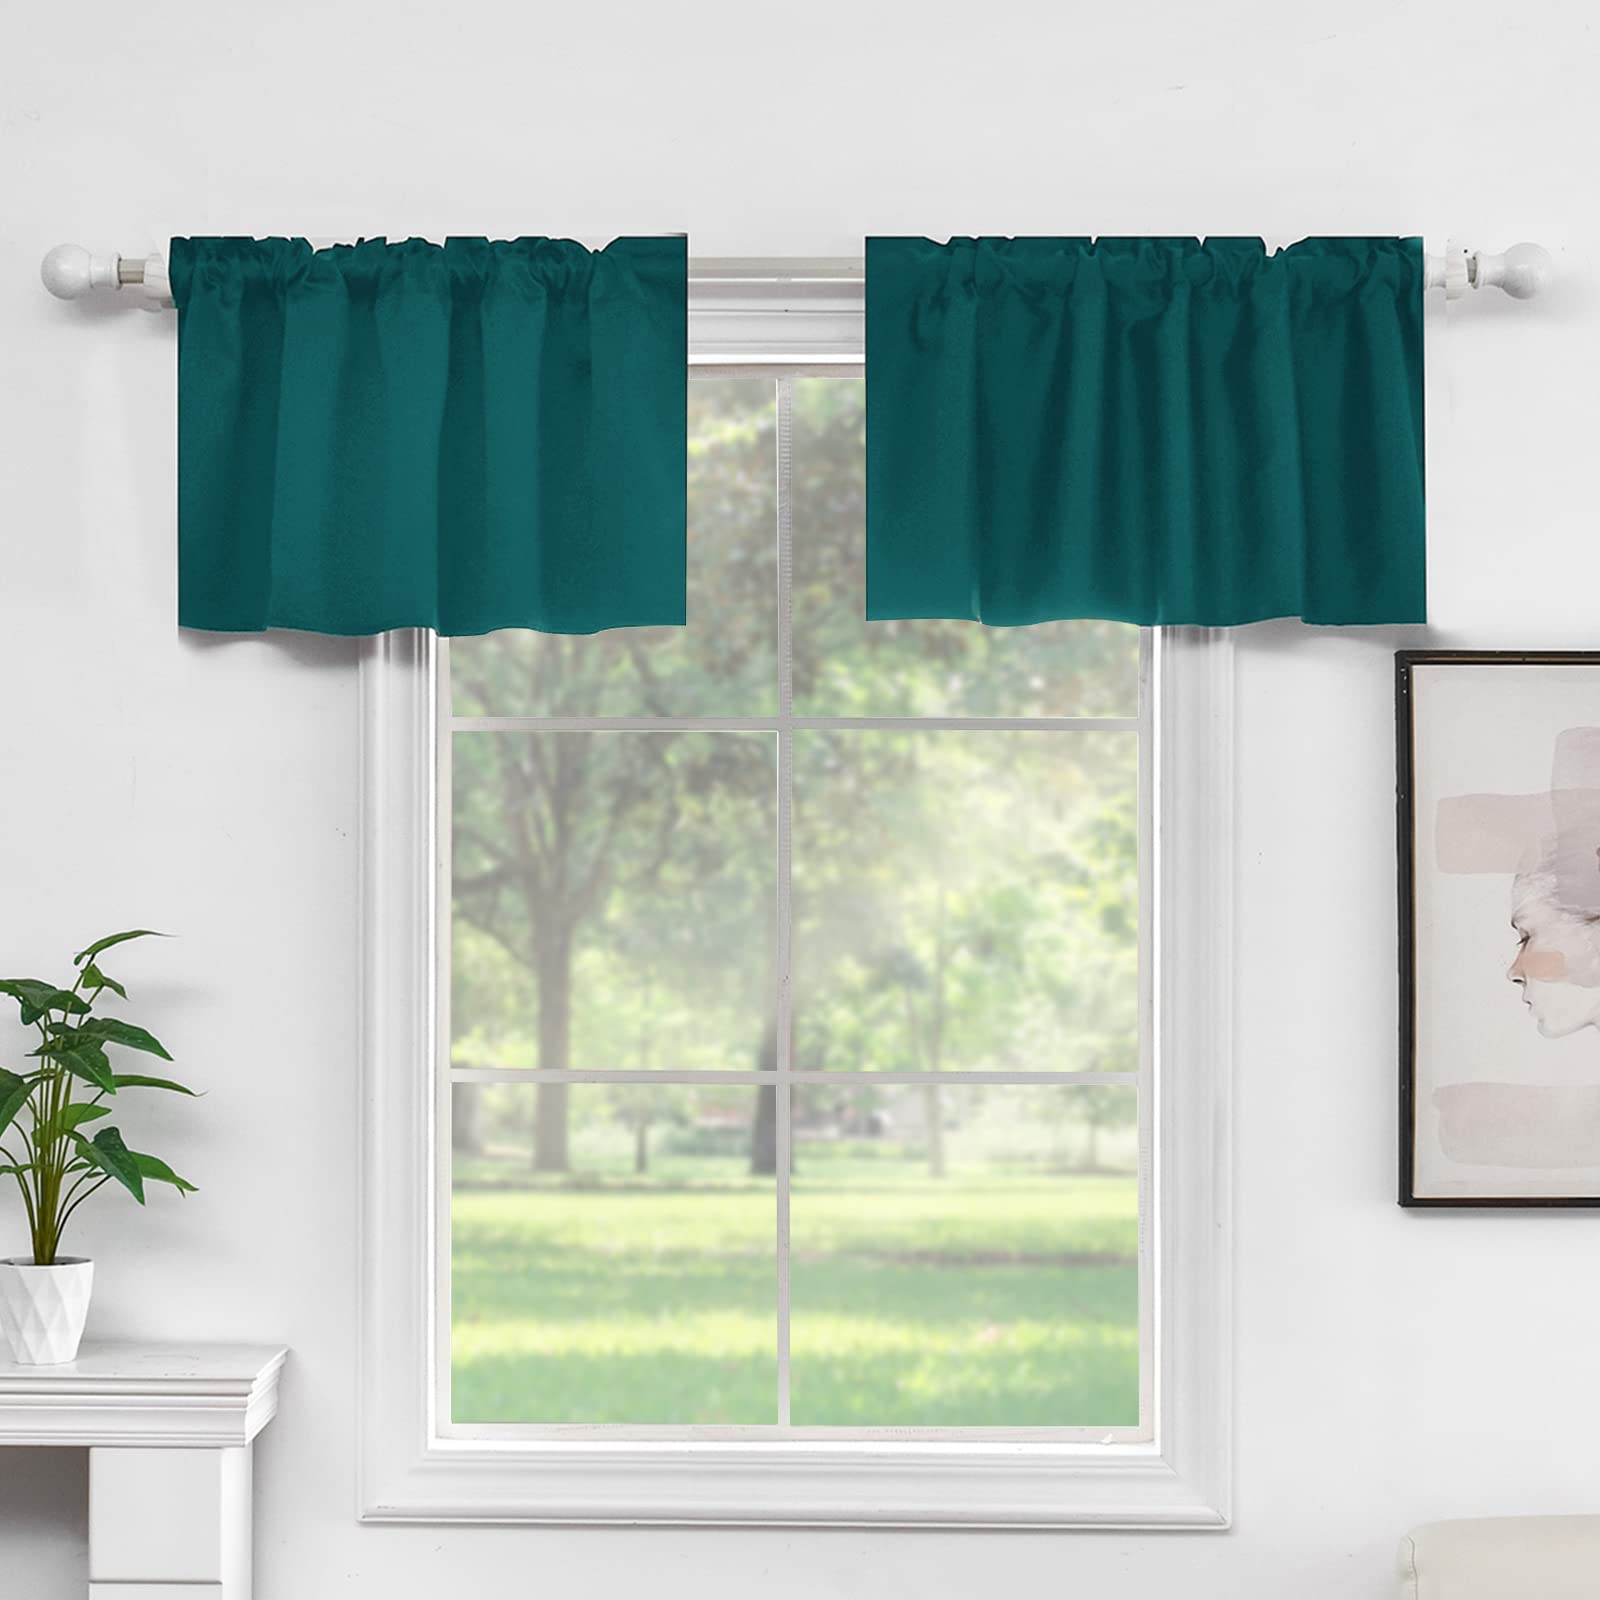
If your window requires multiple valance panels, repeat the process for each one, ensuring proper spacing and alignment between them.
Finishing Touches:
Once all the valance panels are attached, step back and assess the overall appearance. Make any necessary adjustments to ensure that the valances are evenly spaced and hang properly.
If desired, you can add additional decorative elements such as ribbons, lace, or fringe along the bottom or sides of the valances to enhance their visual appeal.
With the valance panels securely attached, take a moment to admire your beautiful window box valances. They bring a touch of elegance and charm to your space, transforming your window into a focal point.
Now, let’s move on to the final step: adding the finishing touches to your valances. These small details will elevate the overall look and give your valances a polished appearance.
Adding the Finishing Touches
To truly complete the look of your window box valances, it’s time to add those final touches that will make them stand out. Here are some ideas to consider:
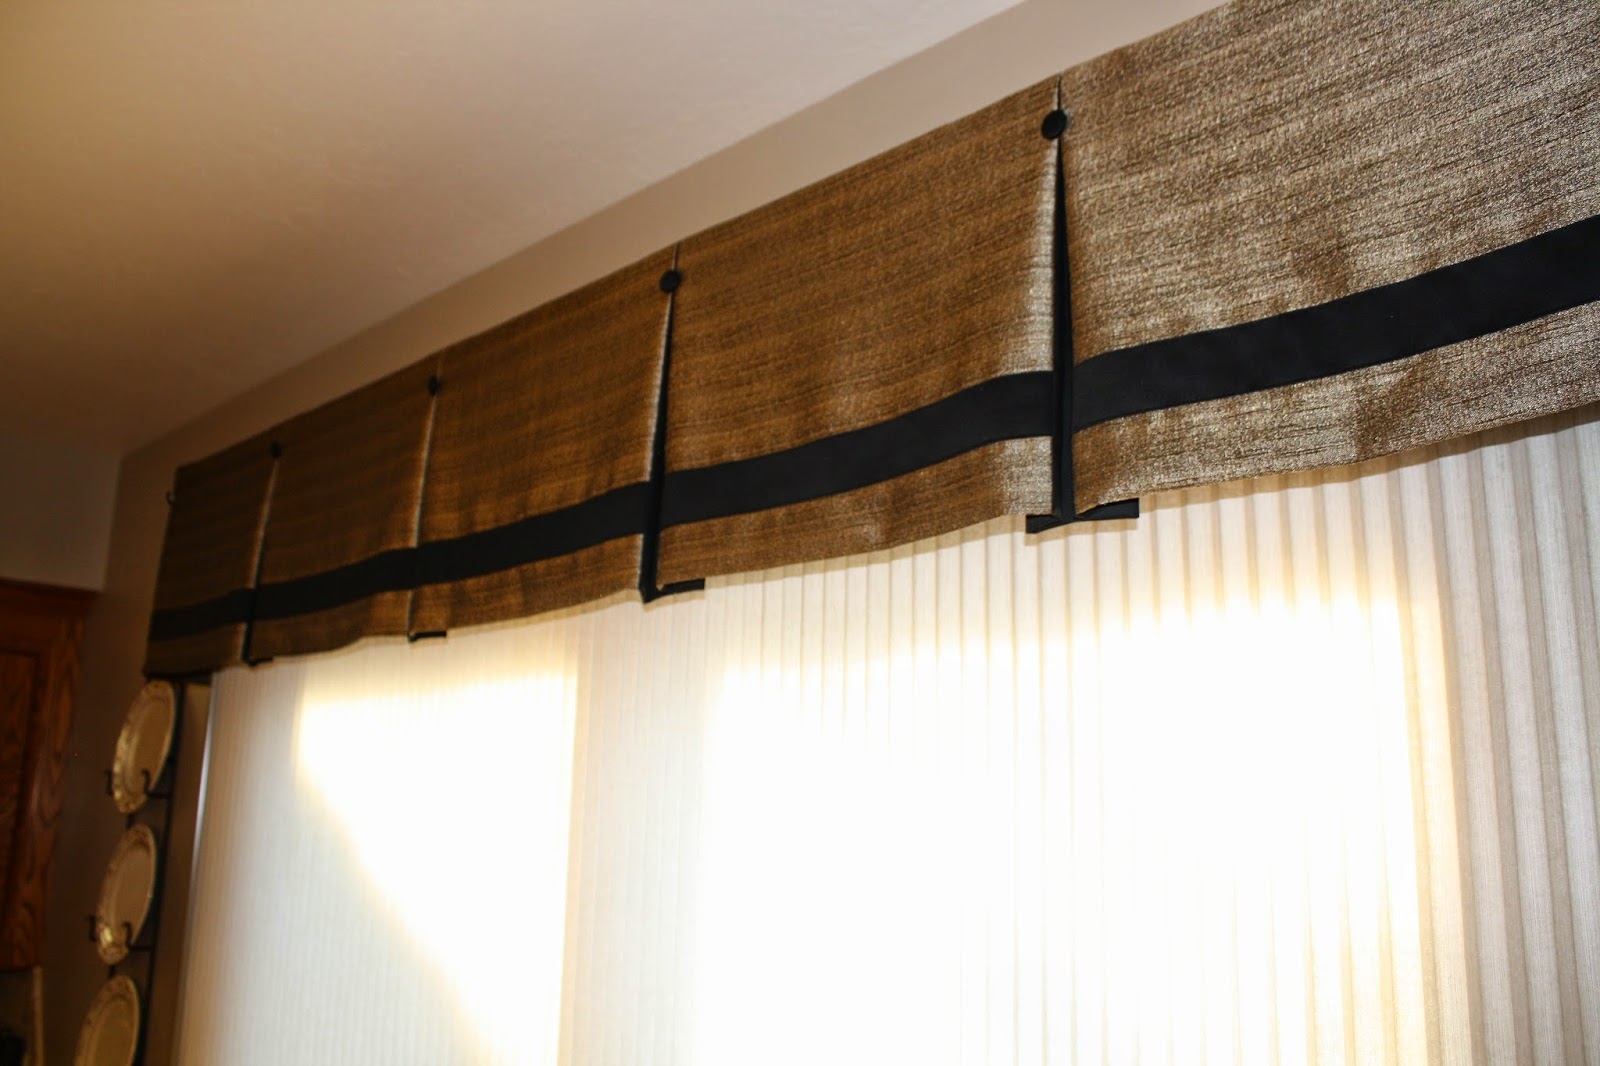
Decorative Trim:
Consider adding decorative trim such as ribbon, lace, or fringe to the bottom edge or sides of your valances. This trim can be sewn onto the fabric using a sewing machine or hand-stitched for a more personalized touch. Choose a trim that complements the fabric and enhances the overall design of your valances.
Read more: How To Make Waterfall Valances
Tiebacks or Holdbacks:
If you want your valance panels to be adjustable and allow for more natural light, consider adding tiebacks or holdbacks. These can be simple fabric ties, decorative hooks, or curtain holdbacks that can be attached to the wall or window frame. Tie the valance panels back during the day and release them to cover the window at night or for added privacy.
Embellishments:
Add small embellishments to your valances to give them a personalized touch. This could include buttons, bows, or fabric flowers. Sew or glue these embellishments onto the valance panels in a way that complements the overall design.
Valance Hooks:
Consider using valance hooks to add a refined and elegant touch to your valances. These hooks are specifically designed for window box valances and can be attached to the top edge of the valance panel. They provide a clean and seamless way to hang the valance without the need for additional hardware.
Finishing Seams:
If you want to give your valances a more polished look, consider finishing the side seams with a serger or by using a zigzag stitch on your sewing machine. This will prevent fraying and extend the lifespan of your valances.
Remember, the finishing touches are an opportunity to showcase your creativity and personalize your window box valances. Experiment with different options and choose the ones that best reflect your style and enhance the overall aesthetic of your space.
With the finishing touches added, step back and admire your completed window box valances. They add a touch of elegance and sophistication to your windows, creating a focal point in your room.
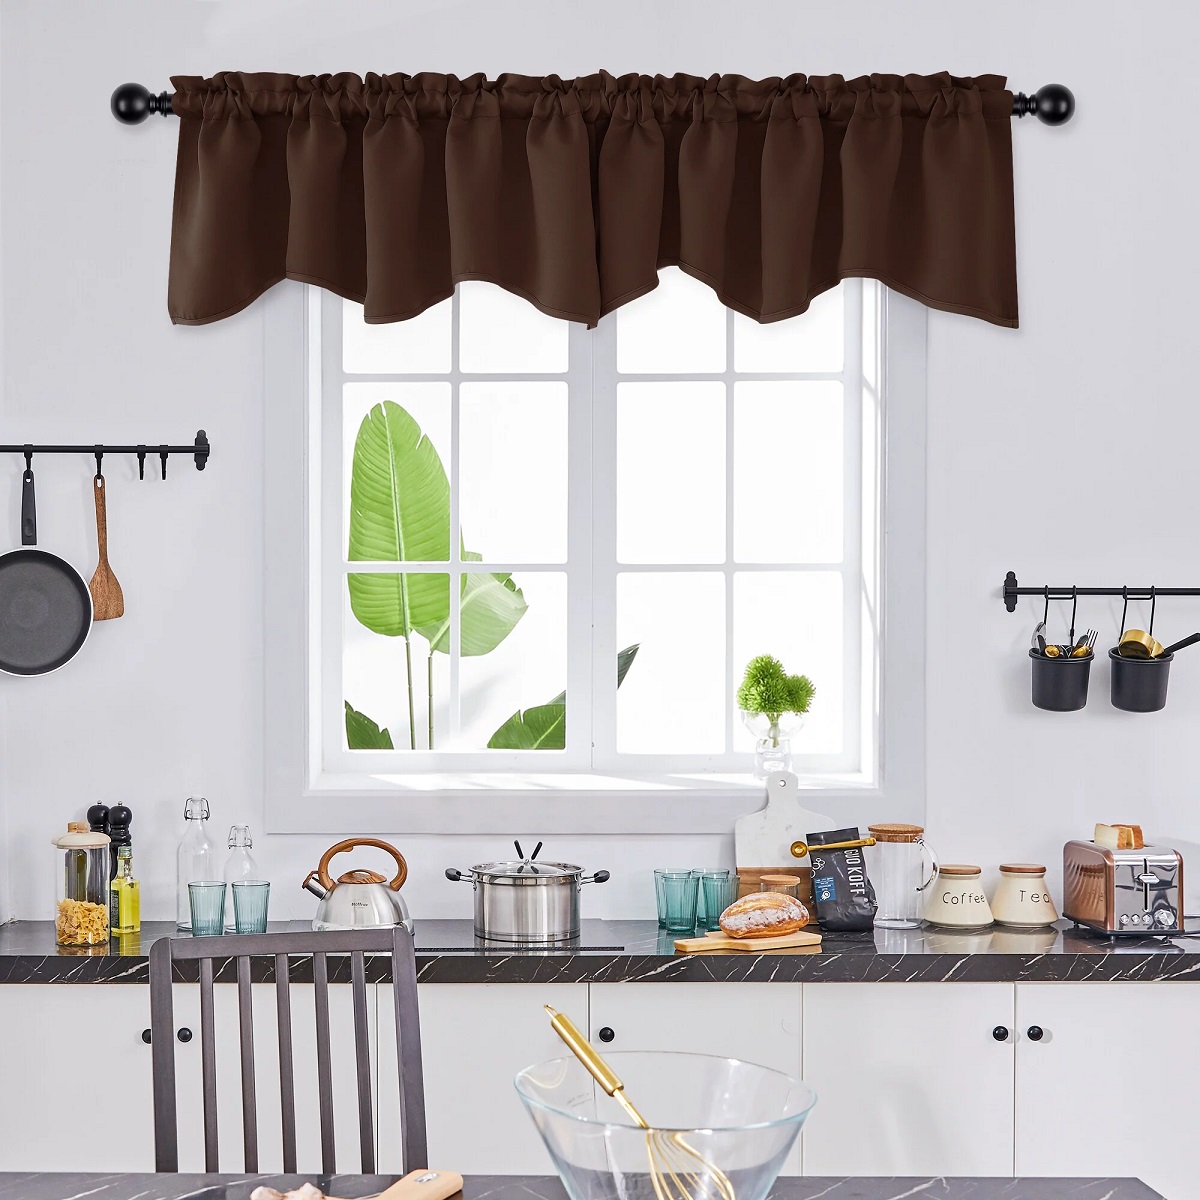
Now that you have completed the process of making and embellishing your window box valances, take a moment to enjoy the beautiful transformation they bring to your space. Whether they are in a living room, bedroom, or kitchen, these valances will undoubtedly enhance the overall aesthetic of your home.
Remember, this DIY project allows you to unleash your creativity and customize your window treatments to reflect your personal style. Enjoy the process and be proud of the unique valances you have created with your own hands.
Happy decorating!
Read more: How To Make Cornice Valances
Conclusion
Congratulations! You have successfully completed the process of making window box valances. By following the steps outlined in this article, you have transformed your windows into stylish focal points and added a personal touch to your home’s decor.
Throughout this journey, you have learned how to gather the necessary materials, accurately measure your windows, choose the perfect fabric, cut and sew the valance panels, attach them securely, and add the finishing touches that elevate the overall look of your valances.
Creating your own window box valances allows you to customize your window treatments and express your creativity. Not only do they enhance the visual appeal of your space, but they also provide privacy, light control, and a sense of personality and style.
Remember, the process of making window box valances is a fun and rewarding journey. Let your imagination run wild and experiment with different fabrics, patterns, and embellishments to truly make your valances unique.
Don’t be afraid to explore different styles and designs. Window box valances can be tailored to fit any room, whether it’s a casual living room, a cozy bedroom, or a sophisticated dining area. The possibilities are endless, and the end result is a reflection of your individual taste and style.
As you continue your journey into the world of DIY and creative projects, allow this experience to inspire you to tackle more home decor ventures. Enjoy the satisfaction of creating beautiful and functional pieces that bring joy to your everyday life.
Thank you for joining us on this window box valance-making adventure. We hope this article has provided you with the information and inspiration you need to create your own stunning valances. Now, it’s time to step back, admire your handiwork, and enjoy the beauty and elegance your valances bring to your windows and your home!
Happy decorating!
Frequently Asked Questions about How To Make Window Box Valances
Was this page helpful?
At Storables.com, we guarantee accurate and reliable information. Our content, validated by Expert Board Contributors, is crafted following stringent Editorial Policies. We're committed to providing you with well-researched, expert-backed insights for all your informational needs.
0 thoughts on “How To Make Window Box Valances”