Articles
How To Plant In Window Boxes
Modified: September 2, 2024
Learn how to plant a beautiful garden in window boxes with our step-by-step guide. Transform your windows into vibrant displays of nature with our expert gardening tips and techniques.
(Many of the links in this article redirect to a specific reviewed product. Your purchase of these products through affiliate links helps to generate commission for Storables.com, at no extra cost. Learn more)
Introduction
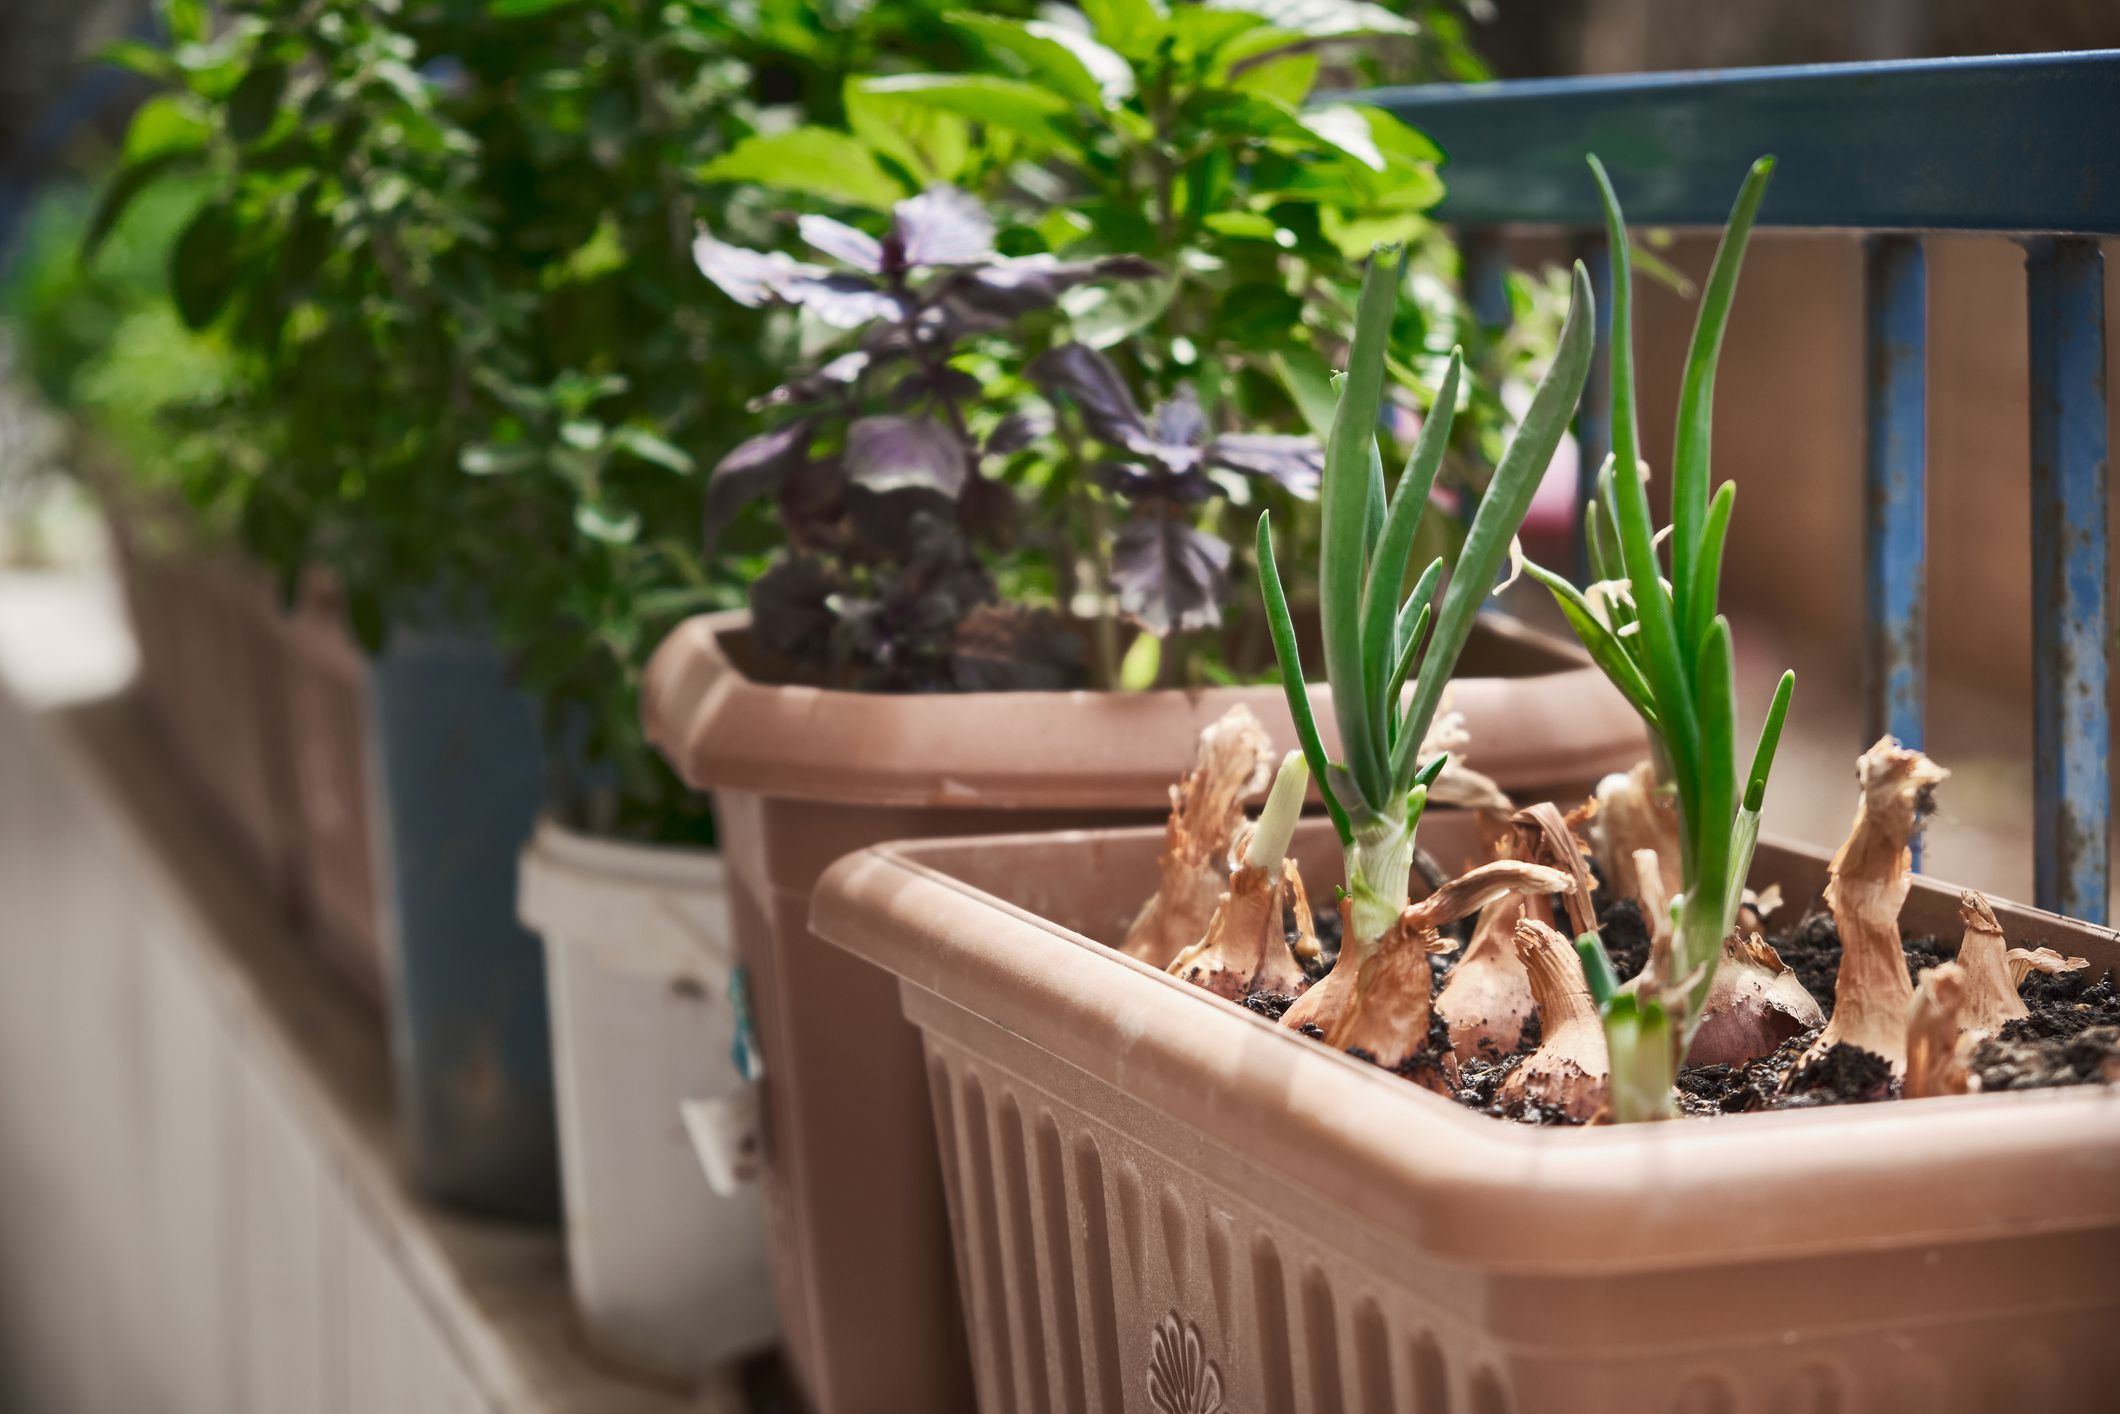
Window boxes are a fantastic way to add beauty and charm to your home or apartment. These versatile containers allow you to bring the vibrant colors of nature right to your windowsill. Whether you have a green thumb or are just starting out with gardening, planting in window boxes can be a rewarding and enjoyable experience.
In this article, we will guide you through the process of planting in window boxes, from choosing the right box and location to selecting the perfect plants and maintaining your display throughout the season. So, if you’re ready to spruce up your windows and create a picturesque scene, let’s get started!
Key Takeaways:
- Choose a window box that suits your style and climate, ensuring proper drainage and maintenance. Select plants based on sunlight, size, and color for a vibrant and visually appealing window display.
- Regular watering, fertilizing, and maintenance are essential for healthy plants in window boxes. Troubleshoot common issues like wilting, poor drainage, and pests to ensure a flourishing and beautiful window garden.
Read more: How To Install A Window Box
Choosing the Right Window Box
When it comes to choosing a window box, you have a variety of options to consider. The material, size, and style of the box all play a role in its functionality and visual appeal. Here are some factors to keep in mind when selecting the perfect window box:
- Material: Window boxes come in various materials such as wood, metal, plastic, and fiberglass. Each material has its own advantages and disadvantages. For a classic look, you may opt for a wooden box. However, if weather resistance and durability are a concern, metal or plastic boxes may be a better choice.
- Size: Consider the size of your windows and the space available for the window box. It should fit snugly and not obstruct the view from inside your home. Also, make sure the size of the box allows for ample room for plant roots to grow.
- Style: Window boxes come in a variety of styles, from traditional to modern. Think about the overall aesthetic of your home and choose a window box that complements it. The style should also align with your personal taste and gardening preferences.
- Drainage: Proper drainage is crucial for healthy plant growth. Look for a window box that has drainage holes or can easily have holes drilled into it. This will prevent water from pooling and potentially damaging your plants.
- Maintenance: Consider the maintenance requirements of the window box material. Wood may require periodic sealing or painting, while plastic or metal boxes may be easier to clean and maintain.
By carefully considering these factors, you can find a window box that not only enhances the appearance of your home but also provides a conducive environment for your plants to thrive.
Selecting the Ideal Location for Your Window Box
The location where you place your window box can greatly impact the success of your plants. Here are some important considerations when selecting the ideal spot:
- Sun Exposure: Most plants require adequate sunlight to grow and flourish. Observe the sunlight patterns in different parts of your windowsill throughout the day. Choose a location that receives at least six hours of direct sunlight for sun-loving plants, or opt for shade-tolerant plants if your window receives limited sunlight.
- Window Accessibility: Consider the accessibility of the window box for watering, pruning, and other maintenance tasks. Ensure that you can easily reach and tend to the plants without any hindrances.
- Weight and Safety: Take into account the weight of the window box when it is filled with soil and plants. Ensure that the support brackets or hardware on your windowsill can handle the weight. Safety is paramount, so make sure the window box is securely fastened to prevent accidents or damage.
- Aesthetics: Think about the visual impact of the window box from both the inside and outside of your home. Choose a location where the window box will enhance the overall appearance of your home and provide an eye-catching display.
- Climatic Conditions: Consider the climatic conditions in your area. If you live in a region with extreme heat, strong winds, or heavy rainfall, you may need to select a more sheltered location or take additional measures to protect your plants.
By taking these factors into account, you can ensure that your window box is placed in the optimal location to provide the necessary sunlight, access, and safety for your plants to thrive. It will also create a beautiful and inviting display that brings joy to both you and passersby.
Preparing the Window Box for Planting
Before you start planting in your window box, it’s important to properly prepare the container to create a healthy growing environment for your plants. Follow these steps to get your window box ready:
- Clean the Window Box: If you’re reusing a window box from a previous season, clean it thoroughly to remove any debris or remnants of old plants. Use a mixture of mild soap and water to scrub the box, and rinse it well. Allow it to dry completely before proceeding.
- Add Drainage Material: To ensure proper drainage and prevent waterlogged roots, add a layer of drainage material to the bottom of the window box. This can be in the form of gravel, small rocks, or broken pottery pieces. This layer will help water flow freely through the soil.
- Line the Window Box (Optional): To help retain moisture and protect the wood or metal of the window box, you can line the inside with a sheet of plastic or a commercial window box liner. This is especially beneficial if you’re using a wooden box, as it prevents water damage.
- Fill with Quality Soil: Use a high-quality potting soil that is well-draining and nutrient-rich. Fill the window box with the soil, leaving space at the top for planting the actual plants. Avoid using garden soil, as it can be too heavy and compact for container gardening.
- Soil Amendments (Optional): Depending on the plants you’ll be growing, you may want to mix in some organic matter, such as compost or peat moss, to improve the soil’s fertility and moisture-retention capabilities.
- Level the Soil: Gently press down on the soil to level it in the window box. Ensure that the soil is evenly distributed and not compacted too tightly.
By following these preparation steps, you’ll create an optimal growing environment in your window box, providing your plants with the moisture, nutrients, and drainage they need to thrive. Now that your window box is ready, it’s time to start selecting the plants that will bring your display to life!
Selecting Plants for Your Window Box
The selection of plants for your window box will greatly contribute to the overall aesthetic appeal and success of your display. Consider the following factors when choosing plants:
- Sun Exposure: Determine the amount of sunlight your window box receives throughout the day. This will help you select plants that thrive in either full sun, partial shade, or full shade.
- Size and Growth Habit: Take into account the mature size and growth habit of each plant. Choose plants that will not outgrow the space and overpower the window box, creating an unbalanced appearance. Also, consider the cascading, upright, or bushy nature of the plants to create a visually appealing arrangement.
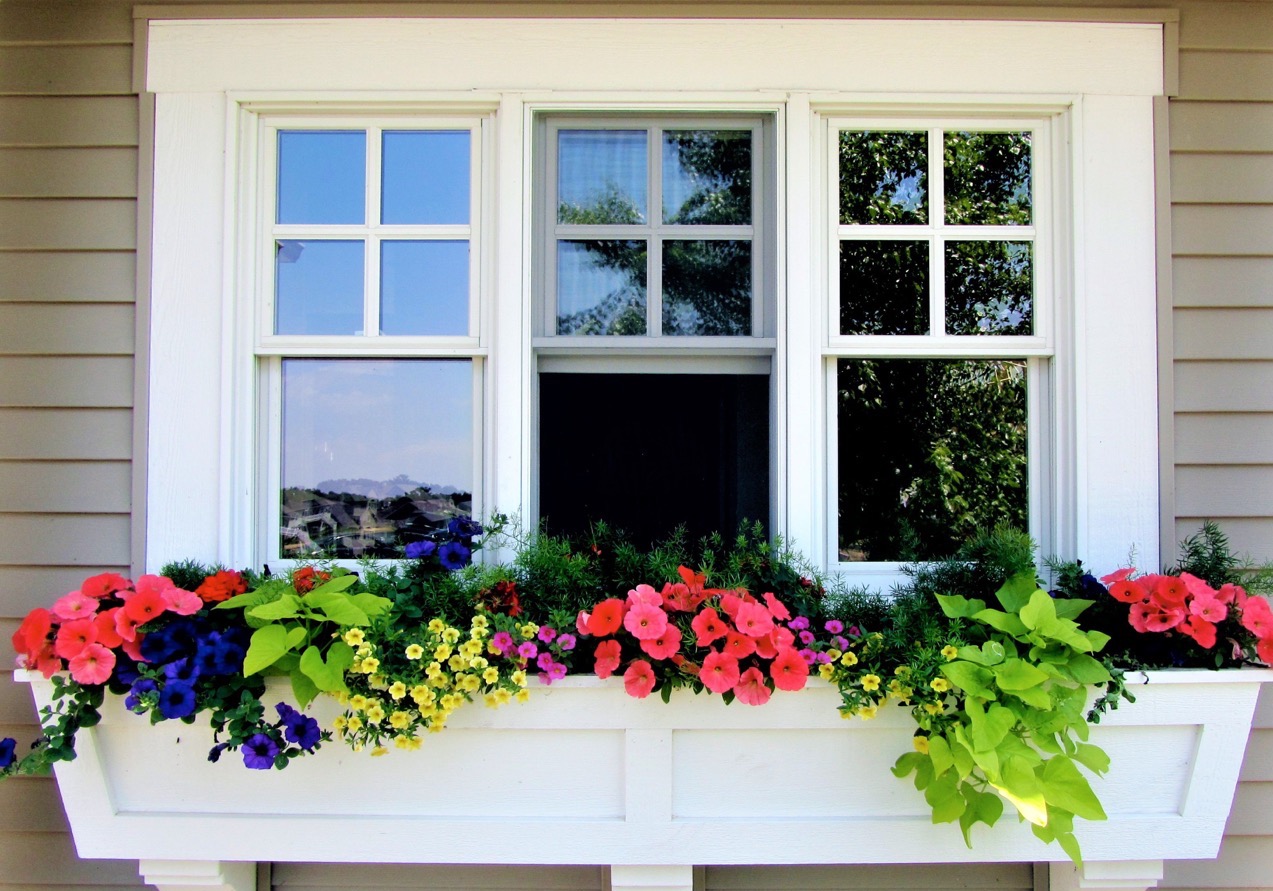
- Color Scheme: Decide on a color scheme for your window box. You can opt for a monochromatic look, using different shades of one color, or create a vibrant mix of contrasting colors. Consider the colors of your home’s exterior and the surrounding environment when making your choice.
- Complementary Plant Combinations: Think about how different plants will complement each other in terms of height, texture, and foliage. Choose a mix of plants that will create a harmonious and eye-catching composition.
- Seasonal Varieties: If you want your window box to be a year-round display, select plants that bloom or provide color in different seasons. Incorporate varieties that thrive in spring, summer, fall, and even winter if your climate allows.
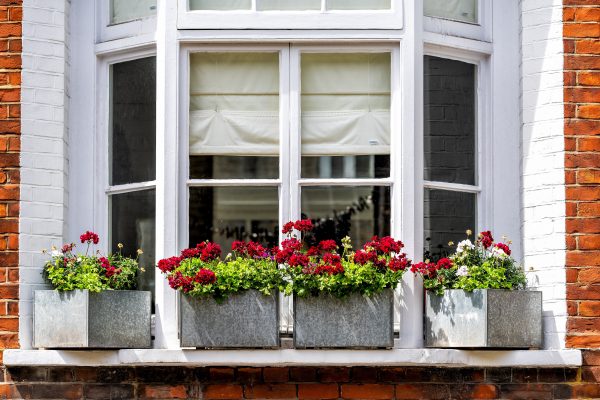
- Thriller, Filler, Spiller Technique: To create a visually appealing arrangement, consider using the “thriller, filler, spiller” technique. Choose one or two taller “thriller” plants as the centerpiece, surround them with “filler” plants of medium height, and finish off the edges with trailing “spiller” plants.
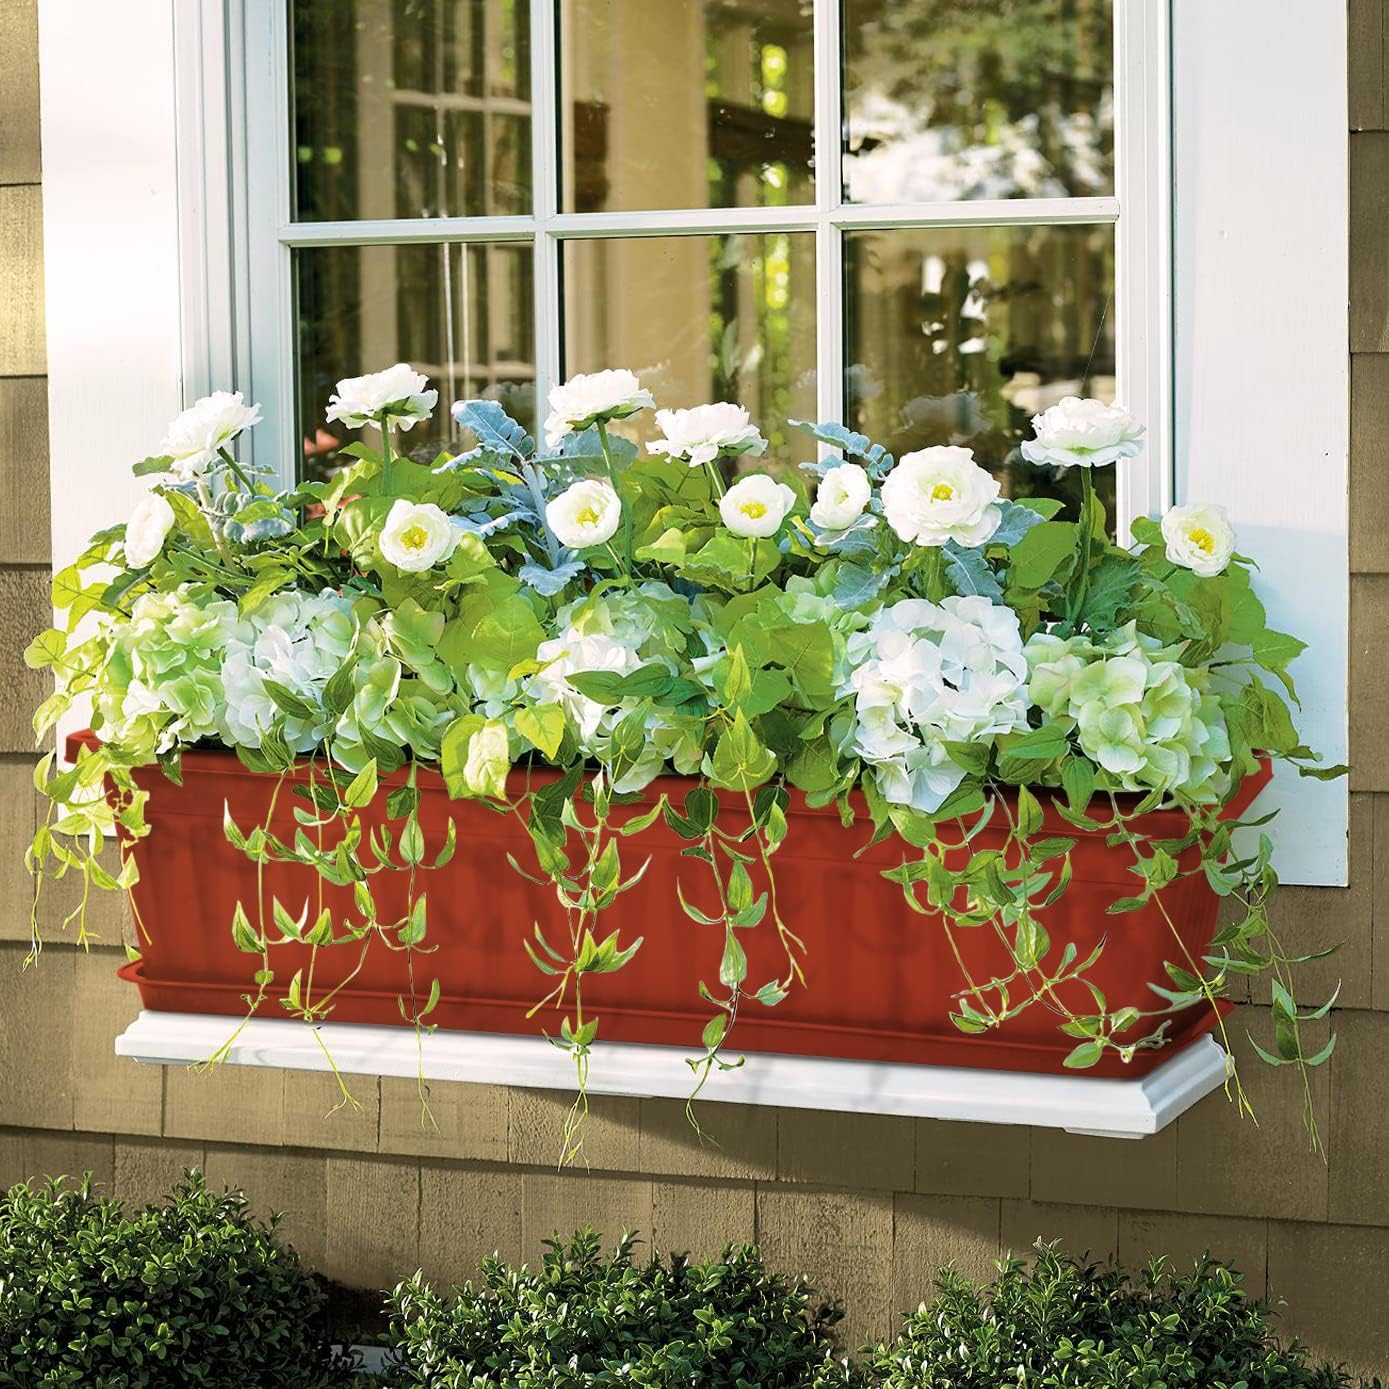
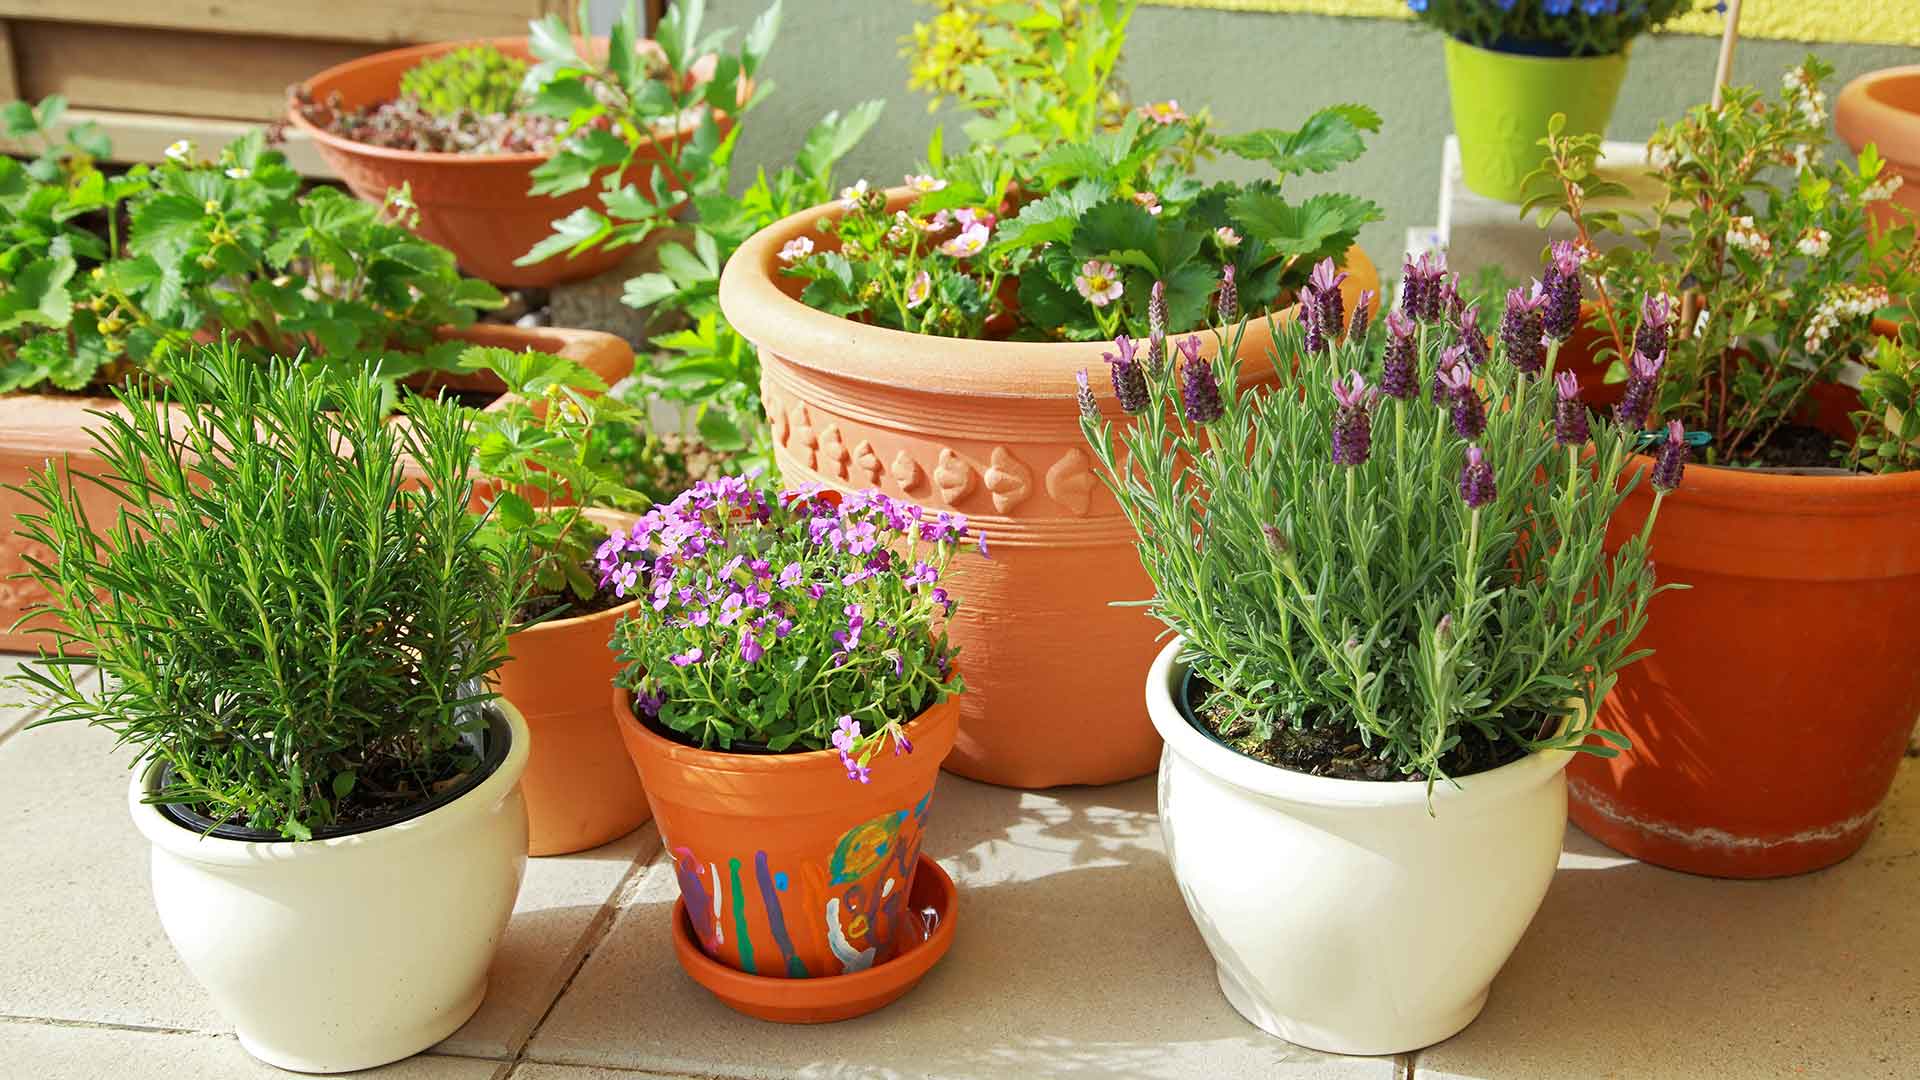
Popular plant choices for window boxes include petunias, geraniums, marigolds, snapdragons, lobelia, ivy, vinca, and various herbs. However, the selection is vast, and you can get creative with your choices to suit your personal preferences and style.
Remember to also consider the specific growing requirements of the chosen plants in terms of water needs, soil type, and fertilization. By carefully selecting and combining plants, you can create a stunning window box display that will be the envy of your neighborhood.
When planting in window boxes, be sure to choose plants that are suitable for the amount of sunlight the window receives. Also, use a high-quality potting mix and water regularly to keep the plants healthy and thriving.
Read more: What To Plant In Planter Boxes
Planting Techniques for Window Boxes
Now that you’ve selected the perfect plants for your window box, it’s time to put your green thumb to work and start planting. Follow these planting techniques to ensure success:
- Prepare the Plants: Gently remove the plants from their nursery containers, being careful not to damage the roots. If the roots appear tightly wound, gently loosen them to encourage healthy growth.
- Arrange the Plants: Before placing the plants in the window box, arrange them on the soil surface to determine their ideal placement and spacing. This will help you achieve a balanced and visually pleasing arrangement.
- Dig Planting Holes: Make planting holes in the soil that are slightly larger than the root ball of each plant. Space the holes according to the recommended spacing for the selected plants.
- Plant the Plants: Carefully place each plant into its respective hole and gently press the soil around the roots, ensuring they are covered but not buried too deeply. The top of the root ball should be level with the soil surface.
- Firm the Soil: Gently firm the soil around each plant to provide stability and eliminate air pockets. Avoid compacting the soil too tightly, as it can hinder water drainage and root growth.
- Water Thoroughly: After planting, give your window box a good watering to settle the soil and hydrate the plants. Be sure to water until the excess drainage is visible through the drainage holes.
- Mulch (Optional): Consider adding a thin layer of organic mulch, such as wood chips or straw, to help conserve moisture, suppress weeds, and regulate soil temperature.
Once the plants are in place and properly watered, step back and admire your handiwork. Your window box is now filled with beautiful plants, ready to grow and thrive.
It’s important to note that regular watering is essential for the health of plants in window boxes, as containers tend to dry out more quickly than traditional garden beds. Regularly monitor the moisture levels and water accordingly, ensuring that the soil remains evenly moist without becoming waterlogged.
Now, with your window box planted, it’s time to move on to the next step—watering and fertilizing.
Watering and Fertilizing Your Window Box
Proper watering and fertilization are key to maintaining healthy and vibrant plants in your window box. Here are some guidelines to help you keep your plants well-nourished:
- Watering: Water your window box regularly, making sure to keep the soil evenly moist. The frequency of watering will depend on factors such as the plant’s water requirements, weather conditions, and the size of your window box. Check the moisture level by sticking your finger about an inch into the soil. If it feels dry, it’s time to water. Avoid overwatering as it can lead to root rot. Ensure that water reaches all parts of the container, including the lower layers of soil.
- Watering Techniques: To water your window box effectively, use a watering can with a narrow spout or a gentle handheld hose attachment to direct water near the base of the plants. This helps minimize soil erosion and reduces the risk of damaging the delicate foliage. Avoid wetting the leaves excessively, as it can promote fungal diseases.
- Fertilizing: Regularly feed your plants with a balanced, water-soluble fertilizer to provide them with essential nutrients. Choose a fertilizer specifically formulated for container plants and follow the manufacturer’s instructions for application rates. For most flowering plants, a general-purpose fertilizer with a ratio like 10-10-10 or 14-14-14 is suitable. Apply the fertilizer every two to four weeks during the growing season.
- Fertilizing Techniques: When applying fertilizer, ensure that the soil is moist beforehand. Dissolve the fertilizer in water according to the package instructions and apply it directly to the soil around the plants’ root zones. Avoid getting fertilizer on the leaves or stems, as it can cause burning. Water the window box thoroughly after applying the fertilizer to help distribute it evenly throughout the soil.
- Monitor Nutrient Deficiencies: Keep an eye out for any signs of nutrient deficiencies in your plants, such as yellowing leaves, stunted growth, or poor flowering. Adjust your fertilization routine accordingly and consider using a specialized fertilizer if specific deficiencies are detected.
Remember, each plant may have specific water and nutrient requirements, so it’s essential to research the needs of the plants in your window box and adjust your watering and fertilization routine accordingly.
By providing proper moisture and nutrition, you will help your plants thrive and promote long-lasting blooms and foliage in your window box display.
Now that you’ve covered the essential aspects of watering and fertilizing, let’s move on to the maintenance of your window box.
Maintaining Your Window Box
Maintaining your window box is essential for the health and longevity of your plants. By following these maintenance practices, you can ensure a beautiful and thriving display throughout the season:
- Deadheading: Regularly remove faded or spent flowers from your plants. This process, known as deadheading, encourages new blooms and promotes continuous flowering. Pinch or snip off the withered blooms just above a leaf node or a set of healthy leaves.
- Pruning and Trimming: Keep an eye on the growth of your plants and prune them as needed. Remove any dead, damaged, or overcrowded foliage to maintain a neat and tidy appearance. Trim back any excessively long or unruly stems to encourage bushier growth.
- Weeding: Regularly inspect your window box for any weeds and promptly remove them. Weeds compete with your plants for nutrients and water, so keeping them at bay will help your plants thrive.
- Monitor Pests and Diseases: Check your plants regularly for any signs of pests, such as aphids, spider mites, or snails. If detected, take appropriate measures to control the infestation, such as using organic pest control methods or insecticidal soaps. Additionally, keep an eye out for any signs of plant diseases like powdery mildew or leaf spot, and promptly address them with appropriate treatments.
- Support and Training: Some plants in your window box may require support or training to maintain an upright form. Use stakes, trellises, or plant ties to support tall or vining plants and prevent them from flopping over or becoming tangled.
- Regular Inspection: Take a few moments each week to inspect your window box for any plant health issues or maintenance needs. Early detection and intervention can help address problems before they escalate.
- Seasonal Refresh: As the seasons change, you may need to refresh your window box’s display. Remove any tired or non-performing plants and replace them with new seasonal varieties for a fresh and vibrant look.
Maintaining your window box not only ensures the health of your plants but also allows you to enjoy a visually pleasing display throughout the season. By dedicating a little time and effort to maintenance tasks, you can ensure that your window box remains a focal point of beauty and charm.
Now that you’re equipped with the knowledge to maintain your window box, let’s address some common issues and troubleshooting tips.
Common Issues and Troubleshooting
While planting and maintaining a window box can be a rewarding experience, it’s not uncommon to encounter a few challenges along the way. Here are some common issues you may face and troubleshooting tips to help you overcome them:
- Wilting Plants: Wilting plants can be a sign of underwatering or overwatering. Check the moisture level of the soil and adjust your watering routine accordingly. Ensure that the window box has proper drainage to prevent waterlogging.
- Poor Drainage: If you notice that the soil in your window box is not draining properly, it may be due to compacted soil or clogged drainage holes. Loosen the soil gently to improve its structure and check for any obstructions in the drainage holes.
- Yellowing Leaves: Yellowing leaves can be a sign of nutrient deficiencies, overwatering, or poor drainage. Adjust your fertilization routine, ensure proper watering, and address any drainage issues to resolve this problem.
- Insect Infestations: If you notice pests like aphids, spider mites, or snails, consider using organic pest control methods or insecticidal soaps. Regularly inspect your plants and take prompt action to prevent the infestation from spreading.
- Disease Outbreaks: Common plant diseases like powdery mildew or leaf spot can affect your window box plants. Remove infected plant parts, provide proper air circulation, and, if necessary, use appropriate treatments like fungicides to manage the disease.
- Plants Outgrowing the Window Box: If your plants are outgrowing the window box, consider transplanting them into larger containers or pruning them to manage their growth. Alternatively, you can replace them with smaller or more compact varieties that better suit the available space.
- Root Bound Plants: Over time, plants can become root bound in their containers, leading to stunted growth. If you observe roots coiling around the root ball, gently loosen them or consider repotting the plants into larger containers to allow for better root development.
Remember, each challenge can be an opportunity to learn and improve your gardening skills. With proper attention and timely intervention, you can overcome these common issues and ensure the success of your window box display.
Now that you’re equipped with troubleshooting tips, it’s time to wrap up this guide to planting in window boxes.
Read more: How To Hang Window Boxes On Vinyl Siding
Conclusion
Congratulations! You have reached the end of this guide on planting in window boxes. With the knowledge and techniques provided, you are well-prepared to create a stunning and flourishing display right outside your window.
From choosing the right window box and selecting suitable plants to properly preparing the container and maintaining the plants, each step plays a vital role in cultivating a beautiful window box garden. Remember to consider factors like sun exposure, aesthetic appeal, and the specific needs of your chosen plants.
Regular watering, fertilizing, pruning, and maintaining proper drainage are crucial for the health and longevity of your plants. Pay close attention to your window box throughout the season, troubleshooting any issues that may arise to ensure your plants thrive.
As you embark on this gardening journey, don’t forget to enjoy the process. Gardening in window boxes allows you to connect with nature, add a touch of beauty to your home, and create a welcoming atmosphere for yourself and others to enjoy.
So, gather your tools, choose your plants, and get started on your window box adventure. With love and care, your window box will become a vibrant and alluring display that brings joy and delight to both you and those who pass by.
Happy planting!
Frequently Asked Questions about How To Plant In Window Boxes
Was this page helpful?
At Storables.com, we guarantee accurate and reliable information. Our content, validated by Expert Board Contributors, is crafted following stringent Editorial Policies. We're committed to providing you with well-researched, expert-backed insights for all your informational needs.


0 thoughts on “How To Plant In Window Boxes”