Articles
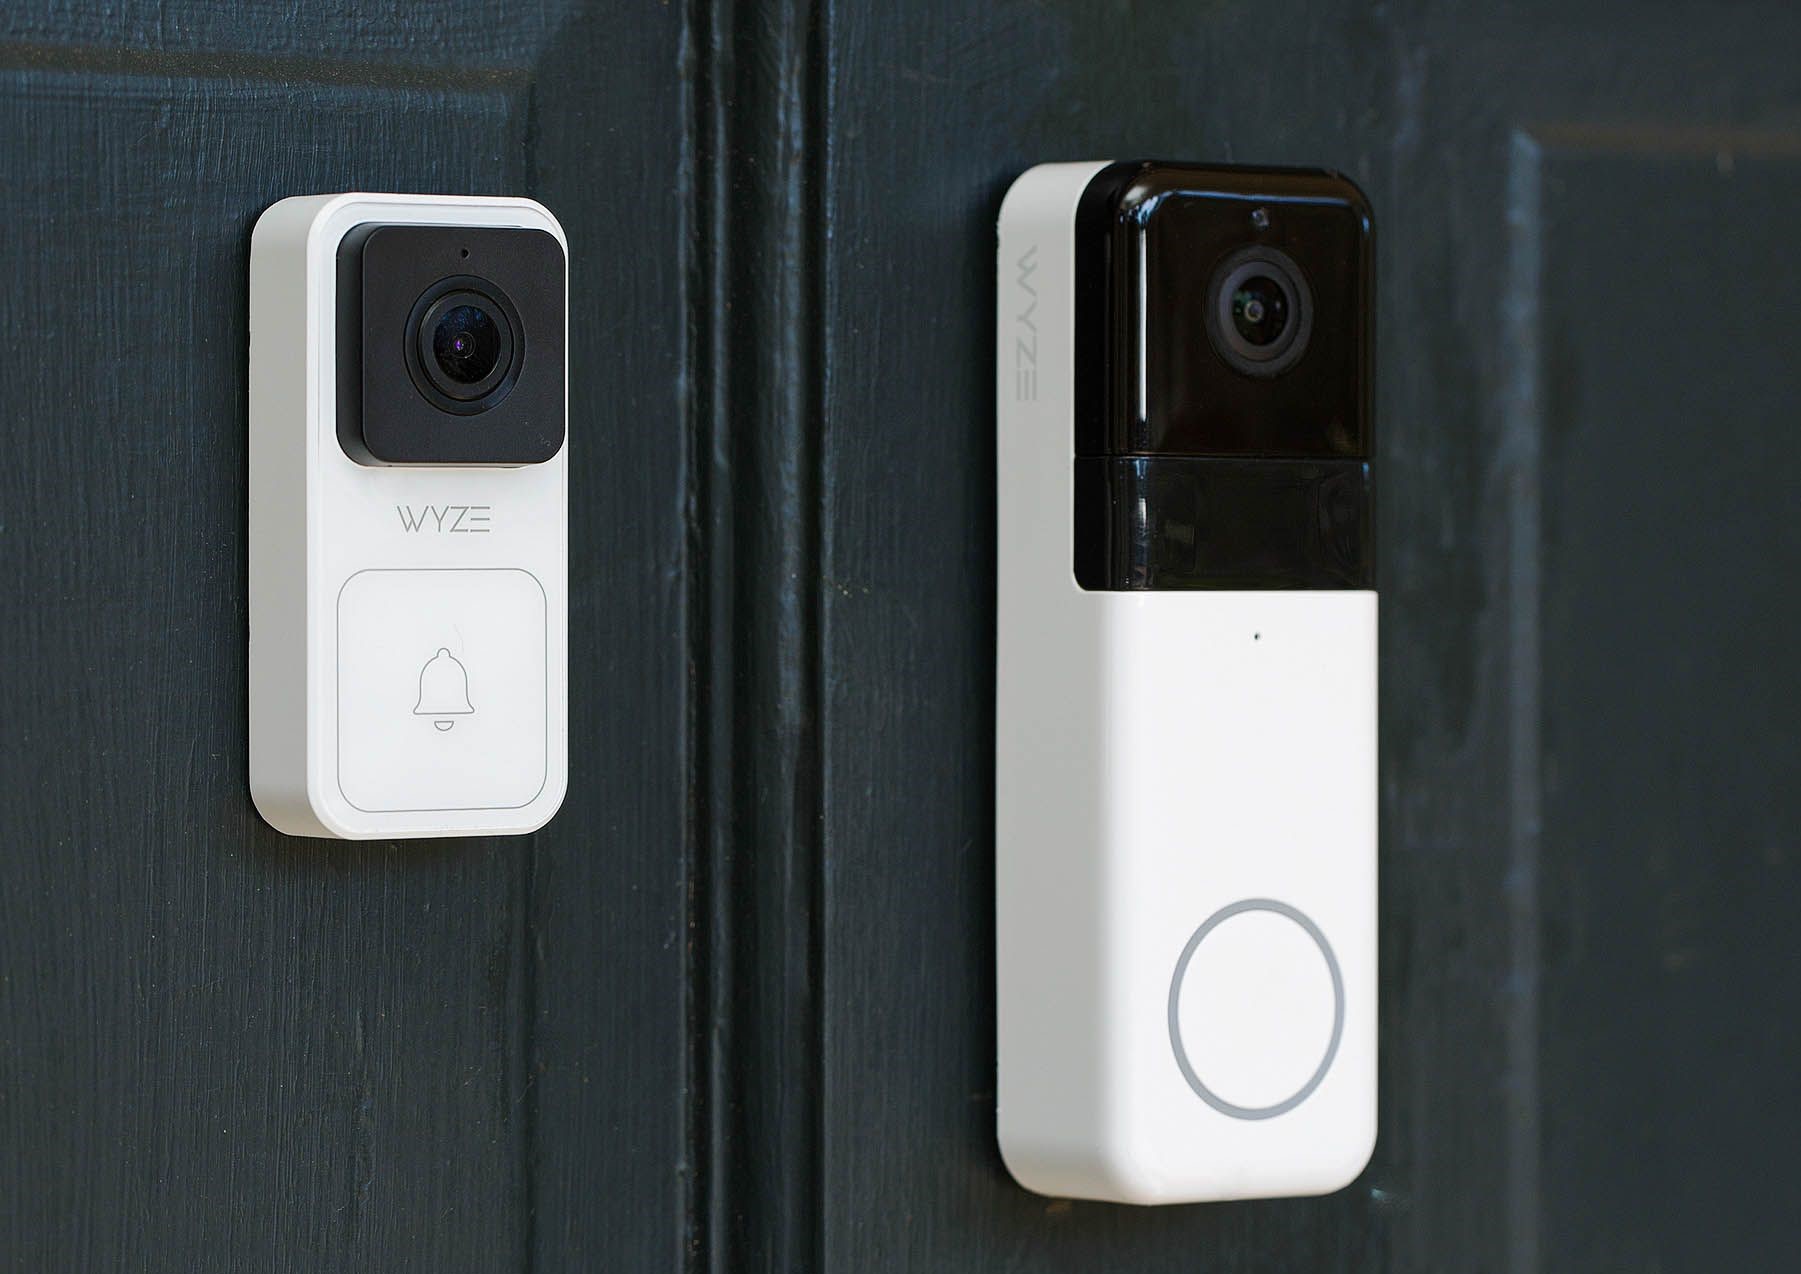
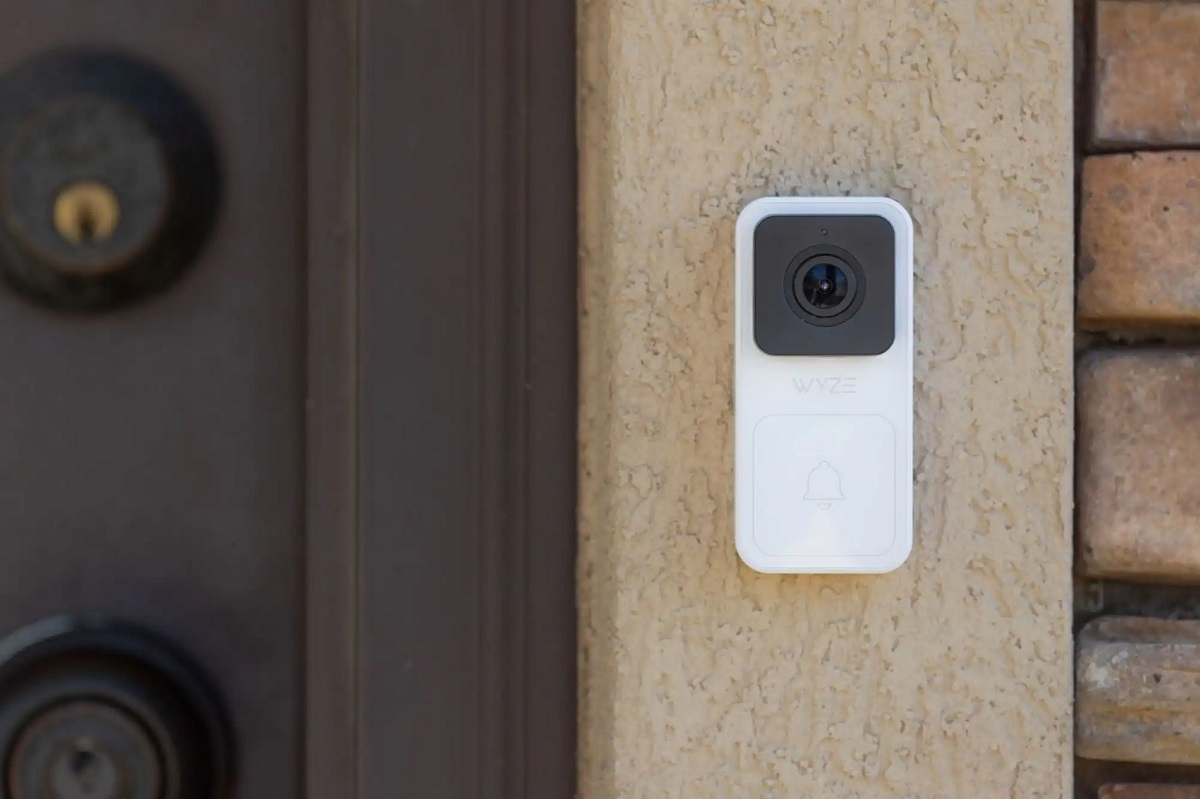
How To Install Wyze Doorbell Pro
Modified: May 6, 2024
Learn how to install the Wyze Doorbell Pro with our informative articles. Step-by-step instructions and helpful tips to ensure a smooth installation process.
(Many of the links in this article redirect to a specific reviewed product. Your purchase of these products through affiliate links helps to generate commission for Storables.com, at no extra cost. Learn more)
Introduction
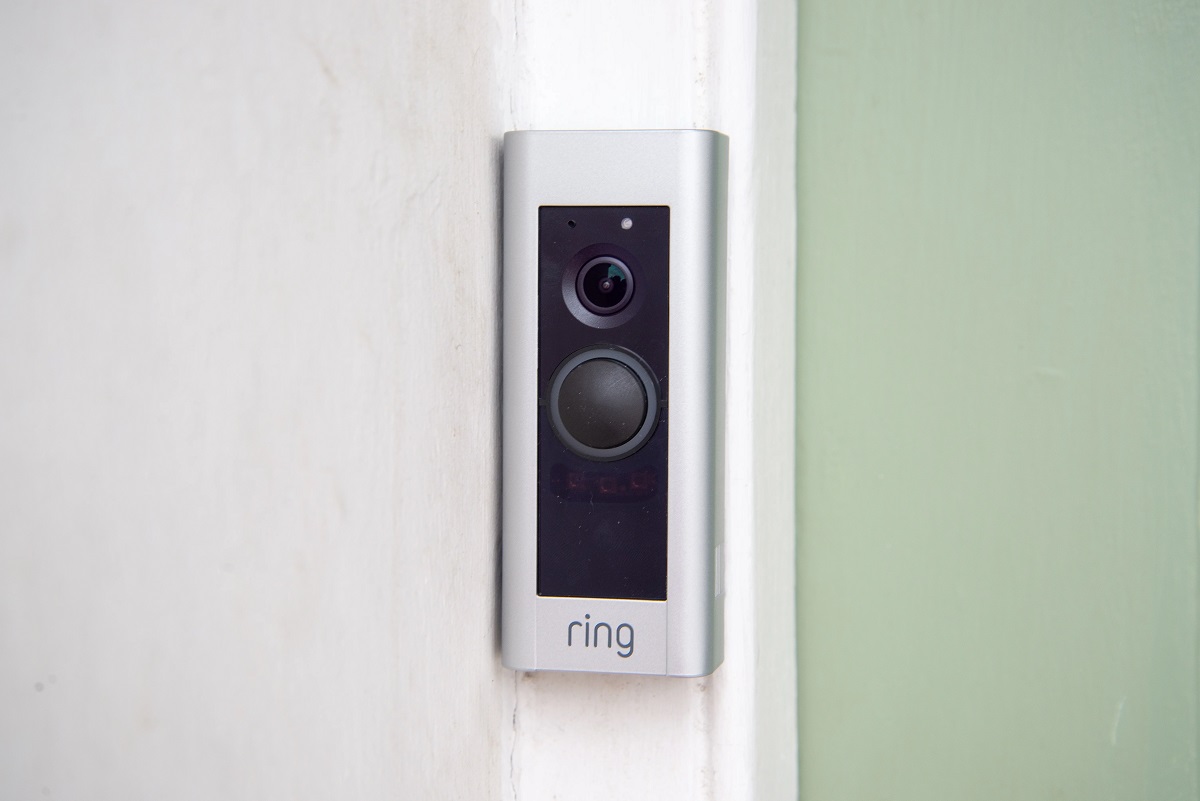
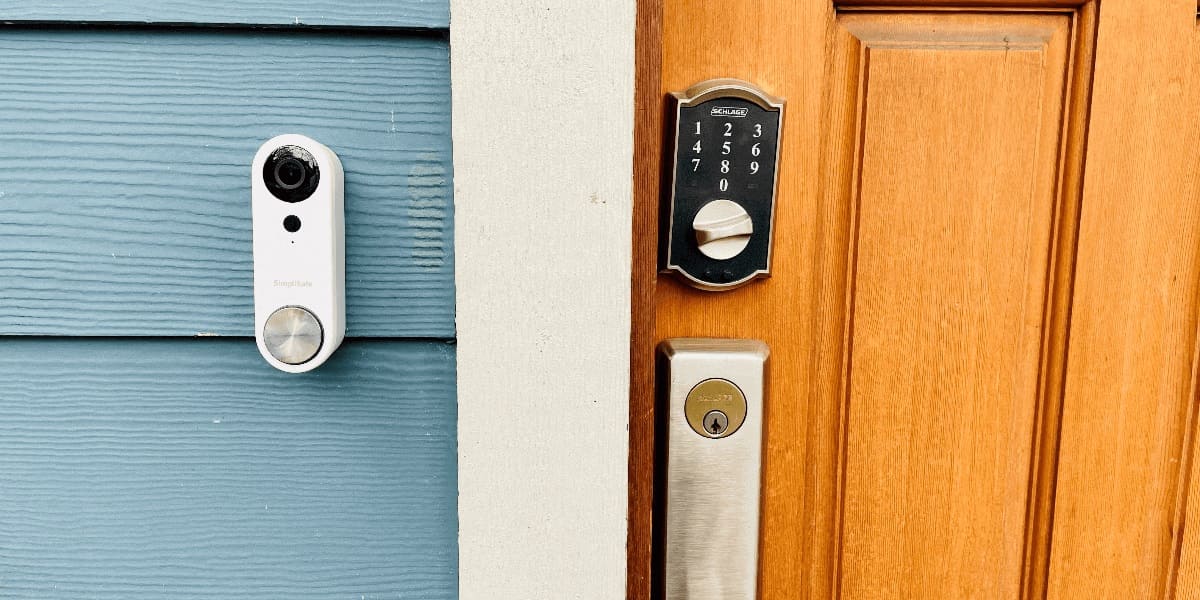
Welcome to the world of smart home security! With the advancement of technology, installing a video doorbell has become a popular way to enhance the security and convenience of our homes. Today, we will guide you through the process of installing the Wyze Doorbell Pro, a smart doorbell that offers high-definition video, two-way audio, and motion detection.
The Wyze Doorbell Pro is a sleek and versatile device that allows you to monitor your front door from anywhere using your smartphone. Whether you’re at work, running errands, or even on vacation, you can keep an eye on who’s at your door and communicate with them in real-time.
In this step-by-step guide, we will walk you through the entire installation process of the Wyze Doorbell Pro. By following these instructions carefully, you’ll have your new video doorbell up and running in no time.
Before we dive into the installation process, it’s important to gather all the necessary equipment. Here’s what you’ll need:
- Wyze Doorbell Pro
- Power drill
- Mounting screws and anchors
- Wiring kit
- Chime kit (if required)
- Smartphone with the Wyze app installed
Once you have everything ready, we can move on to step 1: powering off your existing doorbell. Let’s get started!
Key Takeaways:
- Enhance your home security and convenience by installing the Wyze Doorbell Pro, offering high-definition video, two-way audio, and motion detection. Stay connected to your front door from anywhere using your smartphone.
- Ensure a smooth and efficient installation by gathering all necessary equipment, powering off the existing doorbell, and following the step-by-step guide. Customize settings, test functionality, and enjoy the benefits of smart home security.
Read more: How To Install Wyze Doorbell
Step 1: Gather the necessary equipment
Before you begin the installation process, it’s important to gather all the necessary equipment. Having everything ready will ensure a smooth and efficient installation. Here’s what you’ll need:
- Wyze Doorbell Pro: This is the main component of the installation. Make sure you have the doorbell itself, along with any accompanying accessories, such as the mounting bracket.
- Power drill: You’ll need a power drill to create holes for the mounting screws. Make sure it’s fully charged and equipped with the appropriate drill bits.
- Mounting screws and anchors: These are essential for securely attaching the Wyze Doorbell Pro to your doorframe or wall. Refer to the user manual or packaging to determine the specific size and type of screws and anchors required.
- Wiring kit: The Wyze Doorbell Pro requires a stable power supply. Ensure you have a wiring kit that includes the necessary cables, connectors, and terminals needed to connect the doorbell to your existing wiring or transformer.
- Chime kit (if required): Some homes have an existing chime system that alerts you when someone presses the doorbell. If your home has a chime system in place, you may need a chime kit to integrate it with the Wyze Doorbell Pro. Check the doorbell’s compatibility with your chime system and determine if a chime kit is necessary.
- Smartphone with Wyze app installed: To connect and control your Wyze Doorbell Pro, you’ll need a smartphone or tablet with the Wyze app installed. Ensure your device is compatible with the app and that you have a stable internet connection.
Take a few minutes to gather these items and ensure everything is in working order. Having everything prepared will save you time and frustration during the installation process.
Once you have all the necessary equipment, you’re ready to move on to the next step: powering off your existing doorbell. Let’s get started!
Step 2: Power off your existing doorbell
Before you begin any work on your doorbell, it’s crucial to ensure your safety by disconnecting the power source. Here’s how you can power off your existing doorbell:
- Locate the circuit breaker: The circuit breaker panel is usually located in the basement, garage, or utility room. Open the panel to access the breaker switches.
- Identify the correct breaker: Look for the breaker labeled “Doorbell” or “Front Door.” If you’re unsure which breaker controls the doorbell, you can temporarily switch off the main breaker to cut power to the entire house.
- Switch off the breaker: Flip the switch associated with the doorbell to the “Off” position. This will cut off the power supply to the doorbell, ensuring your safety during the installation process.
- Test the doorbell: Press the doorbell button to make sure there is no power running to it. If the doorbell does not ring or make any sound, you have successfully powered it off.
It’s important to note that the location and setup of circuit breakers may vary depending on your home’s electrical system. If you’re unsure about the location of the breaker or how to power off the doorbell, consult a qualified electrician to assist you.
Once the power is cut off, you can safely proceed to the next step: removing the old doorbell. Make sure to follow all safety precautions and handle the wiring with care. Let’s move on!
Step 3: Remove the old doorbell
Now that you’ve powered off your existing doorbell, it’s time to remove it from the wall or doorframe. Follow these steps to safely remove the old doorbell:
- Inspect the doorbell: Take a close look at the doorbell and surrounding area. Look for any screws or mounting brackets that are holding the doorbell in place.
- Remove the screws: Using a screwdriver or power drill, carefully remove any screws that are securing the doorbell to the wall or doorframe. Make sure to keep track of the screws as you will need them later for the installation of the Wyze Doorbell Pro.
- Gently pull the doorbell away from the wall: Once the screws are removed, gently pull the doorbell away from the wall or doorframe. The doorbell should come off easily, revealing the wiring behind it.
- Disconnect the wiring: Locate the wires connected to the back of the doorbell. There will typically be two wires, one for power and one for the doorbell button. Carefully disconnect these wires from the terminals on the back of the doorbell. Take note of which wire is connected to which terminal.
- Secure the wiring: To avoid any accidents or electrical issues, it’s important to secure the loose wiring to prevent it from coming into contact with any live electrical components. You can use electrical tape or wire connectors to secure the wires and keep them away from each other.
- Remove any remaining mounting brackets or adhesive: Check for any remaining mounting brackets or adhesive residue on the wall or doorframe. If necessary, use a screwdriver or adhesive removal solution to clean up the area and prepare it for the installation of the new Wyze Doorbell Pro.
With the old doorbell removed and the wiring secured, you’re now ready for the next step: preparing the wiring for the Wyze Doorbell Pro. Follow the remaining steps in this guide to install your new video doorbell and enjoy its advanced features.
Step 4: Prepare the wiring for the Wyze Doorbell Pro
Now that you have removed the old doorbell, it’s time to prepare the wiring for the installation of the Wyze Doorbell Pro. Follow these steps to ensure a smooth and secure connection:
- Inspect the wiring: Take a close look at the wiring that was previously connected to your old doorbell. Check for any signs of damage, frayed wires, or loose connections. If you notice any issues, it’s important to address them before proceeding.
- Strip the wire insulation (if necessary): Depending on the condition of the wiring, you may need to strip the insulation from the ends to expose a fresh portion of the wire. Use wire strippers or a sharp utility knife to carefully remove about 1/4 inch of insulation from the ends of the wires.
- Check the voltage: Use a multimeter or voltage tester to check the voltage of the wires. The Wyze Doorbell Pro requires a stable voltage between 16V and 24V. If the voltage is too low or too high, you may need to replace or upgrade your transformer to ensure proper functionality.
- Label the wires: To avoid confusion during the installation process, it’s helpful to label the wires according to their function. Use small labels or colored electrical tape to mark which wire is for power (usually labeled “TRANS” or “R”) and which wire is for the doorbell button (usually labeled “FRONT” or “D”).
- Straighten and organize the wires: Straighten out any bent or twisted wires and organize them neatly. This will make it easier to connect the wires to the terminals on the Wyze Doorbell Pro.
- Ensure a secure and reliable connection: If the wires are loose or the connections are not secure, use wire connectors or electrical tape to ensure a secure and reliable connection. Loose or faulty connections can lead to intermittent power supply or failure, so it’s important to take this step seriously.
By preparing the wiring properly, you’re setting the foundation for a successful installation of the Wyze Doorbell Pro. Now that the wiring is ready, you can move on to the next step: installing the mounting bracket. Let’s continue!
Read more: How To Reboot Wyze Doorbell
Step 5: Install the Wyze Doorbell Pro mounting bracket
Now that the wiring is prepared, it’s time to install the mounting bracket for the Wyze Doorbell Pro. The mounting bracket provides a secure base for the doorbell and ensures proper positioning. Follow these steps to install the mounting bracket:
- Choose the mounting location: Decide where you want to install the Wyze Doorbell Pro. Ensure that it is at a height and angle that provides a clear view of the entrance and covers the desired area. The mounting location should also have easy access to the existing wiring.
- Hold the mounting bracket against the wall: Place the mounting bracket against the chosen location on the wall or doorframe. Align it with any existing holes or markings from the previous doorbell, if applicable. Make sure it is level and upright.
- Mark the screw holes: Use a pencil or marker to mark the locations of the screw holes on the wall or doorframe. These marks will serve as guide points for drilling pilot holes.
- Drill pilot holes: Use a power drill with an appropriate drill bit to drill pilot holes at the marked locations. Pilot holes will make it easier to screw in the mounting screws and prevent the wall or doorframe from splitting or cracking.
- Attach the mounting bracket: Line up the mounting bracket with the pilot holes and insert the mounting screws through the bracket and into the wall or doorframe. Use a screwdriver or power drill to securely fasten the screws, making sure the bracket is firmly attached.
- Double-check the level: Ensure that the mounting bracket is still level and upright. Adjust if necessary.
Once the mounting bracket is securely installed, it’s time to move on to the next step: connecting the wiring to the Wyze Doorbell Pro. Make sure to refer back to the user manual or manufacturer’s instructions for any specific details or considerations for your particular model of the Wyze Doorbell Pro.
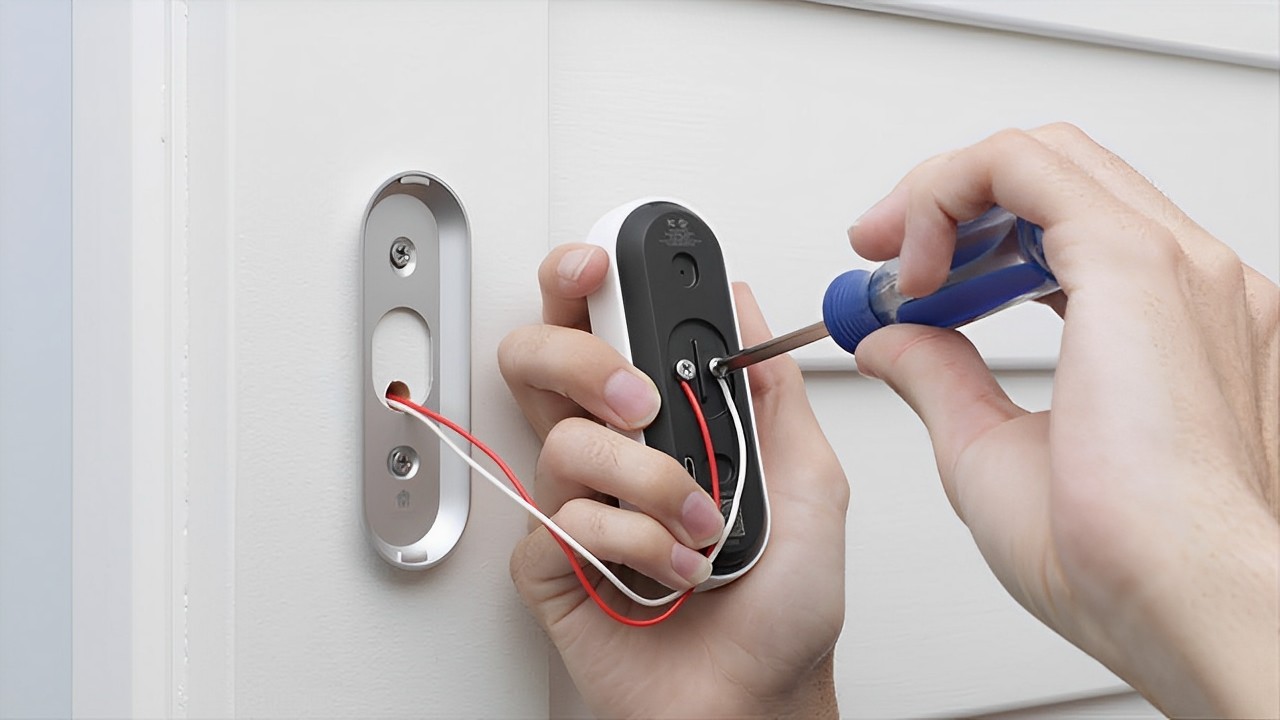
Step 6: Connect the wiring to the Wyze Doorbell Pro
With the mounting bracket in place, it’s time to connect the wiring to the Wyze Doorbell Pro. Follow these steps to ensure a secure and proper connection:
- Locate the wiring terminals: On the back of the Wyze Doorbell Pro, you will find the wiring terminals. These terminals are typically labeled to indicate which wire should be connected to each terminal. Refer to the user manual or manufacturer’s instructions for specific details on your model.
- Connect the power wire: Take the wire labeled for power (usually labeled “TRANS” or “R”) and connect it to the corresponding power terminal on the Wyze Doorbell Pro. Ensure the connection is secure by firmly tightening the terminal screw or using any included wiring connectors.
- Connect the doorbell button wire: Take the wire labeled for the doorbell button (usually labeled “FRONT” or “D”) and connect it to the corresponding doorbell button terminal on the Wyze Doorbell Pro. Again, make sure the connection is secure and tightly fastened.
- Verify the connections: Double-check the wiring connections to ensure they are correct and securely attached. Make sure there are no loose wires or exposed conductors that could cause a short circuit or electrical hazard.
- Tidy up the wiring: Once the wiring is connected, tidy up any excess wiring by carefully securing it to the wall or doorframe using wire clips or electrical tape. This will help prevent any accidental damage or interference with the doorbell’s operation.
- Inspect the connections: Give the wiring and terminal connections a final inspection to ensure they are properly seated and secure. This will help ensure a stable and reliable connection for the Wyze Doorbell Pro.
With the wiring successfully connected to the Wyze Doorbell Pro, you’re making progress towards a fully functional video doorbell. The next step will involve attaching the doorbell to the mounting bracket. Continue following the remaining steps in this guide to complete the installation process.
Before installing the Wyze Doorbell Pro, ensure that your existing doorbell wiring is compatible with the device. Check the voltage and wiring configuration to avoid any installation issues.
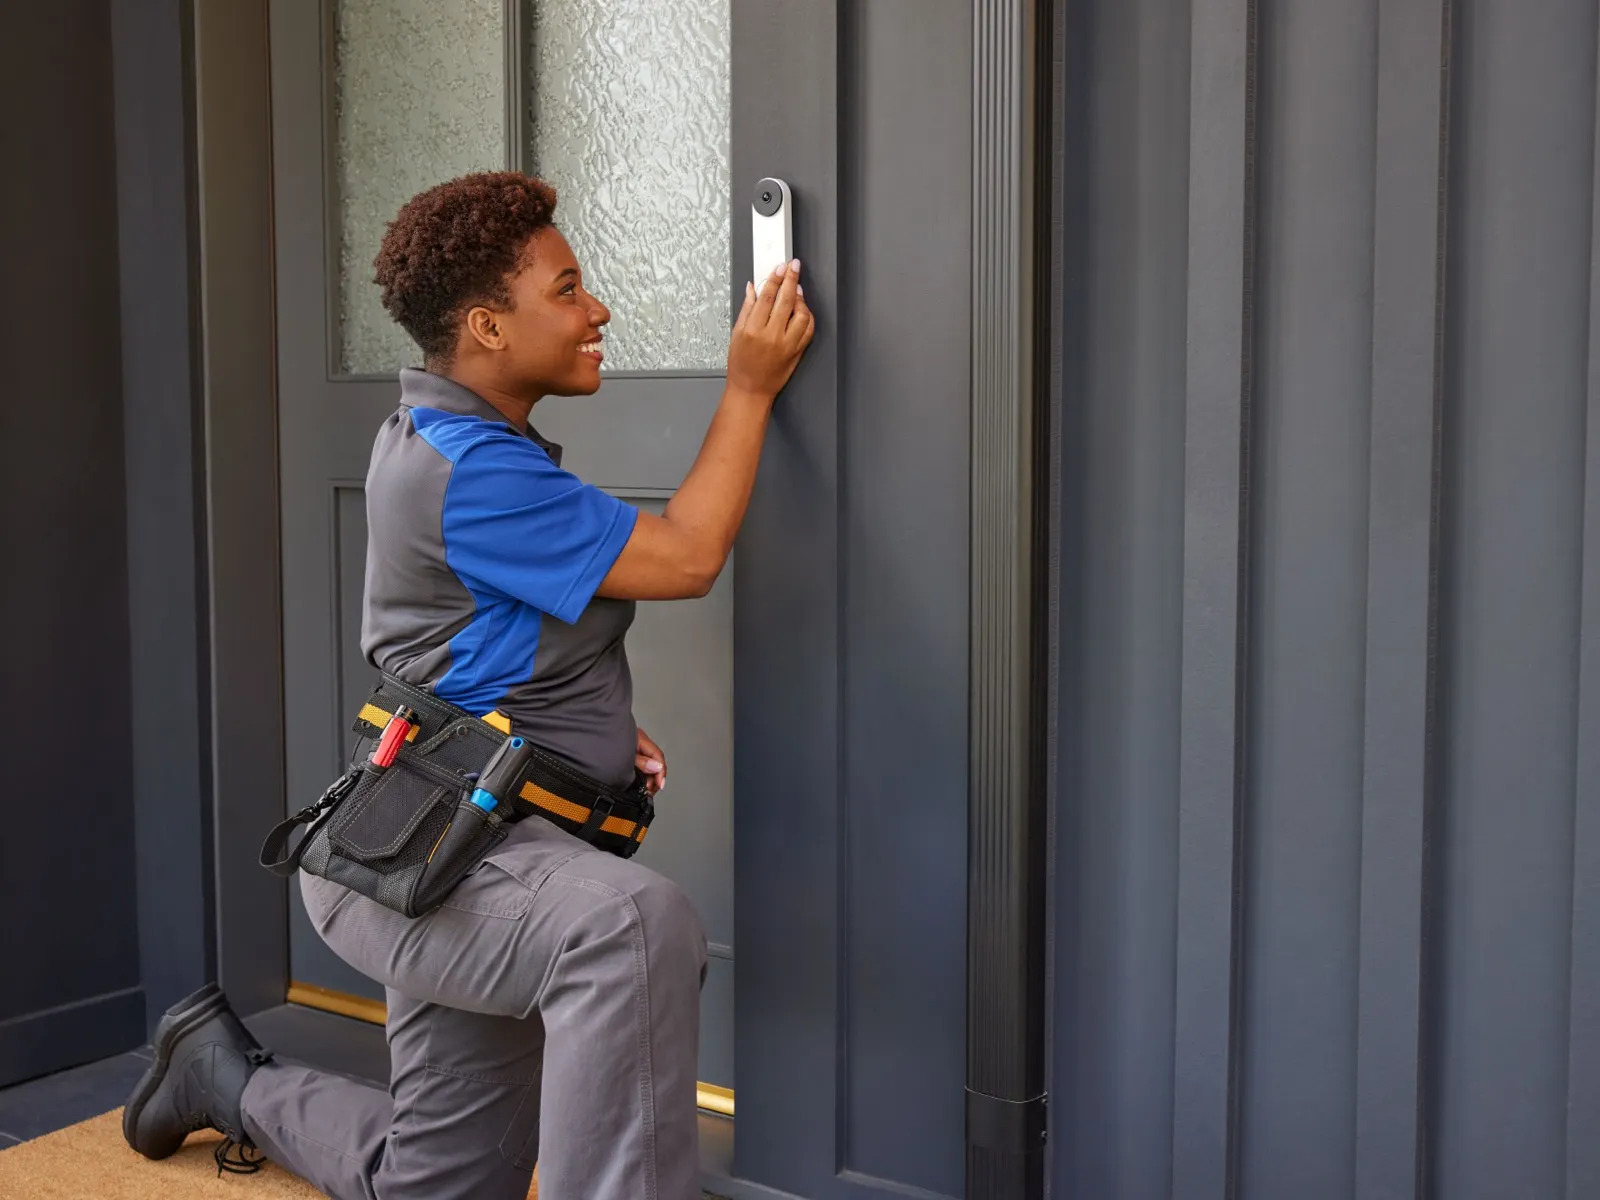
Step 7: Attach the doorbell to the mounting bracket
Now that the wiring is securely connected to the Wyze Doorbell Pro, it’s time to attach the doorbell to the mounting bracket. Follow these steps to ensure a proper and secure installation:
- Position the Wyze Doorbell Pro: Hold the Wyze Doorbell Pro in front of the mounting bracket, aligning it with the screw holes on the bracket. Make sure the doorbell is in the correct orientation, with the camera lens facing towards the front door.
- Insert the screws: Insert the provided screws through the holes on the Wyze Doorbell Pro and into the corresponding holes on the mounting bracket. Use a screwdriver or power drill to tighten the screws, securing the doorbell in place.
- Ensure proper alignment: Double-check the alignment of the Wyze Doorbell Pro with the mounting bracket. Make any necessary adjustments to ensure the doorbell is level and straight.
- Tighten the screws: Once you are satisfied with the alignment, tighten the screws fully to secure the doorbell in place. Be careful not to apply too much force, as this could damage the doorbell or the mounting bracket.
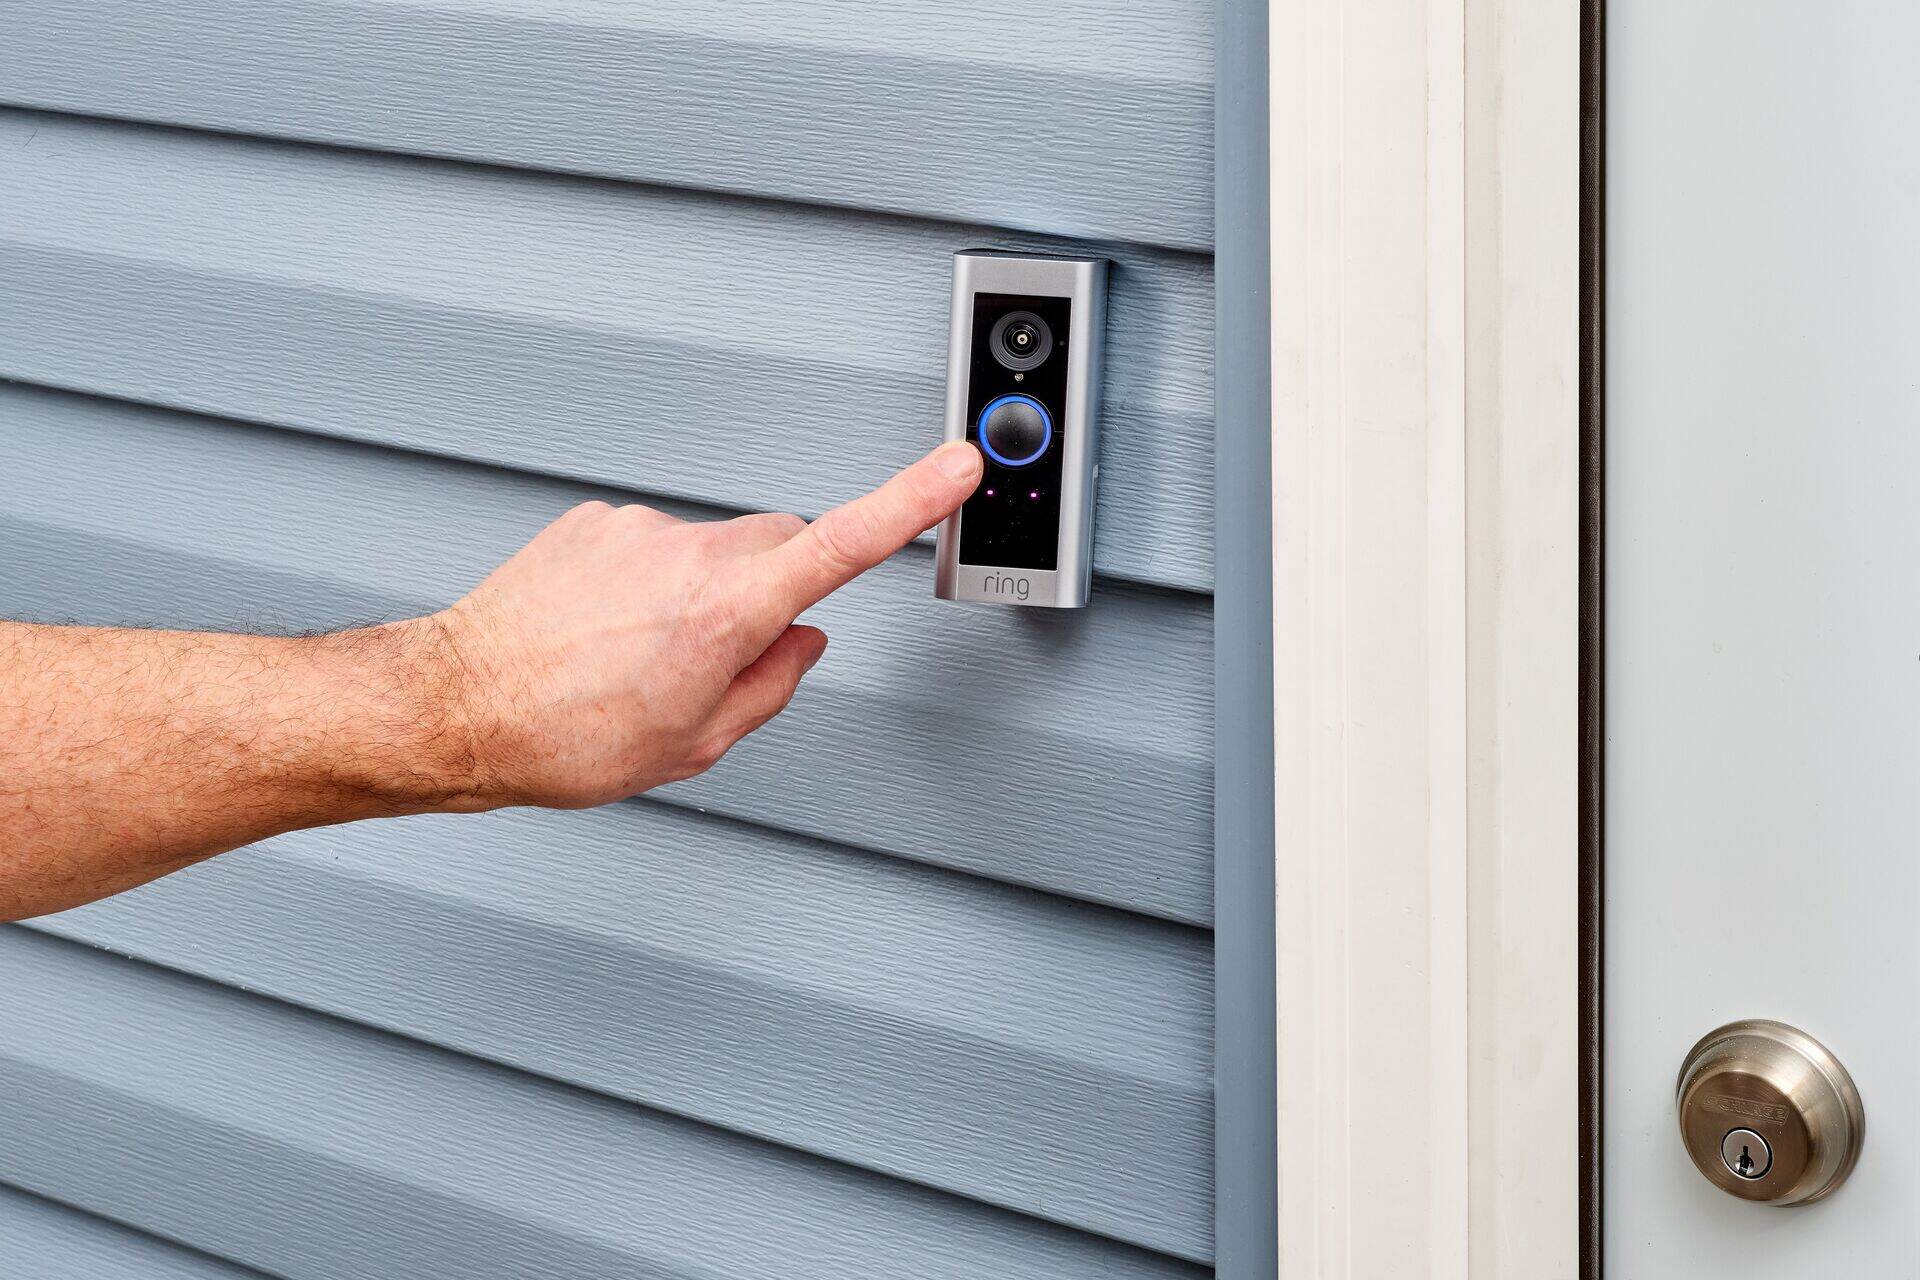
- Test the doorbell: Press the doorbell button to test the functionality of the Wyze Doorbell Pro. Check if the doorbell rings and if you can hear audio through the integrated speakers. This will ensure that the doorbell is properly installed and functioning as expected.
Once the Wyze Doorbell Pro is securely attached to the mounting bracket and tested for functionality, you’re ready to proceed to the next step: powering on the doorbell. Follow the remaining steps in this guide to complete the installation and configuration of your Wyze Doorbell Pro.
Step 8: Power on the Wyze Doorbell Pro
Now that the Wyze Doorbell Pro is securely attached to the mounting bracket, it’s time to power it on and ensure it’s receiving a stable power supply. Follow these steps to power on the doorbell:
- Switch on the circuit breaker: Go back to the circuit breaker panel where you previously switched off the power to the old doorbell. Locate the breaker associated with the doorbell and flip it back to the “On” position. This will restore power to the doorbell.
- Wait for the doorbell to power up: Give the Wyze Doorbell Pro a few moments to power up. You may notice LED lights blinking or the doorbell making a chime sound as it initializes.
- Check the status indicator: Look for the status indicator on the Wyze Doorbell Pro. It can be in the form of an LED light or a specific indicator on the Wyze app. A steady green or blue light typically indicates that the doorbell is receiving power and is in a ready state.
- Ensure a stable Wi-Fi connection: The Wyze Doorbell Pro relies on a stable Wi-Fi connection for its functionality. Make sure your smartphone or tablet is connected to a reliable Wi-Fi network. This will allow you to further configure and customize the doorbell using the Wyze app.
- Verify the doorbell’s functionality: With the power restored and a stable Wi-Fi connection, test the doorbell by pressing the doorbell button. The Wyze Doorbell Pro should ring, and you should receive a notification on your smartphone or tablet through the Wyze app. You should also be able to see a live video feed from the doorbell’s camera.
By successfully powering on the Wyze Doorbell Pro, you’re one step closer to enjoying its advanced features and enhanced home security. In the next step, we will guide you on how to connect the doorbell to your Wi-Fi network. Let’s continue with the installation and setup process.
Read more: How To Remove Wyze Doorbell
Step 9: Connect the doorbell to your Wi-Fi network
Once the Wyze Doorbell Pro is powered on, it’s time to connect it to your Wi-Fi network. This step is crucial for enabling remote access and control of the doorbell. Follow these steps to connect the doorbell to your Wi-Fi network:
- Open the Wyze app: Launch the Wyze app on your smartphone or tablet. If you don’t have the app installed, download it from the App Store or Google Play Store.
- Tap on the “+” icon: Look for the “+” icon or the “Add a Device” option within the Wyze app. Tap on it to initiate the device setup process.
- Select the Wyze Doorbell Pro: From the list of Wyze devices, select the Wyze Doorbell Pro as the device you want to connect. Make sure your smartphone or tablet is connected to the same Wi-Fi network you want to connect the doorbell to.
- Follow the on-screen instructions: The Wyze app will guide you through the necessary steps to connect the doorbell to your Wi-Fi network. This may involve scanning a QR code on the doorbell, entering your Wi-Fi network password, and waiting for the connection to be established.
- Wait for the connection confirmation: Once the doorbell is successfully connected to your Wi-Fi network, you should receive a confirmation message within the Wyze app. This indicates that the doorbell can now communicate with your smartphone or tablet over the network.
- Test the remote access: To ensure that the connection is working properly, test the remote access feature. This can be done by accessing the Wyze app from a different network or turning off Wi-Fi on your smartphone and using your cellular data connection. You should still be able to view the live video feed and receive notifications from the Wyze Doorbell Pro.
By successfully connecting the Wyze Doorbell Pro to your Wi-Fi network, you can now enjoy the convenience of remote access and control. In the next step, we will guide you on how to configure and customize the settings of your Wyze Doorbell Pro. Let’s continue with the installation process.
Step 10: Configure and customize your Wyze Doorbell Pro settings
Now that your Wyze Doorbell Pro is connected to your Wi-Fi network, it’s time to configure and customize its settings to meet your specific needs. Follow these steps to access and adjust the settings of your Wyze Doorbell Pro:
- Open the Wyze app: Launch the Wyze app on your smartphone or tablet, and ensure that you are logged in with the same account used to set up the doorbell.
- Select the Wyze Doorbell Pro: From the list of devices on the Wyze app’s home screen, find and select the Wyze Doorbell Pro. This will take you to the doorbell’s settings page.
- Explore the settings options: On the settings page, you’ll find various options to customize your Wyze Doorbell Pro. This may include adjusting video quality, enabling or disabling motion detection, setting up motion zones, adjusting notification preferences, and more.
- Adjust video settings: Depending on your preference, you can adjust the video quality settings to optimize the performance and storage usage of the doorbell. Higher video quality provides better image clarity, but it may require more storage space.
- Enable motion detection: Motion detection allows the doorbell to detect movement and send you notifications when activity is detected. You can customize the sensitivity and specific areas to monitor by setting up motion zones.
- Manage notifications: Access the notification settings to customize how and when you receive alerts from the doorbell. You can choose to receive notifications for doorbell button presses, motion detection events, or both.
- Explore additional features: Depending on the model of your Wyze Doorbell Pro, there may be additional features available, such as two-way audio, night vision, or integration with other smart home devices. Take some time to explore these features and adjust the settings according to your preferences.
- Save and apply settings: Once you have configured the settings to your liking, make sure to save any changes and apply them to the Wyze Doorbell Pro.
By configuring and customizing the settings of your Wyze Doorbell Pro, you are tailoring its functionality to suit your unique needs and preferences. In the next step, we will guide you on how to test your Wyze Doorbell Pro to ensure everything is functioning correctly. Let’s proceed with the installation process.
Step 11: Test your Wyze Doorbell Pro
After configuring and customizing the settings of your Wyze Doorbell Pro, it’s important to perform a thorough test to ensure that everything is functioning correctly. Follow these steps to test your Wyze Doorbell Pro:
- Stand in front of the doorbell: Position yourself in front of the Wyze Doorbell Pro, within the camera’s field of view.
- Press the doorbell button: Using your finger or a suitable object, press the doorbell button to simulate a visitor at your door.
- Observe the doorbell’s response: Watch and listen for the doorbell’s response. You should hear a chime sound and receive a notification on your smartphone or tablet through the Wyze app.
- Check the live video feed: Open the Wyze app and access the live video feed from the doorbell’s camera. Verify that the video quality is satisfactory and that you can clearly see the area in front of your door.
- Test two-way audio: If your Wyze Doorbell Pro is equipped with two-way audio, engage in a conversation through the doorbell. Speak into your smartphone or tablet’s microphone and listen for the sound to be transmitted through the doorbell’s speaker.
- Verify motion detection: Move within the camera’s field of view to trigger the motion detection feature of the Wyze Doorbell Pro. Check if you receive a notification on your device and if the doorbell begins recording or streaming video.
- Adjust settings if necessary: If any issues arise during the testing phase, review the settings on the Wyze app and make any necessary adjustments. Ensure that motion detection sensitivity, notification preferences, and other settings are set according to your preferences.
- Contact Wyze support if needed: If you encounter any persistent issues or have specific questions or concerns about your Wyze Doorbell Pro, don’t hesitate to reach out to Wyze support. They can provide further assistance and guidance to ensure the optimum performance of your device.
By thoroughly testing your Wyze Doorbell Pro, you can be confident that it is functioning as intended and providing you with the added security and convenience you desired. Congratulations on successfully installing and setting up your Wyze Doorbell Pro!
As technology continues to evolve, remember to keep an eye out for firmware updates and new features from Wyze. Regularly updating your device will ensure that you have access to the latest advancements and improvements in smart home security.
If you have any additional questions or need further assistance, consult the user manual or refer to the Wyze website for more information. Enjoy the benefits of your Wyze Doorbell Pro and stay connected to your home like never before!
Conclusion
Congratulations on successfully installing your Wyze Doorbell Pro! You have taken an important step towards enhancing the security and convenience of your home. By following the step-by-step instructions in this guide, you have ensured a proper and secure installation, and have customized the settings to meet your specific needs.
The Wyze Doorbell Pro offers a wide range of features, including high-definition video, motion detection, two-way audio, and remote access through the Wyze app. With the ability to monitor your front door, communicate with visitors, and receive instant notifications, you can have peace of mind whether you’re at home or away.
Remember to regularly test and maintain your Wyze Doorbell Pro to ensure it continues to perform optimally. This includes checking the battery life, adjusting settings as needed, and staying updated with any firmware releases or app updates from Wyze.
If you have any questions or encounter any issues during the installation or operation of your Wyze Doorbell Pro, don’t hesitate to reach out to Wyze support for assistance. They are there to help you make the most of your device and address any concerns you may have.
Thank you for choosing the Wyze Doorbell Pro, and we hope that it serves you well in providing enhanced security and convenience for your home. Enjoy the peace of mind and added control that comes with having a smart video doorbell at your front door!
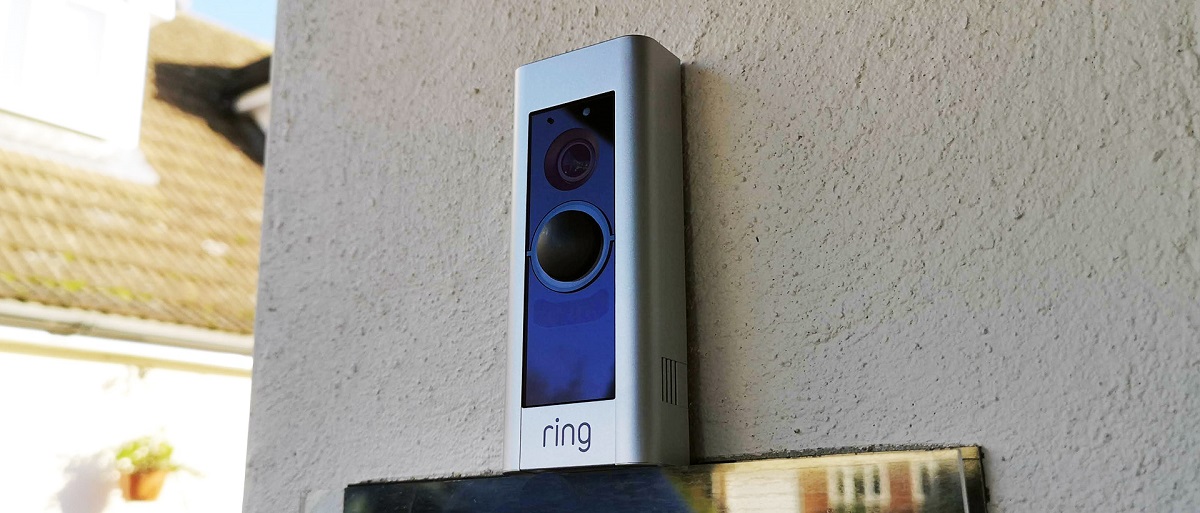
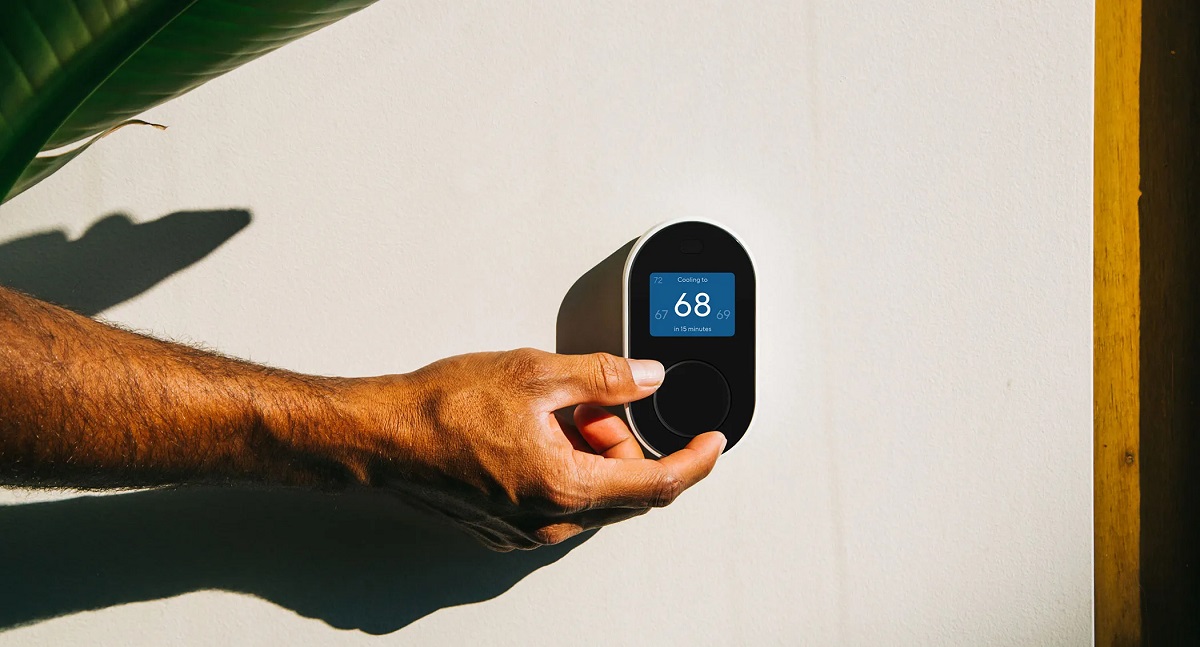
Now that you've mastered installing your Wyze Doorbell Pro, why not expand your tech savvy to other areas of your home? Our next guide on home automation systems offers a plethora of devices designed to simplify daily tasks and enhance security. From smart thermostats to advanced security cameras, discover how easy upgrading your living space can be with the right technology. Don't miss out on making your home smarter and more efficient!
Frequently Asked Questions about How To Install Wyze Doorbell Pro
Was this page helpful?
At Storables.com, we guarantee accurate and reliable information. Our content, validated by Expert Board Contributors, is crafted following stringent Editorial Policies. We're committed to providing you with well-researched, expert-backed insights for all your informational needs.
0 thoughts on “How To Install Wyze Doorbell Pro”