Articles
How To Get Blink Doorbell Off
Modified: August 21, 2024
Learn how to remove your Blink doorbell with these helpful articles. Get step-by-step instructions and tips to easily take off your doorbell.
(Many of the links in this article redirect to a specific reviewed product. Your purchase of these products through affiliate links helps to generate commission for Storables.com, at no extra cost. Learn more)
Introduction
Welcome to our comprehensive guide on how to get the Blink Doorbell off. Whether you are replacing an old doorbell or simply need to remove the Blink Doorbell for maintenance or relocation purposes, this step-by-step tutorial will walk you through the process.
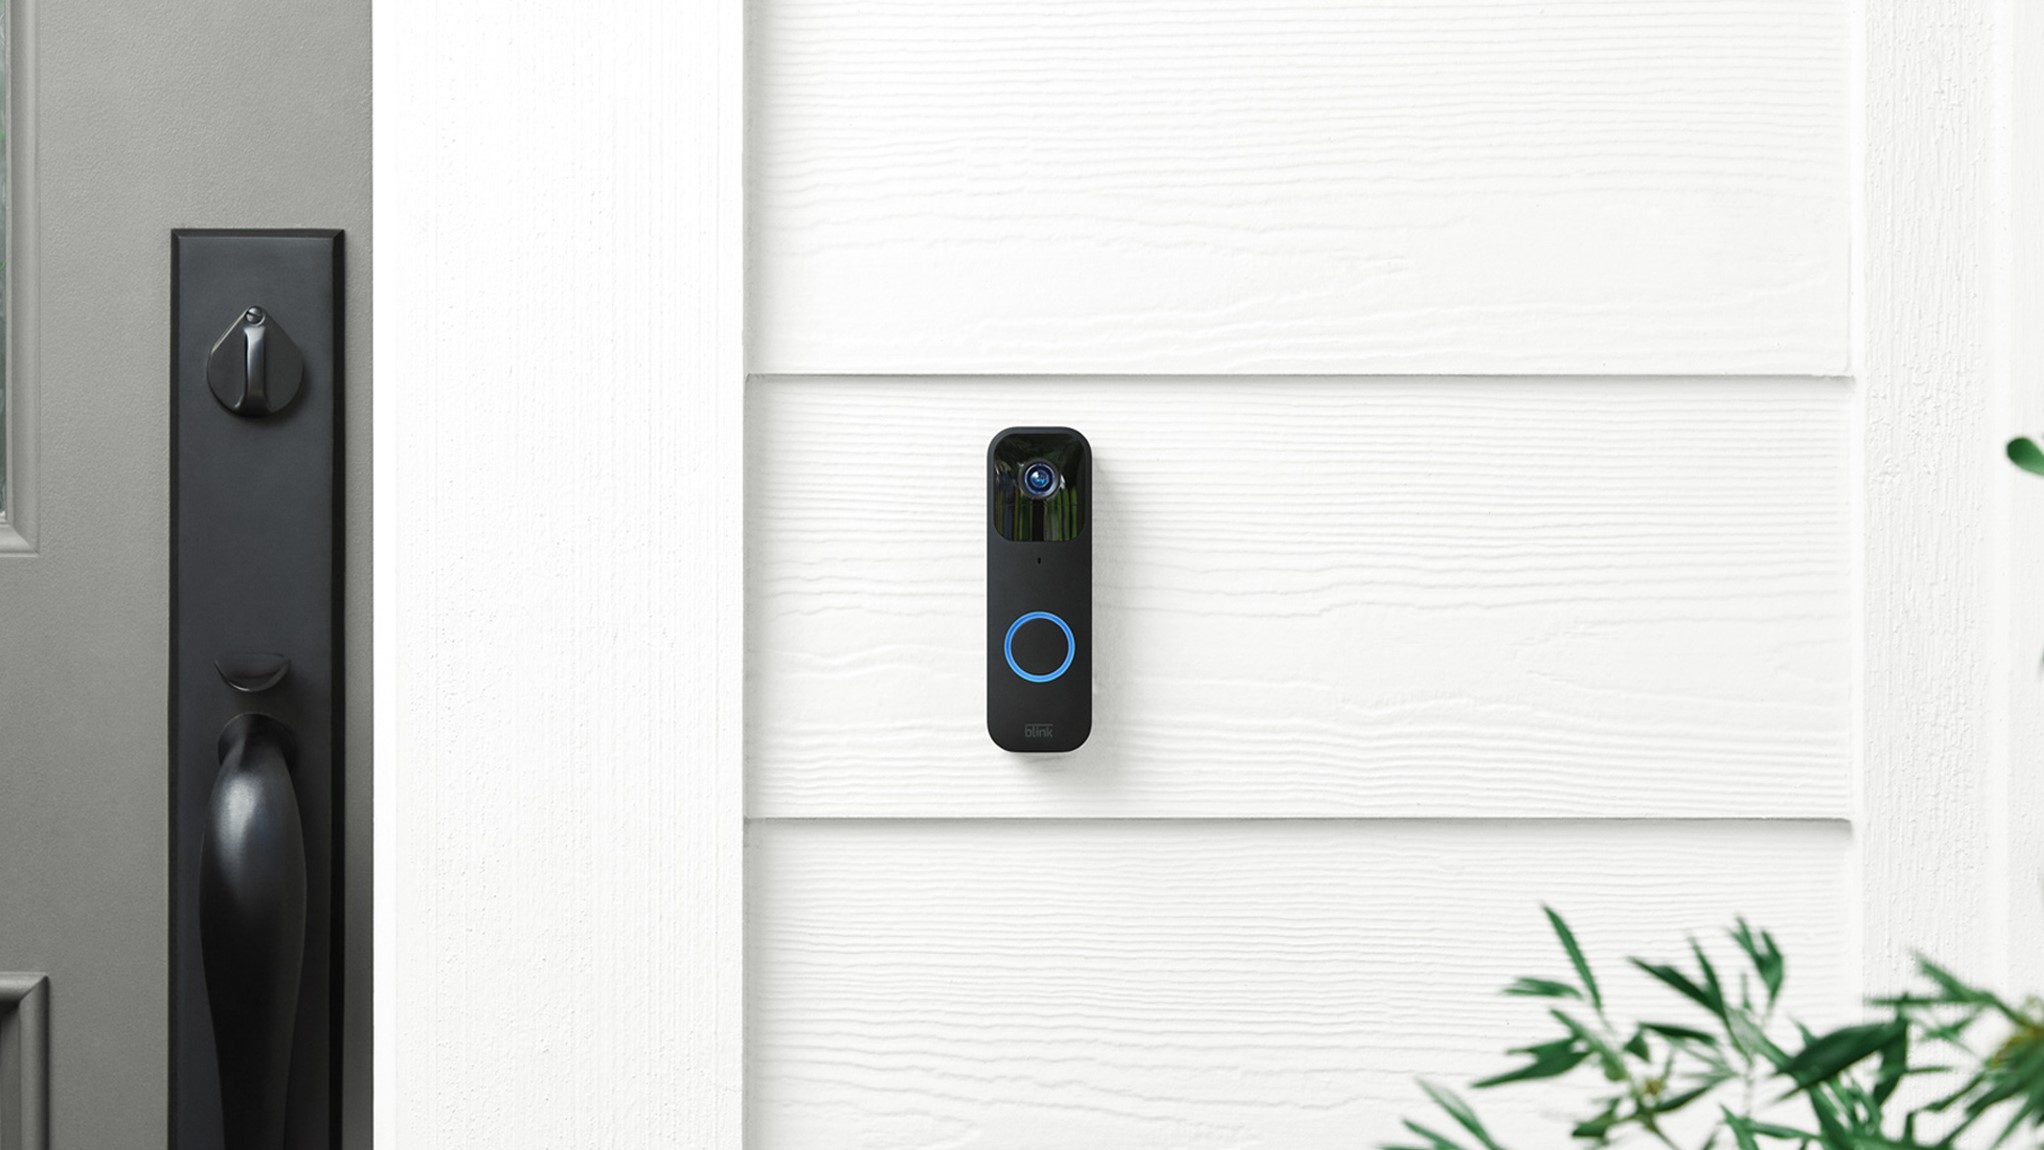
The Blink Doorbell is a popular choice for homeowners due to its ease of installation, sleek design, and reliable features. However, there may come a time when you need to remove it for various reasons. Don’t worry, we’ve got you covered!
In this guide, we will provide you with clear instructions on how to safely and effectively remove your Blink Doorbell without causing any damage. We will also address common troubleshooting issues that may arise during the process.
Before we dive into the steps, it’s essential to note that safety should be your top priority. Ensure that you follow all safety precautions suggested by the manufacturer and use caution when working with electrical components. If you are uncertain about any step, it’s always better to consult a professional.
Now, let’s jump right into it and learn how to get your Blink Doorbell off effortlessly!
Key Takeaways:
- Safely remove your Blink Doorbell by assessing its power source, mounting location, and wiring. Gather the necessary tools and follow step-by-step instructions to disconnect and remove the device without causing damage.
- Troubleshoot common issues like stuck mounting screws and stubborn adhesive to ensure a smooth removal process. Prioritize safety, follow manufacturer guidelines, and seek professional assistance if needed.
Read more: Why Is My Blink Doorbell Blinking Red
Step 1: Assessing the Blink Doorbell
Before beginning the removal process, it’s crucial to assess the Blink Doorbell and its surroundings. This step will help you familiarize yourself with the device and ensure a smooth removal process.
Here are a few key things to consider when assessing your Blink Doorbell:
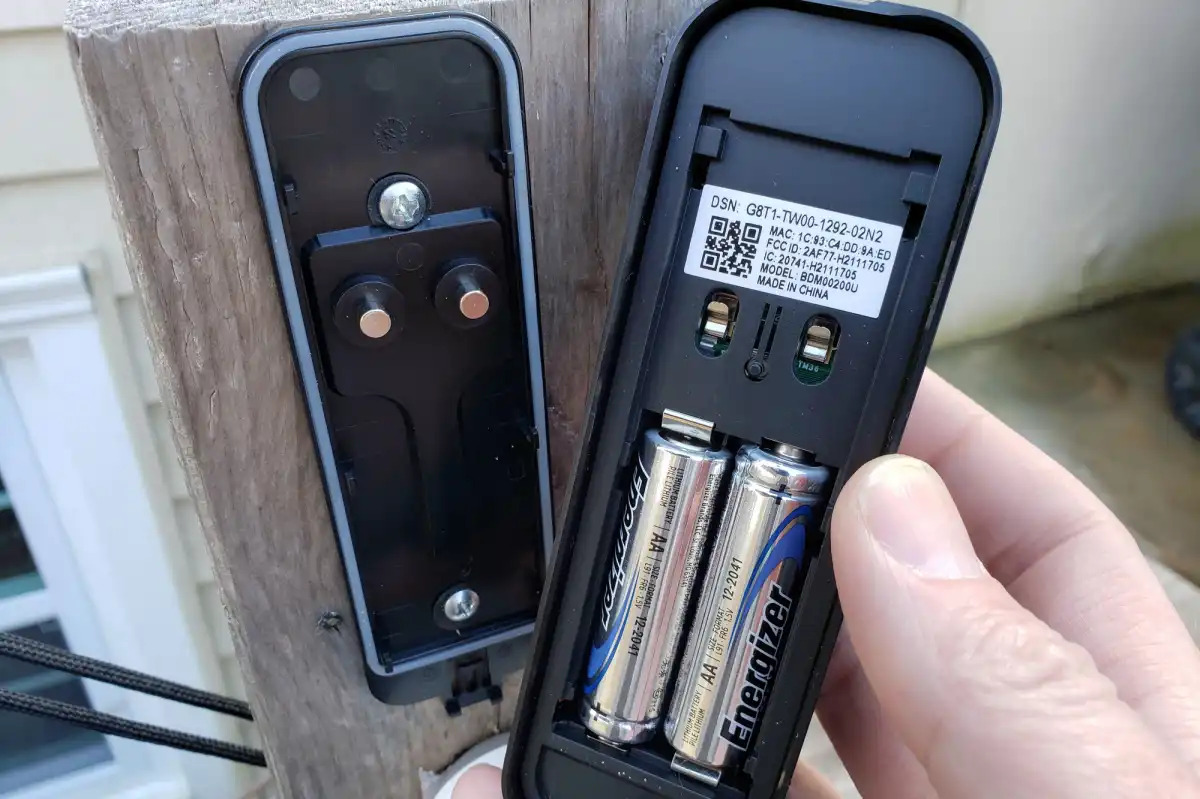
- Power source: Determine whether your Blink Doorbell is powered by battery or connected to a wired power source. This information will impact the removal process.
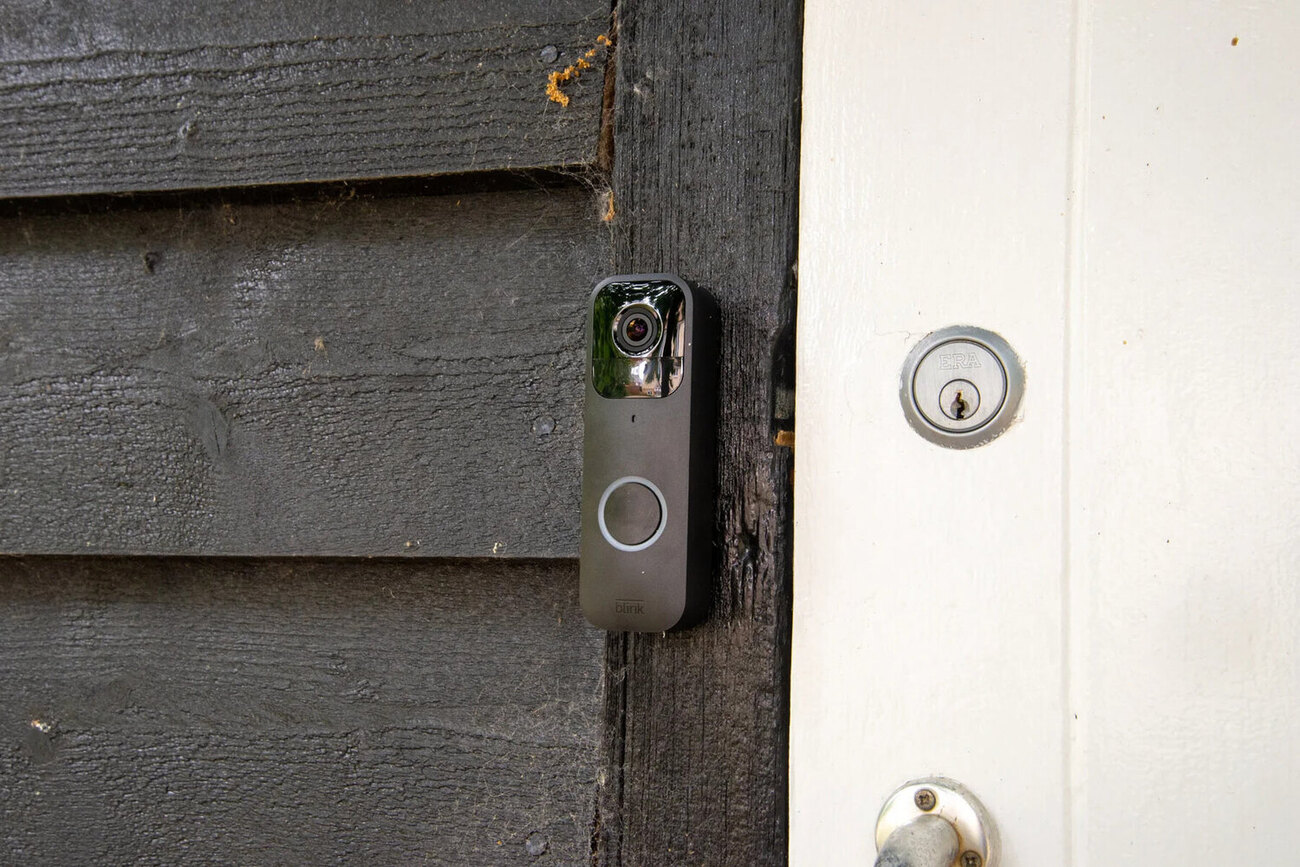
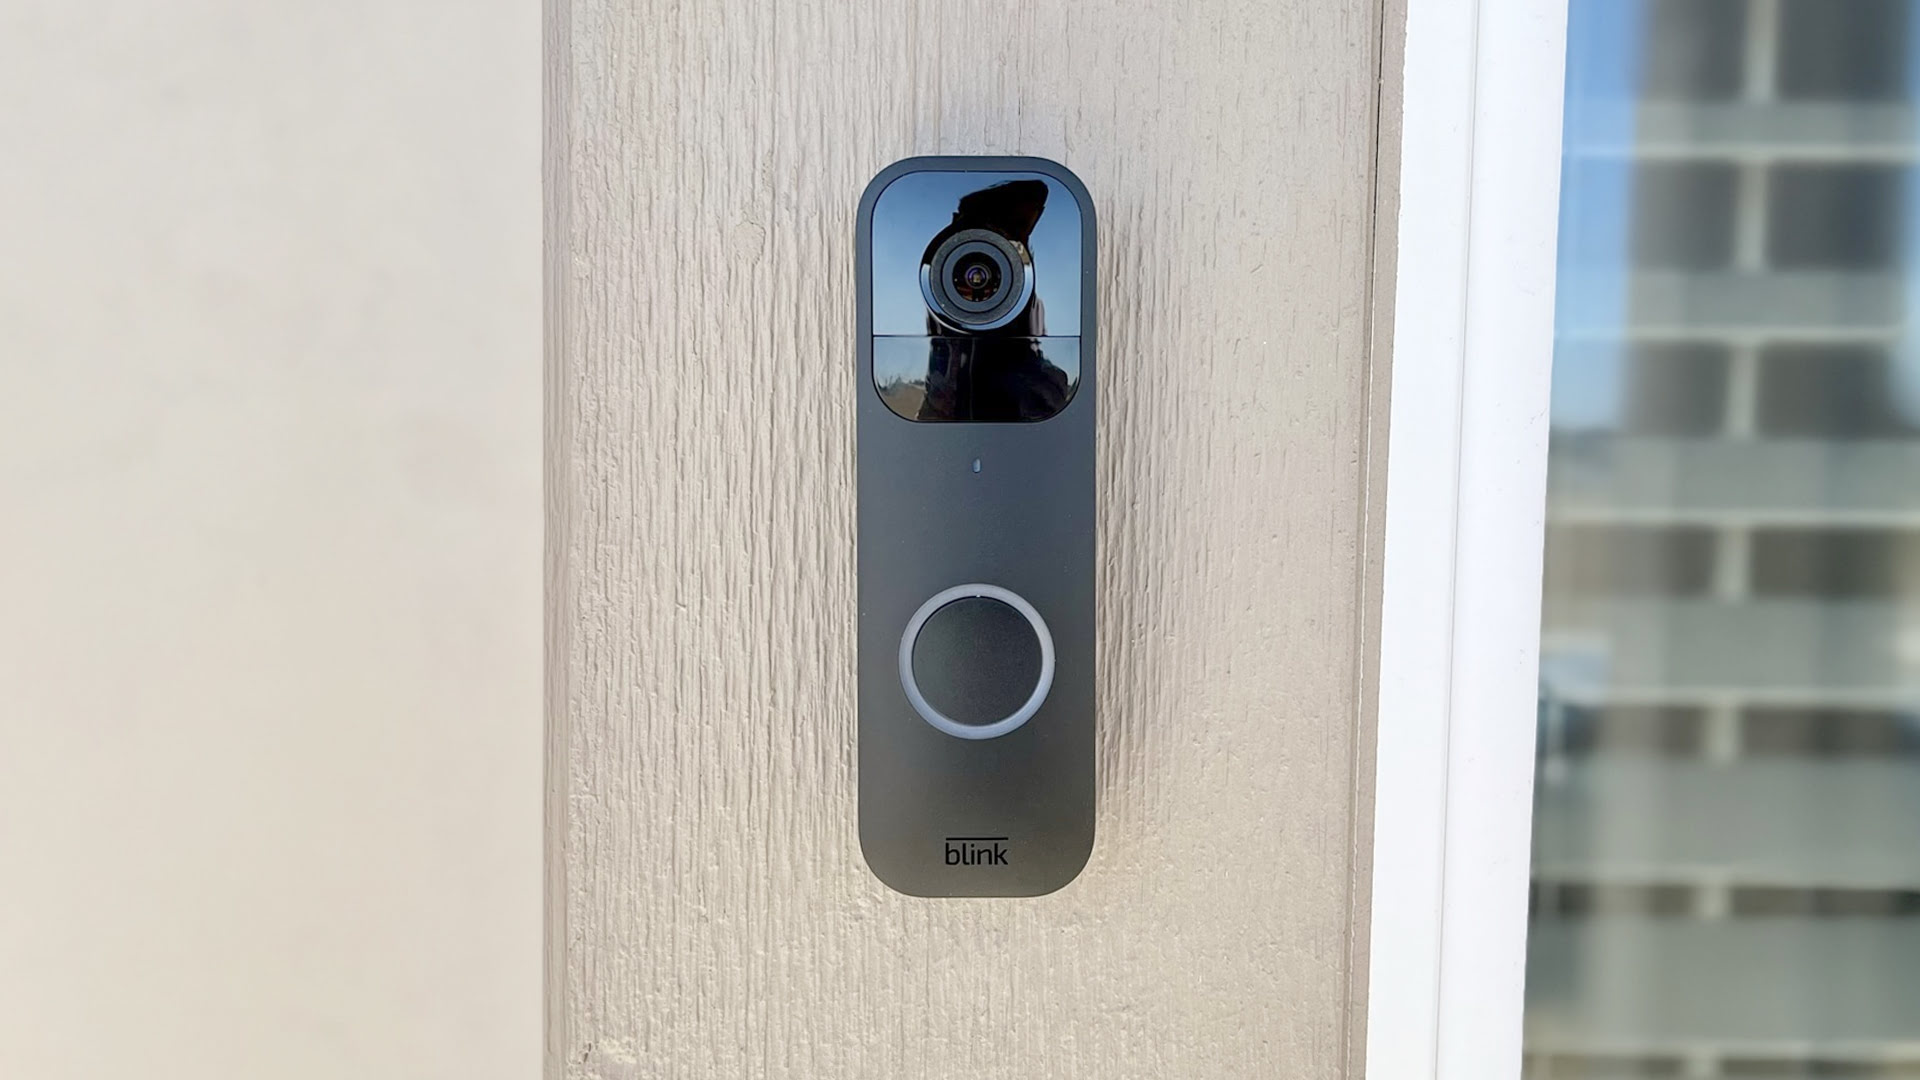
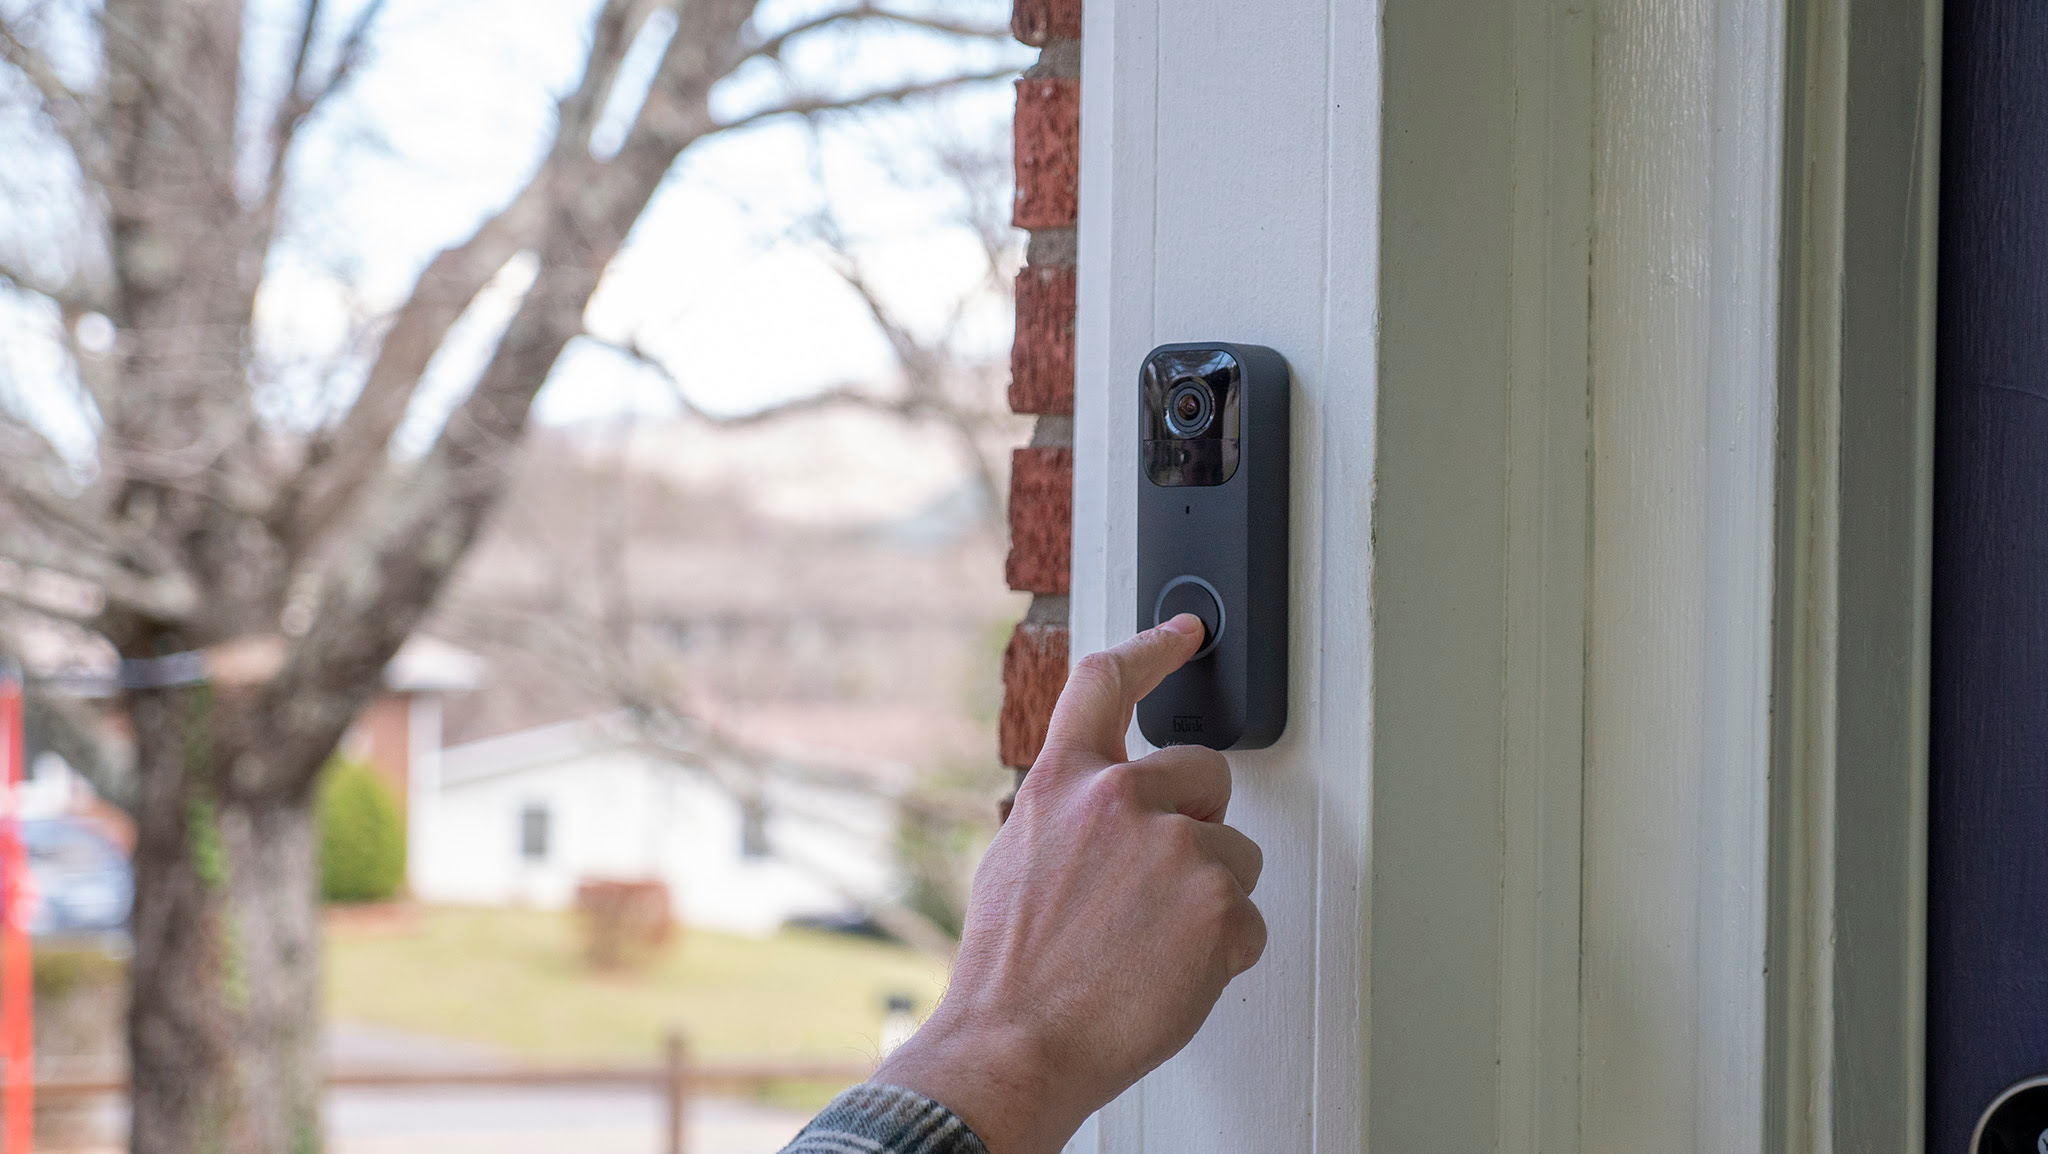
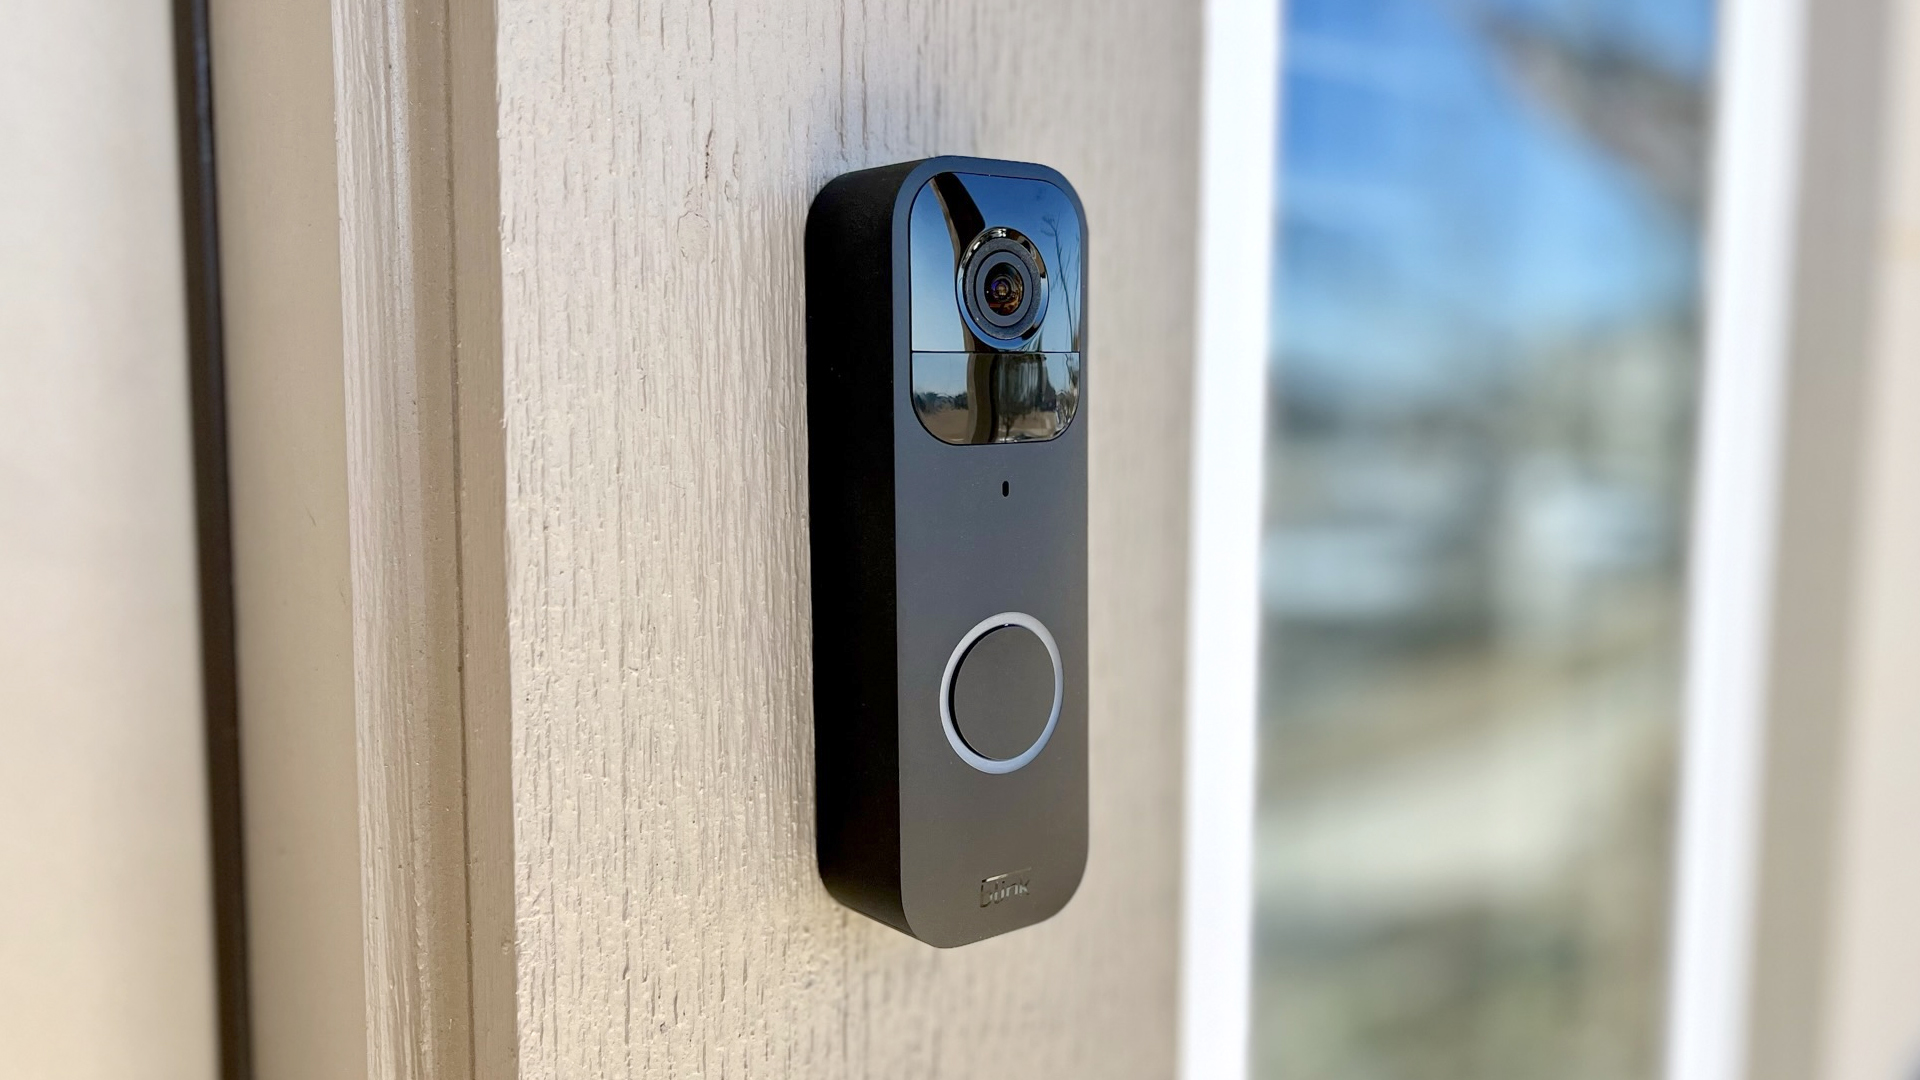
- Mounting location: Take note of the mounting location of your Blink Doorbell. Is it mounted on a wall, a door frame, or another surface? Understanding the mounting location will aid in planning the removal procedure.
- Wiring: If your Blink Doorbell is wired, check for any visible wires connecting it to the power source or chime. Take note of the wire connections and their locations for reinstallation if necessary.
- Surrounding obstacles: Look for any obstacles or objects around the Blink Doorbell that may impede the removal process. These could include decorations, screws, or other attachments.
By thoroughly assessing the Blink Doorbell and its surroundings, you will have a clearer picture of the steps required for its removal. This awareness will help you proceed smoothly and minimize the chances of any unexpected issues arising during the process.
Once you have assessed your Blink Doorbell, you are ready to move on to the next step: gathering the necessary tools.
Step 2: Gathering the necessary tools
Before you begin removing the Blink Doorbell, it’s important to gather the appropriate tools. Having the right tools on hand will make the process much easier and help you avoid any potential damage to the device or its surroundings.
Here are the tools you will need:
- Screwdriver: Depending on the type of mounting screws used, you may need either a Phillips or a flathead screwdriver to remove the screws holding the Blink Doorbell in place.
- Wire strippers: If your Blink Doorbell is wired, you may need wire strippers to safely disconnect the wires from the power source or chime.
- Electrical tape: Electrical tape can be handy for securing any loose wires during the removal process.
- Step ladder or stool: Depending on the height of your Blink Doorbell, you may need a step ladder or stool to reach and remove it safely.
- Masking tape: If you plan to reposition or reinstall the Blink Doorbell in the future, masking tape can help you mark the original mounting location.
By having these tools ready, you will streamline the removal process and ensure that you have everything you need to safely disconnect and remove the Blink Doorbell.
Once you have gathered the necessary tools, you’re now ready to move on to the next step: disconnecting the Blink Doorbell.
Step 3: Disconnecting the Blink Doorbell
Now that you have assessed the Blink Doorbell and gathered the necessary tools, it’s time to proceed with disconnecting the device. This step is crucial to ensure a safe removal process and avoid any electrical mishaps.
Follow these steps to disconnect your Blink Doorbell:
- Turn off power (if applicable): If your Blink Doorbell is connected to a power source, such as through a wired installation, make sure to turn off the power supply before proceeding. This will prevent any accidental shocks or electrical damage.
- Remove the faceplate or cover: Most Blink Doorbell models have a removable faceplate or cover. Gently pry it off using a screwdriver or your fingers, being careful not to damage the device or surrounding area.
- Locate the wires: If your Blink Doorbell is wired, you will see two wires connected to the back of the device. These wires send power to the doorbell and may be connected to a power source or a chime. Take note of how the wires are connected.
- Disconnect the wires: Using wire strippers or pliers, carefully disconnect the wires from the power source or chime. Make sure to tape the ends of the wires or secure them with electrical tape to prevent them from accidentally touching one another or any other electrical components.
By following these steps, you will successfully disconnect your Blink Doorbell from its power source.
Before moving on to the next step, take a moment to ensure that all power is turned off and any necessary precautionary measures are taken to guarantee a safe removal process.
Next, we’ll explore how to remove the Blink Doorbell from its mounting. This step is vital in order to safely detach the device from its current location.
To remove a Blink doorbell, first, turn off the power supply. Then, use a screwdriver to remove the mounting screws and gently detach the doorbell from the wall. Be sure to follow the manufacturer’s instructions for safe removal.
Step 4: Removing the Blink Doorbell from its mounting
After disconnecting the Blink Doorbell, the next step is to remove it from its mounting. This step may vary depending on the type of mounting system used for your specific Blink Doorbell model.
Follow these general steps to remove the Blink Doorbell from its mounting:
- Identify the mounting screws: Take a close look at the back of your Blink Doorbell to locate the mounting screws. These screws may be Phillips or flathead screws, and you will need a screwdriver that matches the screw type.
- Loosen the mounting screws: Use your screwdriver to carefully loosen the mounting screws without completely removing them. This will release the Blink Doorbell from its mounting bracket or plate.
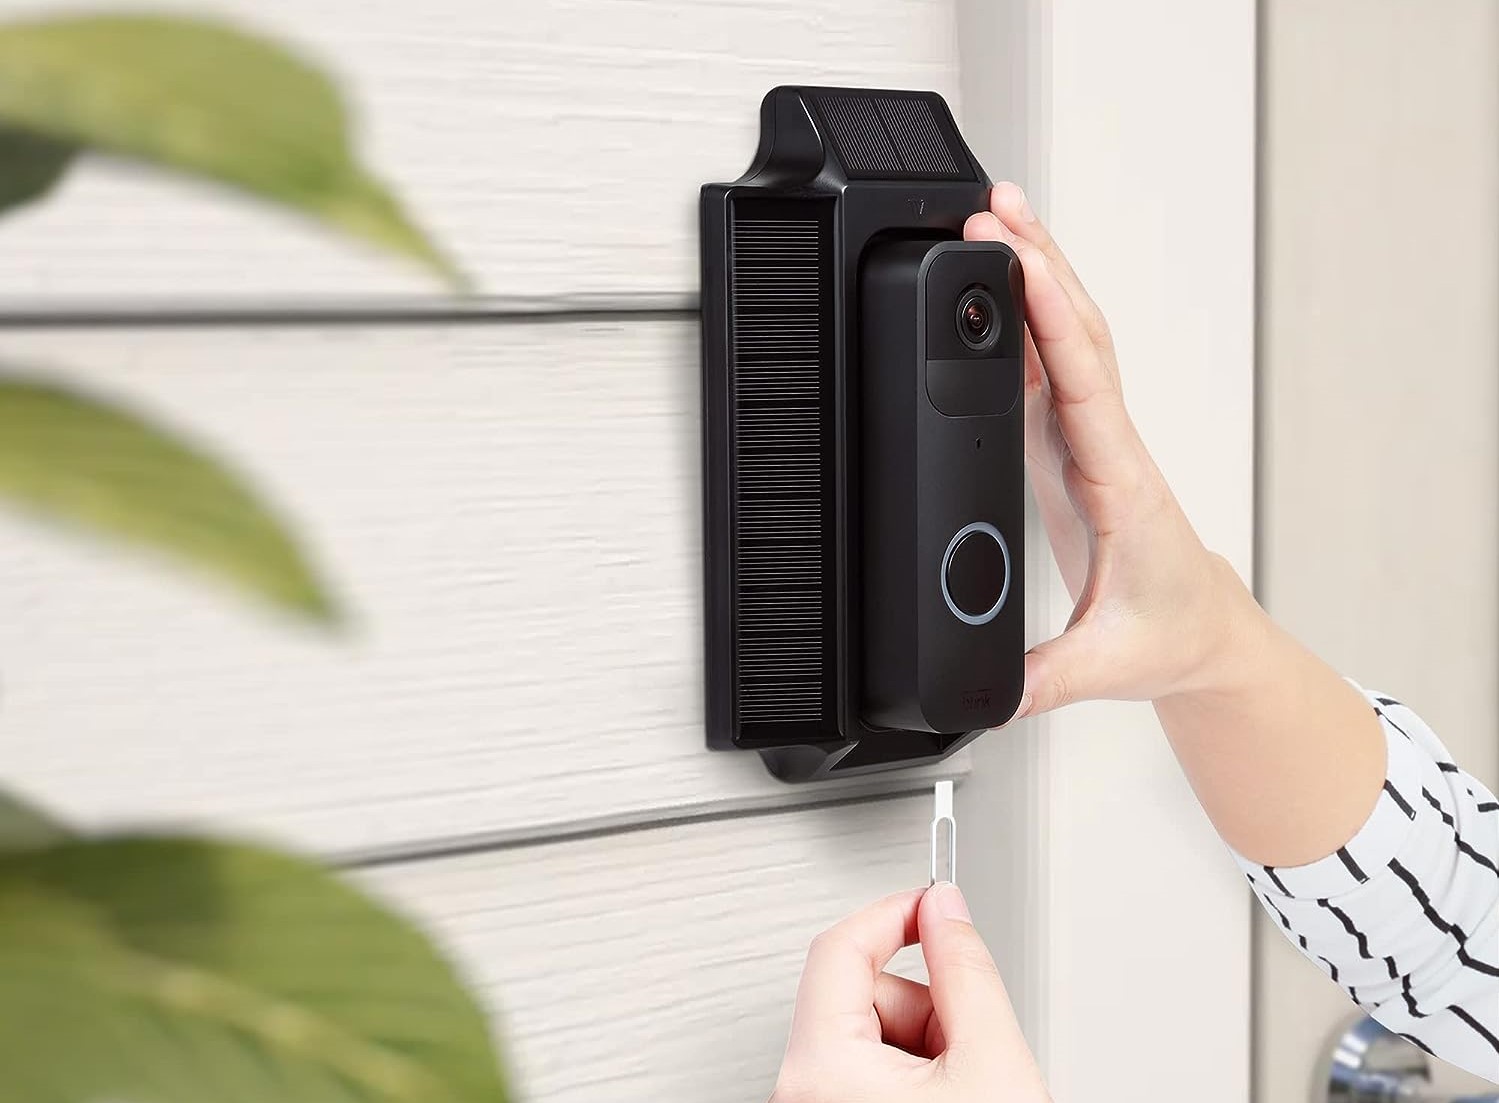
- Remove the Blink Doorbell: Once the mounting screws are loosened, gently lift the Blink Doorbell off the mounting bracket or plate. Be cautious not to tug on any wires that may still be connected.
Remember, different Blink Doorbell models may have variations in their mounting systems. If you encounter any difficulties or notice additional components holding the device in place, refer to the manufacturer’s instructions or seek professional assistance.
Once the Blink Doorbell is successfully removed from its mounting, you can proceed with any necessary maintenance, replacement, or repositioning of the device.
With the Blink Doorbell removed, you have completed the main steps to safely detach it from its mounting location. However, before wrapping up the removal process, it’s essential to address common troubleshooting issues that may arise.
Read more: How To Hardwire Blink Doorbell
Step 5: Troubleshooting common issues
While removing the Blink Doorbell, you may encounter some common issues that could hinder the process. By being aware of these issues and knowing how to troubleshoot them, you can overcome any challenges and complete the removal successfully.
Here are a few common issues and their solutions:
- Stuck mounting screws: If the mounting screws are difficult to loosen, try using a lubricant such as WD-40 or penetrating oil. Apply the lubricant to the screws and give it a few minutes to penetrate before attempting to loosen them again.
- Stubborn adhesive: Some Blink Doorbells may be mounted using adhesive strips or double-sided tape. If the adhesive is not easily coming off, use a hairdryer to gently heat the area. The heat will soften the adhesive, making it easier to remove the device without causing any damage.
- Wire connection issues: If you experience any difficulties disconnecting the wires from the power source or chime, double-check the wire connections. Ensure that you are using the appropriate tools to disconnect the wires and that you are applying enough pressure to release them. If necessary, consult the manufacturer’s instructions or seek professional assistance.
Remember, if at any point during the removal process you encounter a problem that you’re unsure how to solve, it’s always best to consult the Blink Doorbell’s user manual or contact the manufacturer for guidance.
By troubleshooting common issues promptly, you can ensure a smooth removal process and minimize the chances of any damage occurring to the device or its surroundings.
Congratulations! You have successfully completed the removal process for your Blink Doorbell. The device is now ready for replacement, maintenance, or repositioning.
Let’s conclude our guide.
Conclusion
Removing a Blink Doorbell may seem like a daunting task, but with the right knowledge and approach, it can be a straightforward process. In this comprehensive guide, we have provided you with step-by-step instructions to safely and effectively remove your Blink Doorbell.
Remember to always prioritize safety and follow the manufacturer’s guidelines when working with electrical components. If you are unsure about any step or encounter any difficulties, don’t hesitate to seek professional assistance.
By assessing the Blink Doorbell, gathering the necessary tools, disconnecting the device, removing it from its mounting, and troubleshooting common issues, you can successfully remove your Blink Doorbell and proceed with any necessary maintenance, replacement, or repositioning.
We hope that this guide has been helpful in assisting you with the process of getting your Blink Doorbell off. Whether you are upgrading to a new doorbell or simply need to temporarily remove it, you can now proceed with confidence.
Thank you for reading, and we wish you the best of luck with your Blink Doorbell removal!
Frequently Asked Questions about How To Get Blink Doorbell Off
Was this page helpful?
At Storables.com, we guarantee accurate and reliable information. Our content, validated by Expert Board Contributors, is crafted following stringent Editorial Policies. We're committed to providing you with well-researched, expert-backed insights for all your informational needs.


0 thoughts on “How To Get Blink Doorbell Off”