Articles
How To Remove Blink Doorbell From Mount
Modified: August 27, 2024
Looking for articles on how to remove your Blink doorbell from its mount? Find step-by-step instructions and helpful tips in this comprehensive guide.
(Many of the links in this article redirect to a specific reviewed product. Your purchase of these products through affiliate links helps to generate commission for Storables.com, at no extra cost. Learn more)
Introduction
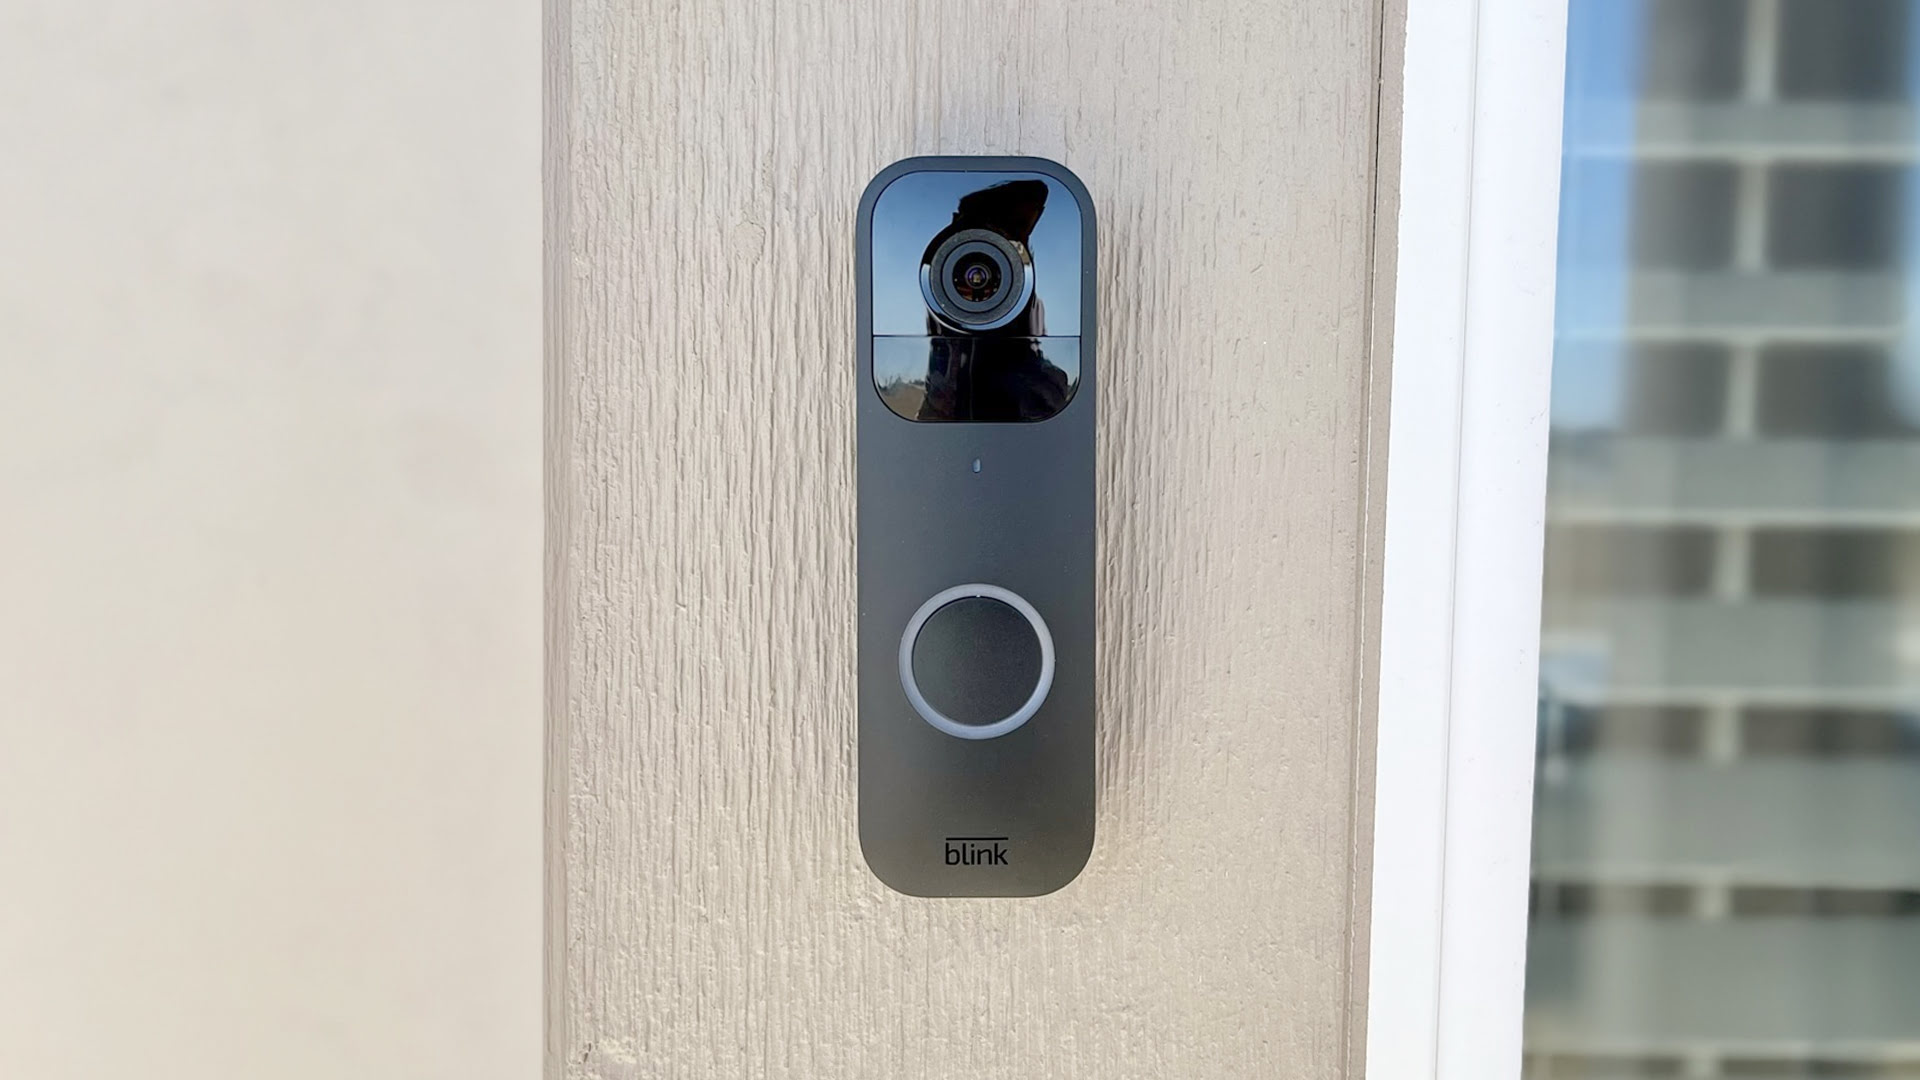
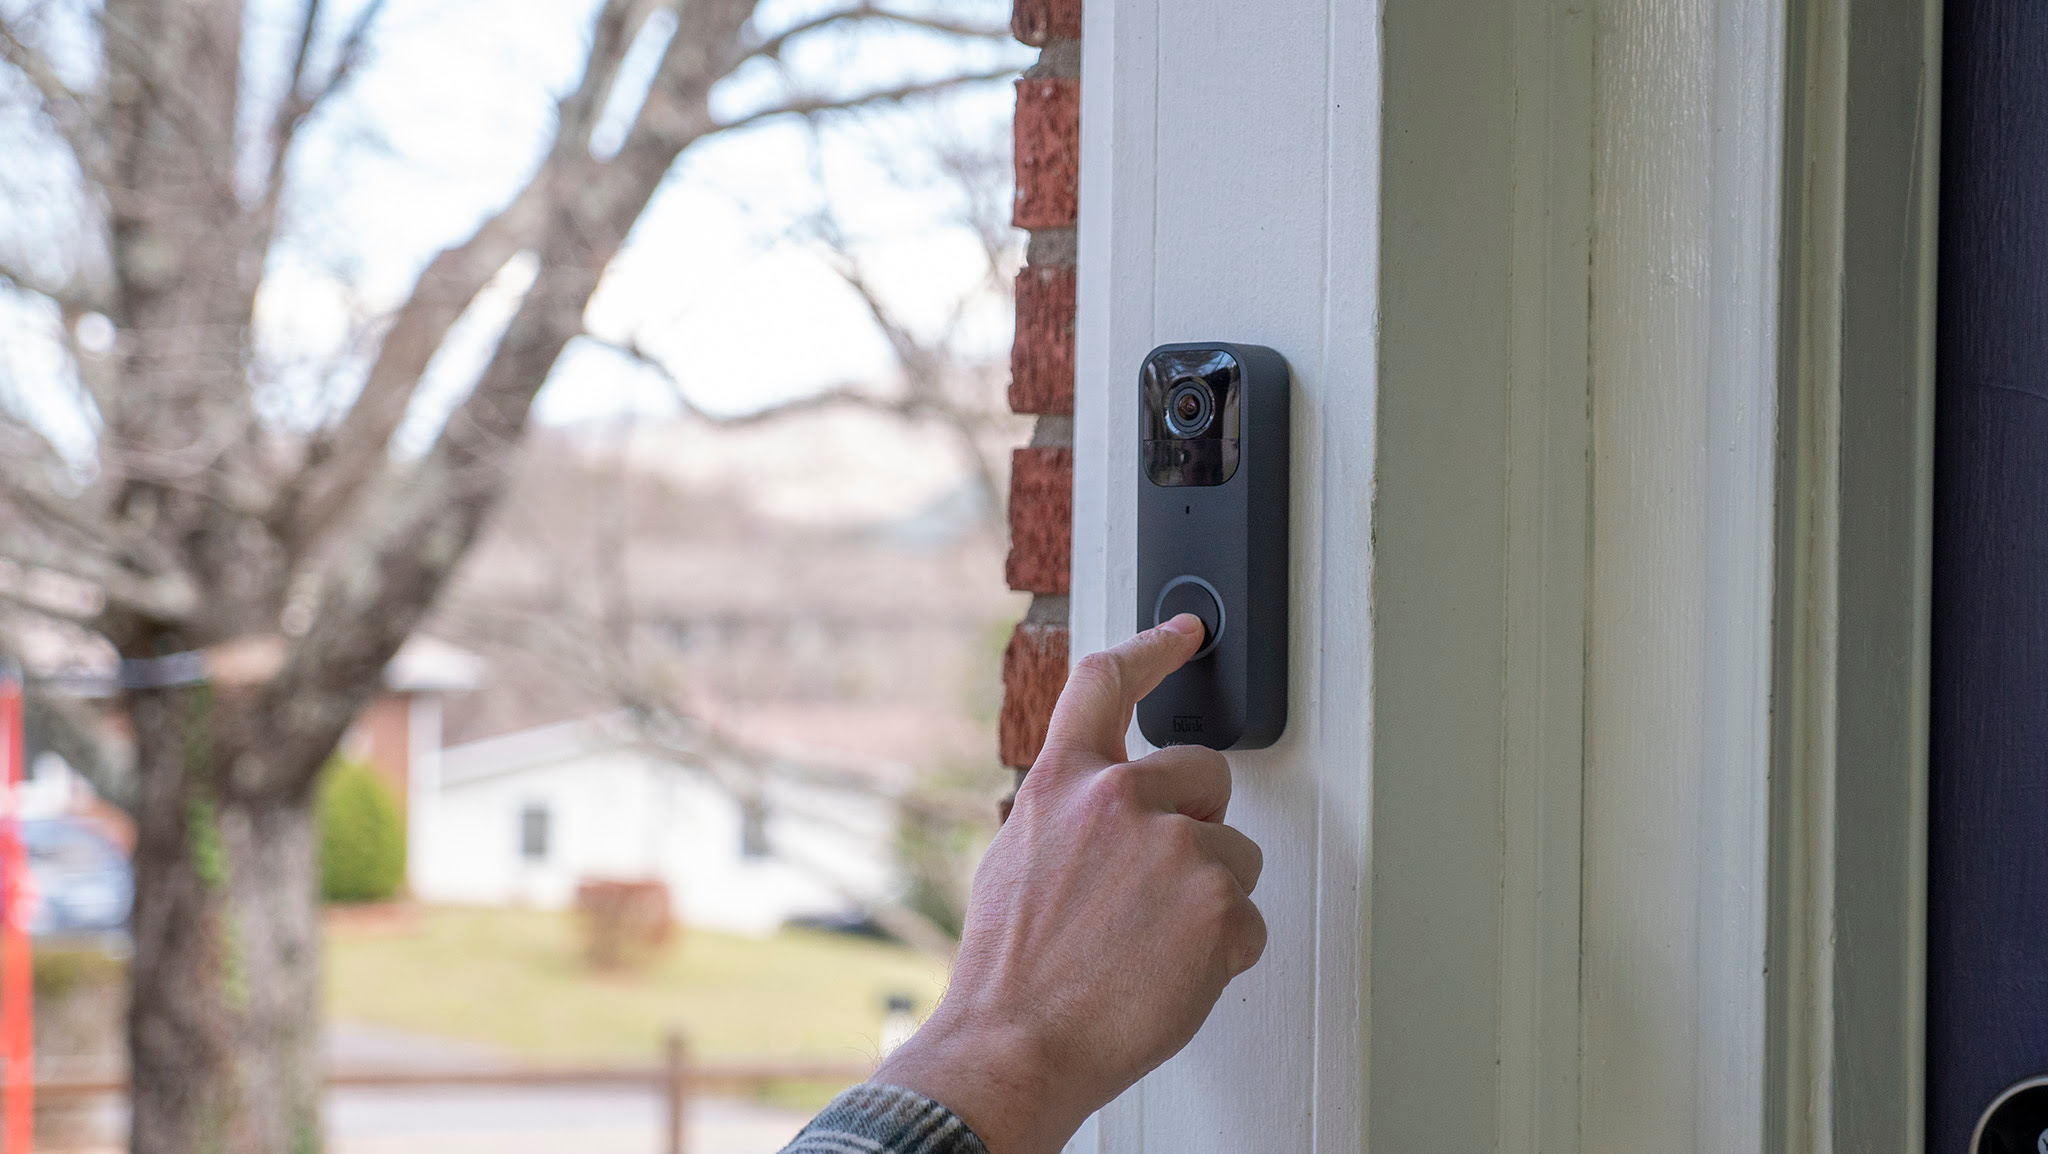
Welcome to this comprehensive guide on how to remove a Blink Doorbell from its mount. The Blink Doorbell is a popular choice for homeowners, offering a convenient and reliable way to monitor your front door. Whether you are upgrading to a new model, relocating your doorbell, or simply need to remove it temporarily, this article will walk you through the step-by-step process. By following these instructions, you’ll be able to safely and easily remove your Blink Doorbell without any hassle.
Before we begin, it’s important to note that this guide is specifically for removing the Blink Doorbell from its mount. If you’re looking for instructions on how to uninstall the Blink Doorbell system entirely, including the sync module and other components, you may want to refer to the official Blink Doorbell documentation or consult with a professional.
Now, let’s get started with the removal process!
Key Takeaways:
- Safely remove your Blink Doorbell by following these step-by-step instructions, including powering off the device, removing the faceplate, disconnecting the wiring, releasing the mounting bracket, and detaching the doorbell from the mount.
- Prioritize safety and care when removing your Blink Doorbell to avoid damage and ensure a hassle-free process. From powering off the device to detaching it from the mount, these steps will guide you through the removal process effectively.
Read more: Why Is My Blink Doorbell Blinking Red
Step 1: Power off the Blink Doorbell
The first step in removing the Blink Doorbell from its mount is to power it off. This is an important safety precaution to ensure that you don’t accidentally damage the device or get shocked during the removal process.
To power off the Blink Doorbell, you’ll need to locate the power source. In most cases, the Blink Doorbell is powered by batteries or connected to a power adapter. If your Blink Doorbell is battery-powered, you can simply remove the batteries to disconnect the power.
If your Blink Doorbell is connected to a power adapter, you’ll need to unplug it from the power source. Find the plug that goes into the power outlet and gently pull it out to disconnect the power.
Once you have successfully powered off the Blink Doorbell, it is important to take extra caution when handling the device. Avoid touching any exposed wires or metal contacts to prevent any potential electrical shocks. Safety should always be your top priority.
Now that the Blink Doorbell is powered off and disconnected from its power source, you’re ready to move on to the next step of removing the faceplate.
Step 2: Remove the faceplate
With the Blink Doorbell powered off, it’s time to remove the faceplate. The faceplate is the outer cover of the doorbell that conceals the device and provides a clean, streamlined look. Removing the faceplate will expose the internal components of the doorbell and allow you to proceed with the removal process.
To remove the faceplate, locate the small screws or clips that hold it in place. These are typically found on the sides or bottom of the doorbell. You may need to use a screwdriver or a small tool to unscrew the screws or release the clips.
If your Blink Doorbell has a snap-on faceplate, you can gently pry it off with your fingers. Start from one corner and carefully work your way around until the entire faceplate is released from the mount.
Once the faceplate is freed, set it aside in a safe place. You may want to clean the faceplate separately before reattaching it if it has accumulated any dirt or debris.
Remember to handle the faceplate with care to avoid any scratches or damage. Some faceplates may be made of delicate materials, such as glass or plastic, so be gentle when removing and storing it.
With the faceplate removed, you’re now ready to move on to the next step of disconnecting the wiring.
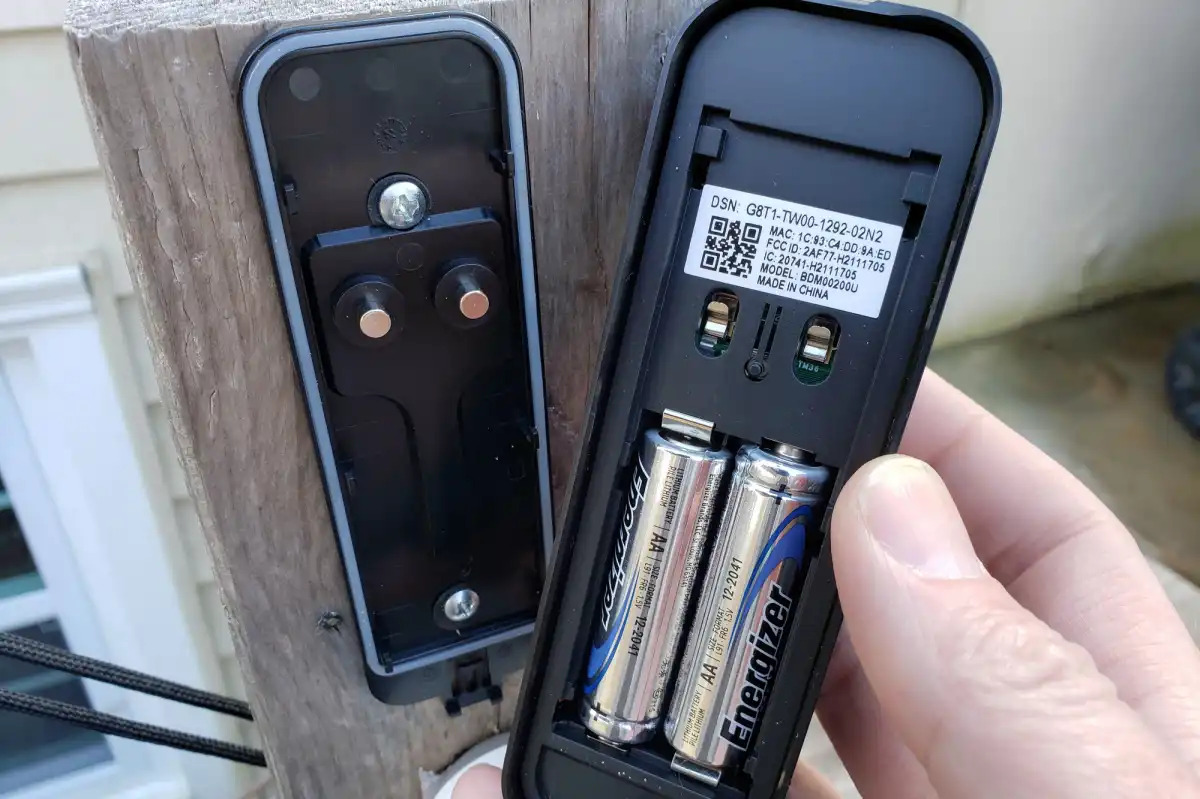
Step 3: Disconnect the wiring
Once the faceplate of your Blink Doorbell has been removed, you’ll need to disconnect the wiring that powers the device. This step is necessary to ensure a safe and hassle-free removal process.
Before you start disconnecting the wiring, it’s important to make sure that the power is still off to avoid any potential electrical hazards. Double-check that the Blink Doorbell is not receiving any power from batteries or a power adapter.
Next, locate the wiring connectors behind the faceplate. These connectors are usually small, rectangular-shaped blocks with wires attached to them. Depending on the model of your Blink Doorbell, you may have one or more wiring connectors.
To disconnect the wiring, gently pull the connectors apart. You may need to use a small amount of force, but be careful not to pull too hard as you don’t want to damage the wires or the connectors.
If the connectors have any locking mechanisms, such as tabs or clips, you’ll need to release them before pulling the connectors apart. Refer to the user manual or manufacturer’s instructions if you’re unsure how to release the connectors properly.
Once the wiring connectors have been disconnected, inspect the wires for any signs of damage or wear. If you notice any frayed or exposed wires, it’s important to address them before reinstalling the Blink Doorbell or contacting a professional for assistance.
At this point, you have successfully disconnected the wiring from your Blink Doorbell. The next step is to release the mounting bracket from the wall or surface where it is mounted.
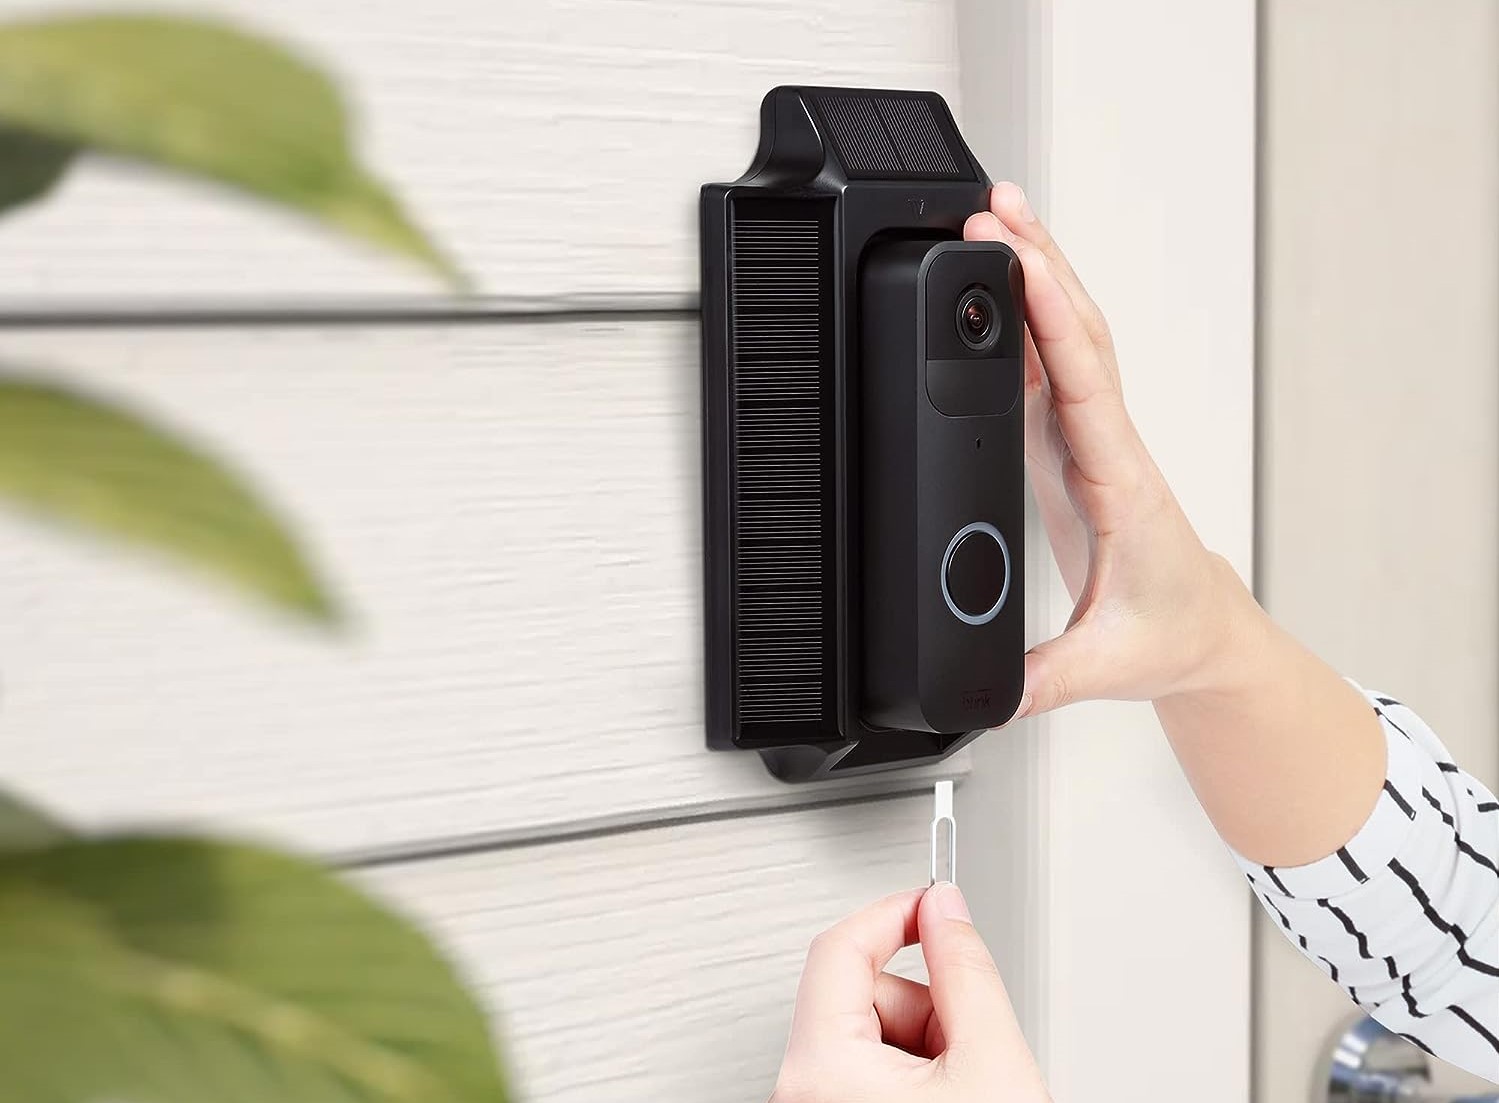
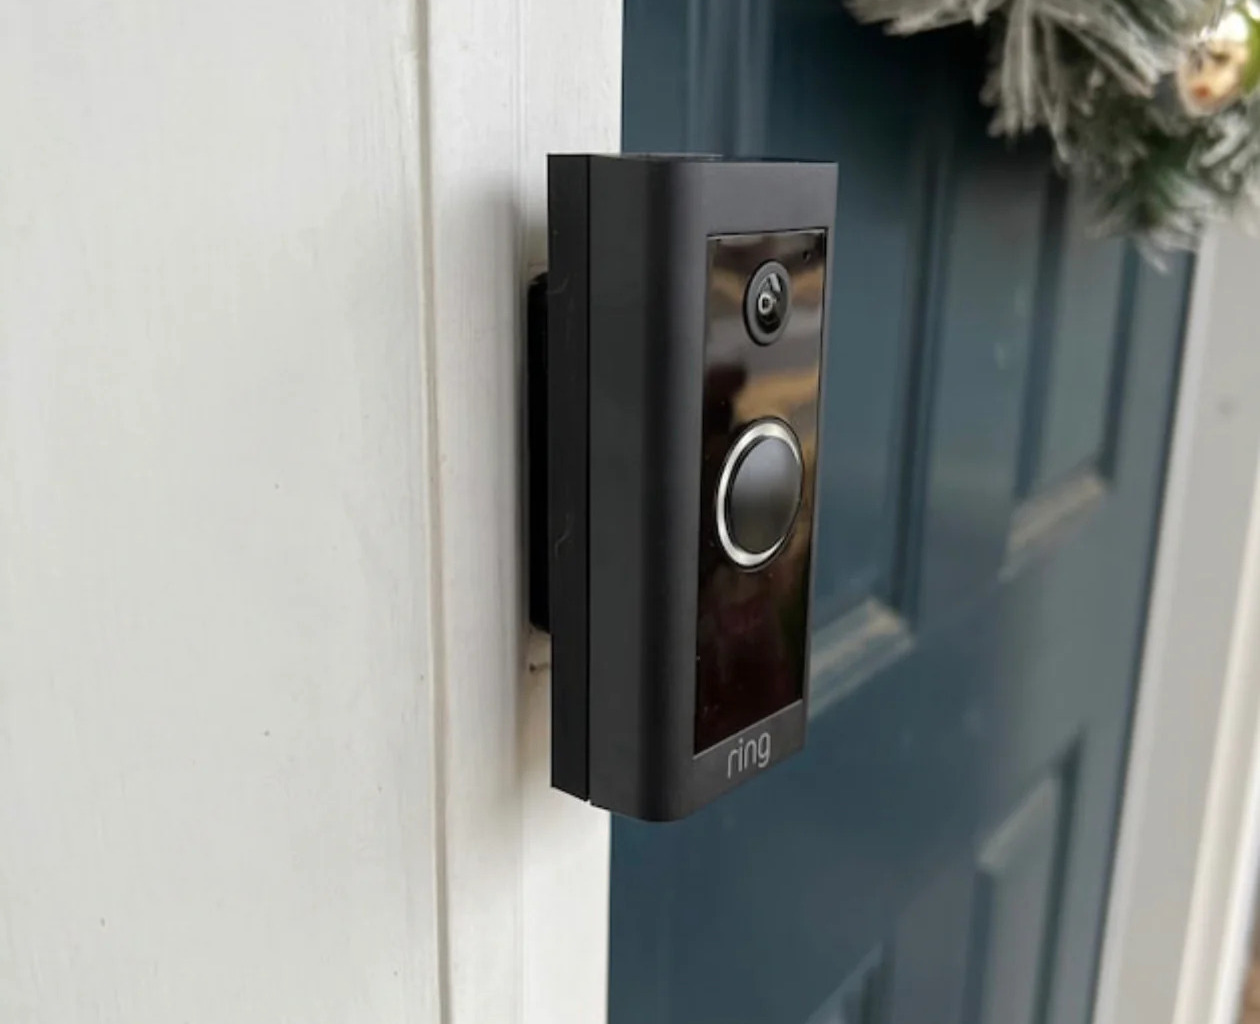
Before removing your Blink doorbell from its mount, make sure to turn off the power supply to avoid any electrical hazards. Then, use a screwdriver to loosen the mounting screws and carefully lift the doorbell off the mount.
Step 4: Release the mounting bracket
With the Blink Doorbell wiring disconnected, it’s time to release the mounting bracket that holds the doorbell in place. The mounting bracket is typically attached to the wall or surface using screws, adhesive, or a combination of both.
To release the mounting bracket, start by inspecting the back of the Blink Doorbell for any visible screws. If there are screws present, use a screwdriver to carefully remove them and set them aside in a safe place.
If your Blink Doorbell is mounted using adhesive, gently pry the mounting bracket away from the wall using a flathead screwdriver or a similar tool. Apply gentle pressure and work your way around the edges of the bracket until it becomes loose enough to remove.
In some cases, you may encounter both screws and adhesive holding the mounting bracket in place. In this situation, remove the screws first before attempting to release the adhesive. Be cautious when dealing with adhesive as excessive force can damage the wall or surface.
Once the mounting bracket is detached from the wall or surface, inspect it for any damage or wear. If necessary, clean the bracket before storing it or reinstalling it in a different location.
Remember to keep track of any screws or other small components that were used to secure the mounting bracket. These will be needed if you plan on reinstalling the Blink Doorbell or if you choose to replace the bracket with a new one.
Now that the mounting bracket is released, you’re ready to move on to the final step of detaching the Blink Doorbell from the mount.
Read more: How To Hardwire Blink Doorbell
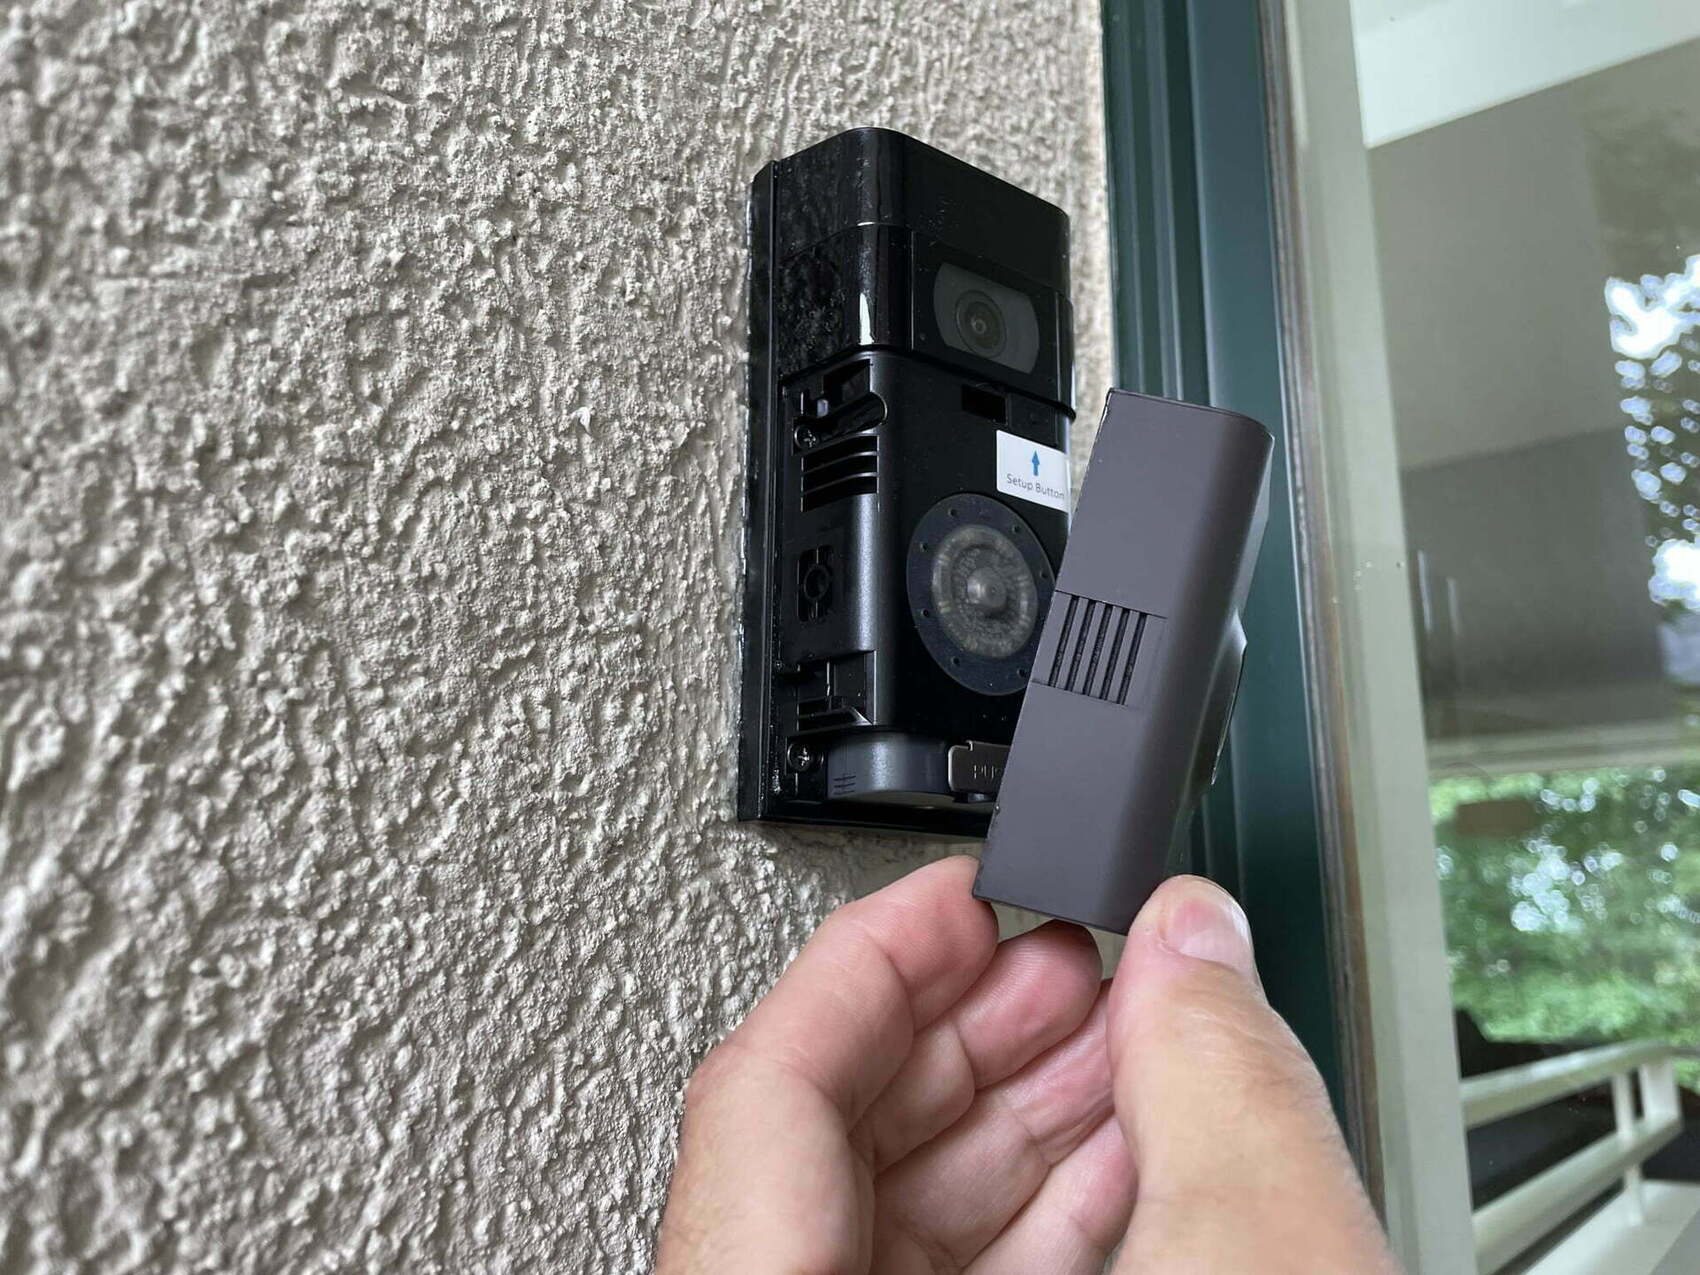
Step 5: Detach the Blink Doorbell from the mount
In the final step of removing your Blink Doorbell, you will detach the device from the mounting bracket. This step allows you to have full access to the Blink Doorbell for maintenance, relocation, or replacement purposes.
To detach the Blink Doorbell from the mount, locate the slots or tabs on the sides or bottom of the device. These slots or tabs are designed to secure the Blink Doorbell onto the mounting bracket.
Gently slide or press on these slots or tabs to release the Blink Doorbell from the mount. Depending on the specific model and design, you may need to apply slight pressure or slide the device in a specific direction to disengage it from the bracket.
Once the Blink Doorbell is detached from the mount, carefully lift it away and set it aside. Be mindful of any wires that may still be attached to the device and make sure they are not tangled or pulled tightly.
Inspect the mount and the device for any signs of damage or wear. Clean the mount if necessary to remove any dirt or residue that may have accumulated over time.
If you plan on reusing the same mount with the Blink Doorbell or installing the doorbell in a different location, keep the mount in a safe place for future use. If you no longer need the mount, you can responsibly dispose of it according to your local recycling guidelines.
Congratulations! You have successfully removed your Blink Doorbell from its mount. Whether you’re upgrading to a new model or relocating the doorbell, you can now proceed with your desired plans.
If you have any questions or encounter any difficulties during the removal process, don’t hesitate to consult the official Blink Doorbell documentation or seek assistance from a professional.
Remember to handle your Blink Doorbell and its components with care to avoid any damage. Safety should always be a priority throughout the removal process.
That concludes our guide on how to remove a Blink Doorbell from its mount. We hope you found this article helpful, and we wish you success in your future endeavors with your Blink Doorbell!
Conclusion
Removing a Blink Doorbell from its mount may seem like a daunting task, but with the right instructions, it can be a straightforward process. By following the step-by-step guide outlined in this article, you can safely and easily detach your Blink Doorbell from its mount for maintenance, relocation, or replacement purposes.
Remember to always start by powering off the Blink Doorbell to ensure your safety throughout the removal process. Then, proceed to remove the faceplate, disconnect the wiring, release the mounting bracket, and finally detach the Blink Doorbell from the mount.
Throughout the removal process, take precautions to handle the components with care, avoiding any unnecessary force or damage.
Whether you’re upgrading to a newer model, relocating your doorbell, or simply need to remove it temporarily, following these steps will help you successfully remove your Blink Doorbell from its mount.
If you have any questions or concerns, it’s always helpful to consult the official Blink Doorbell documentation or reach out to a professional for assistance.
We hope this guide has provided you with the necessary knowledge and confidence to remove your Blink Doorbell effectively. Remember to prioritize safety and handle all components with care.
Thank you for reading, and we wish you the best of luck with your Blink Doorbell removal process!
Now that you've mastered removing your Blink Doorbell, why not learn more about maintaining its condition? Our guide on Blink Doorbell Removal offers practical advice and ensures your device stays in top shape. For those interested in upgrading their entire home, our article on the Best Home Automation systems for 2024 is a must-read. It covers the latest technologies that can transform any living space into a smart and efficient home.
Frequently Asked Questions about How To Remove Blink Doorbell From Mount
Was this page helpful?
At Storables.com, we guarantee accurate and reliable information. Our content, validated by Expert Board Contributors, is crafted following stringent Editorial Policies. We're committed to providing you with well-researched, expert-backed insights for all your informational needs.


0 thoughts on “How To Remove Blink Doorbell From Mount”