Articles
How Do You Hardwire A Ring Doorbell
Modified: October 27, 2024
Learn the step-by-step process of how to hardwire a Ring Doorbell in this comprehensive article. Get all the information and tips you need for a successful installation.
(Many of the links in this article redirect to a specific reviewed product. Your purchase of these products through affiliate links helps to generate commission for Storables.com, at no extra cost. Learn more)
Introduction
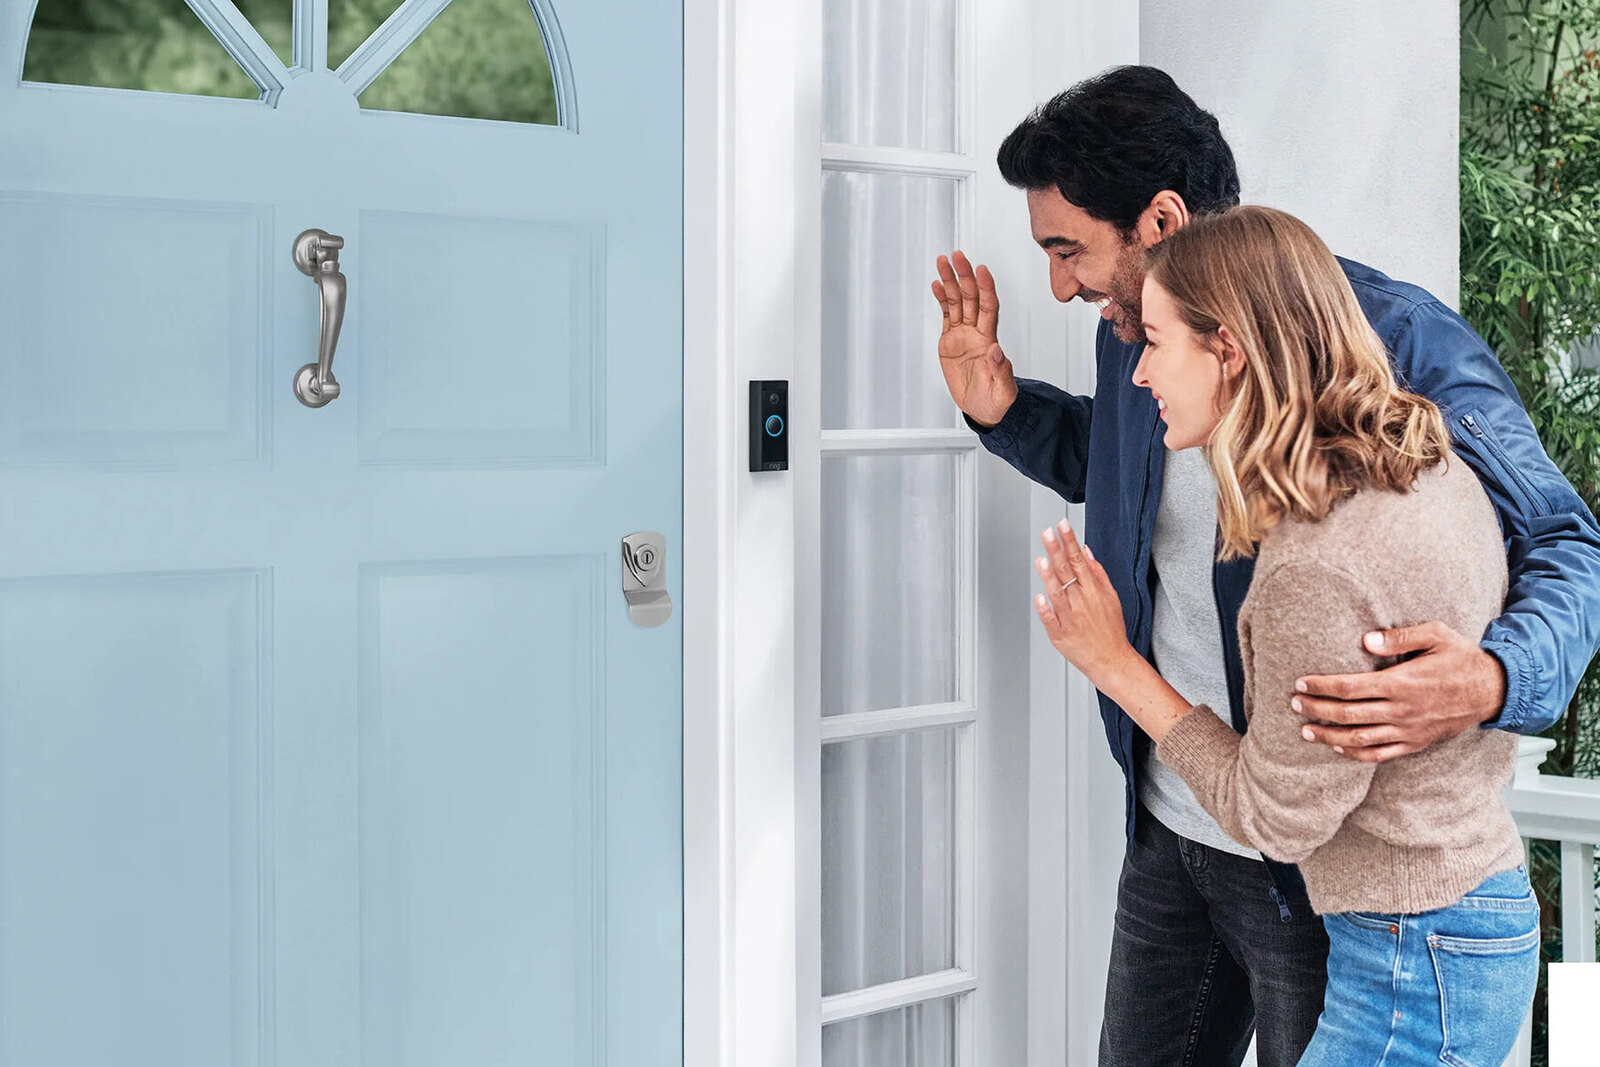
Welcome to the world of home security and convenience with the Ring Doorbell! This revolutionary device has changed the way we monitor our homes, allowing us to see and communicate with visitors at our front doors from anywhere using our smartphones or tablets. While the Ring Doorbell can be powered by a built-in rechargeable battery, hardwiring it offers a more reliable power source and eliminates the need for frequent battery charging.
In this article, we will explore the process of hardwiring a Ring Doorbell to ensure a constant power supply and uninterrupted functionality. We will guide you through the necessary tools and equipment, the installation steps, and how to troubleshoot common issues that may arise along the way. So, let’s get started and turn your Ring Doorbell into a fully hardwired security solution!
Key Takeaways:
- Hardwiring your Ring Doorbell provides a reliable power source, unlocks advanced features, and eliminates the need for frequent battery charging, ensuring continuous security and convenience for your home.
- Before hardwiring, gather the necessary tools and equipment, prepare the installation site, and follow step-by-step wiring instructions. Test the hardwired connection and troubleshoot common issues for a seamless Ring Doorbell experience.
Read more: How Do You Reset A Ring Doorbell
Understanding the Ring Doorbell
Before diving into the process of hardwiring your Ring Doorbell, it’s important to have a good understanding of the device itself. The Ring Doorbell is a video doorbell that connects to your home’s Wi-Fi network, allowing you to see and talk to anyone at your front door using your smartphone or tablet. It is equipped with a high-definition camera that provides a clear view of your doorstep, and it also features motion detection, two-way audio communication, and even night vision.
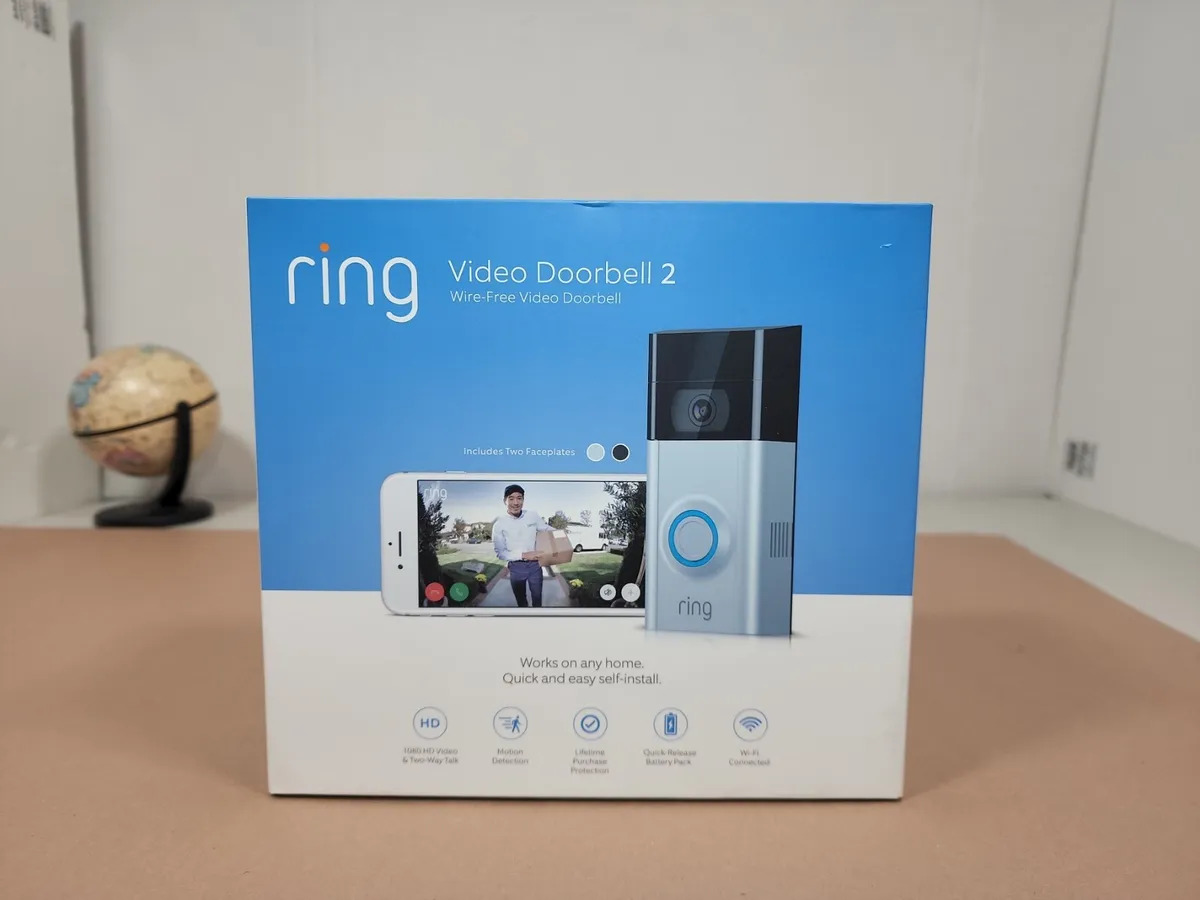
The Ring Doorbell comes in various models, including the Ring Video Doorbell, Ring Video Doorbell 2, Ring Video Doorbell 3, and so on, each with its own unique features and specifications. However, the process of hardwiring is similar for all models, so the information provided in this article should be applicable to your specific device.
One of the advantages of hardwiring your Ring Doorbell is the constant power supply it provides. With a hardwired connection, you no longer need to worry about charging the device’s battery regularly. Additionally, hardwiring ensures that your Ring Doorbell stays powered even during extended periods of use or when the battery is low. This is particularly important for users who live in areas with extreme temperatures, where battery life may be significantly reduced.
Another benefit of hardwiring is the ability to use the advanced features of your Ring Doorbell, such as continuous video recording or enabling professional monitoring through a Ring Protect subscription. These features require a stable power source to function properly, which can be achieved through hardwiring.
Now that you have a better understanding of the Ring Doorbell and the advantages of hardwiring, let’s move on to the next section, where we’ll discuss the tools and equipment you’ll need to gather before starting the installation process.
Gathering the Necessary Tools and Equipment
Before you begin the installation process of hardwiring your Ring Doorbell, it’s important to gather all the necessary tools and equipment. By having everything ready beforehand, you’ll streamline the process and ensure a smooth installation. Here’s a list of items you’ll need:
- A Ring Doorbell unit (compatible with hardwiring)
- A low-voltage transformer
- Doorbell wires (usually 18-22 gauge)
- A screwdriver
- Wire strippers/cutters
- A voltage tester
- A drill (with appropriate drill bits)
- Anchors and screws for mounting the device
- A level
- A power drill
- A smartphone or tablet with the Ring app installed
Ensure that the Ring Doorbell model you have is compatible with hardwiring. You can check this by referring to the manufacturer’s specifications or the product documentation.
The low-voltage transformer is crucial for providing the proper power supply to your Ring Doorbell. Ensure that the transformer is compatible with the voltage requirements of the device and can meet its power demands.
The doorbell wires will be used to connect the Ring Doorbell to the low-voltage transformer. It’s recommended to use wires with a gauge size of 18-22 for optimal performance.
A screwdriver is necessary for removing existing doorbell components, loosening and tightening screws during the installation process, and securing the Ring Doorbell onto the mounting bracket.
Wire strippers/cutters are essential for preparing the ends of the doorbell wires for a proper connection. Ensure that the stripper/cutters are compatible with the gauge size of the wires you’re using.
A voltage tester is used to determine if the wires have a live electrical current. This step is crucial for your safety and to prevent any mishaps during the installation process.
A drill with appropriate drill bits will be required for creating holes in the wall to mount the Ring Doorbell and for any additional wiring needs. Make sure you have the right drill bits for the type of material you’re working with.
Anchors and screws are used to securely mount the Ring Doorbell onto the wall or door frame. Ensure that you have the appropriate size and type of anchors and screws for your specific mounting surface.
A level is necessary to ensure that the Ring Doorbell is installed in a perfectly horizontal position. This will help with its appearance and functionality.
A power drill will be needed to drive the screws into the anchors and secure the Ring Doorbell to the mounting bracket.
Lastly, you’ll need a smartphone or tablet with the Ring app installed. This will allow you to configure and set up your Ring Doorbell, as well as monitor and control it once it’s installed and connected.
By gathering all these tools and equipment beforehand, you’ll be well-prepared for the installation process and minimize any potential interruptions or delays.
Preparing for Installation
Before you start the installation process of hardwiring your Ring Doorbell, it’s important to take a few necessary steps to ensure a smooth and trouble-free installation. Here are some key preparations to make:
- Turn off the power: Begin by turning off the power supply to your existing doorbell system. Locate the breaker switch that controls the doorbell circuit and switch it off to avoid any electrical mishaps during the installation process. Use a voltage tester to double-check that the power is indeed turned off.
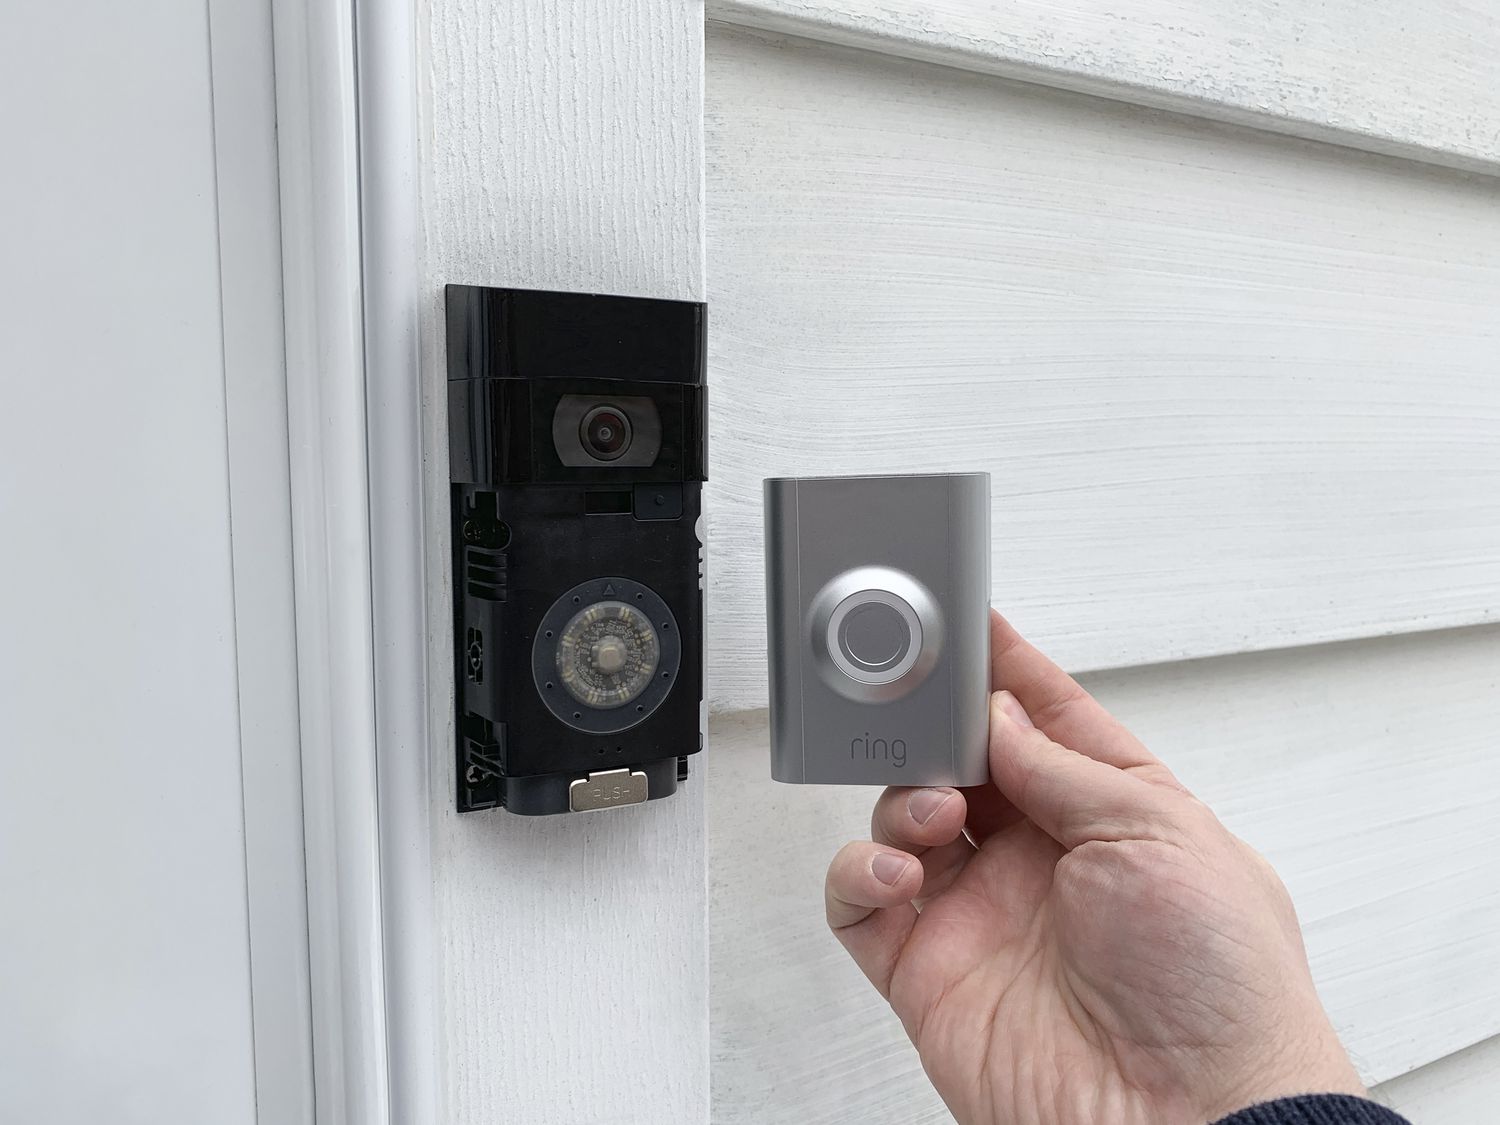
- Remove the existing doorbell: If you have an existing doorbell installed, carefully remove it from the wall or door frame. This may involve unscrewing the doorbell plate or cover and disconnecting the wires that are connected to it. Take note of how the wires are connected, as this will be helpful when installing the Ring Doorbell.
- Inspect the wiring and transformer: Once the existing doorbell is removed, inspect the wiring and the transformer. Ensure that there are no frayed or damaged wires. If any issues are detected, it’s recommended to address them before proceeding with the hardwiring installation.
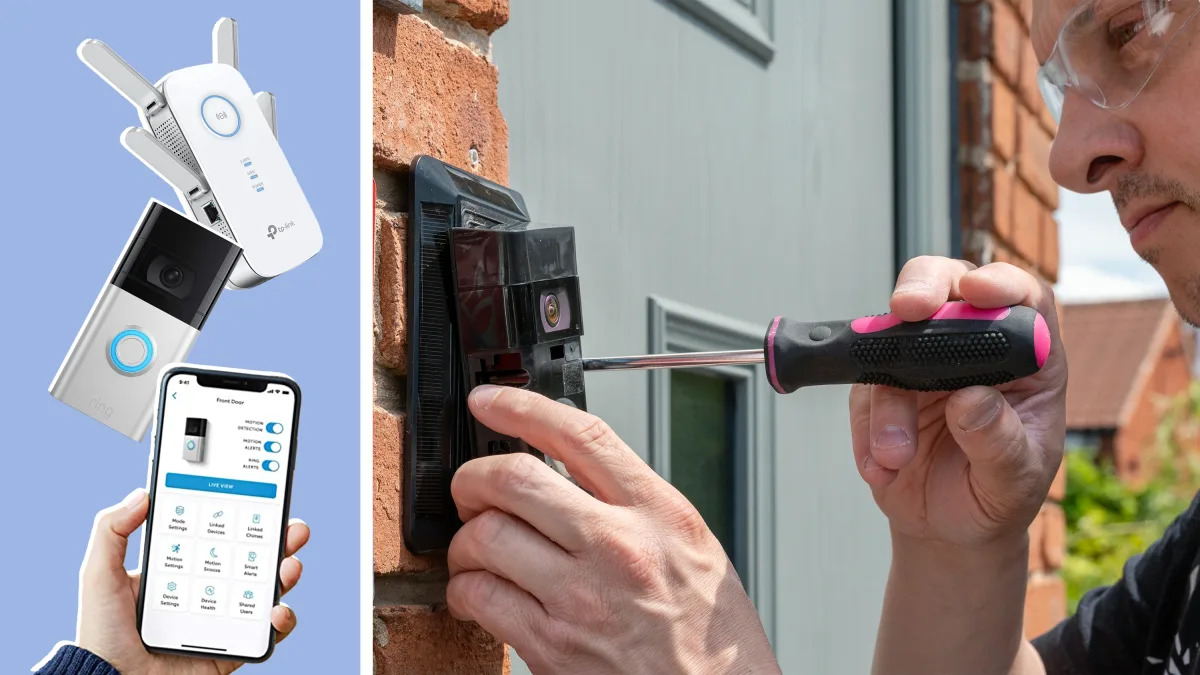
- Check Wi-Fi signal strength: The Ring Doorbell relies on a strong Wi-Fi signal for optimal performance. Before installation, check the Wi-Fi signal strength near the location where you plan to mount the Ring Doorbell. If the signal is weak, consider installing a Wi-Fi extender or repositioning your router for better coverage.
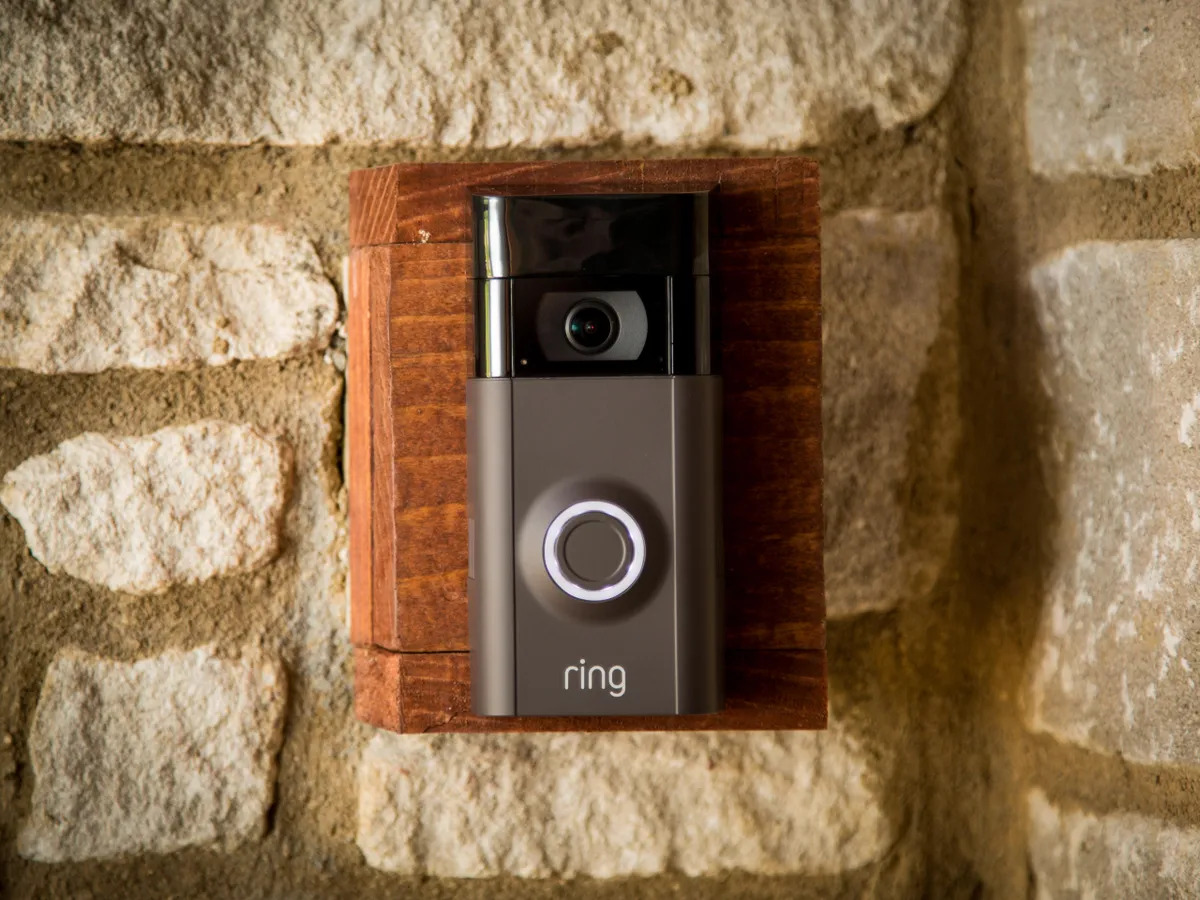
- Select a suitable mounting location: Choose a suitable location for mounting the Ring Doorbell. The ideal position is at eye level, around 48-56 inches from the ground. Make sure the location provides a clear view of the front door area and is within reach of the existing doorbell wires.
- Prepare the mounting surface: Clean the mounting surface, whether it’s a wall or door frame, to ensure a strong and secure attachment. Remove any dirt, debris, or peeling paint that could interfere with the adhesive or mounting process.
- Ensure proper orientation: Before installing the Ring Doorbell, take note of its proper orientation. The camera lens should be positioned at the top, with the “Ring” logo facing the front. This will ensure that the device captures a clear and accurate view of your doorstep.
By following these preparation steps, you’ll create a solid foundation for the installation process. This will help to minimize any potential issues and ensure a successful and hassle-free hardwiring of your Ring Doorbell.
When hardwiring a Ring Doorbell, make sure to turn off the power at the breaker before starting. Follow the manufacturer’s instructions for proper wiring and use a voltage tester to ensure the power is off before making any connections.
Wiring the Ring Doorbell
Now that you have gathered the necessary tools and equipment and prepared for the installation, it’s time to wire your Ring Doorbell. Follow these step-by-step instructions to ensure a successful wiring process:
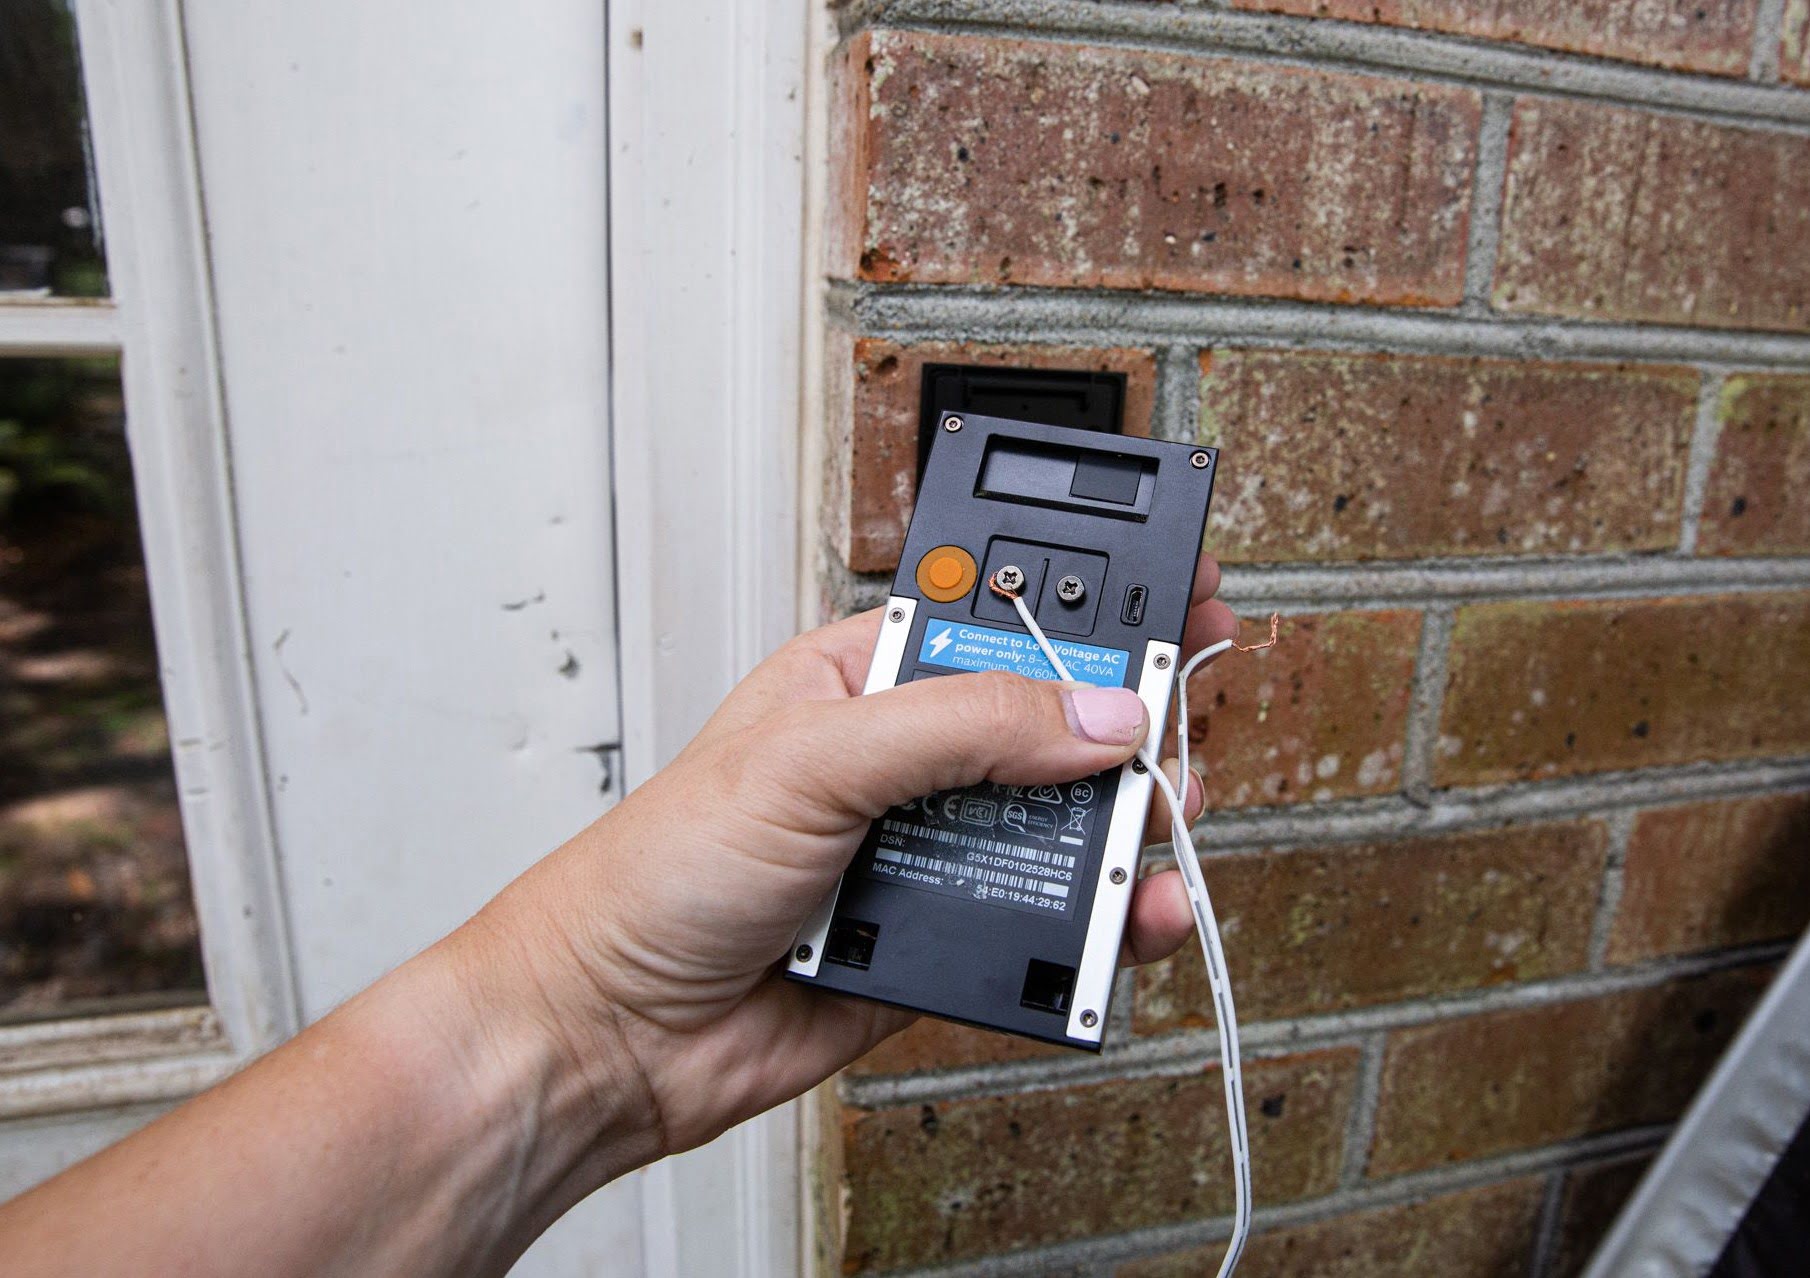
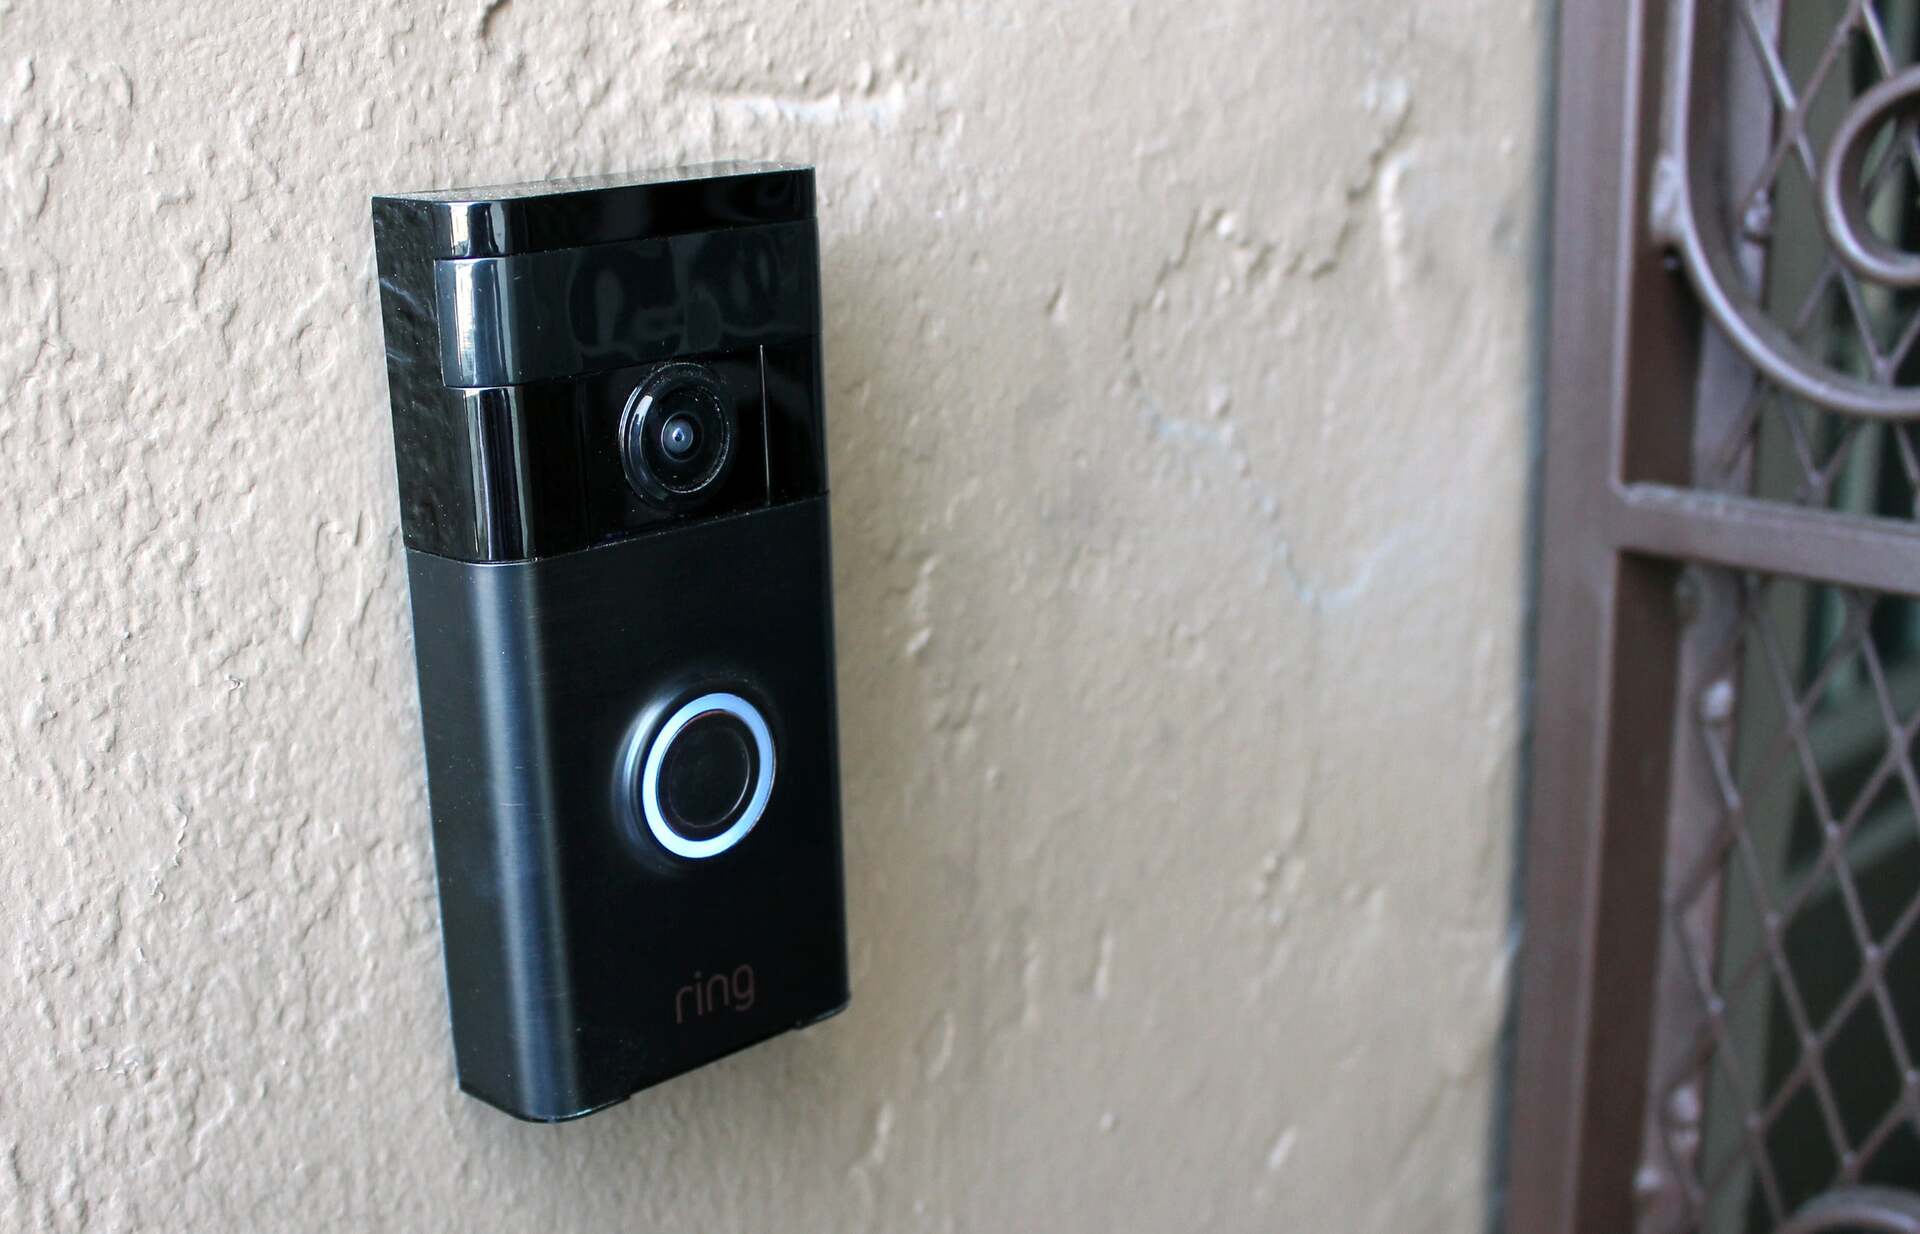
- Identify the doorbell wires: Locate the doorbell wires coming from the wall or door frame. These wires are typically color-coded, with one wire being labeled as “trans” or “transformer” (commonly white or red) and the other wire labeled as “front” or “bell” (commonly green or blue). Take note of which wire is connected to each terminal.
- Connect the doorbell wires: Strip the ends of the doorbell wires to expose a small portion of bare wire. Insert the wires into the appropriate terminals on the back of the Ring Doorbell. The “trans” or “transformer” wire should be connected to the terminal labeled “TRANS” or “TR,” and the “front” or “bell” wire should be connected to the terminal labeled “FRONT” or “BELL.”
- Secure the wires: Once the wires are properly connected, use a screwdriver to tighten the screws on the terminals. This will ensure a secure and stable connection between the wires and the Ring Doorbell.
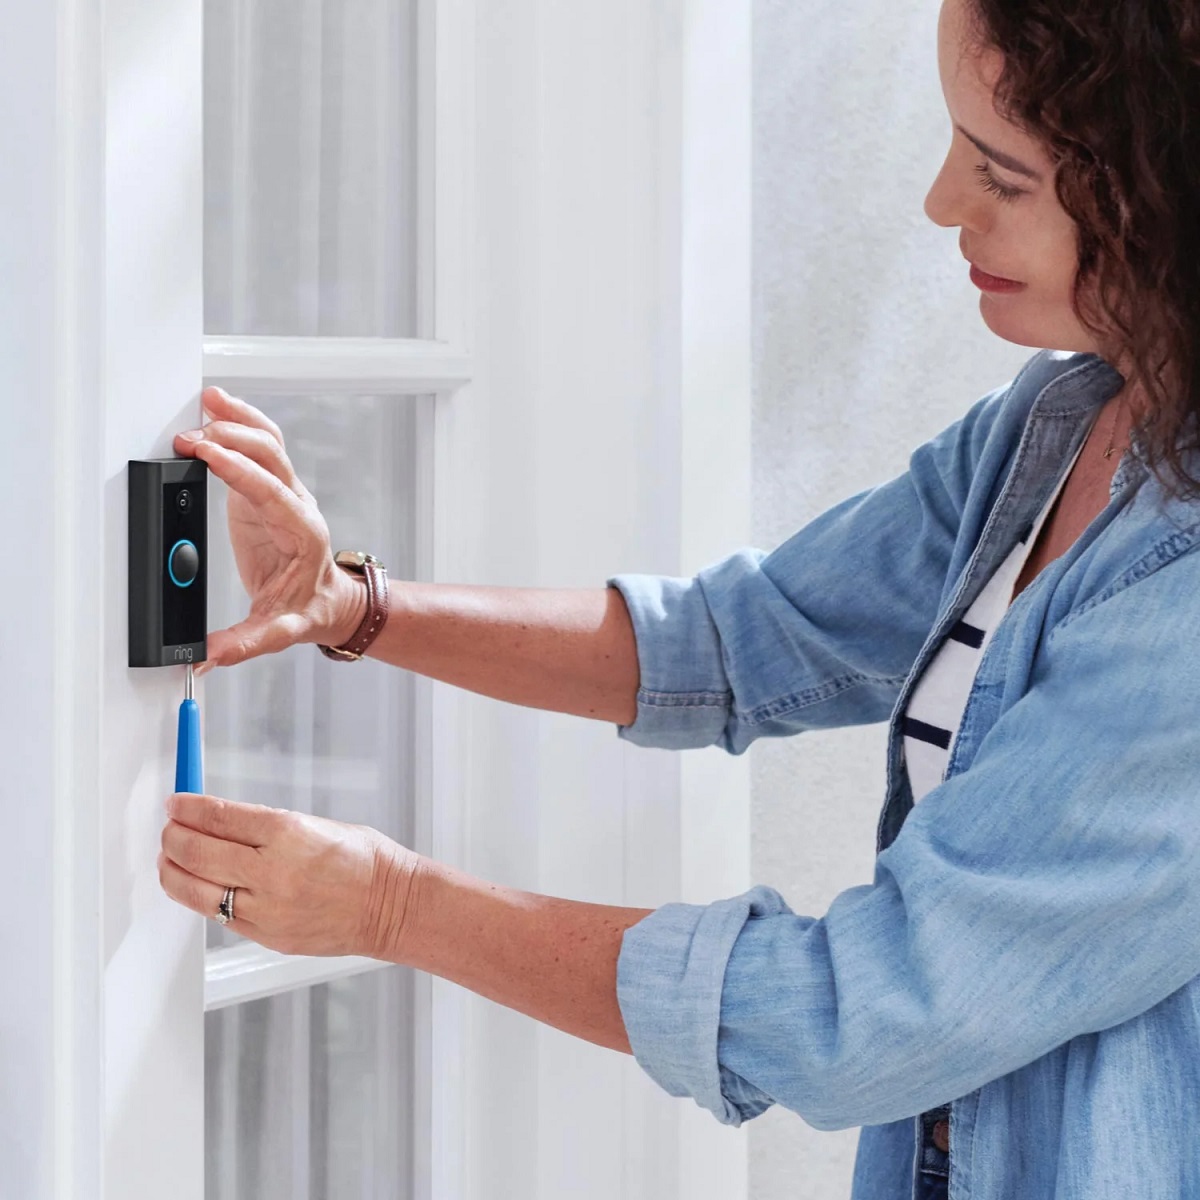
- Mount the Ring Doorbell: Align the mounting bracket with the holes on the back of the Ring Doorbell and press it firmly into place. Use the provided screws and a power drill to secure the mounting bracket to the wall or door frame. Ensure that the bracket is level and firmly attached.
- Attach the Ring Doorbell: Carefully slide the Ring Doorbell onto the mounting bracket until it clicks into place. Make sure it is securely attached and does not move or wobble. Use a screwdriver to tighten the security screws on the bottom of the device, which will prevent it from being easily removed.
- Restore power: Once the Ring Doorbell is securely mounted, restore power to the doorbell circuit by turning on the breaker switch. Use a voltage tester to confirm that a proper electrical current is present.
With these steps completed, your Ring Doorbell should now be successfully hardwired and ready to use. Remember to follow any additional setup instructions provided by the manufacturer, such as connecting the device to your Wi-Fi network and configuring the Ring app on your smartphone or tablet. This will allow you to access the full range of features and functionalities offered by the Ring Doorbell.
If you encounter any issues during the wiring process, refer to the troubleshooting section in this article for common problems and possible solutions. Otherwise, proceed to the next step and test the hardwired connection of your Ring Doorbell.
Read more: How Do You Remove A Ring Doorbell
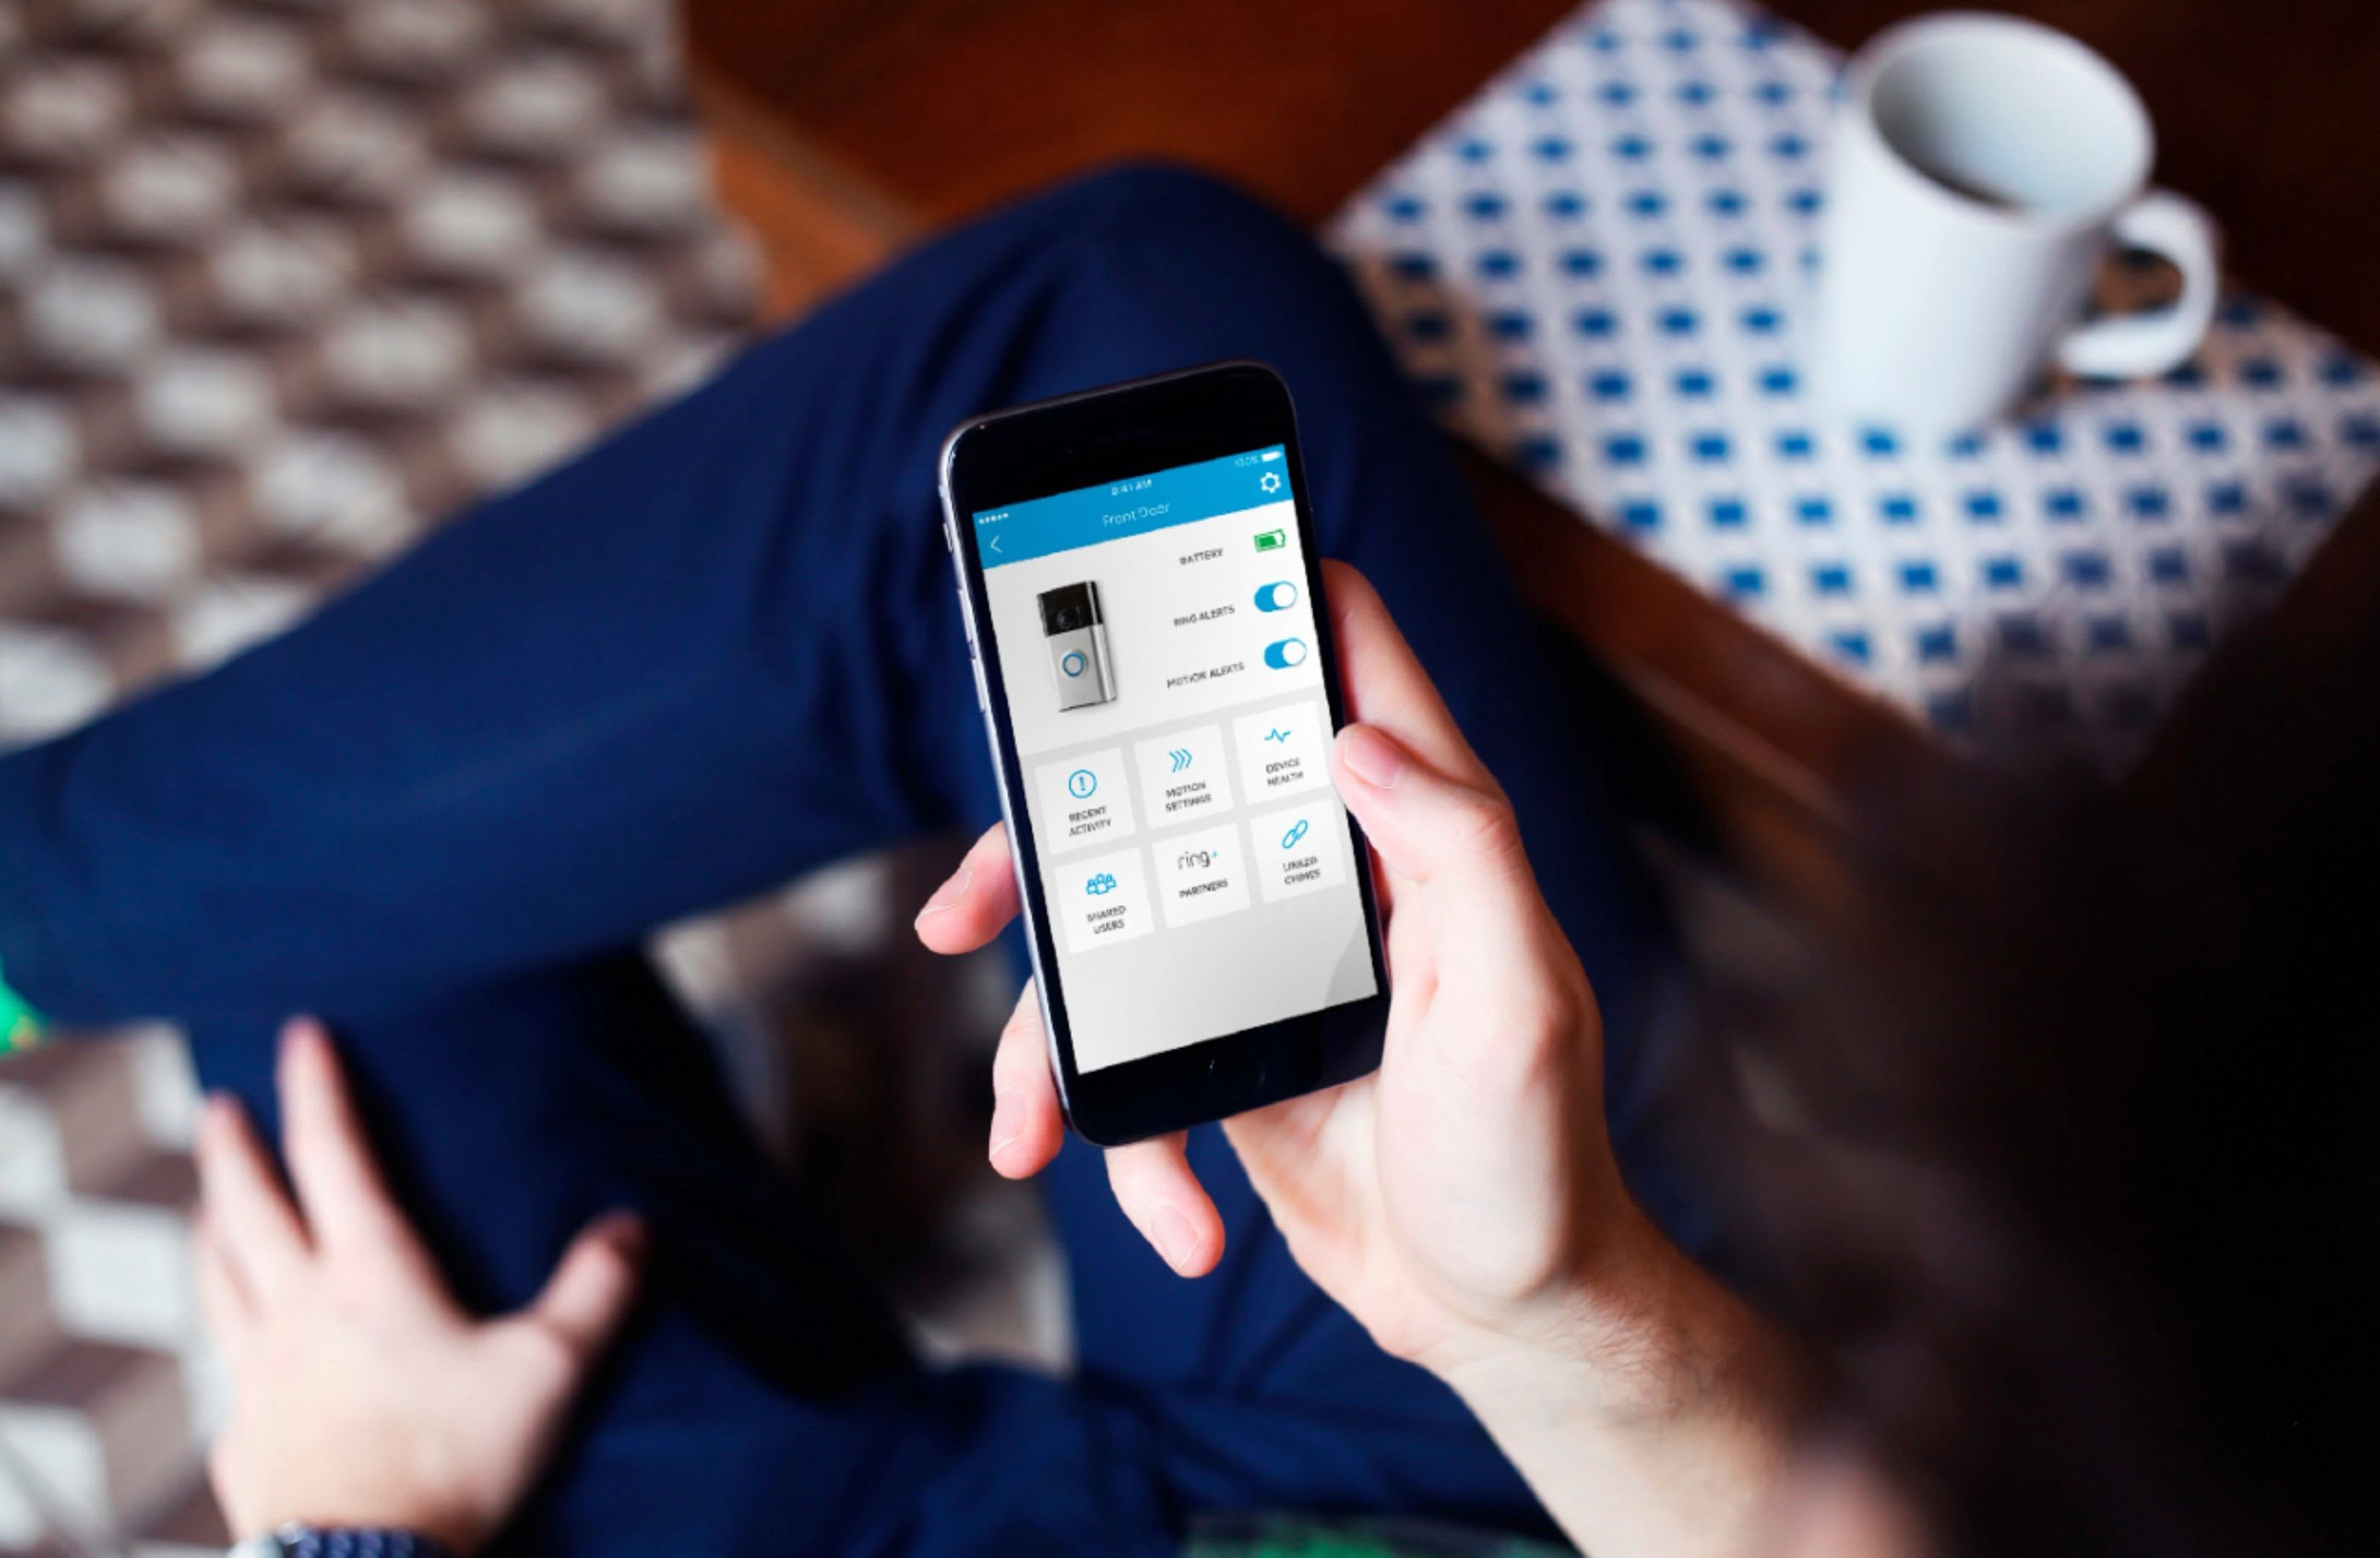
Testing the Hardwired Connection
After successfully wiring your Ring Doorbell, it’s important to test the hardwired connection to ensure that everything is functioning properly. Follow these steps to test the connection:
- Open the Ring app: Launch the Ring app on your smartphone or tablet. If you haven’t already done so, log in to your Ring account or create a new one.
- Select your Ring Doorbell: From the app’s main screen, select your Ring Doorbell from the list of devices associated with your account.
- Check the device status: Once you’re on the device’s dashboard, check the status of your Ring Doorbell. It should indicate that the device is online and connected. If it shows an offline status, double-check your Wi-Fi connection and ensure that the Ring Doorbell is properly mounted and wired.
- Perform a test call: From the device’s dashboard, initiate a test call or live view by tapping on the corresponding button. This will activate the camera and microphone of your Ring Doorbell, allowing you to see and hear the live feed from your front door.
- Check for proper functionality: During the test call or live view, ensure that you can clearly see and hear what is happening at your front door. Verify that the motion detection feature is working by moving in front of the Ring Doorbell and checking if you receive a notification or see a video recording triggered by the motion.
- Test the two-way audio: While viewing the live feed, test the two-way audio feature. Speak into your smartphone or tablet, and check if the sound is transmitted to the Ring Doorbell. Also, listen for any audio coming from the Ring Doorbell through your device’s speakers.
- Monitor recordings and notifications: After completing the test call, review the recordings and notifications generated by your Ring Doorbell. Ensure that the device is correctly capturing and storing events when motion is detected or when someone presses the doorbell button.
If all the above steps are functioning as expected, congratulations! Your Ring Doorbell is now successfully hardwired and fully operational. You can now enjoy the convenience and security of monitoring your front door from anywhere using the Ring app.
However, if you encounter any issues during the testing process, refer to the troubleshooting section in this article for common problems and possible solutions. Alternatively, you can consult the official Ring support documentation or contact their customer support for further assistance.
Now that you have tested the hardwired connection, you can sit back and enjoy the peace of mind that comes with your new Ring Doorbell installation.
Troubleshooting Common Issues
While hardwiring your Ring Doorbell can provide a reliable and uninterrupted power source, you may encounter some common issues during the installation process or while using the device. Here are a few troubleshooting tips to help you resolve these issues:
- No power or device not turning on:
- Double-check the wiring connections to ensure they are secure and properly connected.
- Test the voltage of the transformer to ensure it is within the required range for your Ring Doorbell.
- Verify that the breaker switch supplying power to the doorbell circuit is switched on.
- Check for any blown fuses or tripped circuit breakers that may be affecting the power supply.
- Poor Wi-Fi signal or frequent disconnections:
- Check the signal strength of your Wi-Fi network near the location where you mounted the Ring Doorbell.
- Consider installing a Wi-Fi range extender to improve signal coverage in the area.
- Ensure that your Wi-Fi network is on a channel with minimal interference from other devices.
- Move your router closer to the Ring Doorbell or consider repositioning it to improve signal strength.
- Inaccurate motion detection or excessive false alerts:
- Adjust the motion sensitivity settings in the Ring app to find the optimal level for your specific environment.
- Ensure that the motion zones are properly configured to cover the desired area and avoid capturing unnecessary movements.
- Clean the camera lens and remove any obstructions, such as spider webs or debris, that may be affecting the motion detection capabilities.
- Poor audio quality during two-way communication:
- Ensure that your smartphone or tablet has a stable and strong internet connection when using the Ring app for two-way communication.
- Move closer to the Ring Doorbell to improve the signal strength between your device and the doorbell.
- Check for any obstructions or interference in the sound path, such as excessive background noise or obstacles blocking the microphone or speaker.
- Device freezing, lagging, or unresponsive:
- Ensure that your Ring Doorbell is running the latest firmware version. Update the firmware through the Ring app if necessary.
- Restart your Ring Doorbell by disconnecting and reconnecting the power source.
- Clear the cache and data of the Ring app on your smartphone or tablet, then relaunch the app.
- If the issue persists, contact Ring customer support for further assistance.
If you encounter any other issues or problems not covered in this list, consult the official Ring support documentation or reach out to their customer support for personalized assistance. They have a team of experts ready to help you troubleshoot and resolve any issues you may be experiencing with your Ring Doorbell.
Remember, with patience and the right troubleshooting steps, you can overcome any obstacles and enjoy the full functionality of your hardwired Ring Doorbell.
Conclusion
Congratulations on successfully hardwiring your Ring Doorbell! By following the steps outlined in this article, you have transformed your Ring Doorbell into a reliable and continuously powered security solution for your home. With a stable power source, you can enjoy the convenience of constant monitoring, two-way communication with visitors, and enhanced security features.
We started by understanding the Ring Doorbell and the benefits of hardwiring. We then discussed the necessary tools and equipment you need to gather before starting the installation process. Preparing for the installation and ensuring a safe and suitable location for mounting your Ring Doorbell were also important steps in the process. Wiring the Ring Doorbell involved connecting the doorbell wires to the appropriate terminals and securely attaching the device to the mounting bracket.
After completing the wiring, we tested the hardwired connection to ensure everything was working properly. We checked the status of the device, performed a test call, and verified the functionality of features such as motion detection and two-way audio. Finally, we provided troubleshooting tips for common issues you may encounter during the installation or while using your Ring Doorbell.
Remember, if you run into any difficulties or require further assistance, consult the official Ring support documentation or contact their customer support. They are available to help you overcome any challenges and ensure that your Ring Doorbell operates smoothly and effectively.
Hardwiring your Ring Doorbell not only provides a reliable power source but also unlocks advanced features and functionalities. Enjoy the peace of mind that comes with having a fully powered and connected doorbell, allowing you to monitor your front doorstep from anywhere at any time.
Thank you for joining us on this journey to hardwire your Ring Doorbell. We hope this article has been informative and helpful in your home security endeavors. Stay connected, stay secure, and enjoy the enhanced convenience that a hardwired Ring Doorbell brings to your life!
Now that you've mastered hardwiring your Ring Doorbell, why stop there? If you're keen on further enhancing your doorbell system, our guide on how to install a doorbell transformer offers clear steps to ensure your setup is flawless. For those considering broader safety measures, our detailed look into essential home security strategies provides essential insights and strategies to protect your home. Lastly, if you're itching for more hands-on projects, dive into our hands-on home improvement tips that can transform your living space without breaking the bank.
Frequently Asked Questions about How Do You Hardwire A Ring Doorbell
Was this page helpful?
At Storables.com, we guarantee accurate and reliable information. Our content, validated by Expert Board Contributors, is crafted following stringent Editorial Policies. We're committed to providing you with well-researched, expert-backed insights for all your informational needs.


0 thoughts on “How Do You Hardwire A Ring Doorbell”