Articles
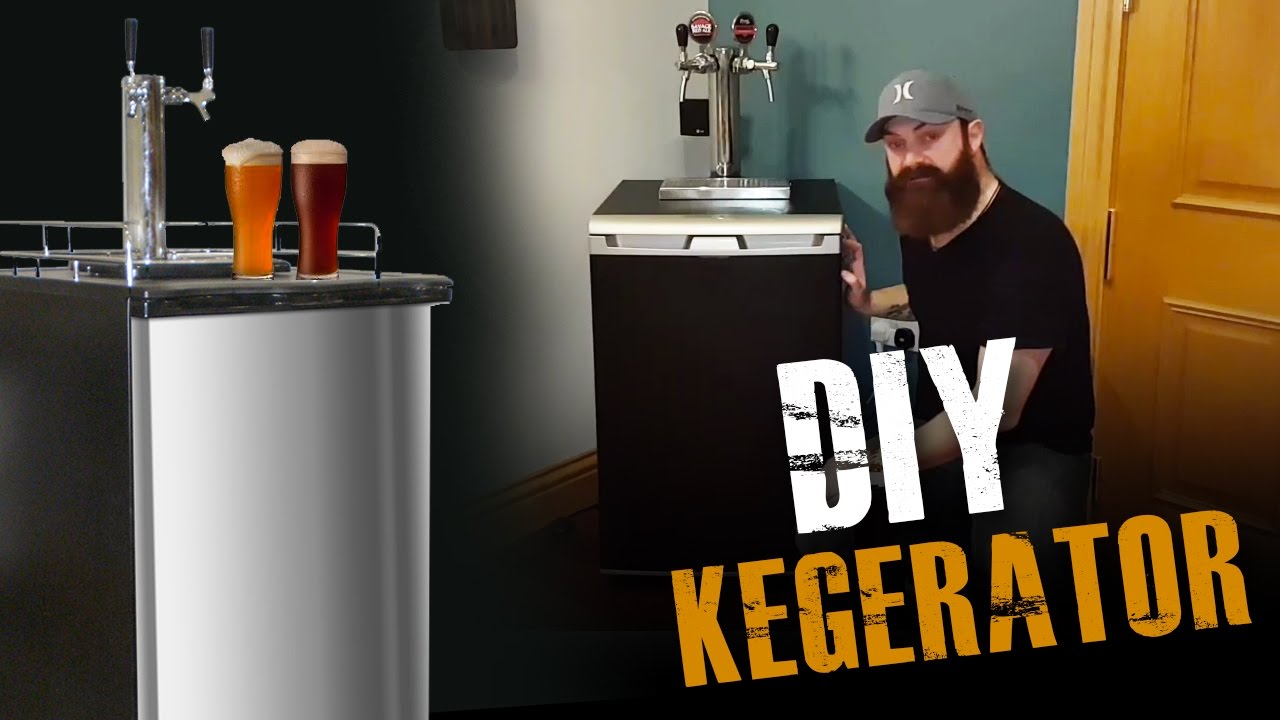
How To Improve A Danby Kegerator
Modified: February 20, 2024
Learn how to improve your Danby kegerator with our informative articles. Discover tips and tricks to enhance its performance and maximize your beer enjoyment.
(Many of the links in this article redirect to a specific reviewed product. Your purchase of these products through affiliate links helps to generate commission for Storables.com, at no extra cost. Learn more)
Introduction
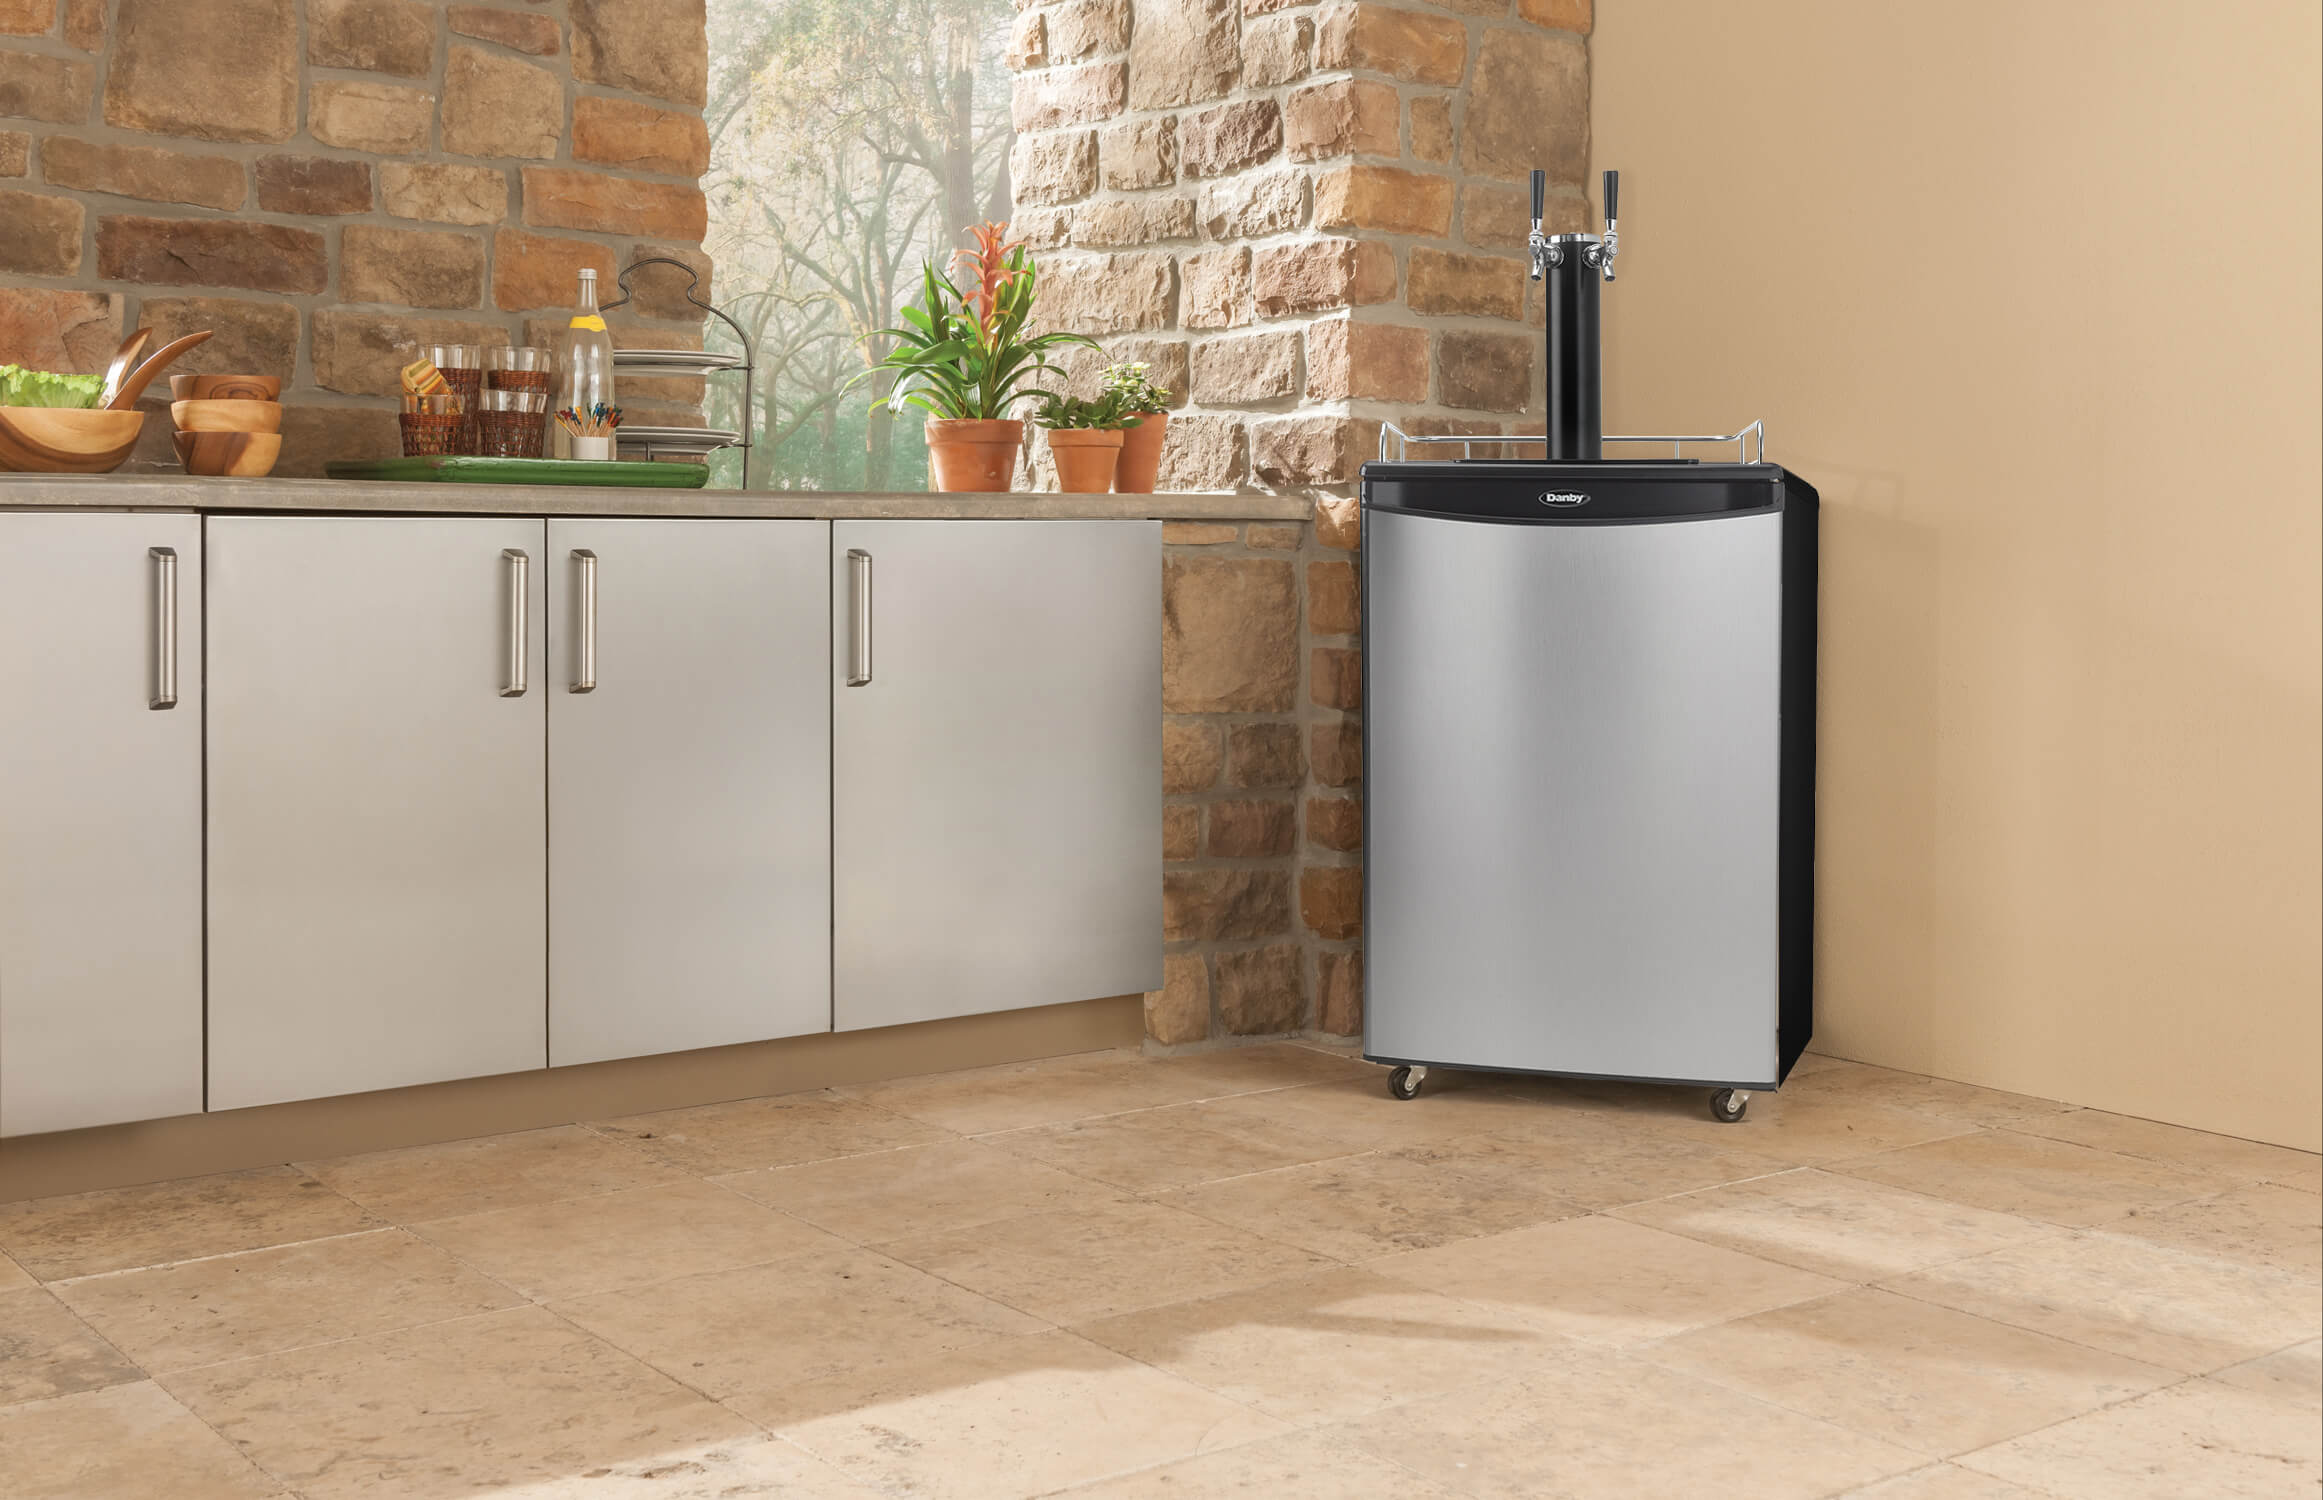
Welcome to our comprehensive guide on how to improve a Danby Kegerator. If you’re a beer enthusiast or someone who loves hosting parties, a kegerator is an excellent investment. A Danby kegerator, known for its quality and reliability, allows you to enjoy freshly tapped beer in the comfort of your own home.
While the Danby kegerator is a fantastic addition to any home bar, there are always ways to enhance its performance and maximize your beer-drinking experience. In this article, we will provide you with valuable tips and tricks to improve your Danby kegerator, ensuring that you enjoy perfectly chilled and carbonated beer every time.
Whether you’re new to owning a kegerator or have been enjoying your Danby kegerator for a while, we will guide you through various aspects of maintenance, troubleshooting common issues, and even upgrading and customizing your kegerator to suit your preferences.
So, let’s dive in and discover how to take your Danby kegerator to the next level!
Key Takeaways:
- Keep your Danby kegerator in top shape by regularly cleaning tap lines, beer lines, keg coupler, and drip tray. Proper temperature and CO2 regulation are key to serving the perfect pint every time.
- Elevate your beer-drinking experience by customizing your Danby kegerator with additional taps, a secondary regulator, or a dual-tap setup. Enjoy a variety of beers and have full control over carbonation levels.
Read more: How To Make My Danby Kegerator Colder
Understanding the Danby Kegerator
Before we dive into optimizing your Danby kegerator, let’s take a moment to understand its components and common issues that may arise.
Components of the Danby Kegerator
A Danby kegerator consists of several key components that work together to chill, dispense, and regulate your beer:
- Refrigeration Unit: This is the heart of the kegerator, responsible for cooling your beer to the perfect serving temperature. It usually contains a compressor, evaporator, and condenser.
- Tap Lines: These are the plastic or stainless steel tubes that connect the keg to the faucet, allowing the beer to flow from the keg to your glass.
- Beer Lines: These are the insulated tubes that run from the tap lines to the keg coupler, ensuring that the beer stays cold until it reaches your glass.
- Keg Coupler: The keg coupler is the attachment that connects the keg’s valve to the tap lines, allowing for beer flow and pressure regulation.
- Drip Tray: Located under the faucet, the drip tray collects any excess beer or spills.
Common issues with the Danby Kegerator
While Danby kegerators are known for their quality, you may encounter some common issues during their usage. These issues can include:
- Temperature fluctuations: The kegerator may experience inconsistent temperature readings, resulting in your beer not being chilled to the desired level.
- Foam problems: Excessive foam during dispensing can be caused by various factors, such as incorrect temperature, improper pressure, or dirty lines.
- Carbonation issues: If your beer tastes flat or overly carbonated, there may be a problem with the CO2 pressure or the carbonation level within the keg.
- Leaking: Leaks can occur in the connections between the keg, coupler, and lines, resulting in beer wastage and potential damage to the kegerator.
By understanding these components and potential issues, you can better diagnose and address any problems that may arise with your Danby kegerator. In the next sections, we will explore how to clean and maintain your kegerator, regulate temperature and CO2 levels, troubleshoot common issues, and even upgrade and customize your setup.
Cleaning and Maintenance
Maintaining a clean and sanitary kegerator is essential to ensure the quality and taste of your beer. Regular cleaning not only prevents buildup and contamination but also helps extend the lifespan of your Danby kegerator. Let’s explore the various cleaning steps you should take:
Read more: How To Turn Power Off On A Danby Kegerator
Cleaning the Tap Lines
The tap lines can accumulate beer residue, yeast, and bacteria over time, which can affect the taste and quality of your beer. To clean the tap lines, follow these steps:
- Prepare a cleaning solution by mixing warm water and a keg line cleaner. Consult the cleaner’s instructions for the recommended ratio.
- Attach the cleaning solution to the faucet, disconnecting the keg coupler if necessary.
- Allow the solution to flow through the tap lines for the recommended time, usually around 15 minutes.
- Rinse the lines by flushing them with clean water until no traces of the cleaning solution remain.
Cleaning the Beer Lines
Similar to tap lines, beer lines also need regular cleaning to remove any buildup. Here’s how to clean the beer lines:
- Disconnect the tap lines from the keg coupler.
- Prepare a cleaning solution using warm water and a beer line cleaner. Follow the instructions on the cleaner’s packaging for the appropriate ratio.
- Pour the cleaning solution into a clean container.
- Attach one end of the beer line to the container and run the solution through the line, letting it flow out from the other end.
- Repeat this process a few times until the beer lines are thoroughly cleaned.
Cleaning the Keg Coupler
The keg coupler is a crucial component responsible for maintaining proper beer flow. To clean the keg coupler:
- Disconnect the coupler from the keg.
- Soak the coupler in a cleaning solution for a few minutes.
- Use a brush or cloth to scrub away any residue or buildup.
- Rinse the coupler with clean water and ensure it is completely dry before reattaching it to the keg.
Cleaning the Drip Tray
The drip tray catches any spills or overflow during beer dispensing. To clean the drip tray:
- Remove the drip tray from the kegerator.
- Wash the tray in warm soapy water, scrubbing away any grime or residue.
- Rinse the drip tray thoroughly and dry it before placing it back into the kegerator.
Read also: 11 Best Danby Kegerator Parts For 2024
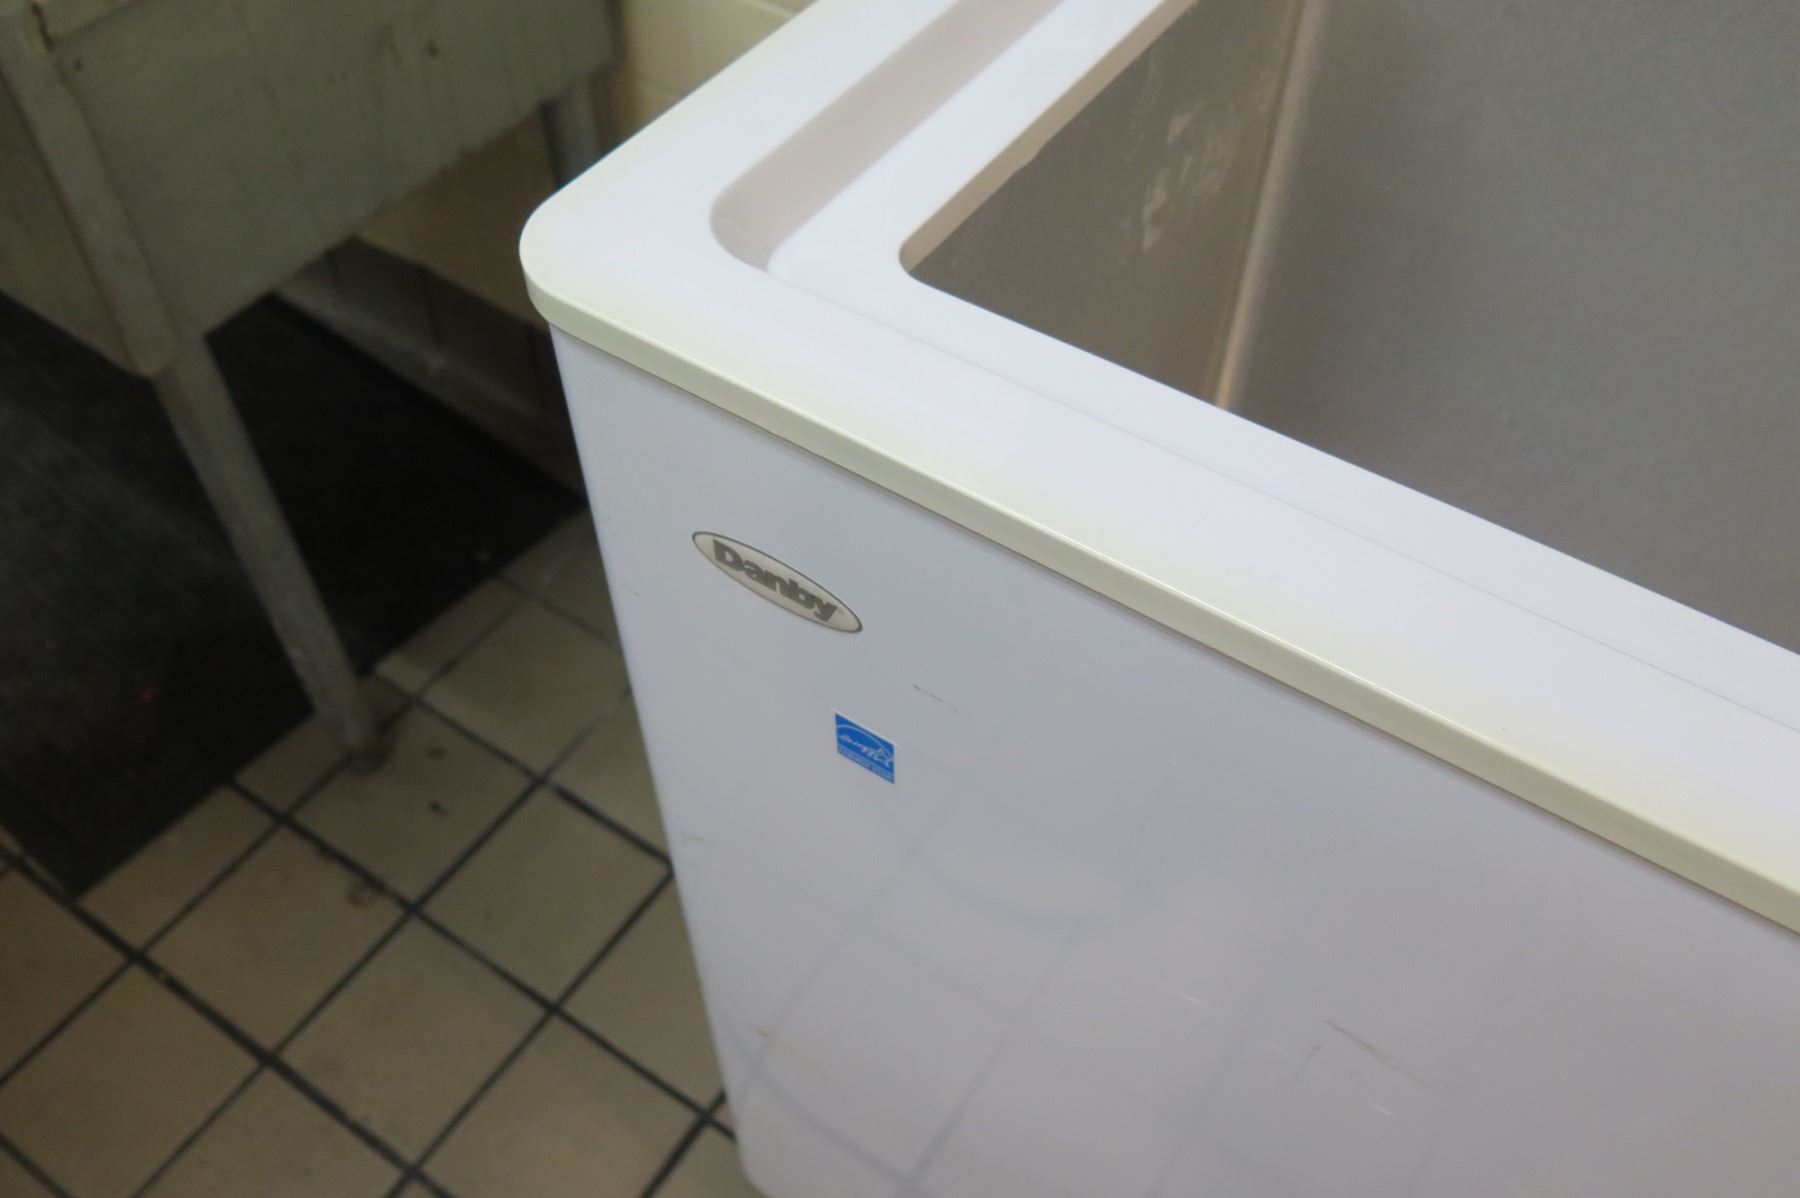
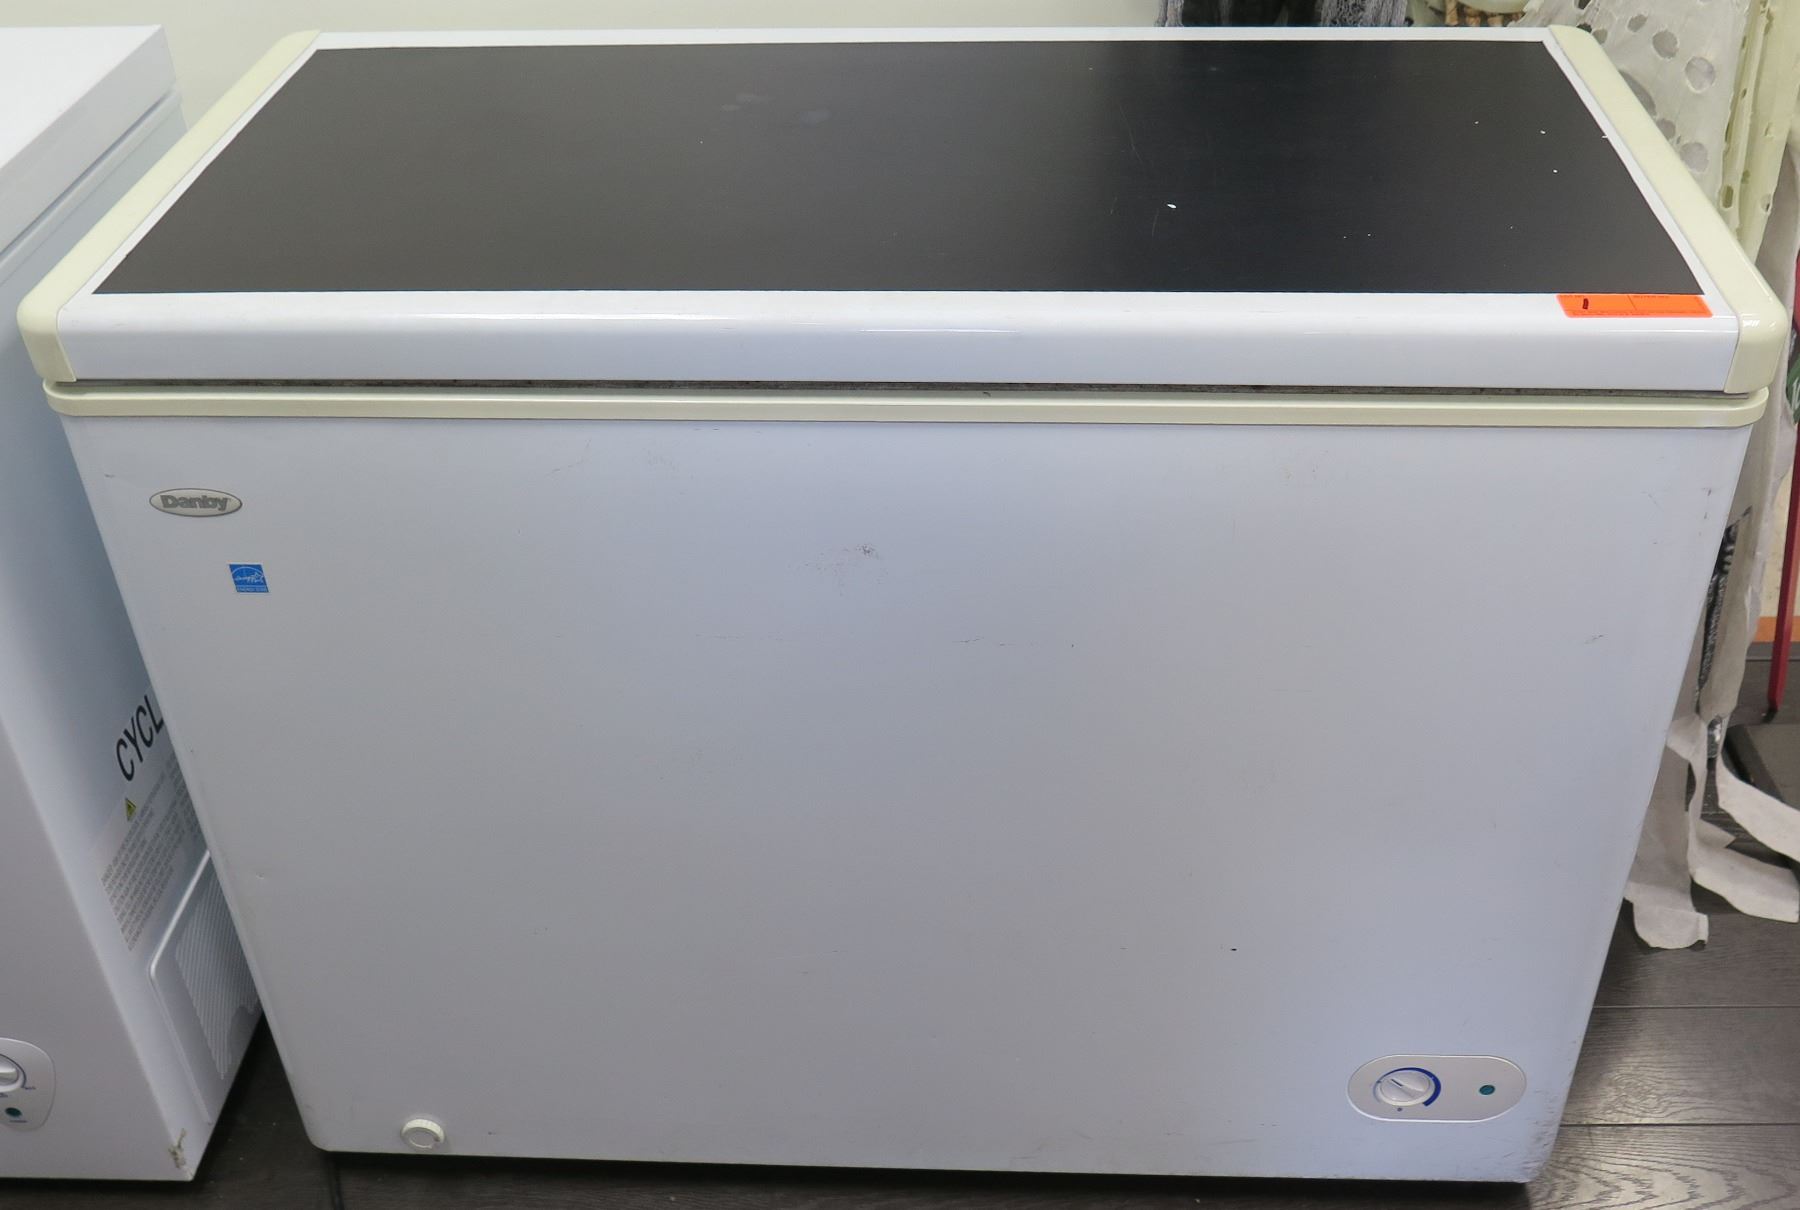
Cleaning the Exterior of the Kegerator
Lastly, don’t forget to clean the exterior of your kegerator to keep it looking great. Use a mild detergent or stainless steel cleaner to wipe down the outside surface, removing any smudges or fingerprints.
By following these cleaning steps regularly, you’ll maintain a clean and sanitary kegerator, ensuring great-tasting beer every time you pour.
Temperature Control
Controlling and maintaining the proper temperature in your Danby kegerator is crucial for serving the perfect pint of beer. Let’s explore how to set the ideal temperature and troubleshoot any temperature fluctuations:
Setting the Ideal Temperature
The ideal temperature for most draft beer is around 38°F to 40°F (3.3°C to 4.4°C). However, depending on the type of beer you’re serving, the optimal temperature may vary slightly. Here’s how to set the temperature:
- Locate the temperature control dial on your Danby kegerator. It is usually located inside the unit, near the top or at the back.
- Turn the dial to adjust the temperature. Start by setting it to the recommended range of 38°F to 40°F (3.3°C to 4.4°C).
- Allow the kegerator some time to cool down. Check the temperature using a thermometer placed inside the unit to ensure it reaches the desired range.
- Make small adjustments to the dial if needed to fine-tune the temperature according to your preference and the beer you’re serving.
Troubleshooting Temperature Fluctuations
If you notice temperature fluctuations in your kegerator, there could be several factors contributing to the issue. Here are some troubleshooting tips:
- Check the thermostat: Make sure the thermostat is functioning correctly and not set too high or too low. Adjust it if necessary.
- Inspect the door seal: A faulty or loose door seal can cause temperature fluctuations. Check the seal for any damage or gaps and replace it if needed.
- Clean the condenser coils: Dust and debris on the condenser coils can hinder their ability to cool the kegerator properly. Regularly clean the coils to improve cooling efficiency.
- Ensure proper ventilation: Make sure there is sufficient space around the kegerator for proper airflow. Avoid placing it in an enclosed area or against a wall.
- Check for obstructions: Make sure the vents and fans inside the kegerator are not blocked by items or kegs, as this can affect the cooling process.
- Consider ambient temperature: Extreme temperatures in the room where the kegerator is located can impact its performance. Avoid placing it in areas prone to high heat or direct sunlight.
By following these steps and troubleshooting tips, you can ensure that your Danby kegerator maintains a consistent and optimal temperature, allowing you to enjoy your beer at its best.
Read also: 11 Best Danby Kegerator For 2024
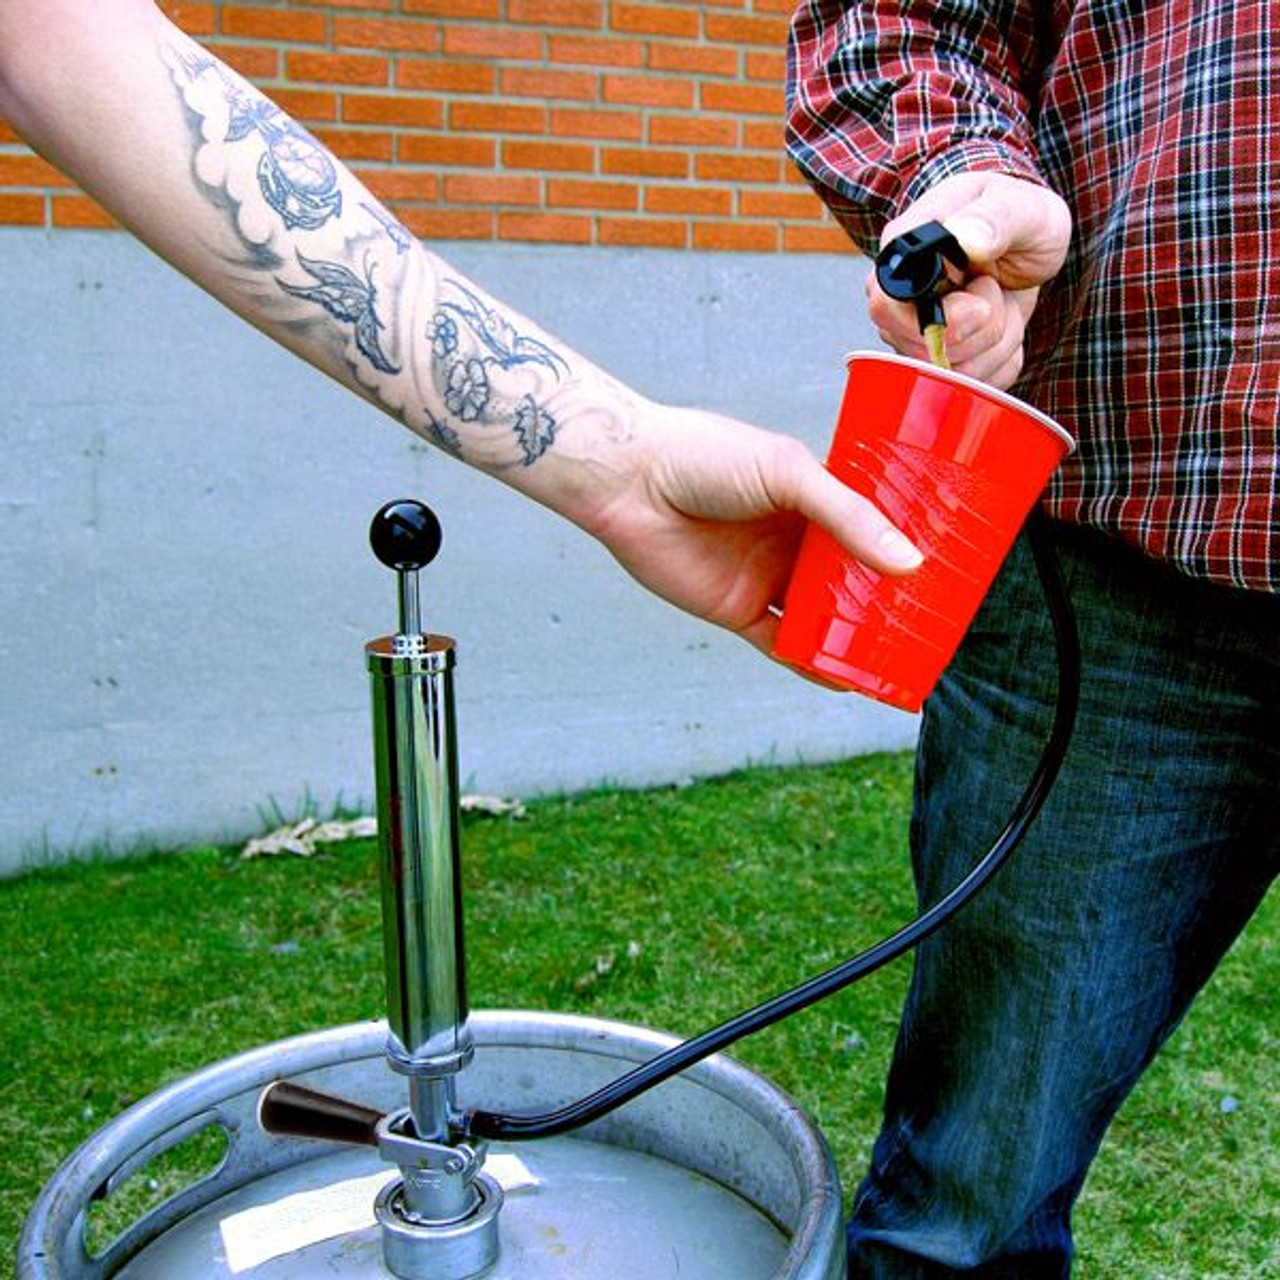
CO2 Regulation
Proper CO2 regulation is essential for carbonating and dispensing your beer from a Danby kegerator. Let’s explore how to adjust the CO2 pressure and check for leaks in the system:
Adjusting the CO2 Pressure
The CO2 pressure in your kegerator determines the carbonation levels and the flow of beer from the tap. Here’s how you can adjust the CO2 pressure:
- Locate the CO2 regulator on your kegerator. It is usually attached to the tank.
- Turn the adjustment knob clockwise to increase the pressure or counterclockwise to decrease it.
- Refer to your beer’s carbonation chart or the specific guidelines provided by the brewery to determine the appropriate CO2 pressure for the style of beer you’re serving.
- Make small adjustments to the CO2 pressure and allow the beer time to carbonate before testing the carbonation level.
Checking for Leaks in the System
Leaks in the CO2 system can lead to beer loss, inconsistent pressure, and potentially damage the kegerator. Here’s how to check for leaks:
- Mix a solution of water and dish soap in a spray bottle.
- Tightly close the CO2 tank valve and disconnect the CO2 line from the keg coupler.
- Spray the soapy water onto all the connections, valves, and joints in the CO2 system.
- While observing, look for any bubbles forming, indicating a leak.
- If you find a leak, tighten the connection or replace any faulty parts like O-rings. If the issue persists, consult a professional.
- After ensuring there are no leaks, reconnect the CO2 line to the keg coupler and reopen the CO2 tank valve.
Regularly checking for leaks and maintaining a properly sealed CO2 system will help you conserve CO2, prevent beer loss, and ensure consistent pressure for optimal carbonation and dispensing.
Dispensing Issues
Dispensing issues can occur with any kegerator, including the Danby model. Foam problems and carbonation issues can greatly impact the quality of the beer you pour. Let’s explore how to troubleshoot these common dispensing issues:
Read also: 9 Best Danby Dishwasher for 2024
Troubleshooting Foam Problems
Excessive foam while pouring beer can be frustrating. Here are some steps you can take to troubleshoot foam problems:
- Check the temperature: Ensure that your kegerator is set to the proper temperature range of 38°F to 40°F (3.3°C to 4.4°C). Beer poured at too warm or too cold temperatures can result in excessive foaming.
- Adjust the CO2 pressure: If the CO2 pressure is too high, it can cause the beer to overcarbonate and produce excessive foam. Consider lowering the CO2 pressure slightly and test the pour.
- Clean the lines: Beer lines with residue or buildup can cause turbulence and result in foaming. Regularly clean the tap and beer lines to ensure a smooth and clean flow.
- Check for line restrictions: Obstructions or kinks in the lines can disrupt the beer flow and lead to foam. Ensure that the lines are properly connected and unobstructed.
Fixing Carbonation Issues
Carbonation issues can result in beer that is either too flat or excessively carbonated. Here’s how you can address carbonation issues:
- Adjust the CO2 pressure: If the beer is flat, increase the CO2 pressure slightly to improve carbonation. If the beer is overly carbonated, lower the CO2 pressure to reduce carbonation levels.
- Give it time: If you’ve recently adjusted the CO2 pressure, allow the beer some time to carbonate or decarbonate before testing it again. Carbonation can take several hours to fully develop.
- Check for leaks: Leaks in the system can affect carbonation levels. Follow the steps mentioned earlier to check for any leaks and address them promptly.
- Reference the proper carbonation levels: Different beer styles require different levels of carbonation. Consult guidelines or resources specific to the beer style you’re serving to ensure you’re carbonating to the appropriate level.
By troubleshooting and addressing foam problems and carbonation issues, you’ll be able to pour that perfect glass of beer with the right amount of foam and carbonation, enhancing your drinking experience.
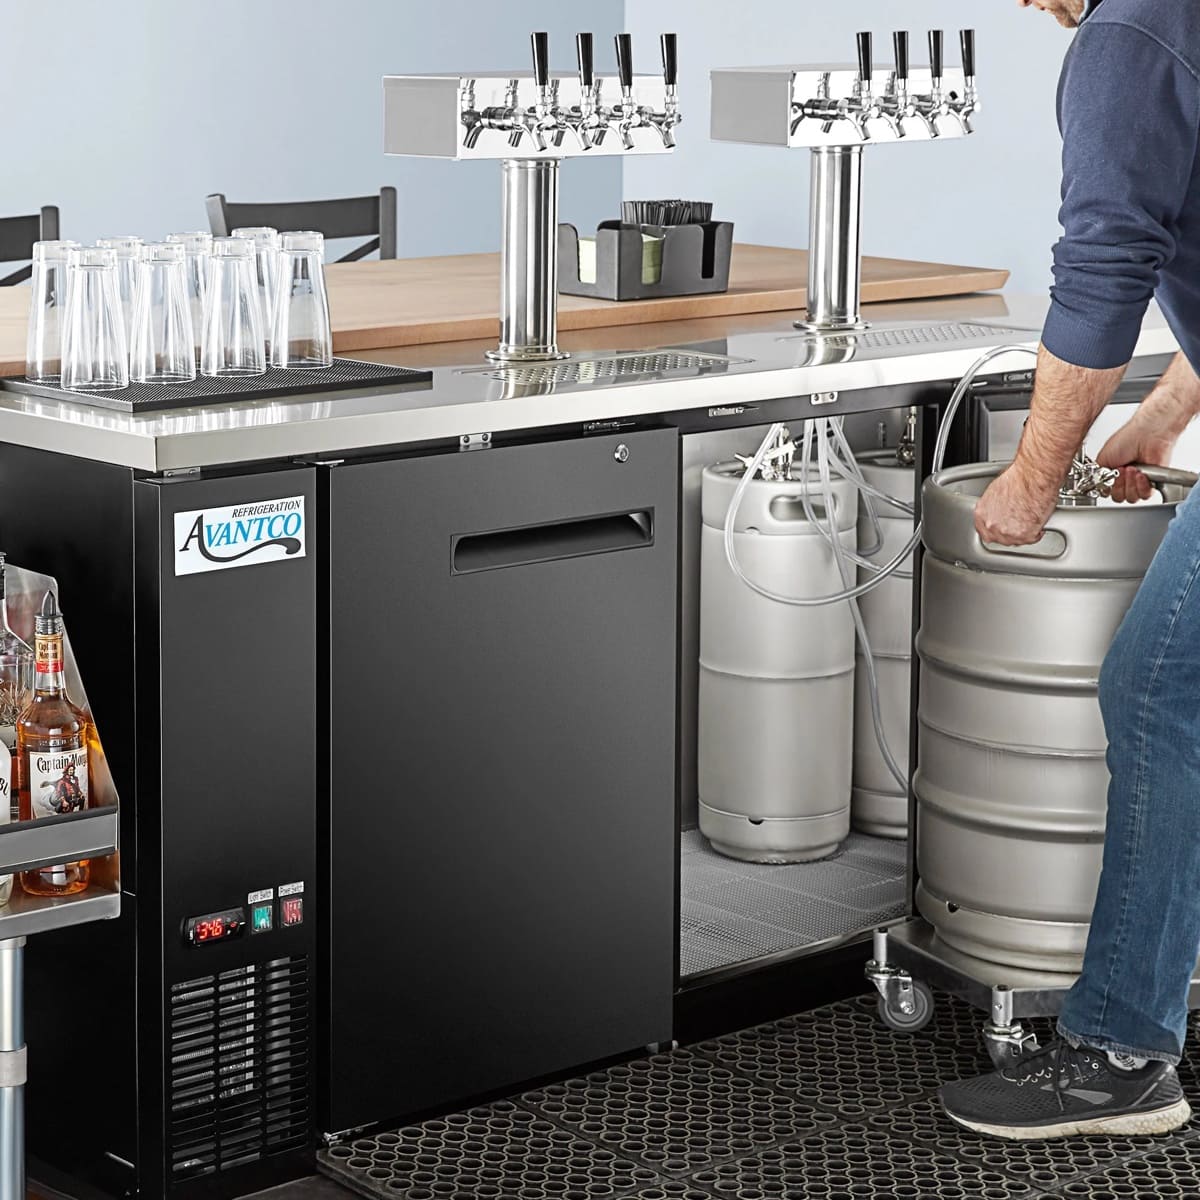
Upgrading and Customizing
If you’re looking to take your Danby kegerator to the next level, consider upgrading and customizing it to suit your preferences and expand your beer options. Here are some popular upgrades you can make:
Adding Additional Taps
Adding additional taps allows you to serve multiple beer styles or flavors simultaneously. Here’s how you can add extra taps to your Danby kegerator:
- Choose a kegerator conversion kit that provides the necessary components for adding extra taps, such as additional shanks, faucets, and hardware.
- Select the ideal placement for the additional taps on your kegerator, ensuring there is enough space for the kegs and proper clearance for the faucet handles.
- Drill holes in the appropriate locations to accommodate the shanks and faucets, following the instructions provided with the conversion kit.
- Install the additional shanks and faucets, making sure they are securely attached to prevent any leaks.
- Connect the tap lines to the additional taps, ensuring a proper and tight fit.
Read also: 11 Superior Danby Washer For 2024
Installing a Secondary Regulator
A secondary regulator allows you to control the CO2 pressure and carbonation levels independently for each keg. This is particularly useful if you’re serving beers that require different carbonation levels. Follow these steps to install a secondary regulator:
- Purchase a secondary regulator kit that includes the regulator, CO2 lines, and necessary fittings.
- Locate a suitable space on your kegerator to mount the secondary regulator. It is typically installed on the outside, near the primary regulator.
- Attach the CO2 outlet from the primary regulator to the inlet of the secondary regulator.
- Connect the CO2 lines from each regulator to their respective keg couplers.
- Adjust the CO2 pressure on each regulator according to the desired carbonation levels for each keg.
Converting to a Dual-Tap Kegerator
If you’re looking to convert your single-tap Danby kegerator into a dual-tap setup, you can easily do so with a conversion kit. Here’s how:
- Purchase a dual-tap conversion kit that includes an additional faucet, shank, and hardware.
- Remove the existing single faucet and drill a hole for the new faucet in a suitable location.
- Install the new faucet and shank securely, ensuring a tight fit and no leaks.
- Connect the tap lines to each faucet and keg coupler, ensuring proper tubing lengths and tight connections.
By adding additional taps, installing a secondary regulator, or converting to a dual-tap setup, you can expand your beer selection and have more control over carbonation levels. These upgrades and customizations will enhance your kegerator and allow you to further personalize your beer-drinking experience.
Conclusion
Congratulations on taking the time to learn how to improve your Danby kegerator! By following the tips and techniques mentioned in this guide, you can enhance the performance, cleanliness, and functionality of your kegerator, ensuring that you enjoy the perfect glass of beer every time.
Understanding the components of your Danby kegerator and being aware of common issues will help you troubleshoot and address any problems that may arise. Regular cleaning and maintenance, including cleaning the tap lines, beer lines, keg coupler, drip tray, and exterior of the kegerator, will keep your beer tasting fresh and prevent any contamination.
Temperature control is crucial for serving beer at its best. Setting the ideal temperature and troubleshooting temperature fluctuations will ensure that your beer is chilled to perfection. Regulating CO2 levels, adjusting the CO2 pressure, and checking for leaks in the system will help maintain proper carbonation and dispensing efficiency.
For those looking to take their Danby kegerator to the next level, upgrading and customizing options such as adding additional taps, installing a secondary regulator, or converting to a dual-tap setup offer more variety and flexibility in beer selection and carbonation control.
Remember, the enjoyment of a good beer goes beyond just the taste. It is the overall experience, and having a well-maintained, optimized kegerator contributes to that experience. By following the guidance provided in this article, you can elevate your beer-drinking experience and become the envy of your friends at your next gathering.
So, grab your favorite beer, raise a glass, and cheers to your newly improved Danby kegerator! Prost!
Frequently Asked Questions about How To Improve A Danby Kegerator
Was this page helpful?
At Storables.com, we guarantee accurate and reliable information. Our content, validated by Expert Board Contributors, is crafted following stringent Editorial Policies. We're committed to providing you with well-researched, expert-backed insights for all your informational needs.


0 thoughts on “How To Improve A Danby Kegerator”