Home>Furniture>Kitchen Furniture>How To Make My Danby Kegerator Colder
Kitchen Furniture
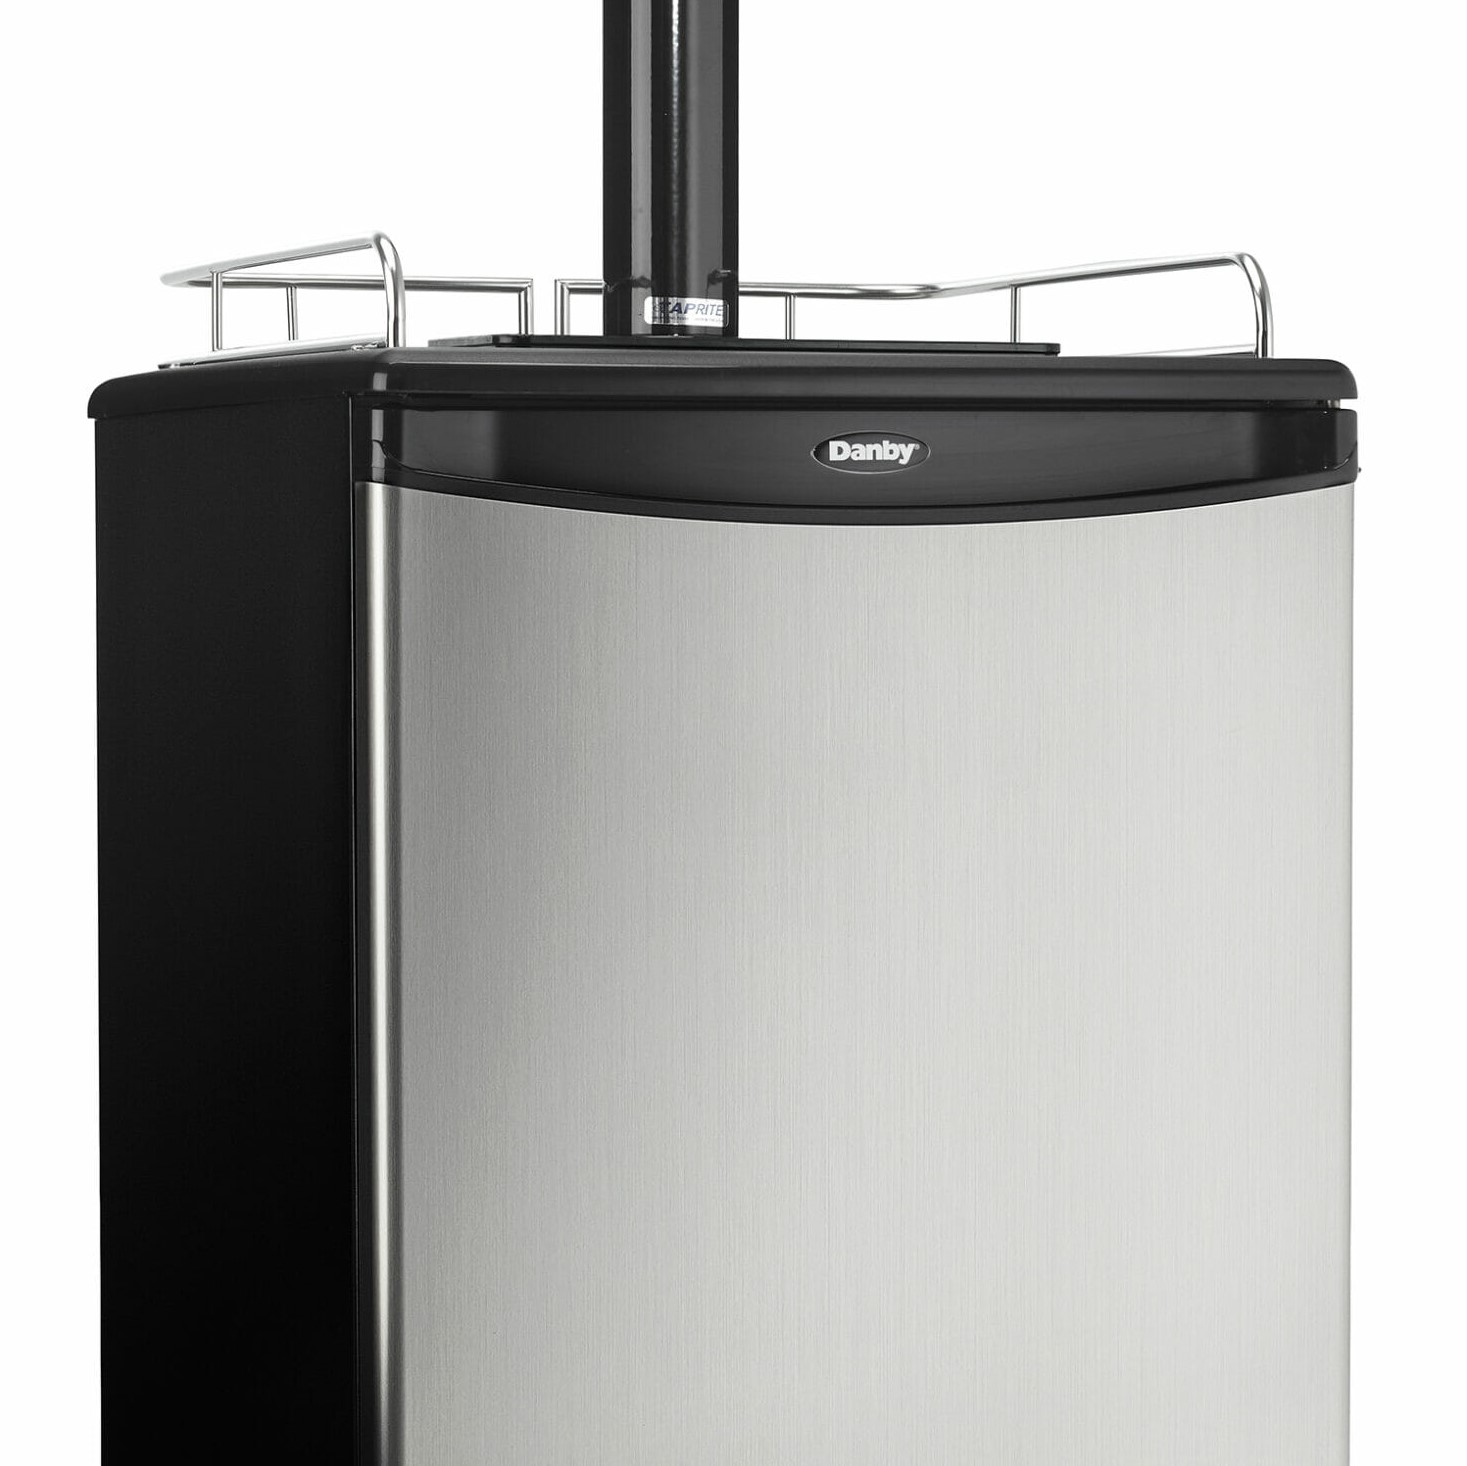
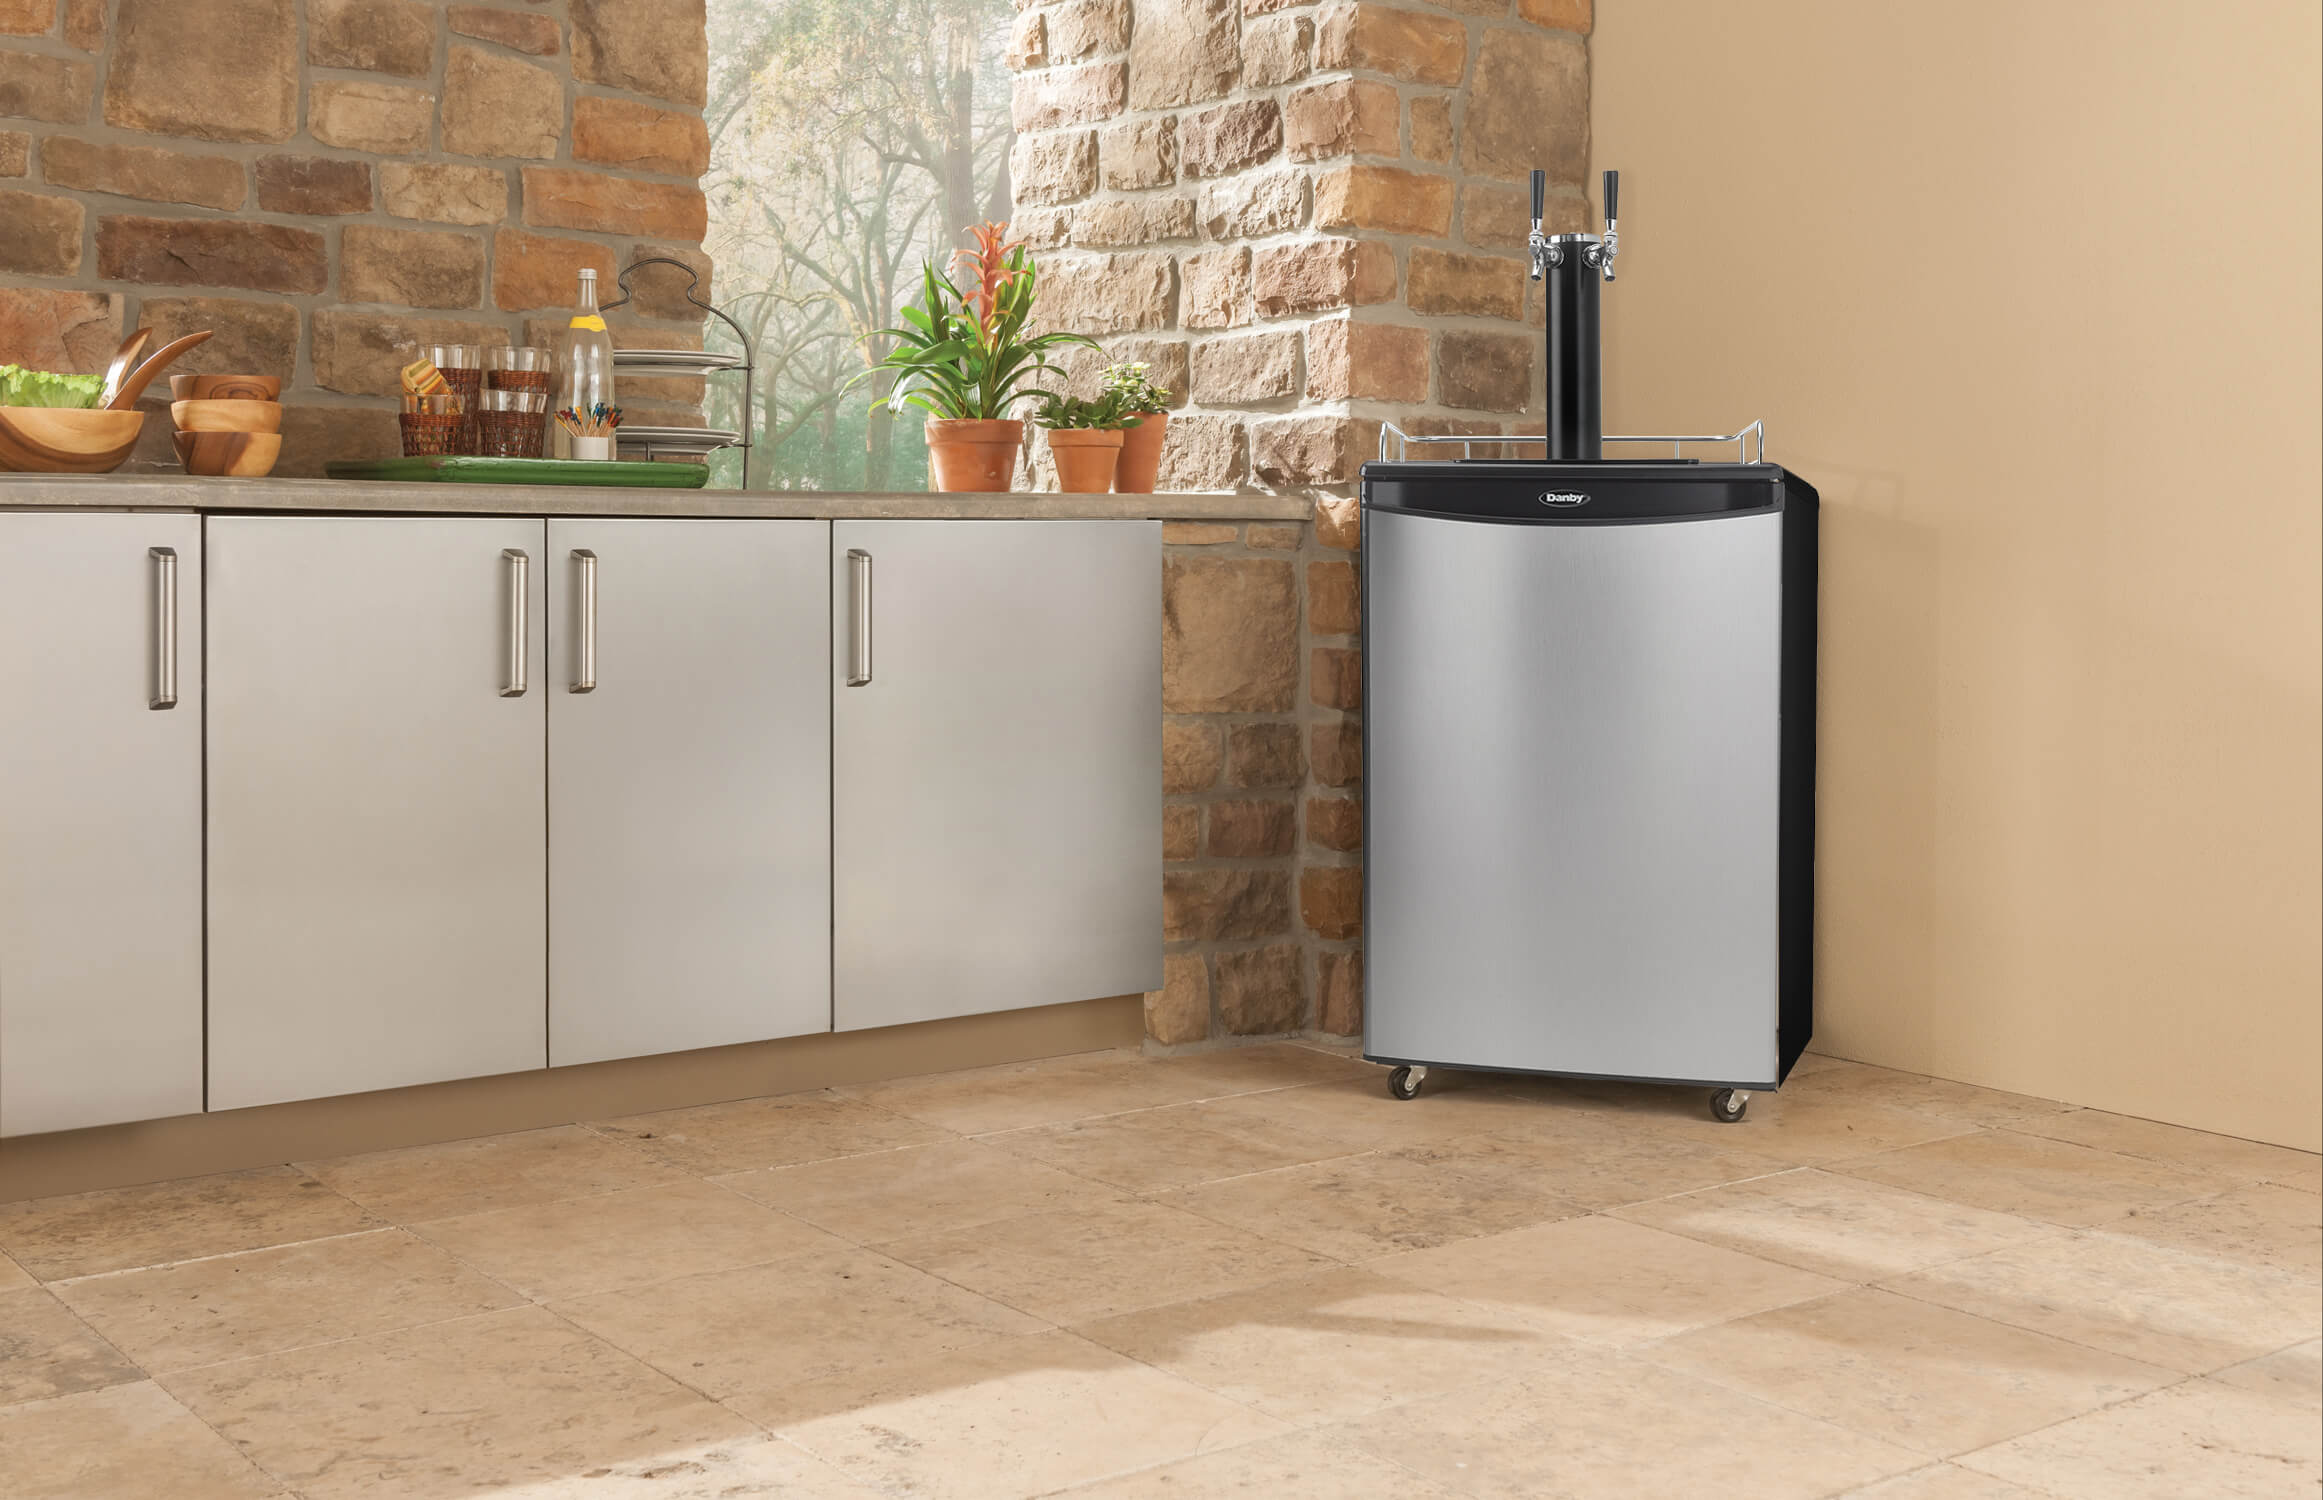
How To Make My Danby Kegerator Colder
Modified: October 19, 2024
Learn how to make your Danbery kegerator colder with these helpful articles. Get tips and tricks to optimize your kegerator's cooling performance.
(Many of the links in this article redirect to a specific reviewed product. Your purchase of these products through affiliate links helps to generate commission for Storables.com, at no extra cost. Learn more)
Introduction
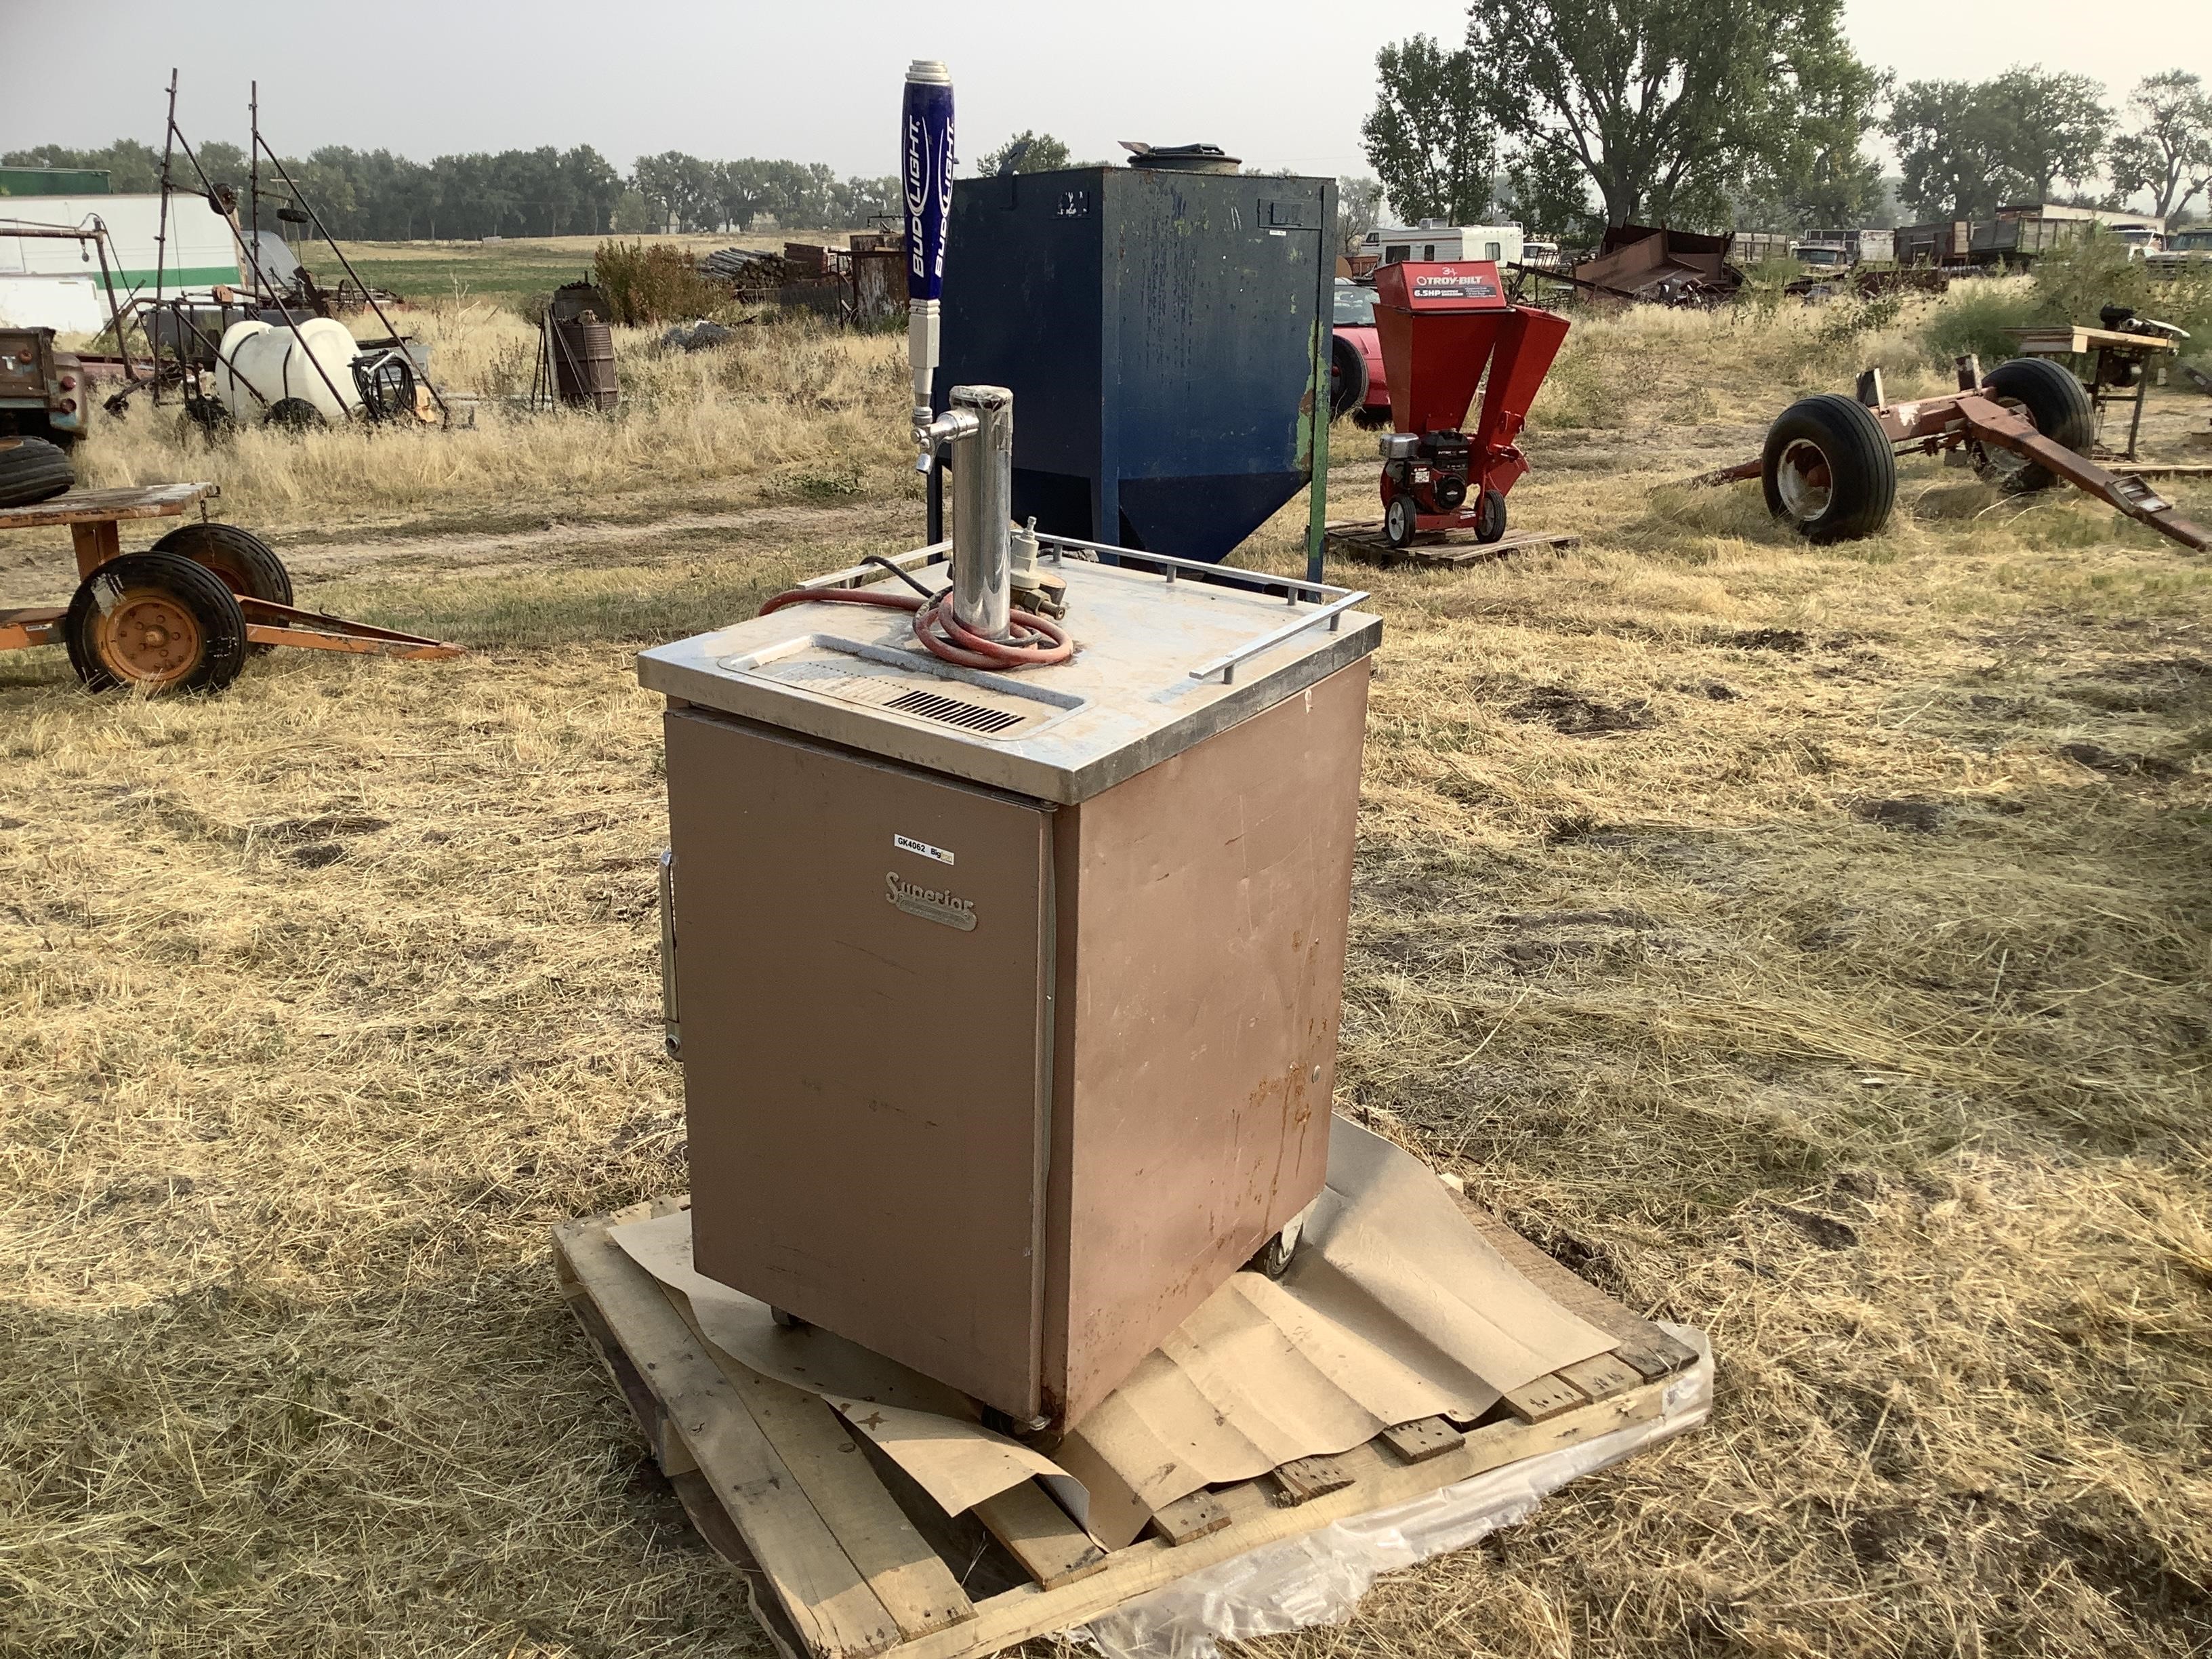
Welcome to the world of kegerators! These versatile appliances not only save you money on buying bottled beer but also allow you to enjoy your favorite brews on tap right in the comfort of your own home. However, you may find that your kegerator isn’t as cold as you’d like it to be, which can impact the taste and quality of your beer.
Fortunately, there are several steps you can take to make your Danby kegerator colder and ensure a refreshing and satisfying beer-drinking experience. In this article, we will explore these steps in detail, providing you with helpful tips and expert advice to optimize the performance of your kegerator and maintain the ideal temperature.
So, whether you’re a seasoned kegerator owner or a beginner just starting out, read on to discover how you can maximize the cooling capabilities of your Danby kegerator and enjoy perfectly chilled beer every time.
Key Takeaways:
- Keep your Danbery kegerator colder by cleaning it regularly, adjusting temperature settings, and inspecting the door seal. Proper maintenance ensures consistently refreshing beer for the ultimate home drinking experience.
- Enhance the cooling efficiency of your Danbery kegerator by optimizing insulation, maintaining proper air circulation, and considering external factors. Regularly clean condenser coils and seek professional assistance if needed to ensure consistently cold beer.
Read more: How To Make My AC Colder In My Car
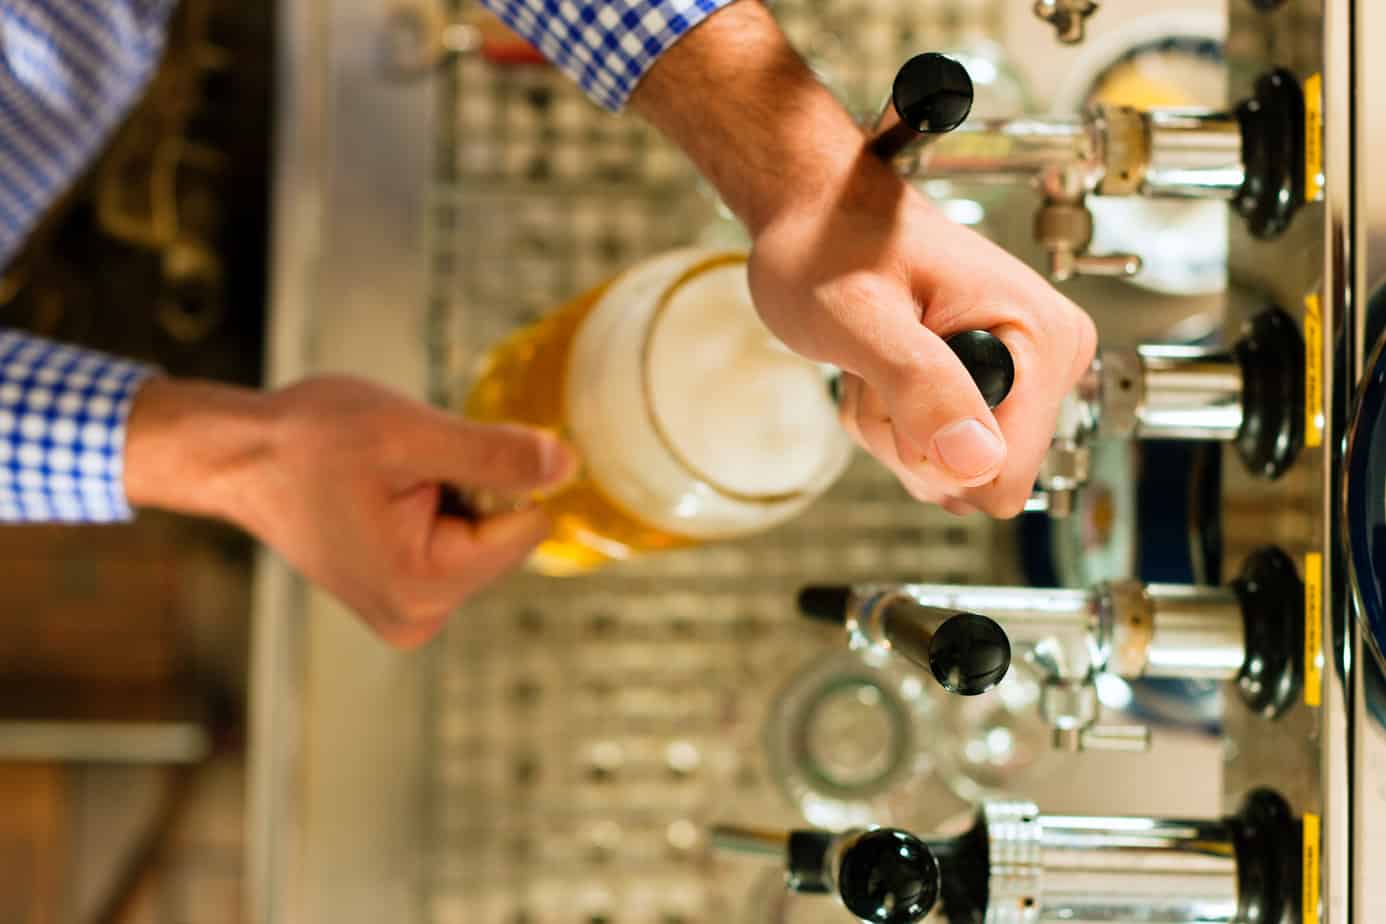
Step 1: Clean the Kegerator
The first step to ensure optimum cooling in your Danby kegerator is to clean it thoroughly. Over time, dust, dirt, and residual beer can accumulate inside the kegerator, hindering its cooling efficiency. Cleaning your kegerator not only helps maintain the desired temperature but also prevents any bacterial growth that could affect the taste and quality of your beer.
Start by unplugging the kegerator and removing all kegs and accessories. Take out the shelves and drawers, if applicable, and wash them with warm water and mild soap. Rinse them thoroughly and let them air dry.
Next, use a damp cloth or sponge to wipe down the interior of the kegerator, paying special attention to the walls, door, and any crevices. Avoid using harsh chemicals or abrasive sponges, as they can damage the surface of the kegerator. If there are stubborn stains or residue, a mixture of baking soda and water can be gently scrubbed onto the affected areas.
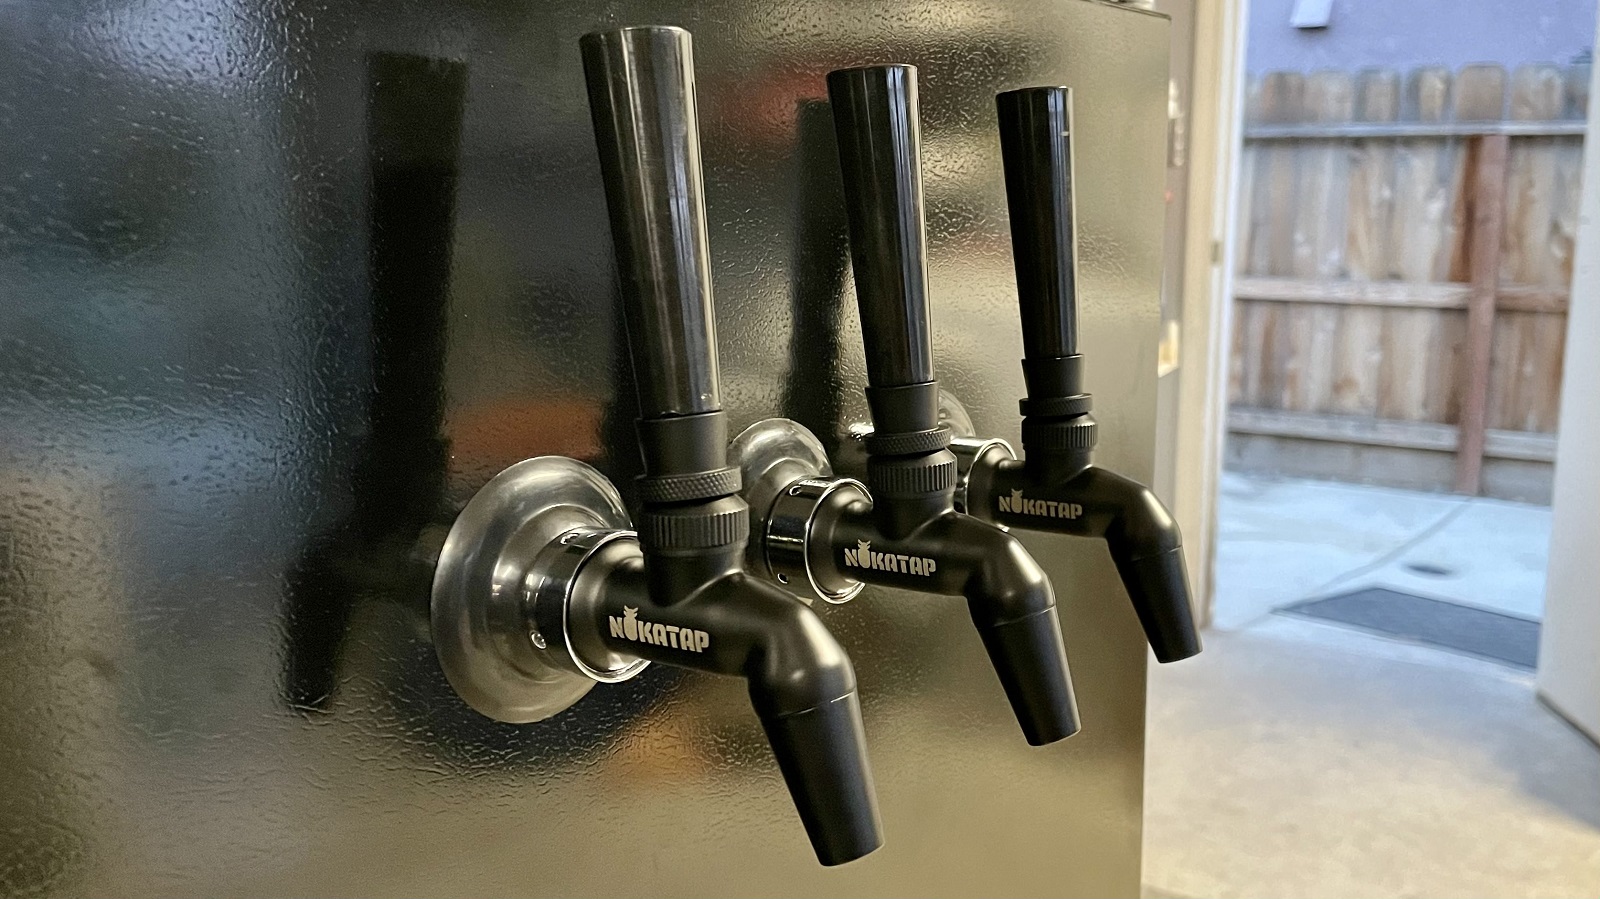
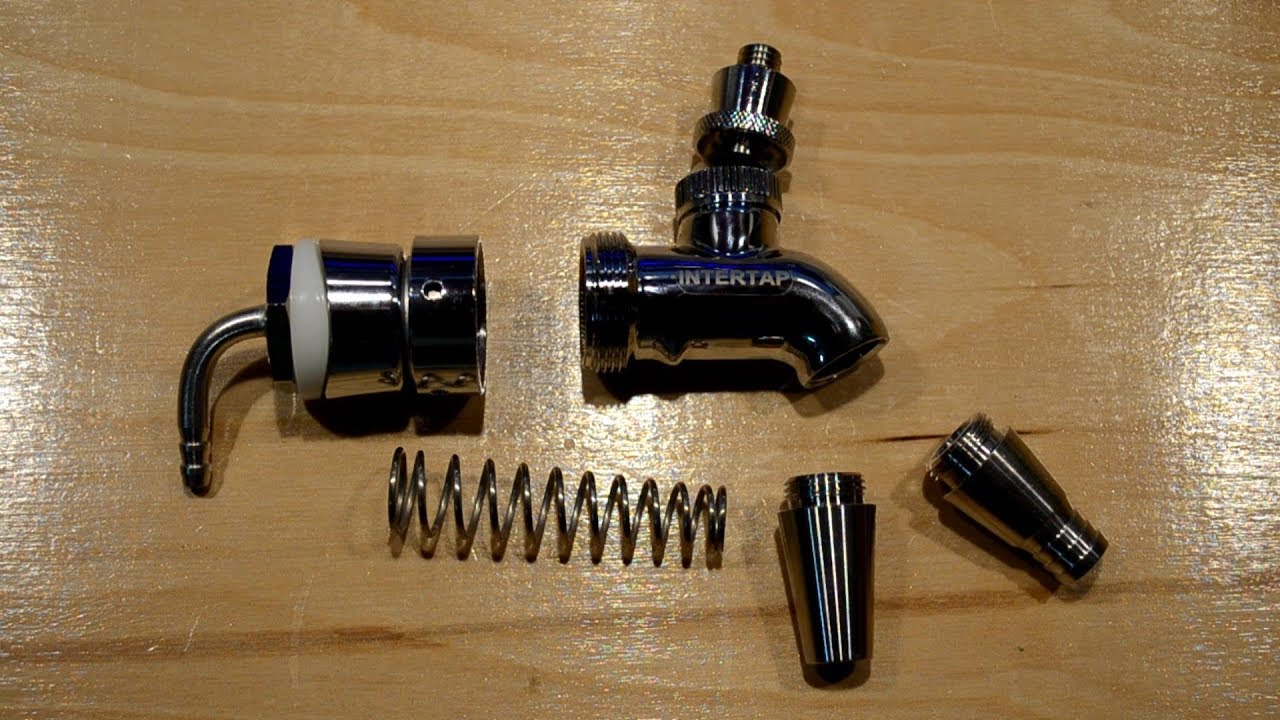
Once the interior is clean, make sure to clean the beer lines and faucets as well. Disconnect the lines from the keg coupler and disassemble the faucet components. Soak them in a solution of warm water and a beer line cleaner, following the manufacturer’s instructions. Rinse them thoroughly and reassemble the faucet components before reconnecting the lines to the keg coupler.
After cleaning, allow all components to dry completely before reassembling the kegerator. This step will ensure that there is no moisture left inside the kegerator, which can lead to condensation and affect its cooling performance.
By regularly cleaning your Danby kegerator, you not only improve its cooling efficiency but also maintain the cleanliness and hygiene necessary for serving fresh, great-tasting beer.
Step 2: Check the Temperature Settings
Once you’ve cleaned your Danby kegerator, it’s important to ensure that the temperature settings are properly adjusted to achieve optimal cooling. The ideal temperature for storing and serving beer is typically between 36°F and 40°F (2°C and 4°C). However, different beer styles may require specific temperature ranges, so it’s essential to refer to the recommendations of the beer you’re planning to serve.
Start by locating the temperature control dial or digital display on your kegerator. This can usually be found on the front or top panel. Depending on the model, the temperature control may be a dial that you can adjust manually or a digital interface with buttons to set the desired temperature.
Check the current temperature reading on the display and compare it to the recommended temperature for your beer. If the temperature is too high or low, make the necessary adjustments to bring it to the desired range. Small incremental changes are recommended to avoid sudden fluctuations that may impact the quality of the beer.
Remember that kegerators are typically designed to maintain consistent temperatures, so it may take a few hours for the changes to take effect. Monitor the temperature closely and make further adjustments if needed until you reach the desired level.
In addition to adjusting the temperature, it’s also advisable to monitor the temperature regularly, especially when you introduce new kegs or during hot weather conditions. This allows you to make any necessary adjustments promptly and ensures that your beer stays at the desired temperature.
By checking and adjusting the temperature settings of your Danby kegerator, you can create an optimal environment for storing and serving your beer, ensuring that it stays cold and refreshing for the ultimate beer-drinking experience.
Step 3: Inspect the Door Seal
The door seal, also known as the gasket, plays a crucial role in maintaining the cold temperature inside your Danby kegerator. Over time, the door seal can wear out or become damaged, resulting in cold air escaping and warm air entering the kegerator. This can severely impact its cooling efficiency.
Inspect the door seal carefully to identify any signs of wear and tear, such as cracks, tears, or gaps. Additionally, check if the seal is properly aligned with the door frame. If you notice any damage or misalignment, it’s important to replace the door seal promptly.
You can find replacement door seals for your specific kegerator model either from the manufacturer or from reputable appliance parts suppliers. Follow the manufacturer’s instructions or refer to a DIY guide to properly install the new door seal.
To test the effectiveness of the door seal, try the dollar bill test. Close the door on a dollar bill and try to pull it out. If you can easily slide the bill out without any resistance, it’s a sign that the door seal is not sealing properly and needs to be replaced.
Having a tight and intact door seal is essential for maintaining consistent cold temperatures inside your kegerator. It not only prevents cold air from escaping but also ensures that warm air doesn’t enter, keeping your beer chilled and refreshing for longer periods.
By regularly inspecting and replacing the door seal when necessary, you can optimize the cooling performance of your Danby kegerator and maintain a constant, cold environment for your beer.
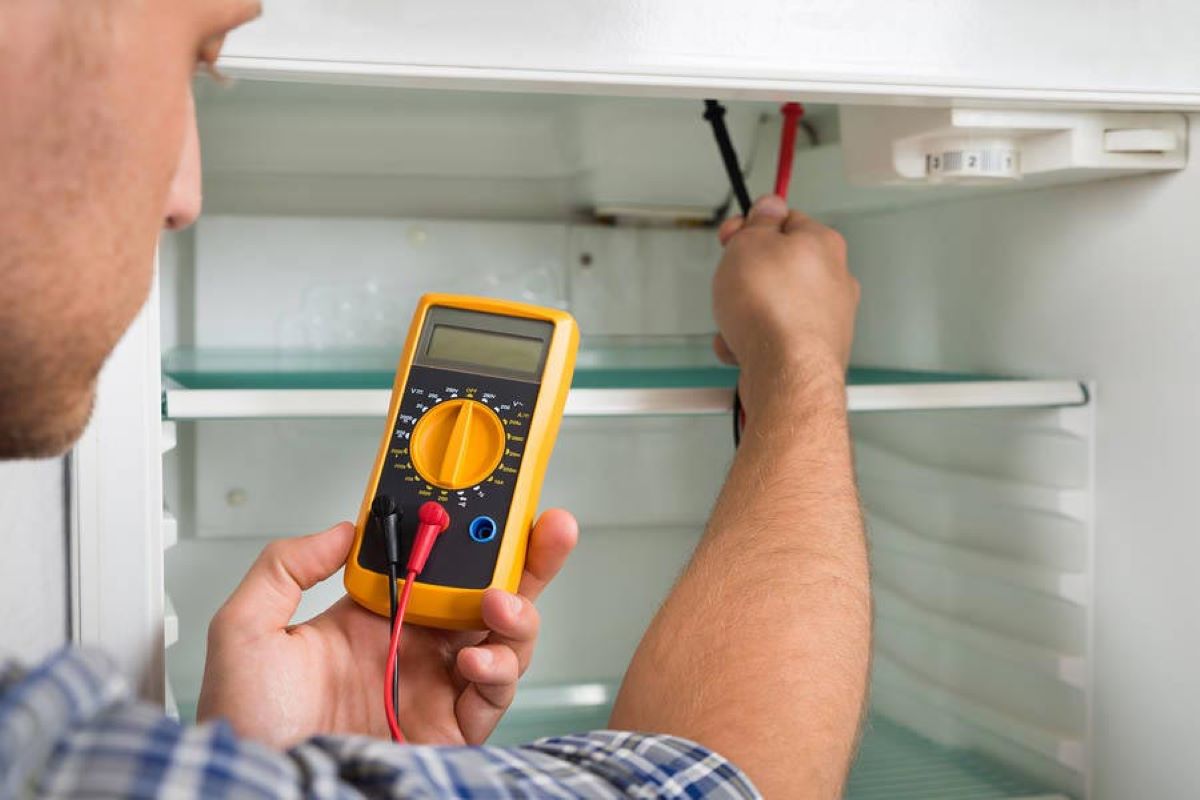
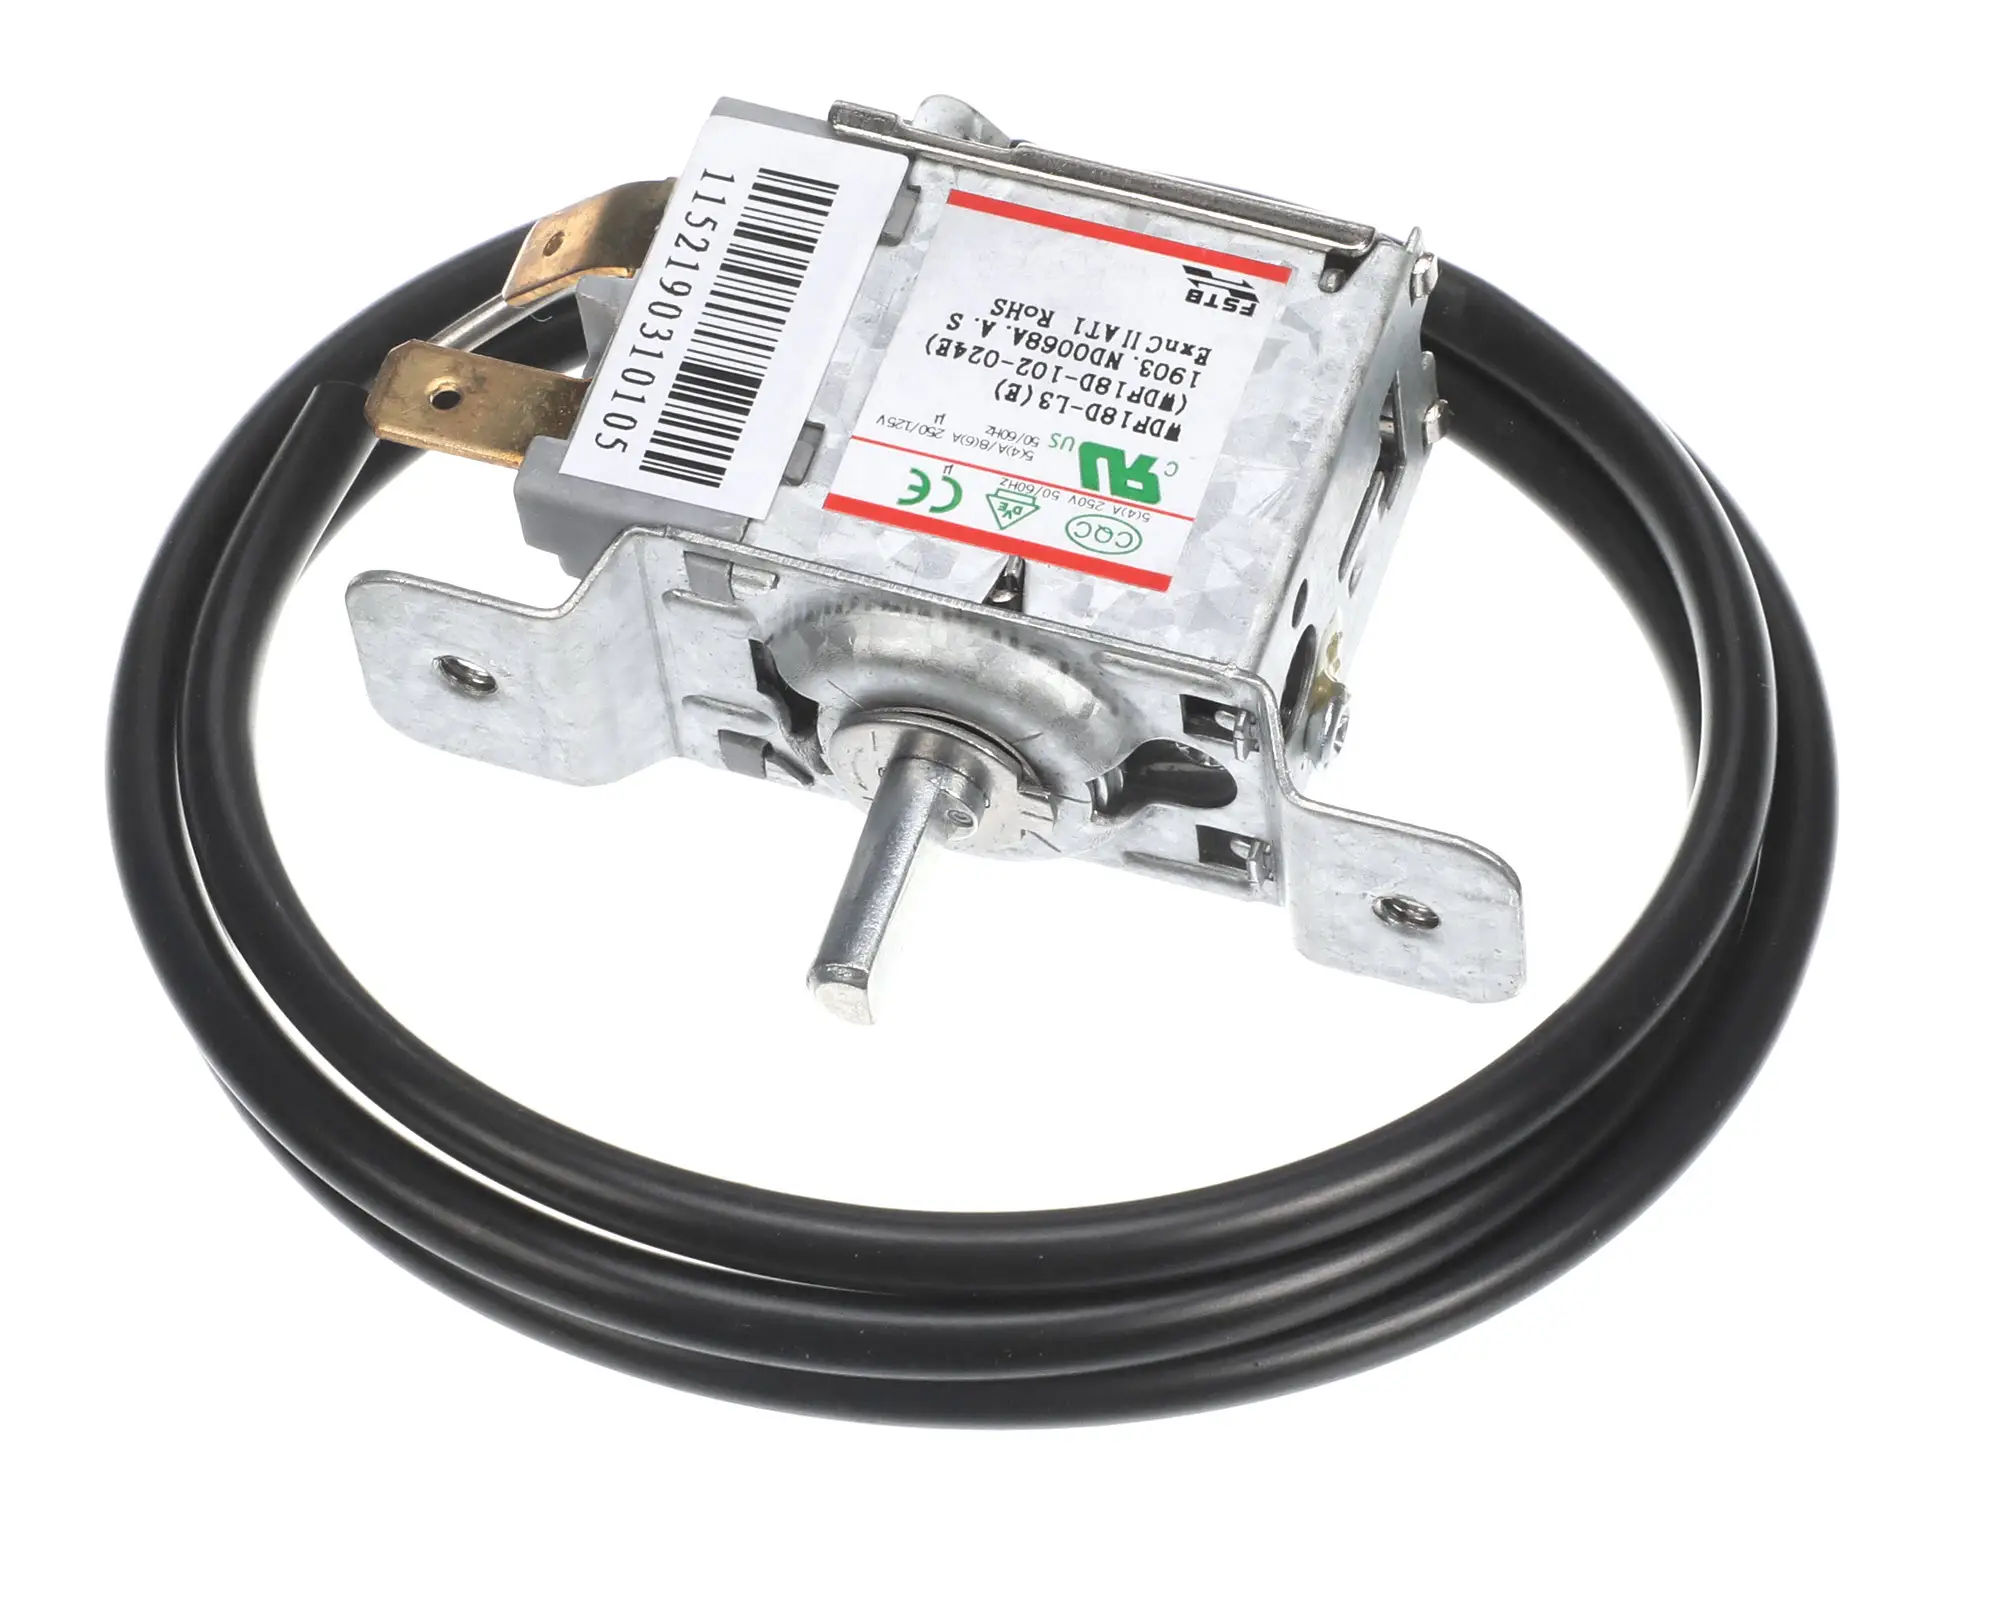
Step 4: Adjust the Thermostat
In order to make your Danby kegerator colder, one of the key steps is to properly adjust the thermostat. The thermostat controls the temperature within the kegerator and allows you to fine-tune the cooling settings.
Start by locating the thermostat control, which is typically located inside the kegerator, near the cooling mechanism. The specific location may vary depending on the model of your kegerator.
Now, monitor the temperature inside the kegerator by using a reliable thermometer. Place the thermometer in a glass of water and position it near the center of the kegerator. Let it sit for a few hours to get an accurate reading.
Once you have determined the current temperature, compare it to the desired temperature range for your beer. If the temperature is too high, you will need to adjust the thermostat to a cooler setting.
For manual thermostats, it may involve turning a dial or knob to a lower temperature level. Gradual adjustments are recommended to prevent sudden temperature changes. If your kegerator has a digital thermostat, you can use the buttons or controls provided to decrease the temperature setting.
Make small adjustments and allow time for the temperature to stabilize before re-checking with the thermometer. Repeat the process until you reach the desired temperature range for your beer.
Keep in mind that different beer styles may have specific temperature preferences, so be sure to refer to the recommendations for each type of beer you plan to serve.
By adjusting the thermostat to the appropriate temperature, you can ensure that your Danby kegerator consistently maintains the ideal cooling conditions for your beer, resulting in a refreshing and satisfying pour every time.
Read more: How To Make My Car Air Conditioner Colder
Step 5: Enhance Insulation
Enhancing the insulation of your Danby kegerator can significantly improve its cooling efficiency and help maintain colder temperatures. Proper insulation prevents heat from infiltrating the kegerator and keeps the cold air inside, ensuring your beer stays chilled for longer periods.
Begin by inspecting the insulation of your kegerator. Check for any gaps, cracks, or areas where insulation may be lacking. Common areas to pay attention to include the door, walls, and the area where the cooling unit is installed.
If you notice any damaged or deteriorated insulation, you can take steps to enhance it. One method is to use weatherstripping tape or foam insulation tape to seal any gaps around the door. Apply the tape along the edges of the door, ensuring a tight seal when closed.
For areas where insulation may be lacking, consider using insulating materials such as foam board insulation or thermal insulation blankets. Cut the materials to fit the specific areas that require extra insulation and secure them in place using adhesive or tape.
Additionally, ensure that the kegerator is placed in a well-insulated space. If your kegerator is exposed to direct sunlight or kept in a room with high temperatures, it may struggle to maintain colder temperatures. Move the kegerator to a cooler area or place it in a kegerator mat or insulation cover to provide additional protection against external heat sources.
By enhancing the insulation of your Danby kegerator, you can minimize the impact of external temperatures and preserve a consistently colder environment inside. This helps maintain the quality and freshness of your beer, ensuring a satisfying and refreshing pour with every glass.
Check the temperature setting on your kegerator and adjust it to a lower setting if possible. Make sure the air vents are not blocked and clean the condenser coils to improve cooling efficiency.
Step 6: Maintain Proper Air Circulation
Proper air circulation is essential for ensuring efficient cooling in your Danby kegerator. Without adequate airflow, cold air may become trapped in certain areas, while warm air remains stagnant, resulting in uneven temperatures and decreased cooling performance.
Start by ensuring that the vents and airflow passages inside your kegerator are not obstructed. Check for any items, such as bottles or kegs, that may be blocking the airflow and rearrange them accordingly. It’s crucial to have unrestricted airflow throughout the kegerator to promote proper cooling.
If your kegerator has an interior fan, make sure it is functioning correctly. The fan helps circulate the cold air evenly, preventing hotspots and ensuring consistent cooling throughout the unit. Clean the fan blades and check for any signs of damage or malfunction. If needed, consult the manufacturer’s instructions for troubleshooting or replacing the fan.
Strategically organizing your kegs and bottles can also contribute to better air circulation. Avoid overcrowding the kegerator, as it can restrict airflow and create pockets of warm air. Leave enough space between the items to allow the cold air to circulate freely and maintain a stable temperature.
Another factor to consider is the location of the kegerator itself. If your kegerator is built into a cabinet or enclosed space, ensure that there is sufficient ventilation to allow for proper air circulation. This prevents the buildup of heat around the kegerator and helps optimize its cooling performance.
By maintaining proper air circulation in your Danby kegerator, you can ensure that cold air is distributed evenly, preventing hot spots and maintaining a consistently cold environment. This, in turn, will help preserve the quality and taste of your beer, providing a delightful and refreshing drinking experience.
Step 7: Avoid Overcrowding
One common mistake that can impact the cooling efficiency of your Danby kegerator is overcrowding the unit. When the kegerator is filled beyond its recommended capacity, it can disrupt the airflow, hinder proper cooling, and lead to uneven temperatures.
It’s important to adhere to the specific capacity guidelines provided by the manufacturer for your kegerator model. Overloading the kegerator with too many kegs, bottles, or other items can obstruct the airflow, preventing cold air from circulating evenly and causing warm spots within the unit.
When arranging your items inside the kegerator, ensure that there is sufficient space between them. Avoid placing items too close together or tightly packed, as this can inhibit the flow of cold air. Leave enough room for proper air circulation, allowing the kegerator to cool each item evenly.
Additionally, consider the size and shape of the kegs being used. Different kegs have various dimensions, and it’s important to arrange them in a way that allows for efficient airflow. Some kegersators come with shelving or compartments designed to accommodate specific keg sizes, so make use of these features if available.
If your kegerator does not have built-in shelving or compartments, you can consider using a keg spacer or riser. These accessories help elevate the kegs, creating space for air to circulate underneath and around each keg. This promotes better cooling and prevents uneven temperatures within the unit.
By avoiding overcrowding in your Danby kegerator, you allow for proper air circulation and temperature distribution. This ensures that each item is cooled consistently, preserving the quality and freshness of your beer for a more enjoyable drinking experience.
Step 8: Consider External Factors
When aiming to make your Danby kegerator colder, it’s important to take into account external factors that can affect its cooling performance. While you may have optimized the internal settings and conditions, outside influences can still impact the temperature and overall efficiency of your kegerator.
Here are some external factors to consider:
Ambient Temperature: The ambient temperature of the room where your kegerator is located can have a significant impact on its cooling capabilities. Higher room temperatures can put more strain on the kegerator’s refrigeration system, making it work harder to maintain lower temperatures. Ensure that the kegerator is placed in a room with a cooler environment, away from direct sunlight or other sources of heat.
Ventilation: Proper ventilation around the kegerator is crucial for optimal cooling. Make sure that there is enough space around the kegerator to allow for adequate airflow. Avoid placing the kegerator in a tightly enclosed area, as this can restrict airflow and hinder the dissipation of heat generated by the refrigeration system.
Frequency of Door Opening: Every time you open the door of the kegerator, warm air enters, causing a decrease in temperature. To maintain colder temperatures, minimize the frequency and duration of door openings. Encourage users to be mindful and retrieve items quickly.
Temperature Fluctuations: If the ambient temperature in your environment fluctuates greatly, it can impact the internal temperature of the kegerator. To minimize the impact of temperature fluctuations, consider using insulation blankets or mats around the kegerator to provide additional insulation and stabilization.
Location: Consider the placement of the kegerator within your home or space. Avoid placing it near appliances or equipment that generate heat, such as ovens or dishwashers. Keep it away from windows or areas with direct sunlight, as this can lead to increased heat absorption and difficulty in maintaining cooler temperatures.
Regular Maintenance: Keep up with regular maintenance tasks, such as cleaning the condenser coils, as dust and debris can accumulate and impact the overall cooling efficiency of the kegerator.
By considering these external factors and making necessary adjustments, you can help optimize the cooling performance of your Danby kegerator and maintain colder temperatures for your beer.
Read more: How To Turn Power Off On A Danby Kegerator
Step 9: Regularly Clean the Condenser Coils
Regularly cleaning the condenser coils of your Danby kegerator is essential for maintaining optimal cooling efficiency. The condenser coils are responsible for transferring heat away from the kegerator, allowing it to cool effectively. Over time, these coils can become covered with dust, dirt, and debris, which insulate the coils and hinder their ability to dissipate heat efficiently.
To clean the condenser coils, start by unplugging the kegerator and locating the coils. Depending on your kegerator model, the condenser coils may be located on the back, underneath, or behind a panel.
Using a vacuum cleaner with a brush attachment or a soft brush, gently remove the accumulated dust and debris from the coils. Take care not to bend or damage the delicate coils during the cleaning process. Alternatively, you can use compressed air to blow away the dust, ensuring the coils are thoroughly cleaned.
Once the visible dust and debris have been removed, dampen a cloth or sponge with a mixture of warm water and mild soap. Wipe down the coils to remove any remaining dirt and grease. Be sure to rinse the cloth or sponge frequently and avoid getting excess moisture on the coils.
After cleaning, allow the coils to dry completely before plugging the kegerator back in and resuming normal operation. It’s recommended to clean the condenser coils at least once or twice a year, or more frequently if you notice a significant buildup of dust or if the kegerator is located in a particularly dusty environment.
Regularly cleaning the condenser coils not only helps to maintain the optimal cooling capabilities of your Danby kegerator but also extends its lifespan. By removing the dust and debris that can impede the heat transfer process, you ensure that the kegerator operates at its maximum efficiency, keeping your beer colder for longer.
Step 10: Seek Professional Assistance if Needed
If you have followed the previous steps to make your Danby kegerator colder and are still experiencing issues with its cooling performance, it may be time to seek professional assistance. While many common cooling problems can be addressed through DIY steps, there are instances when professional help is necessary to diagnose and resolve more complex issues.
Here are some situations where you might consider seeking professional assistance:
Recurring Temperature Fluctuations: If you notice consistent temperature fluctuations or a failure to maintain the desired cooling level despite following all the steps outlined earlier, it could indicate an underlying problem that requires professional attention. A technician can thoroughly inspect the refrigeration system, thermostat, and other components to identify and resolve the issue.
Unusual Noises or Smells: If you detect unusual noises, vibrations, or odors coming from your kegerator, it is best to have it investigated by a professional. These symptoms could indicate problems with the compressor, fan, motor, or other internal components that may require repair or replacement.
No Cooling at All: If your kegerator fails to cool at all, it is a clear sign of a more serious problem. This could be due to a malfunctioning compressor, refrigerant leak, or electrical issue. In such cases, it is recommended to contact a qualified technician to diagnose and fix the problem properly.
Warranty Coverage: If your Danby kegerator is still under warranty, it is advisable to consult the manufacturer or an authorized service center for assistance. Attempting to repair the kegerator on your own could void the warranty, so it is best to rely on professionals who are knowledgeable about your specific model.
When seeking professional assistance, be prepared to provide details about the issues you are experiencing, any troubleshooting steps you have already taken, and the model and age of your kegerator. This information will help the technician diagnose the problem more efficiently.
By engaging the expertise of a professional when needed, you can ensure that any underlying issues affecting the cooling performance of your Danby kegerator are properly addressed, allowing you to enjoy consistently cold beer without compromise.
Conclusion
Congratulations! You have now learned the essential steps to make your Danby kegerator colder and enhance its cooling performance. By following these steps, you can enjoy perfectly chilled beer, maintaining its quality and flavor for a truly satisfying drinking experience.
Remember, starting with a clean kegerator is crucial. Regularly clean all components, including the interior, beer lines, and faucet, to maintain a hygienic environment and prevent any potential issues that could affect the taste of your beer.
Checking and adjusting the temperature settings is another critical step. Aim for the ideal temperature range based on the beer style you’re serving and monitor it regularly to ensure consistency.
Inspecting the door seal and adjusting the thermostat will help prevent cold air from escaping and warm air from entering the kegerator, maintaining a stable temperature inside.
Enhancing insulation and maintaining proper air circulation will further improve the cooling efficiency of your kegerator. Avoid overcrowding and consider external factors such as ambient temperature and ventilation to create the optimal environment for cooling.
Regularly cleaning the condenser coils and seeking professional assistance if needed are additional steps to maximize the cooling performance of your kegerator and address any complex issues that may arise.
By implementing these steps, you can ensure that your Danby kegerator remains cold, delivering refreshing, perfectly chilled beer every time you pour a glass. So, raise a glass, sit back, and enjoy your beer in the comfort of your own home, knowing that you have mastered the art of making your kegerator colder. Cheers!
Frequently Asked Questions about How To Make My Danby Kegerator Colder
Was this page helpful?
At Storables.com, we guarantee accurate and reliable information. Our content, validated by Expert Board Contributors, is crafted following stringent Editorial Policies. We're committed to providing you with well-researched, expert-backed insights for all your informational needs.


0 thoughts on “How To Make My Danby Kegerator Colder”