Articles
How To Set Water Pump Pressure Switch
Modified: October 20, 2024
Learn how to set the water pump pressure switch in this informative article. Find step-by-step instructions and tips for optimal performance.
(Many of the links in this article redirect to a specific reviewed product. Your purchase of these products through affiliate links helps to generate commission for Storables.com, at no extra cost. Learn more)
Introduction
The water pump pressure switch is a crucial component of your water system that controls the operation of the water pump. It plays a vital role in maintaining the right water pressure in your home or building. Understanding how to set the water pump pressure switch is essential for ensuring optimal performance and preventing any issues with water pressure.
In this article, we will provide a step-by-step guide on how to set the water pump pressure switch. We will explain the necessary tools and materials needed for the task and walk you through each step of the process, from shutting off the power to testing and adjusting the pressure switch.
Whether you are a DIY enthusiast or a homeowner looking to take control of your water pressure, this article will provide you with the knowledge and guidance you need to successfully set your water pump pressure switch.
Key Takeaways:
- Properly setting the water pump pressure switch is crucial for maintaining consistent water pressure in your home. Follow the step-by-step guide, gather necessary tools, and test the switch to ensure optimal performance.
- Adjusting the cut-in, cut-out, and differential pressure settings is essential for fine-tuning the water pump pressure switch. Exercise caution, make small adjustments, and test the system to achieve the desired water pressure stability.
Read more: How To Install Water Pump With Pressure Tank
Understanding the Water Pump Pressure Switch
Before we dive into the process of setting the water pump pressure switch, it’s important to have a clear understanding of what this device does and how it operates.
The water pump pressure switch is responsible for monitoring the water pressure in your system and automatically turning the water pump on or off based on the set pressure levels. It consists of two main components: the cut-in pressure and the cut-out pressure.
The cut-in pressure refers to the minimum pressure level at which the switch will turn the water pump on. When the pressure in the system drops below this set level, the switch will activate the pump to restore the pressure to the desired level.
The cut-out pressure, on the other hand, represents the maximum pressure level at which the switch will shut off the water pump. Once the pressure reaches this set level, the switch will deactivate the pump to prevent overpressurization and potential damage to the system.
In addition to the cut-in and cut-out pressures, there is also the differential pressure, which determines the range between the two set points. It represents the difference in pressure required for the switch to turn the pump on and off. A larger differential pressure will result in fewer pump cycles, while a smaller differential pressure will lead to more frequent cycling.
Understanding these key concepts of the water pump pressure switch is essential for effectively setting and adjusting the switch to meet your specific water pressure needs.
Tools and Materials Needed
Before you begin the process of setting your water pump pressure switch, gather the following tools and materials:
- Adjustable wrench
- Pressure gauge
- Screwdriver
- Tape measure
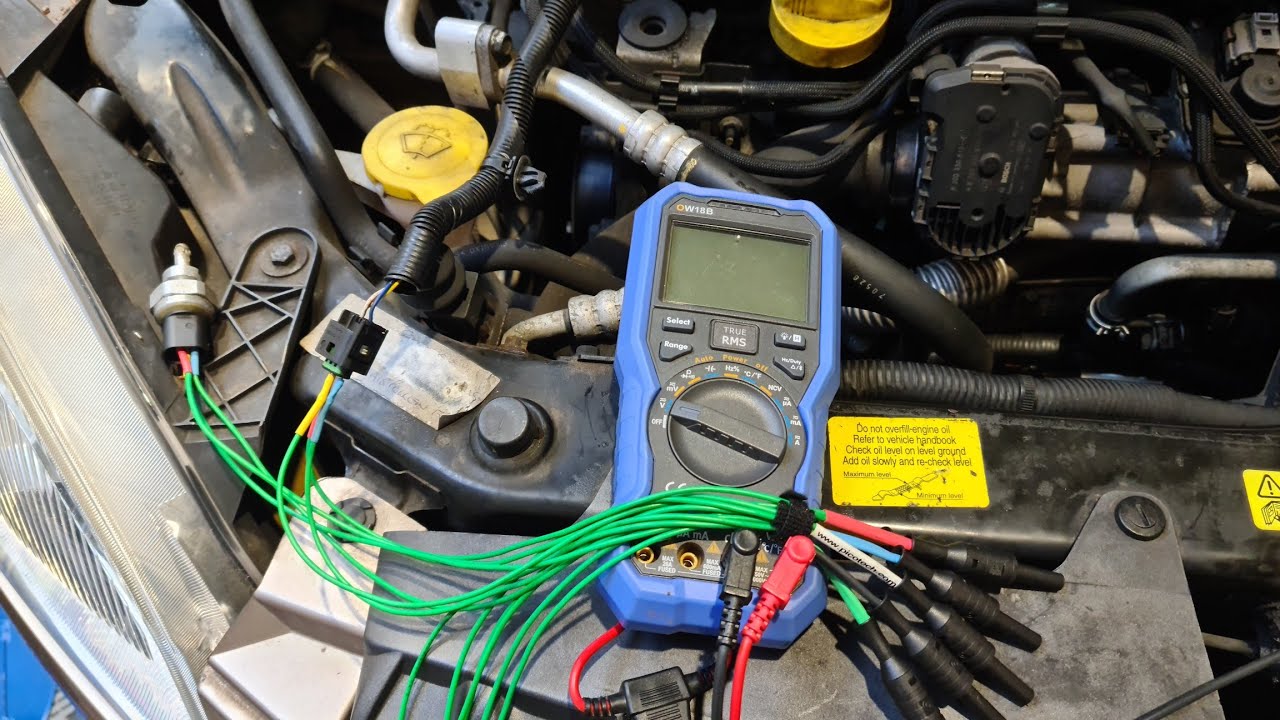
- Electrical tester
- Protective gloves
- Safety goggles
The adjustable wrench will be used to loosen and tighten the nuts and bolts on the pressure switch. The pressure gauge is necessary for measuring the current water pressure in your system and will help you determine the appropriate settings for the pressure switch. The screwdriver will be used for any necessary adjustments on the switch.
Additionally, you will need a tape measure to measure the distance between the pressure switch and the water tank or well. This measurement is crucial for setting the differential pressure accurately.
The electrical tester is essential for ensuring the power is completely turned off before you begin working on the pressure switch. Safety gloves and goggles are recommended to protect your hands and eyes throughout the process.
Having these tools and materials on hand will make the process of setting the water pump pressure switch smoother and more efficient.
Step 1: Shut off the Power
Before you begin working on the water pump pressure switch, it is crucial to ensure the power is turned off to prevent any electrical accidents. Follow these steps to shut off the power:
- Locate the main electrical panel in your home or building. It is usually found in the basement, garage, or utility room.
- Open the panel door and locate the circuit breaker labeled for the water pump. If you are unsure which breaker controls the pump, consult the electrical panel diagram or ask a licensed electrician for assistance.
- Switch the breaker to the “Off” position to cut off power supply to the pump. You may hear a click indicating that the power has been disconnected.
- For added safety, use an electrical tester to ensure that there is no power flowing to the water pump. Follow the manufacturer’s instructions for using the tester properly.
Shutting off the power is a critical step to avoid any potential electric shock while working on the water pump pressure switch. Take the time to double-check that the power is truly off before proceeding to the next steps.
Step 2: Locate the Pressure Switch
Once you have ensured that the power is turned off, the next step is to locate the water pump pressure switch. The pressure switch is typically located near the water tank or well and is connected to the water pipe.
Follow these steps to locate the pressure switch:
- Refer to the owner’s manual or consult the manufacturer’s instructions for your specific water pump system. These resources will provide valuable information on the location of the pressure switch.
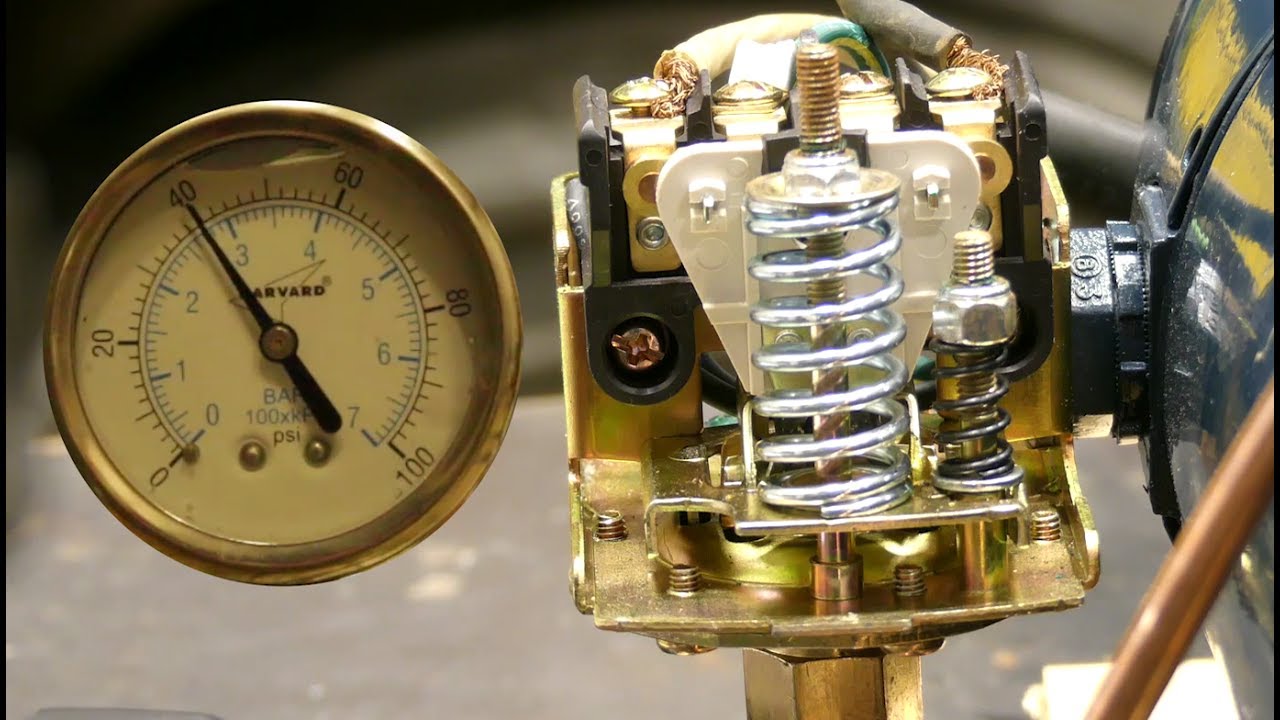
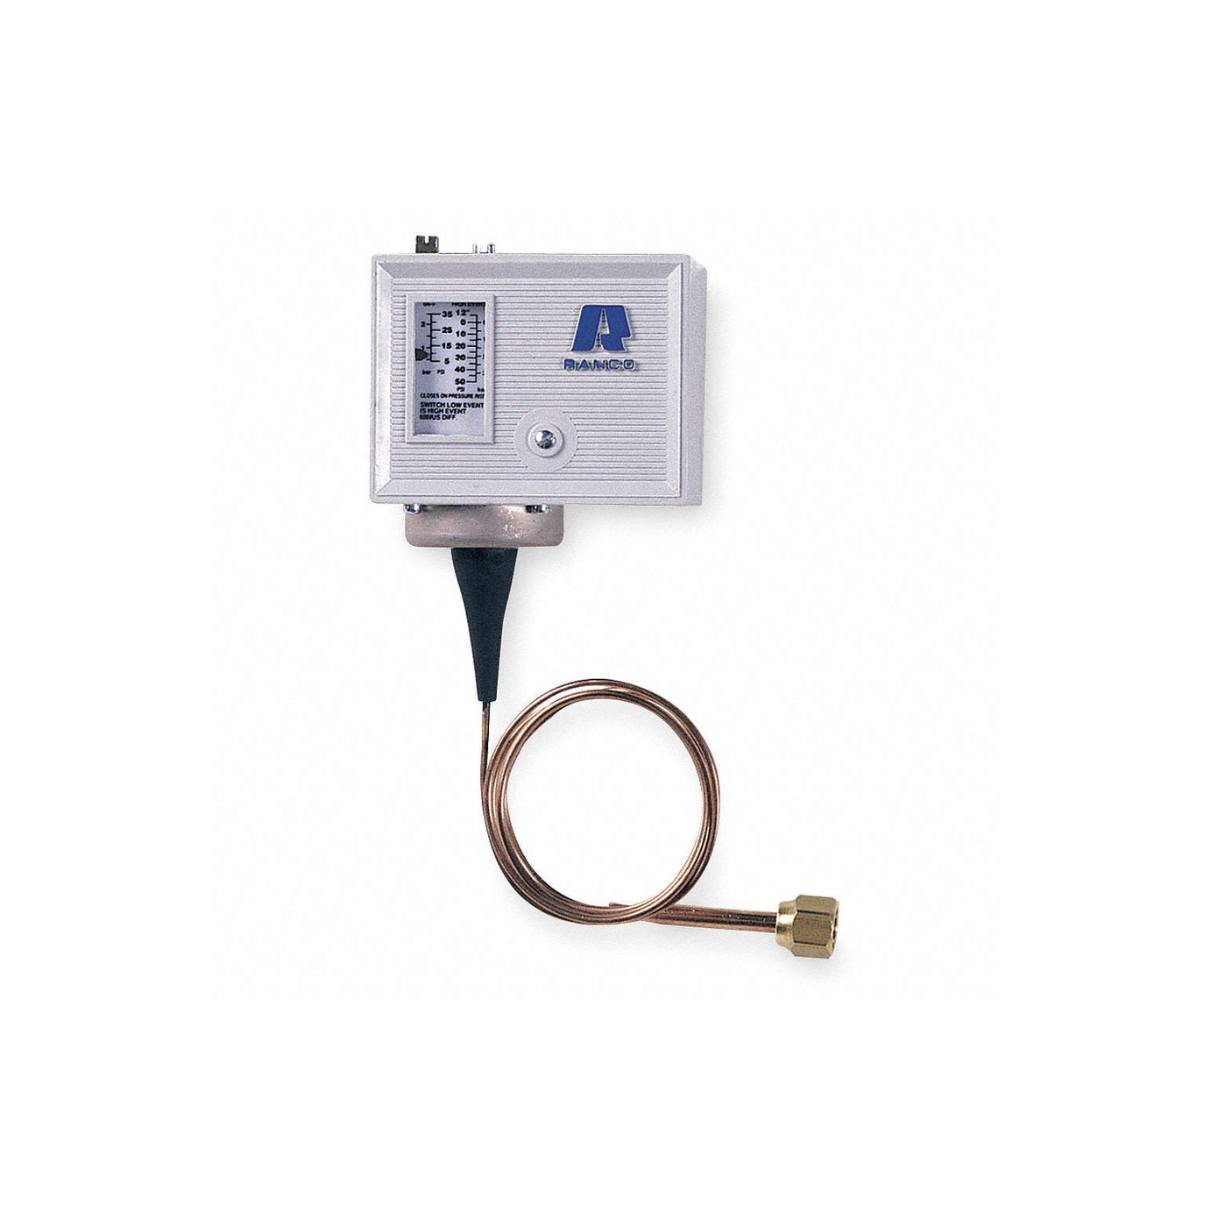
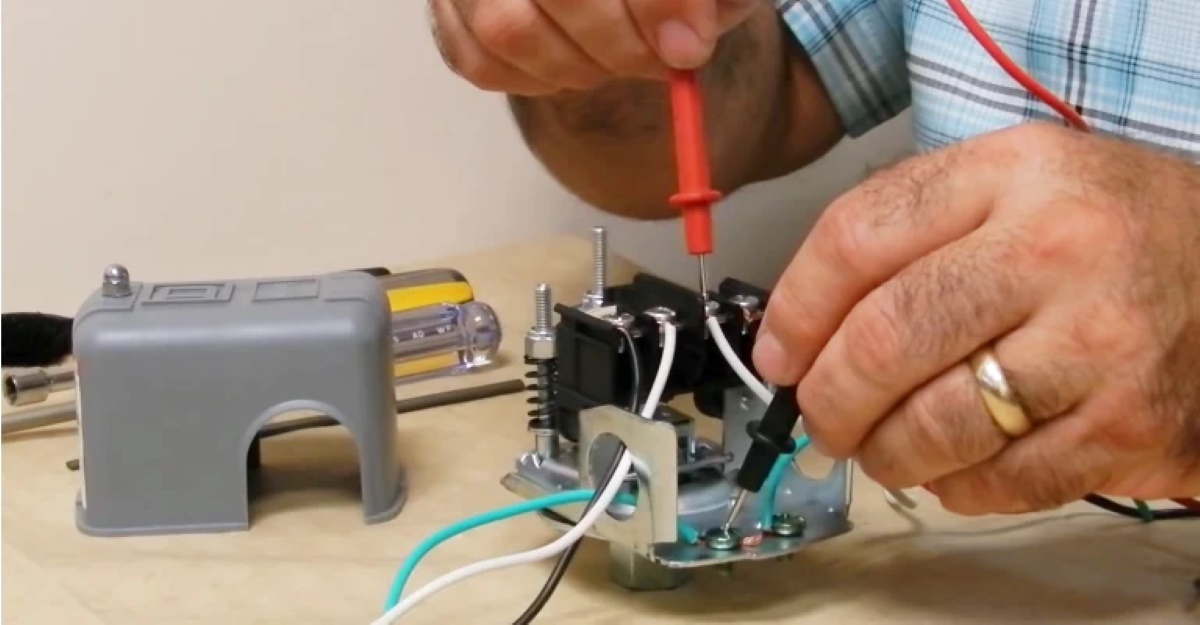
- If you cannot find the manual or instructions, visually inspect the water pump system. Look for a small, square or rectangular device attached to the water pipe. The pressure switch will have wires coming out of it and may have a small pressure adjustment dial or screw.
- If necessary, use a flashlight to aid in the search, especially if the pressure switch is located in a dimly lit area.
It is important to locate the pressure switch before proceeding with the setup. Familiarizing yourself with its position will make it easier to access and adjust the settings in the following steps.
Read more: Why Is My Water Pump Not Building Pressure
Step 3: Adjusting the Cut-In and Cut-Out Pressure
Now that you have located the water pump pressure switch, it’s time to adjust the cut-in and cut-out pressure settings. These settings determine the minimum and maximum pressure levels at which the pump will turn on and off.
- Using an adjustable wrench, loosen the nut or bolts holding the protective cover of the pressure switch in place. Carefully remove the cover to expose the pressure adjustment mechanism.
- Identify the adjustment screws or dials on the pressure switch. The cut-in pressure adjustment screw or dial is typically labeled with “CUT IN” or “CI,” while the cut-out pressure adjustment is labeled with “CUT OUT” or “CO.”
- Refer to the pressure gauge and note the current water pressure in the system. This will serve as the starting point for adjusting the cut-in and cut-out pressure.
- To adjust the cut-in pressure, turn the screw or dial clockwise to increase the pressure or counterclockwise to decrease it. Aim to set the cut-in pressure slightly below the desired pressure to allow for a smooth transition when the pump kicks in.
- Next, adjust the cut-out pressure. Turn the corresponding screw or dial clockwise to increase the pressure or counterclockwise to decrease it. The cut-out pressure should be set slightly above the desired pressure to prevent unnecessary cycling of the pump.
- Once you have made the adjustments, use a pressure gauge to verify the new cut-in and cut-out pressures. Attach the pressure gauge to a faucet or hose bib and open the valve to measure the pressure. Compare the readings to your desired settings and make further adjustments if necessary.
Remember to tighten the protective cover back into place once you have finished adjusting the cut-in and cut-out pressure. This will ensure the safety and proper functioning of the pressure switch.
Make sure to turn off the power to the water pump before adjusting the pressure switch. Use a pressure gauge to accurately set the desired pressure level. Always follow the manufacturer’s instructions for your specific pump model.
Step 4: Setting the Differential Pressure
Setting the differential pressure is an important step in calibrating the water pump pressure switch to your specific requirements. The differential pressure refers to the difference in pressure between the cut-in and cut-out settings, and it determines the range in which the pump cycles on and off.
- Begin by referring to the owner’s manual or manufacturer’s instructions for recommended differential pressure settings. These guidelines will provide a starting point for adjusting the differential pressure.
- Measure and record the distance between the pressure switch and the water tank or well using a tape measure. This measurement is important for accurately setting the differential pressure.
- Calculate the differential pressure by multiplying the distance between the switch and the tank by a factor of 0.434. For example, if the distance is 10 feet, the differential pressure would be approximately 4.34 psi.
- Adjust the differential pressure screw or dial on the pressure switch. Turn the screw or dial clockwise to increase the differential pressure or counterclockwise to decrease it. Consult the manufacturer’s instructions for the specific adjustment method.
- Make small incremental adjustments to the differential pressure and test the system each time. Monitor the pump’s cycling and ensure that it operates within the desired range.
- Continue adjusting the differential pressure until you achieve the desired balance between pump cycling and maintaining consistent water pressure in your system.
Remember to take your time and make gradual adjustments to the differential pressure. Test the system after each adjustment to ensure that the pump operates effectively and efficiently.
Step 5: Testing the Pressure Switch
After adjusting the settings of the water pump pressure switch, it is important to test its functionality to ensure proper operation. Testing the pressure switch will help you verify that the cut-in and cut-out pressures are set correctly and that the pump is cycling on and off as expected.
- Turn on the power to the water pump by flipping the circuit breaker back to the “On” position.
- Open a faucet or hose bib in your home or building to create a demand for water.
- Monitor the water pump system and observe its operation. The pump should kick in when the pressure drops below the cut-in setting and shut off once it reaches the cut-out setting.
- Check the pressure gauge attached to the system to ensure that the pressure remains within the desired range during the pump’s cycling process.
- If the pressure switch is not operating as expected, double-check your settings and follow the previous steps to make any necessary adjustments.
During the testing phase, pay attention to any irregularities in the pump’s operation or fluctuations in water pressure. This may indicate a need for further adjustment or potentially other issues with your water system.
Testing the pressure switch is a crucial step to ensure that your water pump functions correctly and provides consistent water pressure throughout your home or building. Take the time to verify its performance before moving on to the next step.
Step 6: Adjusting the Pressure Switch if Necessary
If the testing phase reveals that the water pump pressure switch is not functioning as desired, adjustments may be necessary to fine-tune its operation. Here are the steps to follow:
- Shut off the power to the water pump by turning off the circuit breaker.
- Remove the protective cover of the pressure switch using an adjustable wrench.
- Make note of the existing settings on the pressure switch, including the cut-in pressure, cut-out pressure, and differential pressure.
- Make small adjustments to the cut-in, cut-out, or differential pressure screws or dials, depending on which setting needs to be adjusted.
- Refer to the manufacturer’s instructions for guidelines on how much to adjust the pressure switch’s settings. It is recommended to make small incremental adjustments and test the system after each adjustment to gauge the impact.
- Replace the protective cover of the pressure switch once you have finished making adjustments.
- Turn on the power to the water pump and conduct another round of testing to evaluate the effectiveness of your adjustments.
- Continue this process of adjusting, testing, and re-adjusting until you achieve the desired performance and water pressure stability.
Remember to exercise caution and patience when making adjustments to the pressure switch. Small, deliberate changes are often more effective than large adjustments that may throw off the system’s balance.
If you are unsure about how to make the necessary adjustments or encounter difficulties during the process, it is recommended to consult a professional plumber or technician who can provide expert guidance and assistance.
Read also: 15 Best High Pressure Water Pump for 2025
Step 7: Restoring Power
After you have completed the necessary adjustments and testing of the water pump pressure switch, it’s time to restore power to the system. Follow these steps to safely restore power:
- Double-check that all adjustments have been made correctly and that the pressure switch is functioning as intended.
- Ensure the protective cover of the pressure switch is securely in place.
- Return to the main electrical panel in your home or building.
- Locate the circuit breaker labeled for the water pump.
- Switch the breaker back to the “On” position to restore power to the pump.
- Listen for any sounds or indicators that the pump has been activated.
- Monitor the water pressure in your system after restoring power to ensure that it remains consistent and within the desired range.
By following these steps, you can safely and effectively restore power to your water pump system. It is recommended to periodically check the pressure switch and monitor the water pressure to ensure ongoing optimal performance.
In case you experience any issues or notice significant fluctuations in water pressure, it is advisable to consult with a professional plumber or technician who can offer further assistance and troubleshooting.
Conclusion
Setting the water pump pressure switch is a vital task to ensure proper water pressure regulation and the smooth operation of your water system. By following the steps outlined in this guide, you can effectively adjust the cut-in and cut-out pressures, as well as the differential pressure, according to your specific needs.
Remember to gather the necessary tools and materials, such as an adjustable wrench, pressure gauge, and screwdriver, before starting the process. It is crucial to shut off the power to the pump and locate the pressure switch accurately to prevent any accidents or damage.
Adjusting the cut-in and cut-out pressure settings and setting the appropriate differential pressure will help maintain consistent water pressure in your home or building. Testing the pressure switch’s functionality is essential to ensure that the pump cycles on and off correctly, providing the desired water pressure.
If adjustments are necessary, be patient and make small changes until the desired performance is achieved. Safety should always be a priority, so consult a professional if you have any concerns or difficulties during the process.
Once you are satisfied with the pressure switch settings and have tested the system, restore power to the water pump and monitor the water pressure to ensure it remains stable and within the desired range.
By understanding and setting your water pump pressure switch properly, you can enjoy consistent and reliable water pressure throughout your home or building, ensuring a comfortable and functional water system for all your needs.
Frequently Asked Questions about How To Set Water Pump Pressure Switch
Was this page helpful?
At Storables.com, we guarantee accurate and reliable information. Our content, validated by Expert Board Contributors, is crafted following stringent Editorial Policies. We're committed to providing you with well-researched, expert-backed insights for all your informational needs.


0 thoughts on “How To Set Water Pump Pressure Switch”